
Hunted: The Demon's Forge Guide Walkthrough Chapter 5
Forest
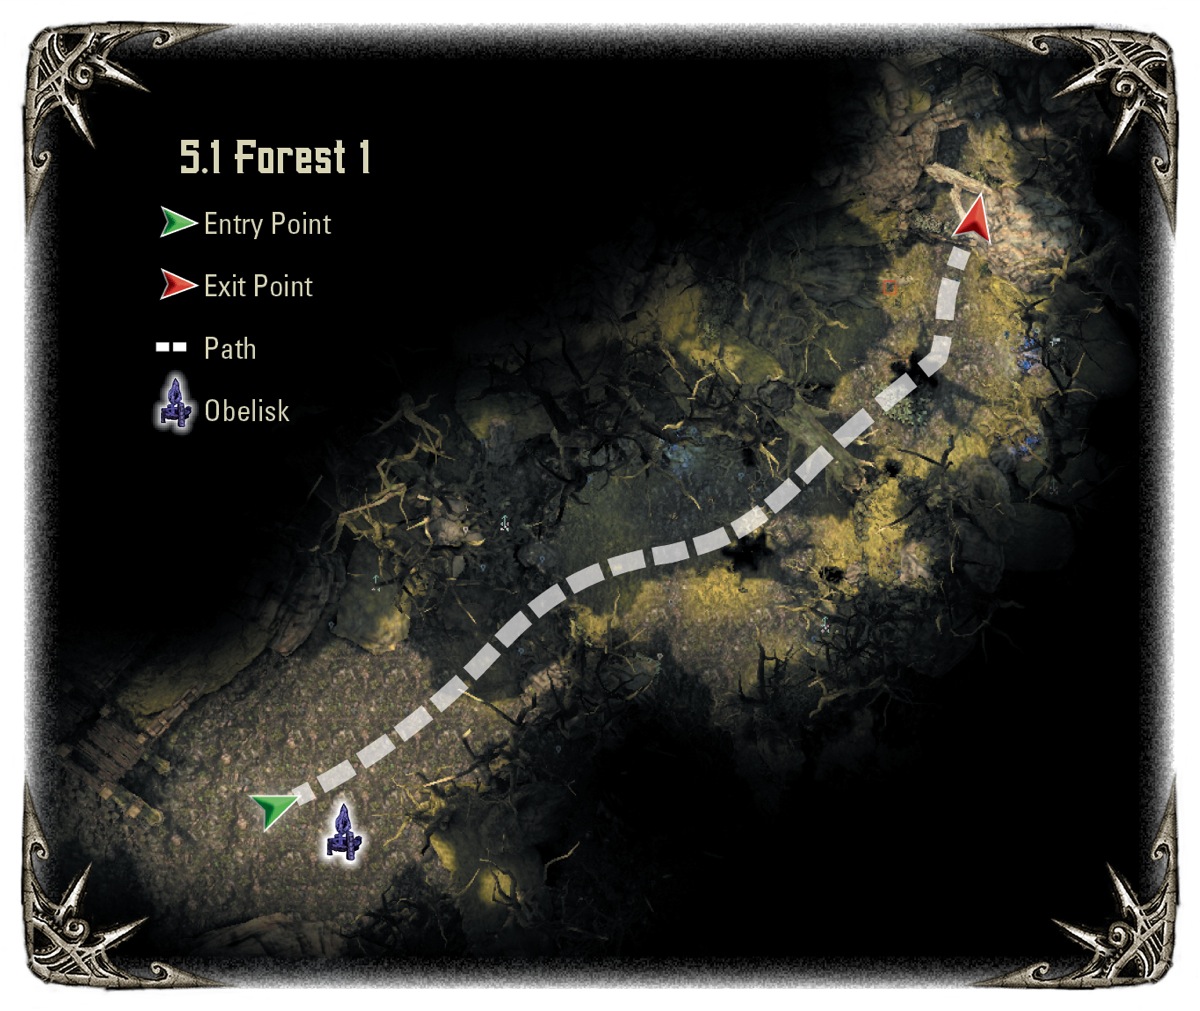
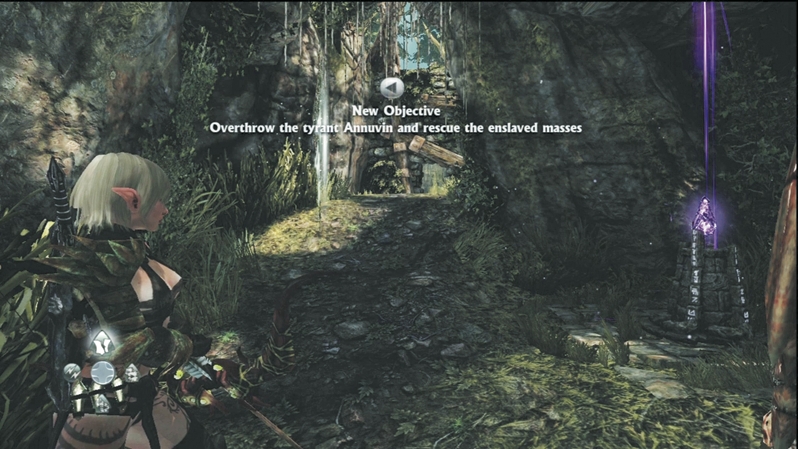
You arrive outside the walls of Kala Moor with a new objective: overthrow the tyrant Annuvin. After you disembark the boat, spend whatever time you need at the obelisk and magic portal, then slip under the fallen archway into the next area.
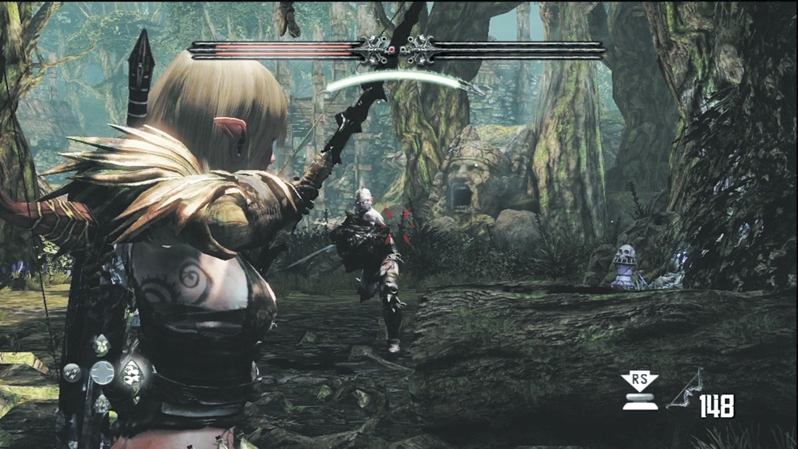
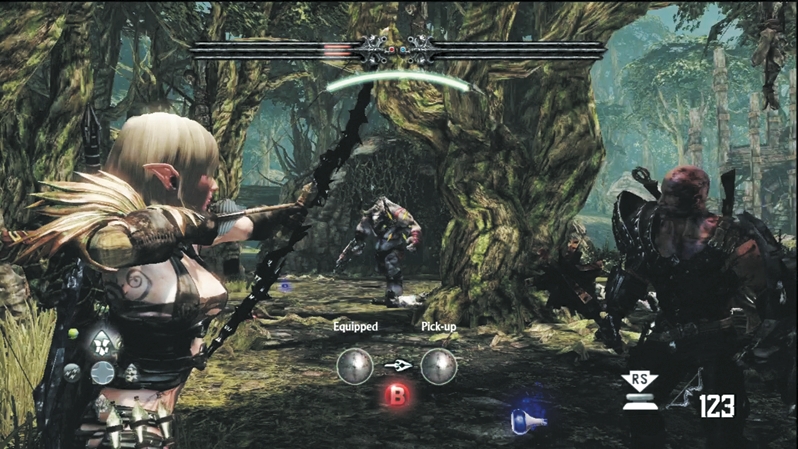
Prepare for battle as soon as you enter. Wargar Warriors rush your initial position, and an Infected Wargar teleports atop a fallen tree and throws down fireballs. Caddoc should intercept the Warriors, while E'lara zooms on the Infected Wargar and blows it off its perch. As you slip past the fallen tree into the second half of the clearing, Wargar Archers and Scorchers try to pin you down. You'll trade arrows back and forth before a Minotaur Juggernaut appears near the fight's end. Quickly mop up the ranged attackers and switch to arcane damage to drop the Minotaur before it can flatten you with a charge.
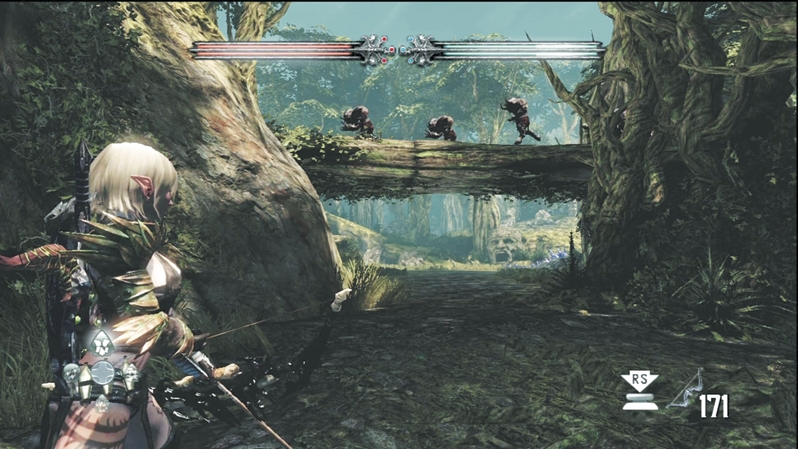
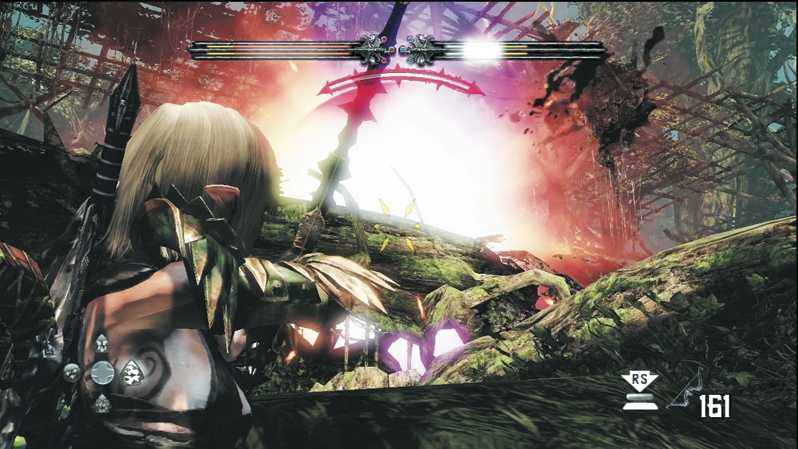
A fallen tree bridge marks the beginning of a new clearing where the Wargars and Minotaur have prepared an ambush. Watch closely as the enemies run over the fallen tree to prepare their trap; then advance under the tree and stay near the hill cover on your left. From cover, shoot up at the ambushers on the bridge above. Wargar Soldiers run into the clearing to engage in hand-to-hand combat; Caddoc can drive them off, though E'lara should concentrate on eliminating the more dangerous ranged attackers on the bridge.
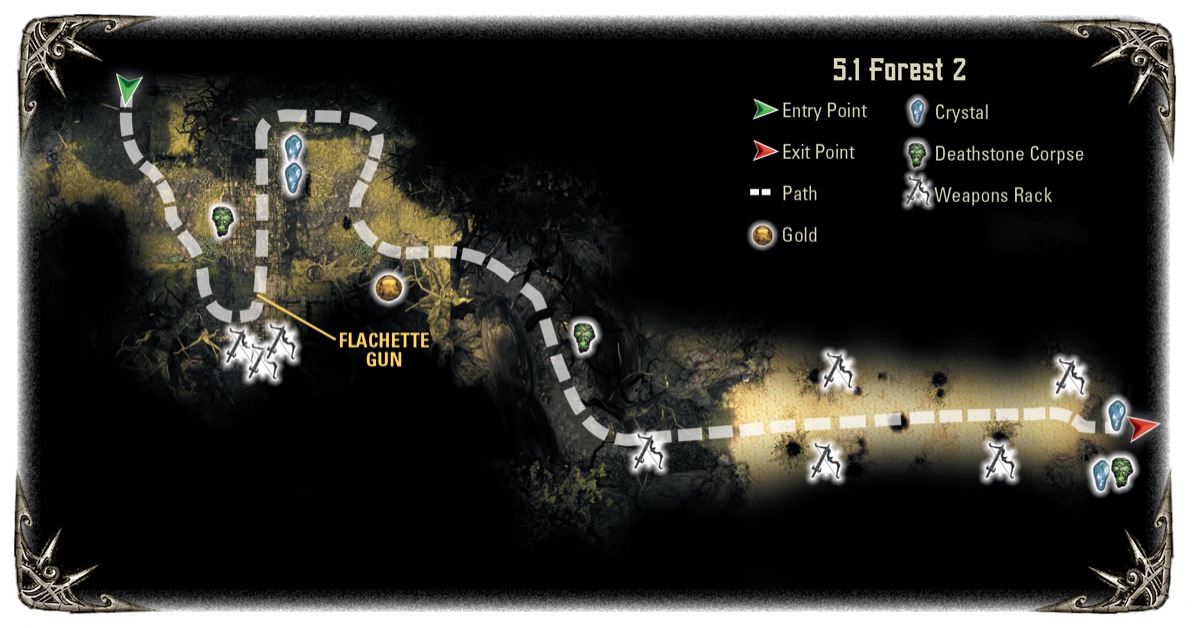
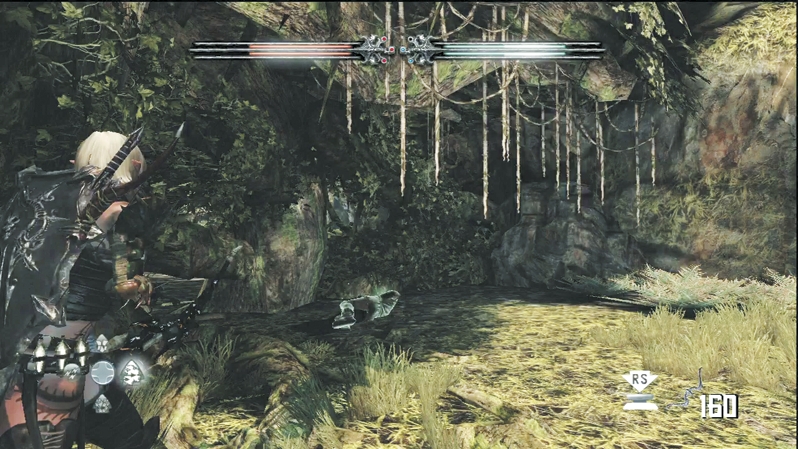
Once ranged attacks no longer rain down on you from above, move out toward the bridge's ramp at the clearing's far end. A Deathstone corpse lies underneath the bridge in the shadows, which you can easily miss if you rush up to the bridge.
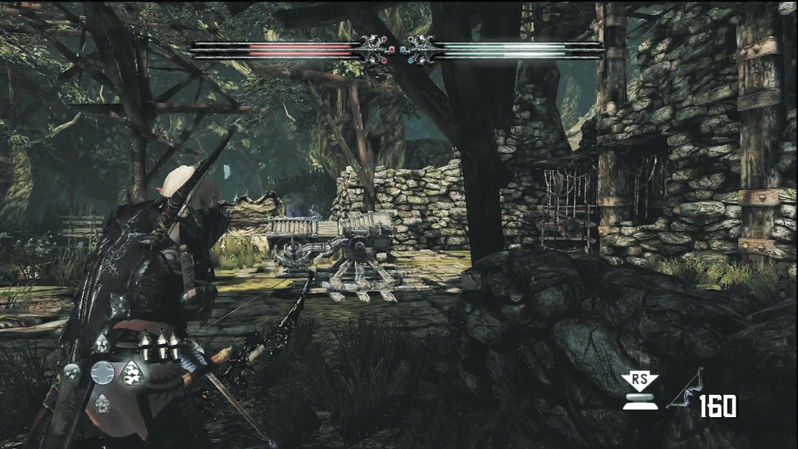
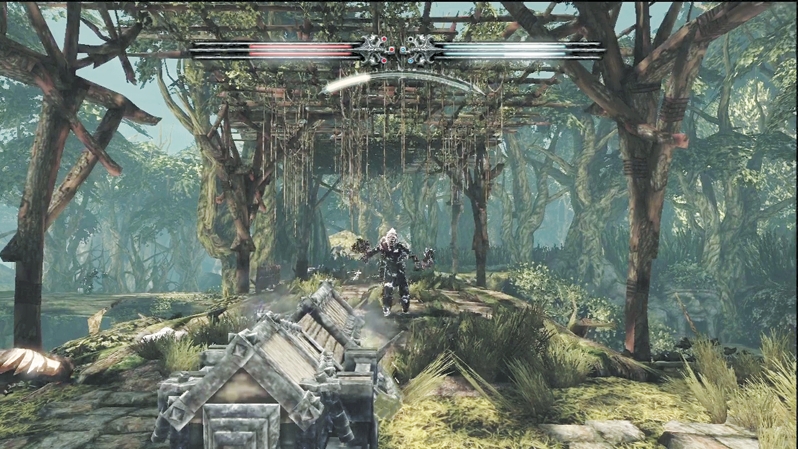
The enemy is about to set loose its ambush. However, they didn't plan on you gaining access to a surprise weapon: the flechette gun at the bridge's far end. Jump behind the weapon immediately and turn it to face the ambush streaking across the bridge. Wargar Soldiers, Wargar Zealots, Shadow Crawlers, and Minotaur Juggernauts storm your position. The flechette gun, however, is more than enough to handle them. Fire a continuous arrow stream and slide back and forth slowly (don't jerk!) as you drop dozens of the creatures. Even if you don't kill a tougher creature immediately, it will likely retreat if you hit with a shot or two. As long as you prevent the ambushers from reaching your end of the bridge, it's only a matter of time before they all fall.
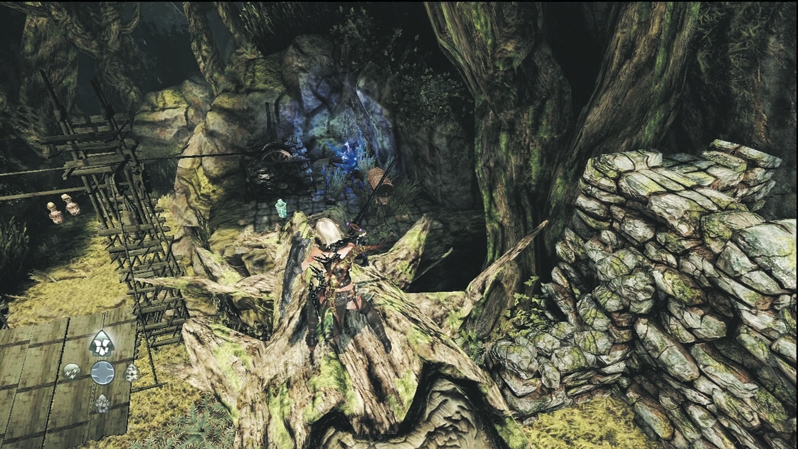
After the battle, you can claim a lot of loot. Search the dead bodies for resources, break the weapon racks in the room behind the flechette gun, and slide down the nearby tree to a hidden platform with a gold treasure chest and a shard canister. In the clearing on the bridge's far side, two Crystal Chests glow in the gloom under the bridge. Collect what you need and follow the path into the shadows of a wooded area.
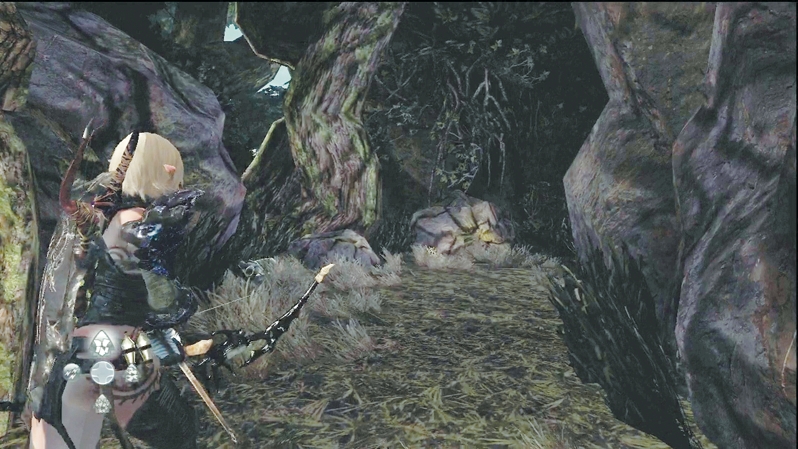
As you proceed through the woods, look for another Deathstone corpse hidden in the weeds on the left side. When you see a weapon rack and daylight ahead, prepare for another epic battle.
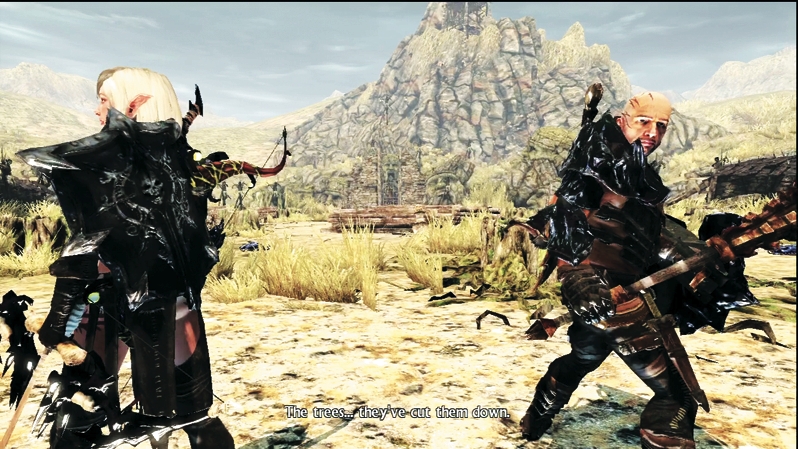
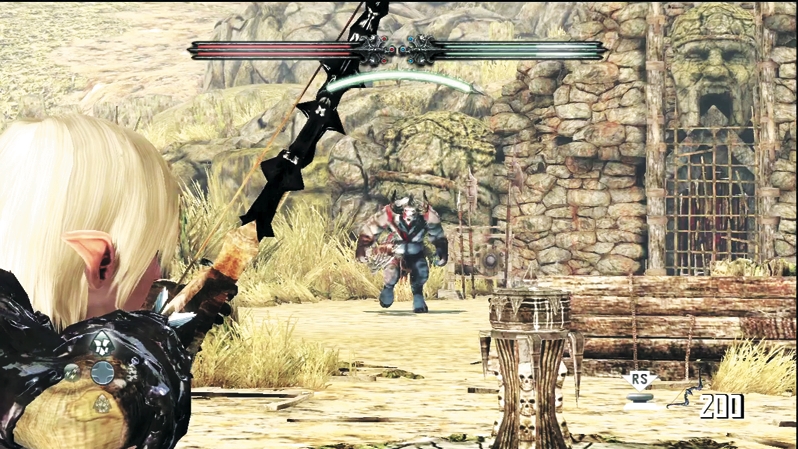
The trees in this new area have been leveled to the ground; it's a barren, stripped wasteland with a lone Sleg vat sitting out in the open. When you see a Sleg vat, expect enemies, and lots of them, as you explore further. Wargars pour over the walls and Minotaur Juggernauts charge out from gates to force you to seriously consider drinking from the Sleg vat.
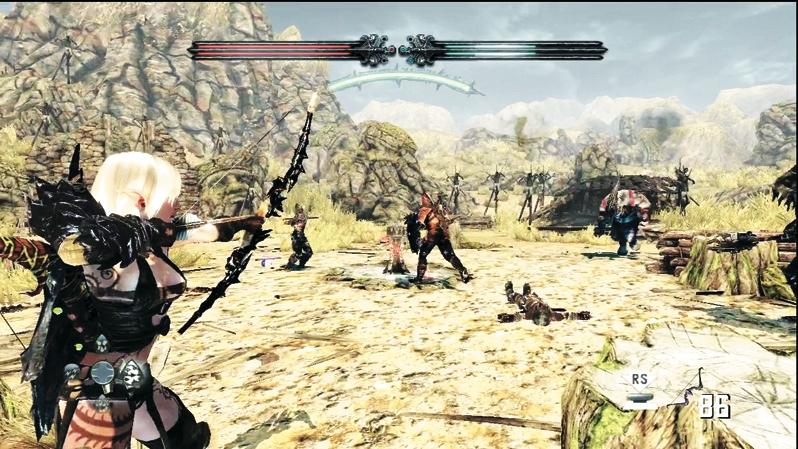
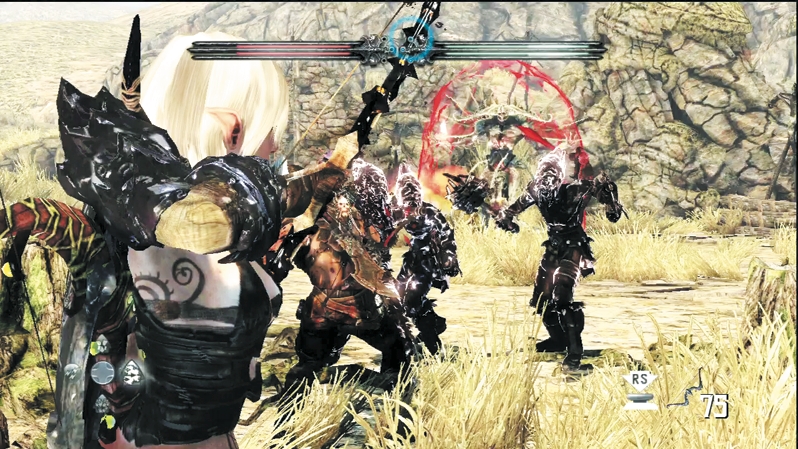
Unless you feel you can't defeat the enemies without aid, avoid the Sleg vat and keep moving around the battle arena. Enemies will use cut logs as cover, but you shouldn't: foes will inevitably shoot you in the back, since they have vantage points from all over the place, and explosions will cause the wood piles to fly into the air dangerously. Stay on the move and support your partner in between dodges. Caddoc's Wind of Wrath and E'lara's Pyre Blast can eliminate enemy groups quickly, which is what you must do to avoid being overrun.
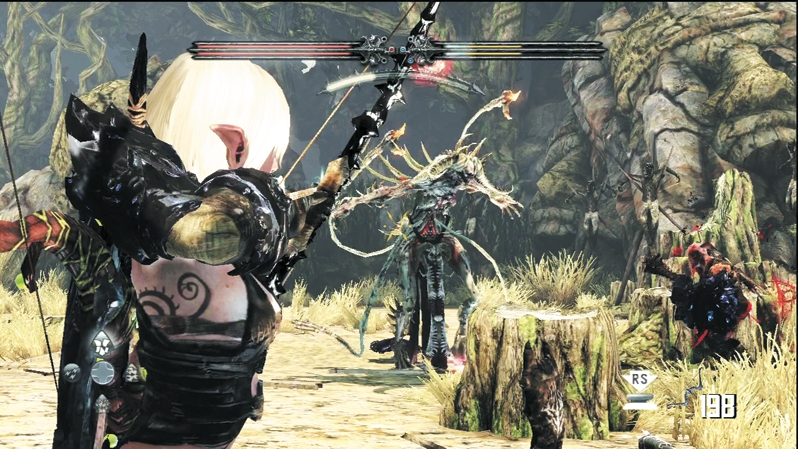
Toward the fight's end, an Archghoul joins the fray. Seriously? Isn't there enough going on already? It's a true test of your combat abilities. Stay out of the demon's area-of-effect attack and continue picking off the other enemies. Once the Wargar are down, Caddoc and E'lara can team up on the Archghoul, drop its Blood Magic Shield, and pound it with enough damage to send it back to its dimension. Afterward, enter the small concourse opposite the woods, collect two Crystals, and speak with another Deathstone corpse. The nearby door leads into the quarry.