
Hunted: The Demon's Forge Guide Walkthrough Chapter 2
Descent
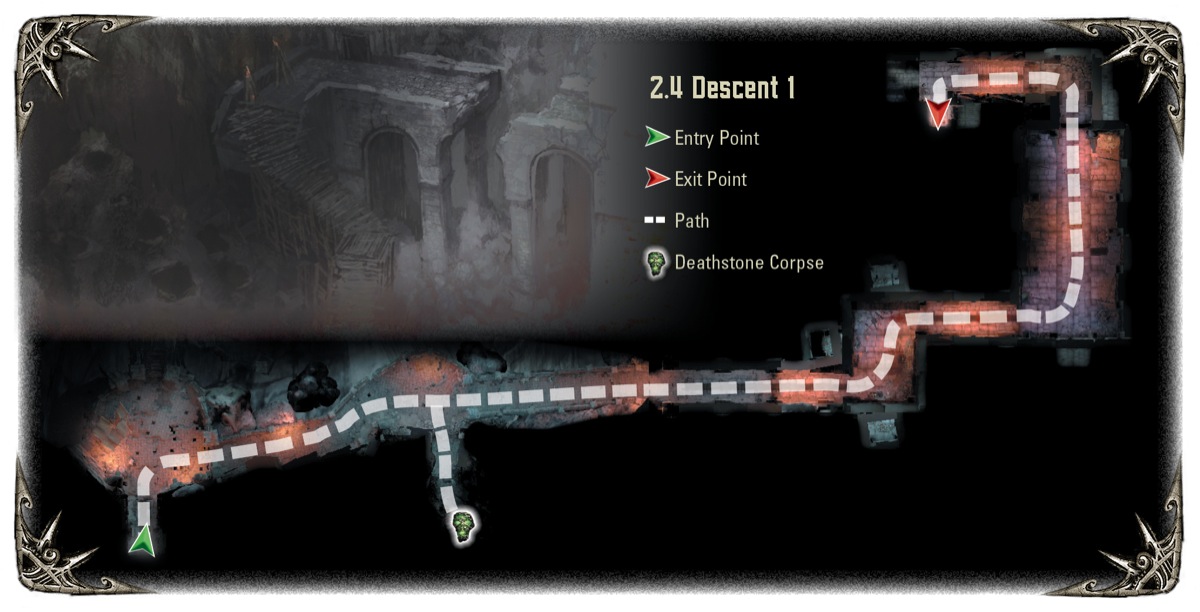
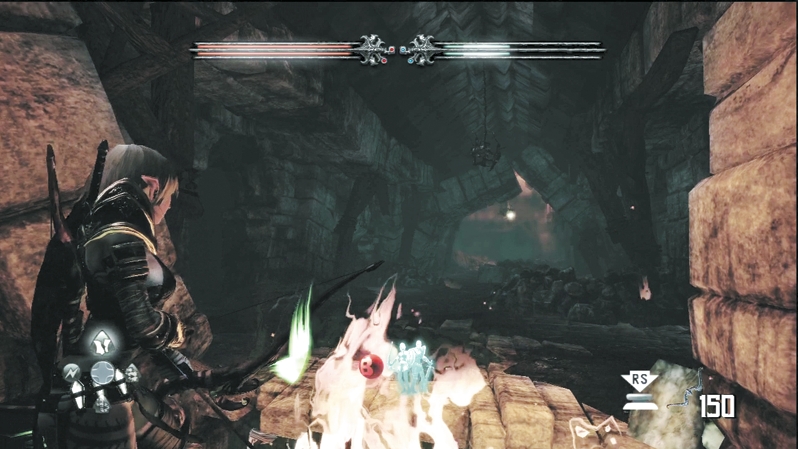
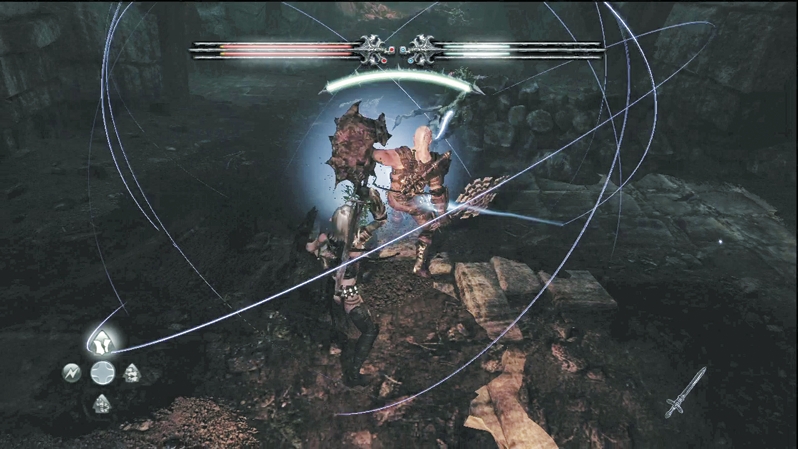
Follow the path down to a crack in the earth that is spewing fire. Cross the flames uneventfully with your partner, and immediately prepare for melee combat. Arackling Crawlers rush out of the rubble to leap at your face and bite at your legs. Hack and slash until nearly a dozen of the beasts lie bleeding green ichor on the ground. Look for a gold chest high up on the right side under the rock shelf. Loop around to the chamber's other side to find the exit door.
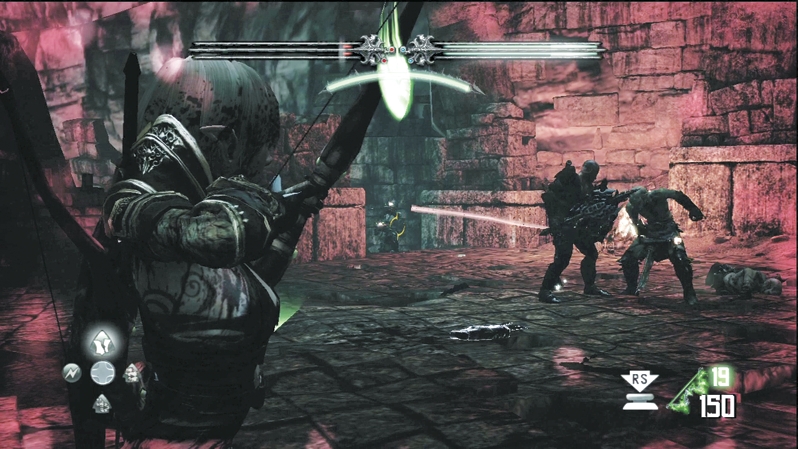
You appear on a high platform in an immense cavern. A giant spider thing disappears into a cavern as you enter, leaving Caddoc and E'lara with an uneasy feeling that events are about to get much worse. When you arrive on the platform, Wargar Scorchers and Wargar Warriors race up the steps, and it's a battle without much cover. Stay on the move and have Caddoc tie up the Warriors while E'lara guns down the Scorchers. Descend the stairs to the next platform. More Warriors arrive and don't stand much chance against your experienced combat moves now. A side passage off the second landing, guarded by Aracklings, shelters a Deathstone corpse and a shard canister. The next door lies on a lower landing one more set of stairs down.
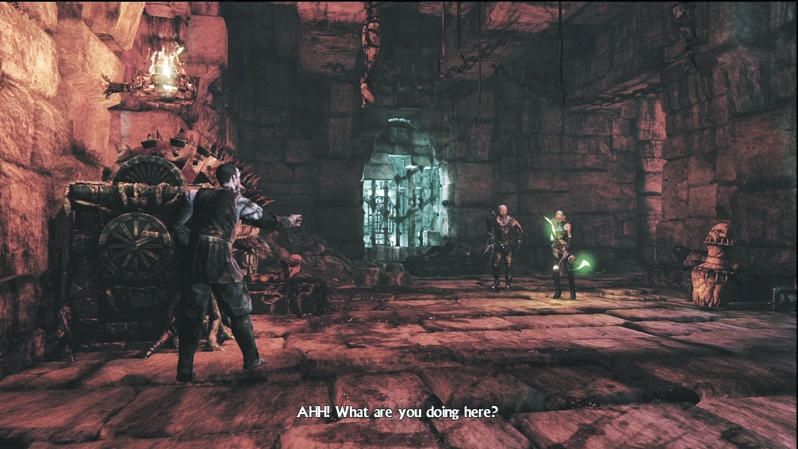
You move back inside the mountain and into a makeshift torture chamber. An escaped prisoner has trapped a Wargar in one of the devices and plans to grind it into gristle. He leaves after asking you to seek vengeance on the creatures, and you can act upon that wish by opening the door to the next room and cutting to shreds the Wargar Zealot, Soldiers, and Scorchers tormenting more townsfolk on the room's tables. Advance on the Scorchers one table at a time, picking off the new reinforcements that enter from the room's rear.
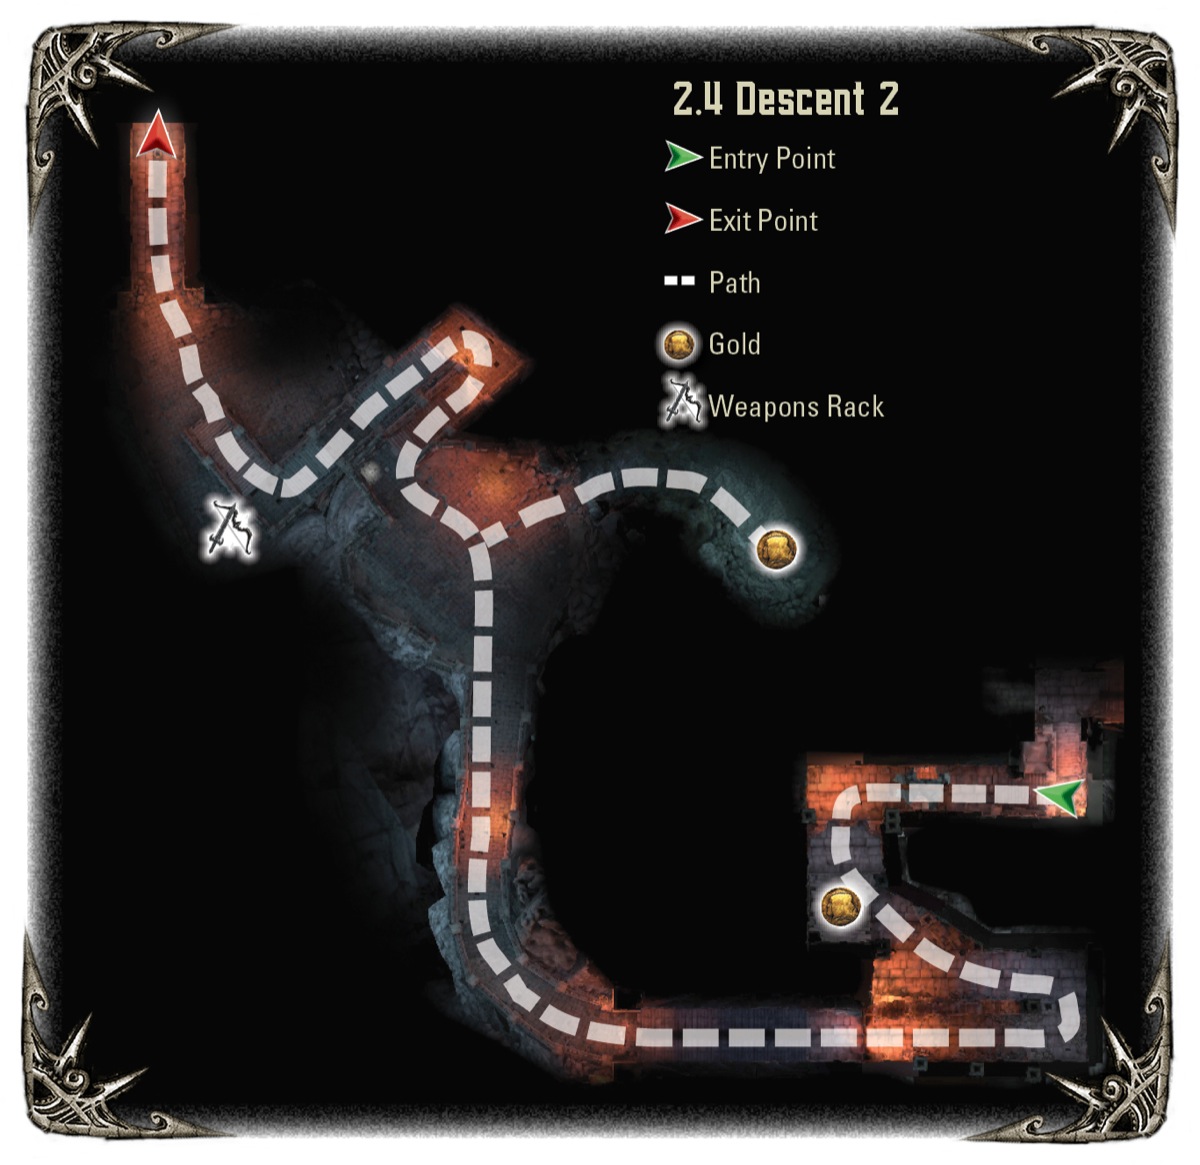
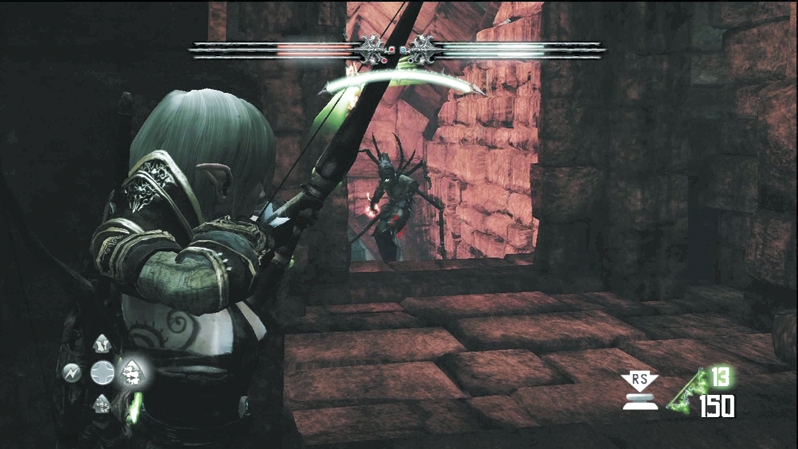
Continue through the gate that the reinforcement Wargar just used. Around the next bend, an Infected Wargar tries to surprise you. Hit it with the first few shots and get it to teleport. It will reappear in the room you just came from and attempt to blindside you. Swing around and cut it down before the Wargar has a chance to unload on you.
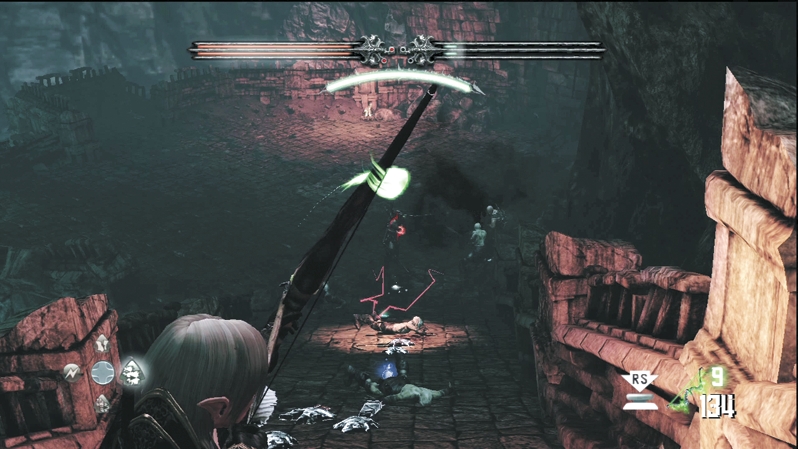
Wind down the stairs the Infected Wargar stood on. Wait for your partner to cross a thin beam over a gap in the floor, and then jump down a series of ledges. Collect a sack of gold in a small alcove before you enter the main corridor, and smack around some more Arackling that try to pester your advance down the corridor. It leads back outside, and after you see the immense spider thing again, you battle some Wargar Warriors and Infected Wargar for the first platform. Keep the high ground and attack them from the stairs. If you get in trouble, back up and you'll keep all the enemies in front of you for easy pickings. A side passage on this platform leads to an Arackling nest with gold coins and a shard canister, and the door to the bridge area rests on the undefended lower platform.
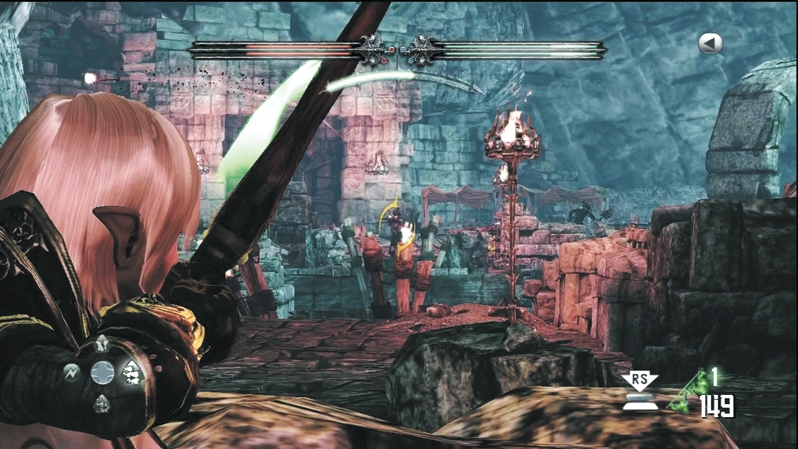
Next up is a series of plank bridges you have to navigate. It's impossible to traverse them successfully without first removing the threat of arrow fire and explosions knocking you off. Duck behind cover and shoot across at the Scorchers and Archers defending the broken bridge in front of you. Pin them down with bolt and arrow fire; if you're having trouble killing them, switch to Brimstone or Pyre Blast to catch them in explosions.
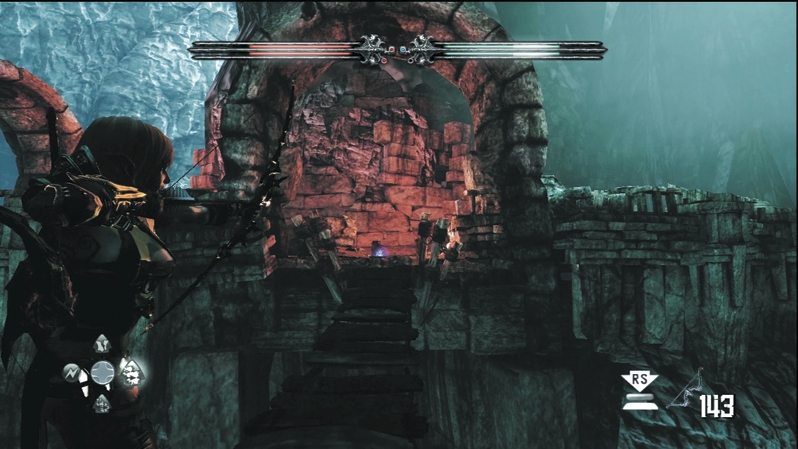
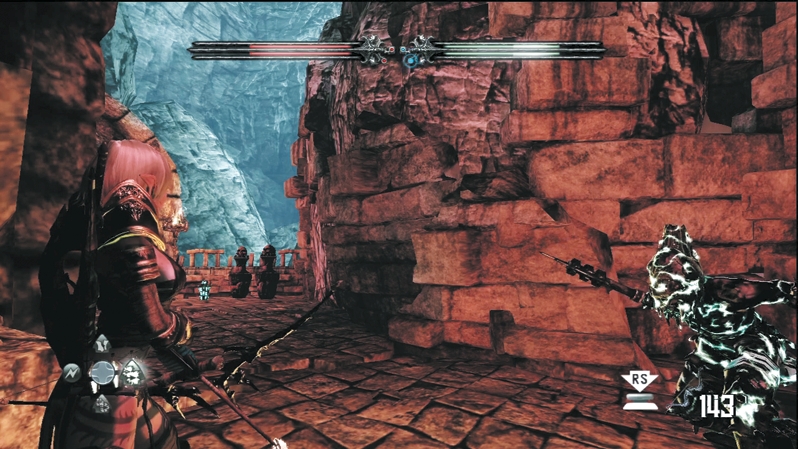
Once the side past the broken bridge is quiet, step out of cover and scan the opposite ledges for movement. Clear any resistance before attempting to walk across the plank bridge on your right. The bridges are so rickety that only one character can cross at a time. When you reach the far side, a Wargar Zealot jumps out of cover and attacks immediately. Roll to safety and respond with a series of tactical melee strikes or a heavy dose of Dragon's Breath.
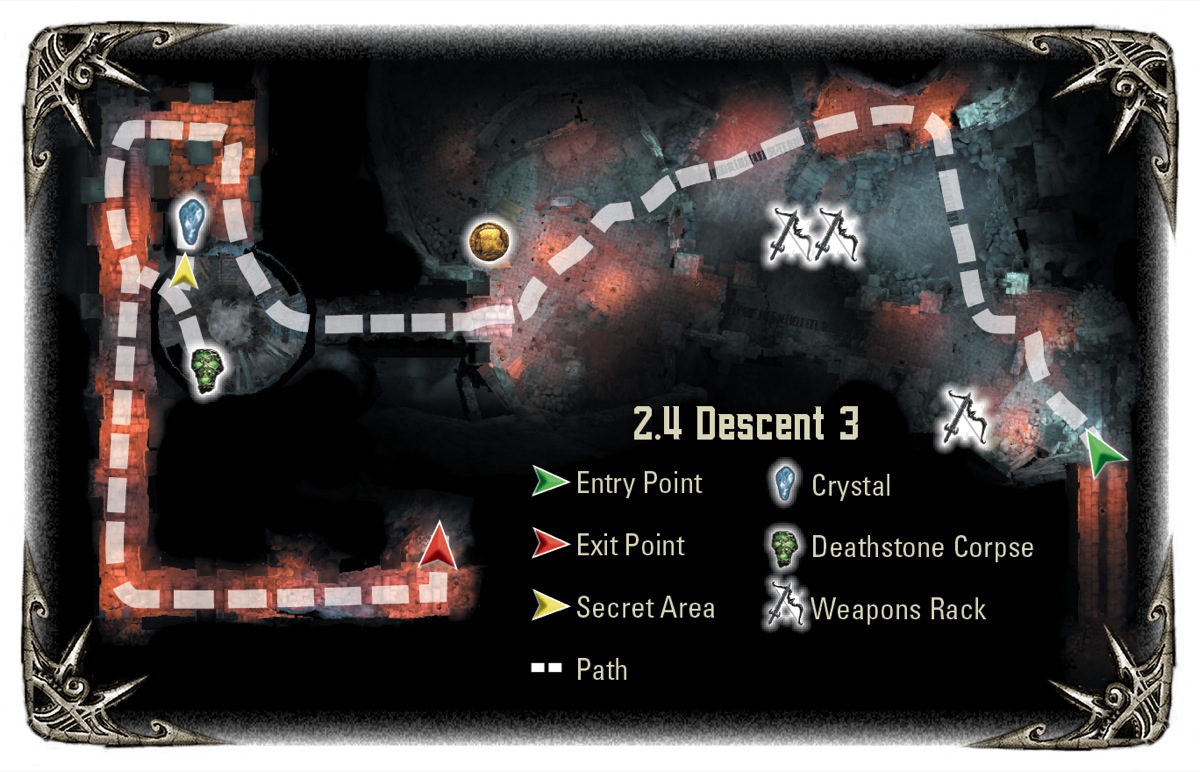
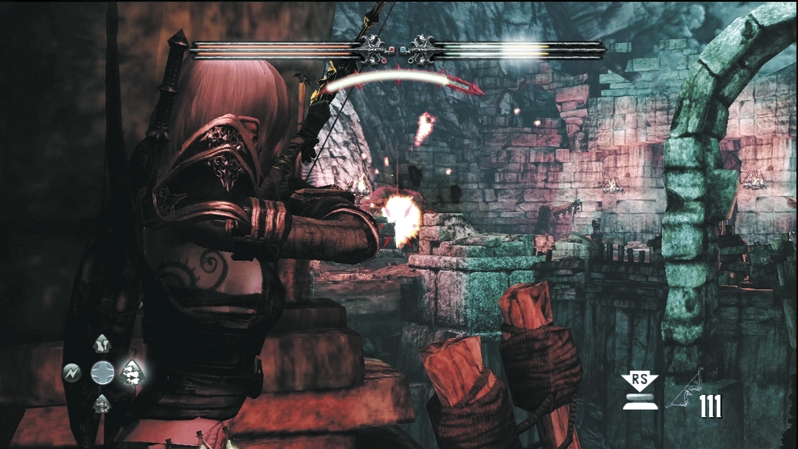
Approach the final bridge and pick off any stragglers looking to return fire, especially some resilient Infected Wargar that bar the way. Cross one at a time once the threat has been eliminated. On the far side, pick up a gold sack and new gear from weapon racks for your troubles. Enter the mountainside door to proceed.
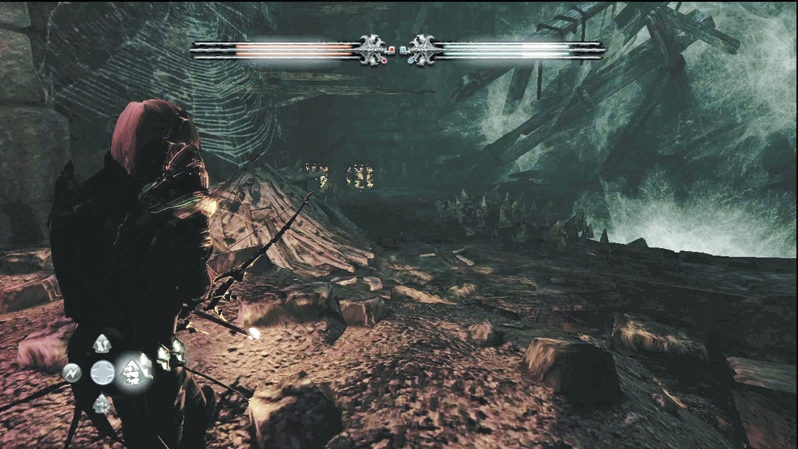
Continue going down until the corridor opens into a dark area. A pile of explosive barrels should be a big hint to blow up the nearby wall. When you do, you reveal a secret area with a Crystal Chest in the back. Out in the main room, a Deathstone corpse can easily be missed in the darkness, so look for the glowing skeleton.
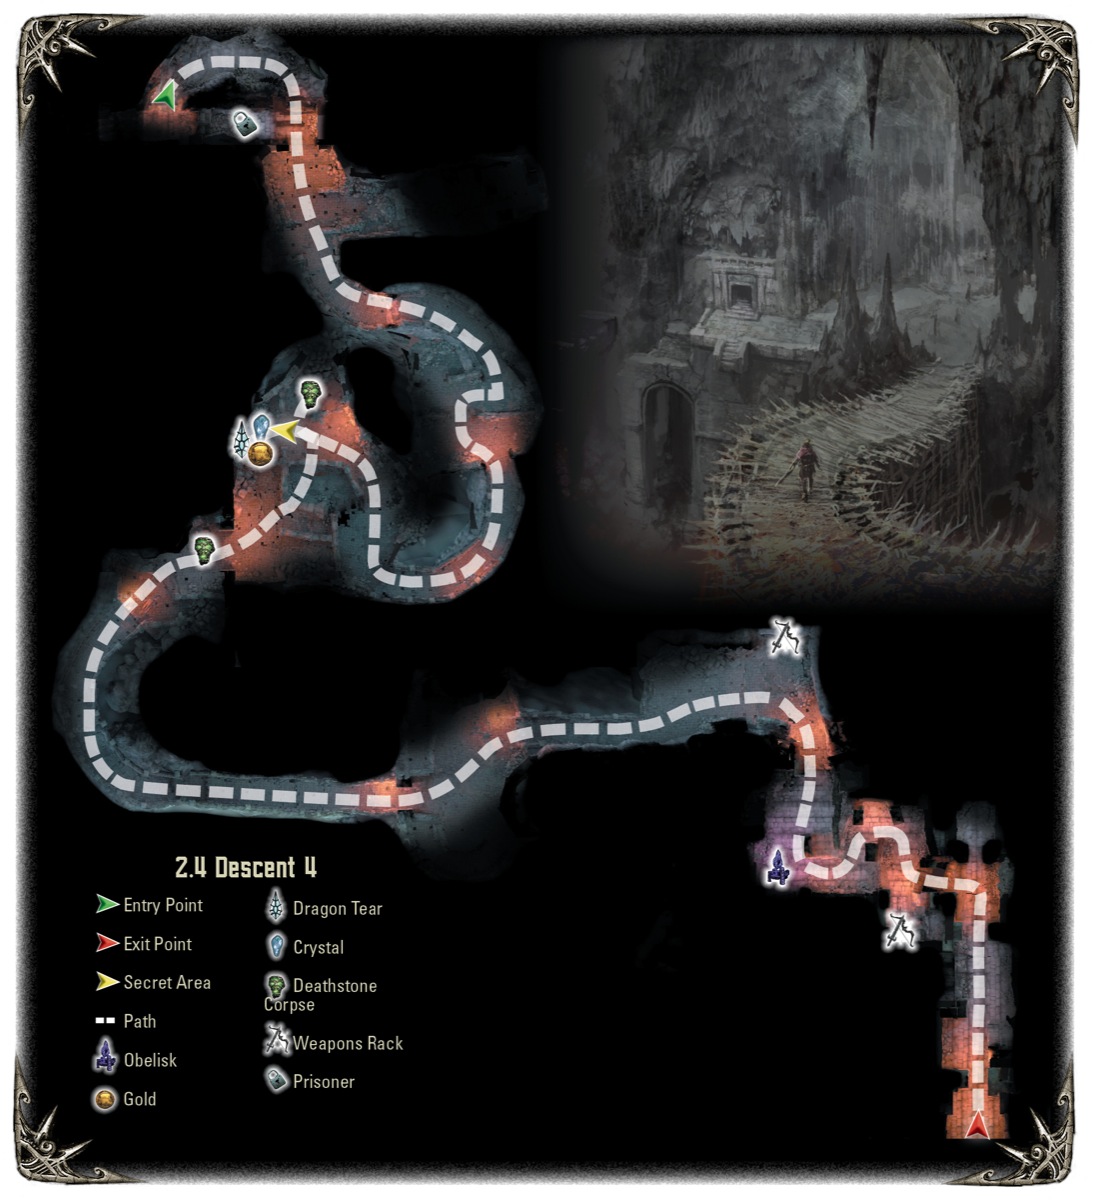
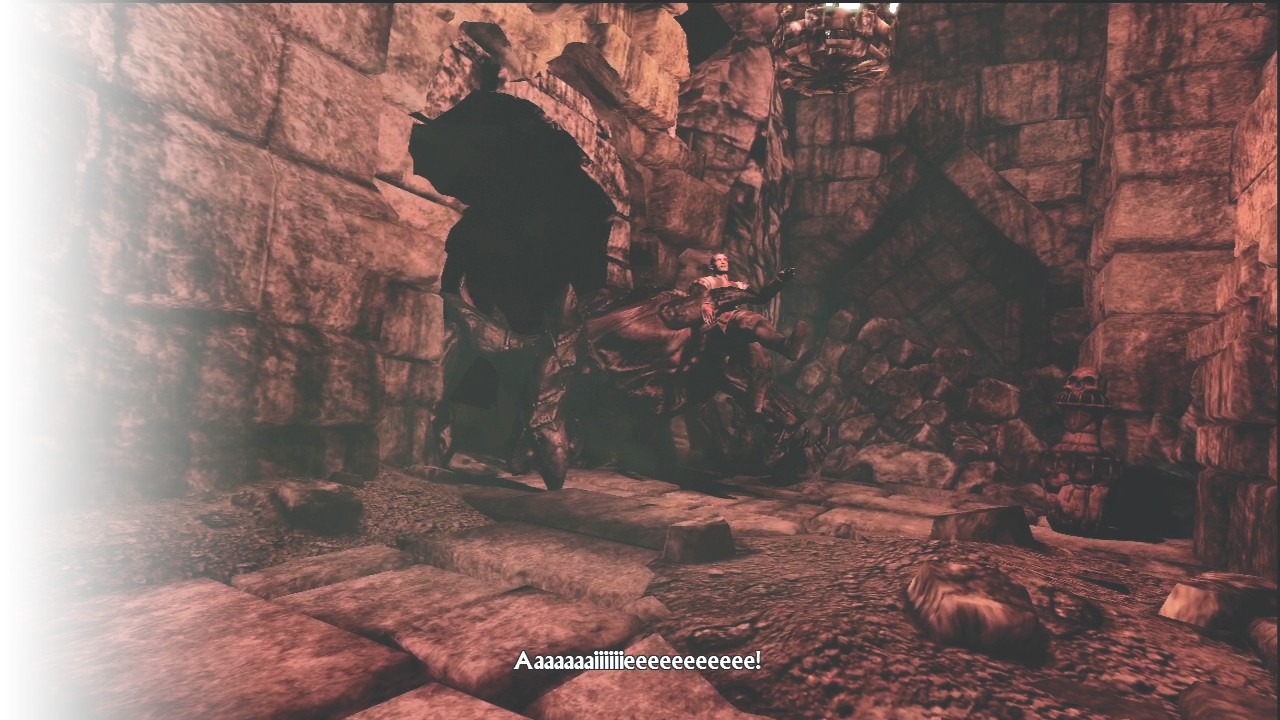
It seems you've hit a dead end, until you hear the cries of a townsperson and see a giant spider bust through the wall, grab the poor soul, and retreat back to some unknown den. Thanks to the spider, you have a new path to follow.
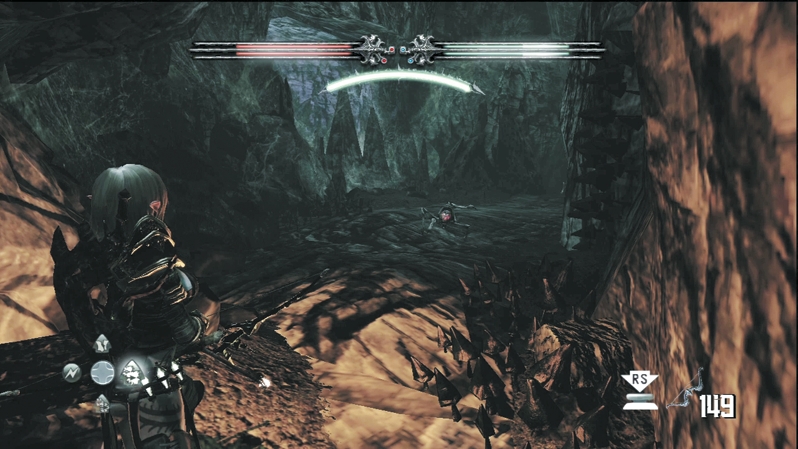
Of course, what would a giant spider be without several of its little Arackling cousins? The scurrying creatures swarm the new hole and almost manage to push you back, but with a series of finely executed combat moves, you splatter the insects. Duck under the timbers at the shaft's end, and when you come out on the other side, rescue a prisoner to your right. Word of warning: the prisoner talks about dangerous ranged Wargar attackers ahead.
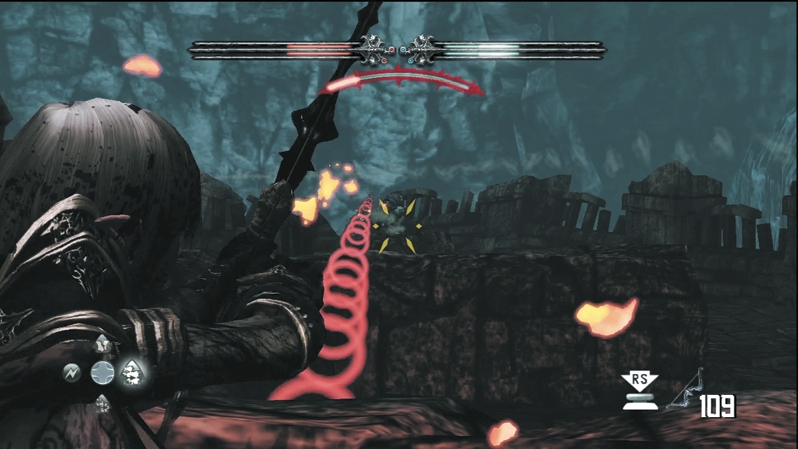
The dangerous ranged attackers in question are Wargar Blastcasters. When you exit to the outside landing, a Blastcaster bombards you, with some support from Wargar Warriors. Allow Caddoc to fend off Warriors, while E'lara attacks the Blastcaster from range. If you can hit the Blastcaster with enough damage (Pyre Blast or Dragon's Breath) to at least keep it ducking behind cover, Caddoc can finish off the Warriors and wade into the Blastcaster before its explosives get out of hand.
Continue fighting deeper into the room. As Caddoc clears enemies near the entrance, especially the Blastcaster, E'lara can either step up and use ground cover to pick off foes rushing down the long room toward you or climb the stairs to the upper ledge and rain down arrows on the swarming Wargar.
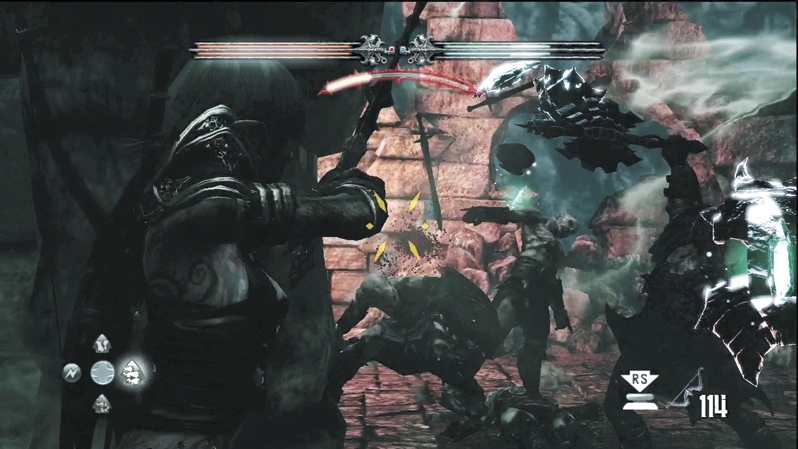
The stairs out from the upper landing lead down to a maze of ruins. Wargar Guardians and Wargar Warriors patrol the area, so be on your toes. If the enemy begins to swarm, Caddoc should throw up a Wind of Wrath, trap the enemy attackers, and let E'lara execute them one by one.
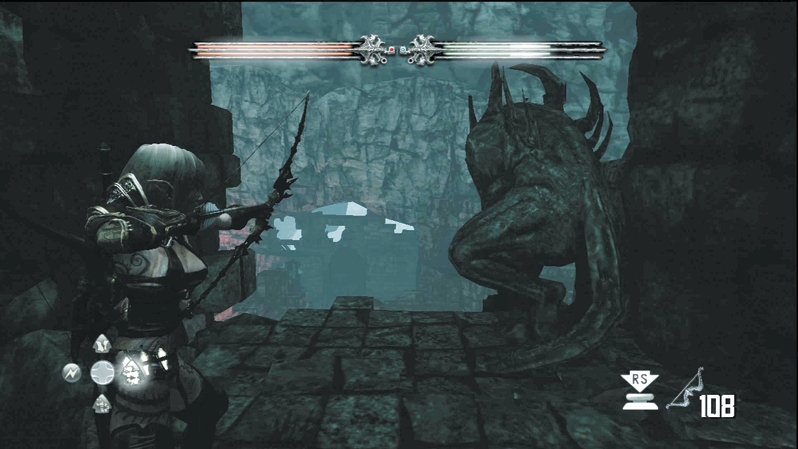
After quelling the Guardians and Warriors, seek out a gargoyle overlooking a long drop. If you stand next to the gargoyle, a Point of Interest spot will appear, showing you an explosive barrel in the distance atop the far wall. Take careful aim and detonate the explosives. The wall crumbles, exposing a secret area that you can reach after climbing down to the lower level.
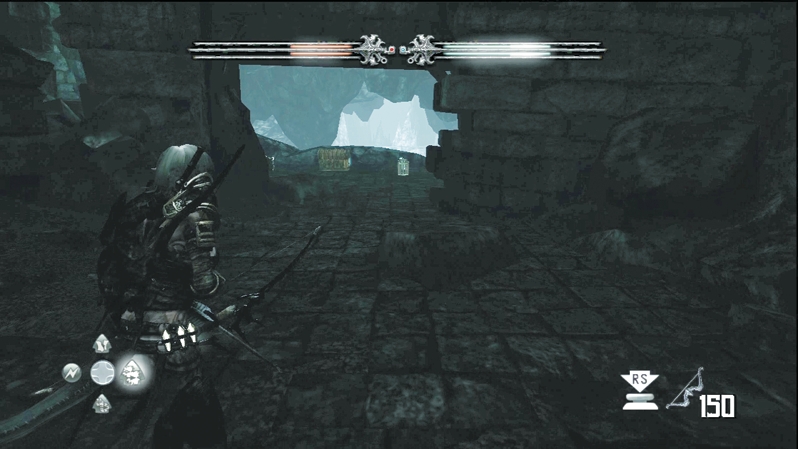
Fight through more Wargar Warriors at the base of the ruins. After defeating them, stay to the right and you'll see the hole you blew open with the explosives. With your Deathstone, speak to a corpse on the secret area's right. Duck into the secret area and access a Crystal Chest, a gold treasure chest, and the sixth Dragon Tear.
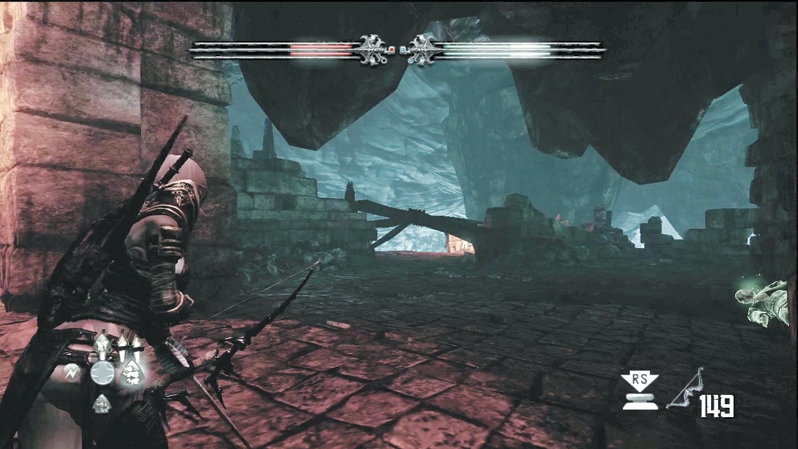
Loop back around the wall and investigate the area to the secret area's left. A Deathstone corpse lies to the right and the entrance to the next area (which requires you to crawl under some debris) is off to the left.