
Hunted: The Demon's Forge Guide Walkthrough Chapter 1
Smithy
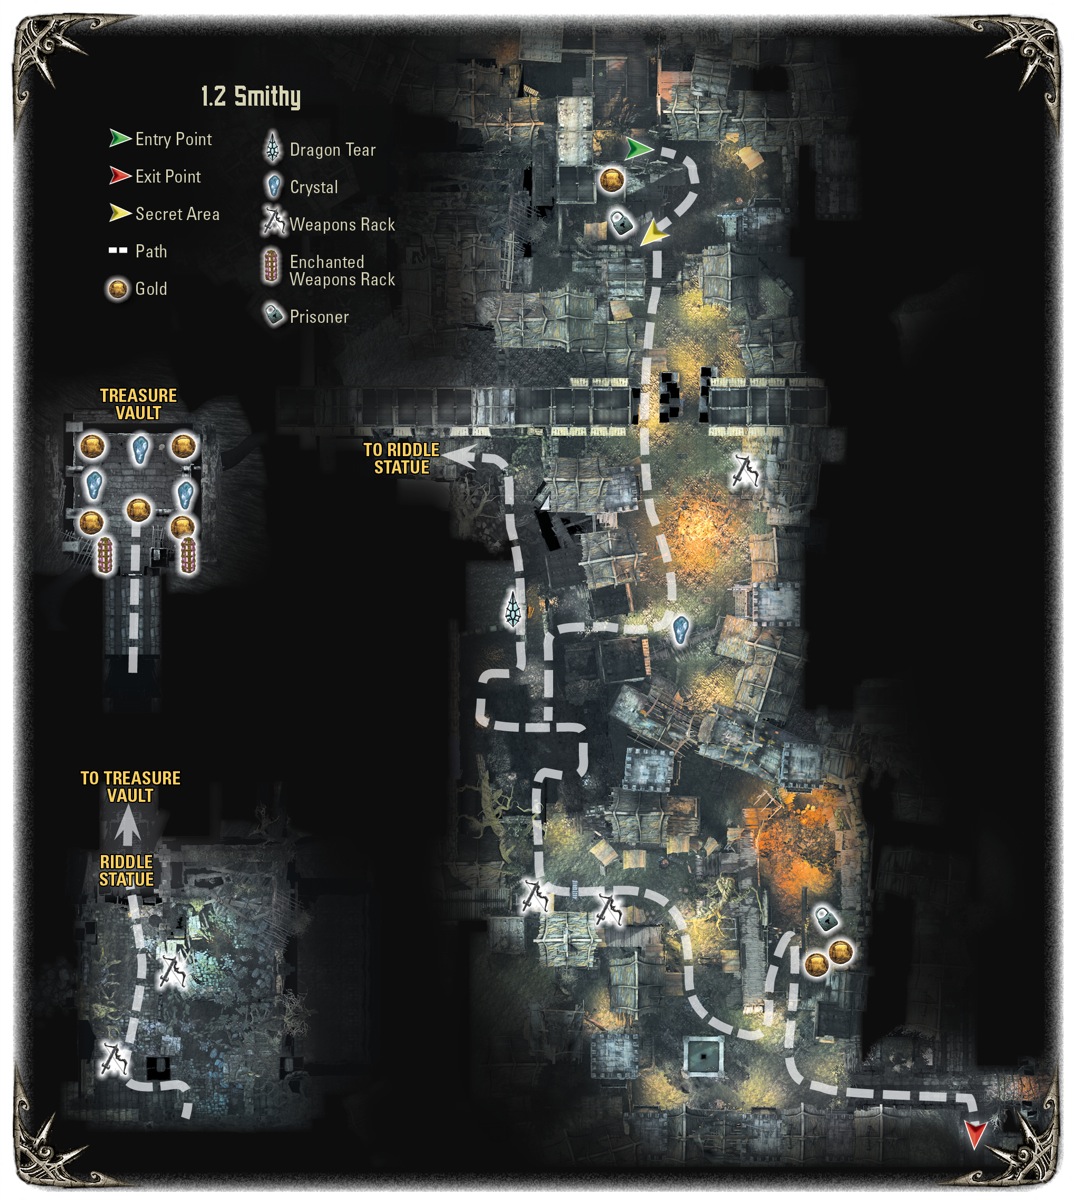
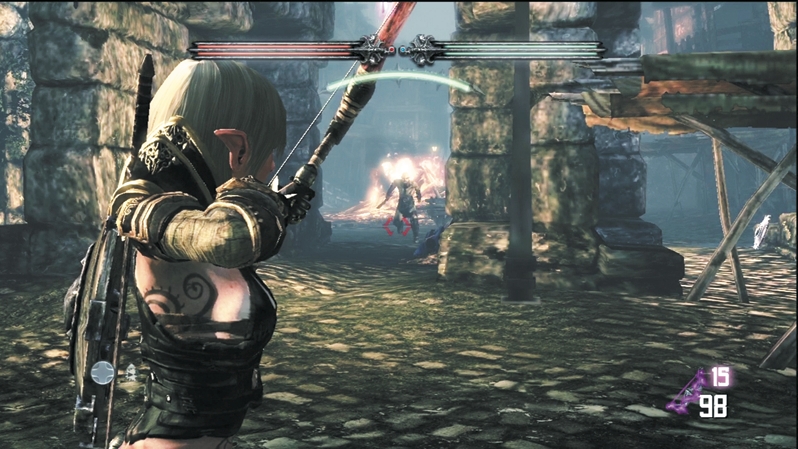
As you enter the new area, free the prisoner hanging to your right. When you close in on the arched bridge, expect the next wave of Wargar. There are several Wargar here, so use rocks as cover and pick them off as they rush beneath the bridge. If any slip through your volley of arrows, you can finish them off with a melee attack. Look out for more Wargar to pop out as you near the bonfire in the center of the square beyond the bridge.
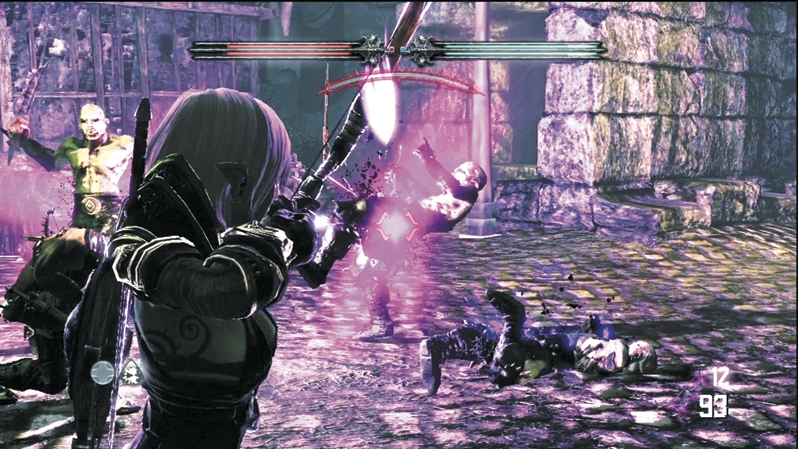
Reinforcements barrel through a low archway on the bonfire's far side. If you are using Caddoc, his melee attacks cut down these poorly armored thugs, but both heroes should always linger back and do whatever damage possible with arrows.
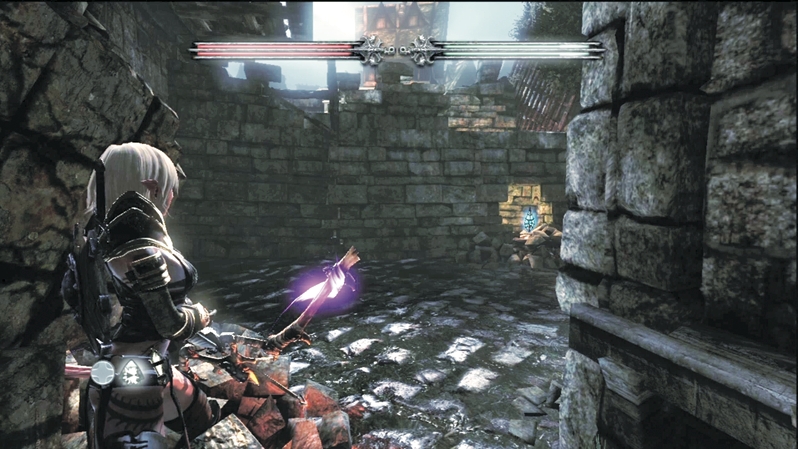
That archway leads to a narrow alley. See the hole in the wall? It reveals a Dragon Tear! But you cannot access it yet. Remember you saw this, though, because the opportunity to seize the treasure presents itself soon enough.
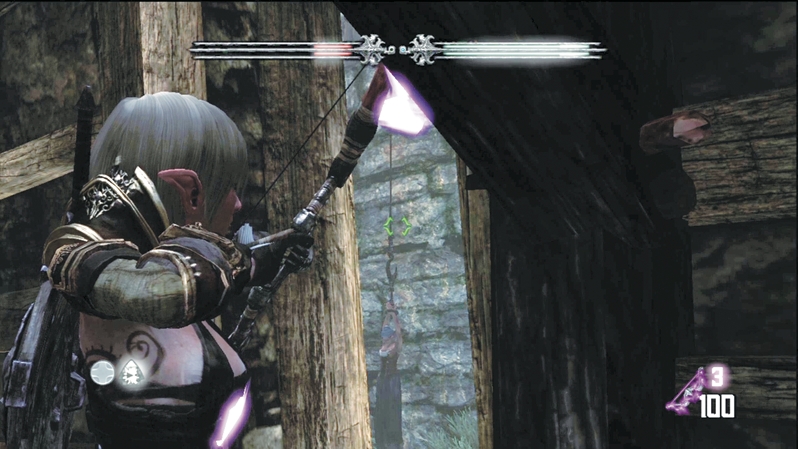
The heroes must pass through the next gate together. It leads to a dank series of prison cells. Light one of E'lara's arrows at the fire and then ignite the nearby brazier hanging from the ceiling. It opens a wall that lets you snake to the Dragon Tear you just saw.
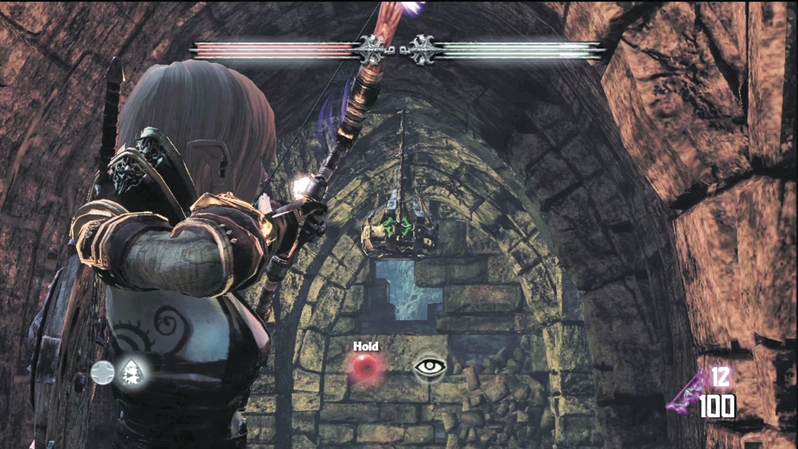
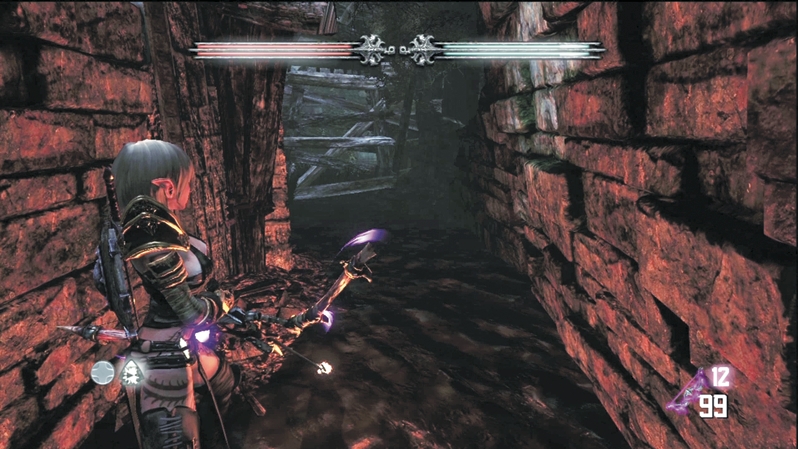
Don't retreat just yet. Use a melee weapon to smash the boards beyond the Dragon Tear. Now follow the stairs down to a hidden set of ruins. A Skeleton greets you at the bottom of the stairs. Shatter its bones and then drop down to the stone floor.
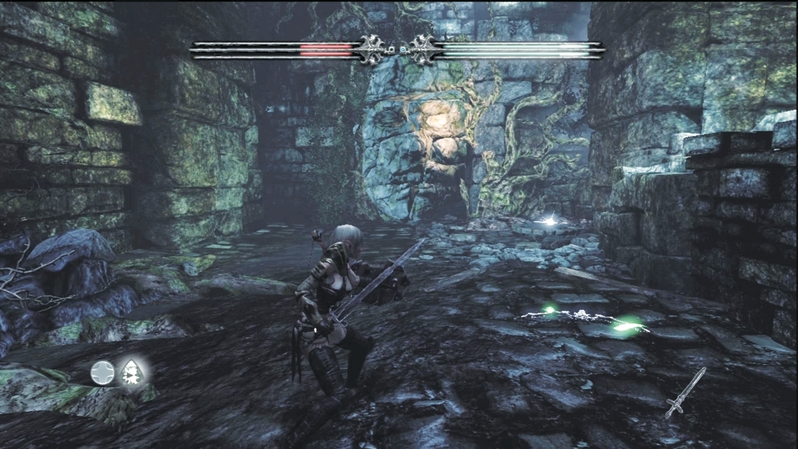
There is a huge stone face carved into the far wall of this hidden area. As you approach, the lips on the statue start to move. The statue riddles you this:
If you wish to pass as planned,Pick your spot and take a stand,Light a fire in shadows deep,And then this course you both may keep.
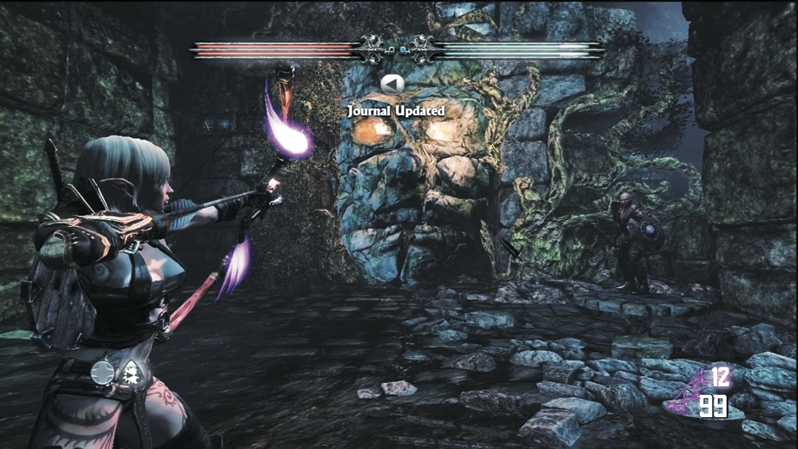
The trick here is to ignite the dormant eye on the statue. Quickly retreat back up the stairs to the fire pit next to the Dragon Tear location and return to the face. Stand off to the face's right side (look for the sparkling point on the ground) and then send a fire arrow into the eye socket. Once both eyes are aflame, the face opens to reveal a pitch-black corridor that leads into the earth.
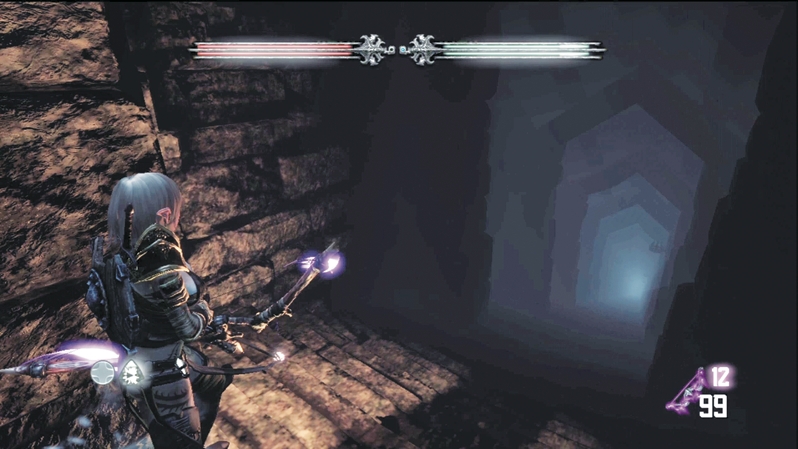
If E'lara still has a fire arrow, it illuminates the path down into the inky deep. Caddoc's torch can do the same.
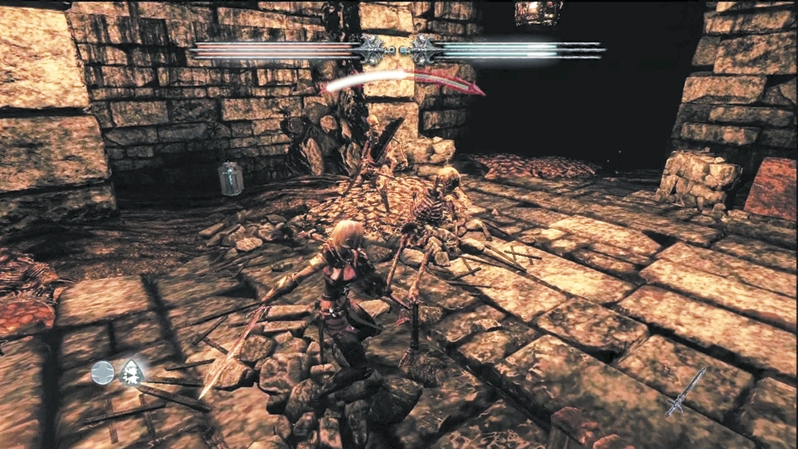
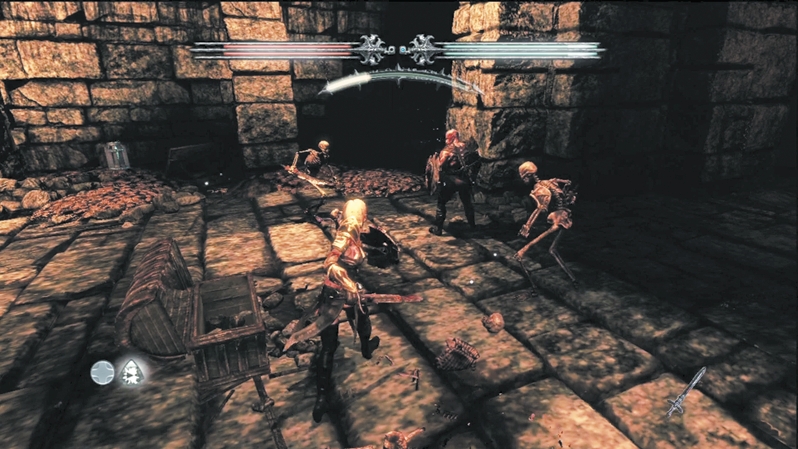
It's quite a hike to the bottom, but the treasure is worth it. Not only are there multiple piles of gold on the ground, but there's also a treasure chest that contains considerable gold. However, the first piece of gold you touch wakes the treasure's guardians: a pack of Skeletons. They pop out of the room's corners. Because it is somewhat cramped in here, you are typically forced into melee combat. Following the skirmish, finish collecting the gold. Then open the Crystal Chests and break open the enchanted weapon racks to free any magical gear.
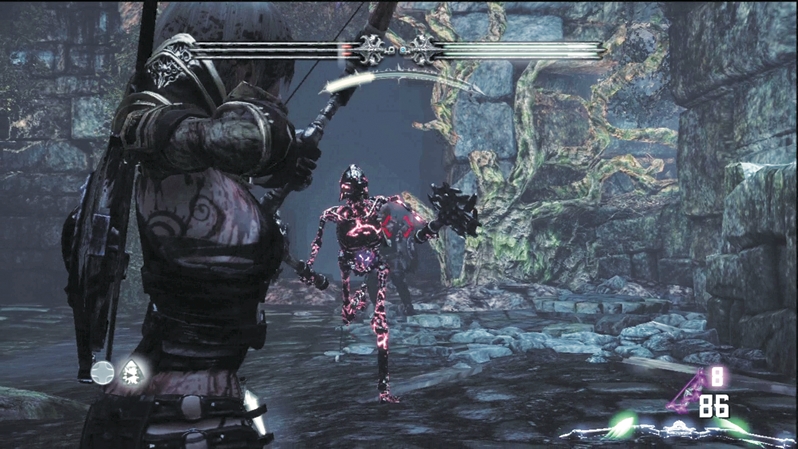
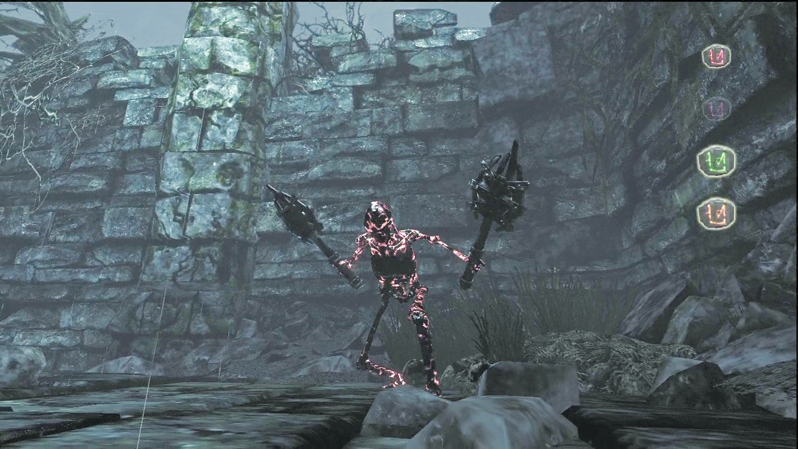
When you leave the treasure room and ascend the stairs, one last defensive measure waits for you: a Dread. This nasty customer wields two axes and has natural armor. It moves fast, too, so keep your distance, especially when you spy it rearing back—it lunges while slashing with the axes. Roll away to avoid the attack and then return with your own while it recovers from the big move.
Dread
Vulnerabilities:
Brimstone, Dash, Pyre Blast
Resistances:
Arcane Burst, Sigilof Pain
The cry of the Dread freezes the blood of even the most hardened adventurer. Few who have heard the cry have lived to tell of it, and those who have survived say you should run. Two axes make these Skeletons twice as deadly as others of their kind. Burn it with Brimstone or Pyre Blast, and avoid arcane magic. If you don't have fire, alternate attacks between Caddoc and E'lara to prevent the Dread from ganging up on one and eliminating the hero quickly.
Once back up to the prison cells, explore for arrows and a Regenerative Vial, but then use the Spirit Guide to lead you to the next gate.
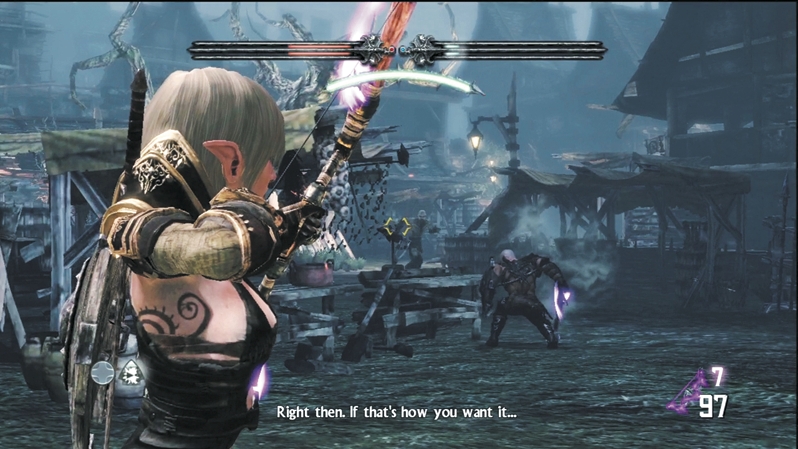
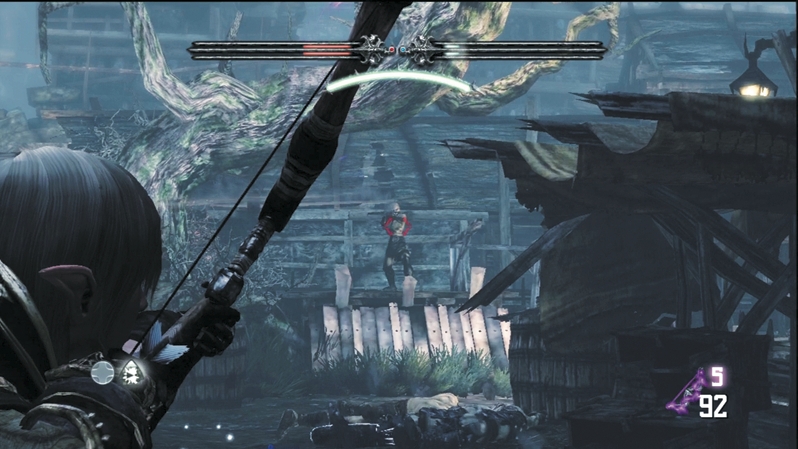
As you fight your way through the next area, the Wargar become braver. No longer do the majority of them stay back and fire arrows at you. Many rush across the clearings to engage with swords and axes. While they attempt to close in, use arrows and magic to drop as many as possible, but sooner or later, you must meet them head-on in melee warfare.
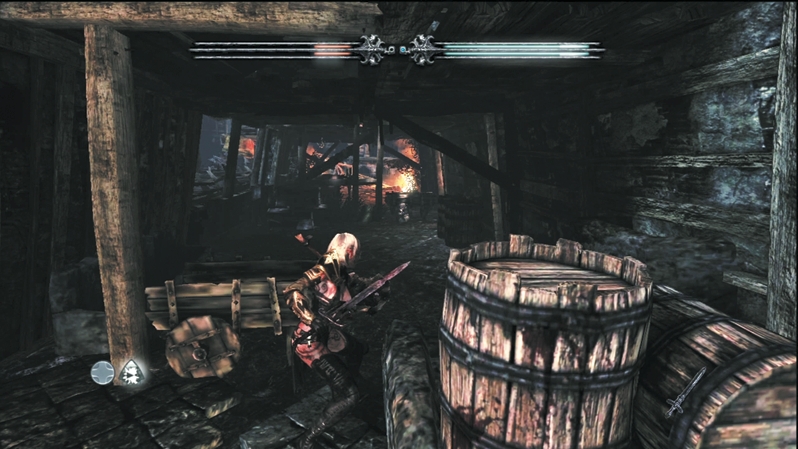
Note the longhouse here. There is a secret area behind it. When you pass the longhouse, you see a prisoner and gold beyond a gap in the boards. Spring over the half-walls behind the longhouse to free the prisoner and collect the plentiful gold, as well as open a treasure chest containing even more of the glittery stuff.
After collecting the gold in the secret area, unite both heroes beneath the huge wooden gate (use the Spirit Guide if you are turned around) and then move on to the next part of town.