
Hunted: The Demon's Forge Guide Walkthrough Chapter 3
Temple Slope 2
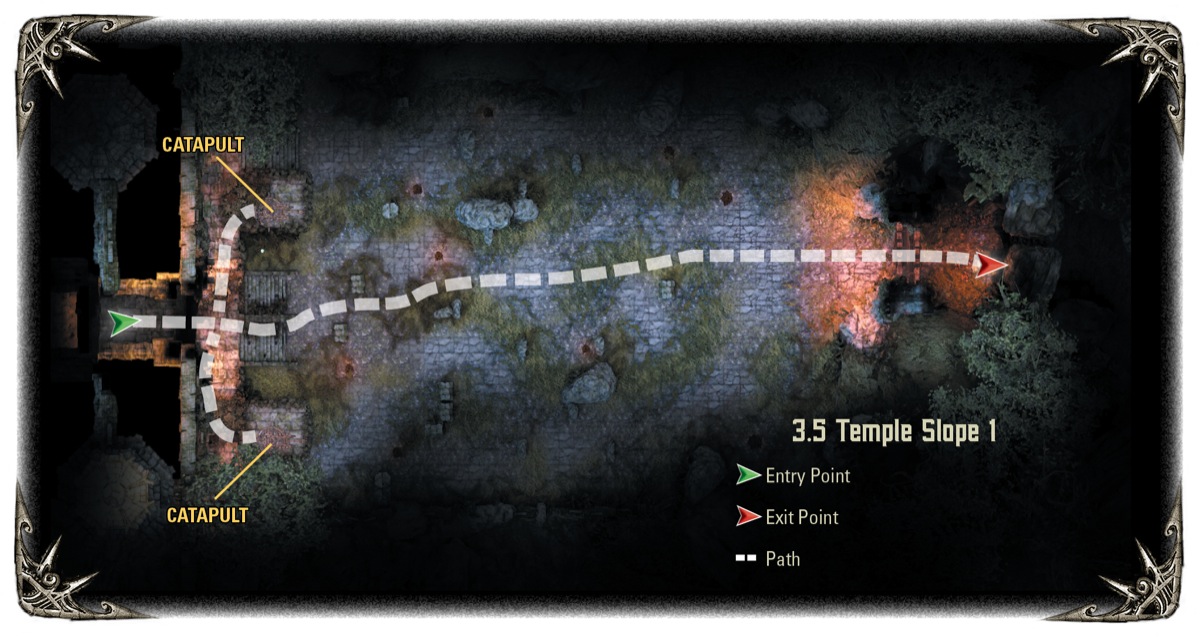
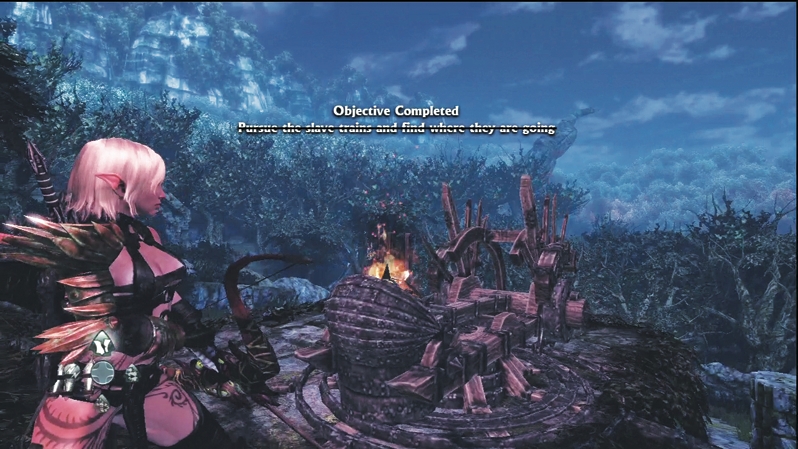
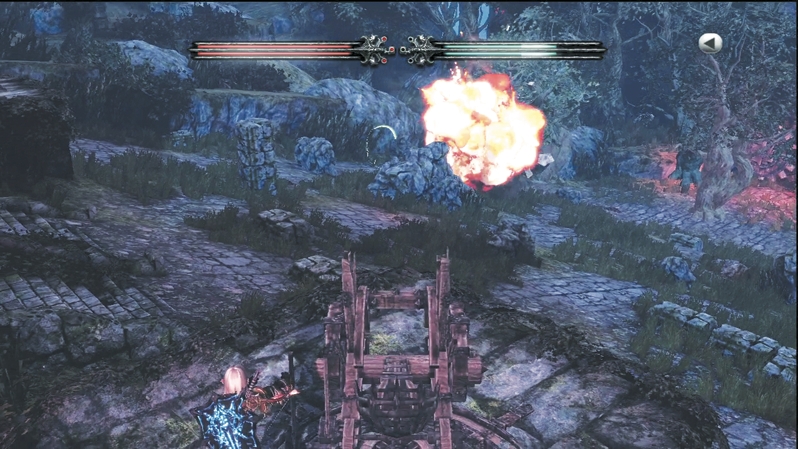
As you exit the temple, Minotaur Juggernauts charge up the hill after you. Hop onto the catapults and drop some bombs on their heads. If you spray the field with fiery blasts from both catapults, the Minotaur will have a very difficult time penetrating your defense. They come out of the trees flanking the gate, so when you have a free moment, hurl fireballs onto those paths to burn up incoming enemy reinforcements. When the last Minotaur is nothing but cinders, disembark the catapults and head down the hill to the gate leading into the next area. You're about to walk into a trap that will test your combat fortitude.
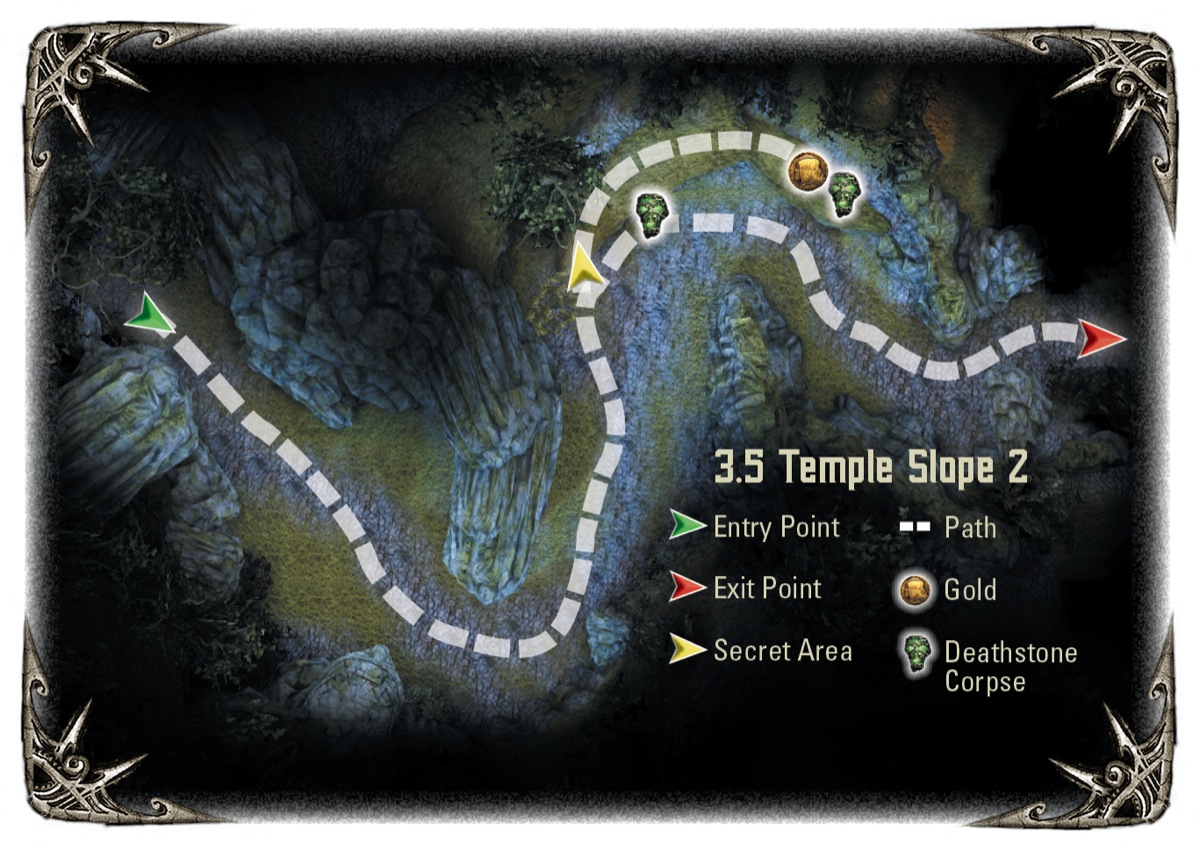
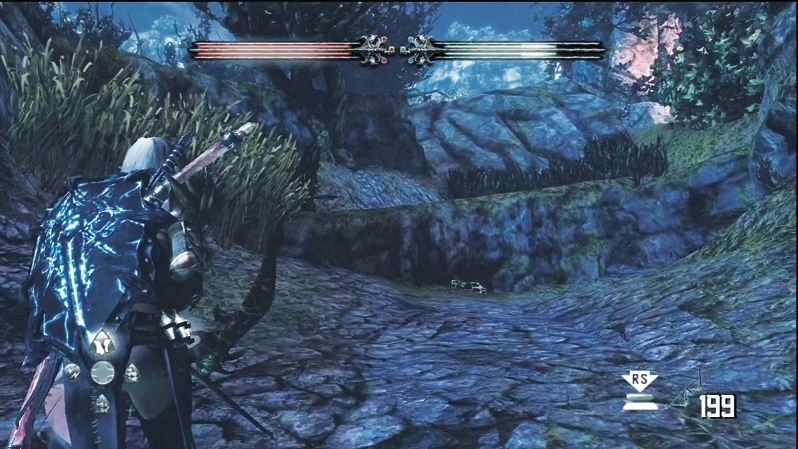
Inside the gate area at the bottom of the catapult hill, slip through a crack in the stones. Snake along the path until you see a Deathstone corpse ahead on the path. A second Deathstone corpse and a pile of gold lies up on the hill above, which you can reach by hacking through the tall grass to the left of the first body.
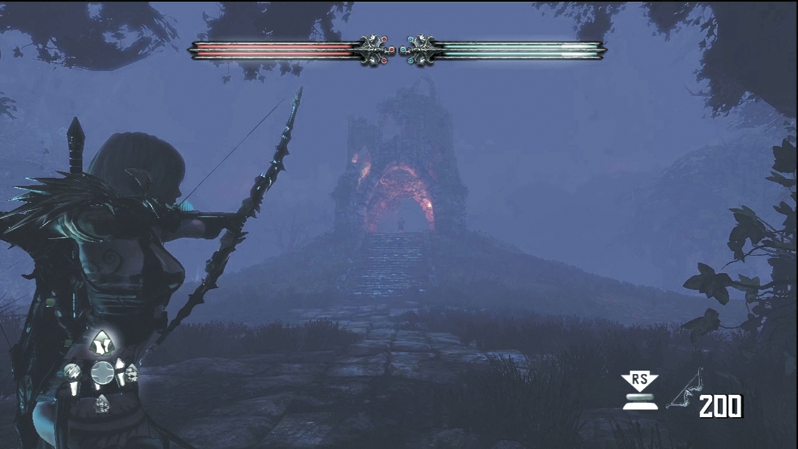
Stop when the path opens into a small hillock with a ruined tower on top. A human figure beckons for you, but it's a trap. Before you enter the trap, smash all the nearby canisters and weapon racks to be as equipped as possible for combat.
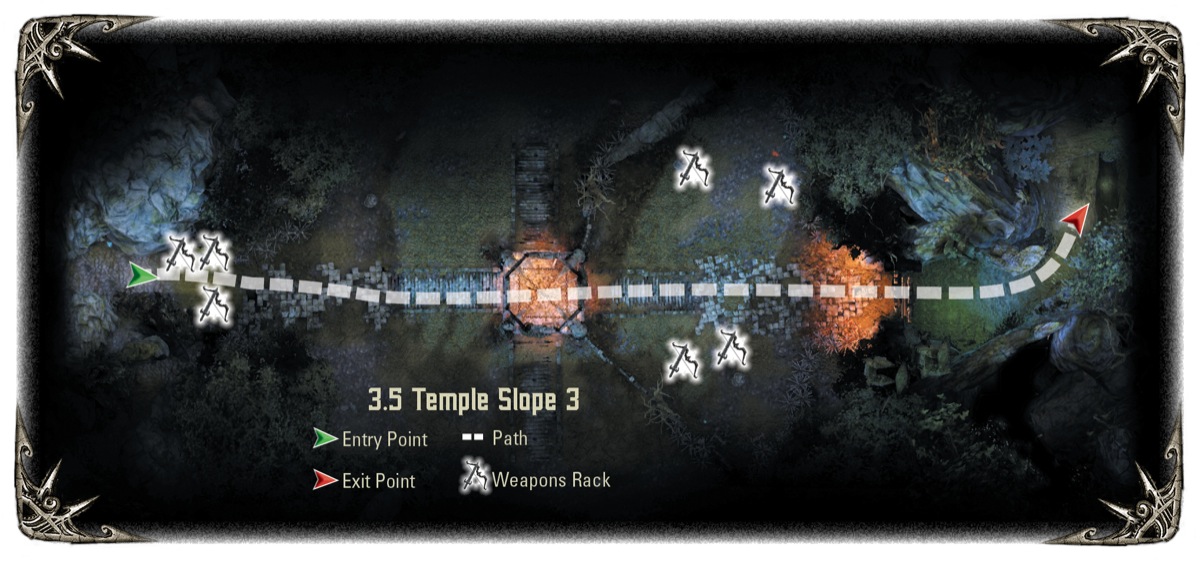
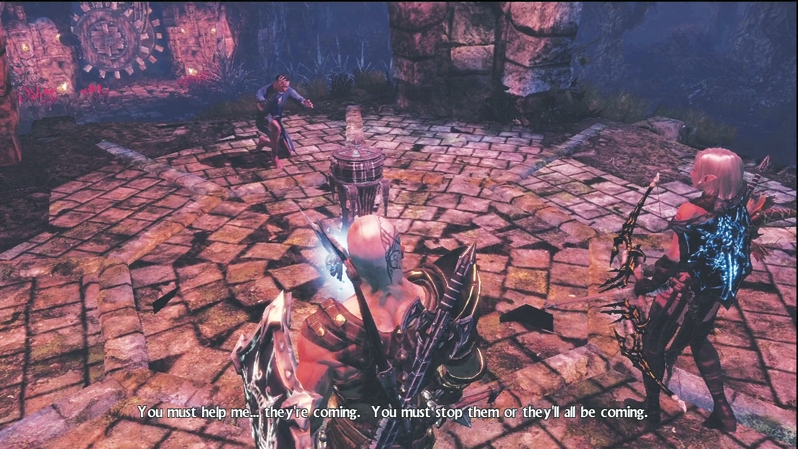
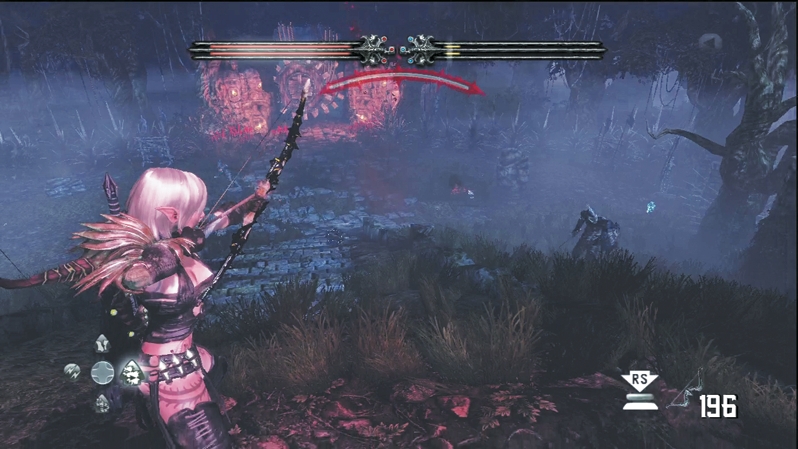
When you set foot in the tower, steel gates clamp down around you and force you into the courtyard ahead. Ignore the Sleg vat in the ruined tower, unless you feel you can't overcome the enemy forces in the field (and even then, remember that drinking Sleg will have a negative outcome on the story's ending). During the course of battle, Points of Interest will pop up on your screen, showing you where enemies will be
reinforcing from the thickets surrounding the courtyard.
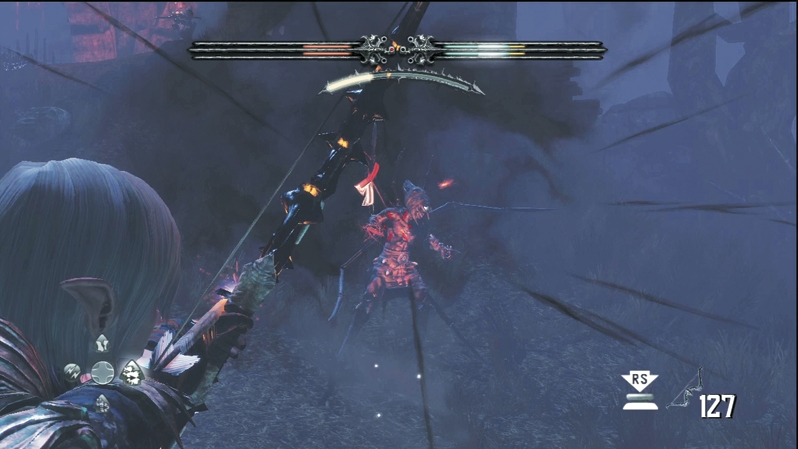
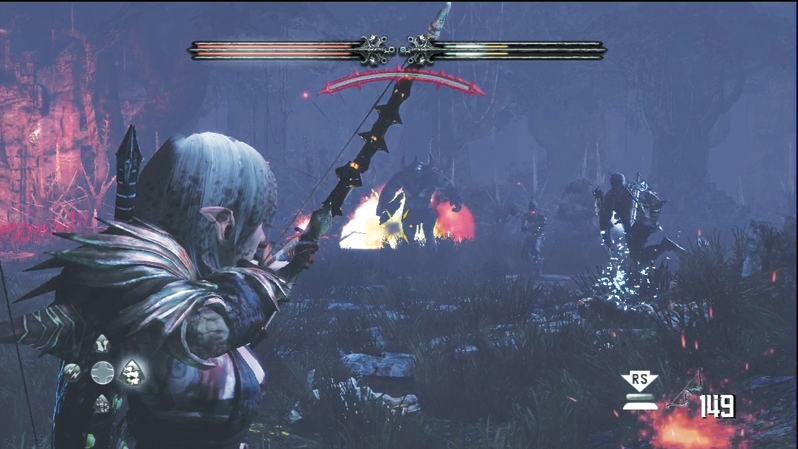
Pull out all the stops here against the oppressive number of Wargars and Minotaur. Use Battle Charge and Spell Link. Explosives from Pyre Blast and Brimstone can tear apart multiple opponents, and Dragon's Breath can arc to several targets at once. Against Minotaur, E'lara should switch to Arcane Burst and concentrate on a single Minotaur until it's down.
This furious battle will take all your skill to dodge attacks while keeping on the move and cutting through dozens of enemies. Watch your health and drink Health Vials when necessary. If you get into serious trouble, back up to the ruined tower area and try to seek some shelter; however, Infected Wargar teleport up there, and when other enemies follow you up there, the confined area forces you into tight melee conditions. Later in the fight, Aracklings reinforce. Get through them, and the Minotaur Juggernauts and Wargar Blastcasters with them, and you're past the halfway point.
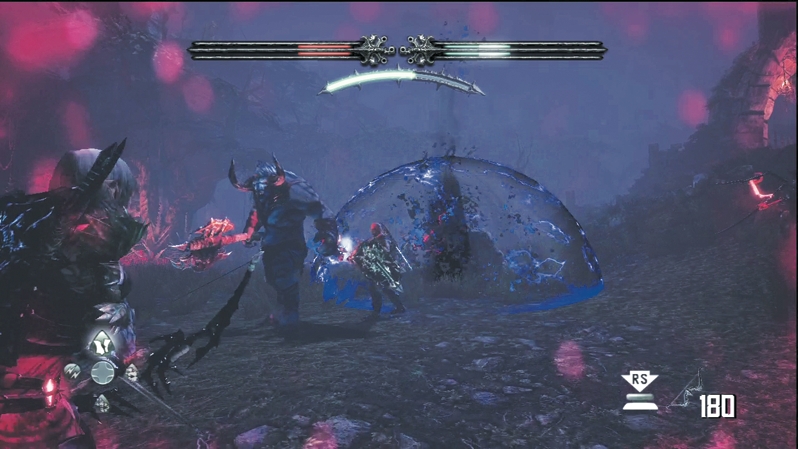
Constantly search the battlefield for health and mana boosts. The more enemies you kill, of course, the greater potential for enemy drops that can aid you. When the reinforcements plunge through the gear-shaped gate in the courtyard's center, you know you're nearing the battle's end. Press on and coordinate attacks as best you can to remove the more challenging threats that inflict more damage. Eventually, your tactics will prevail and you'll escape the death trap.