
Hunted: The Demon's Forge Guide Walkthrough Chapter 2
Well of Sorrows
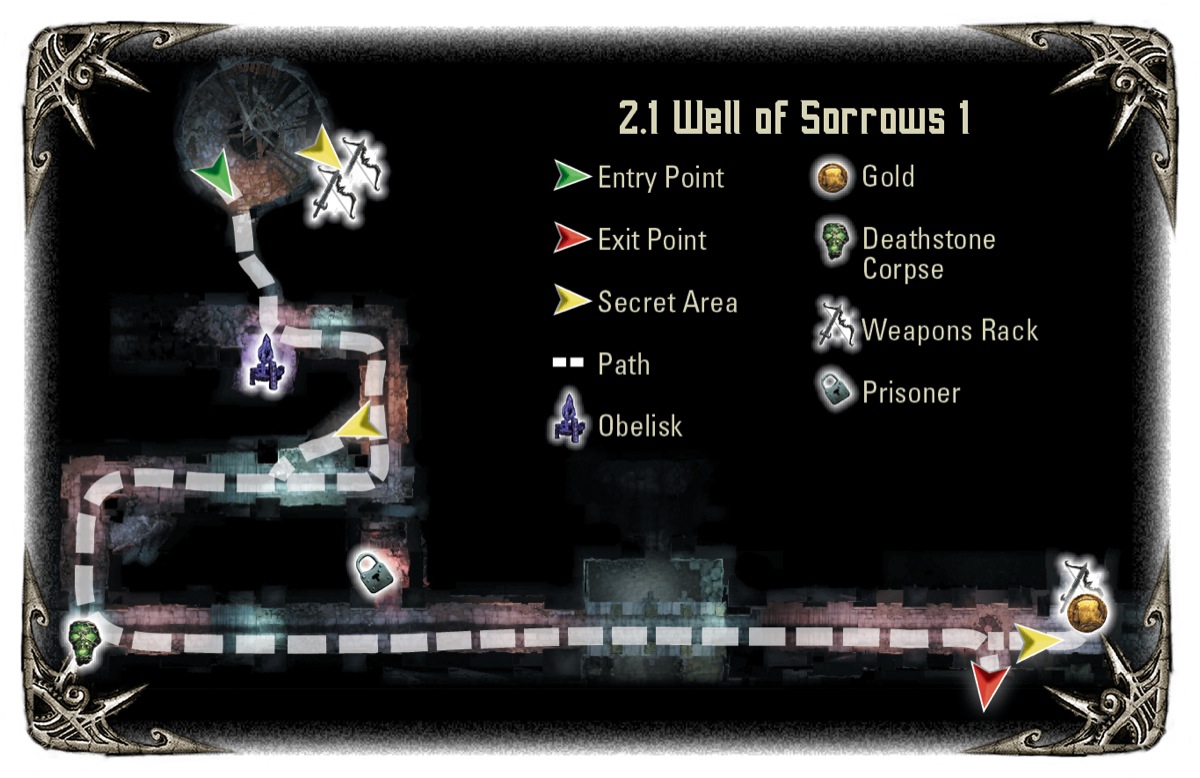
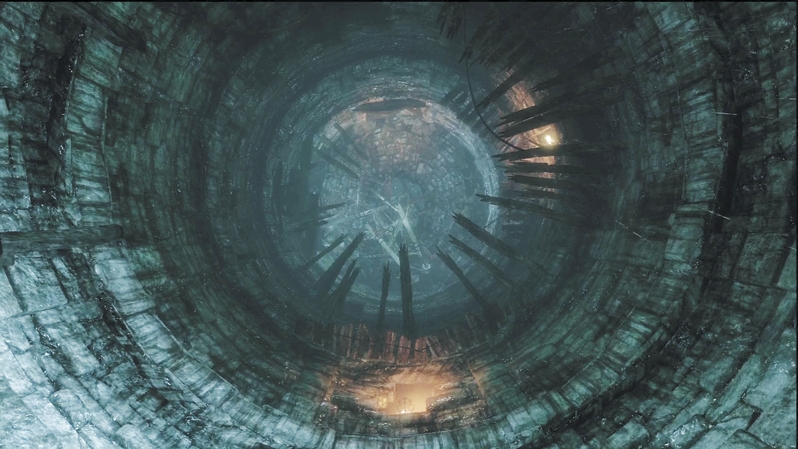
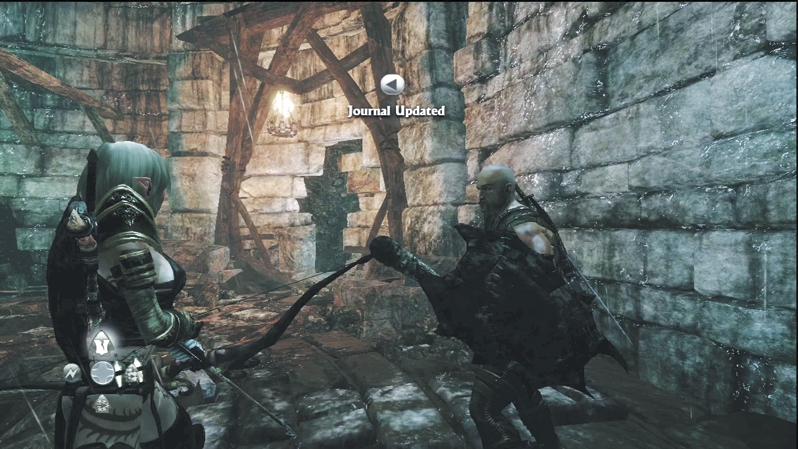
Before you leave the Well of Sorrows entrance, search the wall to the left of where the bats fly out of the hole. Wood planks hide an alcove with two weapon racks. After their discussion with the mayor of Dyfed and their defeat of the Infected Wargar in Dyfed Keep, Caddoc and E'lara jump down the Well of Sorrows and land at the bottom of a dungeon corridor that worms into a vast underground complex. Get your bearings and prepare for a fun sprawl through the game's longest chapter.
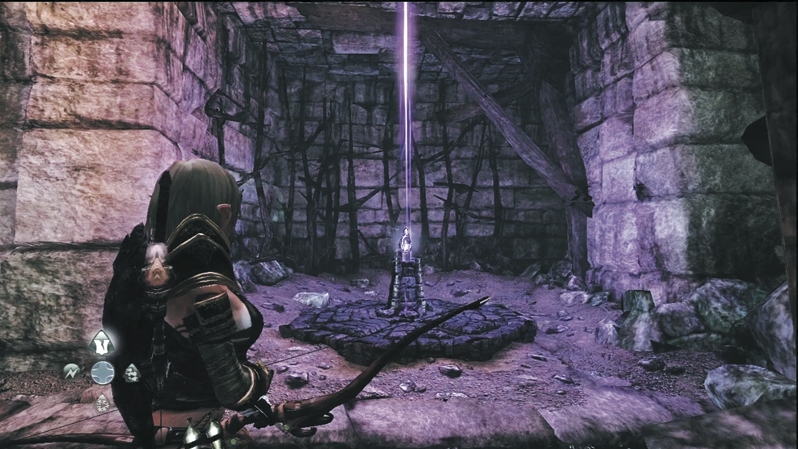
Your main objective is to search the dungeons for the people of Dyfed and the mayor's daughter, Seraphine. Enter the hole from which the bats pour out and switch characters at the obelisk on the other side if you wish. There's a lot of close-combat work ahead, so Caddoc's a strong choice if you're playing solo.
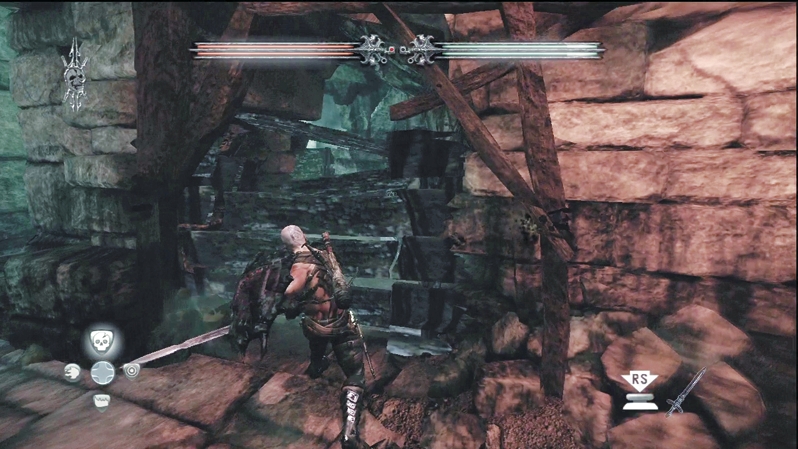
Head down the corridor and turn right at the corner. Stick to the right side and look for a patch of boards ahead. Shatter the boards to find a small hidden area with two skull canisters inside.
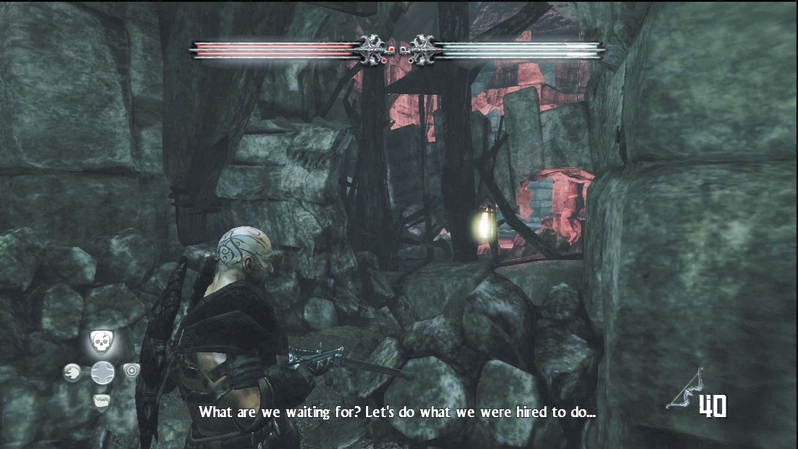
Continue back out into the corridor and stop at the bend. A red glow burns through the holes in the wall, and you spot a prisoner hanging from a rope on the far side. Even if you can't physically reach him from here, you can shoot through the cracks, sever the rope, and release him.
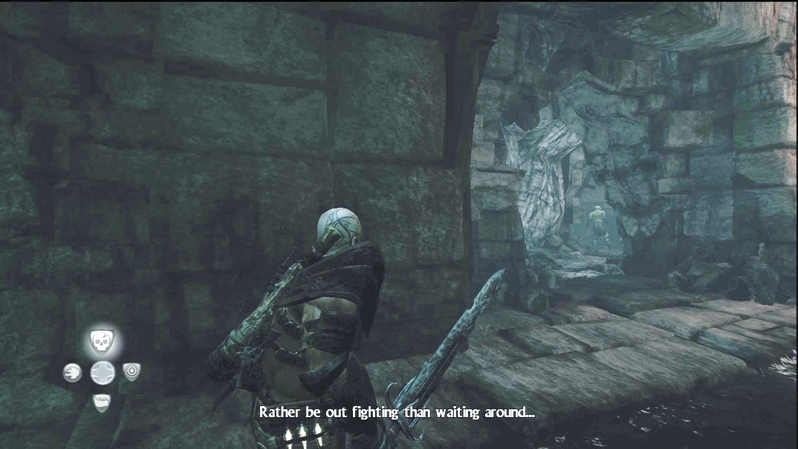
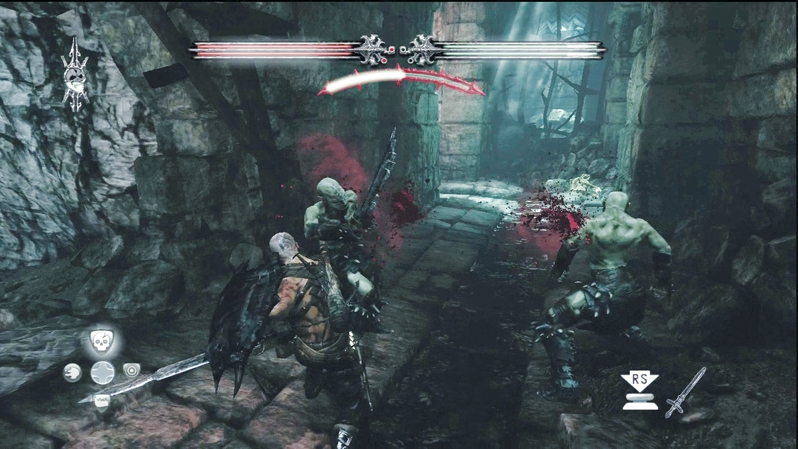
As you continue down the corridor, slow up. You'll hear two Wargar Soldiers talking around the next bend, and you can see them through a side tunnel to your left. Charge the unsuspecting Wargar and eliminate them before they can sound the alarm.
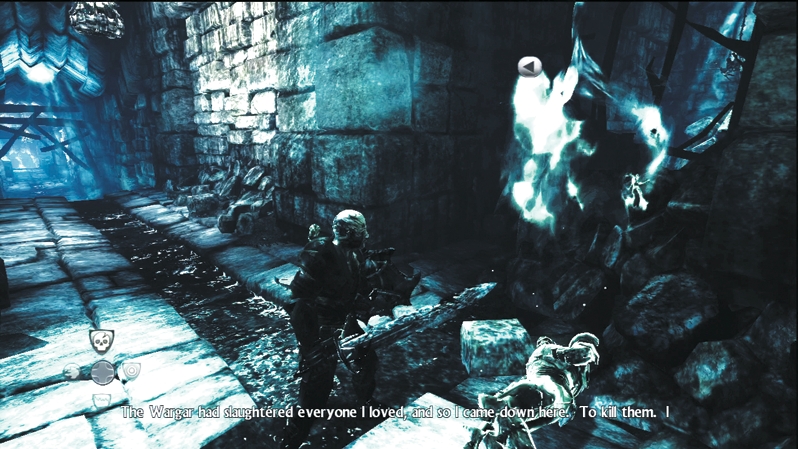
At the next corner, use your Deathstone to speak with the corpse. It gives you a clue to a small treasure down the next corridor, telling you to "stand where fire forever rains." Pass over the bridge that looks down on the Wargar with their Dyfed slaves and continue straight ahead.
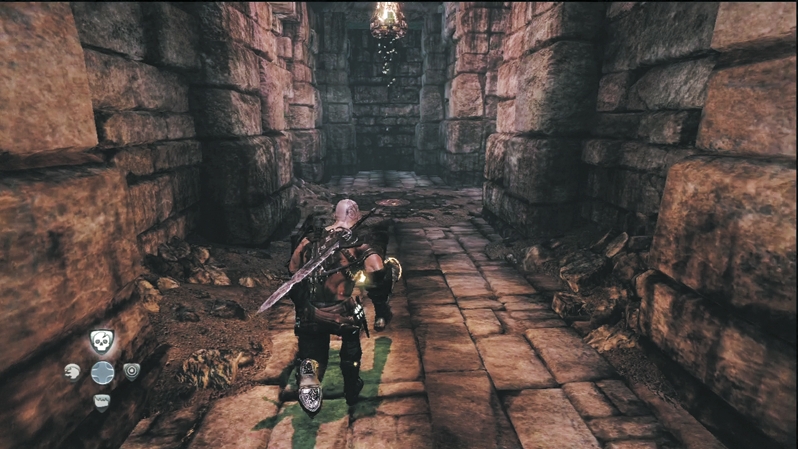
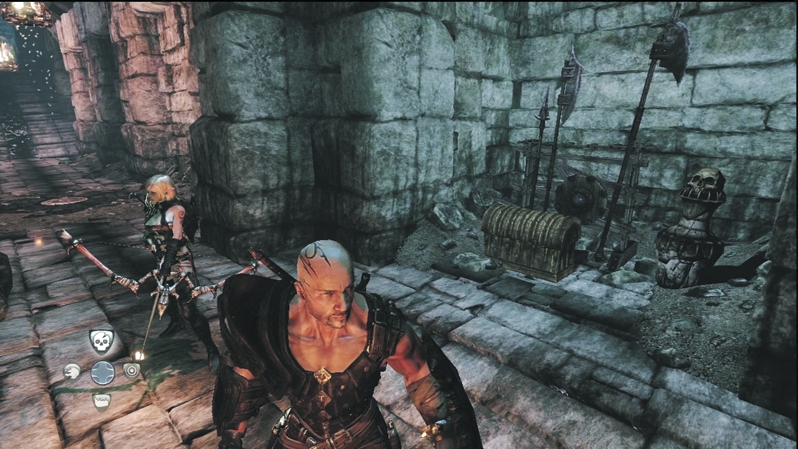
As the corridor turns again, look for a brazier that drips sparks. Beneath this light show rests a circular pressure plate in the ground. Stand on the pressure plate to reveal a point of interest on the wall ahead. Have Caddoc push the wall aside to reveal a small secret area with a treasure chest, a weapon rack, and a skull canister.
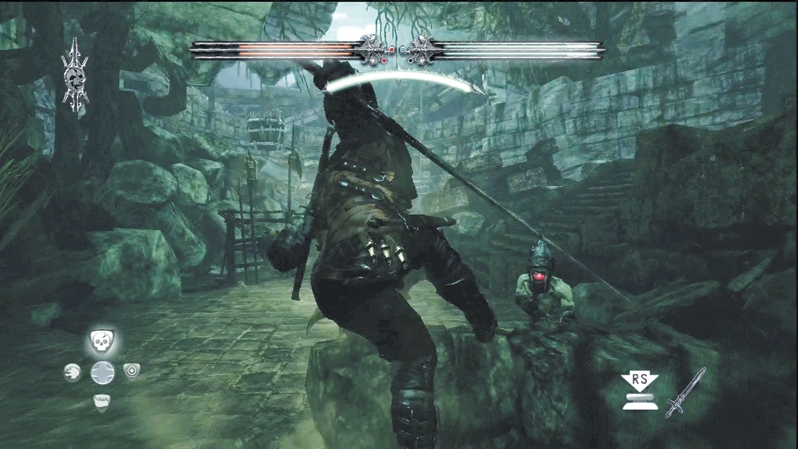
Enter the door next to the secret area. Wargar Soldiers, Wargar Archers, and Wargar Scorchers fill the room. You don't have much time for cover, nor will cover protect you much from the Scorcher's explosive bolts and the myriad of Wargar Archers, so charge into the room and take the fight to the enemy. Cut through Soldiers until you can reach the Scorcher before the Wargar Guardians arrive, then concentrate your efforts on the Scorcher—it is by far the more deadly threat and should be top priority as you dispatch targets.
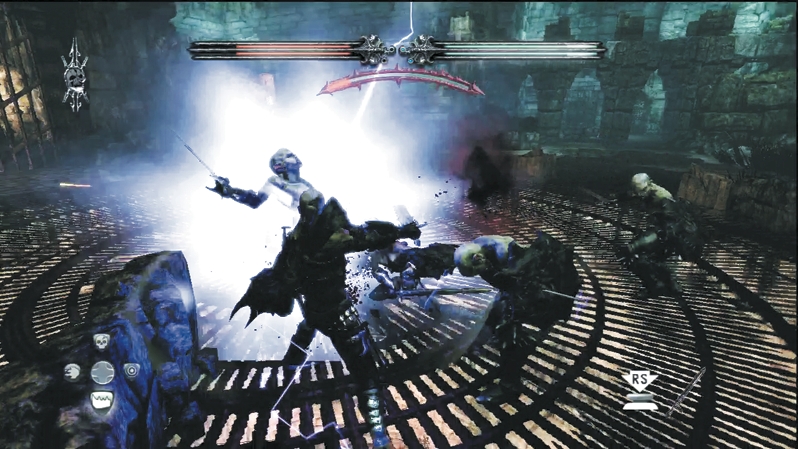
As soon as you enter the next room—the one with the large circular grate lit from below—a portcullis slides down over the way forward and a pair of gates opens on the ledges above to stream in more Wargar. Battle through this new group using cover and foot speed to get off better attacks and take advantage of openings in the enemy's defense.
Once you've dealt with the enemy, take the stairs immediately to the right of the exit gate. A Deathstone corpse lies in the corner of the first landing, and he relays information about the Wargar Zealots. Continue up the stairs and kick open the door on your left. It leads to a treasure chest, a skull canister, and, more important, a lit brazier.
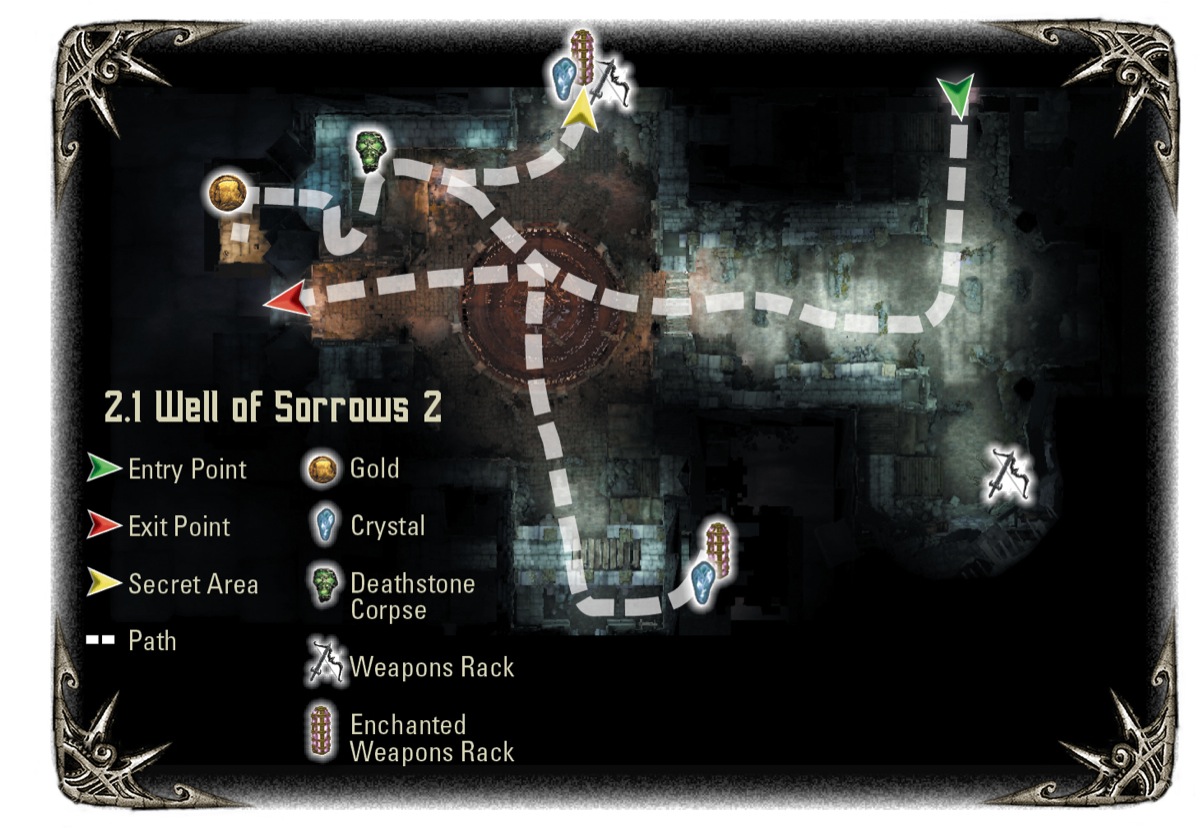
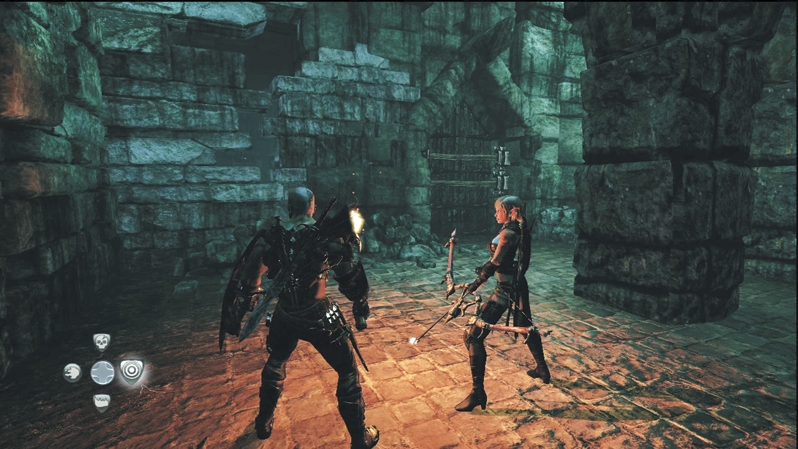
Light E'lara's arrow and head back down to the sealed door to the right of the entrance. Look for a small crack in the wall to the left of the double-barred door. Fire one of E'lara's arrows through the crack and light the brazier inside the secret room to open the door. Retrieve goodies from the weapon rack, the enchanted weapon rack, and the Crystal Chest.
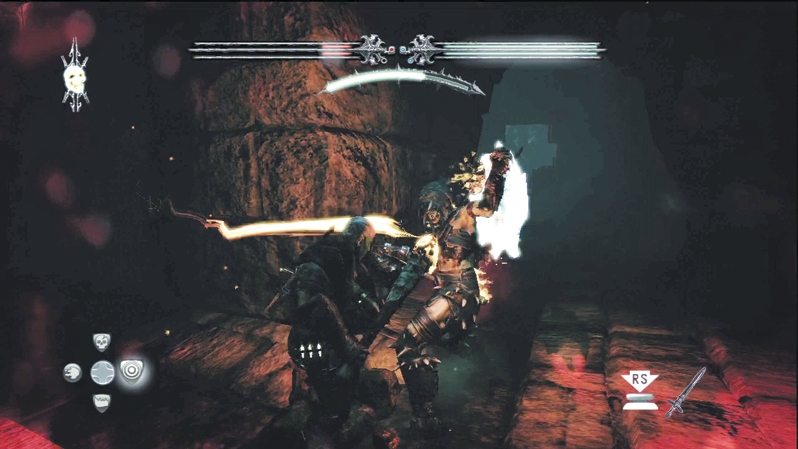
The door to the left of the entrance leads to a room that holds a canister and a very hostile Wargar Zealot. If you turn left and walk to the tunnel's rear, you can find an enchanted weapon rack and a Crystal Chest through the large hole in the end wall. After grabbing everything you want in the main area, proceed through the now-raised portcullis and exit through the next door.
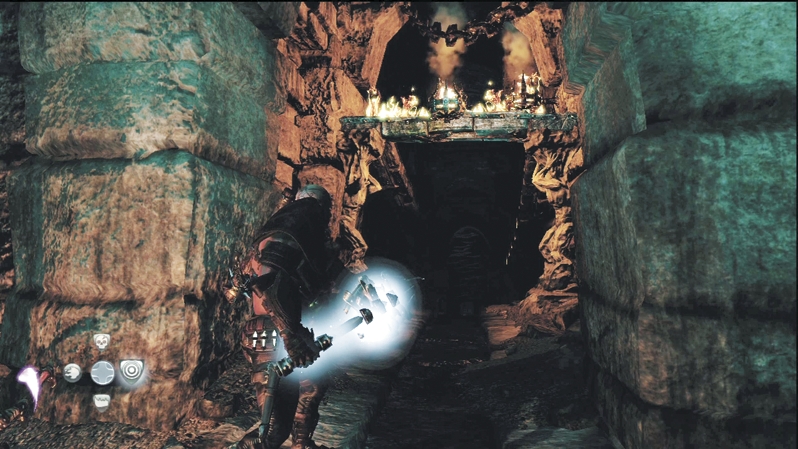
At the next intersection, turn left. You'll hear an Arackling Crawler feasting on a corpse at the next corner. Scare it off and use your Deathstone on the corpse. Turn around and have E'lara light the brazier high above. This triggers a chain reaction, and braziers light one by one down a long passageway. If the braziers are lit, you can travel down the passageway safely; if the braziers go out and you're still in the passageway, prepare to battle some Aracklings in the dark.
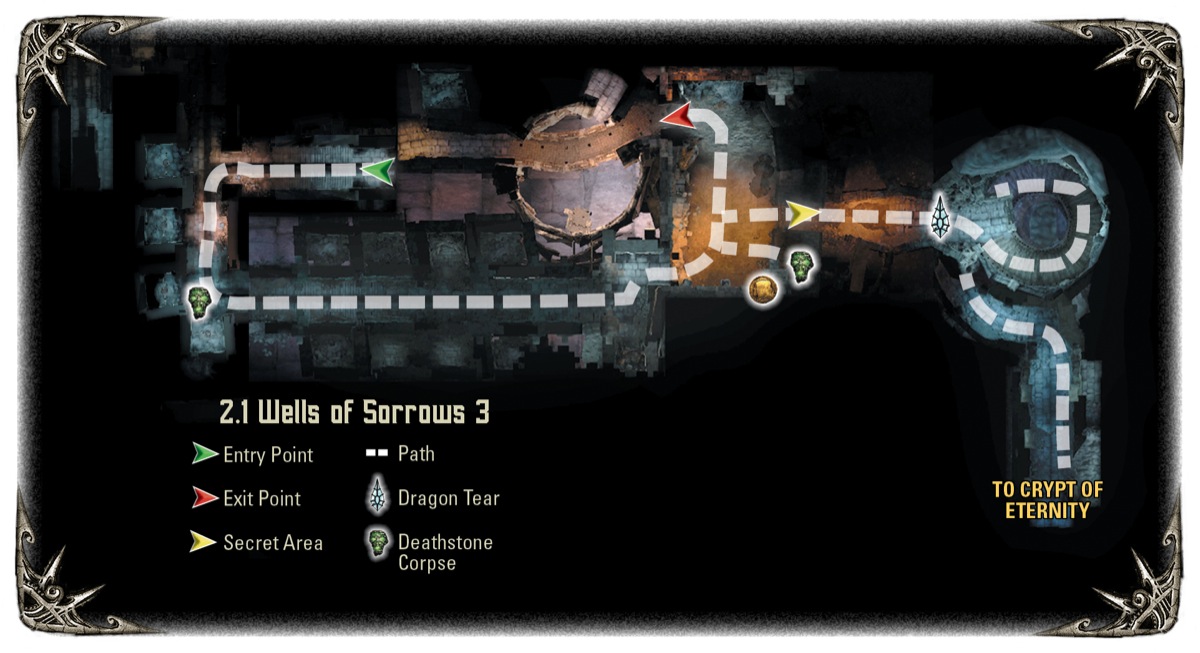
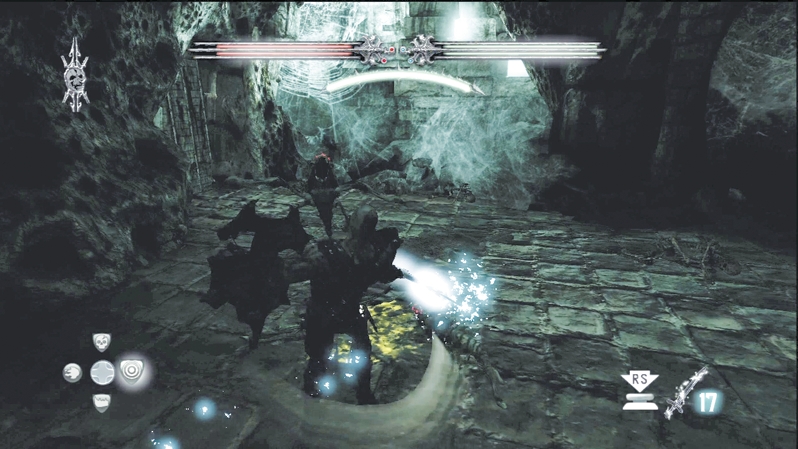
When you reach the end of the burning braziers, bear left and jump off the ledge into a large room below. Be on guard for the Aracklings that stream out from the room's darker corners. Once you've beaten them back, you can survey the room for some gold coins, another Deathstone corpse (which reveals Dragon's Breath as the Arackling Crawlers' vulnerability), a shard canister, and the fourth Dragon Tear if you smash through the boarded-up passageway in the back of the chamber.