
Hunted: The Demon's Forge Guide Walkthrough Chapter 6
Depths
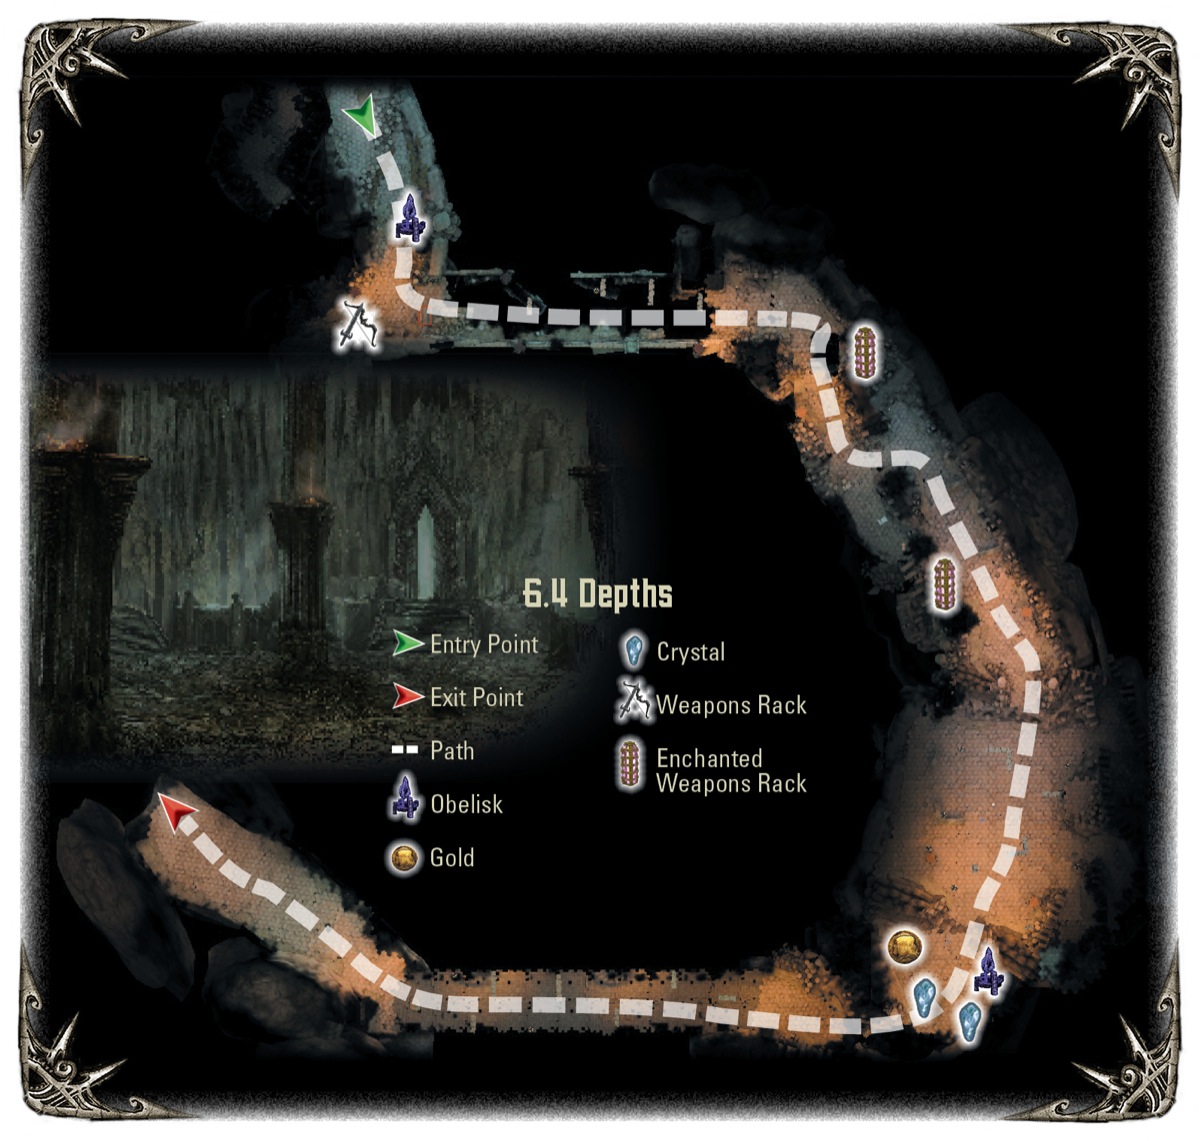
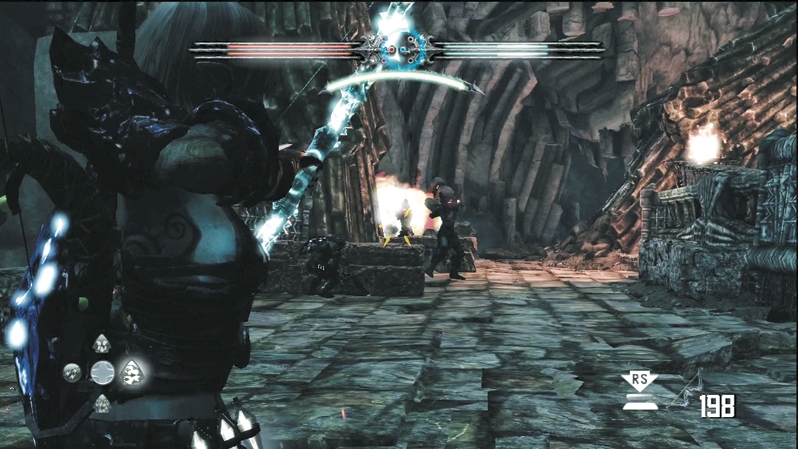
Annuvin's troops guard another bridge ahead. Wargar Guardians and a Juggernaut Elite defend the front section, with Wargar Scorchers lending arrow support behind them. Don't charge up on the bridge; let the melee fighters come to you on the bridge's side or up the hill and out of sight from the Scorchers. After you've taken care of the Guardians and the Juggernaut Elite, inch up on the bridge and send some explosives to splatter the Scorchers, courtesy of Pyre Blast or Brimstone.
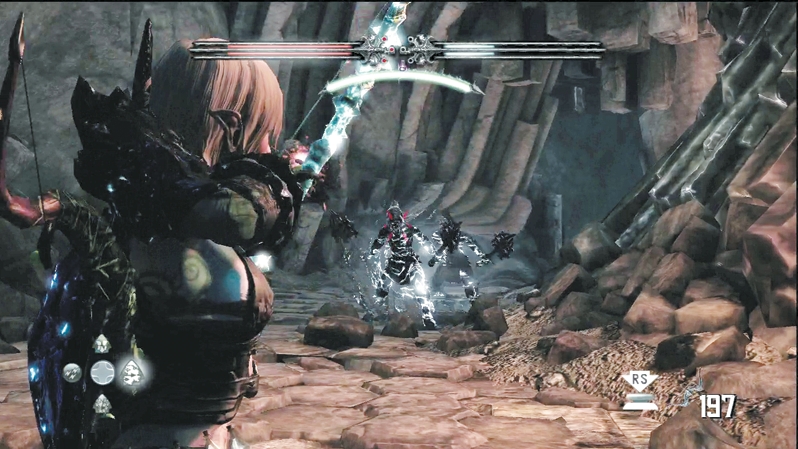
On the bridge's back section, Wargar Zealots prepare twin weapons in an effort to intimidate you. It doesn't. E'lara can brush them back with Pyre Blast, and Caddoc can snap them like twigs with Dash followed up by Primal Rage–fueled hand-to-hand blows.
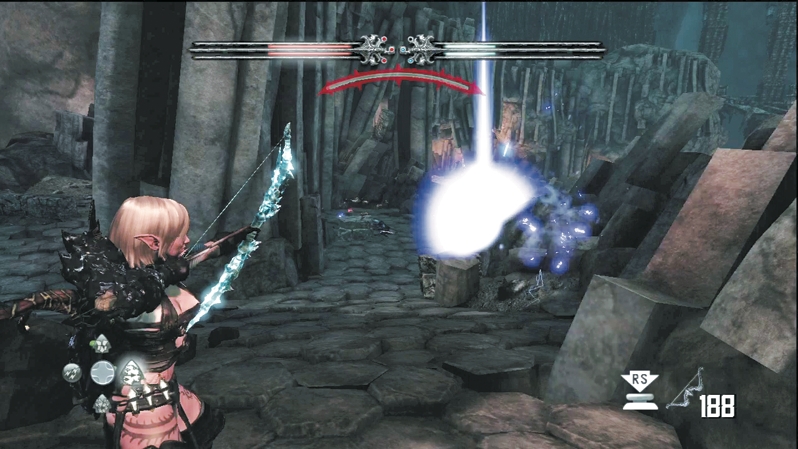
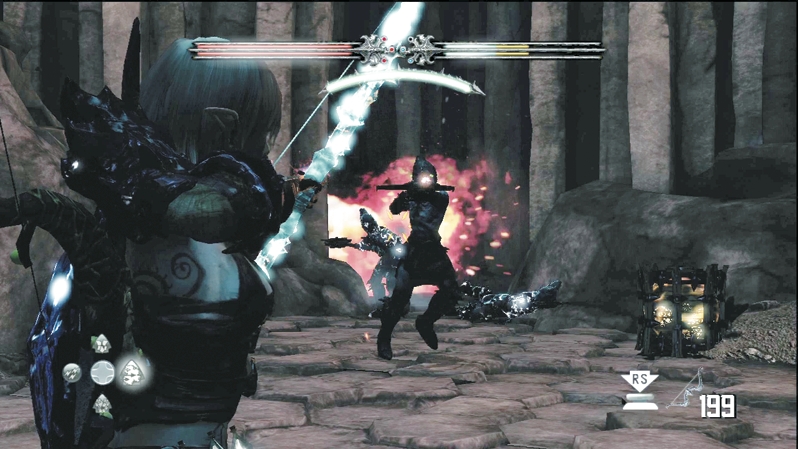
Another fly-by from a Blind Dragon means you must be careful of lightning from the sky and horizontal arrow fire from the upcoming Wargar Archers and, farther down the hill, Wargar Scorchers. The passage splits here; the right side dead-ends and the left continues down the slope. If you get into trouble, use the split to your advantage and take cover on whichever side isn't under fire.
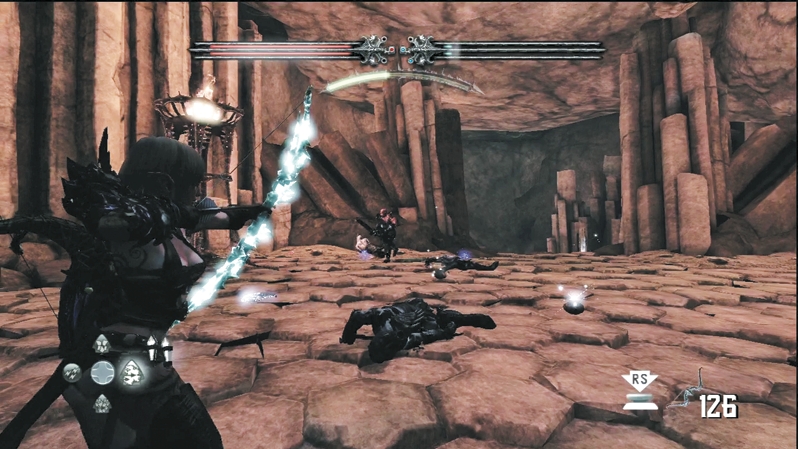
The passage then opens up into a wide chamber with a Sleg vat in the middle. Of course, expect an onslaught. When you jump off the ledge leading into the chamber, Wargar Scorchers, Wargar Zealots, Wargar Guardians, and Juggernaut Elites enter the arena slowly over the next few minutes. Try to overcome each group before the next group arrives, or else you'll have too many targets to keep track of at once. Circle the arena to keep enemies off your back, and team up with your partner to take down foes faster so long as it doesn't expose you to extra enemy damage. When the battlefield is nothing but discarded shields and glowing vials, you can sheathe your weapon, collect your loot, and continue on.
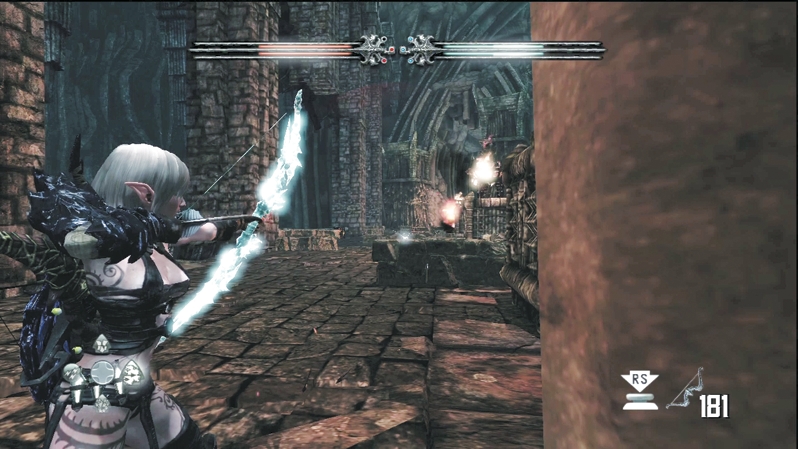
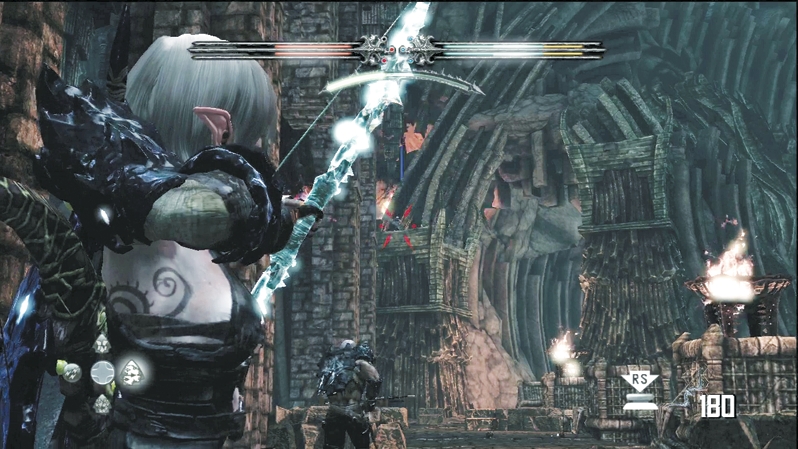
Stop by the obelisk or the magic portal in the next chamber if you want a change. Grab the gold and two Crystals next to the obelisk and assault the final bridge leading down to the dungeons. Your first thought will be to engage the Wargar Soldiers at the front of the bridge. They're not much more than a decoy; Wargar Scorchers bunker down behind the stone blocks behind them, and Wargar Archers shoot from the tall tower at the bridge's end. Concentrate fire on the ranged attackers first, and only engage the Soldiers after you've destroyed the more dangerous foes or have no choice but to fight them. When you're through, step over the dead bodies and pass between the towers to head deeper into the fortress.