
Hunted: The Demon's Forge Guide Essentials Adventurer's Guide
Collectibles
Much of the fun revolves around tracking down all the collectibles. Everyone likes to see those collectible tallies increase on the Compendium screen, but each of the collectibles also offers valuable abilities or information that you can only get by diligently finding all of these items.
Crystals and Shards
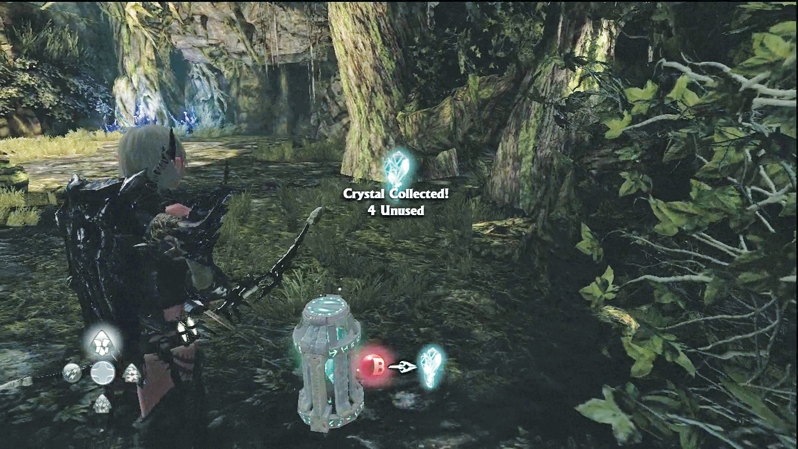
Exchanging Crystals at Seraphine's magic portals allows players to upgrade their weapon magic and battle magic, which makes it extremely worthwhile to track Crystals down, even if you have to go out of your way to collect them. Crystal Chests hold full Crystals, while crystal shards drop from creatures and Shard Canisters throughout the environment. Piece five crystal shards together and you receive one full Crystal.
Deathstone
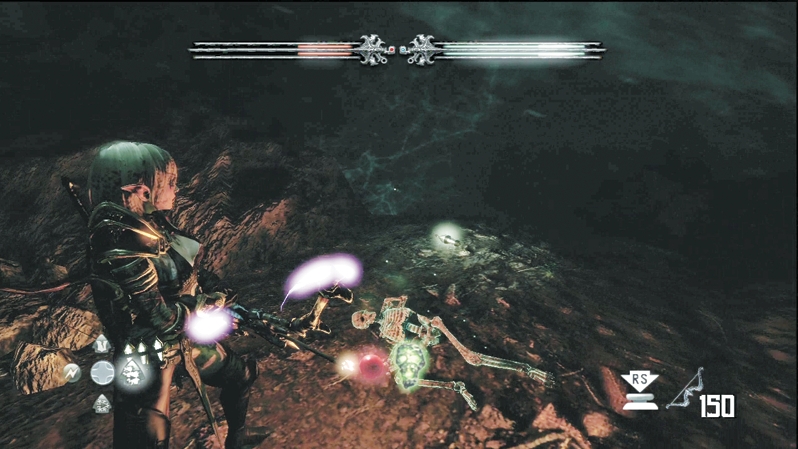
Use the Deathstone to speak with the dead you find along your adventure. Whenever you see a glowing green corpse, use the Deathstone to listen to interesting story information and to discover clues to secret treasures or enemy encounters ahead.
Dragon Tears
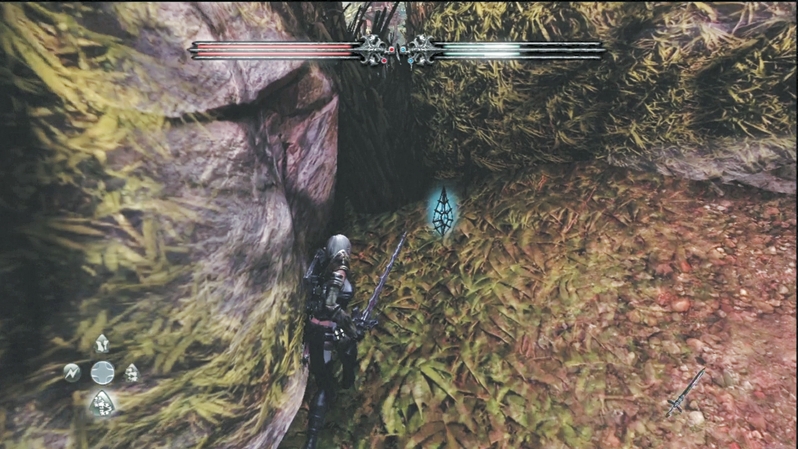
Dragon Tears are special magic items hidden around the world. There are only 13 of these precious artifacts: three in Chapter 1, three in Chapter 2, two in Chapter 3, two in Chapter 4, two in Chapter 5, and one in Chapter 6. They unlock special talents, such as Battle Charge and Spell Link enhancements.
Gold
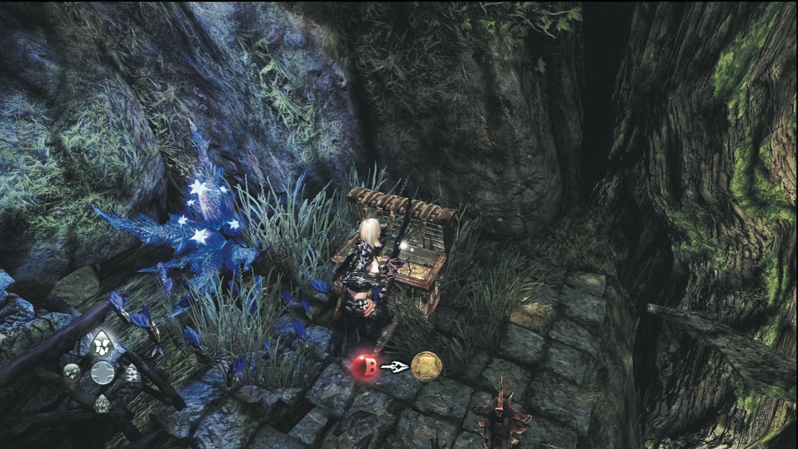
You won't be able to help yourself from lining your pockets with the shiny stuff. Becoming rich is every mercenary's dream, but gold also unlocks Crucible world-building items. (See the "Crucible" chapter later in the guide for complete details on creating your own maps.) Depending on the questing difficulty involved, there are five tiers for treasure rewards. If you want even more gold, the Gold Pickups talent increases gold intake by 50 percent for the first advancement level and 100 percent for the second level.
Treasure Chests
| Chapter | Tier 1 (Coins) | Tier 2 (Sack) | Tier 3 (Chest) | Tier 4 (Chest) | Tier 5 (Chest) |
|---|---|---|---|---|---|
| Prologue | 5 gold | 10 gold | 20 gold | 50 gold | 100 gold |
| Chapter 1 | 15 gold | 40 gold | 80 gold | 250 gold | 700 gold |
| Chapter 2 | 20 gold | 50 gold | 100 gold | 350 gold | 800 gold |
| Chapter 3 | 25 gold | 50 gold | 120 gold | 400 gold | 900 gold |
| Chapter 4 | 30 gold | 70 gold | 160 gold | 500 gold | 1,200 gold |
| Chapter 5 | 35 gold | 70 gold | 180 gold | 500 gold | 1,300gold |
| Chapter 6 | 40 gold | 90 gold | 220 gold | 650 gold | 1,600 gold |
Prisoners
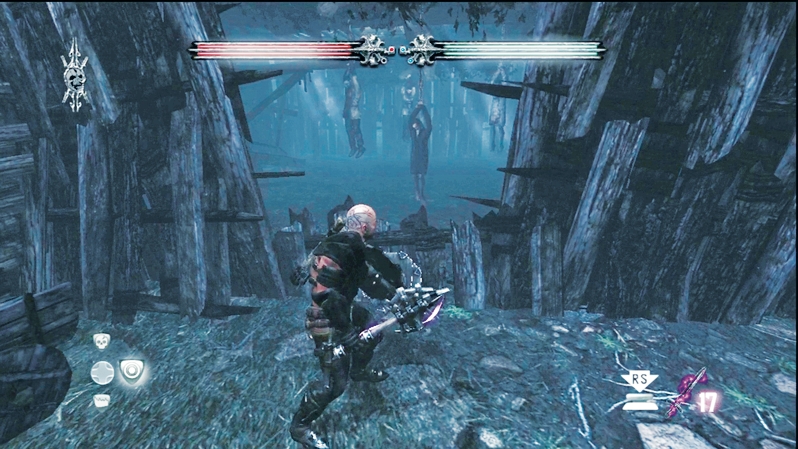
You can save 32 prisoners from Dyfed to Kala Moor. Similar to the Deathstone corpses, prisoners provide valuable information and clues about what's to come.
Secrets and Puzzles
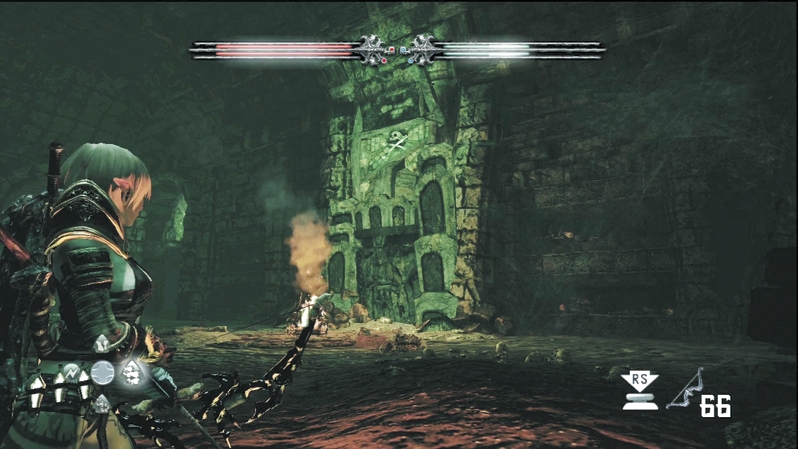
With so many areas to explore in the main story path and the hidden areas, you will have a hard time finding them all unless you use this guide. Secrets generally contain enchanted weapon racks or special loot; you might find some by shooting signs above special doors or hacking through cornfields to reach secluded spots. Puzzles come in the form of riddles and usually involve one of several mysterious talking statues. Regardless of how much you're itching to get on with the main story, detouring for secrets and puzzles will always reward you well.