
Hunted: The Demon's Forge Guide Walkthrough Chapter 4
The King's Tale
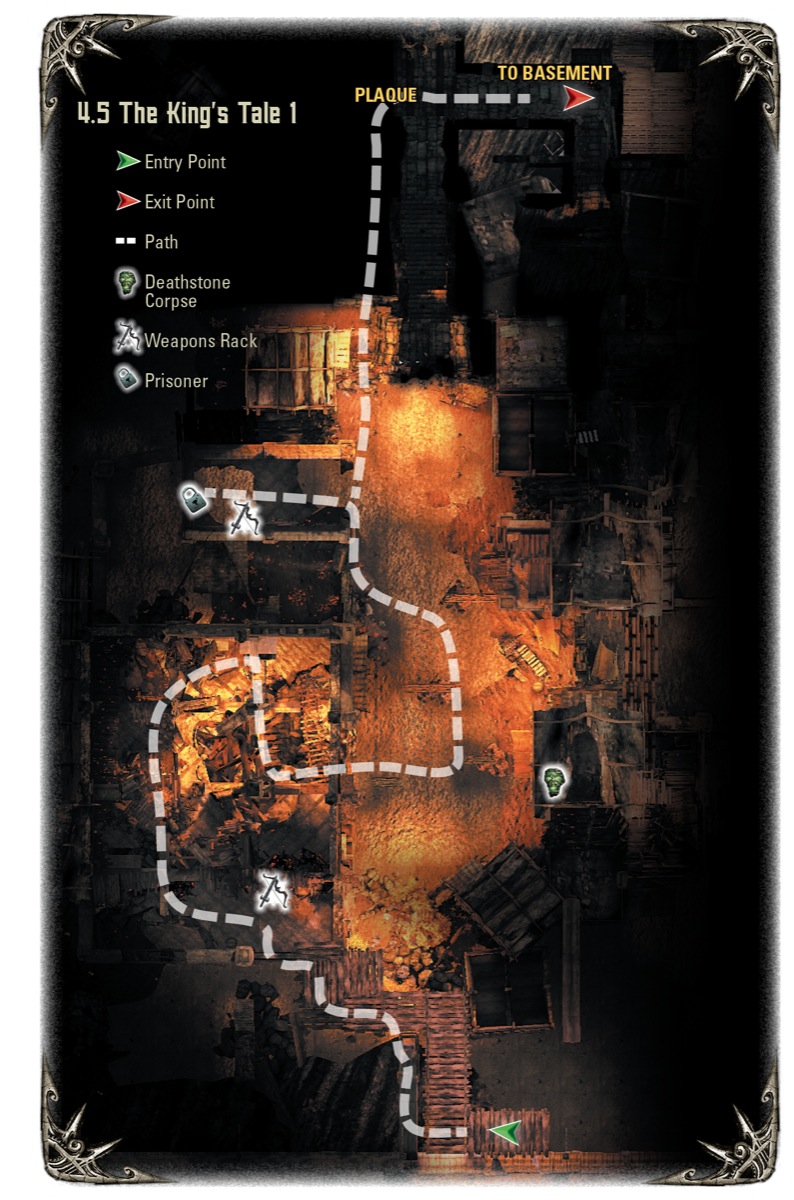
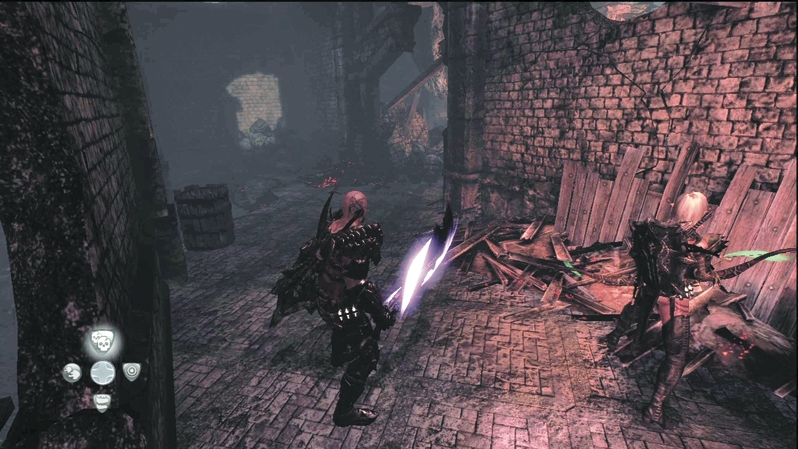
The jump off the aqueduct lands you on a platform closer to your destination. You spot the king's party down in the basement and have to find a safe way down. Head through the rubble and back out into the street. More Wargar Warriors, Wargar Scorchers, and a Minotaur Juggernaut inhabit the area. As with previous battles, see if you can take out the Wargars first and then gang up on the Minotaur. The basement entrance is at the street's far end. Before you enter, speak to the Deathstone corpse in the building opposite where you entered the street and free a prisoner in a building to the left of the basement entrance.
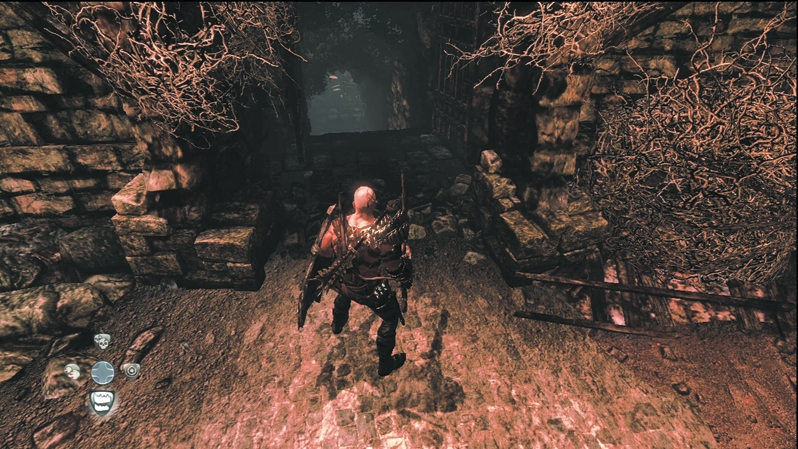
Descend the stairs into the basement, looking for the king. Before you find him, a plaque hints at another puzzle coming up. It reads, A soldier of the harbor and his love were forced to part. He gave his shield to her as a token of his heart. Waiting shieldless for her, watching always night and day, he forever guards a secret as he overlooks the bay. Continue down the corridor and you run into the king's men.
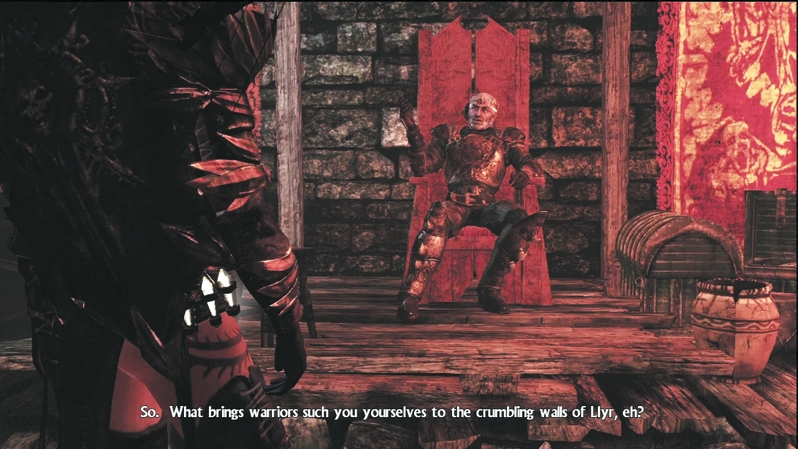
The king of Llyr grants you an audience. He explains that the ruin to his beloved city has been brought upon by a dragon hunter named Annuvin. The king gave Annuvin the Deathstone to conquer the great black dragon that terrorized the land. Annuvin sought out the dragon in the halls of Kala Moor, but he never returned. After years of assuming Annuvin perished with the dragon, the king sent scouts to Kala Moor. He learned that Annuvin had made the dread place his stronghold and now gathered an army of Wargar, Minotaur, and creatures of evil. The warped Annuvin plans to wreck vengeance on the city of Llyr and presumably on anyone who happens to have his Deathstone.
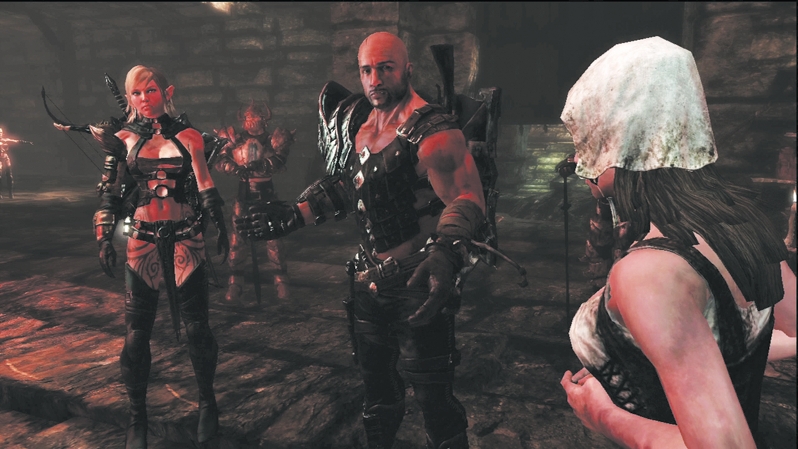
As luck would have it, the king's men rescued a boat of prisoners that morning, and the mayor of Dyfed's daughter, Geselle, is among them. Wait, did the king just call her Geselle? Yes, indeed. Turns out Seraphine has been lying to you the whole time. It's definitely not her body that you've been tracking down.
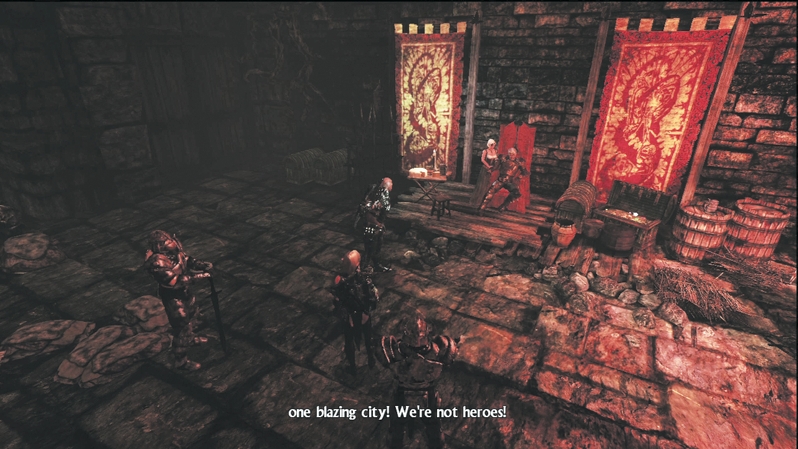
At first, you want to cut your losses and just take Geselle home and collect the 10,000 gold reward. However, she pleads with you that there are people to save, and, despite claiming that you're both mercenaries in it only for the money, you ask the king to keep Geselle safe while you continue to follow the captured humans. You surprise him with your gesture, and he agrees. So much for ending this quest by finding the Lord Mayor's daughter.
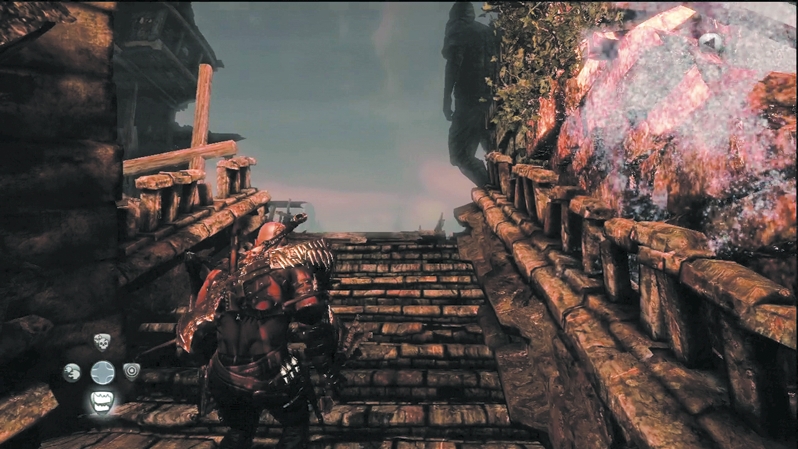
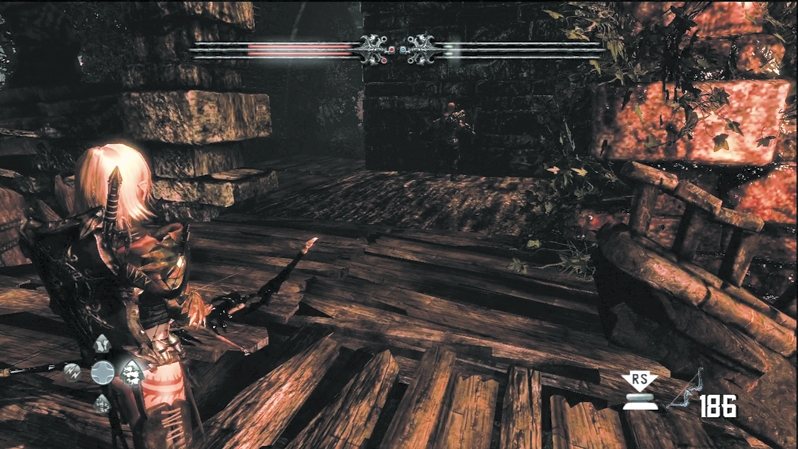
After your conversation with the king, climb the stairs back up into daylight. As you emerge, you'll see the Shieldless Soldier statue on the right. Stand still and you'll also see dust wafting out of the wall to your right, which signals another secret passage. Have Caddoc put his back into it and move the stone block.
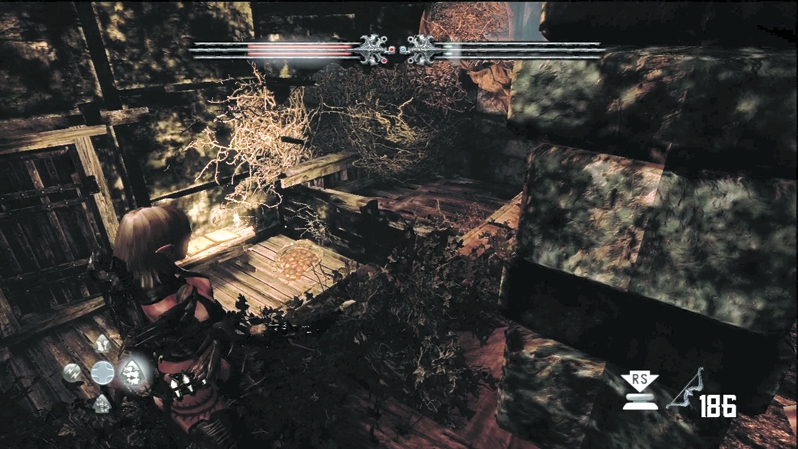
You reveal a secret room with a diary and a sack of gold on the floor. The diary reads, The Shieldless Soldier waited, keeping vigil at the docks. His love at last returned by ship, but crashed upon the rocks. He forgot to light the beacon as he watched across the foam. Light the beacon now, and you will bring her spirit home. Save that bit of knowledge for later and head back out to the pier.
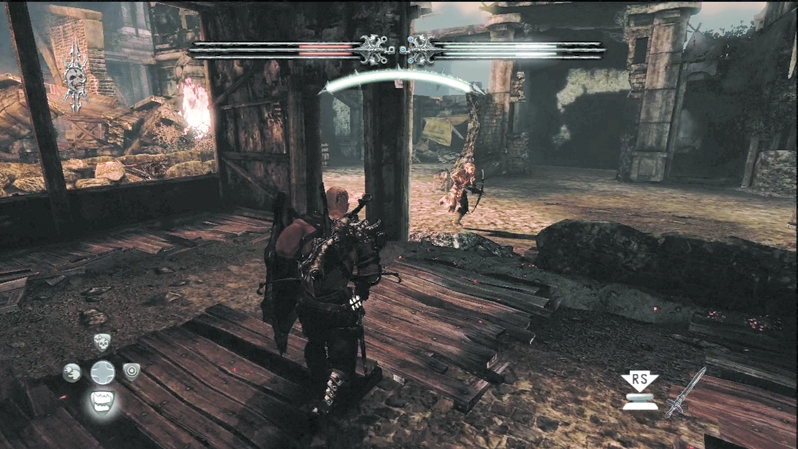
Follow the pier to the back end and open up the gold treasure chest. Turn left and jump down into the alley. Back out on the street, Wargar Archers, Wargar Warriors, and Infected Wargars mill around the buildings, so be careful that you don't expose your back to one as you fight another.
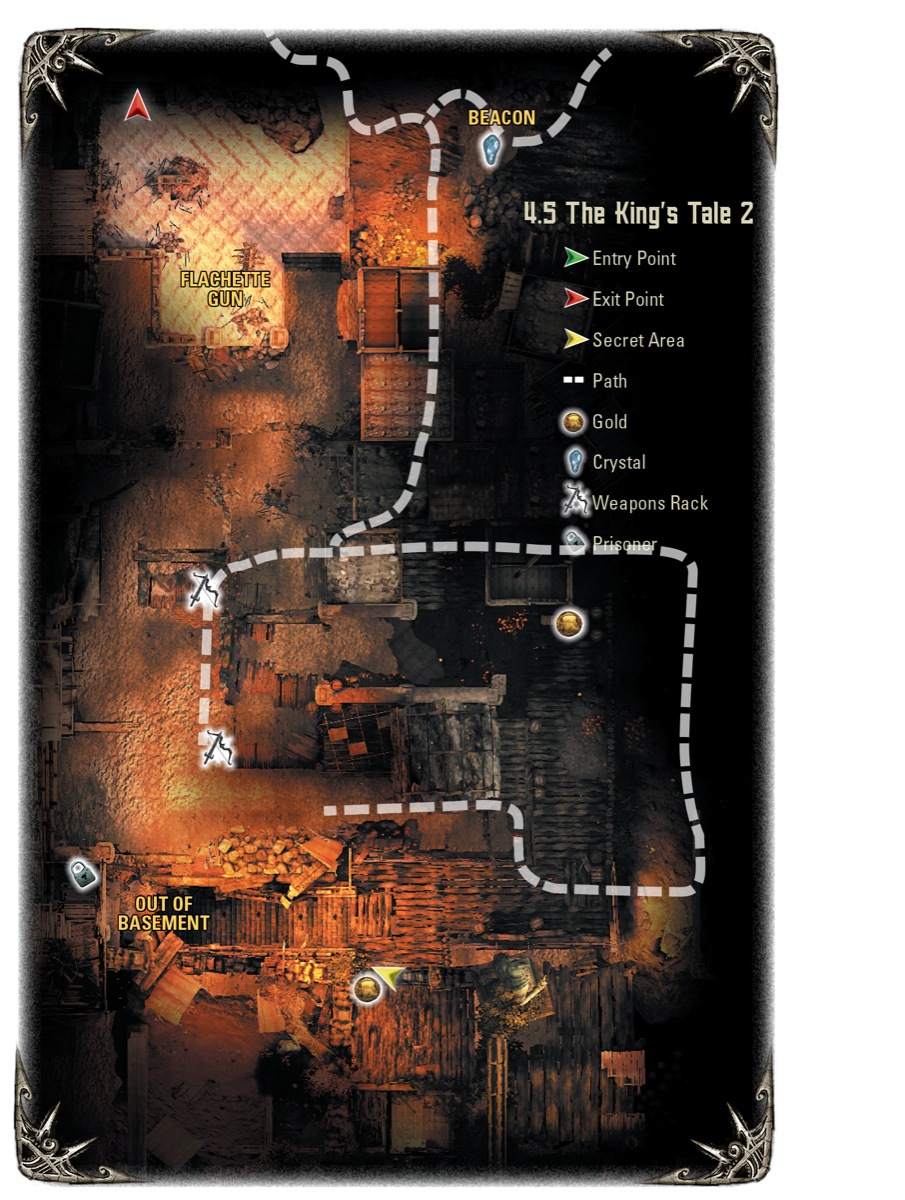
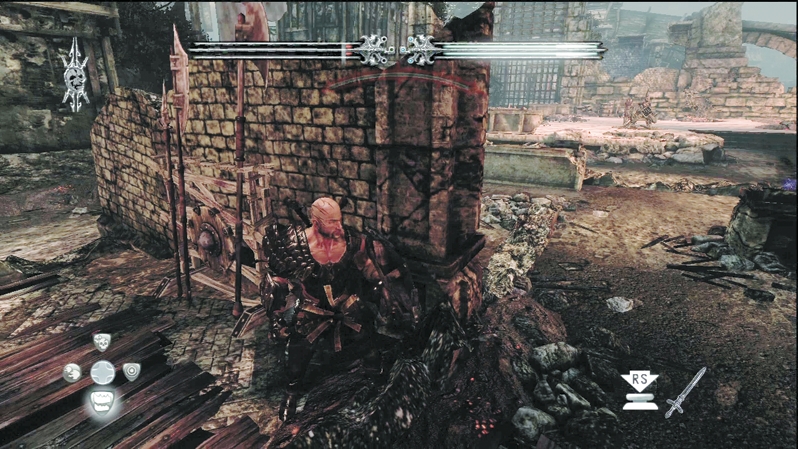
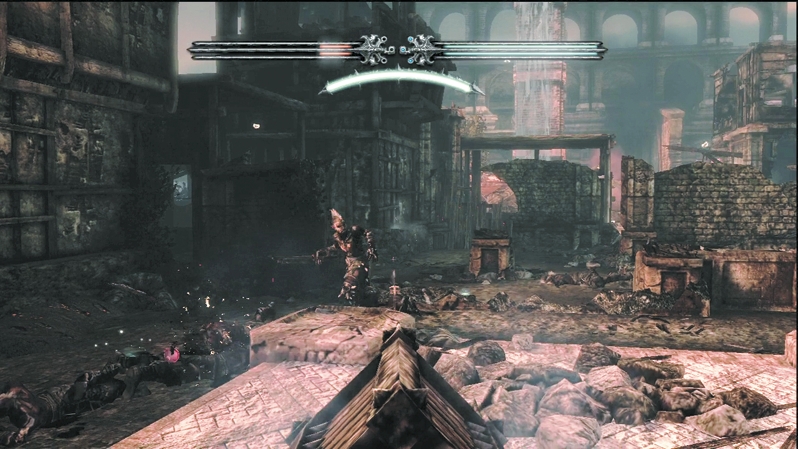
Use the wall in the middle of the street as cover as you advance on a flechette gun—a weapon that fires arrows like a machine gun—and try to take it for yourself. Before you sprint out for the flechette gun, distract the enemy with Pyre Blasts or Brimstone explosions around the gun. Don't stop as you run for the gun; it can rip you up in seconds. Quickly smash through enemies or dodge them, jump onto the gun platform, and kill the Wargar manning the weapon. Once you control the flechette gun, turn it on the surrounding Wargar and let them have a continuous arrow stream. Even the tougher Infected Wargar go down in a split second under the arrow barrage.
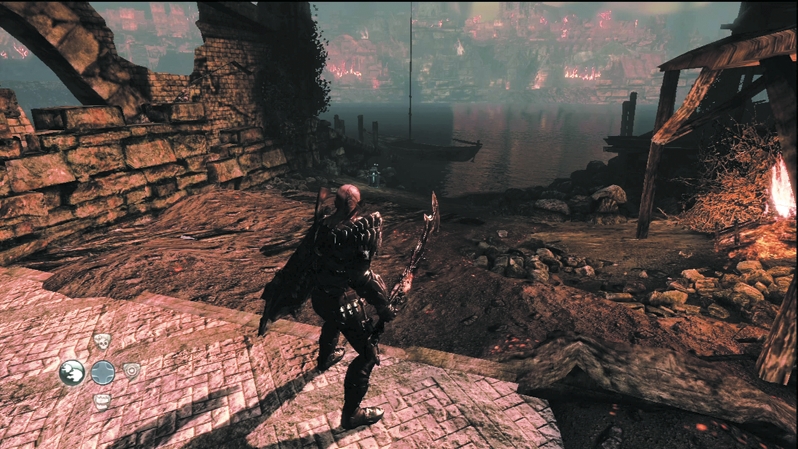
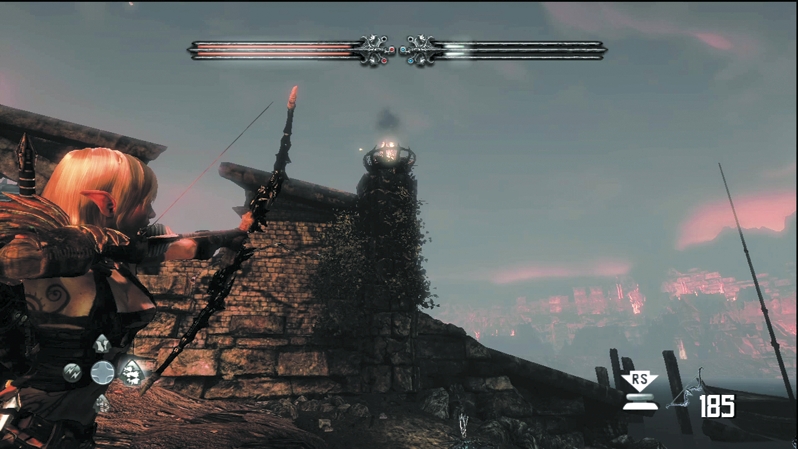
When the bodies finally stop piling up, disengage from the flechette gun and look to your left. The platform ends and a small shore stretches out into the harbor. A Crystal Chest glows on the shore. Notice, too, that a fire burns the building along the shore. Step up to that fire, light your arrow, and aim at the brazier high up on the crumbled wall by the Crystal Chest. That's the beacon mentioned in the Shieldless Soldier's riddle, and when you light it, you free the spirit of his love. She thanks you by depositing a shiny new shield on the shore for you.
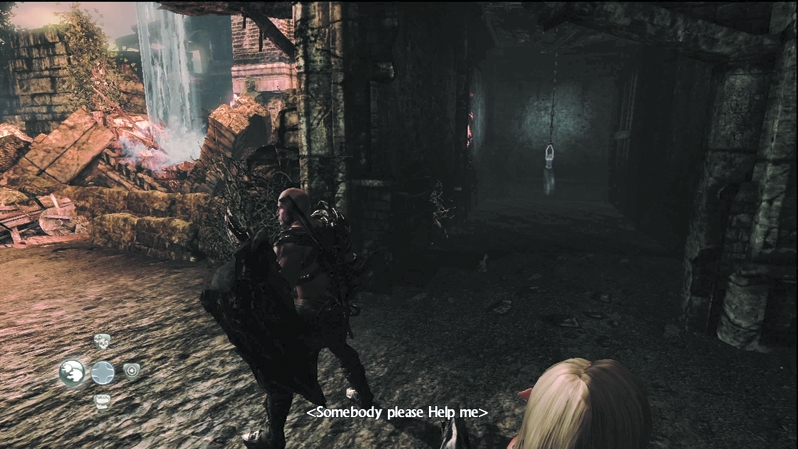
Before you exit out the gate behind the flechette gun, head to the street's opposite end and free the prisoner in the dark barn to the right of the waterfall area.
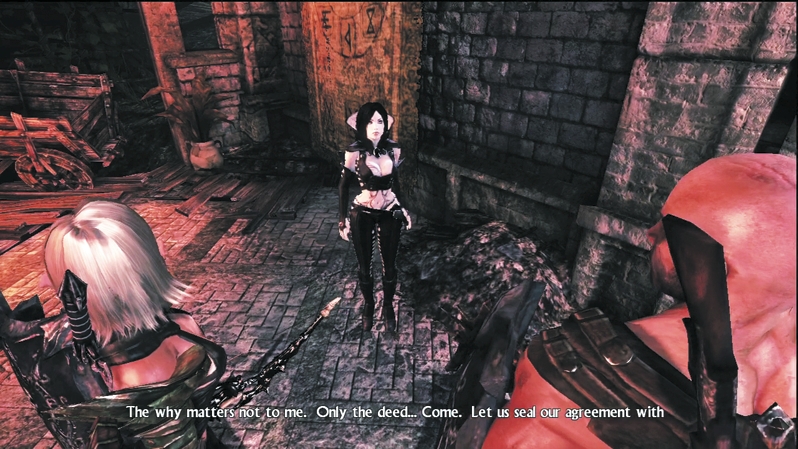
Once you exit, Seraphine meets up with you. She comes clean about deceiving you—sort of—as she points out that, as mercenaries, you wouldn't have tried to recover these human prisoners and stopped Annuvin out of the goodness of your heart. Despite your misgivings, you agree to aid her in stopping Annuvin in Kala Moor. First, though, you have to find a boat that will take you downriver.