
Hunted: The Demon's Forge Guide Essentials Crucible
Introduction
All that treasure hunting and tomb robbing had better buy you more than a few ale tankards at the local tavern and a one-way boat ride to the nearest city. Even if a bountiful quest run scores you a little keep on the hill for yourself, is that really enough for all that an adventurer sacrifices? Well, luckily with the gold you collect for the Crucible, you can now buy your own palace, city, and even the world!
Building a World
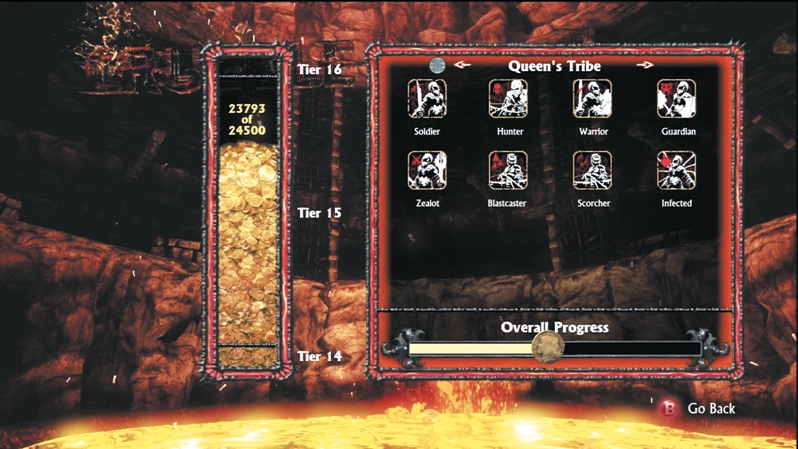
The Crucible is a map creator tool that allows you to design your own dungeons and outdoor battlefields. As you collect gold in the main game, you unlock gold tiers. Each tier (ranging from tier 0 to 29) unlocks various Crucible items that you can use to create your maps. For example, at tier 1, you begin unlocking the Queen's Tribe Wargars, while at tier 13, you unlock the Hunter for the Overland Tribe. Thousands of gold will buy you unlocks for the Queen's Tribe, the Overland Tribe, the Dark Tribe, the Minotaur, bosses, large maps, small maps, loadouts, punishments, and blessings. The more gold you accumulate, the more you can customize your maps.
Crucible Unlocks
| Tier | Gold Needed | Crucible Unlocks |
|---|---|---|
| 0 | 0 | Arackling, Skeleton Loadout, Skeletons, the Barn, the Smithy, Town Enter |
| 1 | 500 | Punishment of Limitation, Town Center, Wargar Hunter, Wargar Soldier |
| 2 | 1,000 | Queen's Tribe Loadout, Wargar Warrior |
| 3 | 2,000 | Dyfed Inn, Punishment of Time |
| 4 | 3,000 | Wargar Guardian, Wargar Zealot |
| 5 | 4,000 | Foyer, Replenishing Quiver |
| 6 | 5,500 | Wargar Blastcaster, Wargar Scorcher |
| 7 | 7,000 | Overland Tribe Loadout, Replenishing Life |
| 8 | 8,500 | Elder Courtyard, Replenishing Mana |
| 9 | 10,500 | Damage Dealer, Infected Wargar |
| 10 | 13,000 | Neverending Quiver, Replenishing Quiver, River Town |
| 11 | 15,500 | Assassin, Overland Tribe Soldier |
| 12 | 18,500 | Dark Tribe Loadout, Pain Threshold |
| 13 | 21,500 | Clean Slate, Overland Tribe Hunter, the Wilds |
| 14 | 24,500 | Mountain Tower, Overland Tribe Warrior |
| 15 | 30,000 | Minotaur Loadout, Punishment of True Aim |
| 16 | 35,000 | Fort Market, Overland Tribe Guardian, Overland Tribe Zealot |
| 17 | 40,000 | Minotaur Charger, Punishment of Disorientation |
| 18 | 45,000 | Entry Gate, Overland Tribe Blastcaster |
| 19 | 50,000 | Assassin Loadout, Mana Influence, Overland Tribe Scorcher |
| 20 | 55,000 | Hidden Temple, Overland Tribe Infected |
| 21 | 60,000 | Demon Boss Level, Punishment of Disoriented Movement |
| 22 | 70,000 | Battle Charge, Cliff Ruins, Dark Tribe Soldier |
| 23 | 80,000 | Dark Tribe Hunter, Graveyard |
| 24 | 90,000 | Demon Loadout, Dark Tribe Warrior |
| 25 | 100,000 | Dark Tribe Guardian, Punishment of Vulnerability |
| 26 | 120,000 | Dark Tribe Zealot, Punishment of Bounds |
| 27 | 140,000 | Dark Tribe Blastcaster, Dark Tribe Scorcher |
| 28 | 160,000 | Dark Tribe Infected, Light as a Feather |
| 29 | 190,000 | Annuvin Loadout |
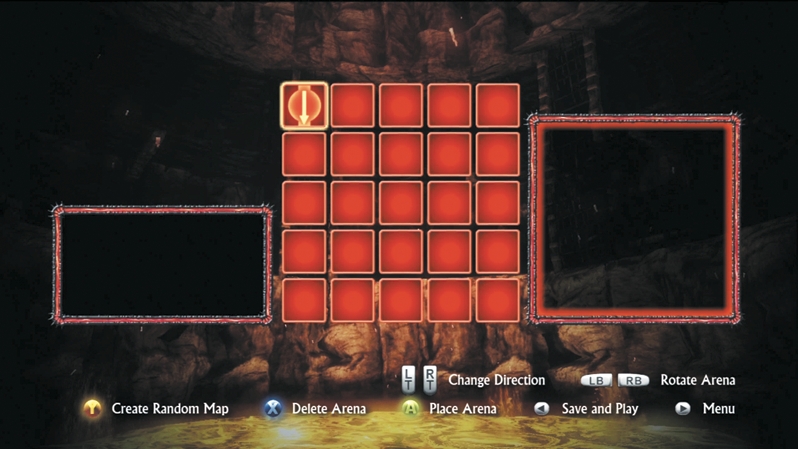
When you're ready to create your first map, access the Crucible editor. You'll see a red grid on your screen that represents the arena squares, or smaller sections that together add up to your complete map. It's possible to create random maps, but let's say we want to build a custom map. Start by moving your cursor around the arena grid. You can adjust the arena's facing (where the exit will lead), and place the arena once it's in the spot you want. Every arena has a straight, left, and right variant. The variants actually differ from one another and offer slightly altered environments, such as new locations for weapon racks and spawn points. We're going to start by creating only a single arena. Once you've mastered the basics, you can create intricate maps that sprawl with enough arenas that it feels like a fully fleshed out world setting.
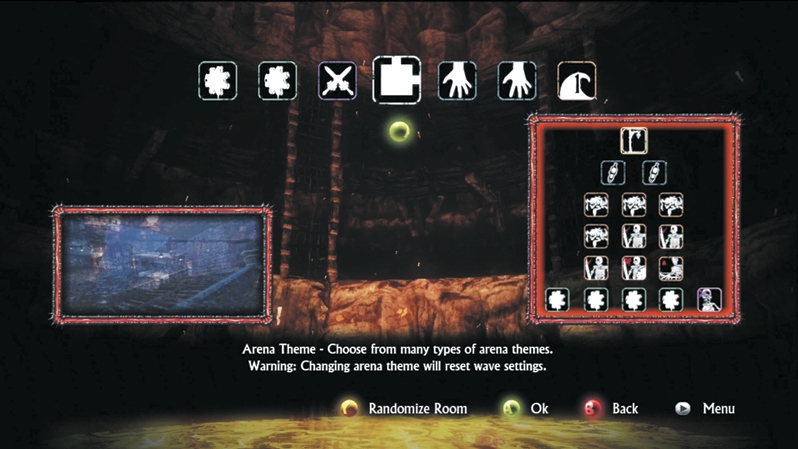
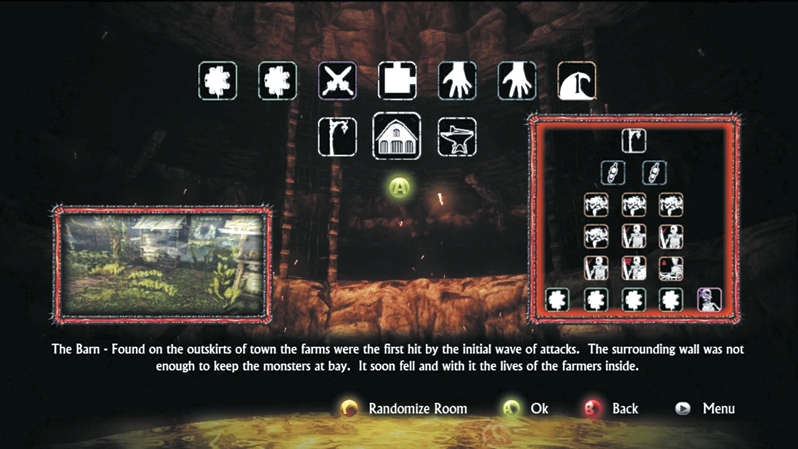
Now we get to edit the actual arena. There are a ton of options; the first gives you control of the arena theme. Side-scroll through the possibilities, and, depending on how many you've unlocked, you can choose between locales like the Smithy, Town Center, River Town, and Assassin Arena. We're going to choose the Barn for its rustic setting and location outside the city, in preparation for a long journey that will eventually take us out into uncharted wilds.
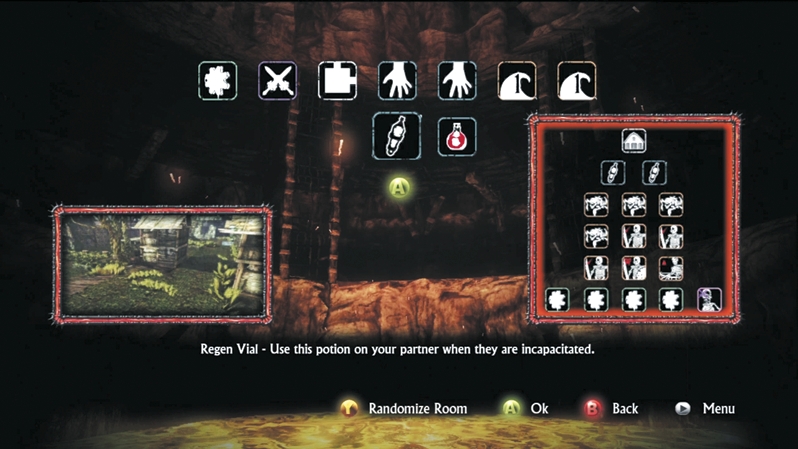
Next, we slide the Main menu icons to the hand on the right and access the Pick Up Slots. We'll set the first slot to contain a Regenerative Vial (to resurrect fallen comrades) and the second slot to hold a Health Vial (which heals you back to full). We could have included a Mana Vial, but with only two slots, something else would have to go.
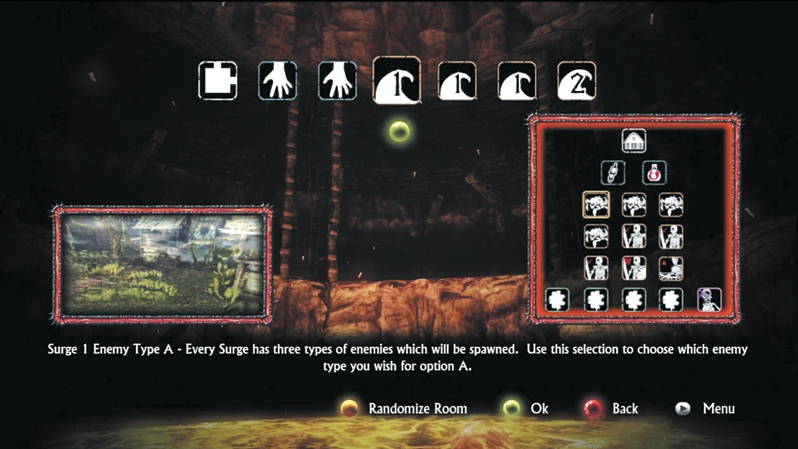
The next major options are the Enemy Surges. Each surge spawns three types of enemies, and there are three surges in each arena (for a total of nine enemy waves). You can customize each wave of the surge by selecting it and choosing whatever creature options pique your interest. The Barn includes an Arackling surge, an Arackling/Skeleton surge, and a Skeleton surge. Depending on what you've unlocked with gold, you can change these creatures around. However, for our starting Barn arena, Arackling Crawlers and Skeletons sound just fine.
Enemy Spawn Color
When enemies spawn in a Crucible arena, look for the color of the emanating smoke. The color will tell you what enemy is arriving even before you see its ugly mug up close.
| Creature | Spawn Color |
|---|---|
| Chargers | Tan |
| Skeletons | White |
| Queen's Tribe Wargars | Red |
| Overland Trible Wargars | Blue |
| Dark Tribe Wargars | Green |
| Minotaur Juggernauts | Purple |
| Assassins | Gray |
| Demons | Black |
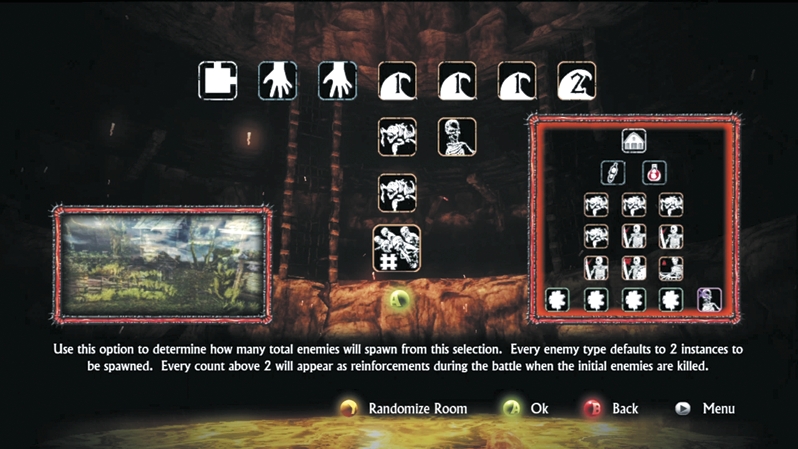
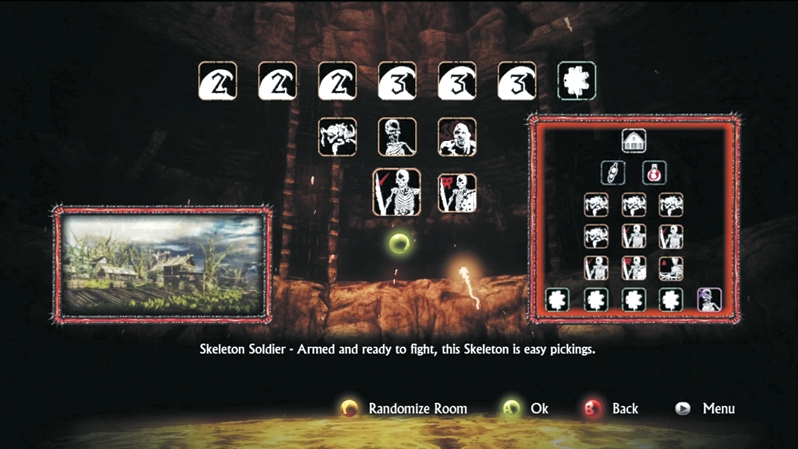
Select each enemy wave and adjust the values if you like. We're going to increase the reinforcements on the first and third Arackling waves to four, so there will be a lot of scurrying critters to deal with just inside the Barn. A few tweaks on the Skeletons makes them tougher too.
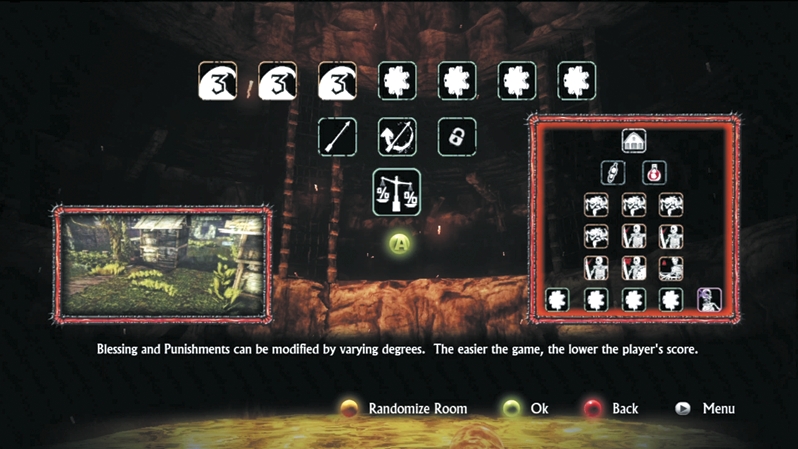
Let's move on to Mod Slots. These alter the arena play from the outset, granting either a blessing or a punishment. A blessing might be something useful such as Replenishing Life (which increases a player's health regeneration) or Damage Dealer (which increases damage output). A punishment might include something like Clean Slate (which removes the player's HUD) or Punishment of Time (which sets a time limit on the arena that extends with each enemy kill). For our beginning arena, since it's the first step of the journey and we don't want it to be too hard, we'll give the players a blessing: Replenishing Quiver. Arrows and bolts will replenish over time, so there are no worries about running out of ammunition, even with a fast bow.
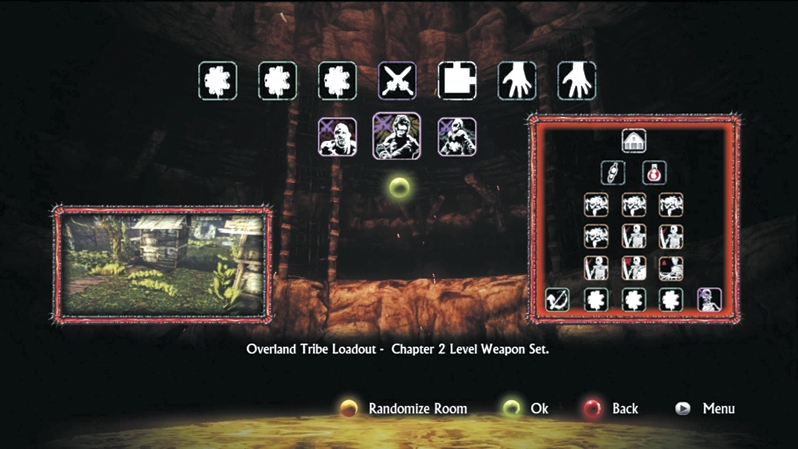
Finally, select the Loadout option. This determines what weapon set the players use during your arena. For a more difficult challenge, choose an earlier chapter loadout. As an easy starting arena to warm up the players, we'll choose the Chapter 2 weapon set.
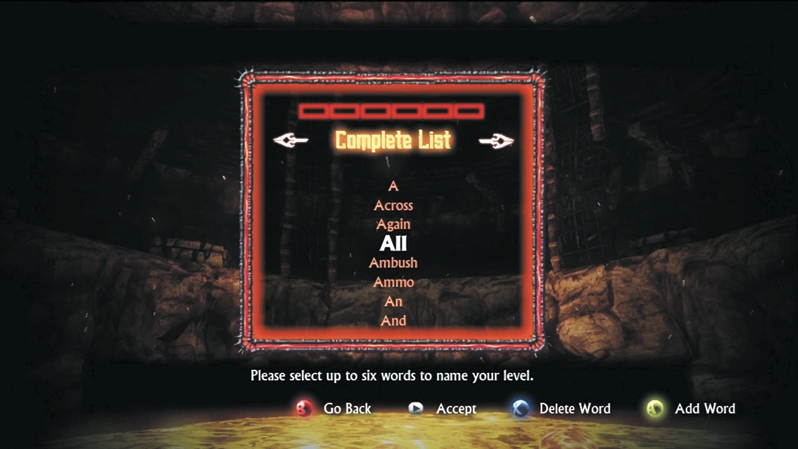
That's all there really is to building your own arenas. After you choose all your options, the game will automatically spawn the monsters and drop in the breakable objects that go with the arena theme you've selected. Cycle through the word list to come up with a name for your arena and then save your map. You can always go back in to add or subtract things to your map, so don't be afraid to experiment with lots of possibilities.
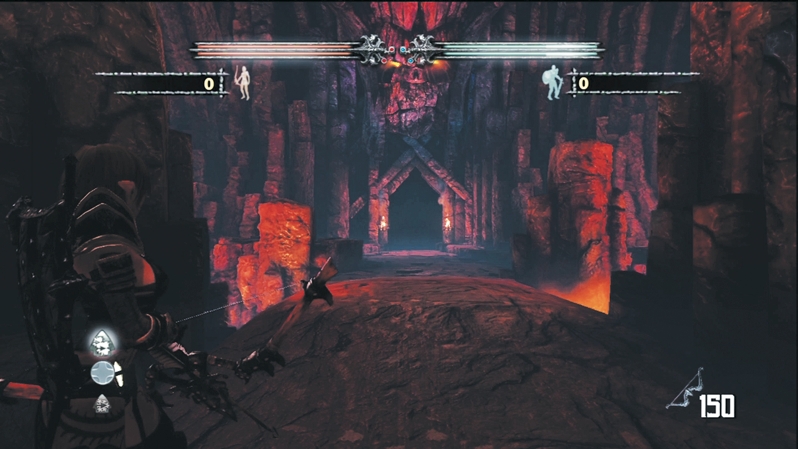
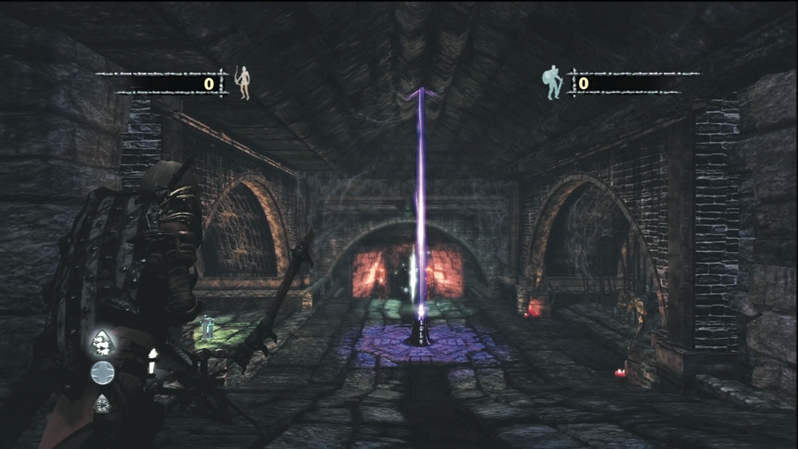
So our arena is built, but what does it look like and how does it play? Let's find out. When you enter the arena, you begin in the standard transition area that bridges arenas. The transition area includes an obelisk for switching characters, a Crystal to allow players to buy magic, and a magic portal to spend those Crystals. Once you're prepared, exit through the door and into your arena.
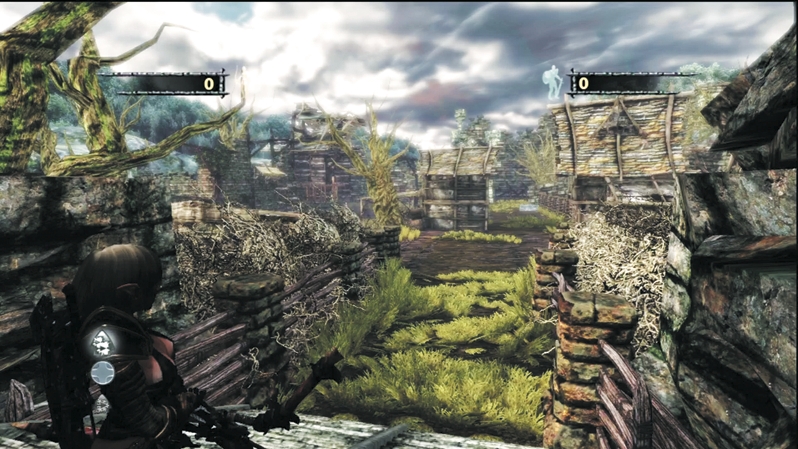
The Barn is what we imagined it to be: rustic, ransacked buildings just outside of town. It's the perfect launch point for a foray out into the wilderness, but first we'll have to deal with the enemy surges in place.
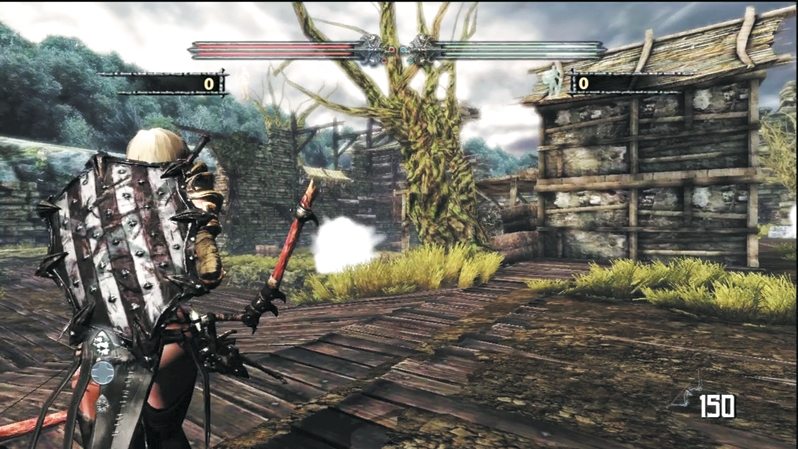
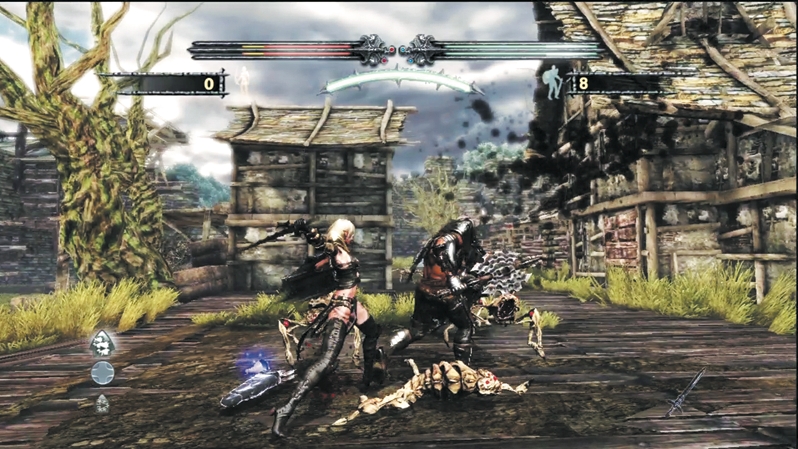
As we descend the short tunnel to the main area, the first spawn triggers. A few steps in, Aracklings pour out of the smoke and assault the heroes. Switching to melee weapons, Caddoc and E'lara cut through the scurrying creatures with only a few nicks.
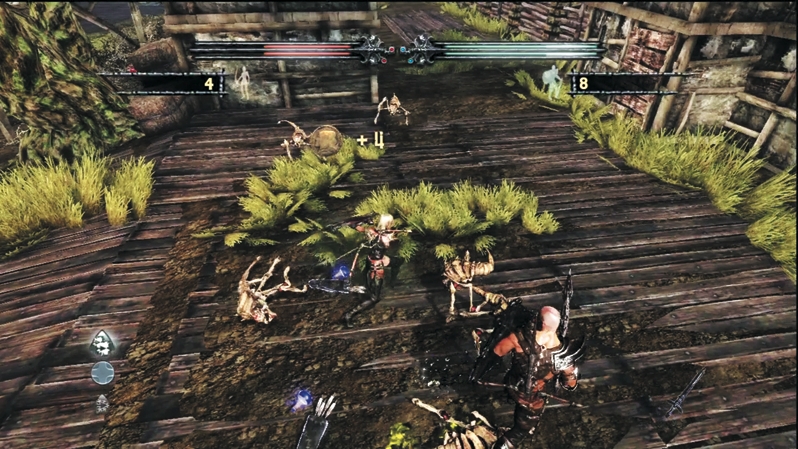
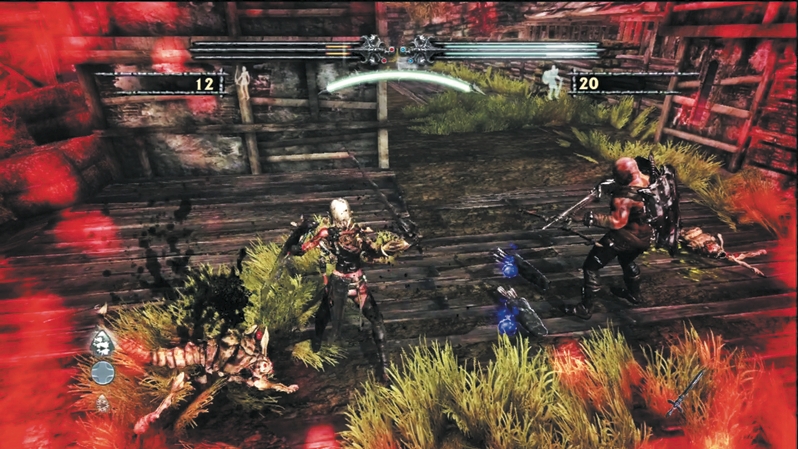
Of course, it's not a cakewalk. We designed the first surge with extra reinforcements. Those additional Aracklings pour into the area and give the heroes a good workout; they may even need to use that extra Health Vial they started with.
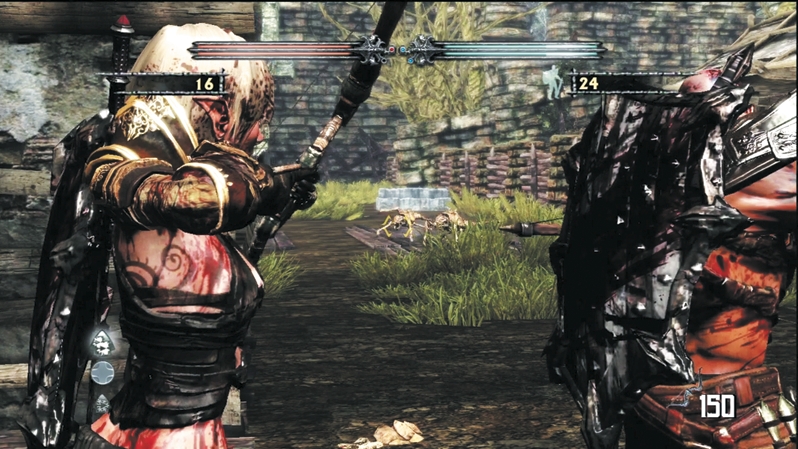
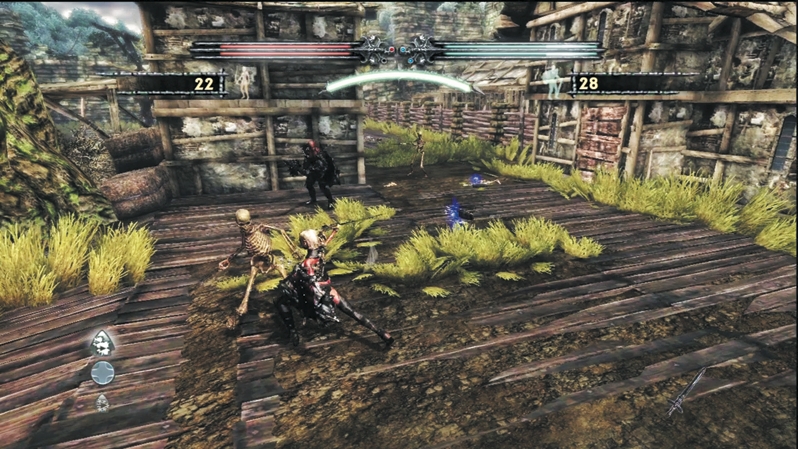
The second surge triggers after the heroes venture out past the confines of the initial wooden porch. This surge includes Aracklings and Skeletons and tests the partners' tactics a bit.
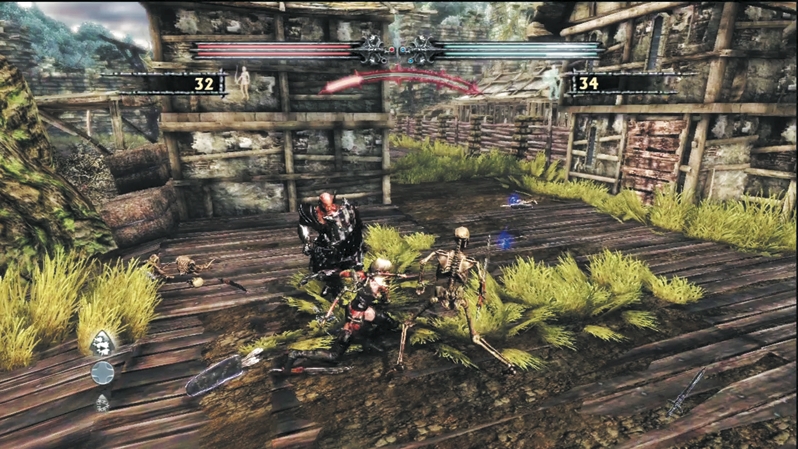
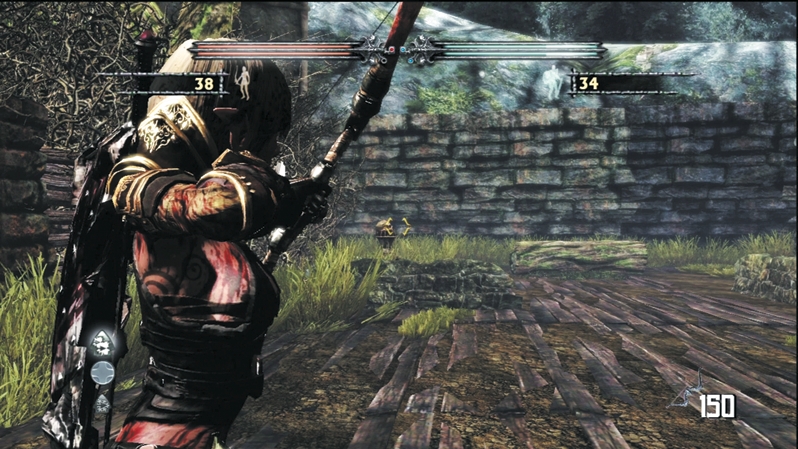
It's been mostly melee skirmishing to this point, but finally E'lara can unleash her bow once you clear the second surge and move out into the open area. Look for breakable objects to gain valuable vials.
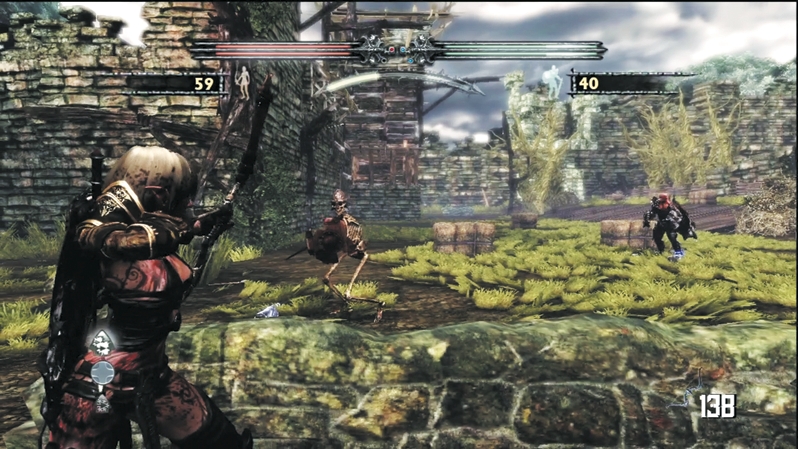
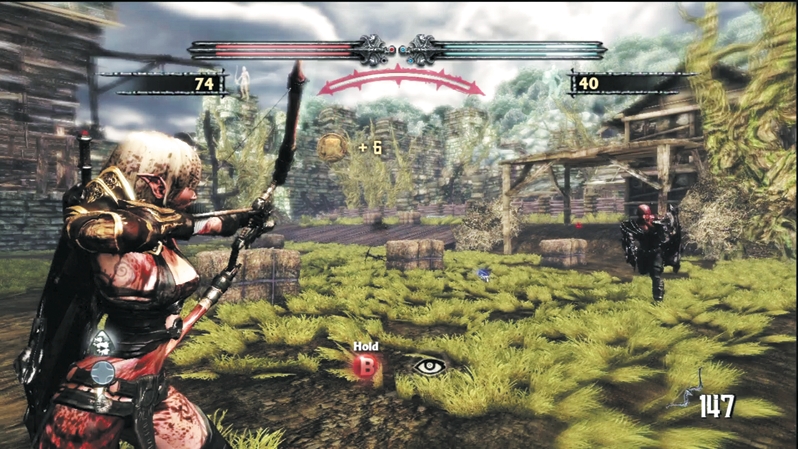
E'lara should rely on walls for cover out in the Barn's open area. Caddoc can Dash around and smash anything in sight. Keep on your toes and continue circling around until the enemies of the third surge all lie quiet. When the final enemy falls, a Point of Interest appears on your screen. Hold the button and it will point you toward the exit, signaling the end of the arena.
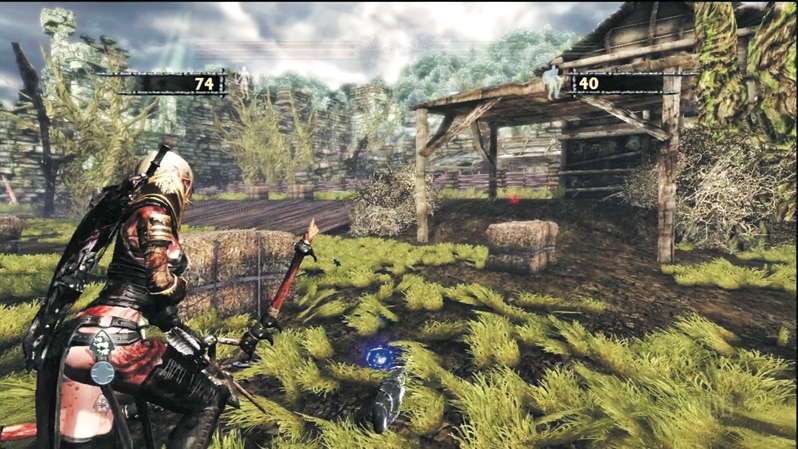
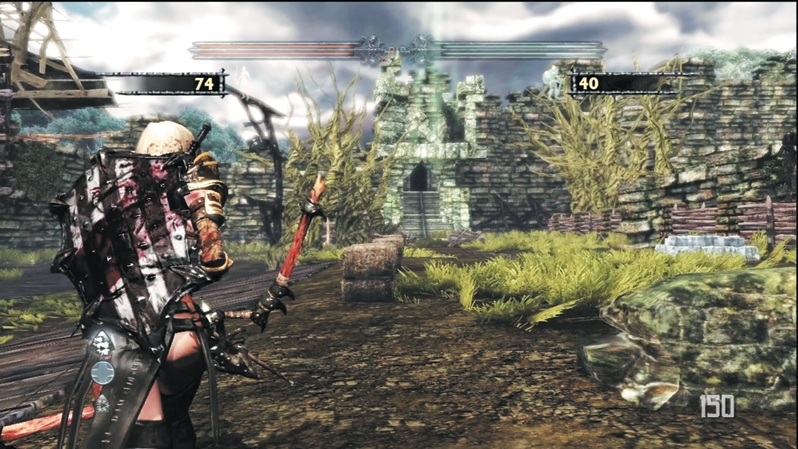
Pick up any remaining valuables inside the Barn and head for the exit. In this test run of the Barn arena, E'lara earned 74 gold and Caddoc earned 40. You can see how a large map can really give you a nice gold haul for your Crucible totals.
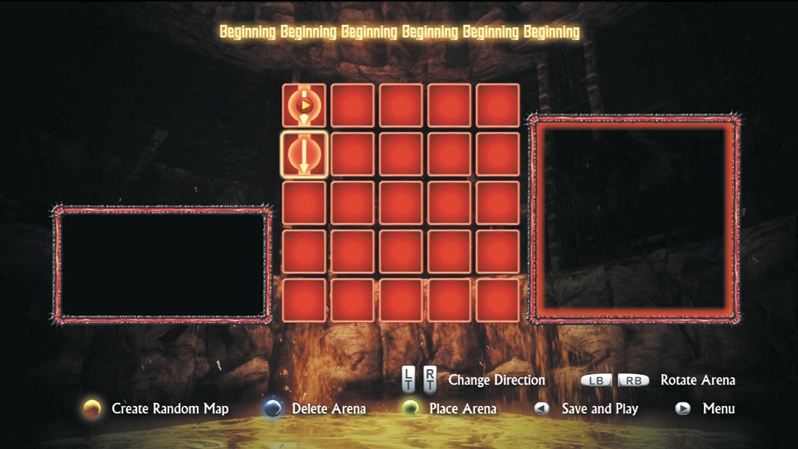
Our first arena was a success. From here, we can return to the editor and build an even cooler setting to play through ourselves or, even better, share with friends for bragging rights and untold riches.