
Hunted: The Demon's Forge Guide Walkthrough Chapter 6
Elevator Pens
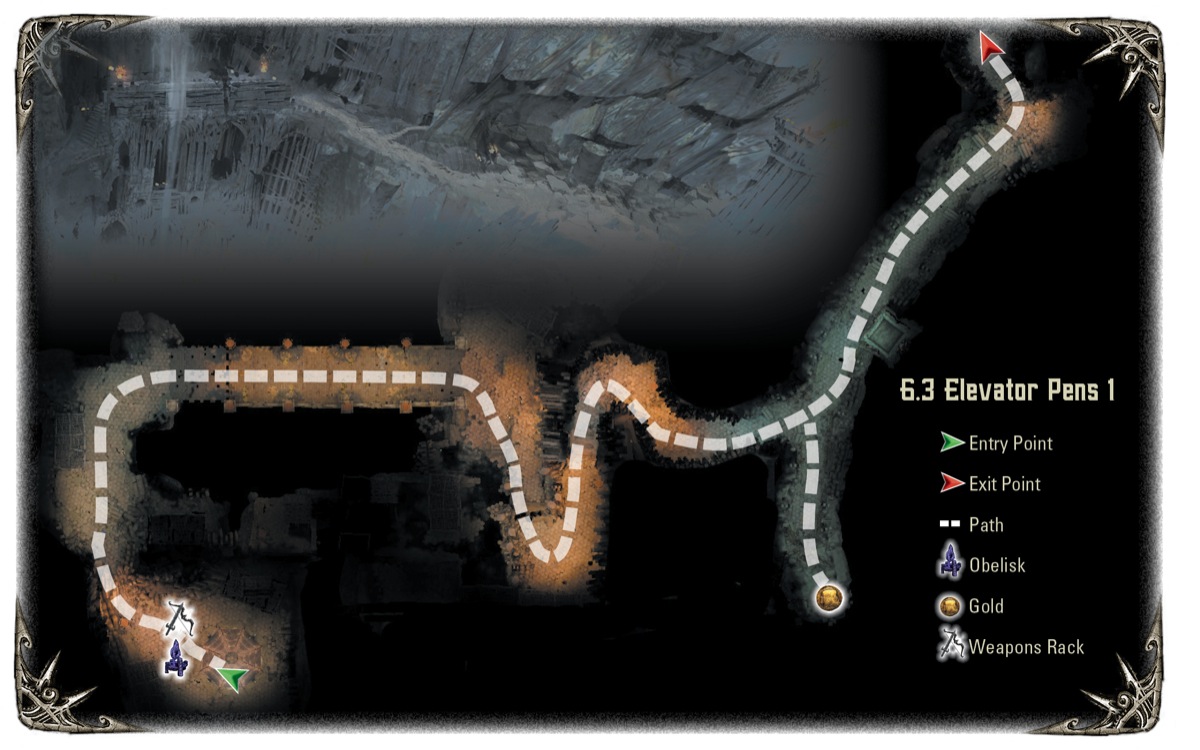
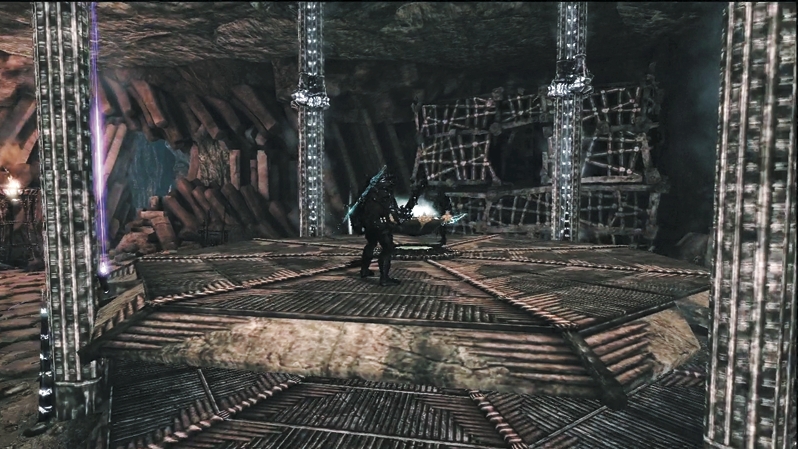
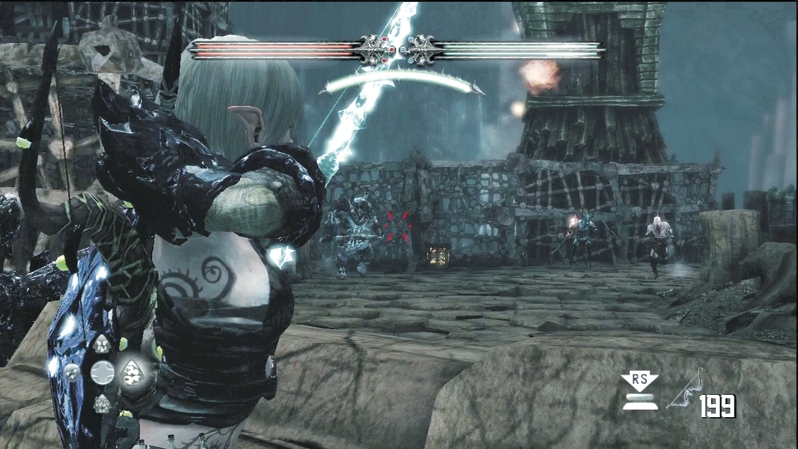
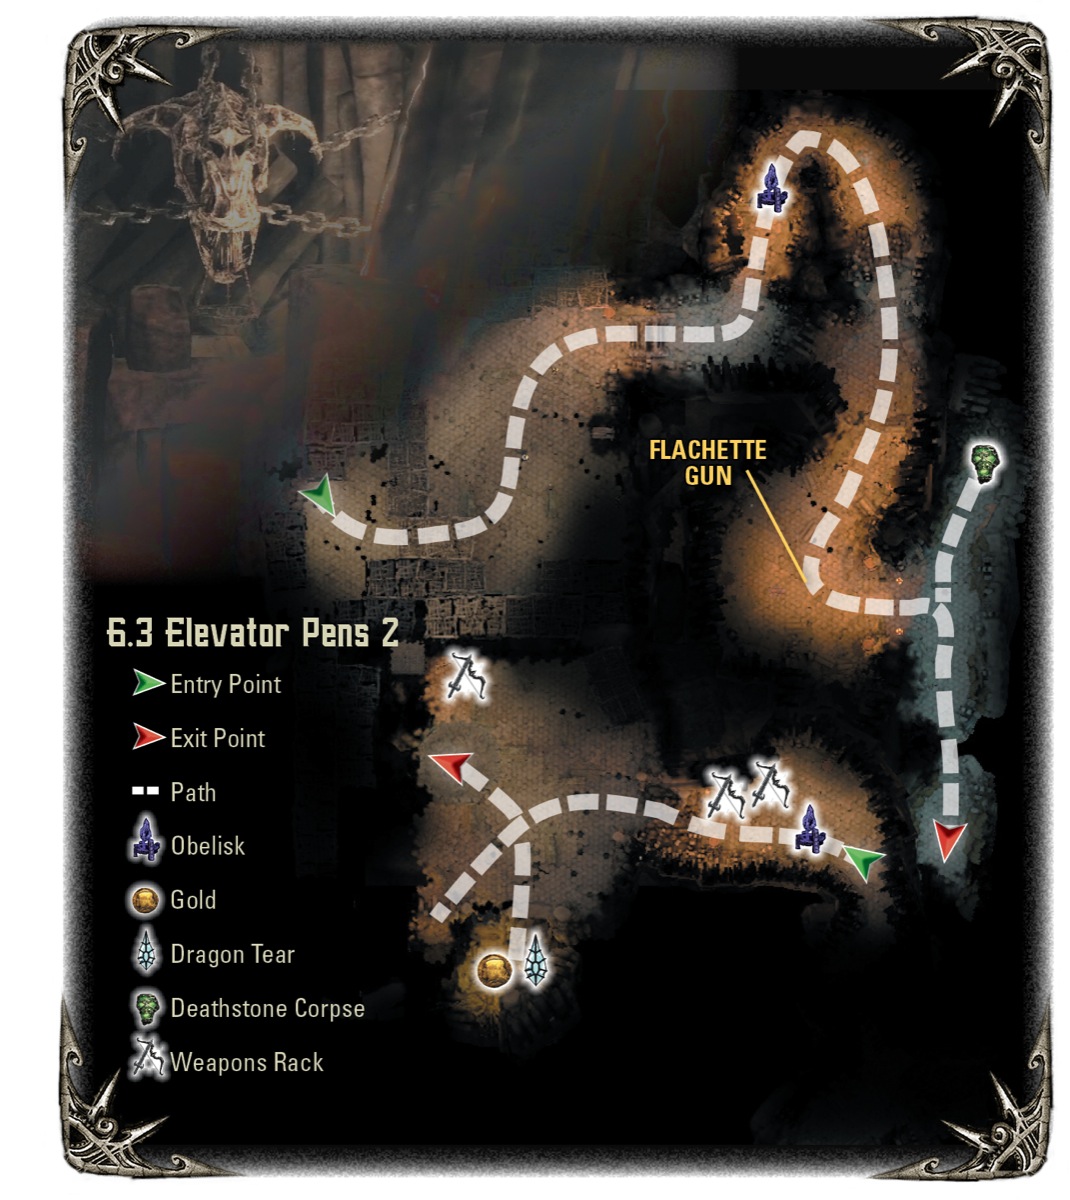
The Sleg fountain elevator drops you into another run of slave pens. The first area has no enemies, so rest up and use the obelisk and magic portal if you so choose. The second area, however, has a host of foes. Cut through the Wargar Soldiers quickly so you can avoid the onrush from the Juggernaut Elites. Stay on your toes as you dodge enemy attacks and retaliate until they're down.
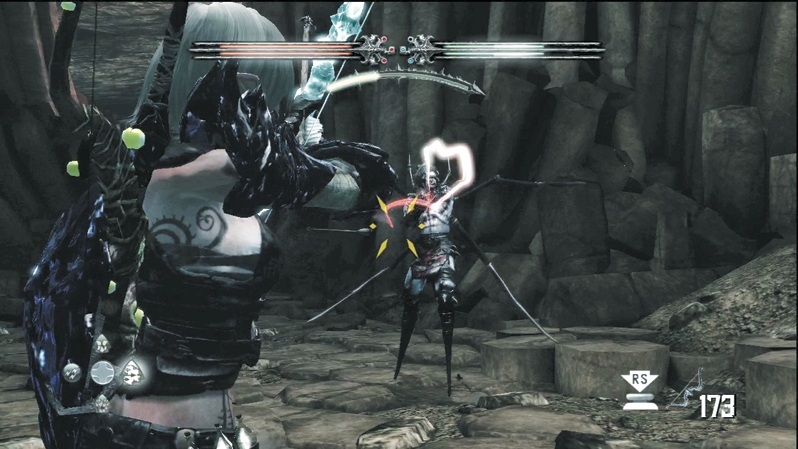
Behind the Juggernaut Elites, an Infected Wargar teleports inside the area and then back out toward the next area, almost daring you to chase after it and trigger more enemy reinforcements. Don't take the bait. Stand your ground and strike it with your best ranged weapon each time it appears. Dodge the fireballs it hurls and return fire until you have another notch on your belt.
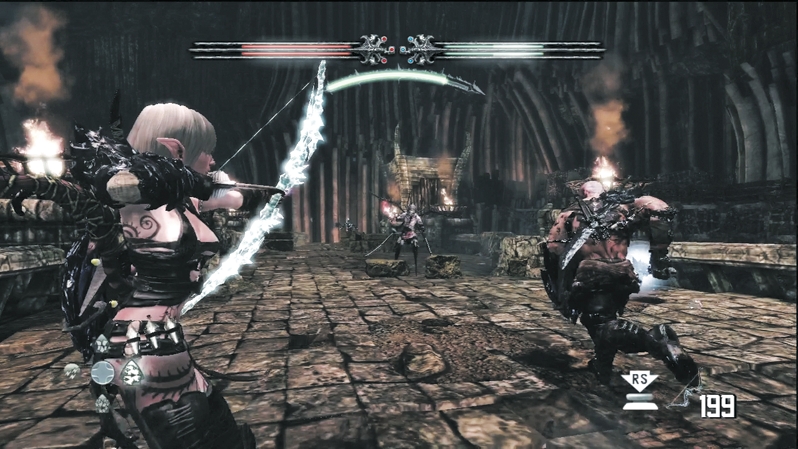
Wargar Zealots and another Infected Wargar guard the bridge ahead. There isn't much cover on the bridge. Caddoc should Dash ahead to the closest foe, and E'lara can choose from her favorite weapon magic to deliver deadly blows.
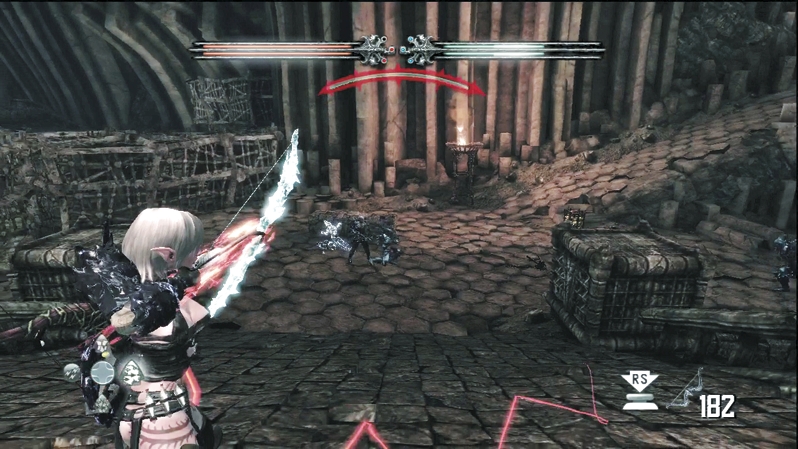
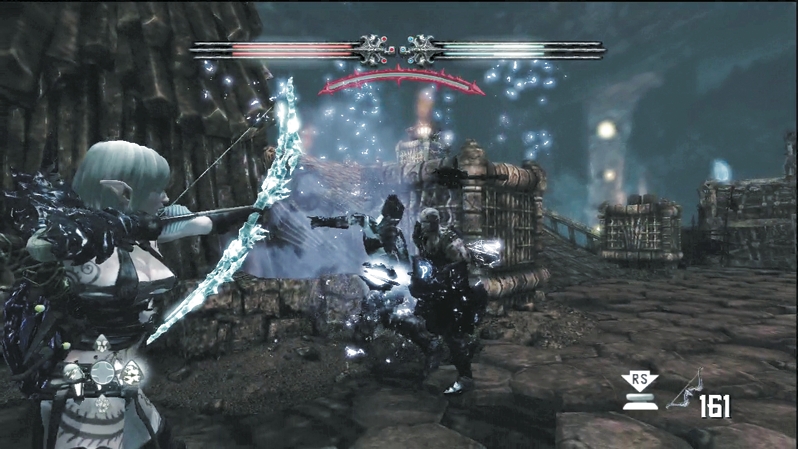
More Zealots and Wargar Guardians throng around the bridge's far side. As you advance along the bridge, take out as many as you can at range. Slowly step down the bridge, and when the Wargar Scorchers come into range, E'lara should concentrate on them while Caddoc deals with the remaining melee enemies. Watch out for Juggernaut Elites; they reinforce from the long slope leading to the rest of the level.
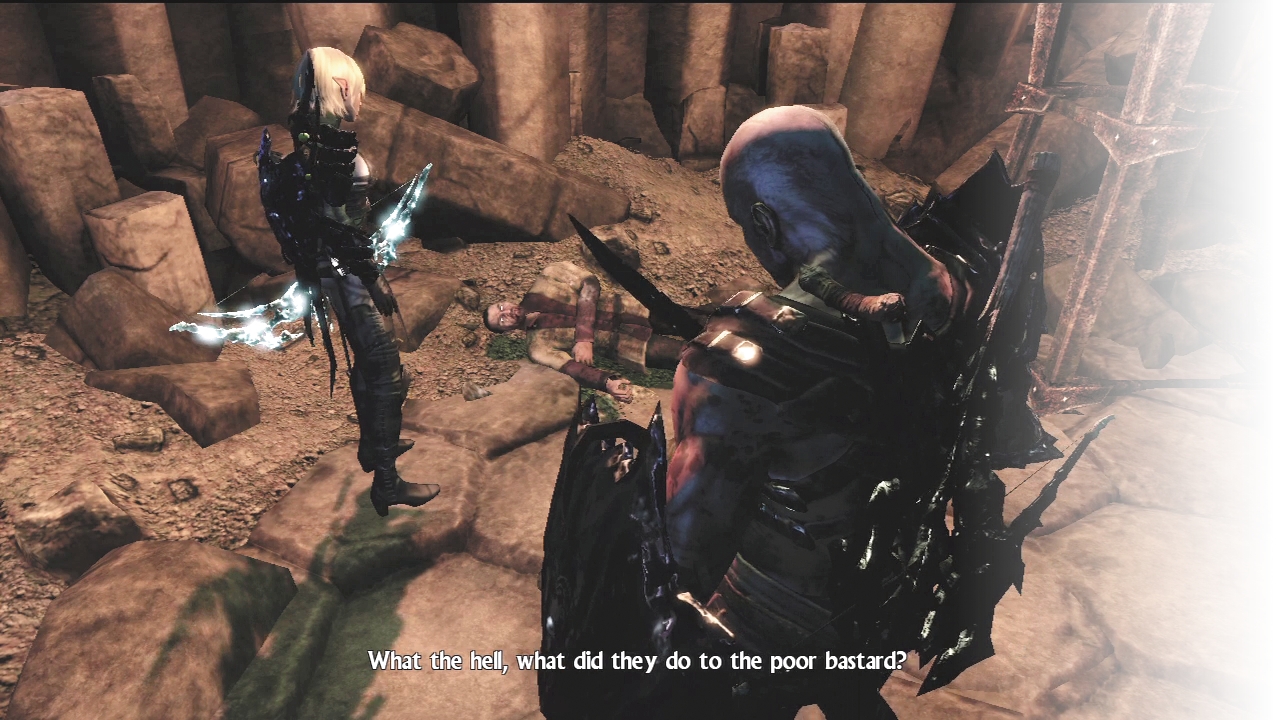
After the bridge, enemies won't cause you any more problems. Continue up the slope where the Juggernaut Elites arrived, and climb the winding passage until you see a fresh corpse on the ground. A cutscene shows you his Deathstone memory: He was a leader of the enslaved humans, and he was forced to watch as Minotaur sacrificed slave after slave to the Sleg. The foul liquid feeds on human souls! If you needed a reason not to sip from the stuff, that's a clincher.
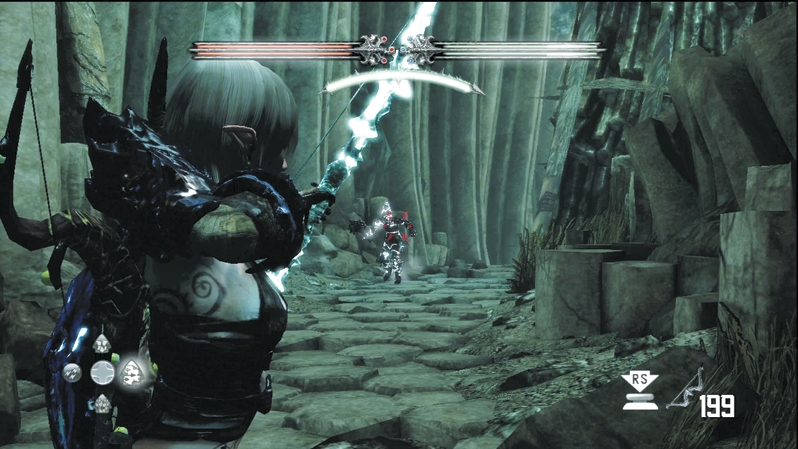
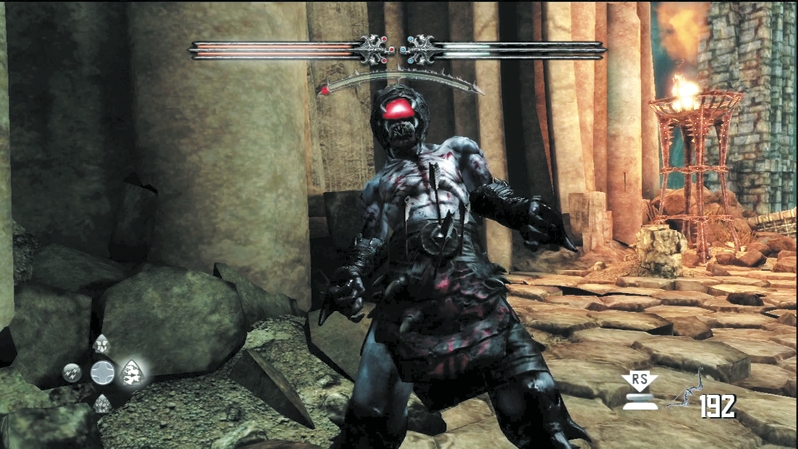
When the passage opens up outside, revealing a greenish glow, the path splits. If you head right, you'll find a gold treasure chest at the dead end. Left leads deeper into Kala Moor, but you have Wargar Zealots and Scorchers to eliminate first. Even when you do, Wargar reinforcements fill in behind them, led by an Eye of Annuvin. Squish the Eye with an arrow or two, then wade through the Wargars to reach the second half of the elevator pens.
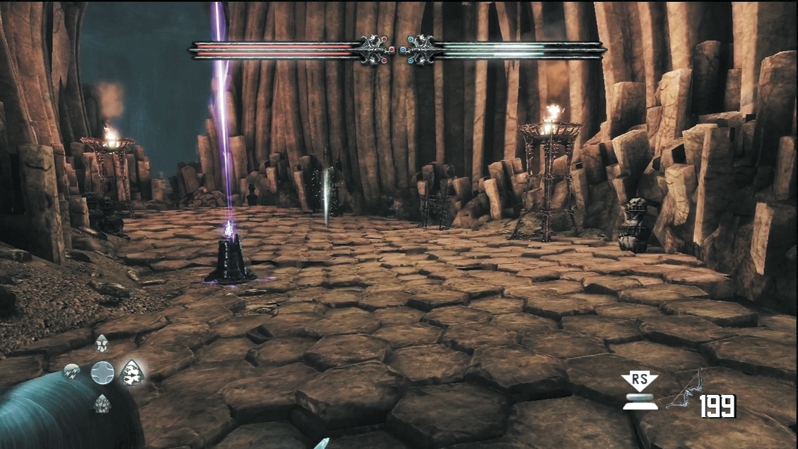
Scout out the obelisk room for a weapon rack and breakable canisters to power yourself back up. The fights only get tougher from here on, so it's best to keep your health and mana full and enchantments on your weapons high to improve your survival odds.
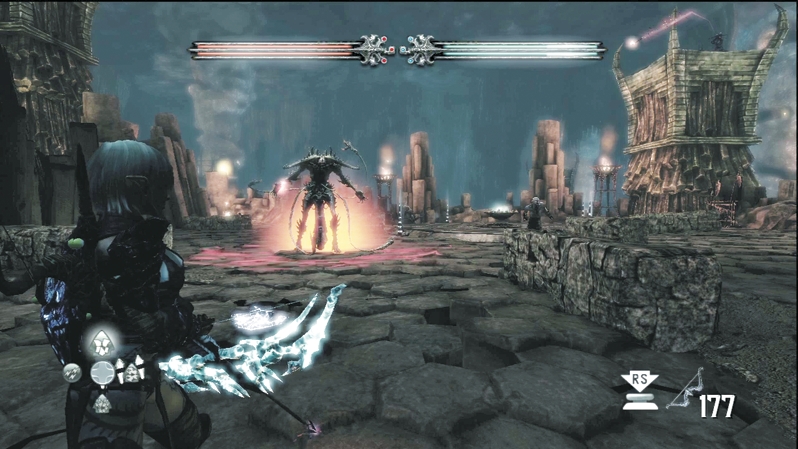
The next area has a Sleg fountain guarded by an Eye of Annuvin, Wargar Soldiers, and Wargar Guardians. It doesn't look too bad, until the Archghoul shows up. It's a free-for-all, as you must break out different combat tactics for different foes: Arctic Arrow for the Eye, Wind of Wrath for the Wargar, and Dragon's Breath for the Archghoul.
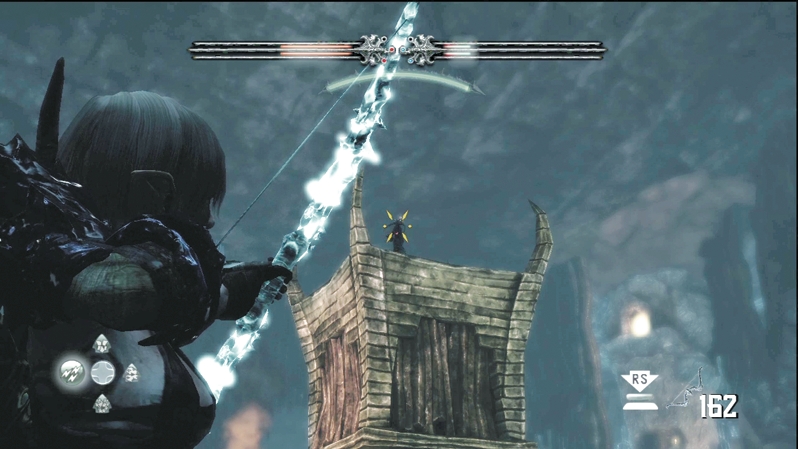
To keep it really interesting, there's a Wargar Scorcher atop the highest tower. It snipes down on you, and if you aren't aware of its hiding spot, it can kill you quickly amid the chaos.
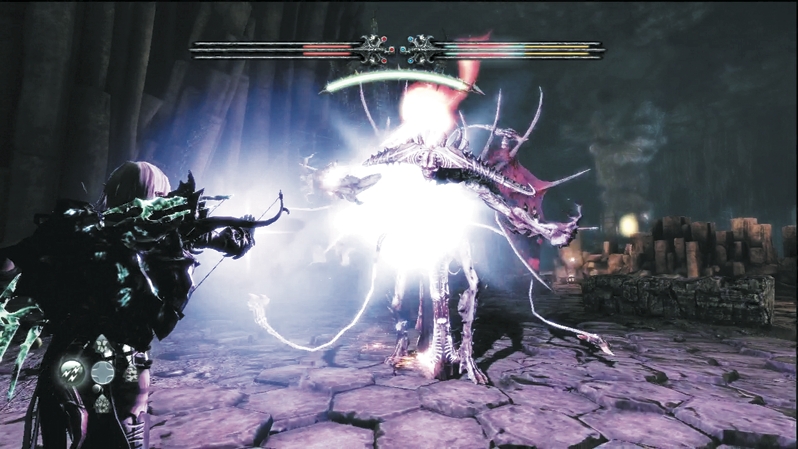
Stay on the move and leave the Archghoul for last. Once the Wargars are out of the way, you can strip the Archghoul of its Blood Magic Shield, dodge its area-of-effect attack, and defeat it with magic or lots of melee blows.
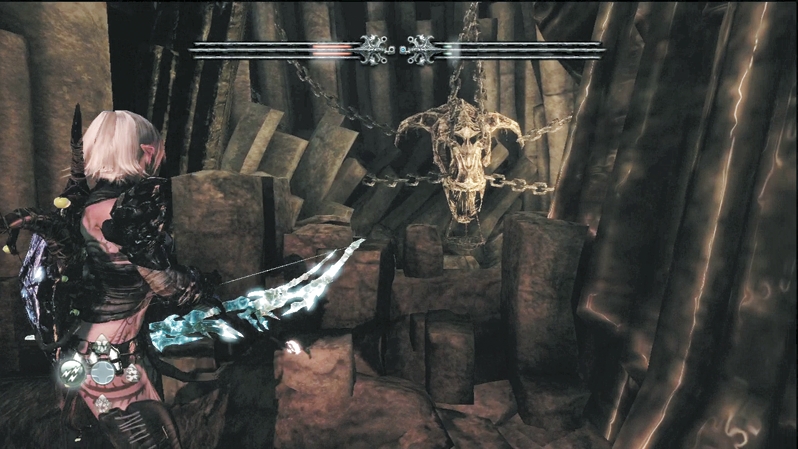
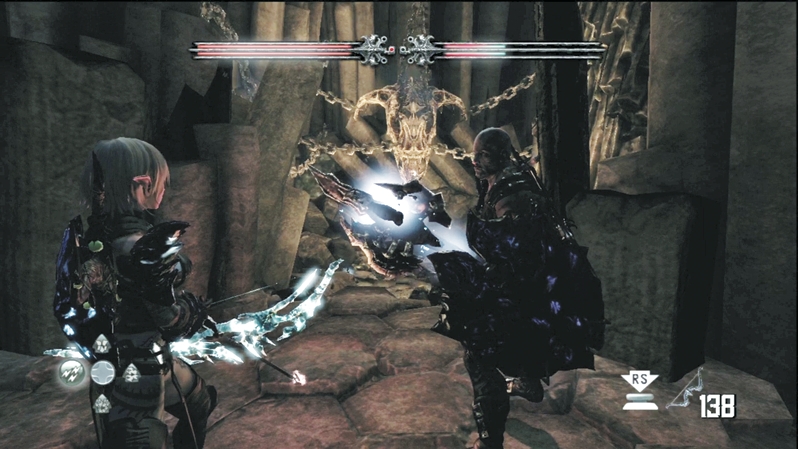
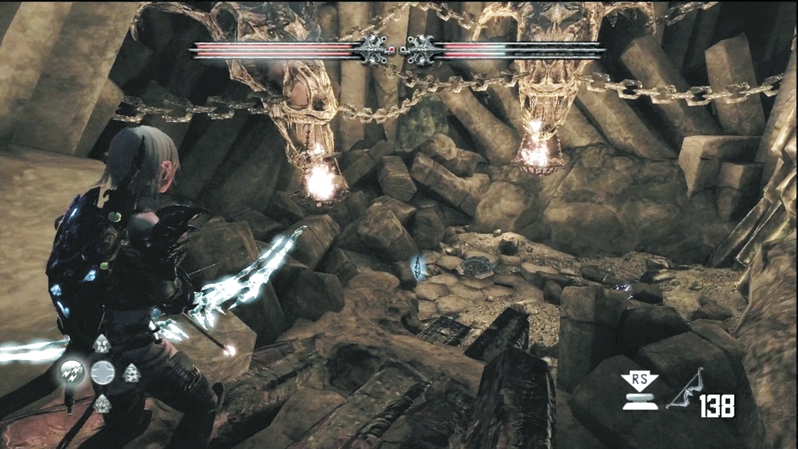
Don't leave the area just yet: The final Dragon Tear is nearby. You should see a gap in the rock wall near the side alcove. Look for the dragon skull on the wall of the interior chamber; below the skull hangs an unlit brazier. Light an arrow in the nearby fiery brazier and fire into the unlit brazier. When it lights up, Caddoc can push a wall section next to the entrance to reveal a secret chamber. Beside the Dragon Tear, the chamber holds a sack of gold.
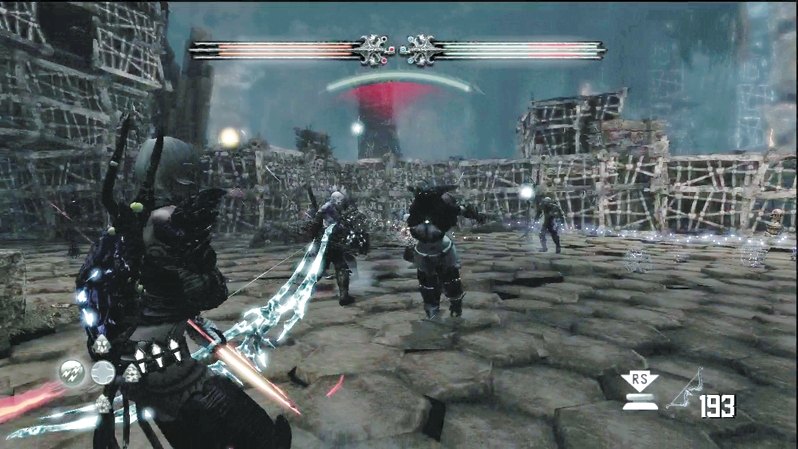
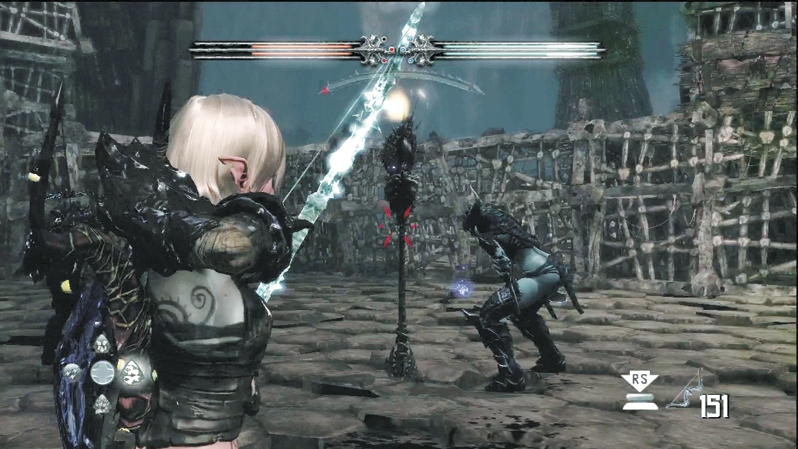
Use the Sleg fountain to drop down to another holding pen, where your last Harridan awaits. The witch-assassin calls upon Wargar Soldiers to aid in the slaughter, and if you aren't fast on your feet, that's exactly what it will be. As with previous Harridan battles, keep moving constantly and take shots at her without exposing yourself to counterattack. The wrinkle in this battle is that the Wargar Soldiers will try and hold you up in melee. Roll away from them and take them out only when the opportunity arises for a free shot, without risk from a Harridan assault.
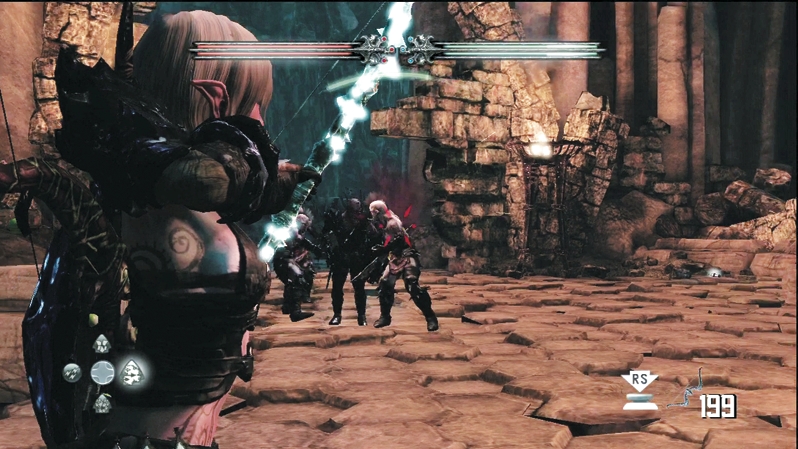
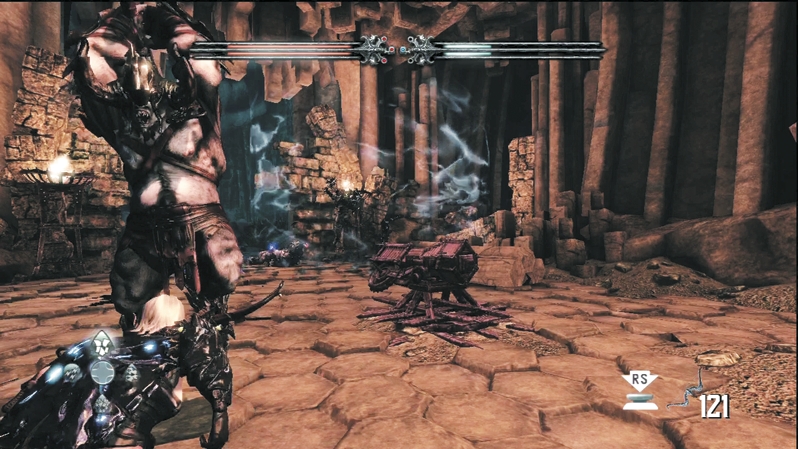
After beating the Harridan, follow the exit passage as it loops around to a chamber with an unmanned flechette gun. That usually means lots of enemies, and as you step into the chamber, the left walls blows open and Wargar Soldiers funnel in. Jump on the flechette gun and mow them down if you can, or catch them up in a Wind of Wrath and detonate them all at once with a Pyre Blast. In the passage beyond, left leads you to another Deathstone corpse and right exits you to the depths of Kala Moor.