
Hunted: The Demon's Forge Guide Essentials Adventurer's Guide
Journey into the Unknown
From the moment you start the game and choose your difficulty to the discovery of weapons in Chapter 6, your journey brings you in contact with a lot of fantastical elements. Here are some of the more common game concepts worth knowing about.
Game Difficulty
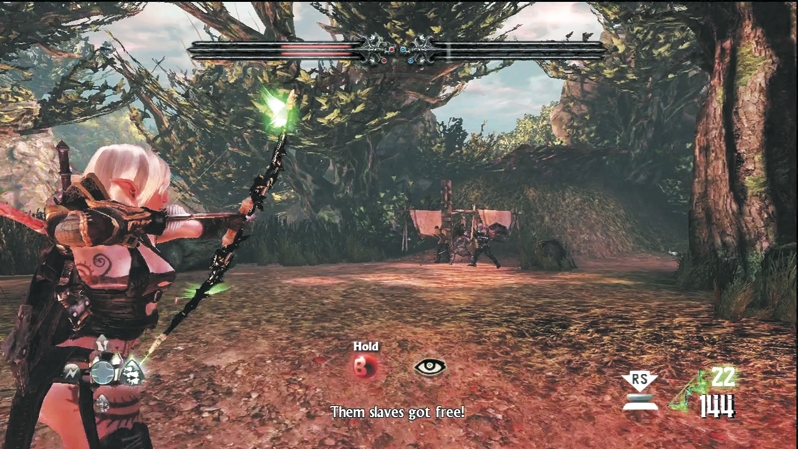
When you first load up a game, you can choose between three modes: Casual, Gamer, and Hardcore. Essentially, enemies hit harder and take more damage with each difficulty level that you increase. Once you complete the game, you unlock Old School mode, which is even harder. Here are some of the differences to help you figure out which difficulty level to play on:
Quest Locales
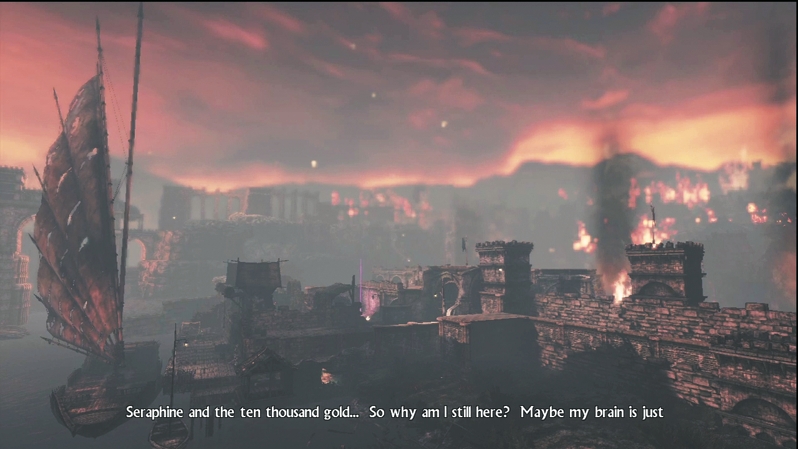
After you leave the mana waters of the Fountain of Elisha in the Prologue, a vast world awaits you. First, you visit the outlying town of Dyfed, which has been overrun by Wargar. Should you survive its perils, you'll descend into the dungeons beneath the town. Town mazes and dungeon corridors aren't the only adventuring spots either. Out in the open air again, you'll venture through the Wilds of Govad: The jungles here are beautiful...until you uncover the vicious tribes defending their territory. It's back into the concrete jungle after that as you navigate a city ruined by dragons: the once-magnificent City of Llyr. Finally, you'll reach Kala Moor, home to ancient evils and the resting place of your primary foe: Annuvin, the power-mad dragon hunter. With a wealth of treasure-filled, yet deadly, quest areas to journey through, you'll constantly be challenged to sharpen Caddoc's and E'lara's combat skills against all manner of traps and foes.
Creature Compendium
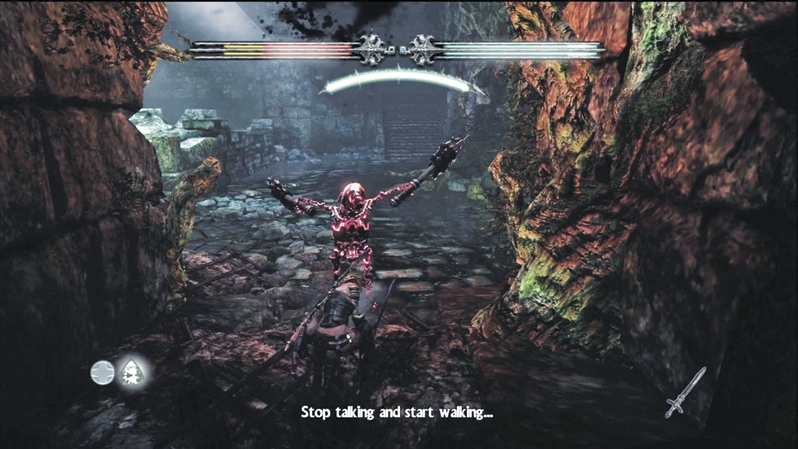
Speaking of foes, Wargar aren't the only creatures looking to feast on your flesh. You'll face off against the spider/dog Arackling Crawlers, the terrifying Archghoul, swift and deadly Harridan witches, hulking Minotaur, and a horde of unspeakable abominations. Each time you come across a brand-new foe, a page in your compendium will unlock and you can view details on the creature. For even more information on all your enemies, flip to the "Bestiary" chapter later in this guide.
Obelisks
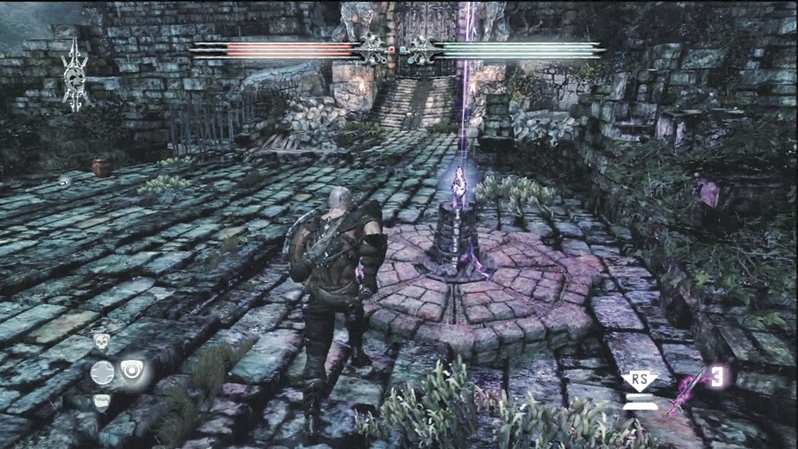
You'll learn to recognize the familiar purple glow of an obelisk a mile away. The purple beam guides you to the all-important obelisk, a stone that allows you to switch control of your main character from Caddoc to E'lara or vice versa. You'll generally find these obelisks before big encounters; there are a few per chapter. Most obelisks also have a magic portal next to them that enables you to spend Crystals on weapon magic and battle magic.
Breakables
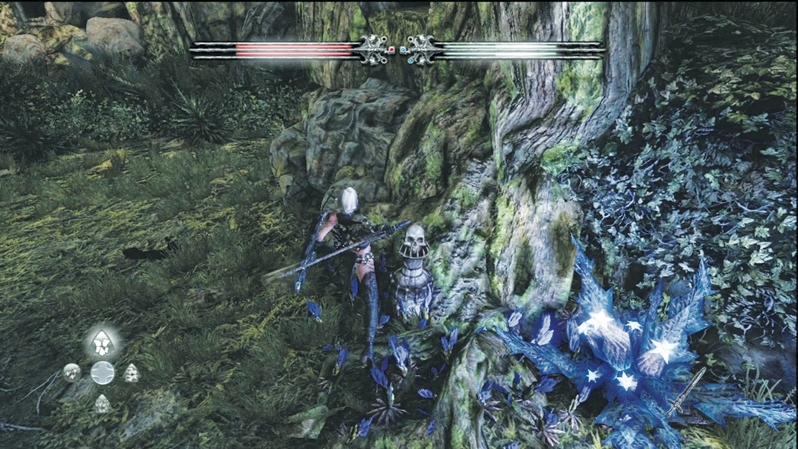
In your travels, you'll see many canisters, pots, barrels, statues, and other objects that you can break open for resources. As you gain more experience on the streets of Dyfed and beyond, you'll begin to recognize these breakables, usually by a color that sets them apart from other objects in the area (such as dark green pots) or distinctive features (such as glowing shard containers).
You commonly receive Health Vials, Mana Vials, Regenerative Vials, and Crystal Shards from breakables, though it depends upon the object you're smashing. Here's a general breakdown of the two main types of breakables:
Vases: 60% Health Vial, 40% Mana Vial, 5% chance when health is rolled to drop Regenerative Vial instead of Health Vial
Shard containers: 100% drop rate until quota for area is full; then 60% Health Vial and 40% Mana Vial
Some miscellaneous objects can be broken but won't provide any resources. Remember, too, that you can collect a lot of resources from your kills, as the monsters drop Health Vials, Mana Vials, arrows, and even gold as rewards on the battlefield.
Weapon Racks
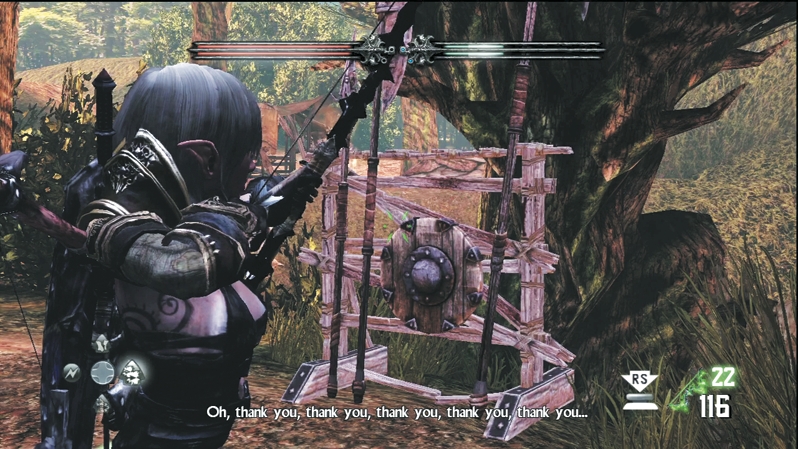
Stop for any weapon racks you find and shatter them to try enhancing your gear. Whichever character hits an item rack gets an item that is specifically for them, so bows typically drop for E'lara and melee weapons for Caddoc. Armor always has a small chance of randomly dropping in a chapter. Shields you upgrade from your victims. Though there's a small chance enchanted weapons will drop out of a regular weapon rack, you'll usually need to seek out special enchanted weapon racks to gain quality rare and epic gear.
Weapons have three quality types: crude, normal, and fine. Expect to deal more damage with a fine version of a weapon than a crude one. As you progress through the story, you'll discover greater-tier weapons. There are four tiers in all: tier 1 in Chapter 1, tier 2 halfway through Chapter 2, tier 3 at the end of Chapter 3, and tier 4 beginning in Chapter 5. It's exciting to explore for new gear, and the ever-changing nature of enchanted weapons keeps things fresh through the game.
A quick word of caution about enchanted weapons: They tend to wear out quickly. You have a limited number of charges on every enchanted weapon you find, and they go quickly, especially in a big battle, so don't be afraid to cast aside a weapon for a new one. When charges are used up, the damage of the "uncharged" weapon is lower than a crude weapon of that tier, so that's another reason to frequently switch out weapons.