
Hunted: The Demon's Forge Guide Walkthrough Chapter 2
The Catacombs
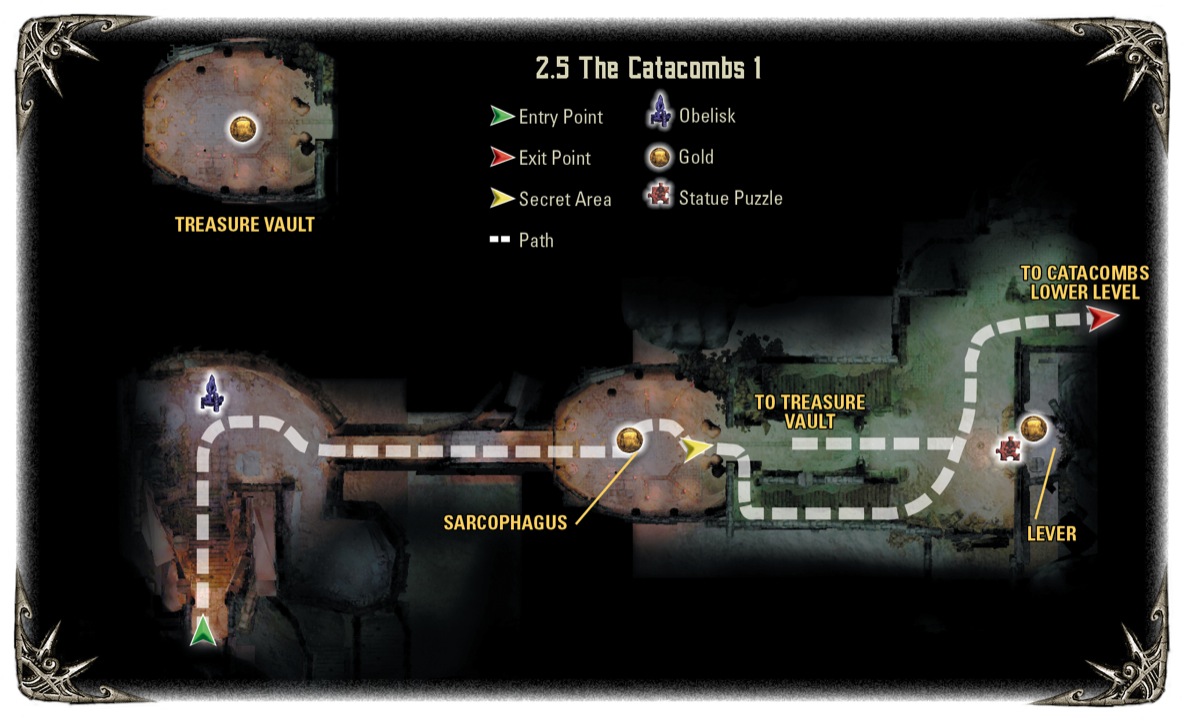
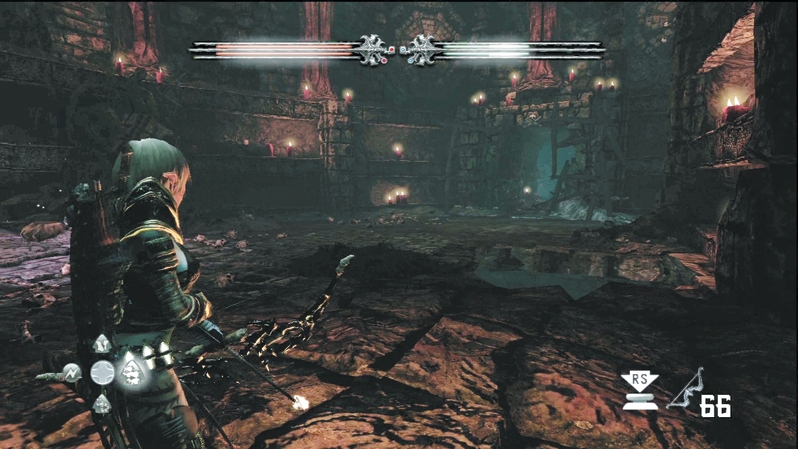
As E'lara says, it's time to look for something "shiny and expensive," and the Catacombs will deliver on that, as well as the second key for the tomb skeleton puzzles. Take the ramp down to the obelisk and turn right into the large, candle-filled entry chamber. Follow the side passage to a ramp that leads down into a familiar-looking crypt. It's similar to the crypt you raided in the previous chapter, and, as with that one, you must solve a riddle and fight a Tomb Skeleton to earn the rewards and the second of three strange keys.
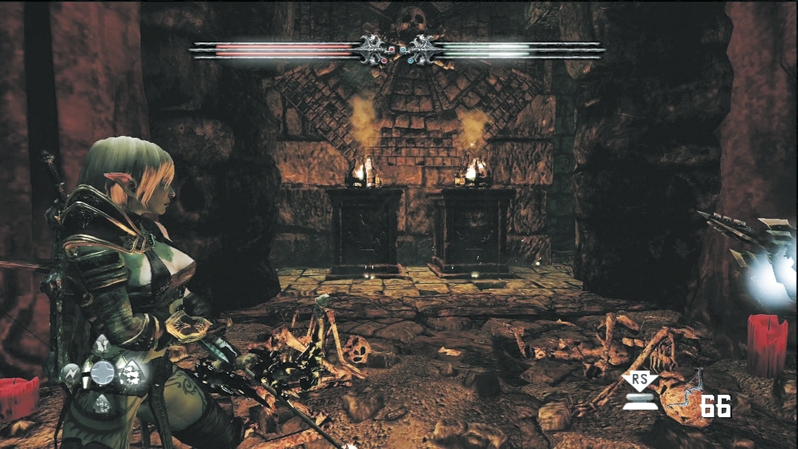
Circle the sarcophagus, being careful not to fall into the open pit in the room's center, and look for two pressure plates in front of the table braziers in the back of the room. If Caddoc stands on one plate and E'lara the other, the brazier wall slides back to reveal a passage that leads farther down into the Catacombs.
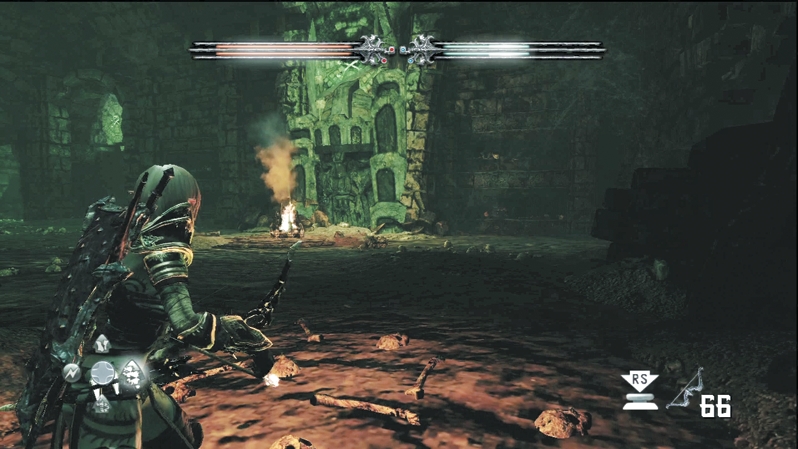
Descend to the large chamber and stand in front of the talking statue. It gives you a riddle to seek out "the life that thrives in gloom." As you're not sure what that is yet, it's best to keep exploring the surrounding area.
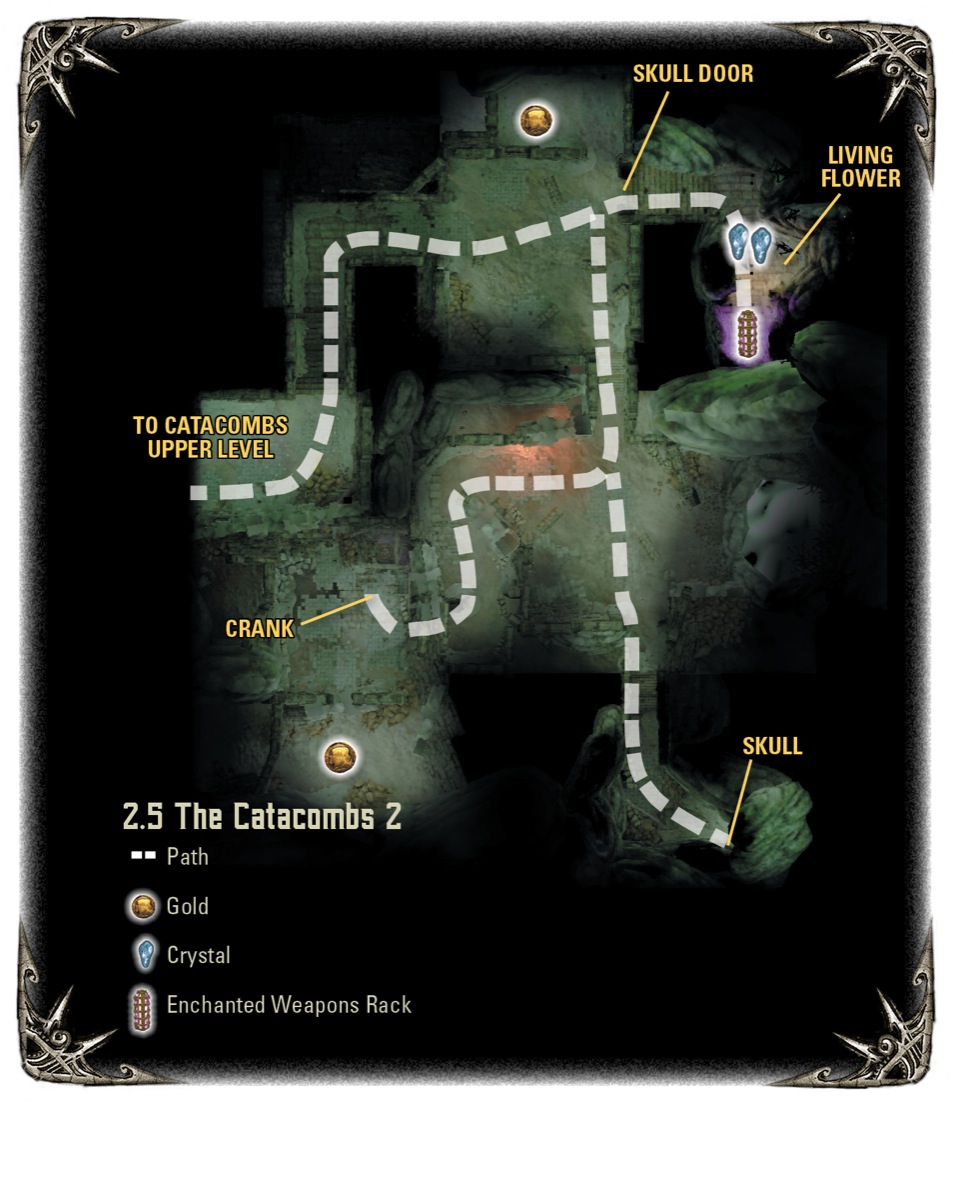
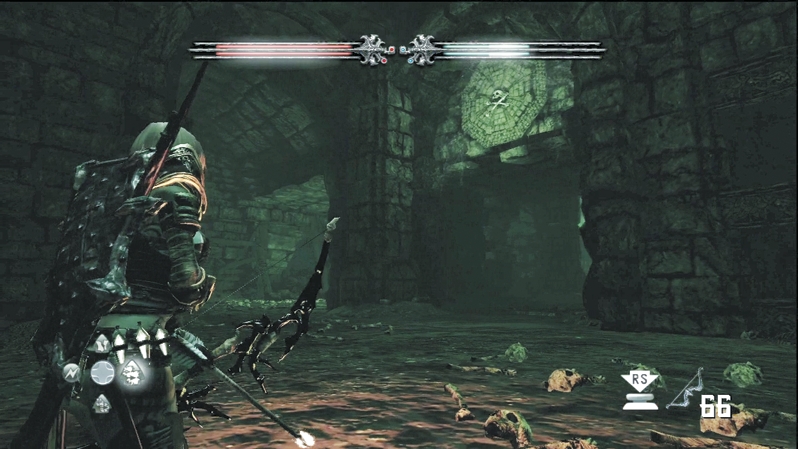
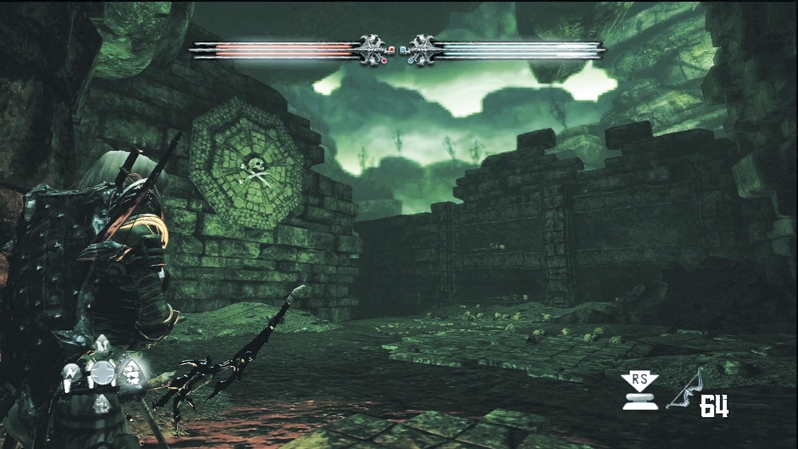
The archway with the skull above it looks promising, so head in that direction and take the stairs down from the area overlooking the green mist. Pick off a Skeleton at the bottom of the stairs and continue into the room. You're surrounded by dead bodies strung up on makeshift crucifixes. Watch out for a pressure plate that releases poison darts from the wall behind you.
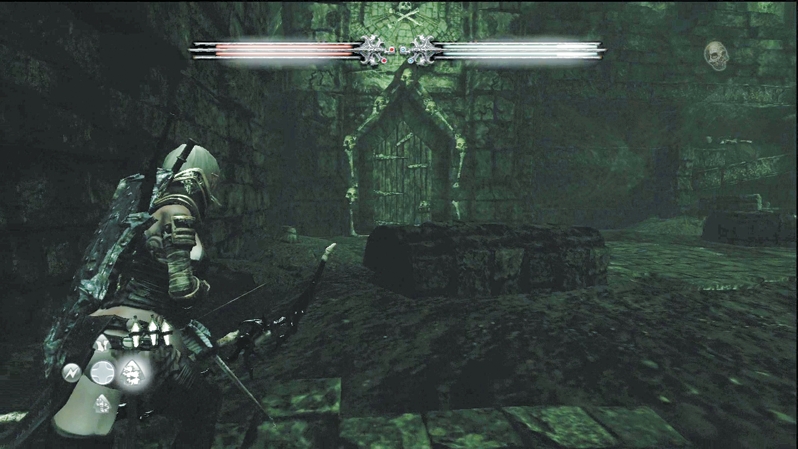
A skull is missing from the door frame in the next room. Recover it to open the door. Continue down the stairs to the level below and into the fountain area. There's a brazier behind the waterfall, but you can't light it until you shut off the water.
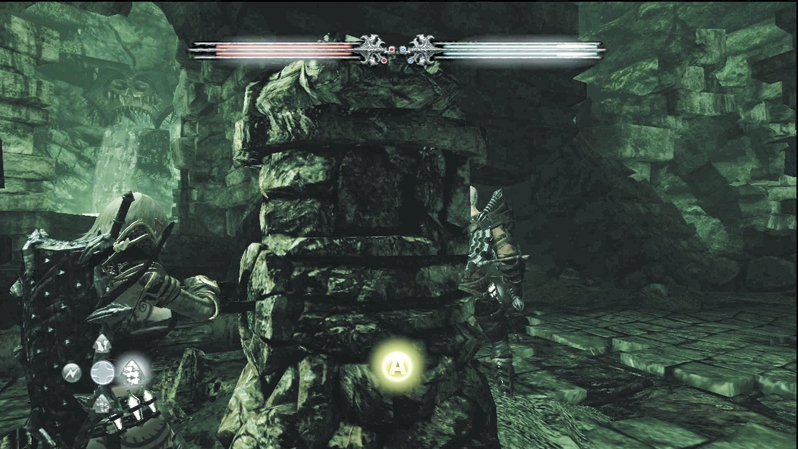
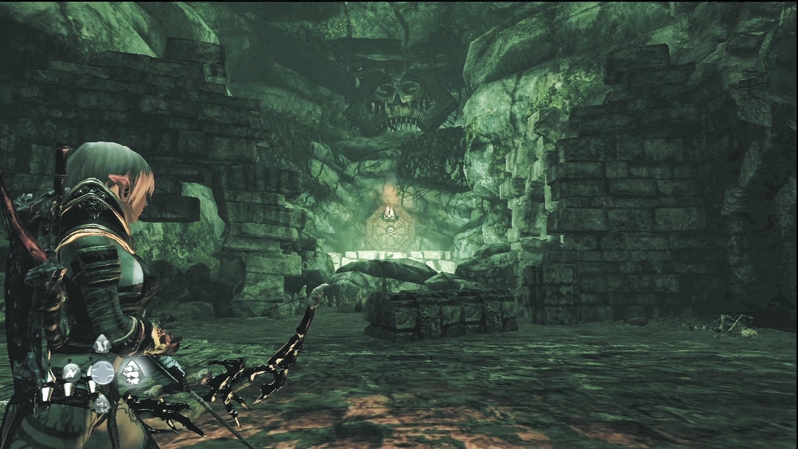
Circle around to the chamber's right and punish the Skeleton that gets in your way. When you see the stone crankshaft, turn it until the water shuts off. Fire a flaming arrow into the brazier and the portcullis next to the fountain opens. You can pick up extra gold in the side chamber next to the crankshaft, but be prepared to fight off some Aracklings.
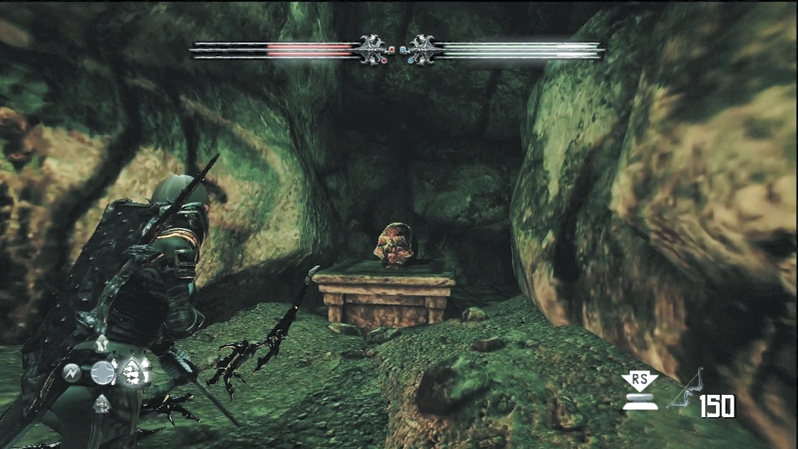
Enter the portcullis passage by the fountain and follow it down until you retrieve a skull (remember that door frame above?). A Skeleton guards the area; knock some sense into the bonehead, then retrieve the skull.
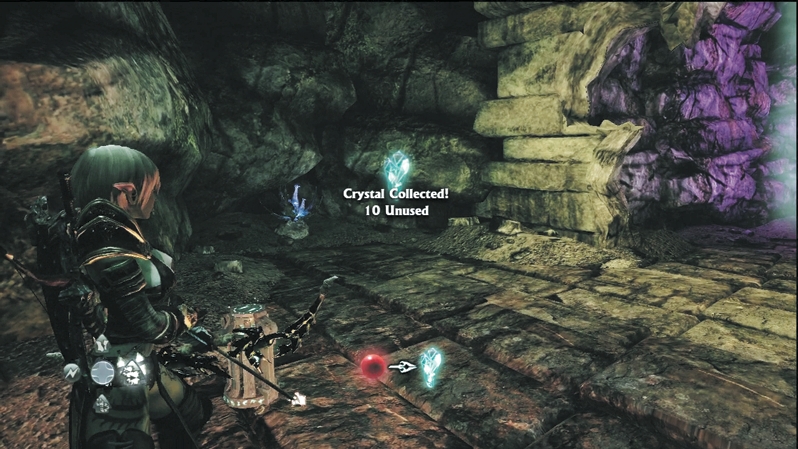
Return to the door that needs the skull. A Dread blocks the route back; you'll have to use some magic on it to escape unscathed. Once you've set the skull in its place at the door frame, the door opens and you can retrieve the contents: two Crystal Chests, an enchanted weapon rack, and a blue flower. As the only living thing down here, it solves the statue's riddle.
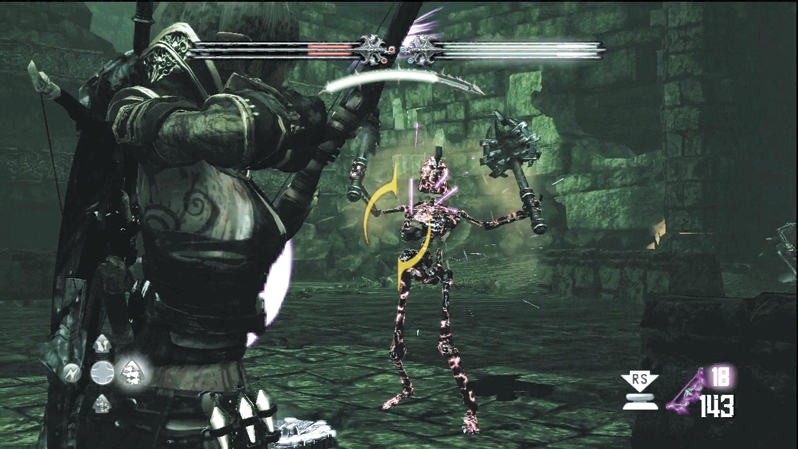
Watch out for a Skeleton ambush (led by a Dread) as you exit the flower passage. Battle the Skeletons, then pick up a gold treasure chest in the alcove to the door's right. Return up the stairs to the statue.
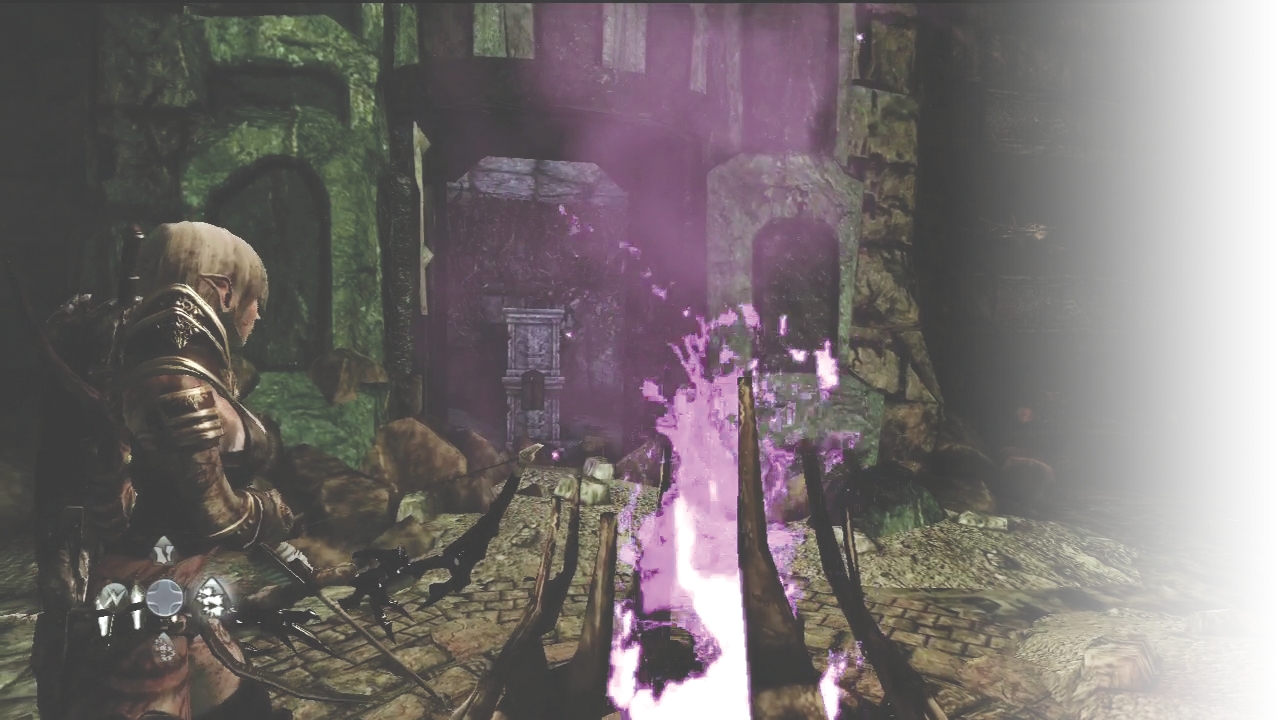
Toss the blue flower into the fire in front of the statue. The stones draw back to reveal a secret area. Grab the gold on the floor and then pull the lever. The portcullis on the wall in front of the statue rises, and you can enter the treasure vault.
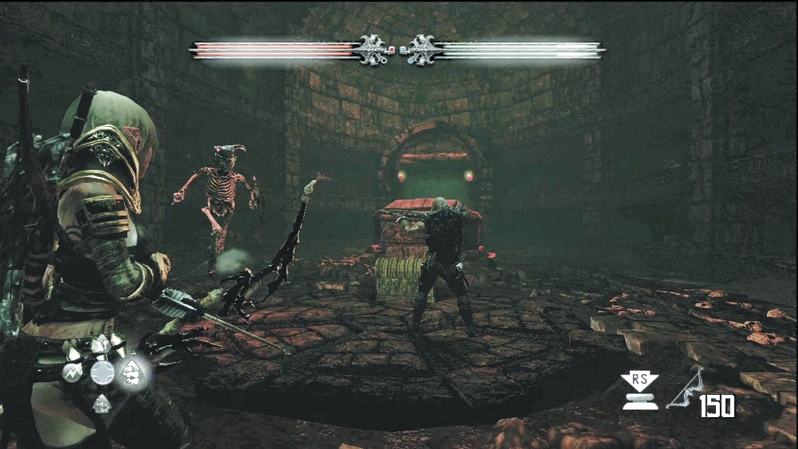
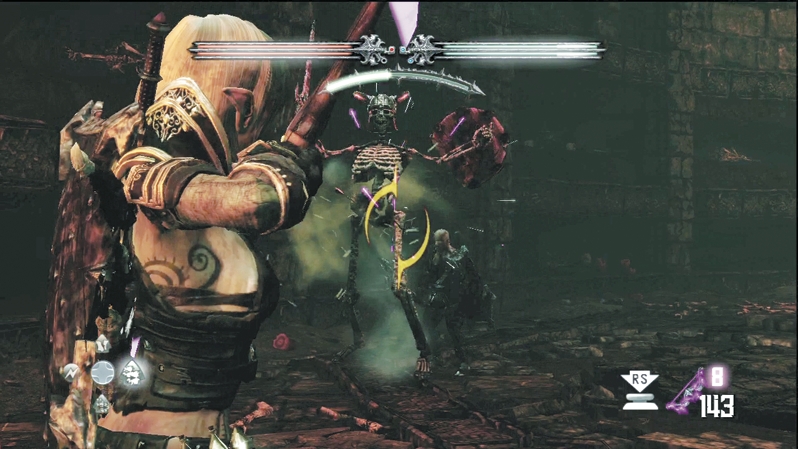
As you approach the central treasure chest, the whole floor rises up to the Tomb Skeleton's crypt above, and the owner of the crypt is not happy that you're thieving its valuables. Battle the Tomb Skeleton with everything you've got. The creature hits very hard in melee, and the cramped quarters make it difficult to maneuver. Save E'lara's Pyre Blast or Caddoc's Dash to knock the creature back whenever it approaches.
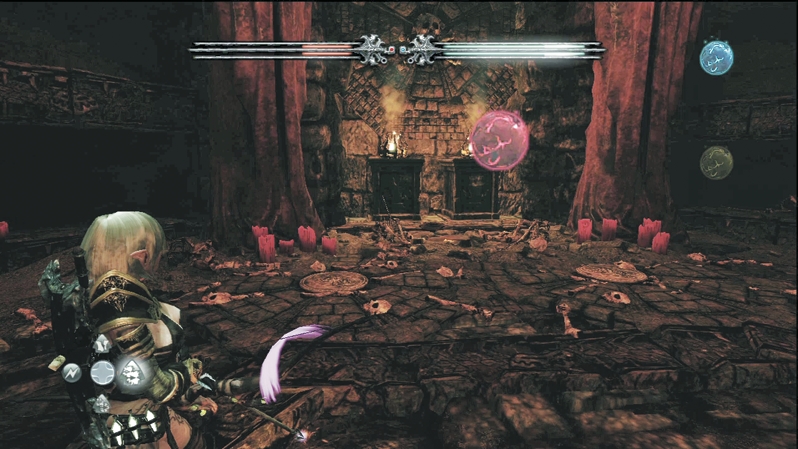
With some perseverance, you will win the battle. Grab the red spherical key the Tomb Skeleton leaves behind. Leave the Catacombs and return back up to the passage where you entered the Catacombs. That passage leads back to the Wargars and their Dyfed prisoners.