
Hunted: The Demon's Forge Guide Walkthrough Chapter 5
Quarry
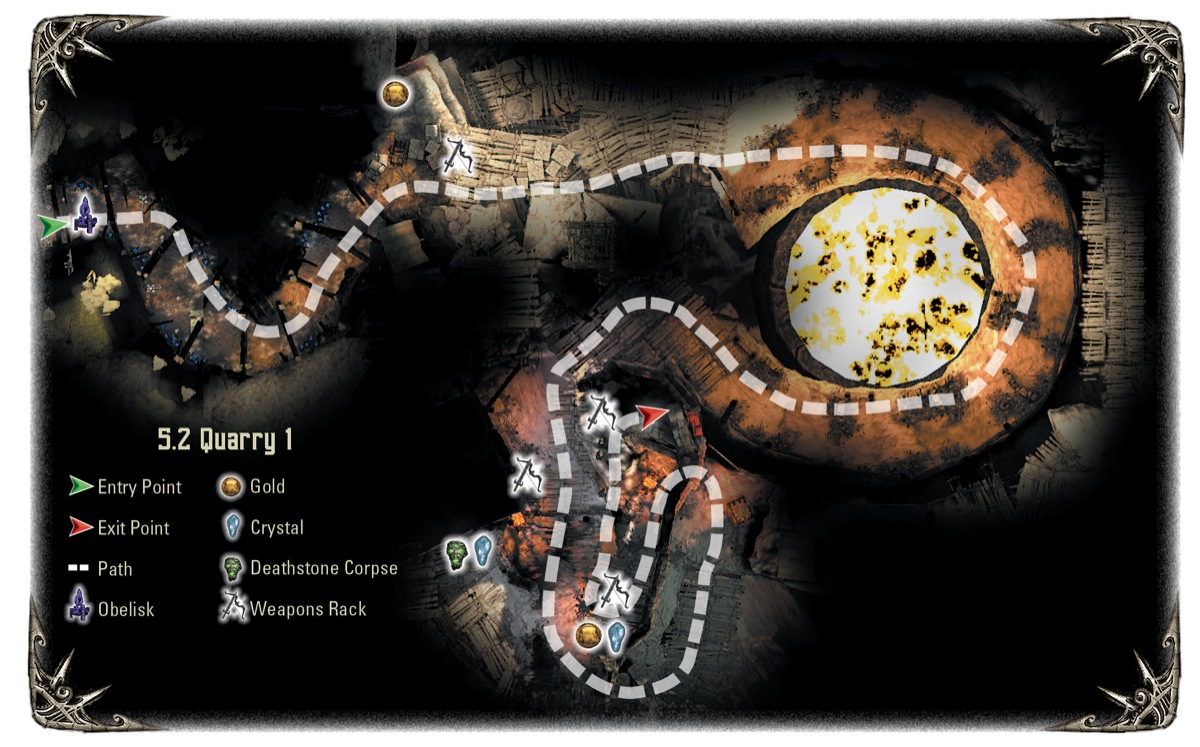
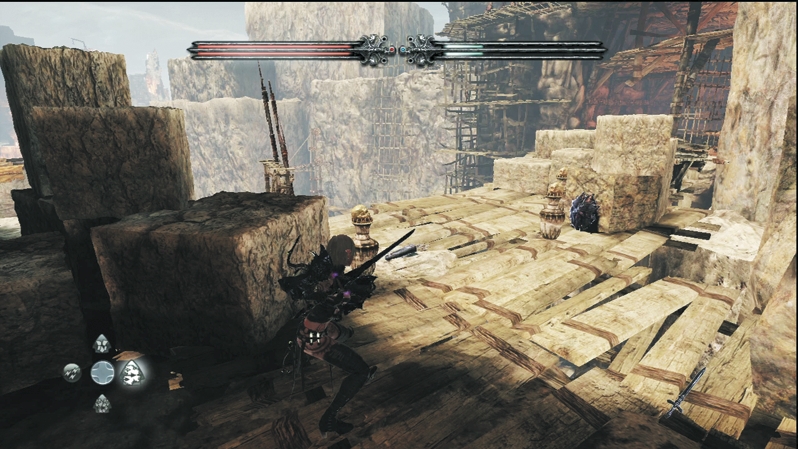
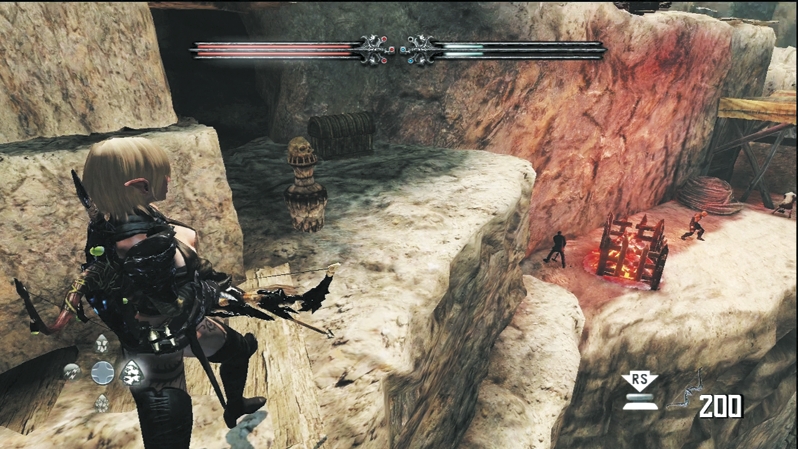
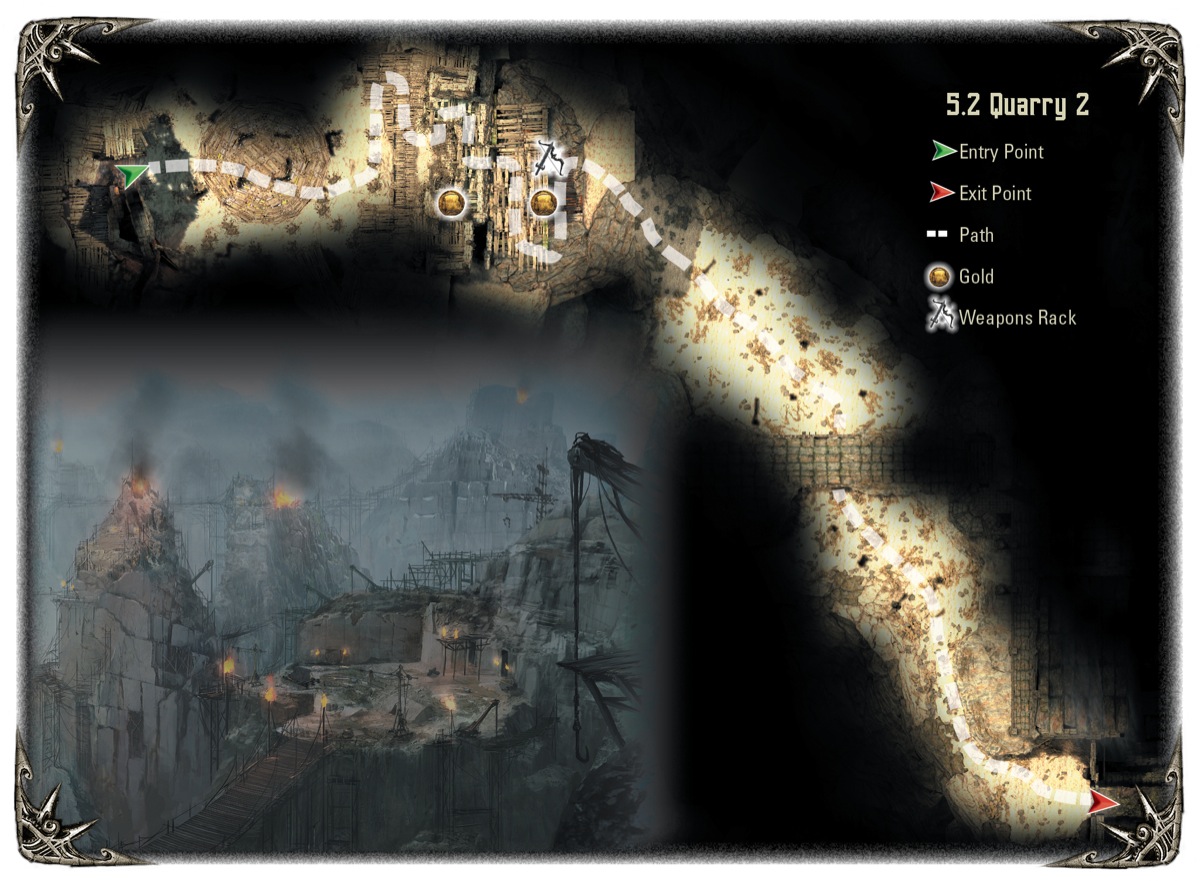
Kala Moor's inhabitants have done some serious digging over the ages, the results of which produce a huge quarry. Fill up on resources with the skull canisters and weapon rack near the entrance, and look to a ledge on your left for a gold treasure chest. After checking out the view, slide along a thin ledge to your right and approach the quarry's main section.
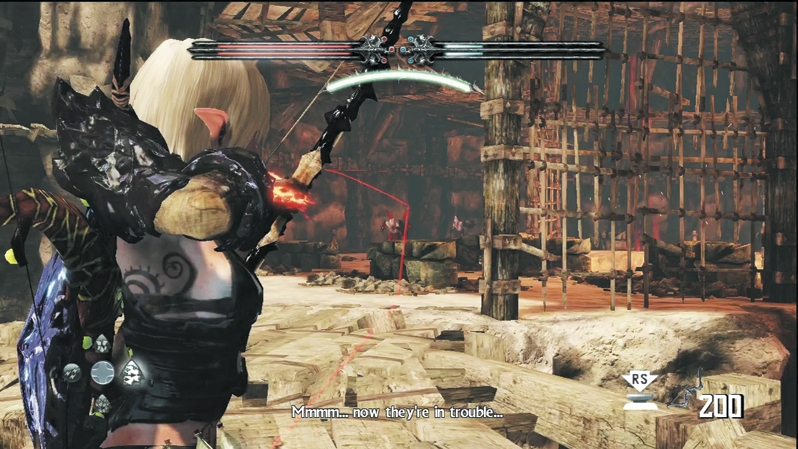
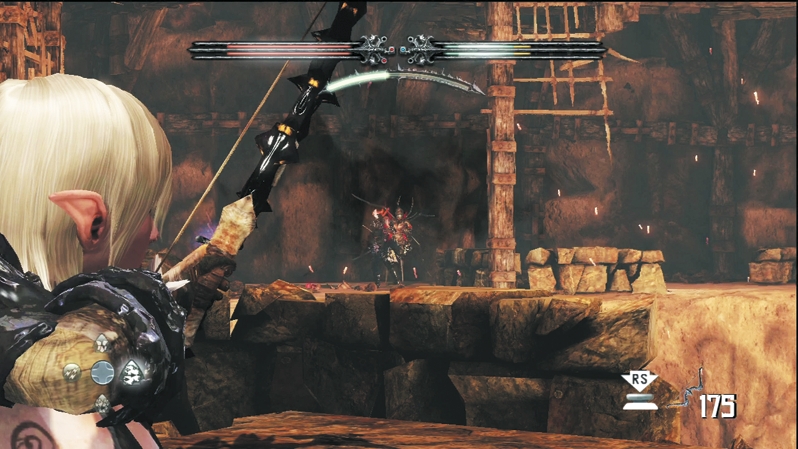
Wooden catwalks circle around the quarry's central pit; of course, enemies patrol the catwalks in droves. Expect Warriors to speed toward you once you're spotted, and Wargar Scorchers buzz arrows at you from the far side. Take cover and return fire on the Scorchers. When the Warriors arrive, break cover briefly to slaughter them, then return to cover to eliminate the Scorchers. An Infected Wargar and Minotaur Juggernaut reinforce the lesser Wargars. Stay protected from the Infected Wargar's fireballs while you slay the Minotaur at range before it can reach your position.
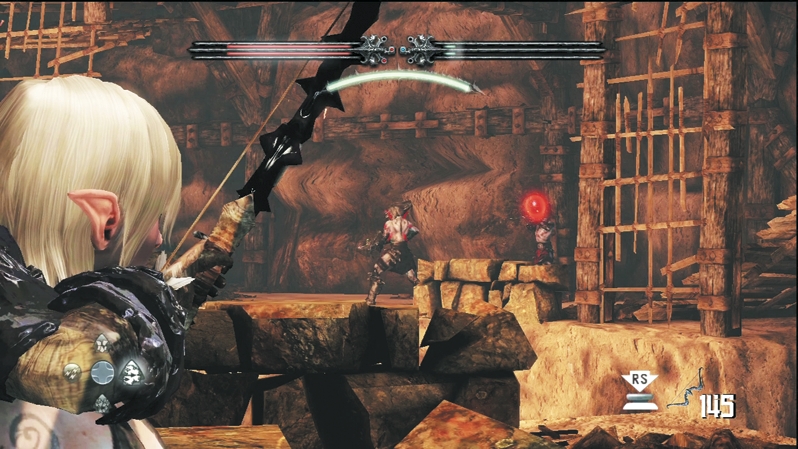
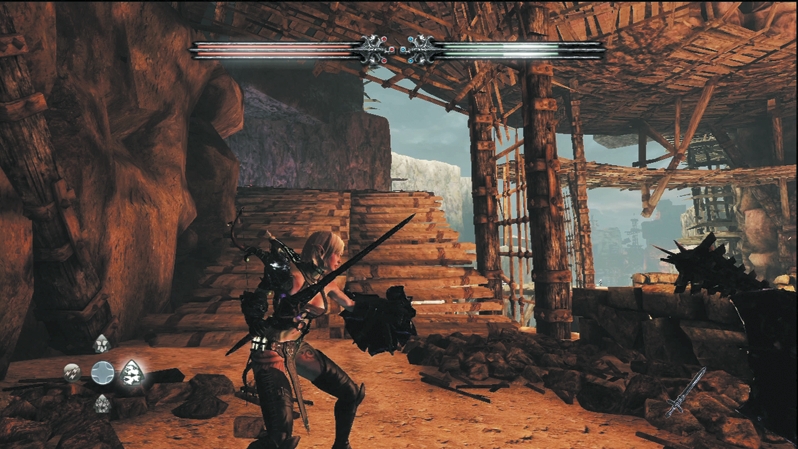
Wargar Blastcasters zero in on you from the stairs. If you advance too far out around the catwalk, the Blastcasters have a better shot at you, so stay protected behind the cover near the entrance. After the Infected Wargar dies, you can inch out until you have a good angle of your own and kill the Blastcasters before they decide to do the same to you. Circle around the catwalk slowly, making sure no more enemies attack, and reach the stairs on the opposite end.
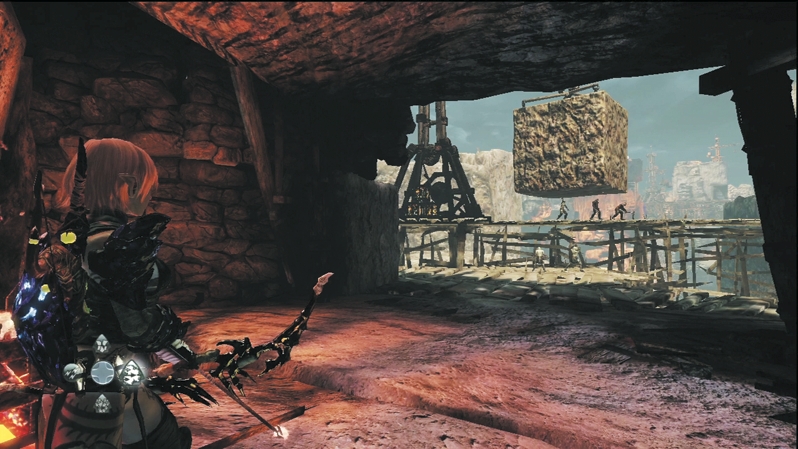
Climb the stairs until you reach a new catwalk. In the distance, Wargar work the mines near large cranes hauling stone blocks. If you shoot the explosive crates adjacent to the cranes, the crates detonate and collapse the whole works. It certainly doesn't hurt to cripple Annuvin's mining operation while you're here!
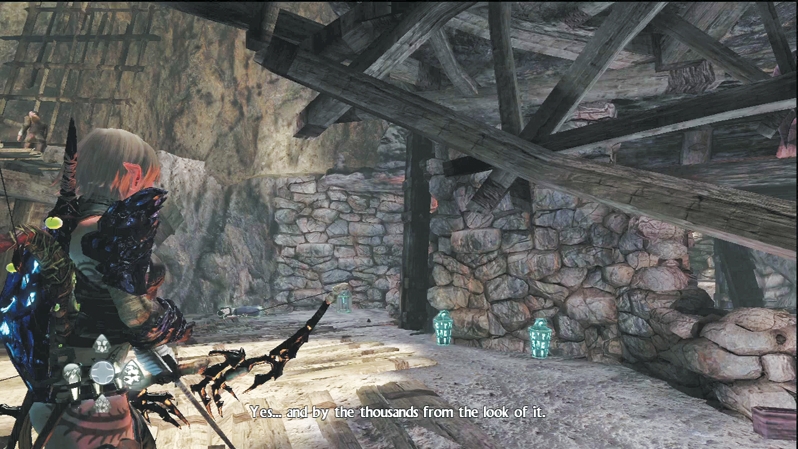
Left leads to the exit, but there's a side path to the right that descends to shard canisters, a Crystal Chest, and a Deathstone corpse. Pick up the rewards and head for the exit.
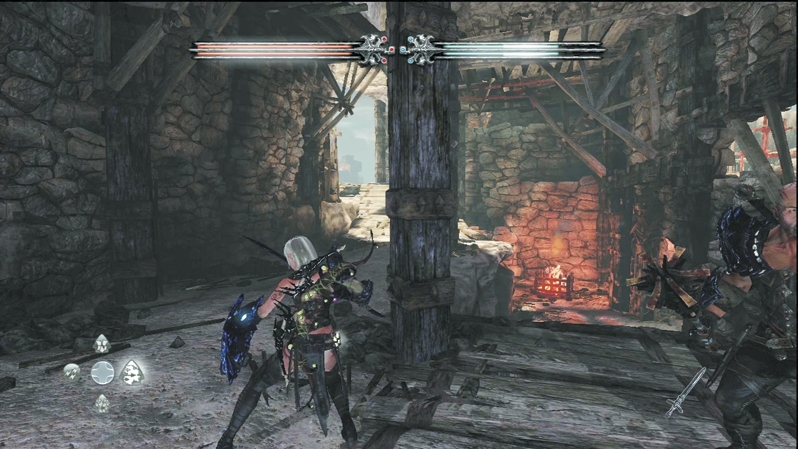
Wind up the catwalks to reach the exit to the quarry's top. As you near the bend toward the exit, look out through the woodwork and you'll spot a gold treasure chest and a Crystal Chest. Detour out to this ledge to pick up the loot before using the door to the quarry top.
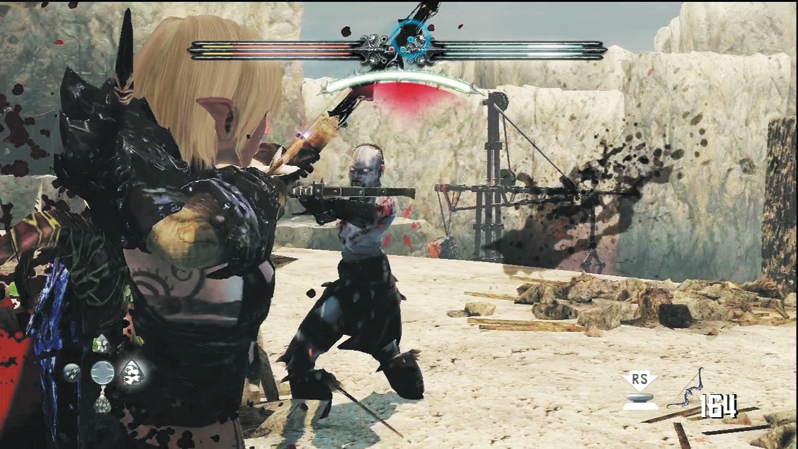
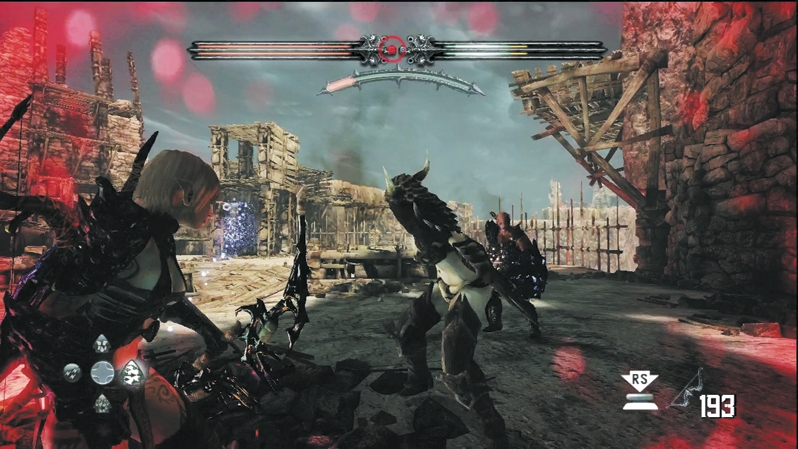
Out on top of the quarry, a Harridan seeks to end your assault. Wargar Archers support the Harridan, making it difficult to pay attention to the witch-assassin without getting an arrow in the back. Stay in motion and kill any Archer you can target. Because the Harridan teleports so often, you'll likely slay all the Archers before you finally land the killing blow against the troublesome witch-assassin. You can't catch you breath long: After you destroy the Harridan, Wargar Zealots drop off the far ledge and attack. Destroy the Zealots with Dragon's Breath, Dash, or Pyre Blast and then you're free to exit from where they entered. If you want to muck up more of Annuvin's mining works, there's another crane you can explode off to the side.
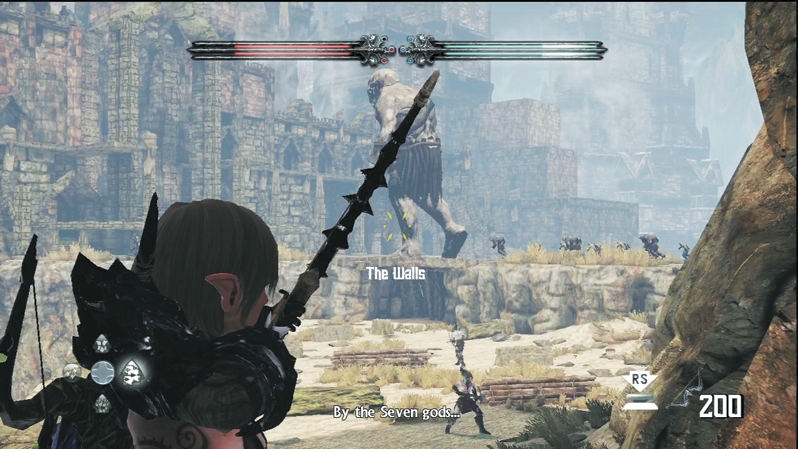
Climb through the debris as you travel down the quarry's side. After the first tight squeeze, look for gold coins and a shard canister in a right alcove. Eventually, stairs will take you back outside again, where you'll see a towering ogre lumbering toward the fortress's main gate. Don't worry—you don't have to fight the ogre, but you do have to cross two heavily guarded clearings.
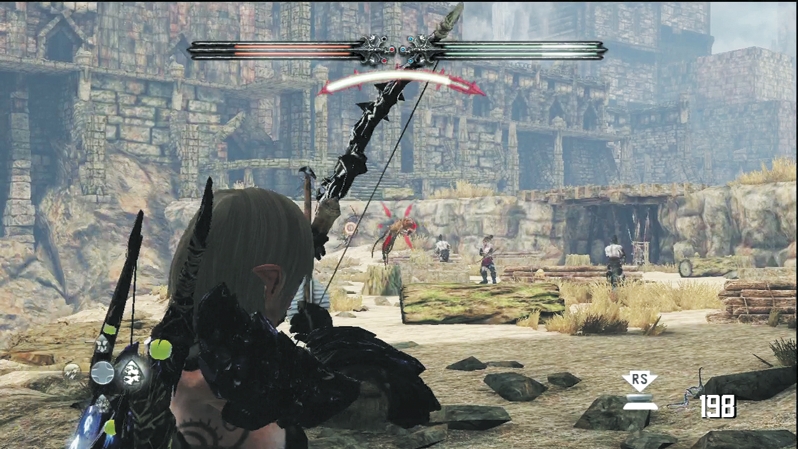
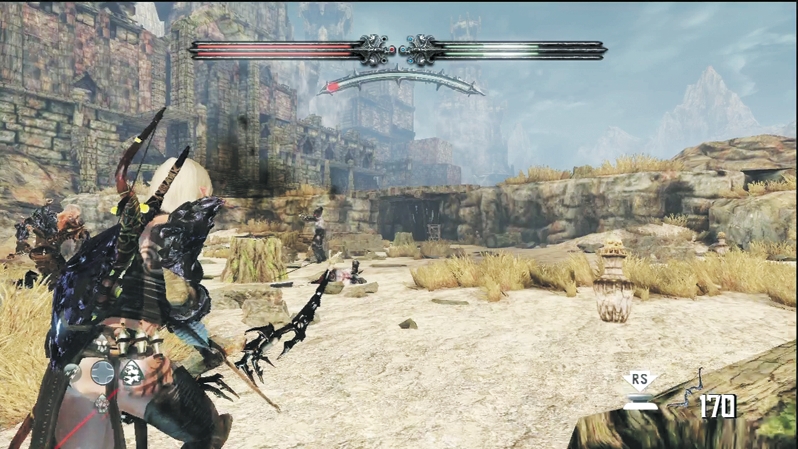
In the first clearing, Eyes of Annuvin, Wargar Archers, and Wargar Zealots patrol back and forth. As soon as you enter the area, a ballista up on the fortress walls (which you can't reach) starts firing explosive bolts down at you. You won't last long if you stick and fight. Shoot down the two Eyes of Annuvin first so that you won't get stunned and can see where you're going. Rather than trade blows with the remaining Wargar, beeline for the safety of the underside of the bridge. The ballista can't aim at you under there, and there's a gap you can access to cross into the second clearing.
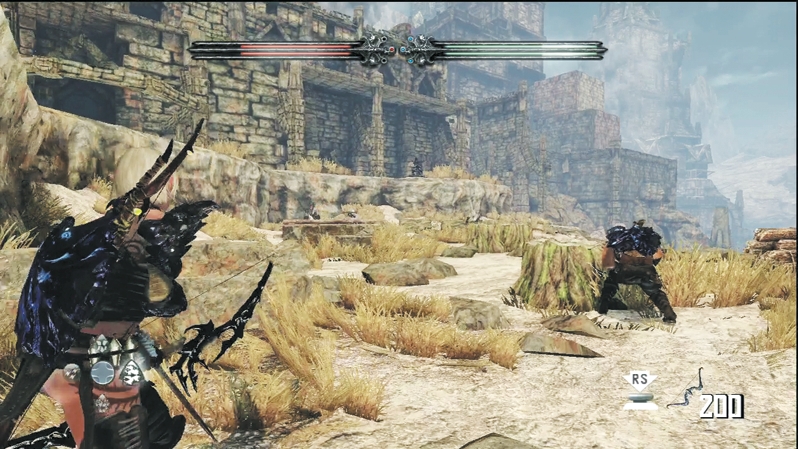
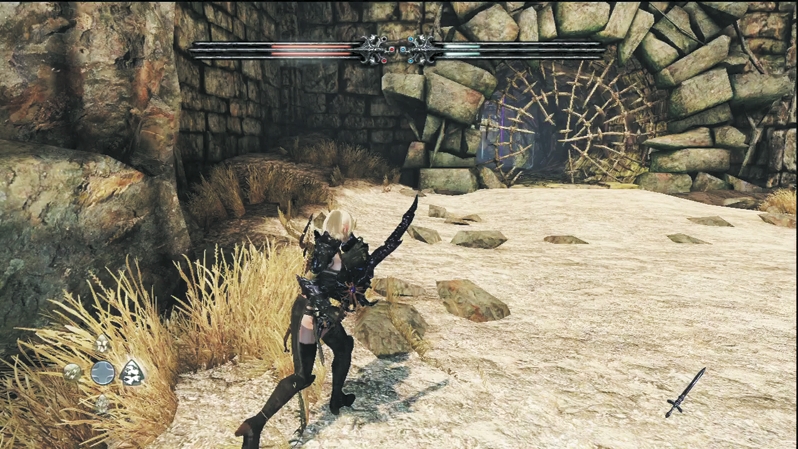
Wargar Blastcasters and Wargar Archers defend the second clearing, but you can virtually ignore them. You have the same problem: the ballista will blow you to chunks if you stand and fight. Stay up against the cliff to your left—the ballista can't see you then—and sprint past the enemies. A short distance ahead, a broken sewer crate presents an opportunity to sneak into the fortress without challenging the main gate.