
Assassin's Creed Rogue Guide Walkthrough Sequence 06
Memory 05: Non Nobis Domine
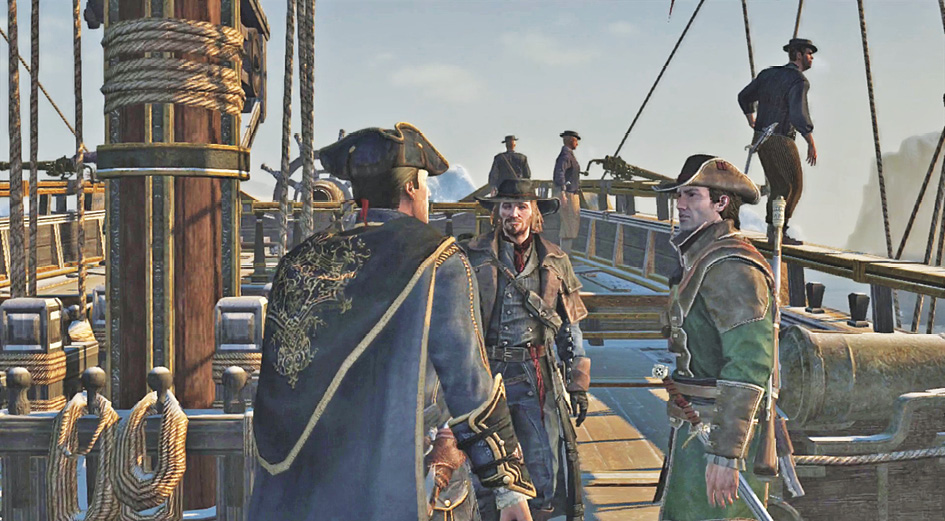
Sail toward your meeting point and start the last leg of this journey. Things are coming to a head.
Reach the Assassin Expedition
After a short scene, you’re taken out onto the ice. The Assassins are close to finding something important, but you have a chance to intervene. Walk through the gap in the glacier ahead and cross a canyon of ice floes and water. Climb up the far side and get onto safe ground at the top. This won’t take long, and then you get a good view of the Assassin’s ship.
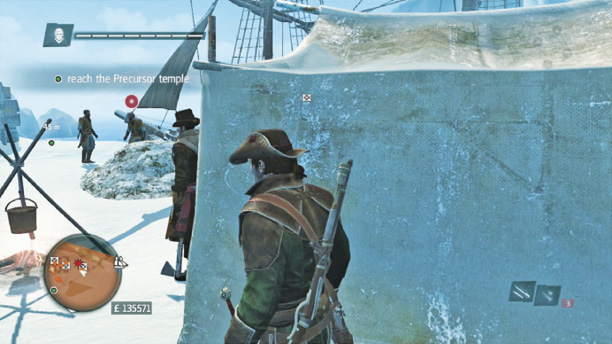
Your enemies have set up a camp on the floe here. There are brigands all over the place, but they’re not watching the ledges where you enter the area. There’s plenty of time to plan a route through. You can put the enemies to sleep, cause a distraction, or leap down into deadly combat. There aren’t special objectives to worry about, so use the method that you enjoy the most.
There aren’t many good ranged defenders in this camp, so you’re quite safe if you set up on the ledges and fire down on your targets.
Whatever the case, there are ladders at the other end of the floe. Walk over to those and climb toward the waypoint. You’re separated from your companion, but this won’t stop Shay from continuing.
Reach the Precursor Temple
Two small camps of brigands are sitting between you and the next waypoint. There are only a few defenders at each, so grenades clear them out really well (and ambushes do too).
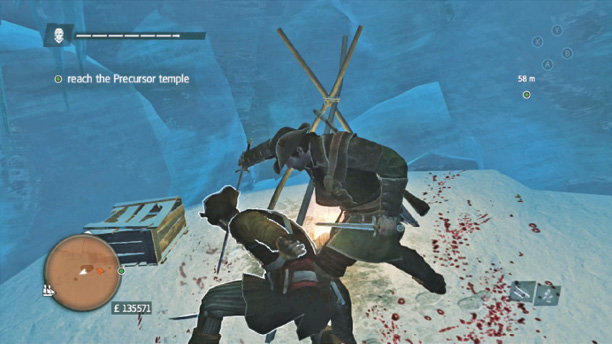
The larger fight is in the huge cavern that opens up soon after you pass the second camp. Many more brigands are down there, including ranged troops and melee fighters. If you want to be quick about the whole affair, race along the top and middle of the room and climb the far side to escape before they can react. This is effective and extremely fast, but may not be as much fun if you enjoy sneaking or slaughtering.
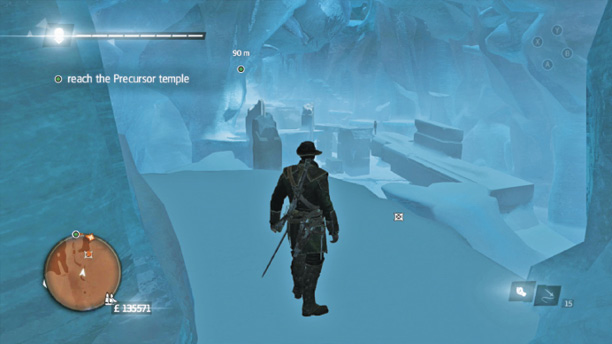
The narrow corridor comes to a room with special technology. The way is occasionally blocked by a white barrier of energy. During a short cutscene, you find out what happens to people who try to force their way through the barriers. Don’t try it!
Instead, wait patiently when you see the ground start to crackle. The energy rises to fill the corridor but recedes before long. Hurry through to the other side of the room. You’re safe, for a moment.
The heart of the temple is guarded by an even more complex machine that has those energy barriers all over the place. You need to move slowly and carefully through the room. The first section is a jumping puzzle that requires you to leap from pillar to pillar behind the barriers as they close. Wait too long and they’ll open back up on you. So barely wait for the energy to fade before you leap onto the next pillar.
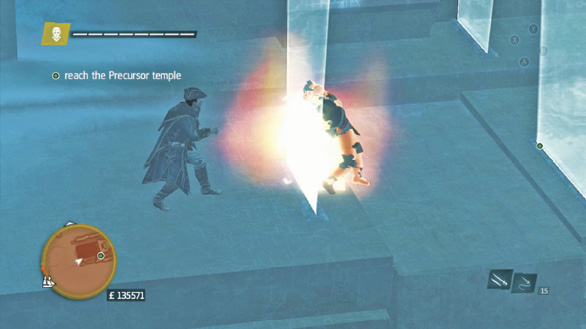
This gets you to another bridge. Cross it toward a wall that has moving handholds and more barriers. Get onto the vertical block that moves down toward you, and pull Shay up before he gets hit by the energy bridge that lights up.
When the platform reaches the top of the room, move to the left across another mobile platform. Take this farther left, then use the same techniques to get back down and to the far side of the room.
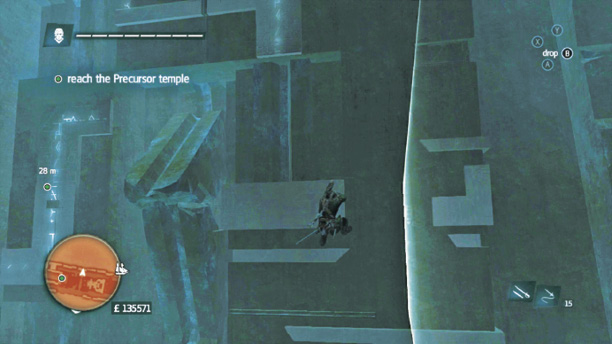
Your last obstacle is a pillar with multiple barriers emanating from it. Jump onto the scary-looking thing and shimmy left when its power fades. Climb up to avoid the next obstacles, and then back down after you pass it. At the end, you can leap to the stairs where your waypoint is located.
Advance until you reach the next cutscene.
Kill the Assassin
Optional: Do not hit energy beam walls
Optional: Do not get shot
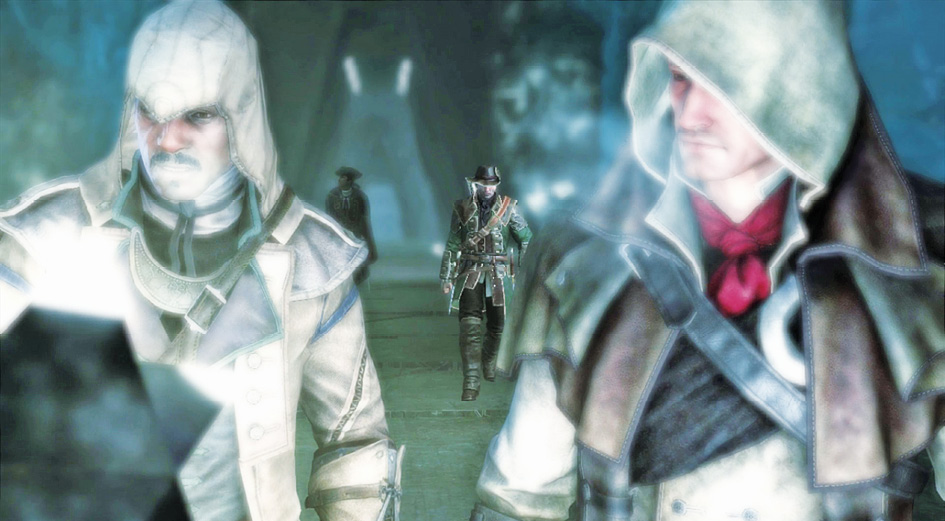
Watch the scene and get yourself ready for the best chase in the game. This is another sequence that is difficult to win with basic tricks; it’s more about dodging and knowing the area. It’s quite doable even without practice runs, and you can always reload if you want to get it down perfectly.
The real challenges begin when you get past the collapsing rooms and start to confront the Assassin you’re chasing. He’ll have a great angle of fire on Shay, and you need to use the ice barriers on the sides for cover. That would be fairly easy if you didn’t also need to get through the energy barriers.
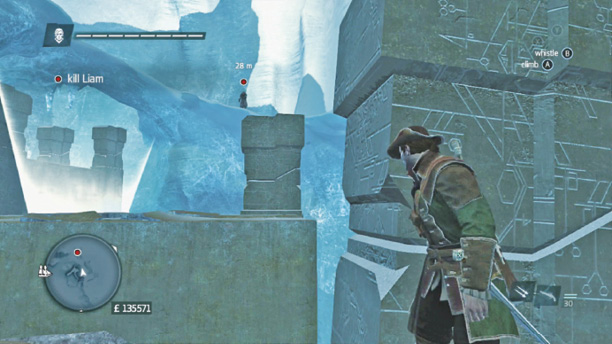
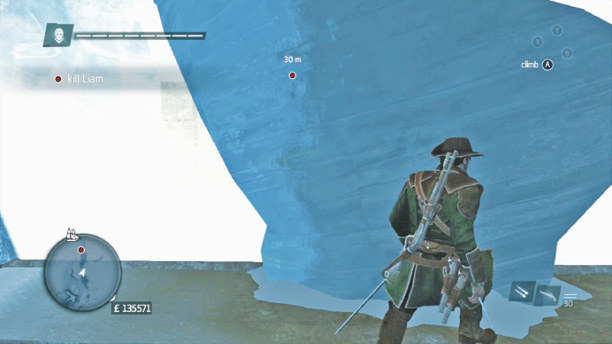
Do this safely by running between cover only after your enemy has missed his timed window for attacking (watch the red circle to see when he’s about to fire). When you have a cycle or two to move, wait for the energy barriers to fade. If you try to time your movements by the barriers first and then the Assassin second, you’ll probably get shot and lose your optional objective.
There are two sections of this, and the second one is even more demanding. Don’t try to make the last jump until the Assassin leaves his position and flees.
Having done all of this, you don’t have to go through a duel to finish things. Instead, run to the end of your ledge and use an air assassination to defeat your opponent.
Return to the Morrigan
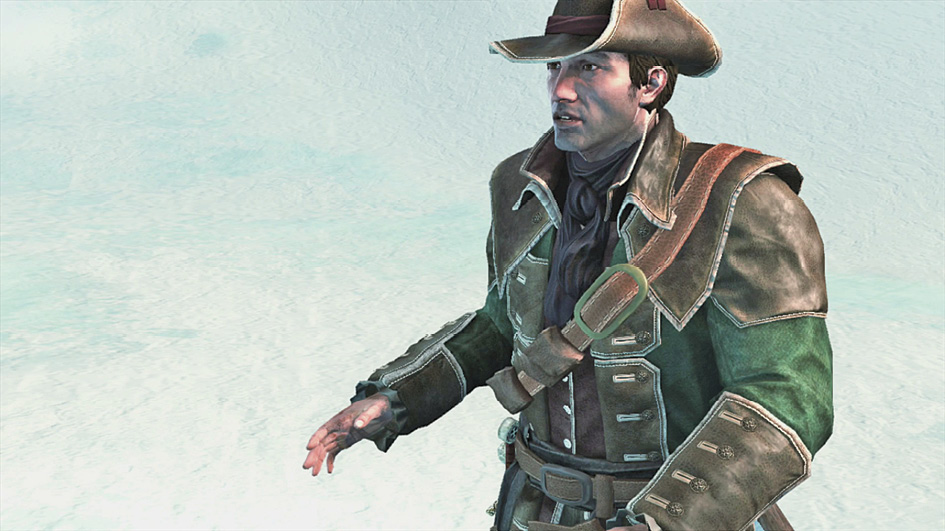
Stay on the ledges to the right and take the open path back to your ship. Another awesome scene takes place when you reach the Morrigan. Watch that and complete this sequence. You unlock the achievement/trophy “Brotherhood Broken” as the scene closes.