
Assassin's Creed Rogue Guide Walkthrough Sequence 05
Memory 02: Bravado

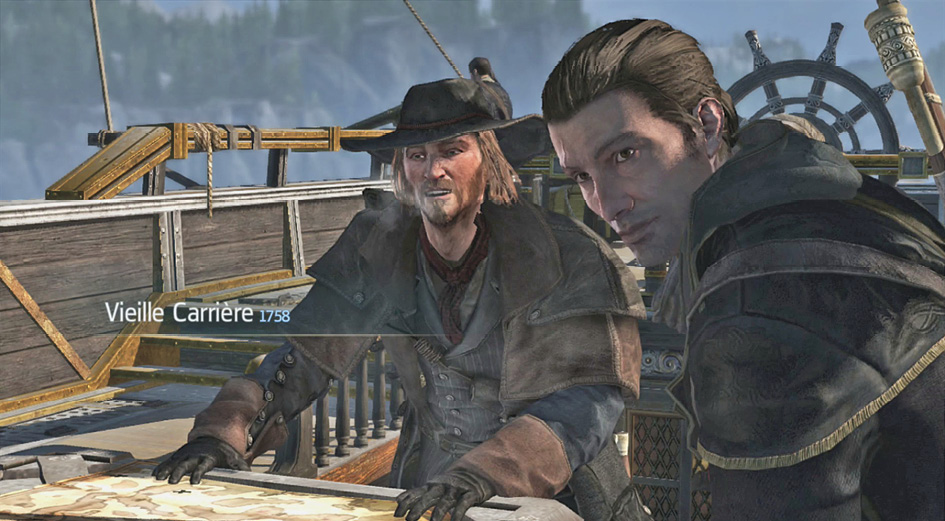
The memory begins with another meeting between ships. Listen to Christopher’s friend and set sail afterward. Stop only if you need to get extra ammunition or general supplies before you head out. Make sure that your ship has all of the mortar ammo it can carry, just in case you need it later.
Sail to Port Undetected
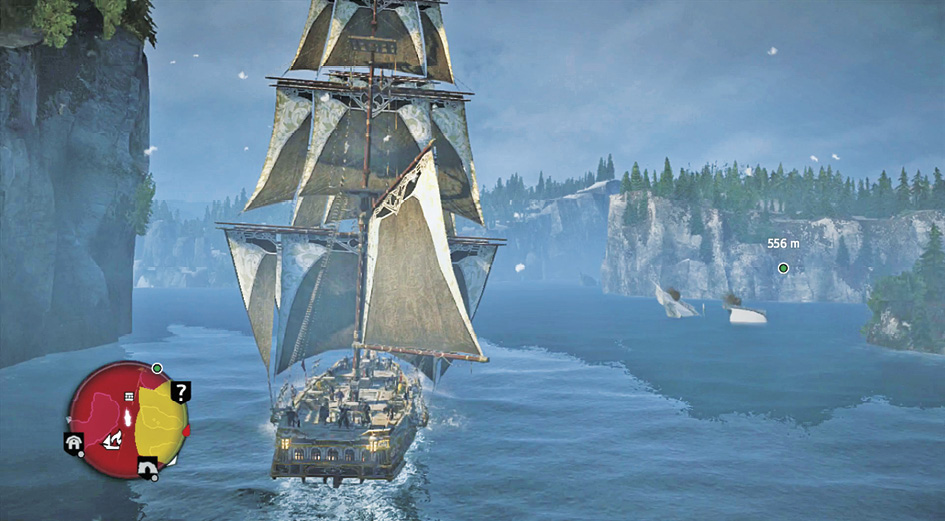
Sail west through the channel and slow down when you spot the massive capital ship ahead. It’s guarding the channel, and Christopher thinks that you shouldn’t start anything against it. You might feel otherwise, but this is a better time for discretion rather than valor.
Wait a moment for the enemy ship to clear the area, and then set sail again. Stick toward the southern side of the waterway to avoid detection, and go to the western edge of the map. Come up to the marked port from that angle and you won’t have any problems.
Dock the Morrigan at Ile Des Pins and walk inland. There are French soldiers (and bears) along the way, but nothing attacks you in substantial numbers, and the French haven’t signed any treaties with the bears, so you won’t have to worry about alliances between the two.
Location: Ile Des Pins
|
Points of Interest |
Number of Items |
| Chests | 4 |
| Viewpoint | 1 |
| Animus Fragment | 1 |
| Letter | 1 |
| Templar Map | 1 |
| Assassin Interceptions | 1 |
| Renovations | 1 |
| Black Bear | N/A |
| Beaver | N/A |
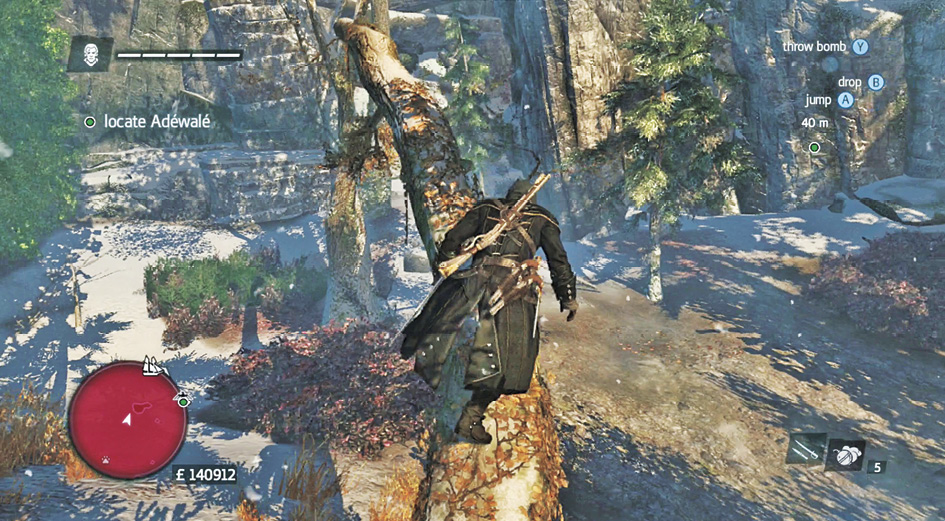
Otherwise, the main path leads you to a lovely valley that doesn’t seem to have a way forward; look for a downed tree that gets Shay up higher in the area, and from there it’s easy to spot the way up and around the cliffs.
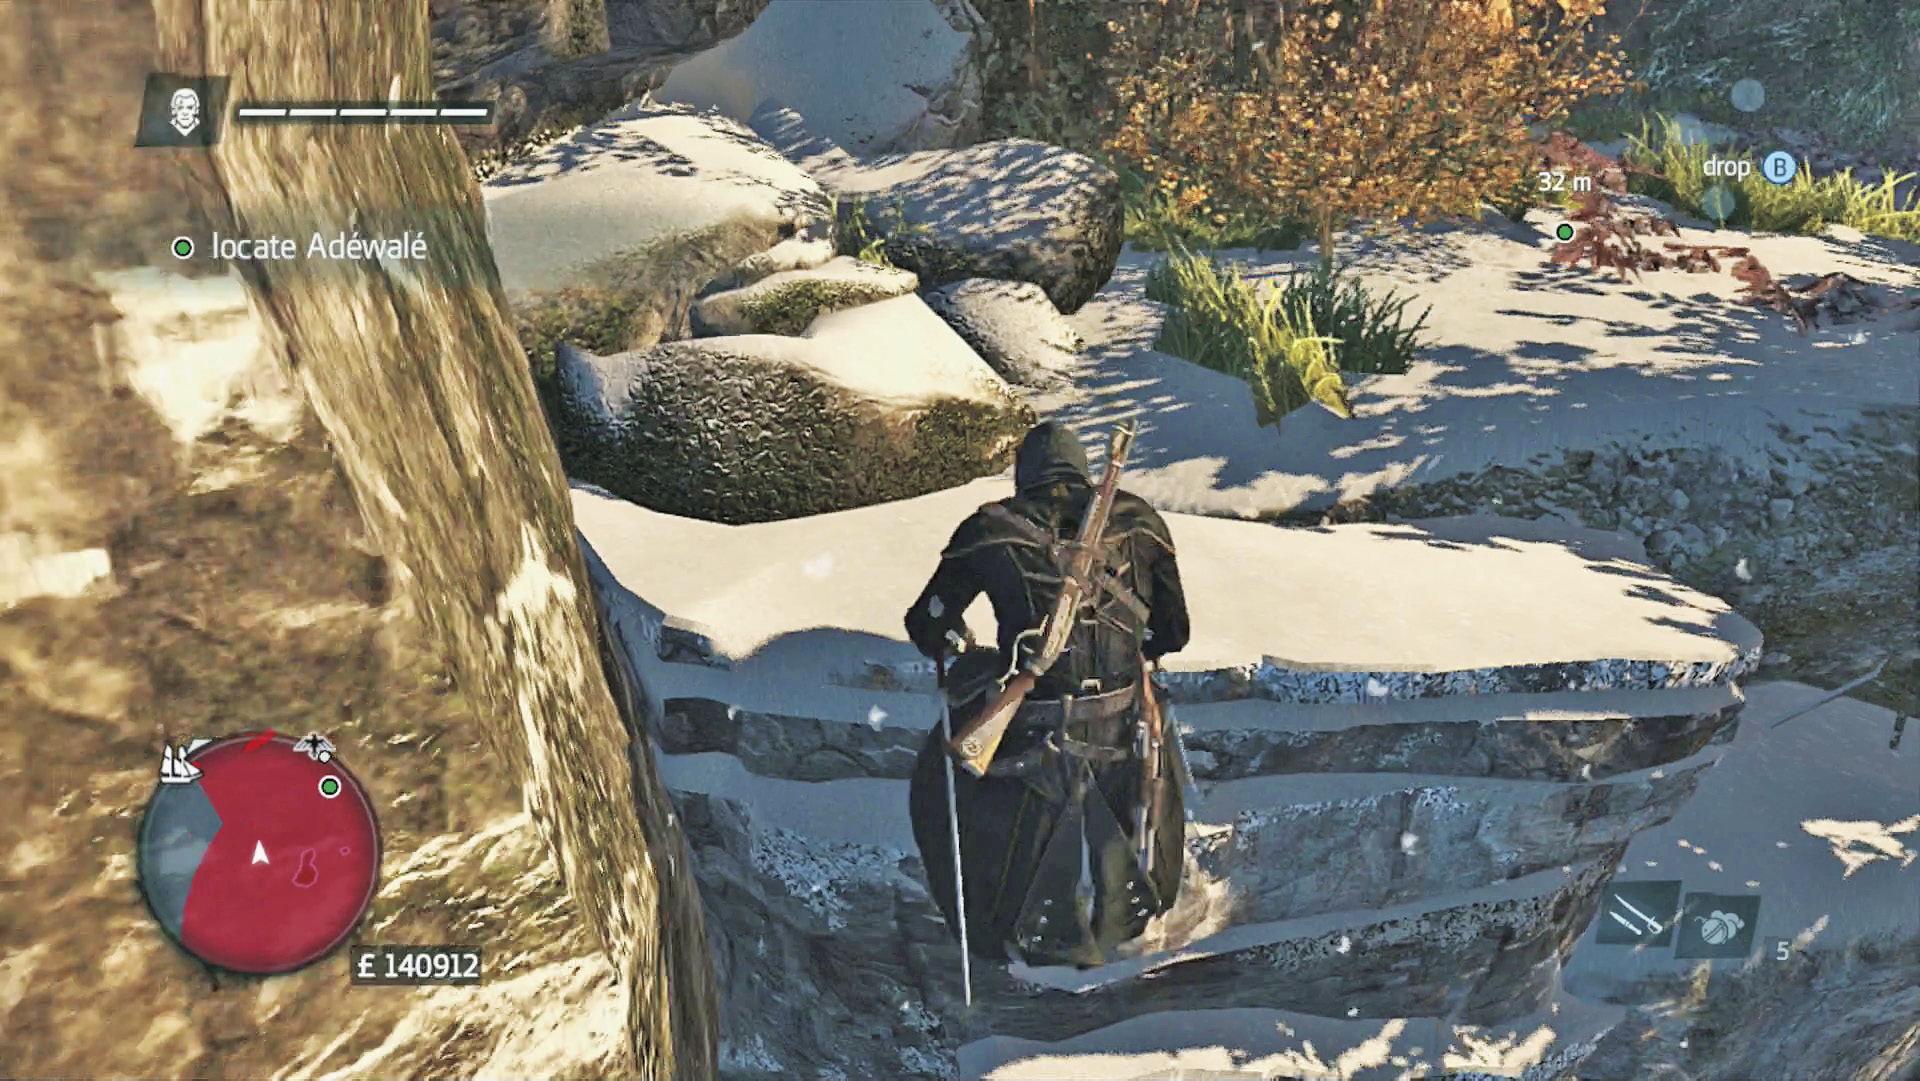
The upper ledges take you to a Viewpoint that overlooks the town beneath the hills. Use that to see everything below and plan your next move. The entire region is restricted, so stealth or an outright assault is more effective than trying to blend in.
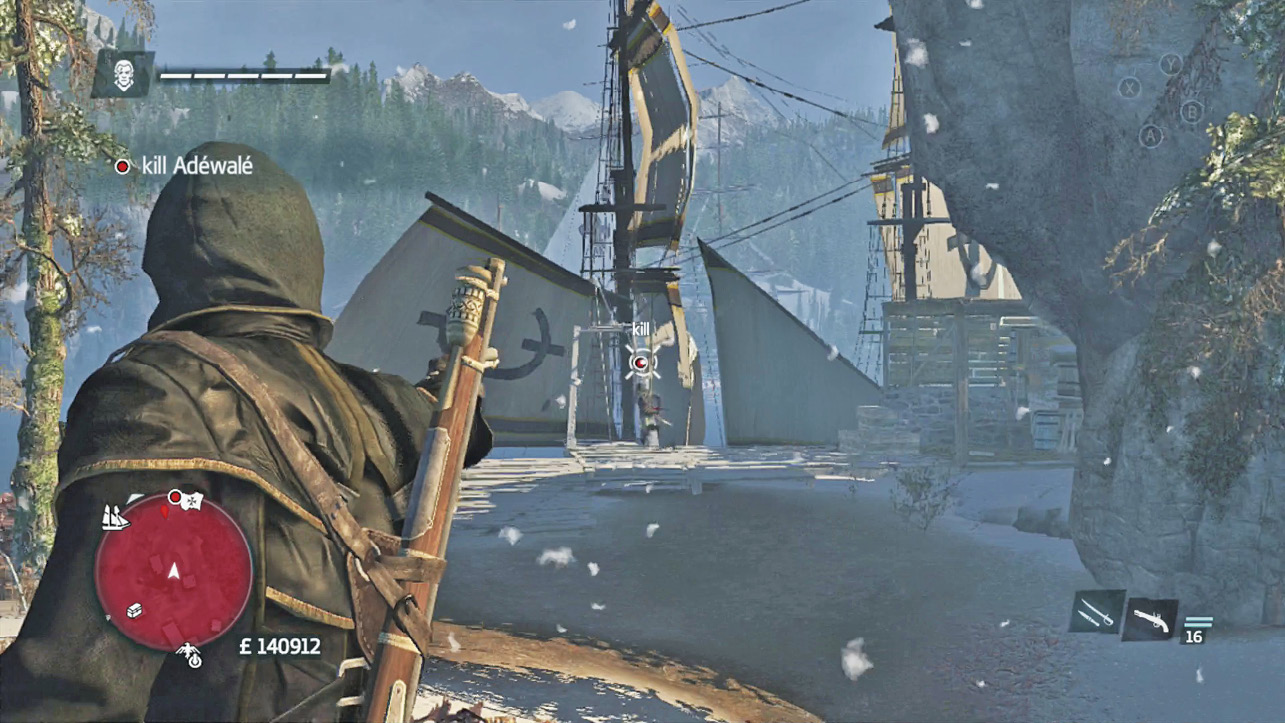
Jump down into town with a Leap of Faith, and get onto the rooftops if you’re avoiding attacks. Your target isn’t even inside the town proper, so hunting through the streets won’t get you too much (though there are a few stashes of ammunition if you’re running low on any supplies).
Kill or disable the gunners on the upper sections, and sneak toward the cliffs on the northeastern edge of town. You find your mark there, but he’ll dash off as soon as you make an appearance. Hurry back to the Morrigan to pursue your quarry and secure the kill.
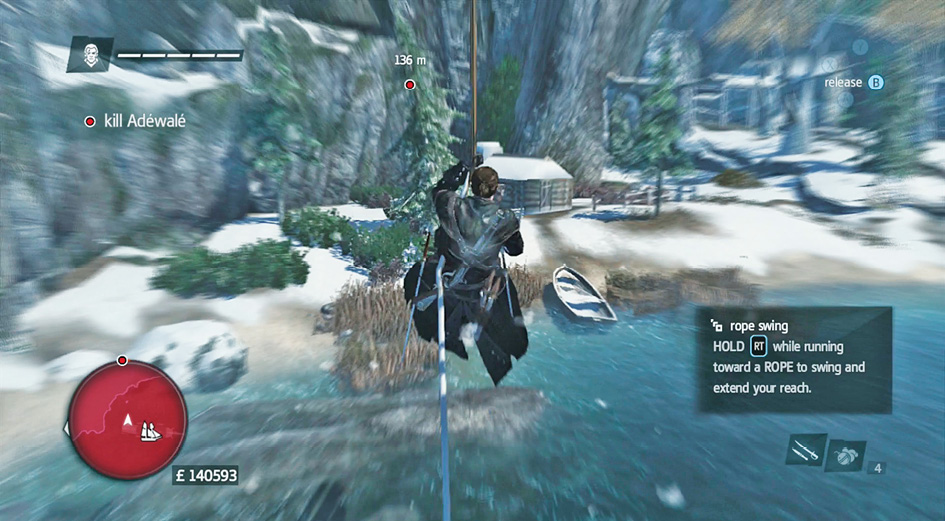
Even if you’re spotted in town, you have the option to charge past everyone and seek the Assassin on the hill. He flees so quickly that you won’t have to worry about pursuers. Keep charging after him, Break Defense to avoid being tackled if scouts get close to you, and use the rope at the end of the cliff to get back down to your ship. None of the guards are going to follow that route!
Kill the Assassin (Part 1)
Optional: Do not let the Morrigan get hit by mortar fire
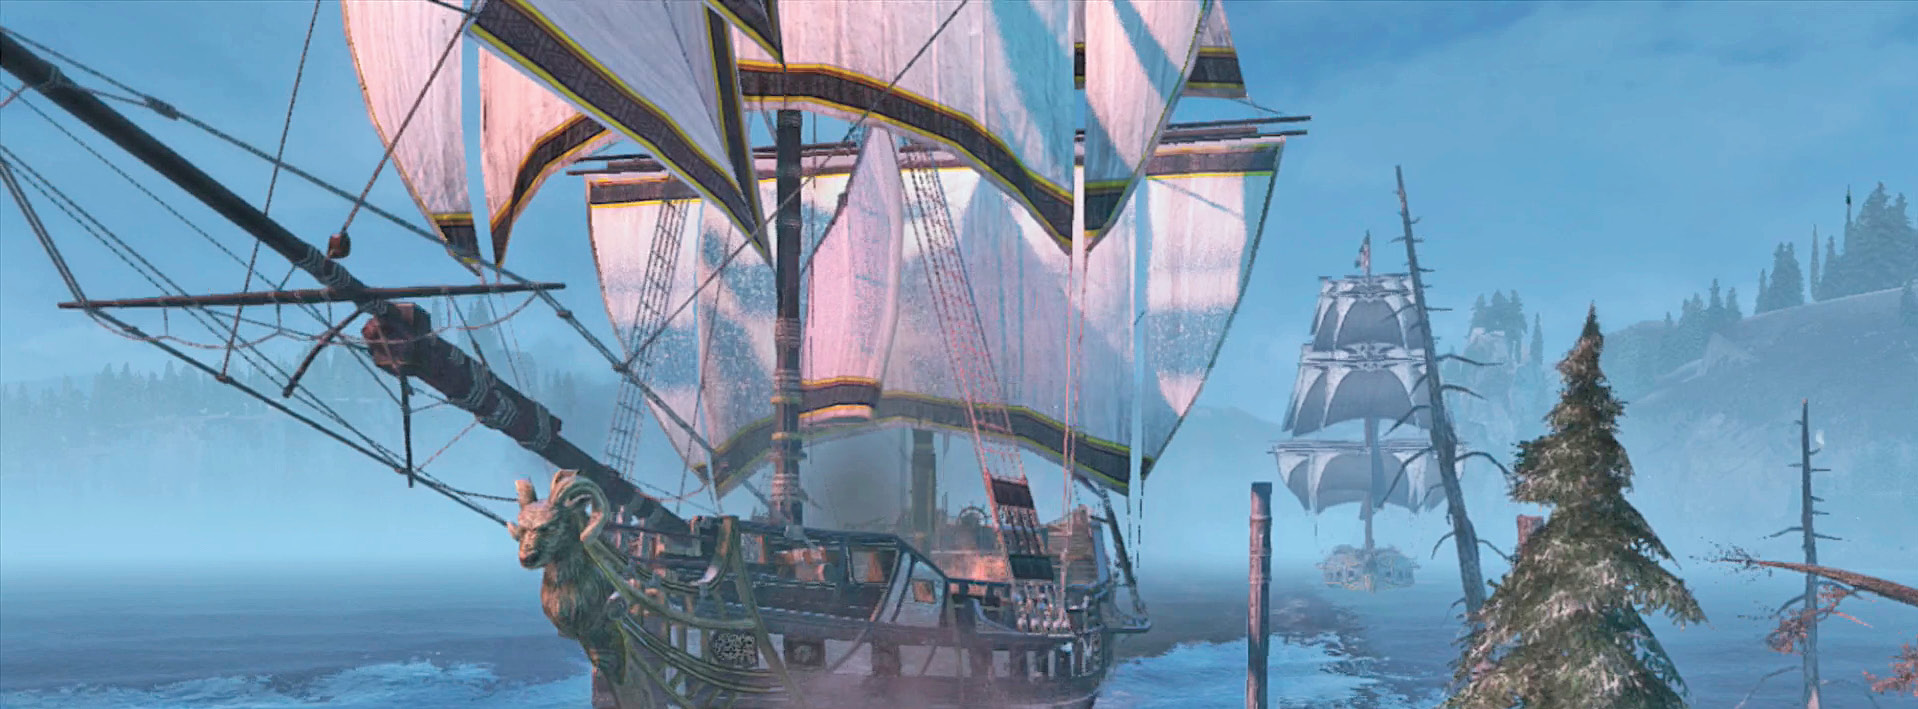
Get to the wheel and take command of your ship. Catch up to the ship ahead quickly. The yellow circles that appear on the water let you know when mortars are targeting you. If that happens, use speed to get out of their area of effect as soon as possible. Use your ram ability to gain speed if you’ve purchased enough upgrades to unlock it; that’s one of the best ways to get out of mortar range in the nick of time.
If the yellow circle is too far in front of the Morrigan to outrun before the shells land, then drop speed instead. Make a hard stop, turn to your side as quickly as you can, and then put speed on to resume the chase from a new angle.
Then start harassing and damaging the enemy ship with mortar fire of your own. Use a mix of this and your front carronades to attack the vessel without taking extra time or exposing yourself to counterattacks. Fire as fast as you can to put on the damage before your opponent can lure you into more of his mortar attacks.
Once you do a fair bit of damage to the other ship, it is beached farther up the channel.
Kill the Assassin (part 2)
Optional: Don’t kill anyone except your target
Dock your ship and disembark. Walk onto the beach and search the rock face for a way up; this gets you past quite a few of the guards in town. Use the upper ledges to advance and look through the area. Your quarry is deeper in, by a set of lakeside docks (everything is frozen over, but the place must be really nice in the summer).
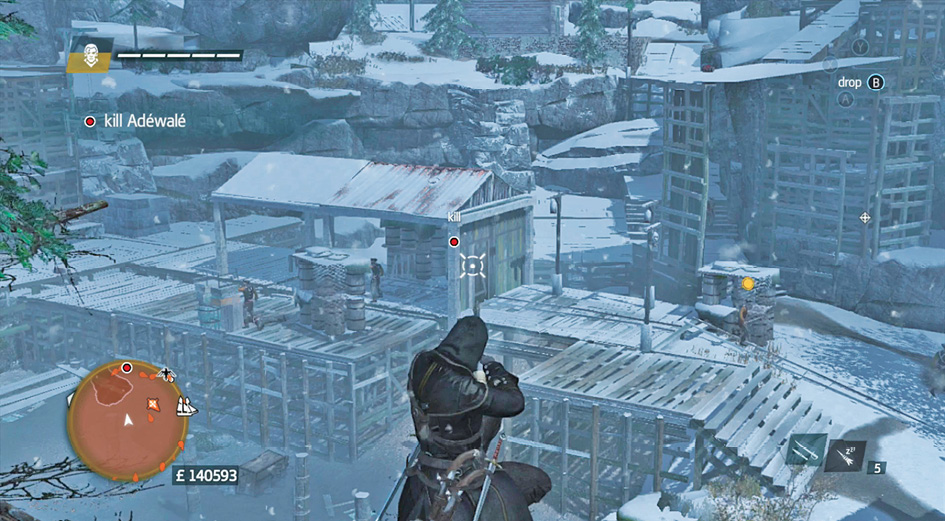
The Assassin leaves his position if you do anything that notifies him of your presence. That is a great way to draw him out into the open. If you have a long-range pistol, you’re in perfect shape, but many people will be sporting ones that can’t hit the Assassin without using some darts. Shrapnel Grenade blasts do the job too.
Jump from the upper cliffs down into a pile of leaves that has a good view of the docks. Slip from there into the brush so that you can use your tools to attack the Assassin. Either gun him down if you have the range or use a Sleep Dart to annoy him without getting anyone killed. You can’t hurt the Assassin with poison; it only causes him to start changing positions.
Once triggered, the Assassin leaves the docks and runs into the main town. He’ll come fairly close to you, leaving an opportunity for pistol or grenade attacks to finish him. Failing that, make a fast charge to engage your enemy and secure the kill.
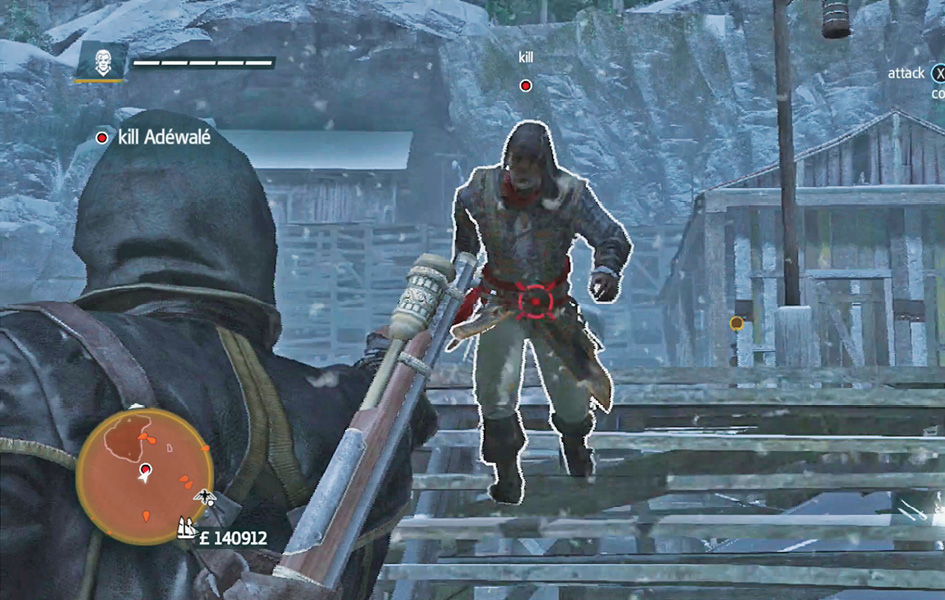
Even if you flub both pistol headshots, you can still get the optional objective here. Guards will come to defend their leader if you’re running around town chasing him with a sword, but you can avoid killing them if you’re careful. Attack the Assassin aggressively, and see if you can kill him before taking out any of the guards or being killed yourself.
Reload from the last checkpoint if anything goes wrong.
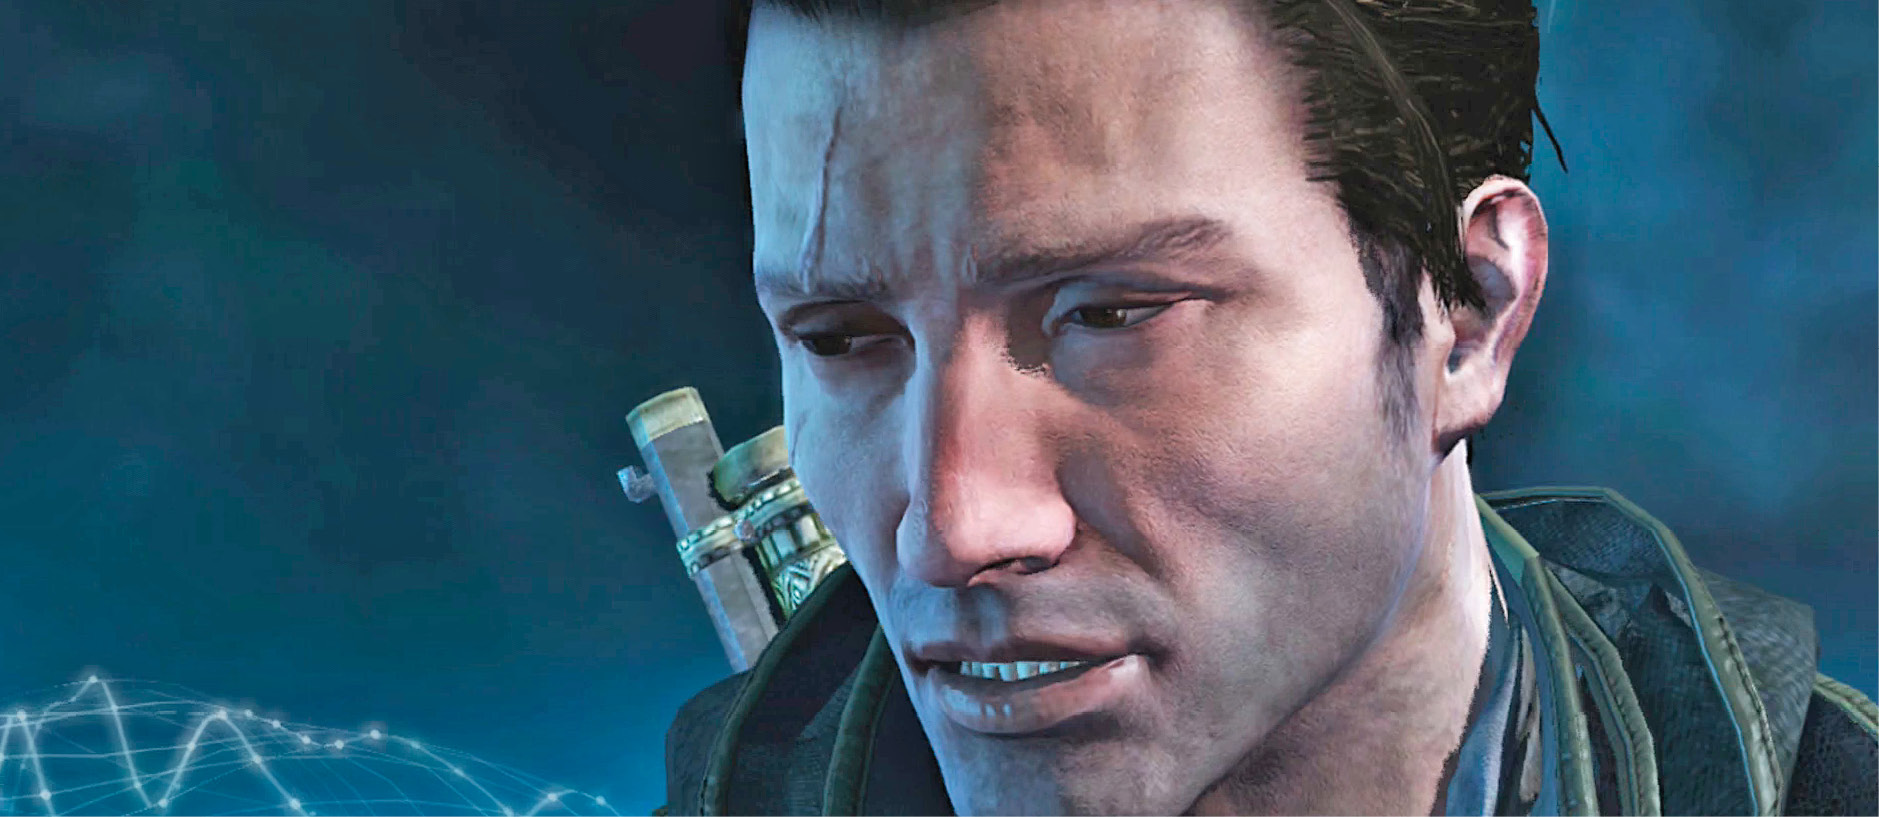
Killing your enemy unlocks the achievement/trophy “One Legend Dies, and One Is Born.” This also finishes Sequence 05. Shay returns to New York after these events. Take him to Lower Manhattan to begin the next sequence.