Assassin's Creed Rogue Guide Controls and Gameplay
Controls and Commands
Shay Controls
|
Xbox 360 |
PS3 |
Summary |
|
L |
L |
Controls movement direction; also control the direction of attacks during combat and of special navigation moves during Free Run. |
|
R |
R |
Controls the game camera. |
| D-Pad | D-Pad | Ready weapons and tools of your choice. |
|
A |
Used for manual “unsafe” jumps, Fast Walk, ejecting during a climb, and to break an enemy’s defence during combat. | |
|
B |
The main button for contextual interactions, looting and picking things up. It also triggers dropping from ledges and during climbing. During combat, it triggers parry and initiates counter-attacks. | |
|
X |
The primary attack button. Outside of combat, it is used for assassinations. | |
|
Y |
△ |
Quickly activates the currently selected tool at the currently highlighted target. |
|
RT |
R1 |
Hold to switch to High Profile mode, which enables faster movement, climbing, jumping over gaps, activating navigation props, and using special manoeuvres to quickly circumvent, pass over, or pass under obstacles in your way. |
|
LT |
L1 |
Hold to activate Precision Mode, which is used to manually aim projectile weapons. |
|
RB |
R2 |
Hold to display a summary of the collectibles and activities in your current location. |
|
LB |
L2 |
Press to begin reloading the pistols (if they are selected). |
|
L3 |
L3 |
Activate Eagle Vision. |
|
R3 |
R3 |
Forces the game camera to look directly ahead of the character. |
|
START |
START |
Enter/exit the Pause menu. Open the Animus Database when pressed during an Animus Database update appearing on-screen. |
|
BACK |
BACK |
Opens/closes the main map. |
Naval Controls
|
XBOX 360 |
PS3 |
Summary |
|
L |
L |
Steer the ship. |
|
R |
R |
Camera control. |
| D-Pad Right | D-Pad Right | Switch between sea shanties. |
| D-Pad Up | D-Pad Up | Use the spyglass. |
|
A |
Increase ship speed. | |
|
B |
Reduce ship speed. | |
|
X |
Brace to take cover from incoming fire, rogue waves or snow tornadoes. | |
| Hold X | Hold △ | Look behind the ship. |
|
RT |
R1 |
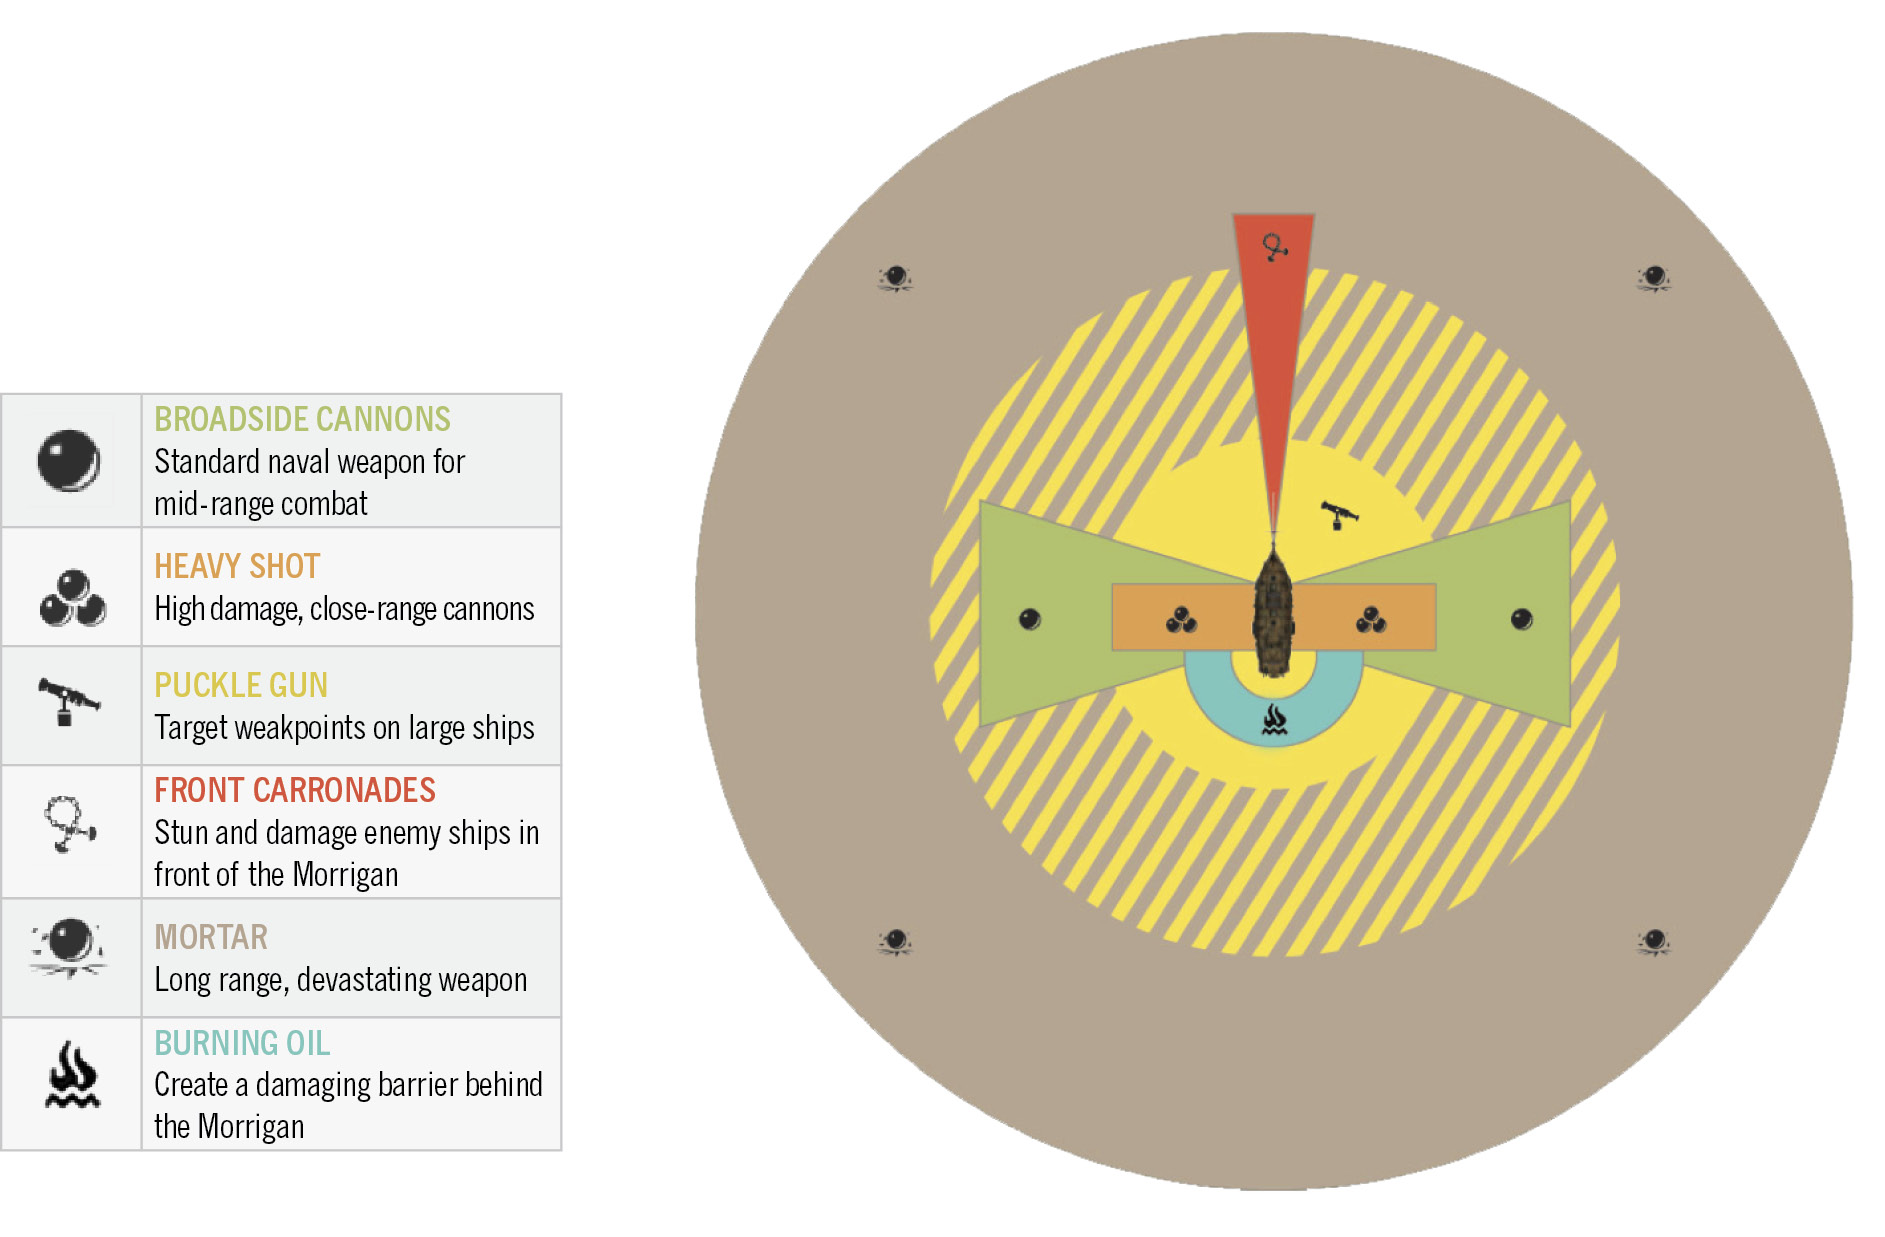
Fire cannons: The weapon selected depends on the camera direction – broadsides (with the camera looking to either side), front carronades (with the camera facing forwards), burning oil (with the camera facing the ship’s rear). |
|
LT |
L1 |
Targeting lines: Hold to focus, and use Right Stick to aim. |
|
RB |
R2 |
Hold to fire the Puckle gun, and use Right Stick to aim. |
|
LB |
L2 |
Mortar: Hold the button, then aim with Right Stick, and fire with the High Profile Button. |
|
R3 |
R3 |
Center the game camera to face the front. |
Standard Controls
These are the common controls you’ll use when Shay is walking around. A few of them are global and can be used even if you’re sailing, walking, or swimming.
Pause
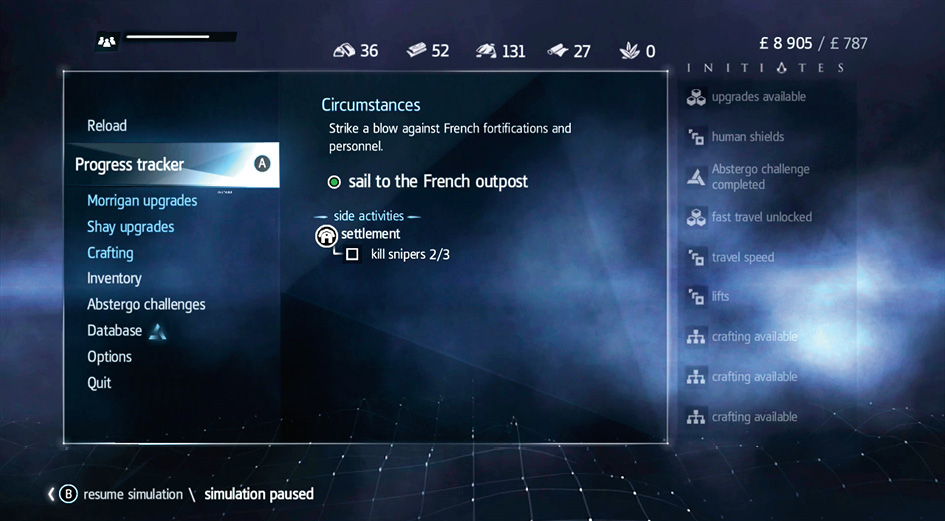
This stops the game and takes you into the Options menu. There are several submenus, including your inventory, the things you’ve located, possible upgrades, crafting, and so forth. You can also quit the game from this screen or go back into earlier memories to replay them. You can also turn cheats on and off.
Open Map
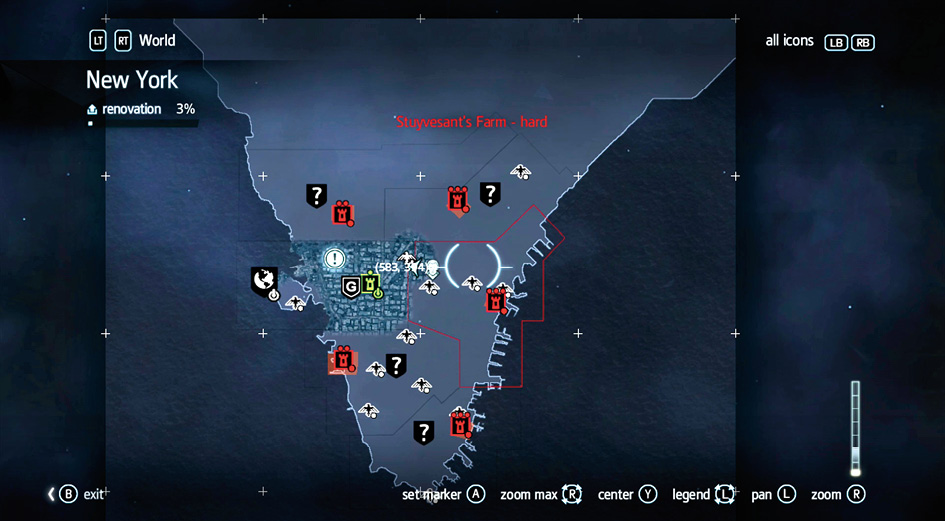
The minimap is incredible and shows you a great deal about the game world, but the main map lets you look at places both near and far. The game pauses when you enter the map, so it’s useful for finding your way around, planning your next step, choosing a Viewpoint to quick-travel to, or taking a quick break.
Maps in new areas are mostly obscured when you arrive. You can see main objectives and any Viewpoints in the area, but some of the collectibles are hidden from view. To negate this, unlock all of the Viewpoints in each area; this reveals everything that there is to see (including quest items, collectibles, activities, etc.).
Another good trick is to hit +/R to show the items that can be unlocked in your current area. Look for Viewpoints there and on your map to find out where to go first!
Movement
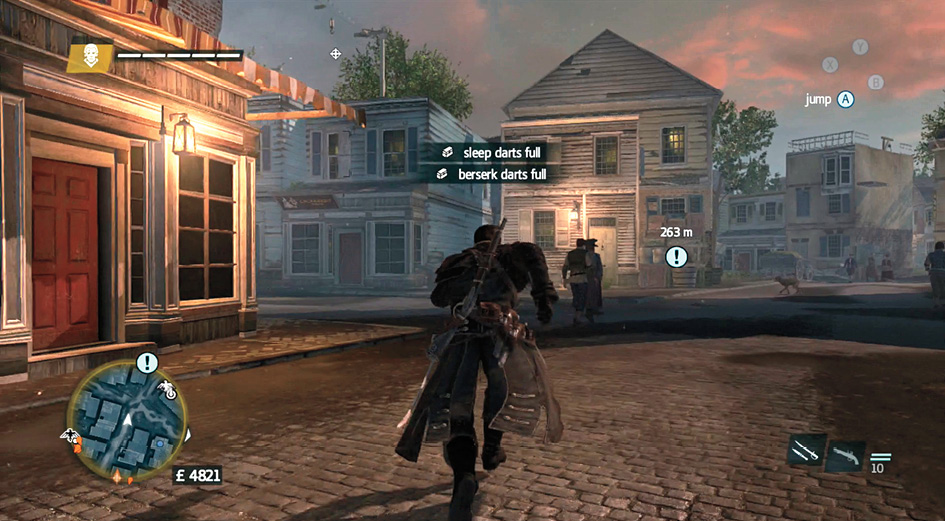
Movement is directed with your control stick. Gentle movement on the stick prevents Shay from walking too quickly. Push harder to get him up to a full walk. Use the fast walk or run command to make him go even faster as long as you don’t mind being high profile with your actions.
To walk: Use the left control stick.
To walk quickly: Use the left control stick and press 1 on the Xbox 360 controller or u on the PS3 controller.
To sprint: Use the left control stick and hold down 8/r.
Camera Control
The other control stick directs the camera. Keep it oriented so that you see where enemies are standing in the middle of battle. If you can’t see a foe, you won’t know when to counter their attacks.
Camera control is also vital during naval battles. The camera controls the ship’s weaponry. If you are facing the front of the ship, your weapons switch to the front carronades. If you’re looking beside the ship, the broadside cannons activate. From the rear, flaming oil is used.
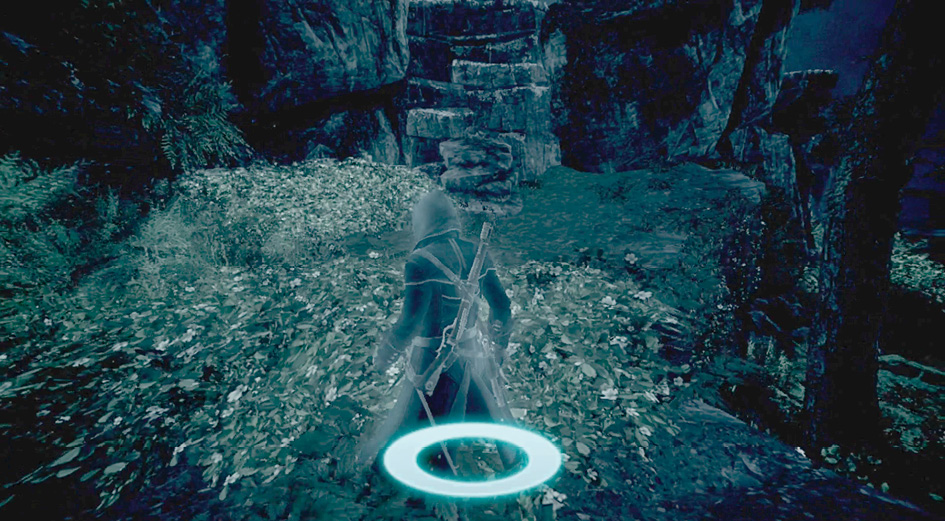
Center Camera
Click on the right control stick to center the camera in front of Shay without having to waste any time. This is useful when you’re looking all over the place and then want to quickly restore your point of reference.
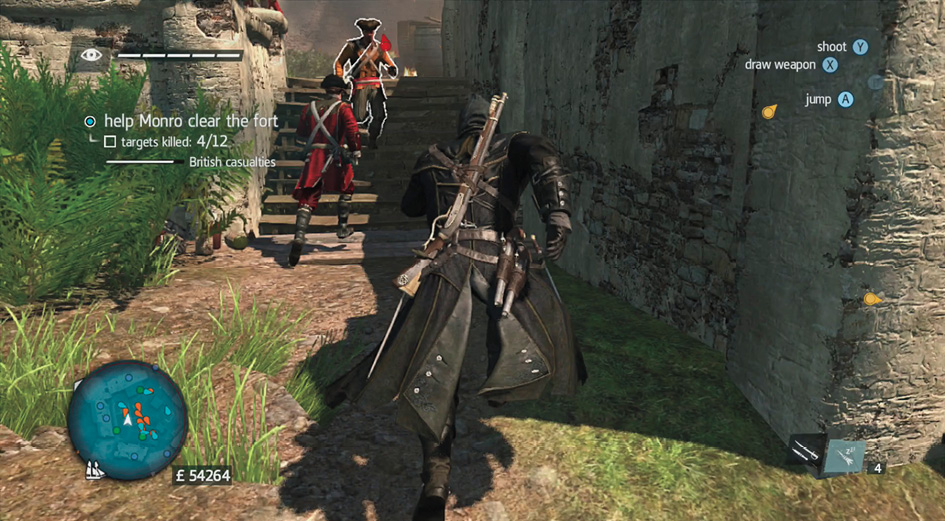
Jump/Break Defense
This command is contextual. Pressing the button makes you jump if you’re on a ledge, close to a precipice, and so on. If you’re engaged in battle, you try to break the defense of your target.
The controls are very clear when you’re in game, and the interface updates whenever an action would be different (you can track this in the screen’s upper corner).
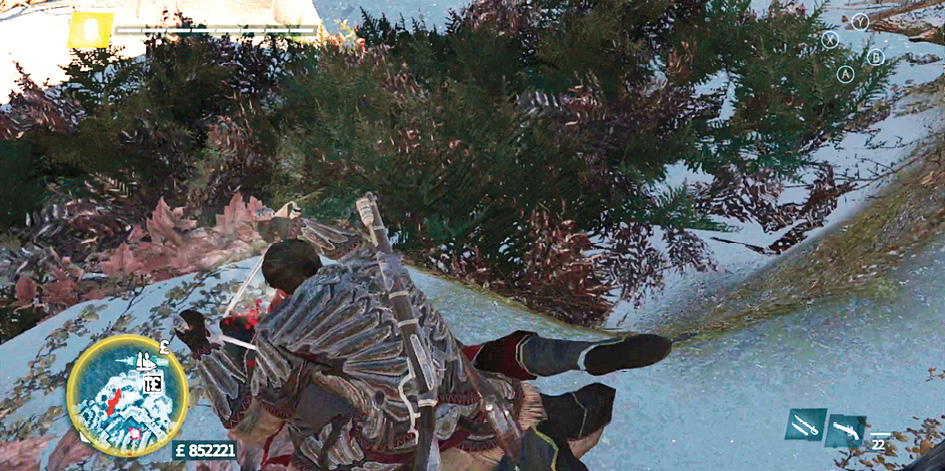
Jumping causes Shay to take damage if he’s too high, but you avoid this if you take a Leap of Faith into a soft surface. If you spot a cart of hay or a pile of leaves or snow beneath your location, aim for that, hold the Free Run button, and jump into the air. Trust Shay to survive.
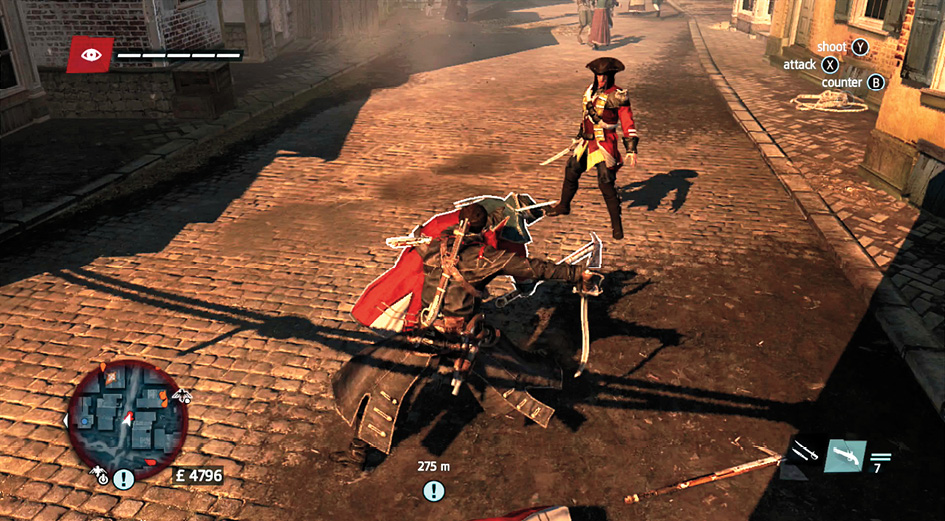
Interact/Counter
Normally, this command lets you open chests or doors, skin animals, or interact with anything that’s directly in front of Shay. In battle, this becomes the Counter command, which lets you block an enemy attack. Counter is paired with Attack to block and reverse your enemy’s moves; it’s a valuable way to stay alive and kill your targets that much faster.
Counter + Break Attack lets you steal weapons from foes. If you’re unarmed or want to use the weapon that an enemy is carrying, this is a useful technique.
Counter + Use Tool is a flashy way to finish off your enemies. Stab them and shoot the poor fool afterward. Try out a Rope Dart and see what happens. There are plenty of exciting possibilities.
If you’re worried about too many attacks at once and want to hold your ground, keep the Counter button depressed and parry your enemies’ attacks. This won’t trigger Counters, but it keeps Shay from getting smacked around.
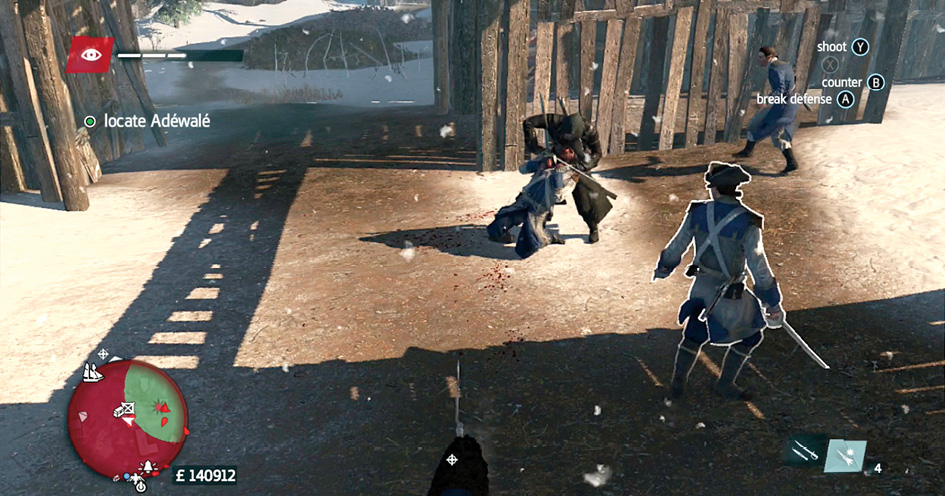
Assassinate/Attack
Use this command to kill unwary targets that are within your range of attack. It becomes an aerial assassination if you’re above your opponent, a charging attack if you’re running at them, and so on. As long as your enemy is vulnerable, they will die.
The regular attack version of this command activates during battle, when enemies can defend themselves. Use chains of basic attacks to wound and then kill your enemies. Counter and then immediately attack afterward for more exciting and effective kills, and use Break Attack if a foe starts playing defensively against you.
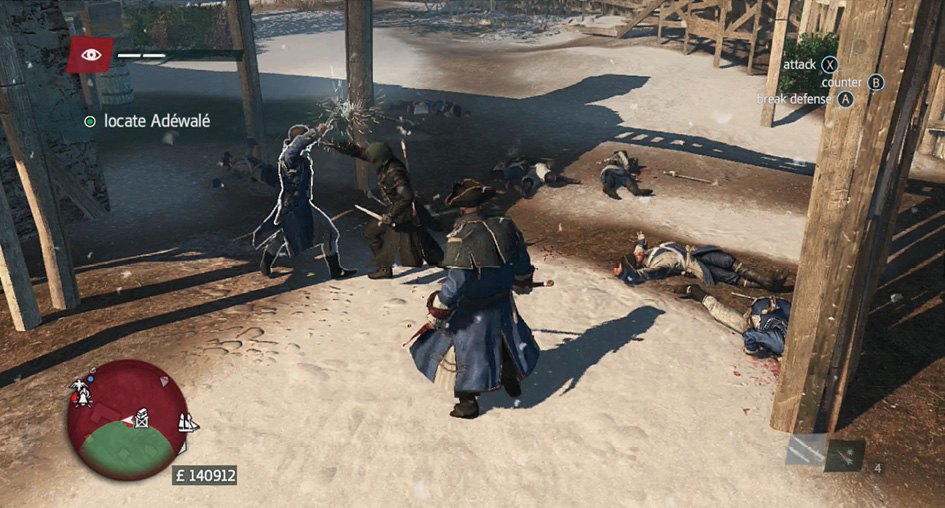
Use Tool/Ranged Weapon
Attack with your ranged weapon or use darts and grenades with this command. All of these give you the ability to take down opponents who are beyond the reach of your blades. Pressing this button on its own is a fire-from-the-hip situation. You need to be facing your enemy directly. To aim and then shoot, use the Free Aim command.
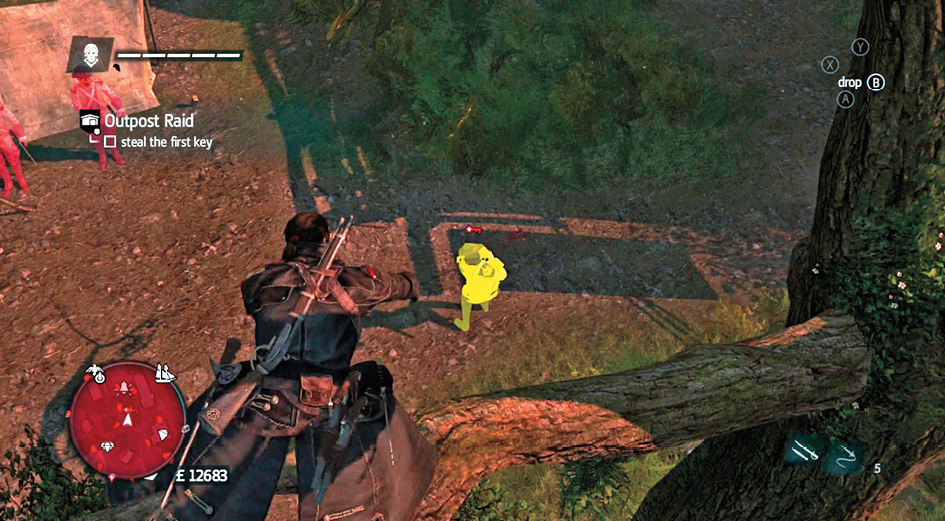
Eagle Vision
Eagle Vision is a special Assassin power that lets you see only the most important things in the world around you. Enemies, items of importance, and animals are all as clear as day. Even the best hidden opponents are slightly revealed as Shay gets an idea of where they are waiting.
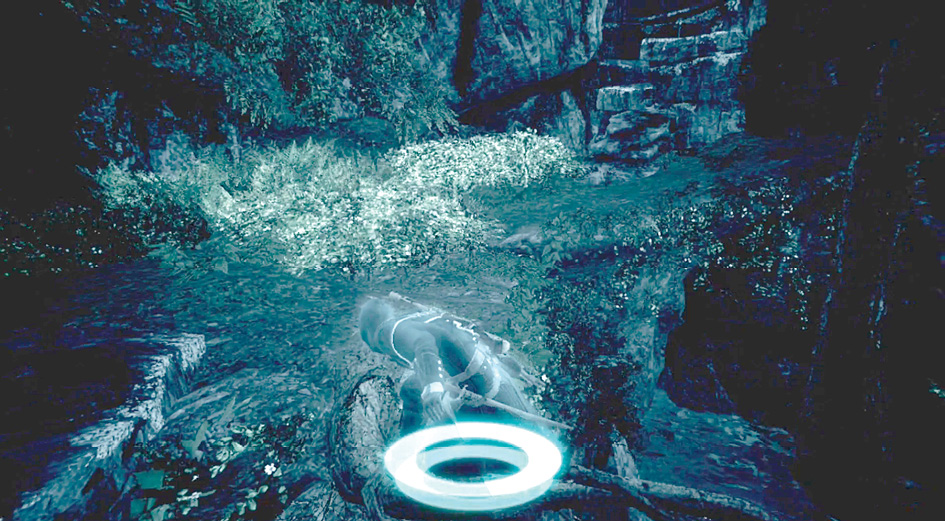
Free Aim
When you need to hit targets at longer range, use Free Aim. Hold down this button and use your camera control to fine-tune your targeting. Shoot when ready, and don’t miss!
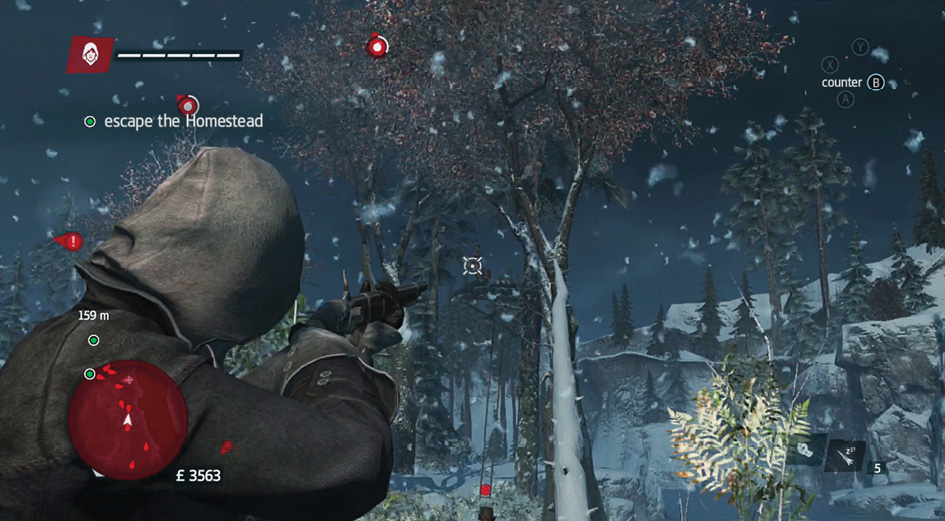
Free Run/Fire Weapon
When you’re not aiming, this command puts you into a free sprint. This draws more attention from people in the area, so use this when you’re alone, totally safe in a region, or have already been spotted. When you’re trying to be sneaky, walk slowly and look inconspicuous.
If you are aiming at the time, this button causes you to fire your weapon.
When free running, Shay automatically jumps if he comes to the edge of a building, cliff, and so on, as long as there is a safe landing on the other side of that jump. Direct him toward distant trees or buildings and don’t worry about pressing the Jump button. Free Run does most of the work for you! You only need to force Shay to jump if the landing would cause him to take damage.
Shay automatically grips walls, ropes, and other surfaces during Free Run, if you bump into these objects. Be careful with this; it’s easy to do something you didn’t intend. Ease off the Free Run button when you’re near walls, and then resume your run when you’re in the clear. Mastering this on and off aspect of free running makes the game way more responsive.
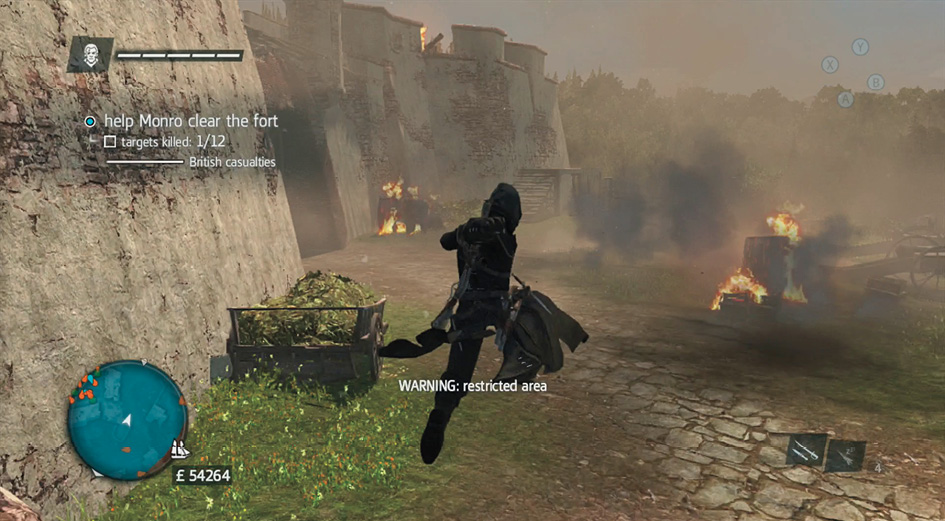
Reload Weapon
Reloading is always a good thing. You want to be prepared for a fight, so keep your weapons ready at all times. If you have to reload during a battle, take cover by breaking line of sight with your opponents. This gives you the ability to reload without getting shot. Failing all of that, reload while you’re running away to reach a better vantage point.
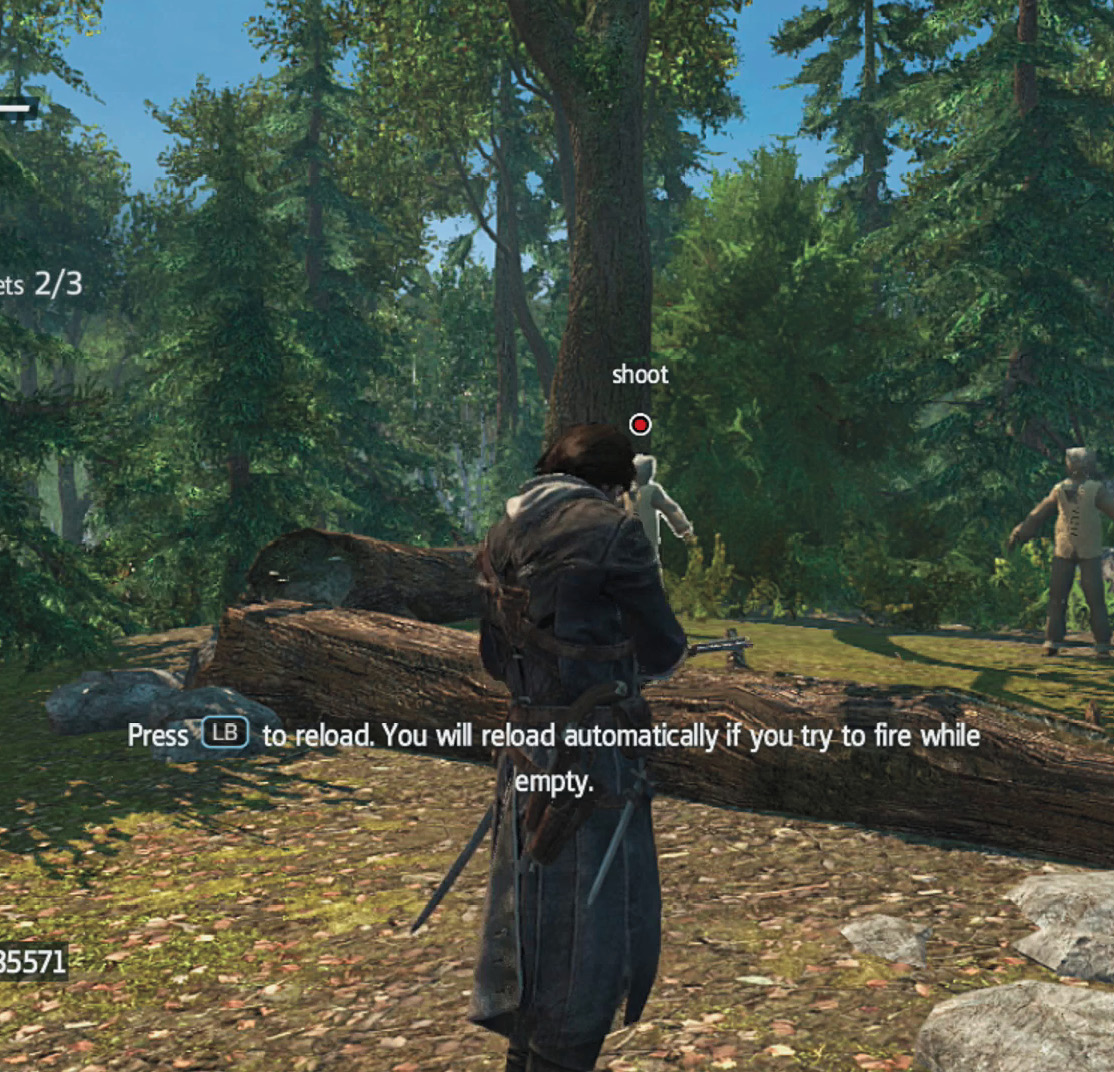
Location Information Panel
This useful button reveals the various quest items, collectibles, and points of interest in your current region. Check this frequently to make sure that you’re getting all of the treasure before moving on.
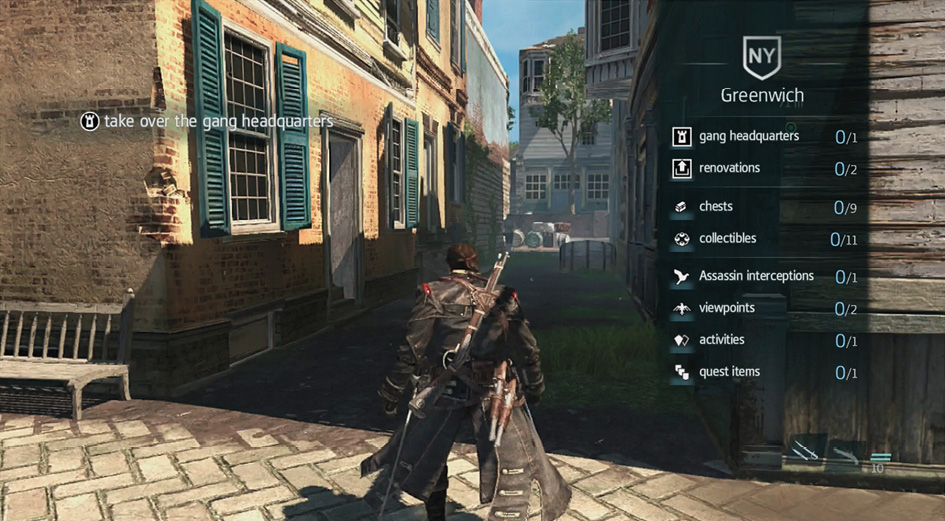
Inventory Control
Switch weapons and tools on the fly with the D-pad. Memorize where everything is located so that you don’t have to think about this during a fight. The faster you can get what you need, the safer you’re going to be.
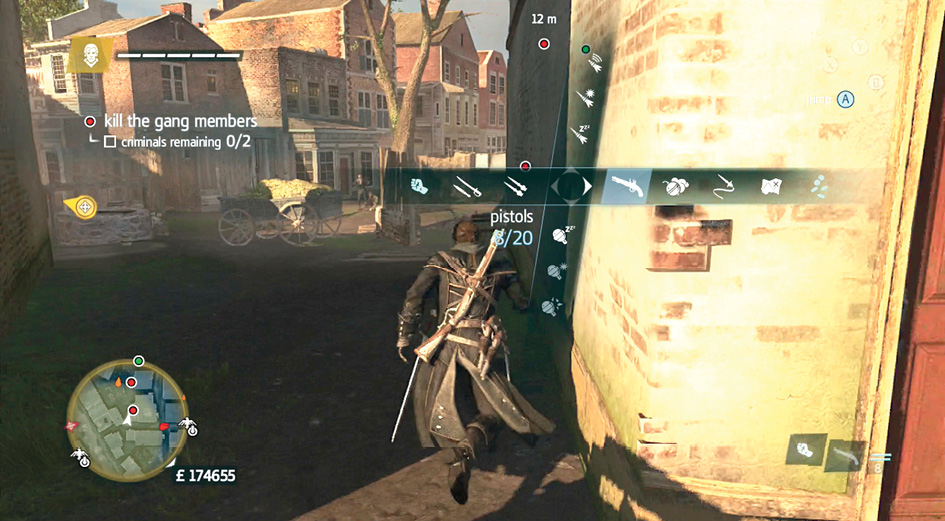
Swimming Controls
Most normal controls function the same way when you’re swimming. You can still check your map, pause the game, and so forth. There are just two new commands to worry about.
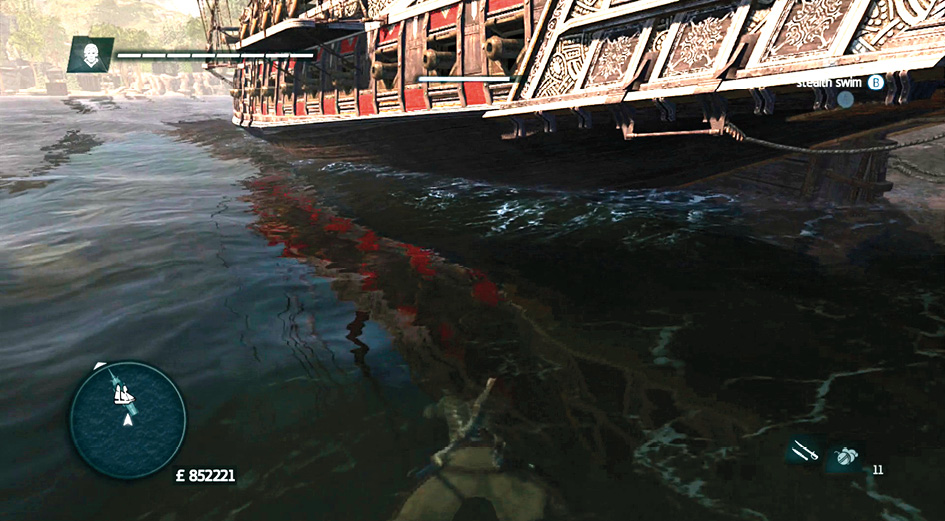
Dive (Stealth Swimming)
Use this to submerge Shay and avoid being seen. You can only hold your breath for so long, at which point you will surface. He’s not crazy, so he won’t drown himself to stay out of sight.
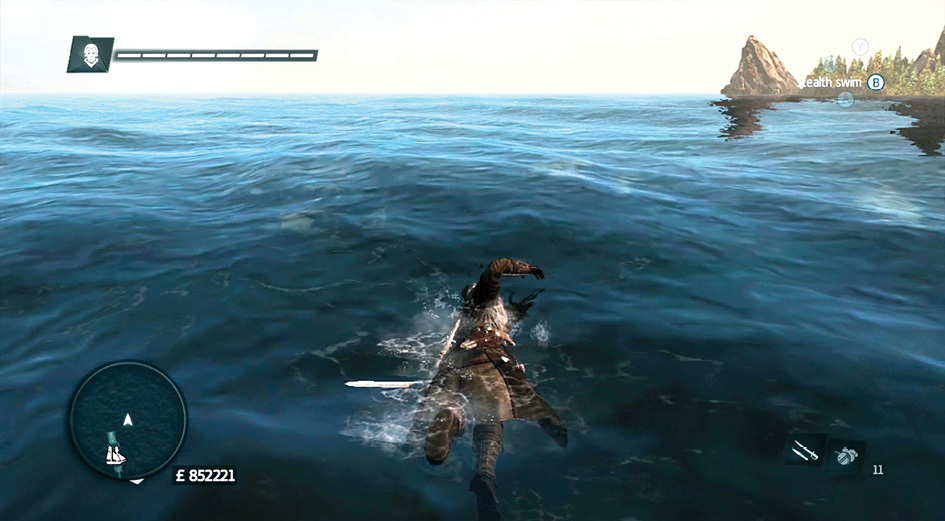
Fast Swimming
There’s no need to stay quiet if you’re safe or have already been spotted. Swim as fast as possible whenever you need to get where you’re going without delay.
Ship Controls
There are quite a few things that are different when you’re captaining a ship compared with walking down the street. Let’s look at the differences.
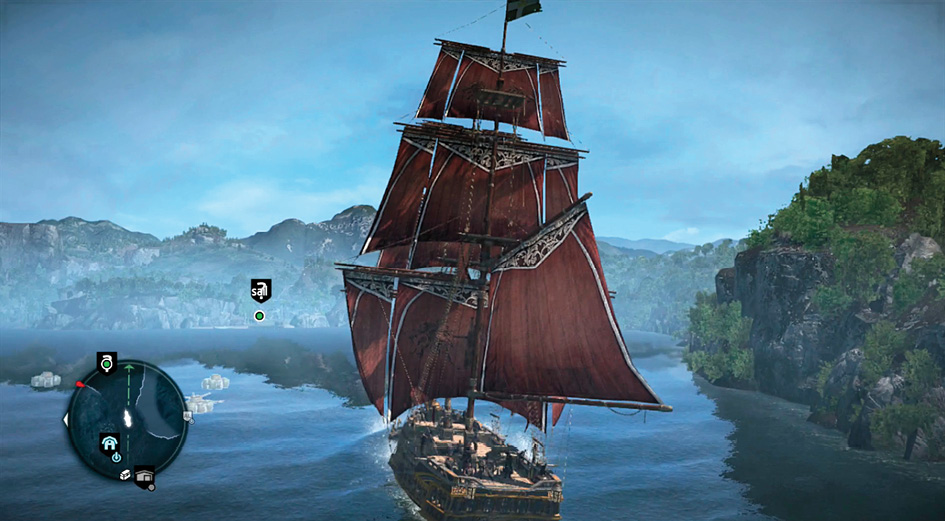
Speed Up
Press this multiple times to get your ship up to speed. At its fastest, you lose the ability to fight but can traverse the oceans at a fair clip. If you need to maneuver or fire your weapons, then slow down. On your ship, speed comes at a heavy cost in terms of maneuverability.
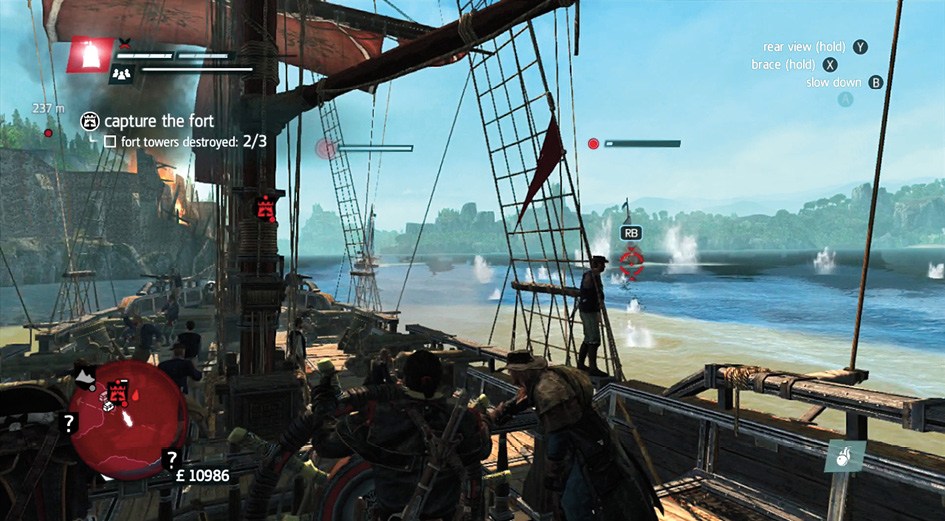
Slow Down
Make slower approaches when you’re getting close to ships, docks, or obstacles in the water. You should also slow to a crawl if you need to make any wide turns. The Morrigan turns like a battleship at high speed, but it’s as limber as wind if you nearly bring it to a halt.
Release Wheel/Dock/Board Vessel
This lets you lock the ship into either its docking or boarding procedures and lets you release the wheel to walk around the deck. In all three cases, you eventually let go of the wheel and can resume normal movement.
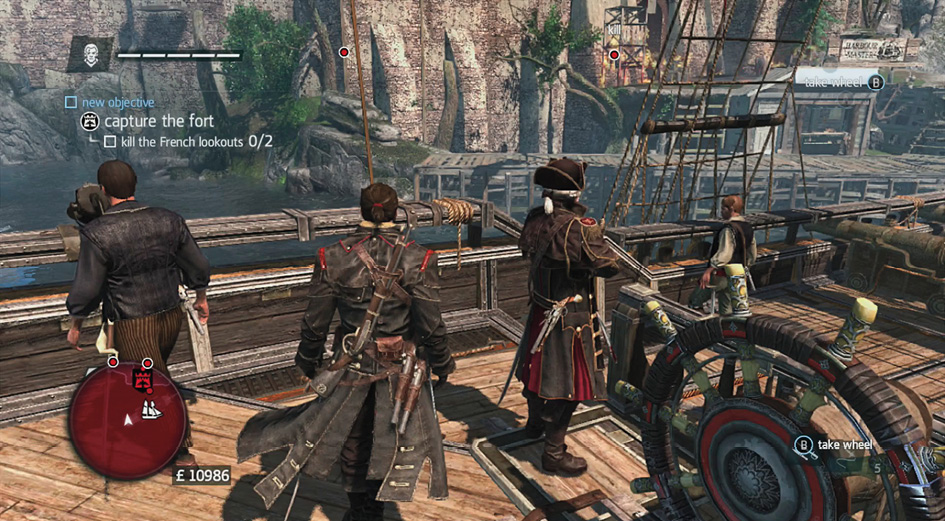
Bracing
If your ship (or boat) is about to strike an object in the water or take damage from enemy fire, it’s wise to brace. This prevents you from maneuvering momentarily, but you can hold the button down to reduce damage from these dangerous events. Don’t release the button until the danger has passed, or there won’t be much point in bracing.
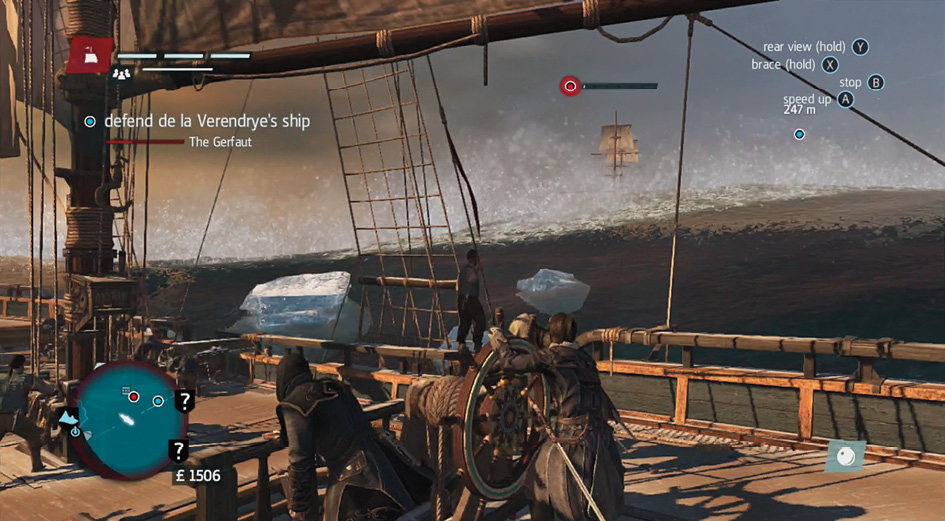
Look Back
To see how opponents are moving behind you without having to turn the entire ship or your camera, use Look Back. If you see targets getting into position, then get your flaming oil ready and set up a nice trap for your encroaching enemies.
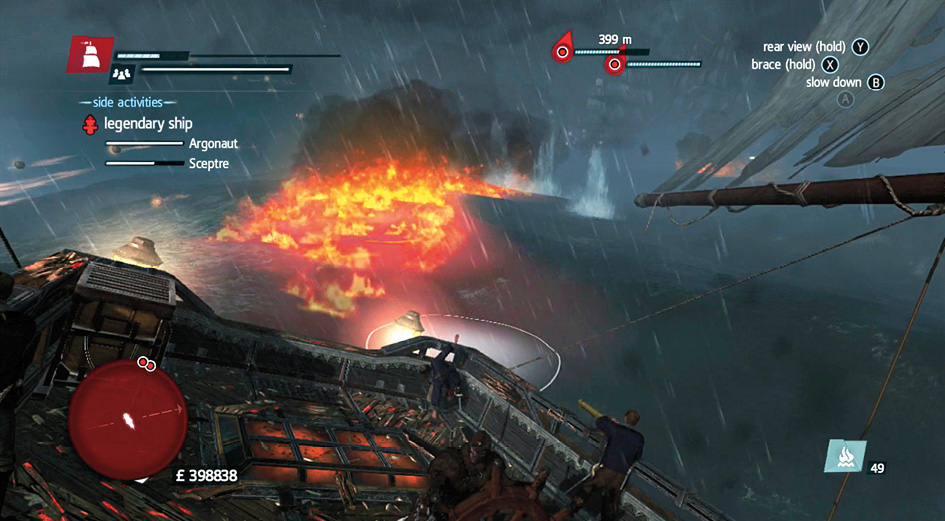
Free Aim
Use the camera to find your targets and then fire away when you’re ready to go. Make sure to account for the waves (which can block your attacks if they’re too high), enemy movement, and your own ship’s motion. If you take all of these factors into account, you won’t miss very often.
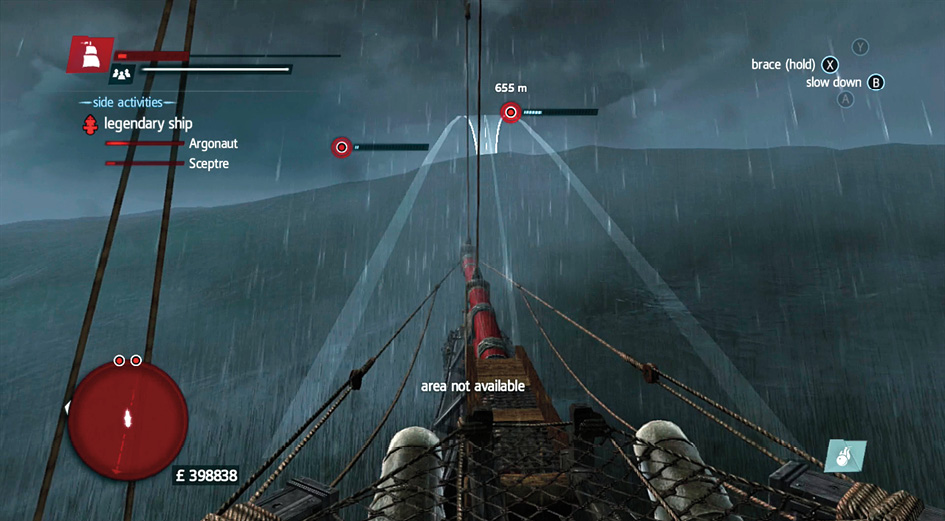
Fire Weapons
The primary weapon control fires the front carronades if you’re facing forward with the camera or the broadside cannons if you’re looking out to either side of the ship, or it releases flaming oil if you’re staring aft.
For ranged weapons, a pale arrow appears to show you how far the attack is going to go before it drops. Raise the angle when you need to fire farther or get over waves to hit your target. This is your best tool for accuracy in battle because it makes leading your targets fairly easy.
Fire Mortar
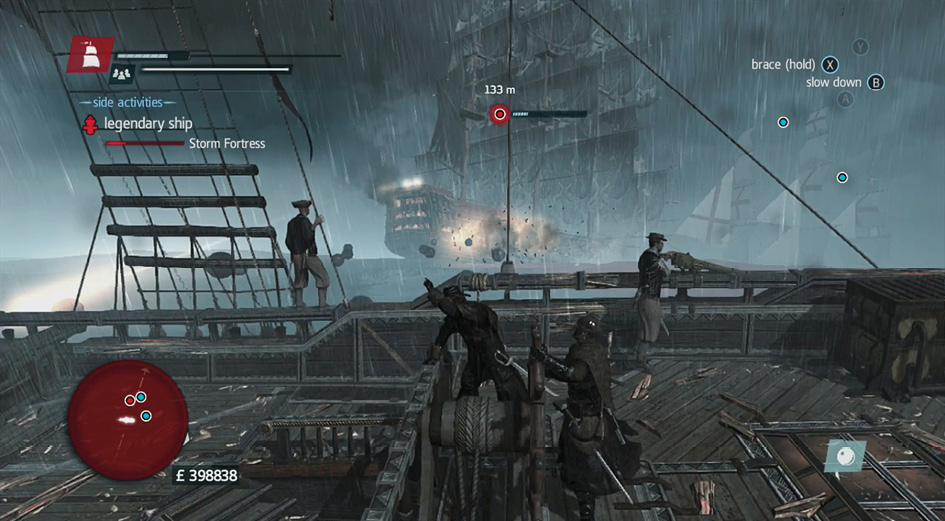
Though the Morrigan doesn’t start with many weapons, you can soon purchase mortars, Puckle guns, and other fun toys. The mortar has massive damage potential and range. Use it to engage targets before they’re ready to fire at you or to punish anyone who tries to flee from battle.
Fire Puckle Gun
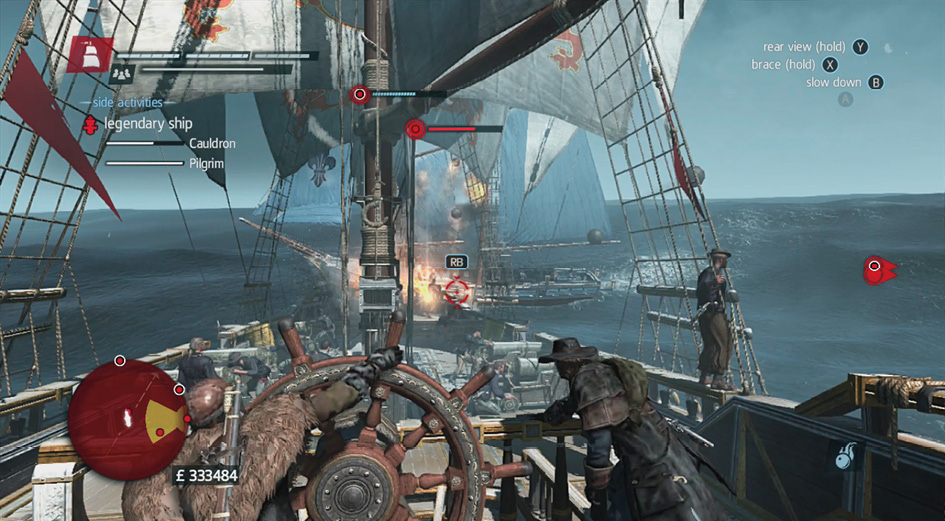
The Puckle gun is a crude machine gun that can be mounted on the Morrigan. It’s an adequate antiship weapon, but it’s even more effective for spraying the deck of a ship that you’re about to board. Why fight everyone fairly when you can load them with shots and waltz over like a champion?
Use Spyglass
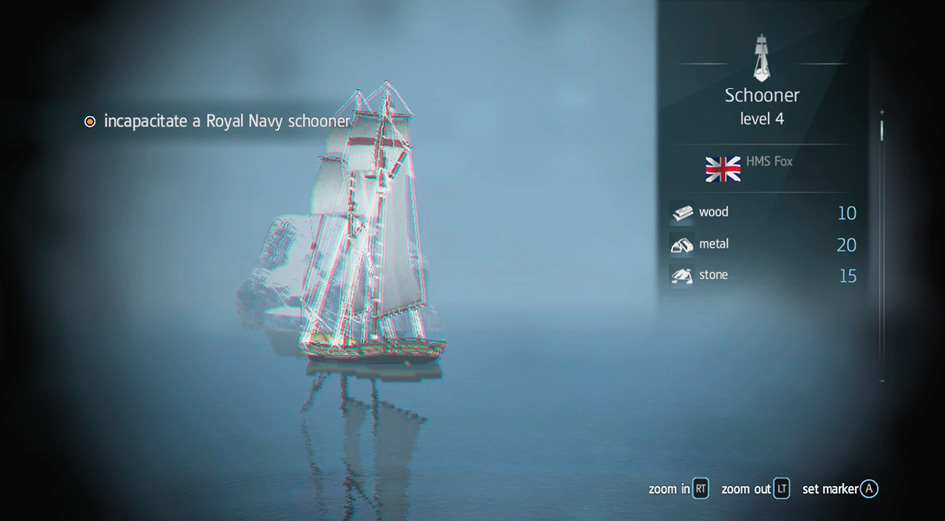
Don’t engage enemy ships before you know what you’re getting into. The spyglass lets you see the relative power of your target and their cargo. Make sure that the ship you’re about to fire on is controlled by an enemy nation, has cargo you need, and isn’t so powerful that they’ll blow you out of the water in response to your provocation.
While going after specific ships, use the Spyglass to tag your target. Highlight the important ship with your Spyglass and use the D-Pad to mark the ship. This makes it easier to find the target during storms, large battles, and other confusing events.
Change Shanty
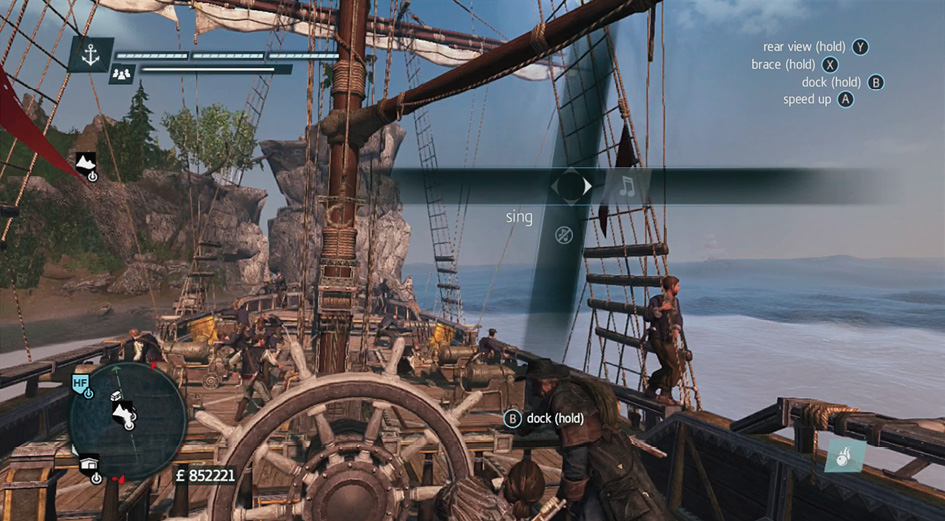
If the sailors aren’t singing something you like, change the tune with this command.
Stop Singing
When you’ve had enough of song and merriment, stop the singing and focus on the task at hand.
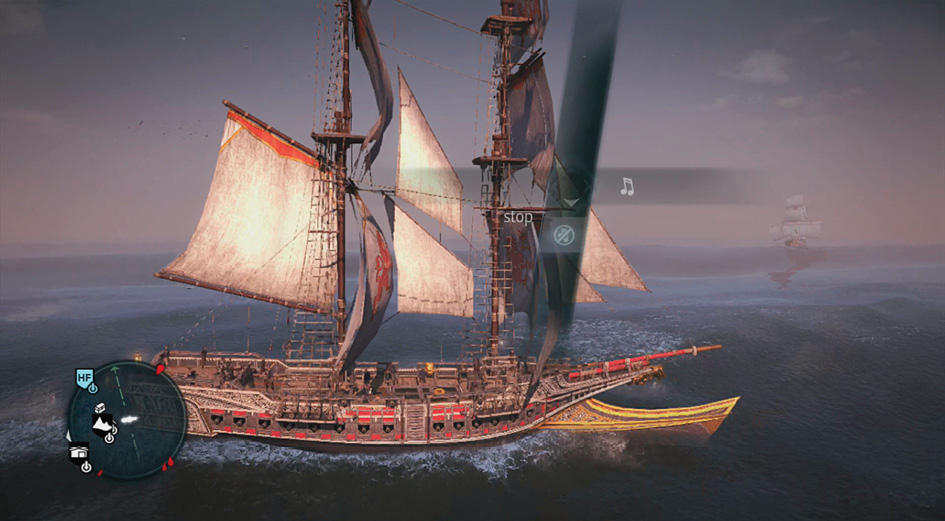
Modern-Day Controls
Most movement and actions are equivalent between Shay’s time and today. The main difference is in a little bit of technology.
Open or Close Tablet
Use this to check on your tablet.
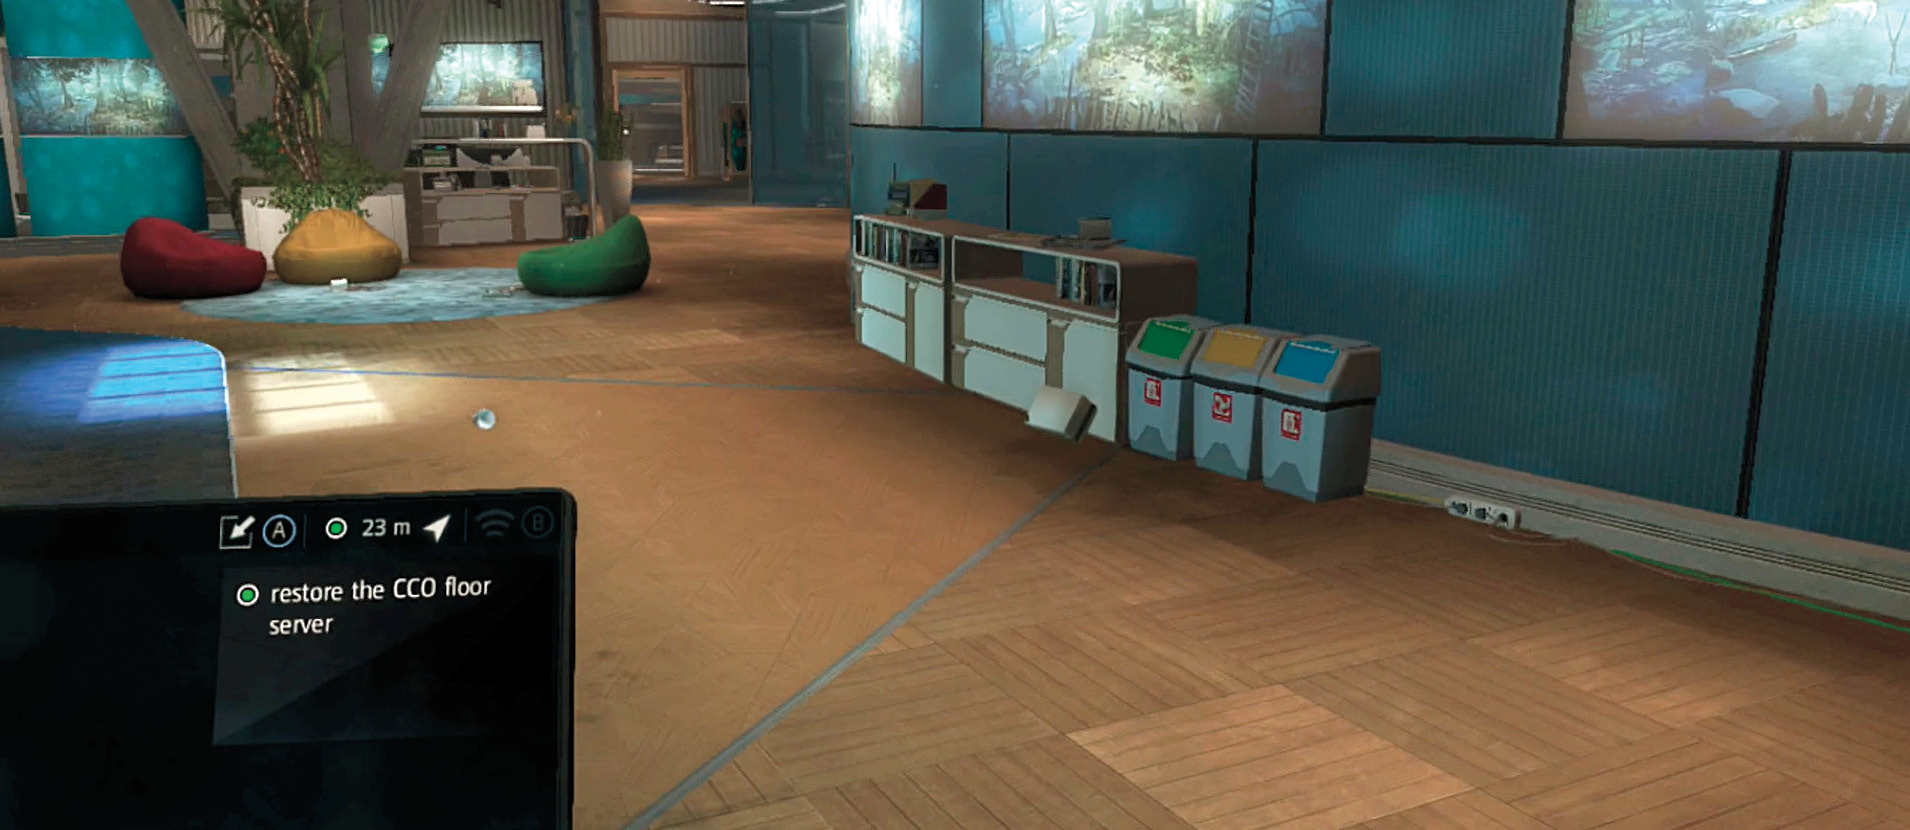
Tablet Interaction
Your tablet can control devices remotely. Use this to fix computers, access files, and get around the building.
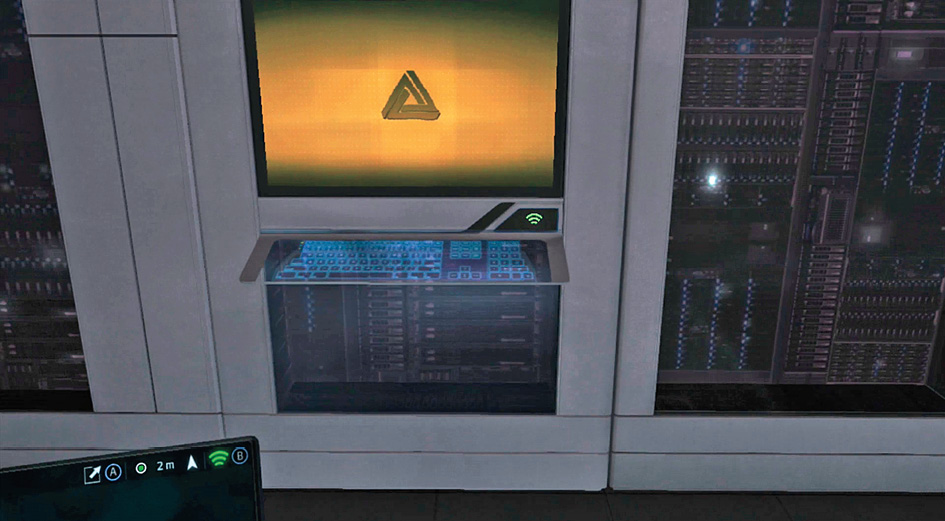
Access My Files
Find out what you’ve learned so far by reading through files.
Concepts
You have a strong understanding now of the game’s interface, buttons, and commands. You’re pretty much ready to play, but newcomers to the series should read the concepts below to make sure they understand how to play the game. Veterans can hop right in if they choose.
Advanced Map Use
Assassin’s Creed Rogue has such a strong map system that it’s worth taking a little more time to explain it. The main map and your minimap show everything important that Shay can find or collect, but they have a maximum range for revealing nonstory items. Get Shay closer to targets to reveal them on the minimap, and zoom in on the main map to show everything that you’re looking for.
For example, go to your main map and zoom out. Notice that nonessential items disappear at a specific point as you zoom out. When hunting for items, keep the map a bit closer in so this doesn’t happen
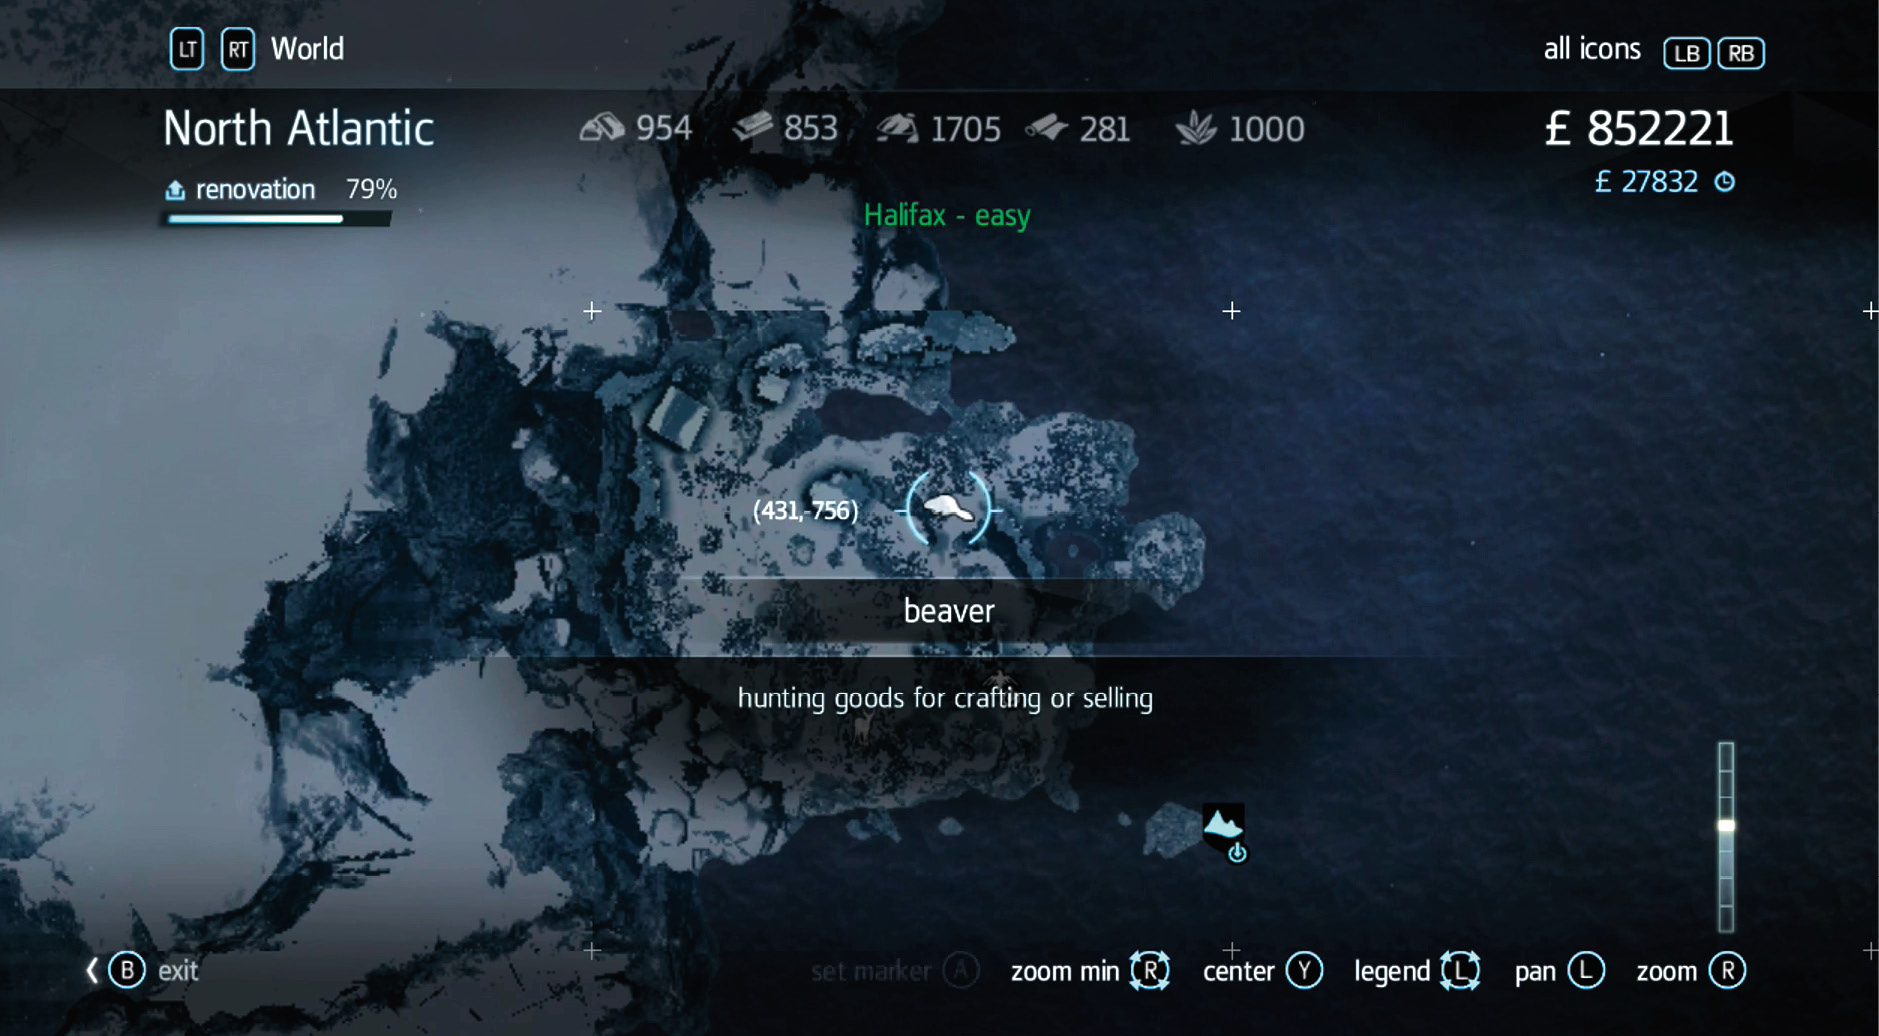
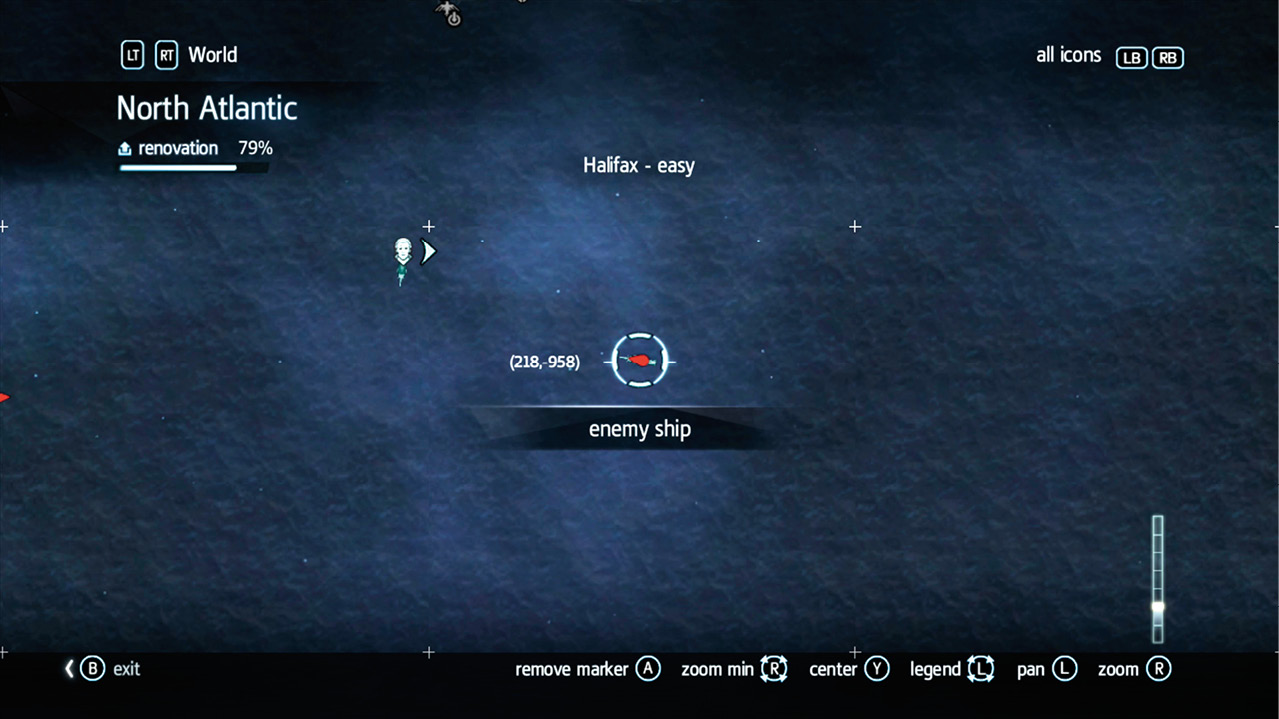
When navigating through the main map, you should see coordinates. These are often unimportant, but they come up when you’re hunting for Templar relics. A couple dozen maps are hidden throughout the world, and each of these has a picture and a set of coordinates. Use that and the map’s coordinate system to locate these buried pieces of treasure.
Another fun tool for collecting items is to use waypoints of your own. Go to the main map and highlight the area or item that you want to find. Click on that and create your own waypoint. This brings it up on Shay’s screen when he’s moving around so that it’s amazingly easy to find. Do this to quickly locate collectible items or fun locations. This makes it much easier to find the Templar relics. Go to the coordinates that the map indicates, create your own waypoint, and then guide Shay right there to get the prize.
Finally, look at the map legend and learn as many of the icons as you can. You don’t need to memorize every animal that’s out there, but many of these symbols are common throughout the game and let you figure out what you’re looking for without wasting any time.
HuD icons
|
icon |
NAVAL |
|
|
Round Shot (cannon) |
|
|
Heavy Shot (cannon) |
|
|
Puckle Gun |
|
|
Mortar Shot (cannon) |
|
|
Explosive Shot (cannon) |
|
|
Sail - Stopped |
|
|
Sail - Half-Sail |
|
|
Sail - Full Sail |
|
|
Crew |
|
|
Harpoon |
|
|
Mines |
|
|
Burning Oil |
| These icons appear in the Naval HUD | |












|
icon |
TOOLS |
|
|
Smoke Bomb |
|
|
Sleep Grenade |
|
|
Shrapnel Grenade |
|
|
Berserk Grenade |
|
|
Throw Money |
|
|
Sleep Dart (air rifle) |
|
|
Berserk Dart (air rifle) |
|
|
Firecracker Dart (air rifle) |
|
|
Pistol |
|
|
Rope Dart |
|
|
Map Cases |
|
|
Throwing Knife |
|
|
Sing |
|
|
Shut Up |
|
|
Gas Mask |














|
icon |
WEAPONS |
|
|
|
Unarmed | |
|
|
Dual Hidden Blade | |
|
Sword Dagger(normal weapon) | |
|
|
Heavy weapon (axe) (guards) | |
|
|
Musket(guards) | |
|
|
Sword(guards) | |
| These icons appear on the Weapon Quick Select interface and in Shay’s HUD | ||





|
icon |
ANIMATED (cooldown) |
|
|
Loot / Dig |
|
|
Sleep Bullet / Grenade / Barrel |
|
|
Sleep ImmuneBullet / Grenade / Barrel |
|
|
Berserk Bullet / Grenade / Barrel |
|
|
Berserk Immune Bullet / Grenade / Barrel |
|
|
Brute Bomb |
|
|
Agile Smoke Bomb |
|
|
Lock Pickable Door |








|
icon |
NOTORIETY |
|
|
Notoriety |
|
|
Shay Assassin |
|
|
Shay Templar |


|
icon |
NOTIFICATIONS |
|
|
Inventory + Economic Updates |
|
|
Animus Database |
|
|
Abstergo Computers |
|
|
Contextual Tutorials |
|
|
Crafting Update |
|
|
Fleet Missions Update |
|
|
Fast Travel |
|
|
Progress Tracker |
|
|
Clue |
|
|
Abstergo Challenge |
|
|
Community Challenge |
|
|
Animus Training |












MAP ICONS
|
icon |
LOCATION STATES |
|
|
Animals |
|
|
Berserk |
|
|
Key Carrier |
|
|
Bell Ringer |
|
|
Mines |
|
|
Save Citizens |
|
|
Skinnable Dead Animal |
|
|
Harbor Master |
|
|
Ship/Guards Hunter |
|
|
Enemy Ship |
|
|
Morrigan |
|
|
Courier |
|
|
Naval Convoy |
|
|
Survivor |
|
|
Clash |
|
|
Gunner |
|
|
Gang Gunner |
|
|
Rogue Wave |
|
|
Legendary Battle |
|
|
Most Legendary Battle |



|
icon |
OBJECTIVES |
|
|
Target - KILLEnemy Ship (NAVAL) |
|
|
Target - DON’T KILLTail Eavesdropping markers |
|
|
AllyAllied Ship (NAVAL) |
|
|
Destination |
|
|
Secondary Target KILLTemplar Fort CommanderPowder Reserve |
|
|
Assinate Target |
|
|
Powder Keg |
|
|
Tagged |





|
icon |
LOCATION |
|
|
Undiscovered |
|
|
Visited |
|
|
Fast Travel Enabled |
|
|
Undiscovered Land |
|
|
Fischerman House |
|
|
Cave / Native Hills |
|
|
Shop |
|
|
Tavern (unavailable) |
|
|
Tavern Locked |
|
|
Tavern Enabled |
|
|
Viewpoint (RHP)Unavailable |
|
|
Viewpoint (RHP)Naval Viewpoint |
|
|
Dock |
|
|
Crew |
|
|
Shipwreck |
|
|
Supply Camp |
|
|
Supply Camp Crate |
|
|
Native Totem |
|
|
Interception |
|
|
Settlement Friendly |
|
|
Settlement Unfriendly |
|
|
Fort |
|
|
Pass Through |
|
|
Hiding Spots |
|
|
Row Boat |
|
|
Beacon |
|
|
Save Citizens |
|
|
Alarm Bell |
|
|
Warehouse |
|
|
Warehouse (unavailable) |
|
|
Shop (location) |
|
|
World Gate |
|
|
Tower |
|
|
Hidden Locations |
|
|
Renovation |
|
|
Abandoned Ship |
|
|
Friendly HQ |
|
|
Unfriendly HQ |
|
|
Player’s HQ |
|
|
Cave Paintings |
|
|
Templar Armour |
























|
icon |
POINT OF INTEREST |
|
|
Quest Items |
|
|
Collectables |
|
|
Activities |


MAP ICONS
|
icon |
LOCATION (cont.) |
|
|
Minigames |
|
|
Outpost |
|
|
Wood |
|
|
Metal |
|
|
Stone |
|
|
Cloth |
|
|
Boarding |
|
|
Water Spout |
|
|
Buried Reward Location |
|
|
James Gunn Arms |
|
|
James Gunn Outfit |
|
|
Native Armour |


|
icon |
|
|
|
Treasure ChestsUnderwater ChestFloating Chest (dead ship) |
|
|
Animus Fragments |
|
|
Songs |
|
|
Naval Drop |
|
|
Ammo Crate |
|
|
Secret |
|
|
War Leters |
|
|
Templar Maps |
|
|
Viking Outfit (runes) |
|
|
Viking Outfit (final) |
|
|
Prosperity Fragment |


|
icon |
SPYGLASS FACTIONS |
|
|
British |
|
|
French |
|
|
Gang |
|
|
No Faction |




|
icon |
|
|
|
Main Mission |
|
|
Templar Fleet Treasure |
|
|
Save Citizens |
|
|
Fleet Battles |
|
|
Mission Constraint |
|
|
Prisoners of War |
|
|
Clash / Naval Clash |
|
|
Fort |
|
|
Cave |
|
|
Hunting |


MENU ICONS
|
icon |
|
|
|
Wood |
|
|
Metal |
|
|
Stone |
|
|
Cloth |
|
|
Money |
|
|
Tobacco |





|
icon |
PROGRESS TRACKER |
|
|
Main Memory |
|
|
Side Memory |
|
|
Collectibles |
|
|
Activities |




|
icon |
PRESENT DAY |
|
|
Door Opened |
|
|
Door Closed |
|
|
Computer |
|
|
Computer |
|
|
Elevator |
|
|
Player |
|
|
Servers |
|
|
Security |
|
|
Cubicle |


|
icon |
ANIMALS |
|
|
Deer |
|
|
Bear |
|
|
Wolf |
|
|
Black Wolf |
|
|
Arctic Wolf |
|
|
Beaver |
|
|
Fox |
|
|
Arctic Fox |
|
|
Polar Bear |
|
|
Elk |
|
|
Rabbit |
|
|
Arctic Rabbit |
|
|
Lynx |
|
|
Narwhal |
|
|
White Whale |
|
|
Humpback Whale |
|
|
Killer Whale |
|
|
Great White Shark |














|
icon |
RETICULE |
|
|
Reticule |

|
icon |
SHIPS (TOP DOWN VIEW) |
|
|
Morrigan |
|
|
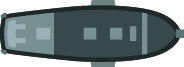
Gun boat |
|
|
Schooner |
|
|
Brig |
|
|
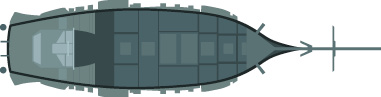
Frigate |
|
|
Man o’ War |
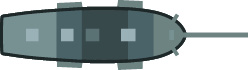
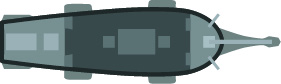

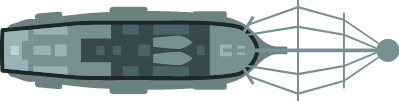
|
icon |
SHIPS (SILHOUETTE) |
|
|
Gun boat |
|
|
Schooner |
|
|
Brig |
|
|
Frigate |
|
|
Man o’ War |





Climbing
To avoid guards and get through enemy territory, Shay spends a lot of time climbing. There is almost always a way to get through each region by climbing trees or buildings. Get up high and use the superior vantage point to avoid patrols, spot targets, and plan your attacks.
The Free Run button is also your climbing tool. Hold it down and direct Shay toward any wall or tree. If that object is climbable, Shay will automatically jump onto it. Press up on the left control stick to climb, use left or right to shimmy along ledges, or hold it down when trying to gently climb down off of something rather than leap.
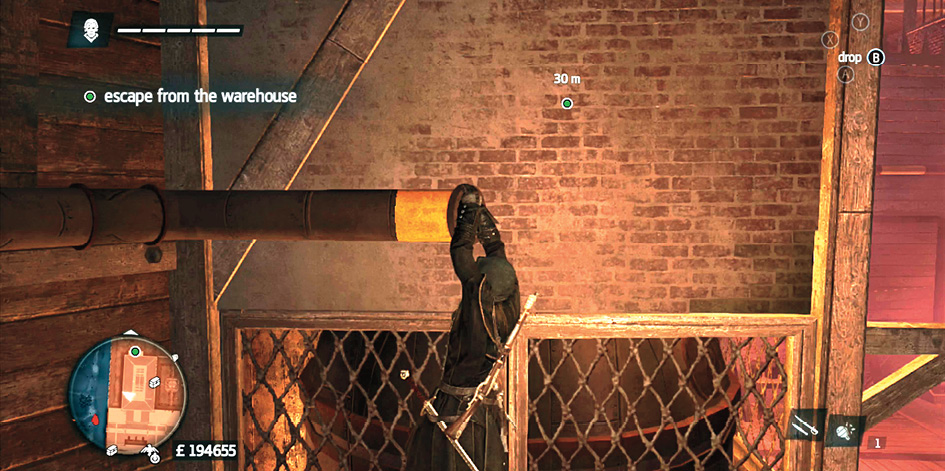
Loose tiles, bricks, ledges, thick stones, tree branches, and splits in trees are all climbable. Once you see the types of objects that Shay grabs, it gets easier to figure out where you can climb and where you can’t. Try everything out when you’re getting a feel for the game, and then rely on that knowledge during more intense scenes to plan a path for escapes and clever attacks.
Certain pulleys let you get higher up very quickly. Ships often have these by the masts, but you find them in New York as well. Look for these ropes; they’ll often have a periodic glow to show that there is something special about them. Free Run into pulleys like this to activate them.
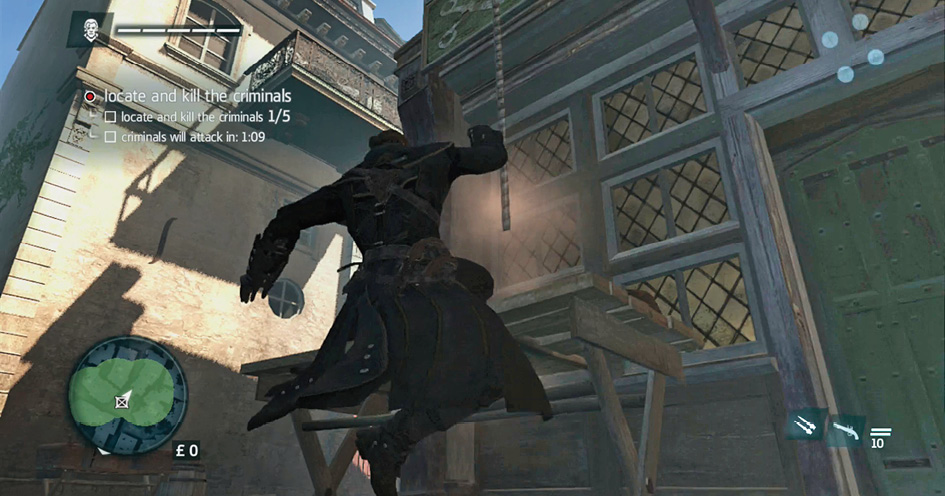
The Counter button is used to descend onto a ledge. Tap this if you’re near an edge to immediately climb down and hang from it. Keep tapping the button to drop from these handholds, but push toward the climbing surface if you’d like to grab hold again on the way down. Shay won’t take falling damage if he finds a handhold (his fingers are like iron).
Stealth
There are two major aspects of stealth in this game. One way to avoid contact with enemies is to avoid being seen. Guards aren’t going to attack someone they can’t find or detect, right? Enhance your stealth by staying at long range, using trees and rooftops to keep yourself above guards, and using brush or other forms of cover to hide.
The other method of stealth is to hide in plain sight. High-profile actions, like running around and pushing people out of your way, will draw tons of attention. Low-profile actions, like moving slowly and standing near innocent people, let you chill out while guards walk right past you.
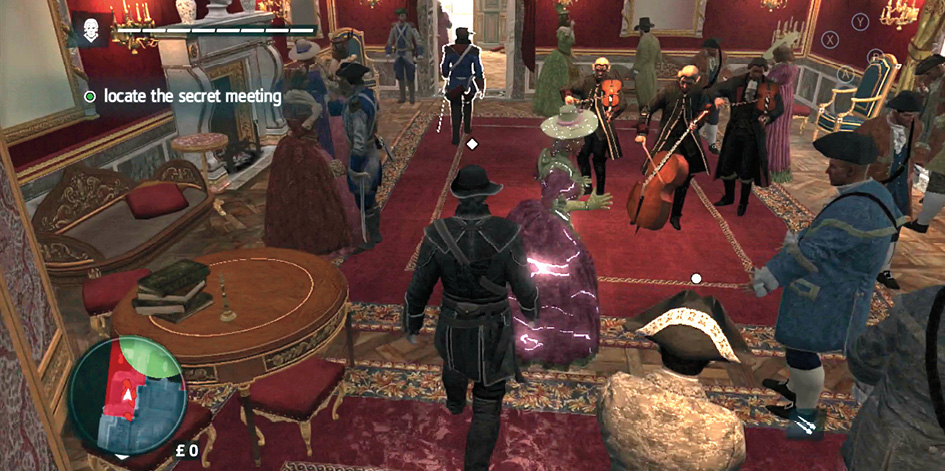
No matter which method of stealth you use, it’s useful to watch the guards. The game lets you know about each enemy’s level of alertness. They’ll have a yellow icon over their heads if they see something strange. A circle fills as the guard gets even more curious. If it gets all the way up, that guard is going to take action.
A red circle is even more ominous. This happens when a guard sees you and is entering an aggressive state. If the circle fills up, they’ll attack you instead of investigating the situation.
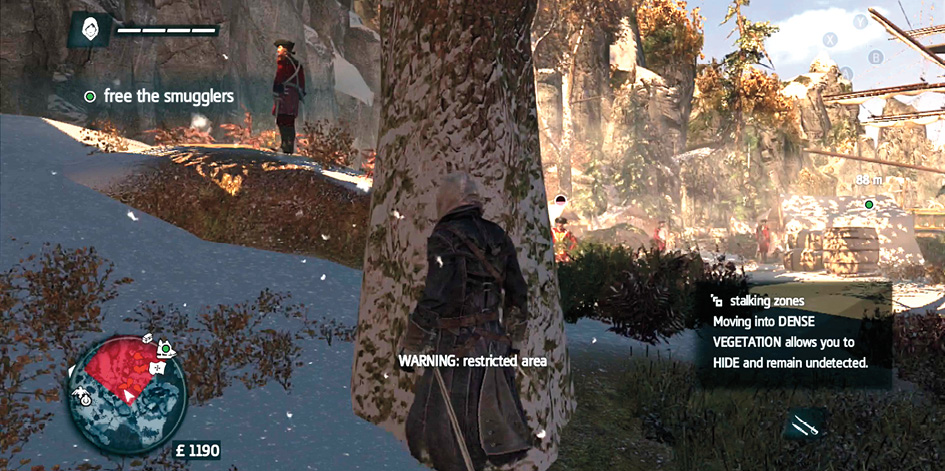
The more obvious your actions are and the closer the guard, the faster those circles fill. At really close range, you can be detected in well under a second. At long range, there is enough time to notice, react, and move to cover. That’s your best bet if you aren’t close enough to kill the guard; walk toward cover to break line of sight with the enemy. They’ll lose interest if you do this quickly enough.
Guards who see bodies or suspicious activity will usually approach the area where they last saw trouble. They’ll stick around for a while before losing interest. Either way, wait for them to return to their usual spots or take advantage of the fact that they’ve left their posts. Slip past them by going the long way around, and sprint once you’re safe to quickly leave the location.
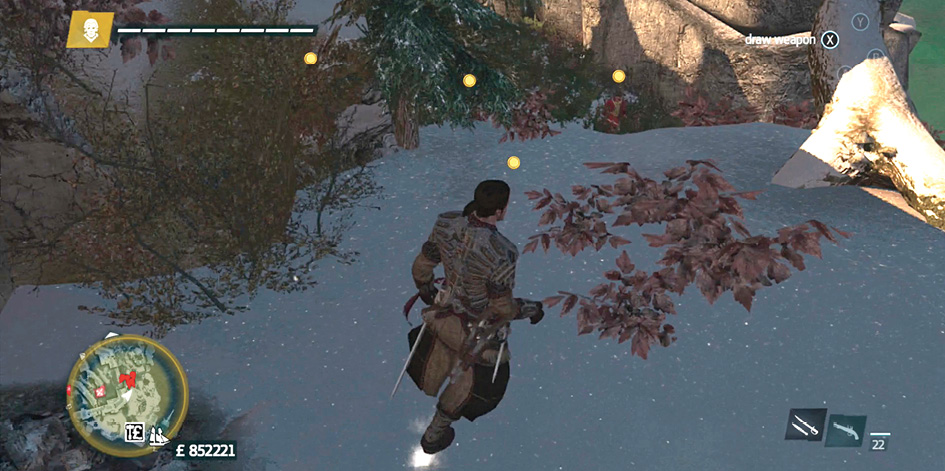
When you’re trying to move quickly but are being watched, use a fast walk instead of a sprint. Sprinting is always high profile, and any alert targets will get nervous about that (if they’re already looking for you or are watching a restricted area).
Because guards don’t have great peripheral vision, you can frequently walk beside them and stay unnoticed. This is also effective when approaching to kill them. You can walk up to their side and assassinate them without much delay. In a pinch, you can even sprint toward a target to kill them before they’re able to react. This is risky because their alert status won’t take long to trigger, but it’s viable when you really know what you’re doing.
Blending
It was already mentioned that you can hide around other people by keeping your actions low profile. There is a system in place to let you know when this is working. Look over people’s heads when you’re standing near civilians. A white diamond appears over people who you are blending in with. Guards won’t worry about someone who looks like he’s listening to his buddies. Hang out near civilians to give patrolling guards a chance to walk past you.
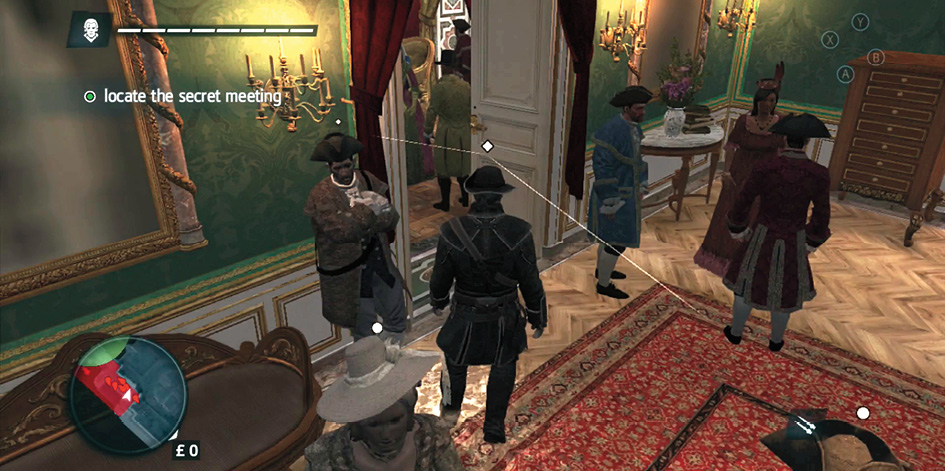
Don’t pick anyone’s pockets, sprint, or make aggressive actions while blending. That’s a sure way to get attention and ruin your stealthy cover.
Hiding
If you’re going to be an Assassin, learn how to hide. There are several useful types of hiding spots in the game. Corners let you observe the areas ahead of Shay without stepping into anyone’s line of sight. There’s a good start, but you can do even better than that.
Leaves, hay, and snow are all places where Shay can conceal himself. These don’t work if hostile targets see you jumping into the cover, so make sure that you only do this when no one is around.
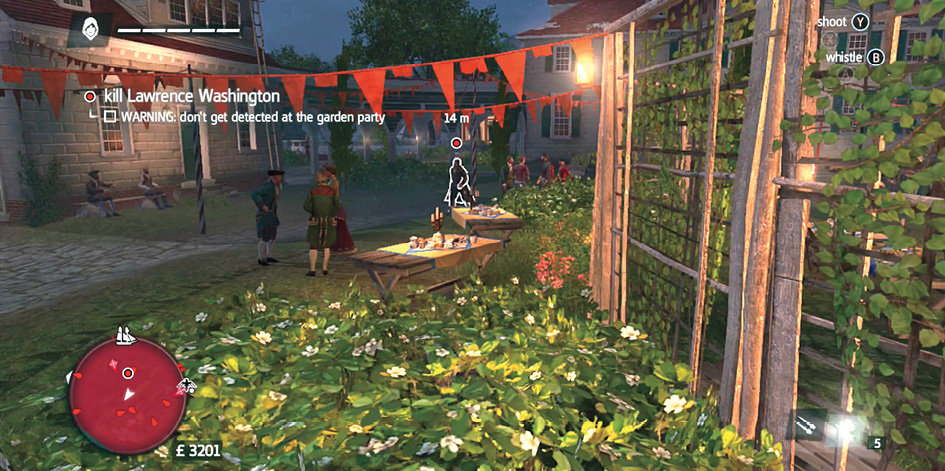
If you’re looking on the map, hiding spots appear as blue dots. That lets you know where to go quickly if things are starting to turn against you.
Use hiding spots offensively and defensively. Hide in cover that is next to a guard’s patrol path. Wait for the guard to get close to your cover, and then tap the Assassination button when it becomes available. Shay moves out of the cover, kills his target, and often won’t be seen unless another guard is looking right at that location when you make the attack.
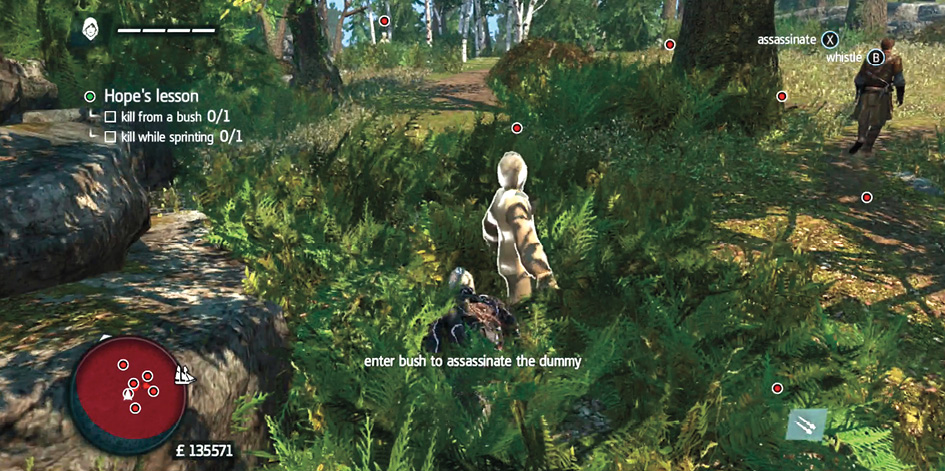
Bushes act as stalking zones. They’re similar to cover in that they break enemy line of sight and allow you to hide while observing the nearby area. You can still launch assassination attacks from them, but there is one extra advantage: You can also use ranged attacks in brush. Line up pistol shots, use Sleeping Darts, or even launch a grenade if you have to. All of these are possible while you’re hiding in brush.
For a stealthy attack, use Sleeping Darts while in a stalking zone, and slip through the guard’s area while he’s unconscious. You don’t even need to kill them.
Getting Away from Trouble
Guards who see through your stealthy approach become alert or even aggressive. Any allied guards who are close by are also given notice, and they’ll join the hunt. Your minimap turns yellow when this happens, and you have to either kill the people responsible to reset the alarm or flee from the targets until they give up.
Smoke Bombs break line of sight and confuse pursuers. They’re a great tool for nonlethal activity. You can also murder people while they’re under the effects of Smoke Bombs, so they’re nice tools to assist with lethal attacks too.
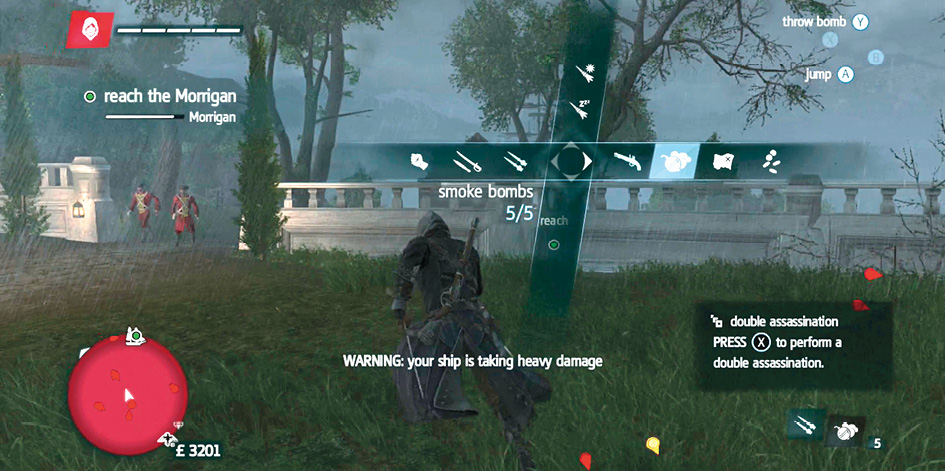
Getting to cover and hiding without being spotted also help you escape combat. When that fails because there are too many people looking at you, you can always rush out of the entire region. Shay is very fit and outpaces most of the guards chasing him. Run as fast as you can and leave the marked yellow pursuit area. Once you’re outside of that, the alert resets and you can return to your business.
Assassination
Guards can’t sound an alert if they’re dead. You don’t have to use stealth all the time, and violence is certainly a good option for Assassins. Attacks that you make against unwary opponents are amazingly powerful. You can instantly kill anyone in the game if you attack them before they get their weapons ready. Side attacks, back attacks, aerial attacks, and even a stab from the front can score these instant kills.
Attack your victims from any angle if they aren’t alert. Get close to the victim and tap the Assassination button when it becomes available.
When opponents have their weapons out, you need to move in from the back to seize that advantage. Back attacks perform assassination moves even when your victim is already alert and ready to fight. This frequently comes into play during ship battles because your sailors attack and distract the other ship’s men. Use that distraction as a way to go from sailor to sailor, assassinating them any time they turn their back on Shay.
Distractions
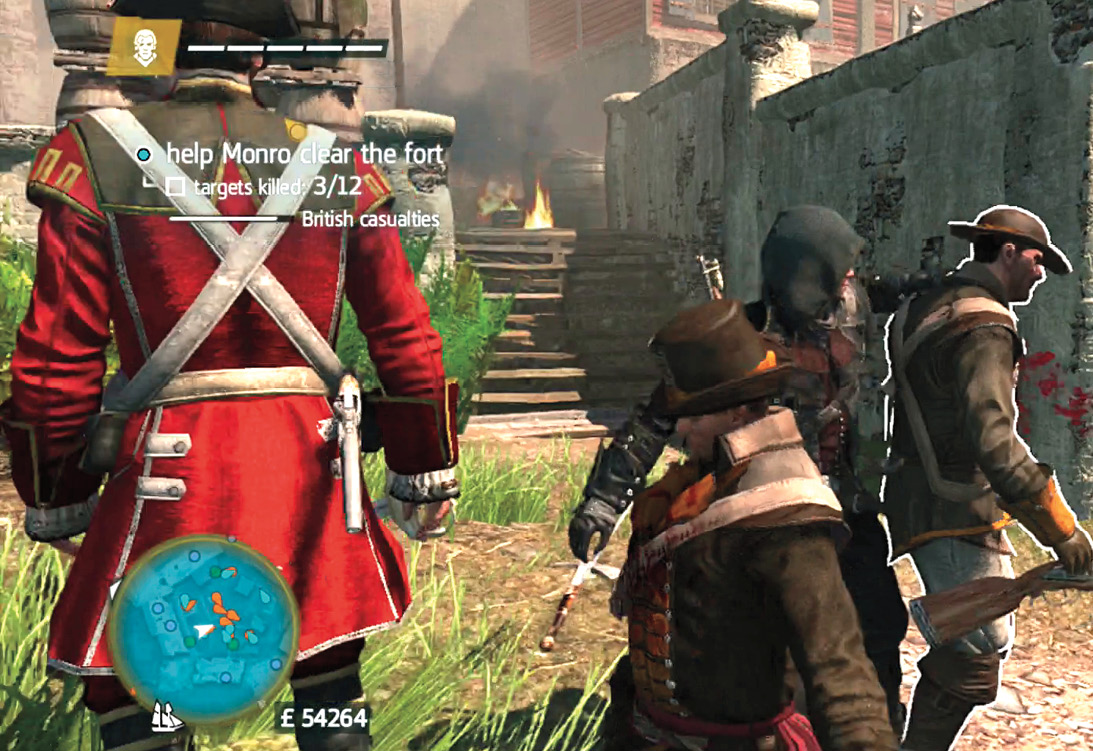
Whistling draws guards over toward your position. Use this to get patrollers near hiding spots so they can be killed and hidden without prying eyes being any the wiser.
Bodies get attention, too, so pick up and move bodies that are going to encourage guards to move close to your intended path. Or, leave bodies out so that guards move past you to investigate and then kill them from behind while they’re distracted.
Firecracker Darts are another tool for distracting guards. These ranged devices cause enough noise to make guards notice them. When this happens, you’re safe to slip off to somewhere else while they are distracted. These darts can also be used to blow up barrels of gunpowder that are found in ships or inside forts!
Eagle Vision
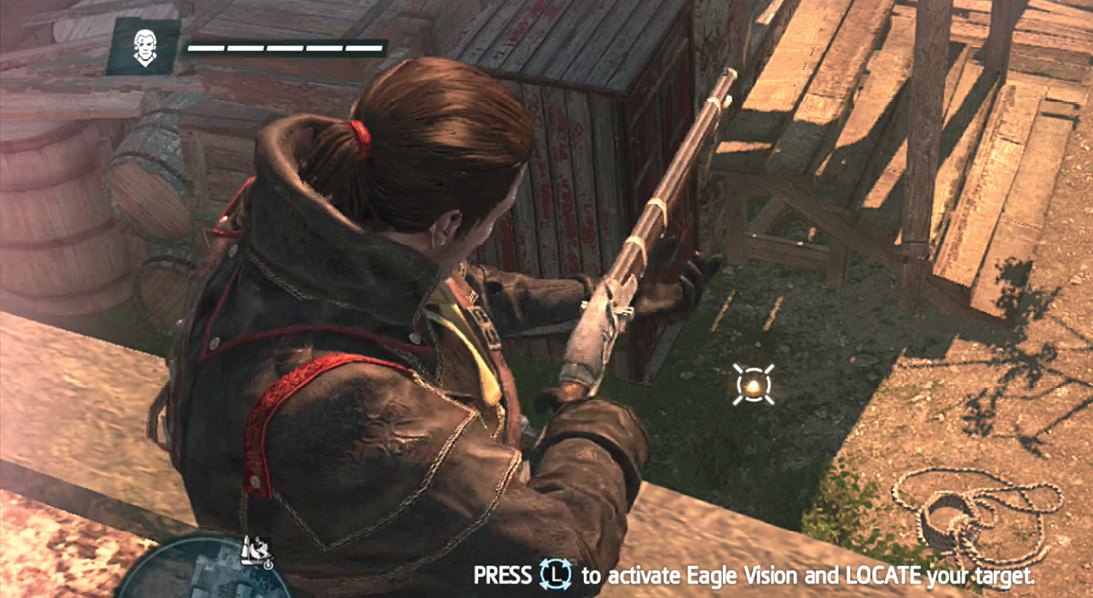
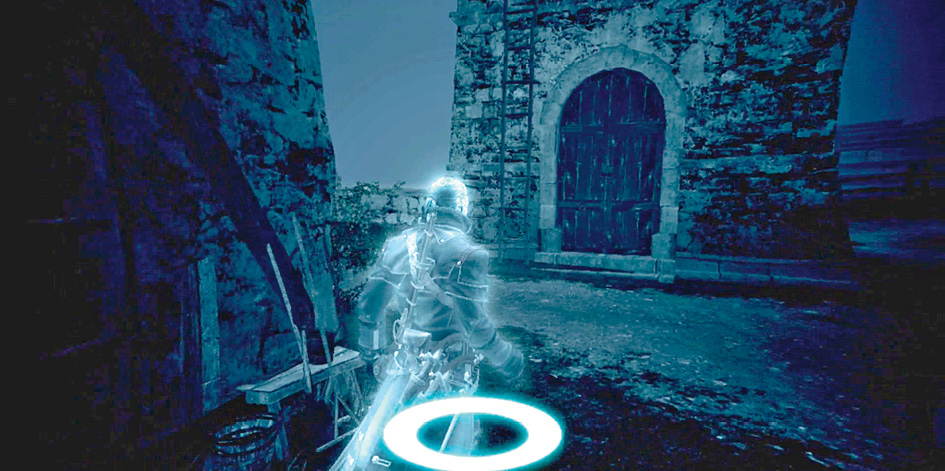
Eagle Vision is a power that lets Shay see targets without many distractions. Important people show up in yellow, enemies appear in red, and points of interest turn whitish.
Use Eagle Vision to hunt animals in thick growth, to track VIPs on specific missions, and to help figure out guard patrol patterns. Once marked in Eagle Vision, guards and VIPs are quite a bit easier to locate. They’ll even show up through walls for a fair amount of time.
Weapons and Tools
These are such vital pieces of Shay’s arsenal that we’ve put them in their own chapter. Continue to the next chapter when you’re ready to see all of Shay’s deadliest weapons and tools.
Swordfighting
When assassinations fail, take to the sword to defeat larger groups of attackers. Outright combat is a slower option that only defeats weaker foes; you swing your weapon again and again and wait for the combo to build until a kill animation is triggered. Basic guards are easy to kill this way, but more experienced fighters can deflect or even counter your basic attacks.
The second tier of swordfighting is to master counters. Instead of making long series of weapon attacks, use patience as your weapon. Wait for an enemy to swing at you. When a small red icon appears over their heads, press the Counter button and then attack. This automatically kills many enemies. Counter followed by your Tool button provides even more options. When paired with the pistol, you gain a very deadly move.
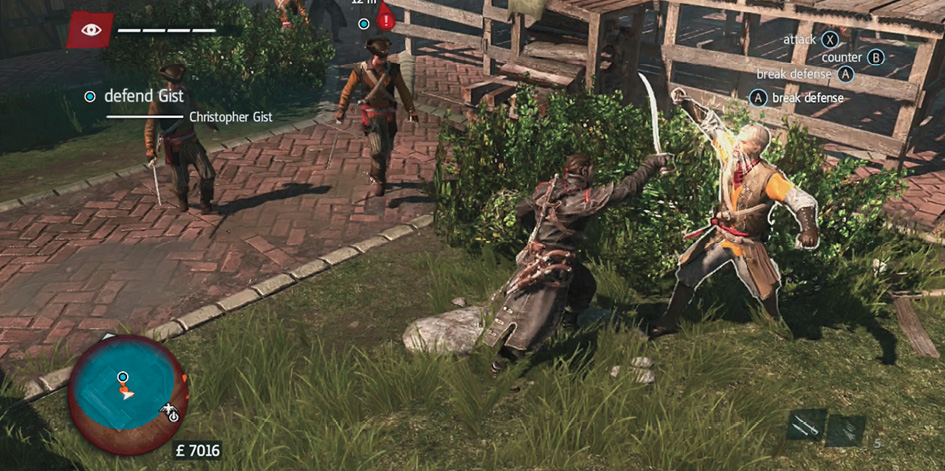
Extremely good opponents won’t even let you counter them. They’ll interrupt your counterattack before it kills them. For these foes, attack, press Break Guard when they parry you, and then attack again. This kills many of the stronger guard types that you come across.
Extremely good captains and enemies even stop you when you attack and then Break Guard. They’ll counter Shay! To give them more trouble, wait for them to swing, then you counter, attack, Break Guard, and attack again. This sounds tricky, but it becomes very easy once you’re used to the system.
For a beautiful blend of aggression, mix these techniques together. Use series of basic attacks to kill weaker guards in a group. Counter everyone who comes after you during this skirmish to score even more kills. Then attack, Break Defense, and attack the leaders who don’t die from your counterattacks. I
Break Defense also grabs people to use as human shields if a ranged attacker is lining up their pistol/musket. Your victim gets killed, Shay avoids massive damage, and the ranged attacker is left with a lifetime of guilt. Don’t feel bad; that lifetime is only going to be about 20 seconds long.
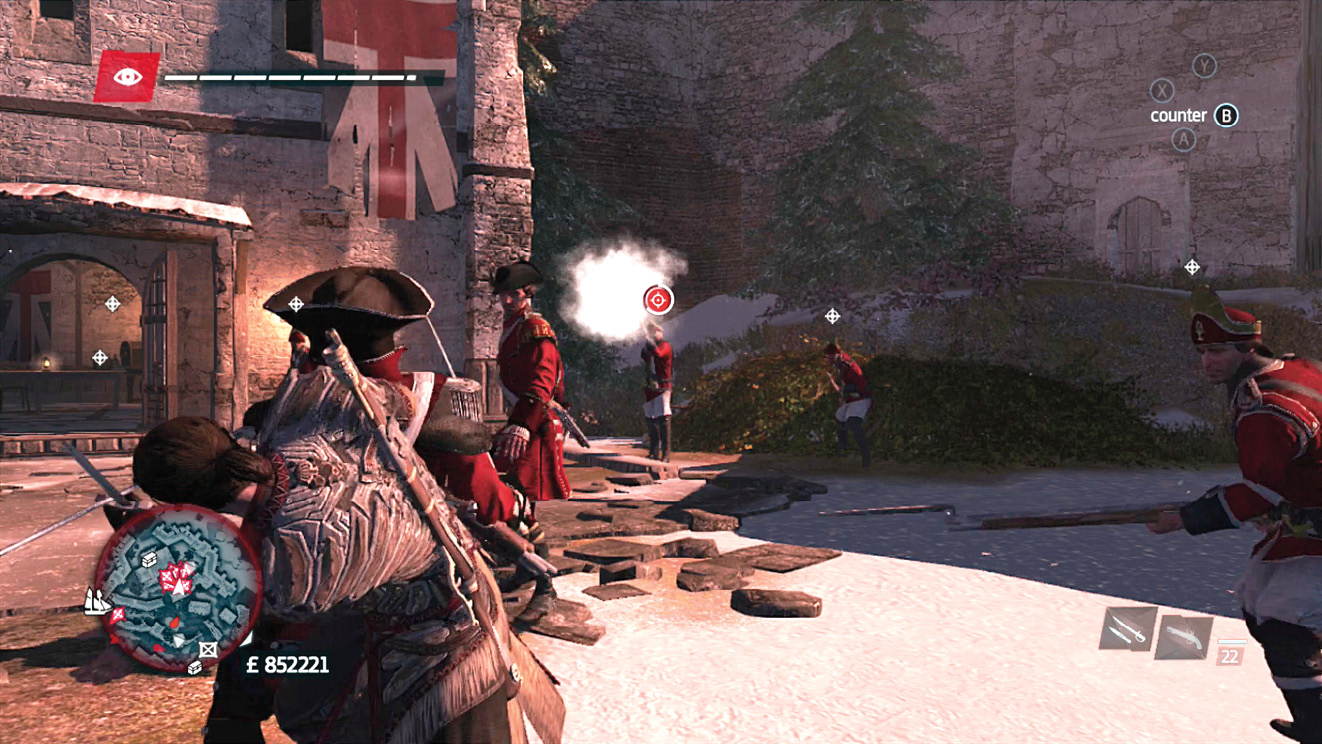
Kill Streak
Basic attack combos kill weaker enemies, and you can string these kills together. When you start a kill animation against your first target, push your control stick toward another guard in your current fight. Attacking immediately after the kill completes lets you chain the assault into the next foe. These kill streaks stop if you are blocked, take damage, or whiff, but they otherwise allow you to lay out entire groups quite easily.
Ranged Attacks
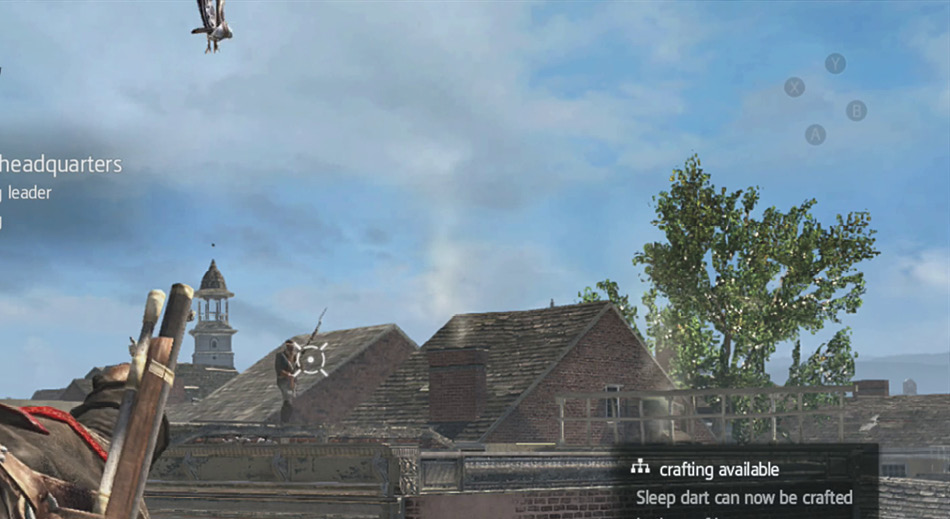
Pistols and the air rifle give you opportunities for ranged damage in a variety of situations. When you’re being stealthy, use the air rifle to disable guards. If sound isn’t an issue, then switch to air rifle grenades or pistols and kill your opponents outright.
Headshots do bonus damage, so they’re perfect when taking on tougher enemies or your assassination targets.
Knowing Your Enemies
There are specific types of enemies in this game. Knowing their capabilities and weaknesses is a great boon and ensures that you don’t get yourself in a bad position during battles.
Soldiers are the weakest opponents. They don’t counter, they can be killed easily with basic attack combos, and their weaponry isn’t very powerful. Go for kill streaks and bring them down in droves. Ranged weaponry is also incredibly effective against soldiers.
Scouts
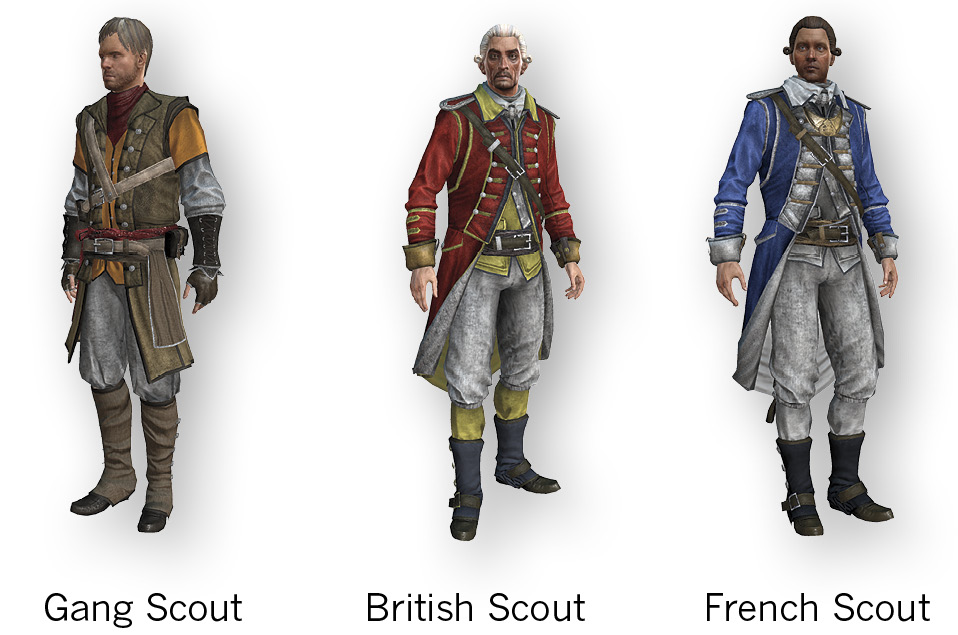
Scouts are agile enemies that carry knives, so they’re a mean-looking bunch. Be ready to Break Defense and attack when they start getting defensive. When they attack, scouts swing multiple times, so you have to keep trying to Counter if you miss the first incoming blow.
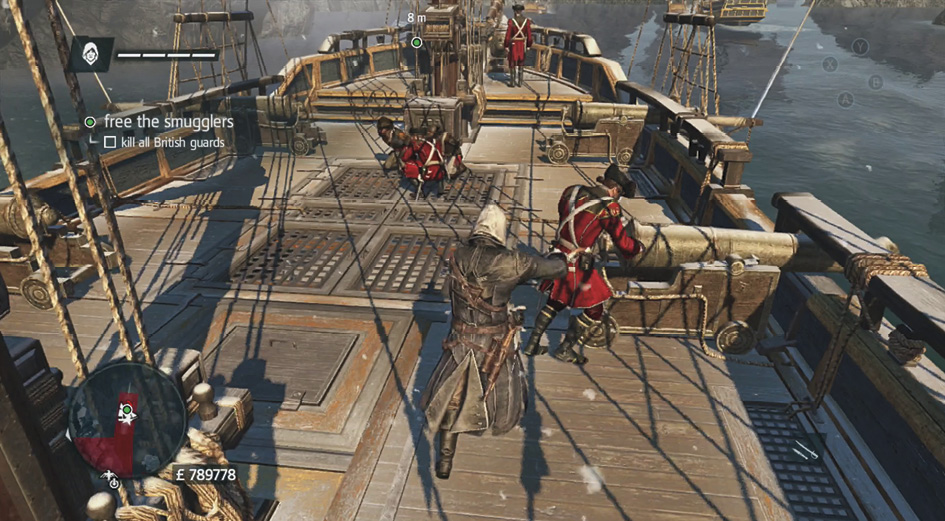
Scouts are very fast runners. They’ll charge after Shay and tackle him if they get a chance. Use Smoke Bombs to distract them, break line of sight, or kill these enemies to break free of their pursuit. If you use Break Defense during a tackle attempt, Shay avoids the move and won’t get pinned to the ground; keep that in mind too.
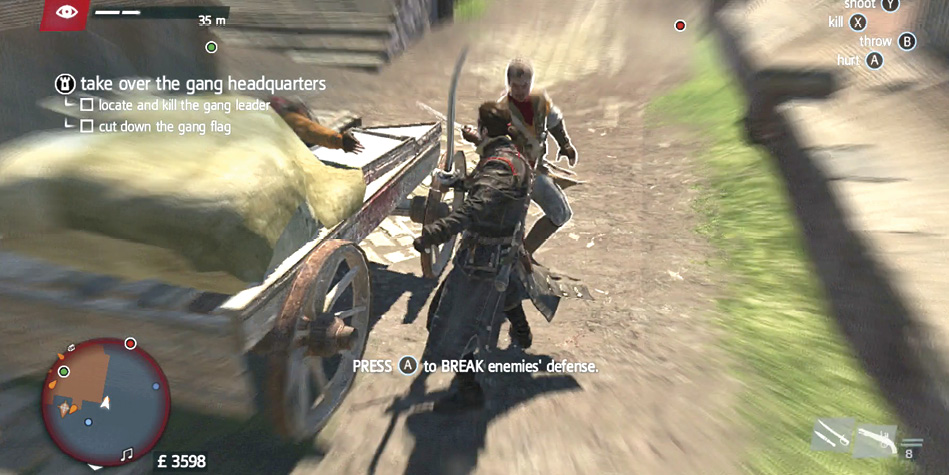
Gunners
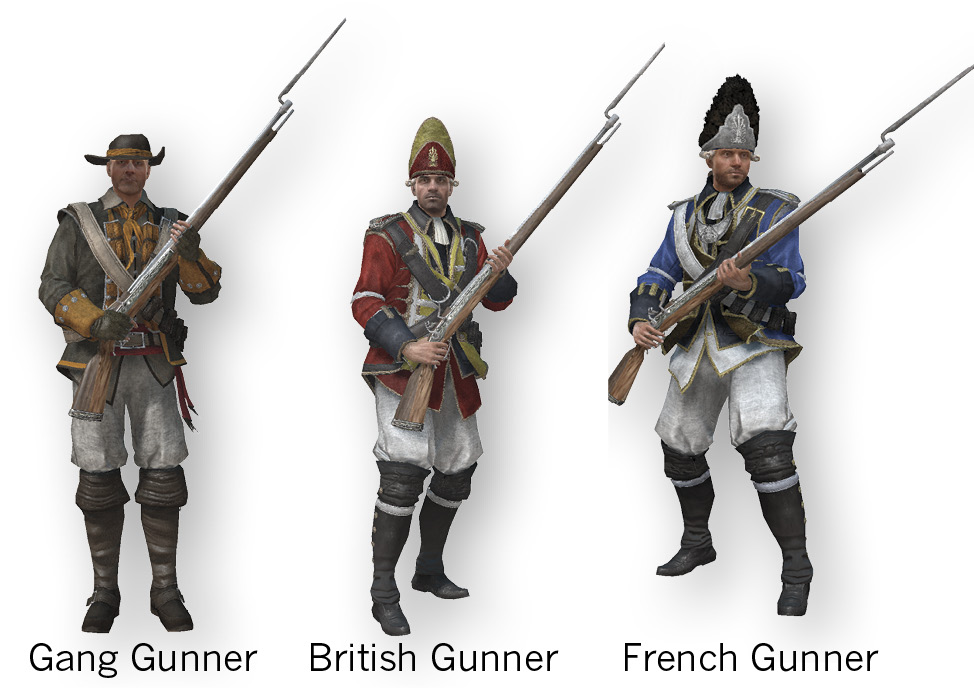
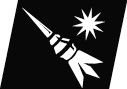
Gunners get their own map icons. They look like a dagger with a bull’s-eye inside of it. The tip of the dagger shows where the gunner is pointing. These snipers are often found higher up and should be killed before engaging most guards in the area. Gunners shoot at you once you’re spotted. You need to break line of sight, counter with your own ranged weapons afterward, or use human shields to block their shots. In melee, combos of swings work decently, and counterattacks are perfect for killing them.
Berserk Darts are wonderful against gunners because you often get a few free kills out of the deal; the gunners have great line of sight over their watch areas, and they’ll shoot their own allies while you laugh from the shadows.
Brutes
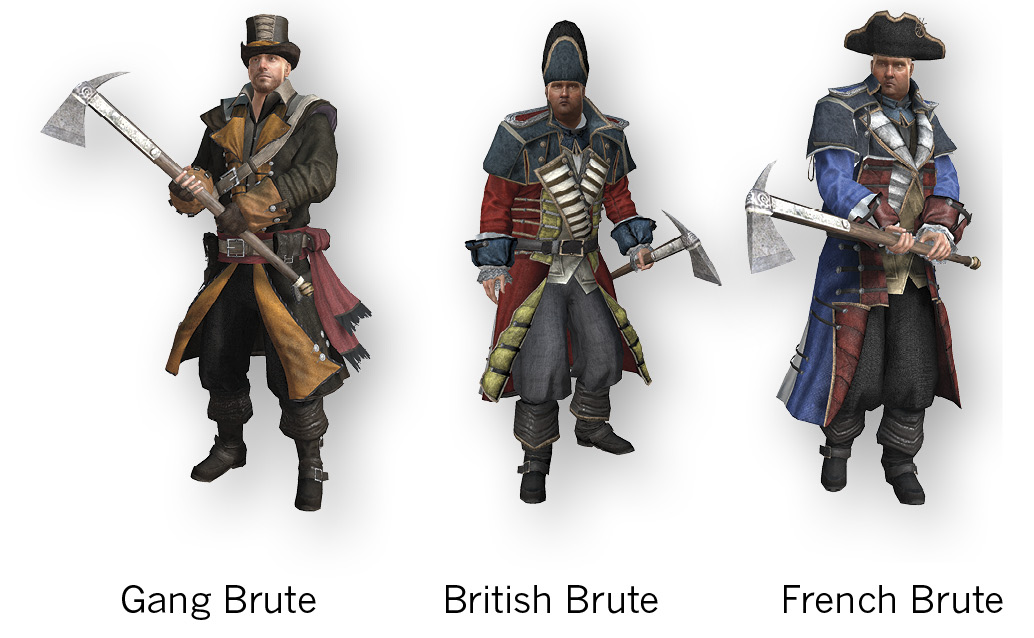
Brutes carry heavy weapons. They deal damage in droves and can desynch you easily if you haven’t mastered counterattacks. They’re almost immune to combos, but they’re weak toward Guard Breaks. Attack once, press Guard Break next, and then attack again once the brute is exposed. Done and done. If you’re missing that opportunity, then Break them twice to put the brute on the ground. They are doomed at that point, because a single stab ends their lives.
Watch out when brutes are close to you in an existing battle. Not only do they have their incredibly strength; they also carry grenades. They’ll toss these into the middle of your group, regardless of any friends they might kill in the process. Drop a Smoke Bomb quickly so that you can escape (and your enemies will be distracted and stick around for the Grenade’s explosion). It’s win-win for you. Rather bad for the brute’s post-battle report to his superiors though.
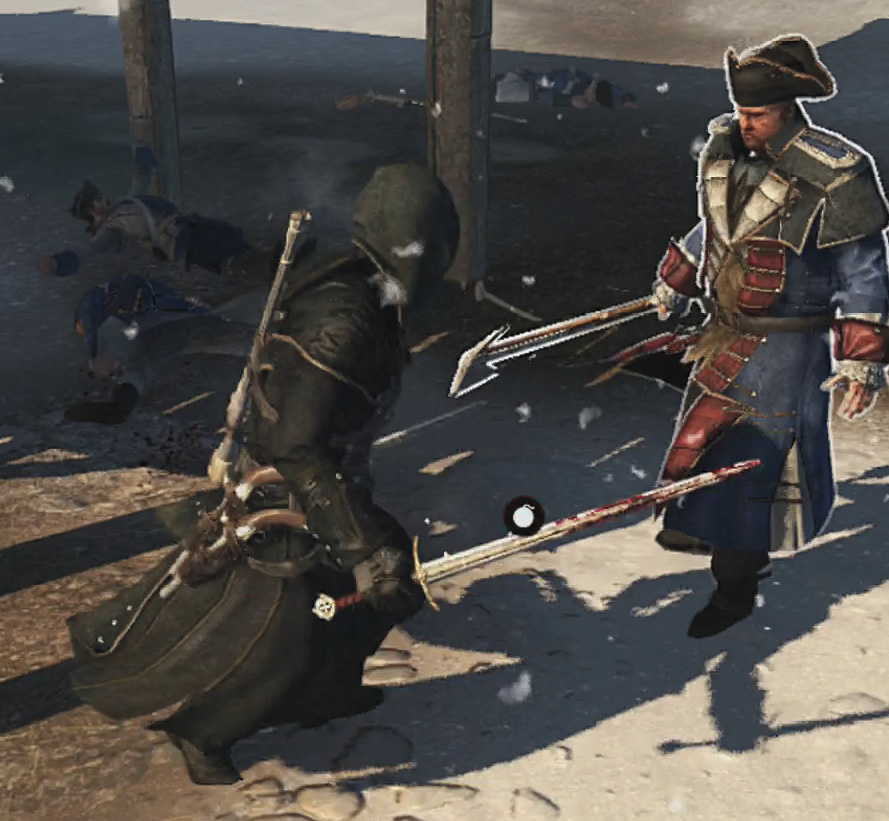
Captains
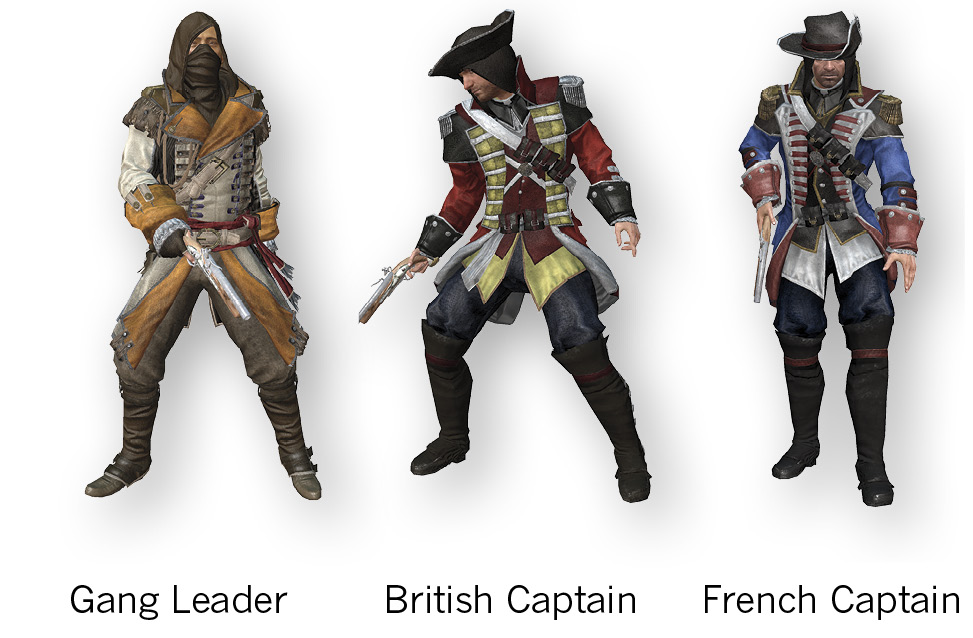
Captains are the best enemy fighters. They block wonderfully, aren’t always easy to Guard Break, and attack decisively on their own. Counter + Attack + Guard Break + Attack is a reliable combo against them, but rear attacks and pistol ambushes work well if you have time to set them up. Enemy captains are powerful combatants, especially during ship warfare. Assassinate them if you can, or focus on them during a swordfight to eliminate them before they hurt Shay or his sailor allies.
Stalkers
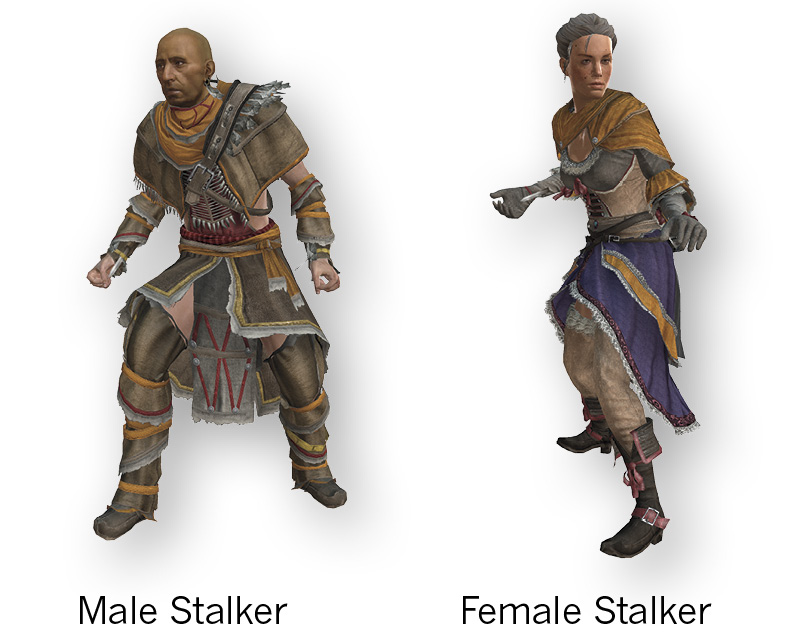
Stalkers are an interesting finish to the enemy list. They’re Assassins, and they don’t fight openly unless they have to. Counter their initial attacks to avoid monstrous damage. Listen for their battle cries if they attack from above, or spot them using Eagle Vision so that you can sneak up on them.
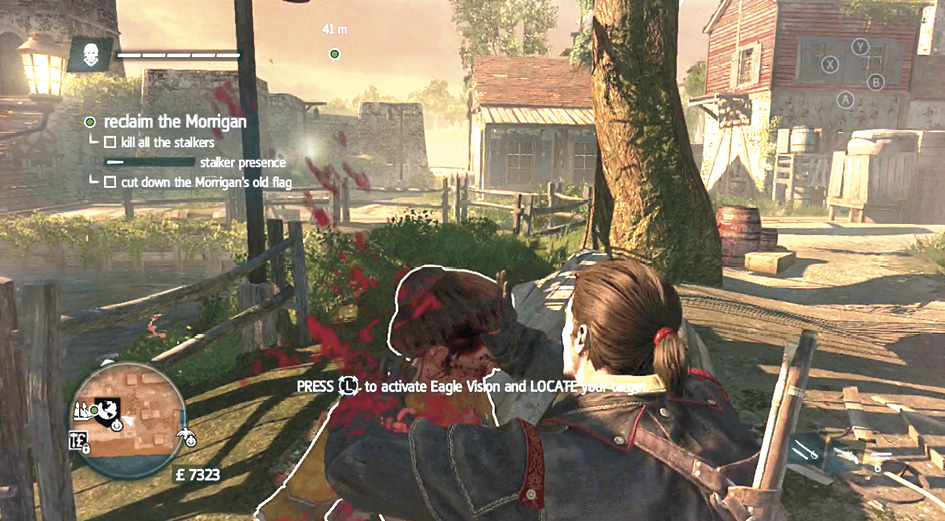
Gang Leaders are found in side activities. They’ll stay out of sight while patrolling Gang HQs. If they spot Shay, they’ll start an alarm and call reinforcements into the area. They also can ambush you, use Smoke Bombs, fire Pistols, and run away to hide.
Detect Gang Leader locations with Eagle Vision (just as you would a Stalker). Try to approach them from above and use ranged weaponry or air assassinations to secure faster and much easier kills. Don’t use Sleep, Berserk, or Smoke effects against them. These guys have seen it all, and they won’t be impressed or affected by those abilities.
hunters
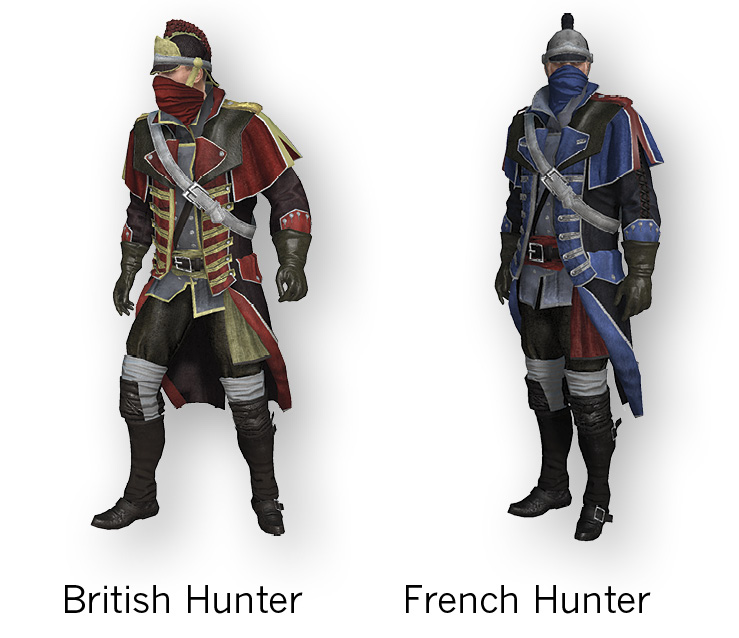
Hunters are the enemies that get called when you have a Wanted Level on land. They’re like super captains. You can’t counter their attacks, they aren’t influenced by Smoke Bombs, and they’re generally quite nasty. Berserk Darts and Grenades turn them against their friends!
“Death”
There isn’t any actual death for Shay in this game because he’s already lived his entire life. You can’t change the past in that way. Instead, you run the risk of desynchronization. If you take too much damage, lose the Morrigan in battle, or do something that Shay could never have done, you desynch from his memories. This resets the story to the most recent checkpoint. There aren’t any financial penalties for doing this, but any progress that you’d made since the last checkpoint is lost.
To avoid this condition, upgrade Shay’s health and practice countering attacks as often as possible. Use human shields to avoid ranged damage, and don’t jump from places that are too high unless you have hay or snow to fall into.
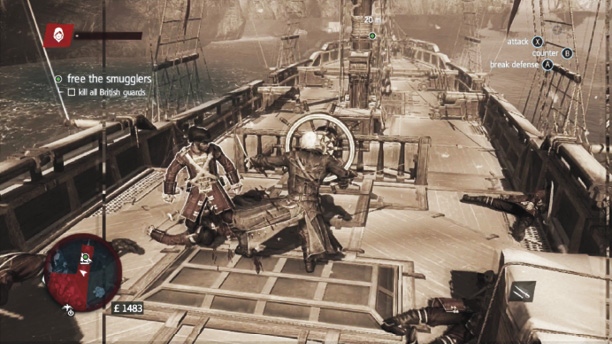
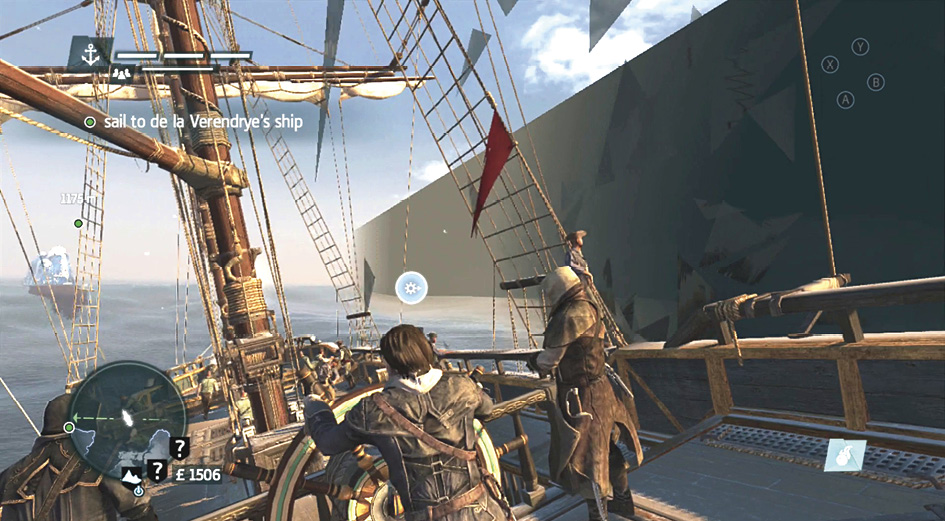
Make sure that you complete the required objectives. If the game says to stay undetected, then move slowly, stay in brush whenever possible, and avoid enemy patrollers. Watch your minimap! Stay close to targets that you’re supposed to chase, and watch for updates that warn whether you’re too close or too far from whatever you’re supposed to deal with.
Dark boundaries line the edges of the maps. These are places that Shay Cormac never went, so you can’t explore them in his memories. Walking too far into the darkness causes an instant desynchronization.
Don’t kill innocents or domesticated animals either. That’s not Shay-like behavior. Too many transgressions here can also desynch your memories.
Captaining Your Ship
You don’t have to wait long before getting the Morrigan. It’s a wonderful vessel with so much upgrade potential that it will one day put men-o’-wars to shame!
Many of the controls for your ship are intuitive and have already been explained in this chapter and are shown in the game. Remember to push up to Travel Speed when you have to move quickly or explore over great distances. Reduce speed heavily when you have to maneuver or stay aggressive with your attacks. The more you can turn, the easier it is to keep your guns on your target.
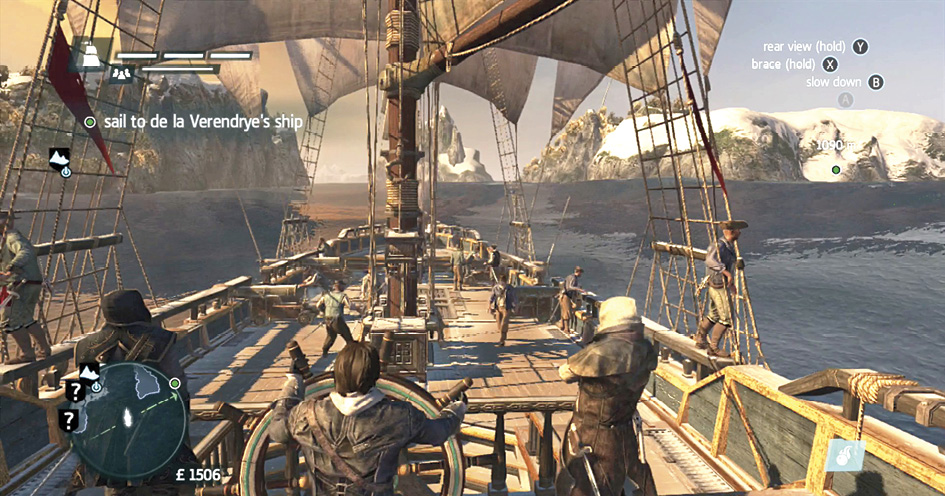
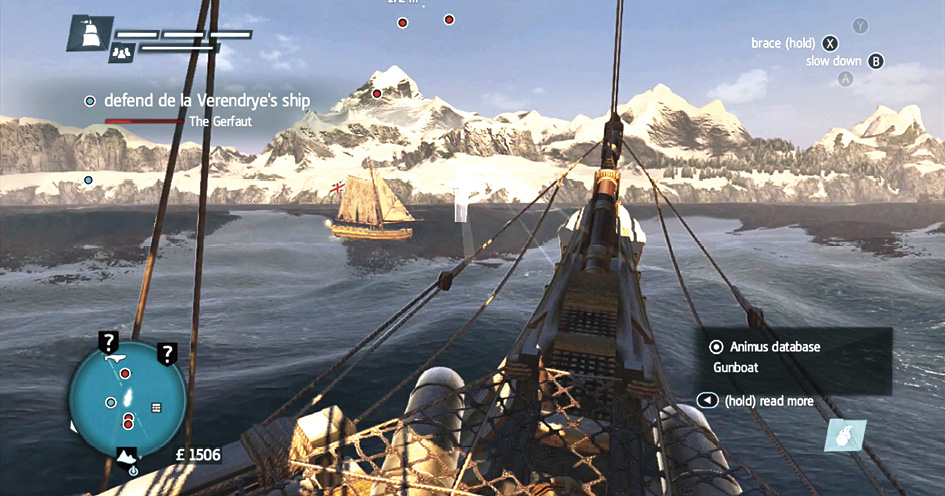
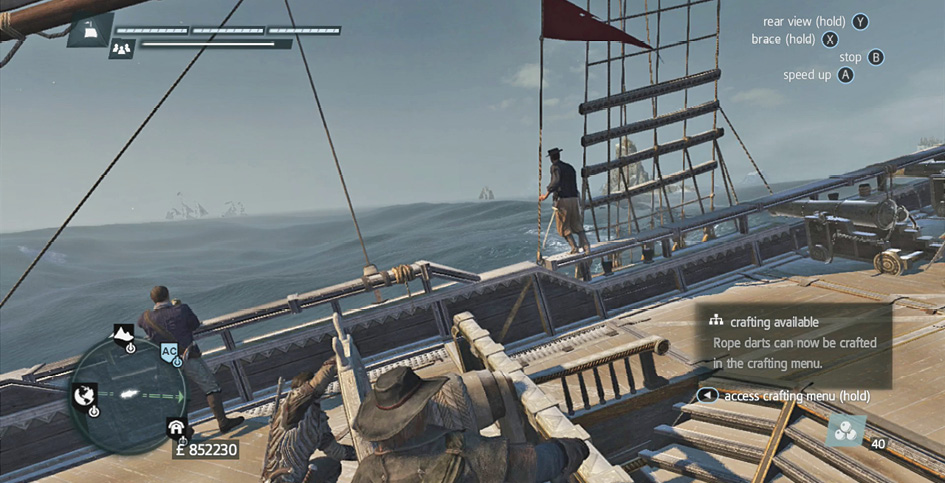
The best way to get an advantage over your enemies in naval battles is to upgrade the Morrigan, use multiple weapons during battle, and avoid downtime. All of the weapons you use at sea have a reloading time, but that’s not a shared feature. Thus, you can fire one weapon after the other as quickly as you can mentally switch between them.
Broadside cannon, mortar, Puckle gun, and broadside cannon are a classic example of this. You can fire all of these guns in the same amount of time that you can fire the two broadside cannon attacks. Because of this, aggressive weapon use adds dramatic amounts of damage to your gameplay.
Practice switching between your normal cannon aiming, mortar systems, and the Puckle gun. Do this even while your ship is sailing around outside of battle to get a feel for the controls. You don’t have to actually shoot the guns; you can target things and switch controls without pulling the trigger (to save on mortar ammo).
Another critical naval skill is the ability to shift directions quickly. The best fights occur when you have broadside angles on your target and they don’t have them against you. Stay at a 45-degree angle to your target as best you can, and use enough speed to stay ahead of them while also turning to maintain your advantage. This isn’t easy, but it’s a goal to strive toward.
Boarding Ships
You lose so much potential money if you simply destroy every ship that you come across. Boarding enemy vessels is an ideal way to get free crew, money, resources, or even ships for your fleet once you’ve advanced farther into the game. Boarding is risky because Shay can be killed (or his crew can be slain, which also causes a desynch). However, the risk is well worth your time because ships yield over twice as many resources if you board them and win the fight compared to destroying them and salvaging what you can.
To board a ship, you have to cripple it. Use normal attacks against the enemy ship and bring down its health. Once the ship is critically damaged and on fire, you are free to board it. There is a visual indicator to show this in multiple ways (the enemy ship stops moving, catches on fire, loses its sails, and has its health bar drop into the critical range).
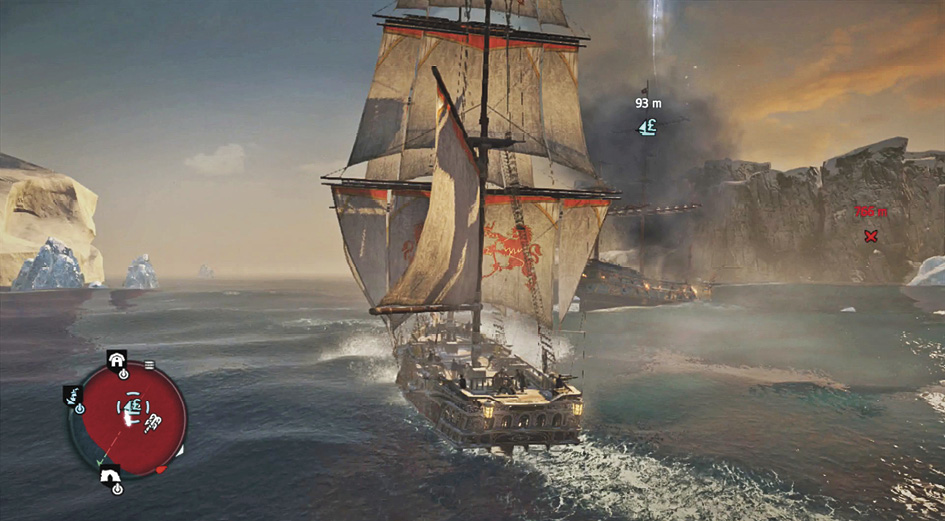
Approach the wounded ship and use the boarding command when it pops up onscreen. This lets the Morrigan start to close with the other vessel. Man the Puckle guns on the side of the ship that is facing your enemy, and sweep the enemy deck with the gun for free kills during the approach. This can sometimes defeat the enemy crew before you’ve even gotten onto their ship.
A number of win conditions appear to let you know what is required. Shay loses the fight if he or his crew are killed, but he wins if you fulfill the victory conditions. They’ll always have a number of enemy crew to kill, but larger ships have additional conditions to fulfill.
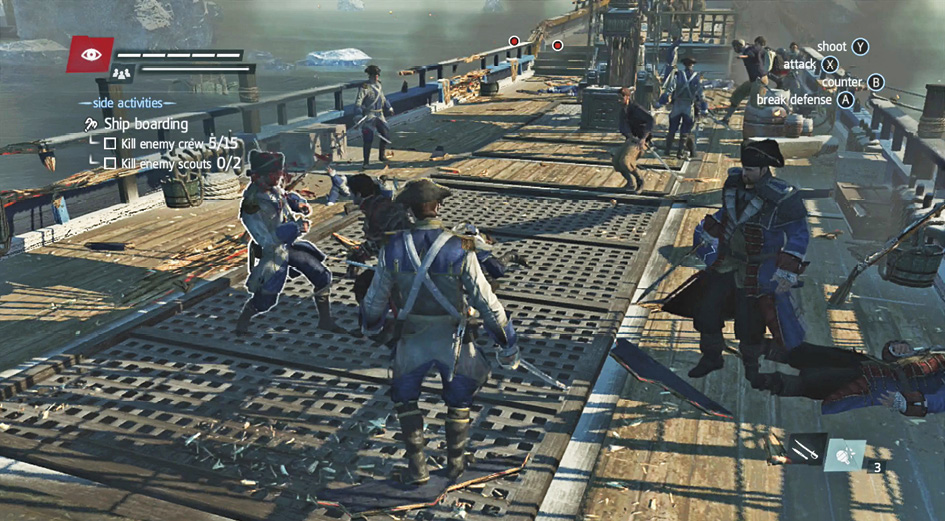
In general, try to destroy any barrels or marked officers before you get onto the ship. That’s exactly what the Puckle gun is great at doing. Improve your Puckle gun ammo count to assist with this process, and remember to use both Puckle guns if you want even more fire power (because they have separate ammo supplies). Run between the two guns and rack up the kills before you board the opposing vessel.
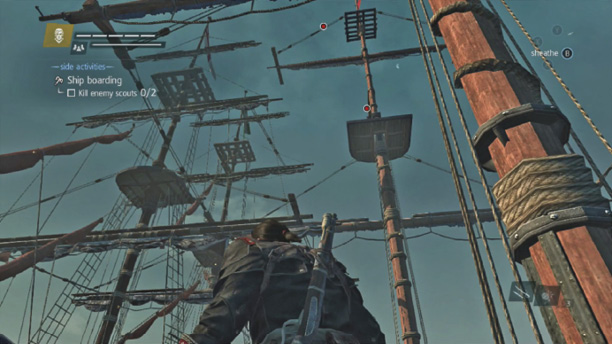
The difficult win conditions are usually higher up on the ship. These include enemies higher up that need to be killed. Use ranged attacks if you can, but the angle is often difficult. Zip up to the nests on your own ship to get a better line of sight, or climb up the enemy mast to reach your targets.
Grenades and skilled swordfighting help tremendously when attacking the enemy ship’s crew directly. Smoke Bombs and fast kills are also immensely useful. Try to focus your attacks on Brutes and Captains because they are the hardest foes for your crew to take down. Berserk Darts, launched from the Morrigan can also turn these tougher enemies into a non-issue.
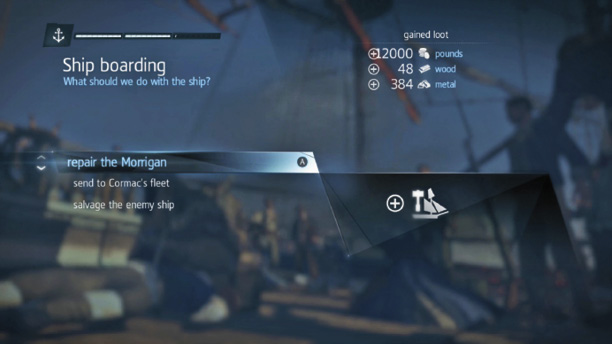
When you win, Shay gets control of the enemy vessel. You can then repair the Morrigan instantly (which is very useful in larger naval battles). Or, you can get more money by selling the ship. Once Fleet Missions are unlocked, Shay can send the ship to the fleet and use it for missions that give you extra money, resources, and collectibles.
To decide, see if the ship’s health is low. If the ship is badly damaged, repair it. Otherwise, take the money or improve your fleet. It’s good to have a variety of ships for Fleet Missions because heavier ships are required for tougher trade routes later in the game, but lighter ships finish missions sooner. You get more money by having a fleet with a full range of tonnage because you can always send an ideal ship on a given mission to avoid wasting time.
If enemy ships board you, there is a sudden dip in your crew count. Brace if you see vessels move quickly toward the Morrigan, and avoid this situation. You you should always try to control any boarding. It’s only worth being boarded by enemies a single time because there is an achievement/trophy for surviving a boarding party. After that, it’s never good to let the enemy board you.
Once you can navigate and fight well with the Morrigan, start to really learn how the mechanics of your weapons. Not all damage is universal when striking an enemy ship. Armour is spread out in different ways, and you can do more damage, pound per pound, by hitting enemies wherever they’re vulnerable.
This usually means aiming for the bow or the stern of the ship, and avoiding broadside strikes unless you’re going against a smaller vessel and don’t mind trading favorably on damage. Also, aim low at your targets. Hull hits do more damage than sail hits.
Defensively, the hardest trick is to master bracing. Use this before major mortar hits, ramming attacks, and broadside shots from superior vessels. This reduces incoming damage by a huge margin. Do this when you see the enemy start to fire. If you time your bracing correctly, you can counter boarding attempts completely. If you see a brig coming in fast toward the Morrigan, brace immediately!
All boarding attempts are dangerous, but any time your enemies board the Morrigan you will most likely lose crew. Brigs are bad enough, but a high wanted level can sometimes get you into trouble with Gang Ships. These vessels have Assassins in their crew, so you will probably lose crew members if they board you. Make sure to attack these ships at maximum range, keep to their sides or rear, and brace if they get any chance to push toward your ship. Gang Ships have a brown sails and a wide bow that makes them somewhat easy to identify before they close for battle. Keep your eyes out for them.
Hunting Ships
As you’ve already learned, enemy ships have a wealth of cargo that is of value to you. Their stats are listed here so you’ll know what you’re going up against.
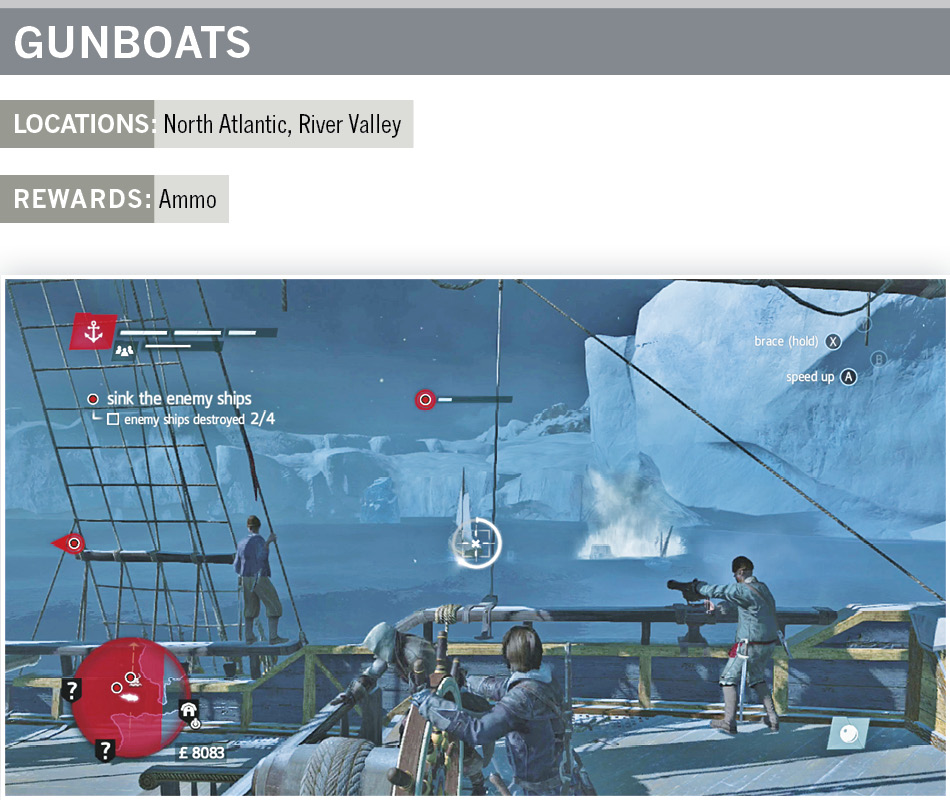
Gunboats are extremely small vessels that won’t stand up in a fight against the Morrigan. Even early in the game they’re fodder, and they become even weaker once you get a Puckle gun and some ram upgrades. Charge into this ships for immediate victory or gun them down. Avoid their forward cannons and go broadside with them for fast kills; eliminate them early in battles to simplify the fight and take their damage out of the equation.
|
Ship Level |
Armour |
Cannons (Front/Side/Rear) |
Damage per Cannon |
| 1 | 200 | 2/0/0 | 100 |
| 2 | 250 | 2/0/0 | 125 |
| 6 | 600 | 2/0/0 | 125 |
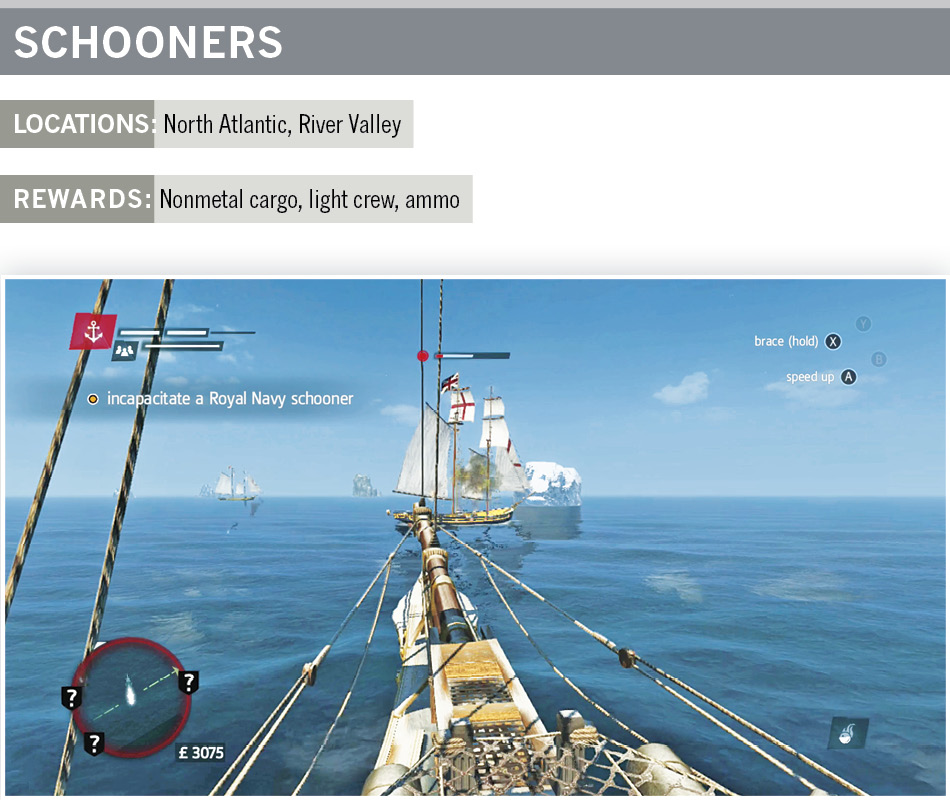
Schooners are fast, light vessels that have a modest number of guns and a good supply of burning oil. Don’t chase these ships for long, because they’re strong against vessels at their backs (unlike most of the larger vessels, which are weakest there). Instead, attack from the front or the sides of a schooner and work against their light armour with your superior firepower.
|
Ship Level |
Armour |
Cannons (Front/Side/Rear) |
Damage per Cannon |
| 4 | 400 | 0/2/0 | 125 |
| 8 | 900 | 0/3/2 | 150 |
| 11 | 1,550 | 0/4/2 | 175 |
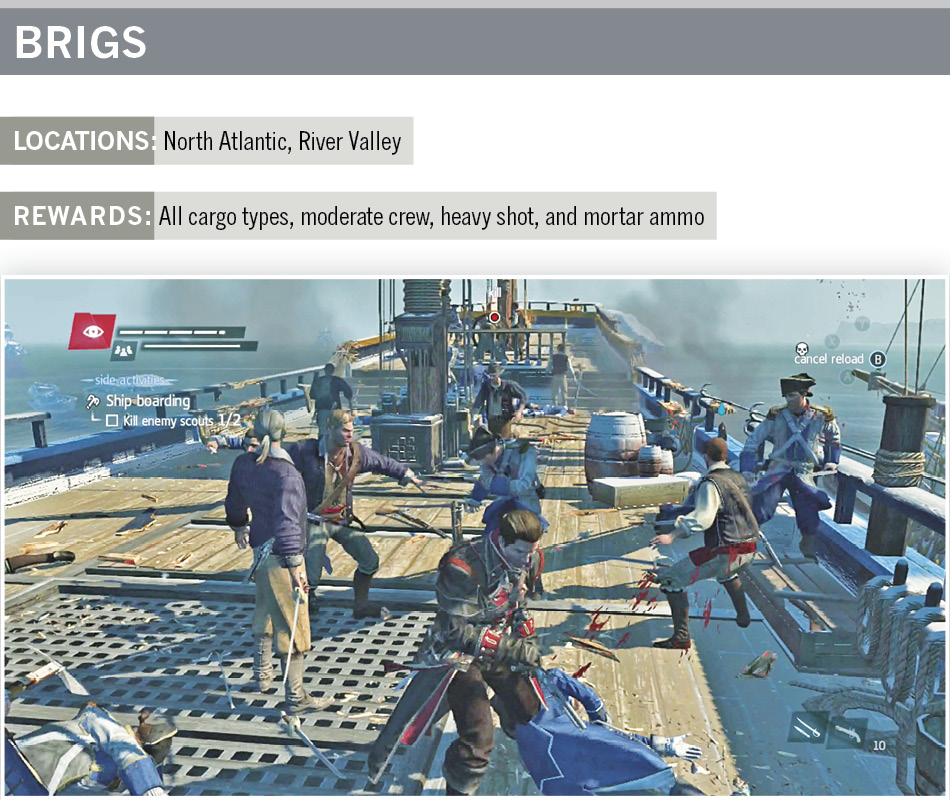
Brigs have heavier broadside cannon coverage and the potential to ram their targets. Attack them from the front or rear to minimize damage taken, and brace any time they turn toward your vessel and speed up (that’s a ramming attack). If you brace, you won’t have to defend your ship and lose extra crew.
|
Ship Level |
Armour |
Cannons (Front/Side/Rear) |
Damage per Cannon |
| 17 | 3,000 | 2/10/2 | 150 |
| 20 | 7,000 | 2/10/2 | 160 |
| 25 | 12,000 | 2/10/2 | 165 |
Frigates are heavy hitters that do their best work at short range. Avoid their broadside attacks by relying on your mortar for heavy hits without getting too close to your target. If you are close to a frigate, attack from the rear and use broadside shots to cripple these ships before they turn to bring their big guns against you.
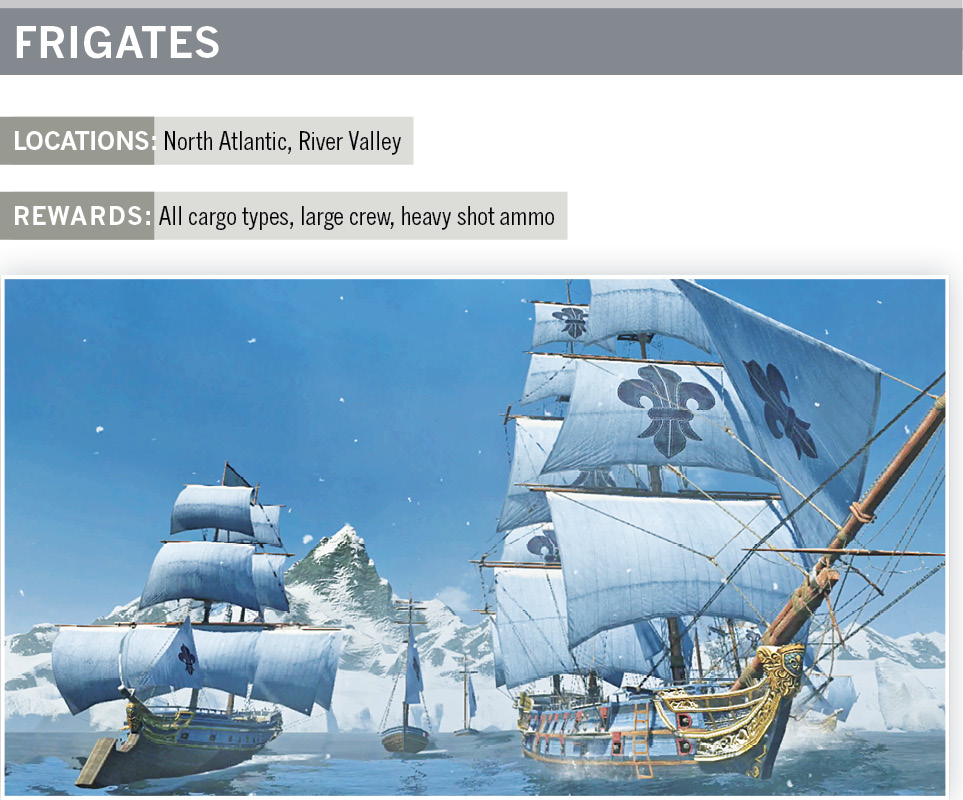
|
Ship Level |
Armour |
Cannons (Front/Side/Rear) |
Damage per Cannon |
| 23 | 7,000 | 4/10/0 | 265 |
| 29 | 12,000 | 4/15/0 | 210 |
| 38 | 22,000 | 4/20/0 | 200 |
Men-o’-wars have almost limitless firepower if you go broadside against them. Use your ship’s speed and maneuverability to stay close behind these massive ships so that they can’t turn to pulverize you. Don’t use ranged tactics as you would against frigates, because men-o’-wars have mortars of their own, and you won’t do well by trading hits against them for long. When closing on them, use low speed so you can turn quickly if a mortar attack is placed in front of the Morrigan; then switch to ramming speed to move quickly away once you’re facing the right direction.
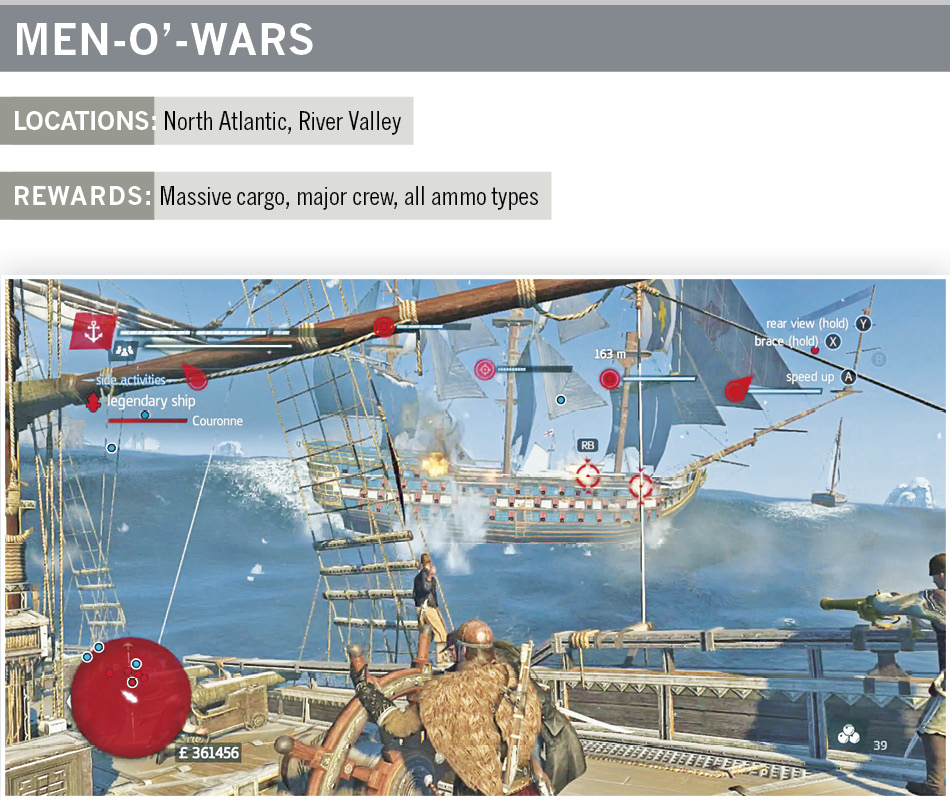
Use short-range, rear attacks with your broadside cannons and mix in mortar strikes to break through the huge armour of these wonderful ships. Seize a few for your fleet so that you can take on the tougher Fleet Missions that come up later in the campaign.
|
Ship Level |
Armour |
Cannons (Front/Side/Rear) |
Damage per Cannon |
| 36 | 19,000 | 4/32/0 | 180 |
| 49 | 27,900 | 8/43/0 | 200 |
| 60 | 30,000 | 12/53/0 | 200 |
The Wanted System
Destroying too many civilian vessels in a short span raises your Wanted level. If that gets too high, privateers are sent after you. They’ll come after the Morrigan specifically and try to take you down, often with ramming and boarding tactics.
Privateers are highlighted on the map, so you know who is coming after you and what angle to watch. Attack them early and at maximum range to get a small leg up on the enemy ships. After that, it’s just a normal fight to see if you beat them. Board the ships to repair yourself if they do too much damage to the Morrigan.
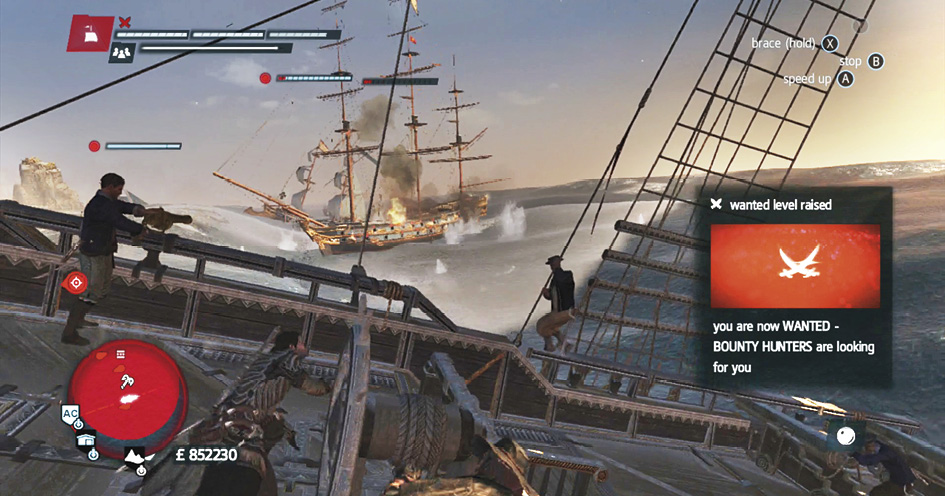
Privateers often have better vessels within their own category. This means that they’d done some upgrades, so privateer vessels are higher in level and are tougher to take down. This makes privateers awesome to board because you get superior vessels for your Fleet Missions once that aspect of the game has been unlocked.
The Wanted System also works on land. Murder civilians to get the Hunters started. They’ll come after Shay aggressively, and their numbers rise if he continues to hurt civilians before the meter runs out.
Looking for Resources
Ship upgrades and Renovations are completed with the resources that you salvage from a variety of sources. There are boxes that contain resources; you find them on land but not very often. They’re a poor source of goods.
Destroy ships to get half of their cargo. You know what a ship is carrying ahead of time when you use the spyglass to look at them. Use that to decide whether a vessel is worth attacking.
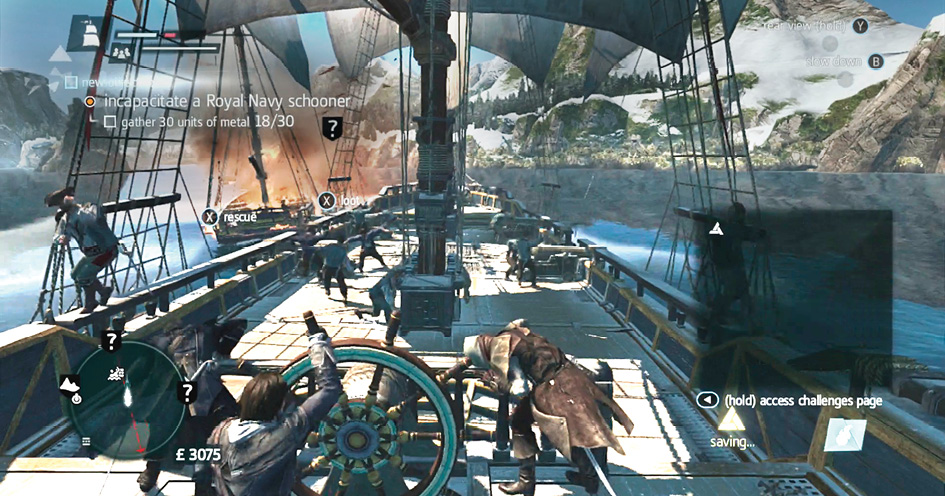
Board and capture ships to get the full amount of their cargo. This is a very good way to stock up on wood, metal, cloth, and so on.
Certain land activities (like outpost raids) are lucrative as well.
Resources
Once you’re out on the seas, there are plenty of items to salvage. You need all of them for one thing or another, so pick up everything that’s floating out there.
Sailors are recruited to help you control the Morrigan and fight your battles. The ship isn’t at its best without a full crew, so capture enemies to put them to work or stop at a tavern to grab more people if you’ve lost some folks along the way.
Wood is a vital upgrade material. It’s used in a huge number of ship improvements. You can never get too much of the stuff.
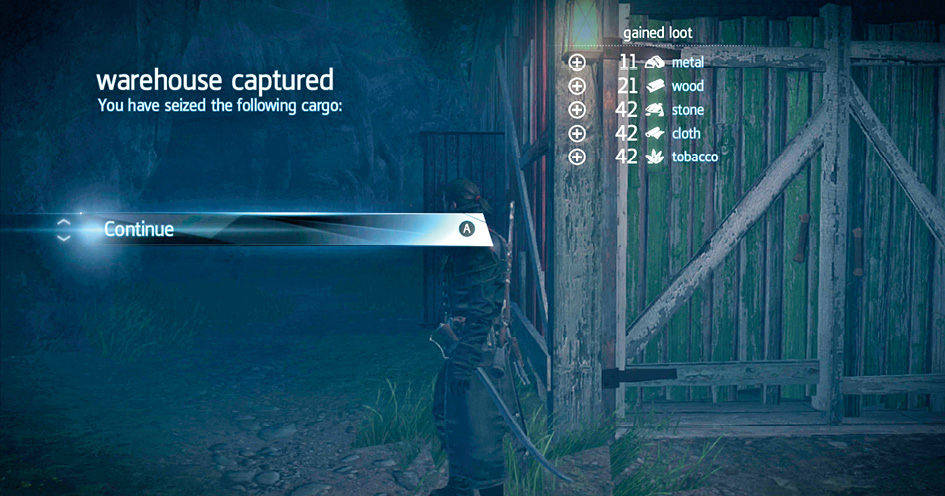
Metal is a combat upgrade material. Most of your more military improvements require a fair amount of metal.
Cloth is used in Renovations, a few ship upgrades, and many of the visual customizations for the Morrigan.
Stone lets you renovate buildings. Help build the new world and reap the rewards for your gubernatorial efforts.
Tobacco is a cash crop. Sell piles of it when you’re at a harbormaster and turn that money around to buy new weapons, upgrades, and information before you leave port.
Building an Economy
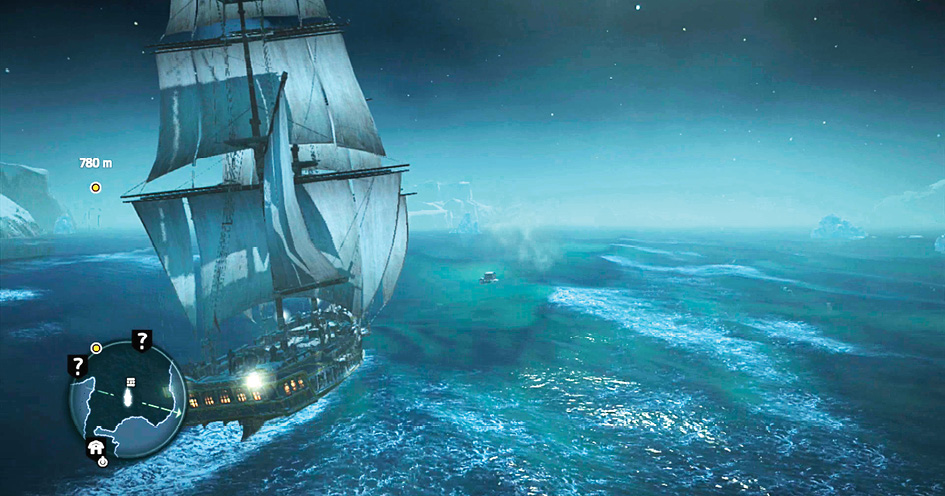
u Collect wealth and resources by boarding enemy vessels and completing side activities throughout the world
u Use your money and resources to invest in property renovation and ship upgrades to obtain more income and battle larger ships
u Use this cycle of increased wealth and resources to gain even more income and purchase upgrades for the Morrigan to best any enemy ship
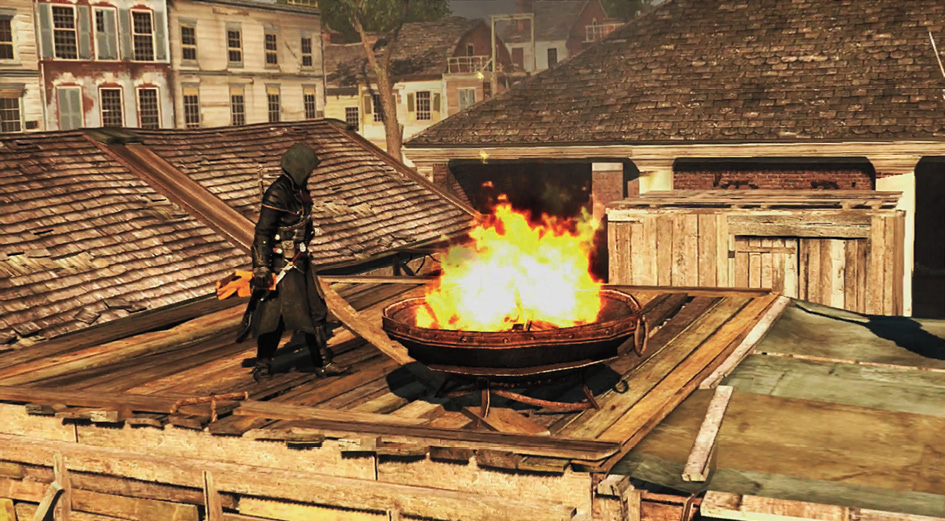
Shay doesn’t have to earn every single pound that he’s going to spend throughout the game. Even in the new world, there is an economy that you’re already a part of. Making use of the economy allows you to earn a great deal of cash throughout the game. This makes it easier to purchase personal upgrades and upgrades to your ship. It also lets you invest heavily in the new world’s economy so you can earn more money faster as the game progresses.
There are two major types of resources that you need during the course of the game: pounds and raw goods (like Metal and Wood). Early on, you need to get both of these manually. Opening chests, boarding ships, and completing side activities (like raiding Outposts and hitting Supply Camps) to bring in money. Boarding ships is one of the best ways to earn resources because it’s relatively fast once you master it, and you pull in a substantial quantity of pounds and other resources once you’re able to take on somewhat larger vessels.
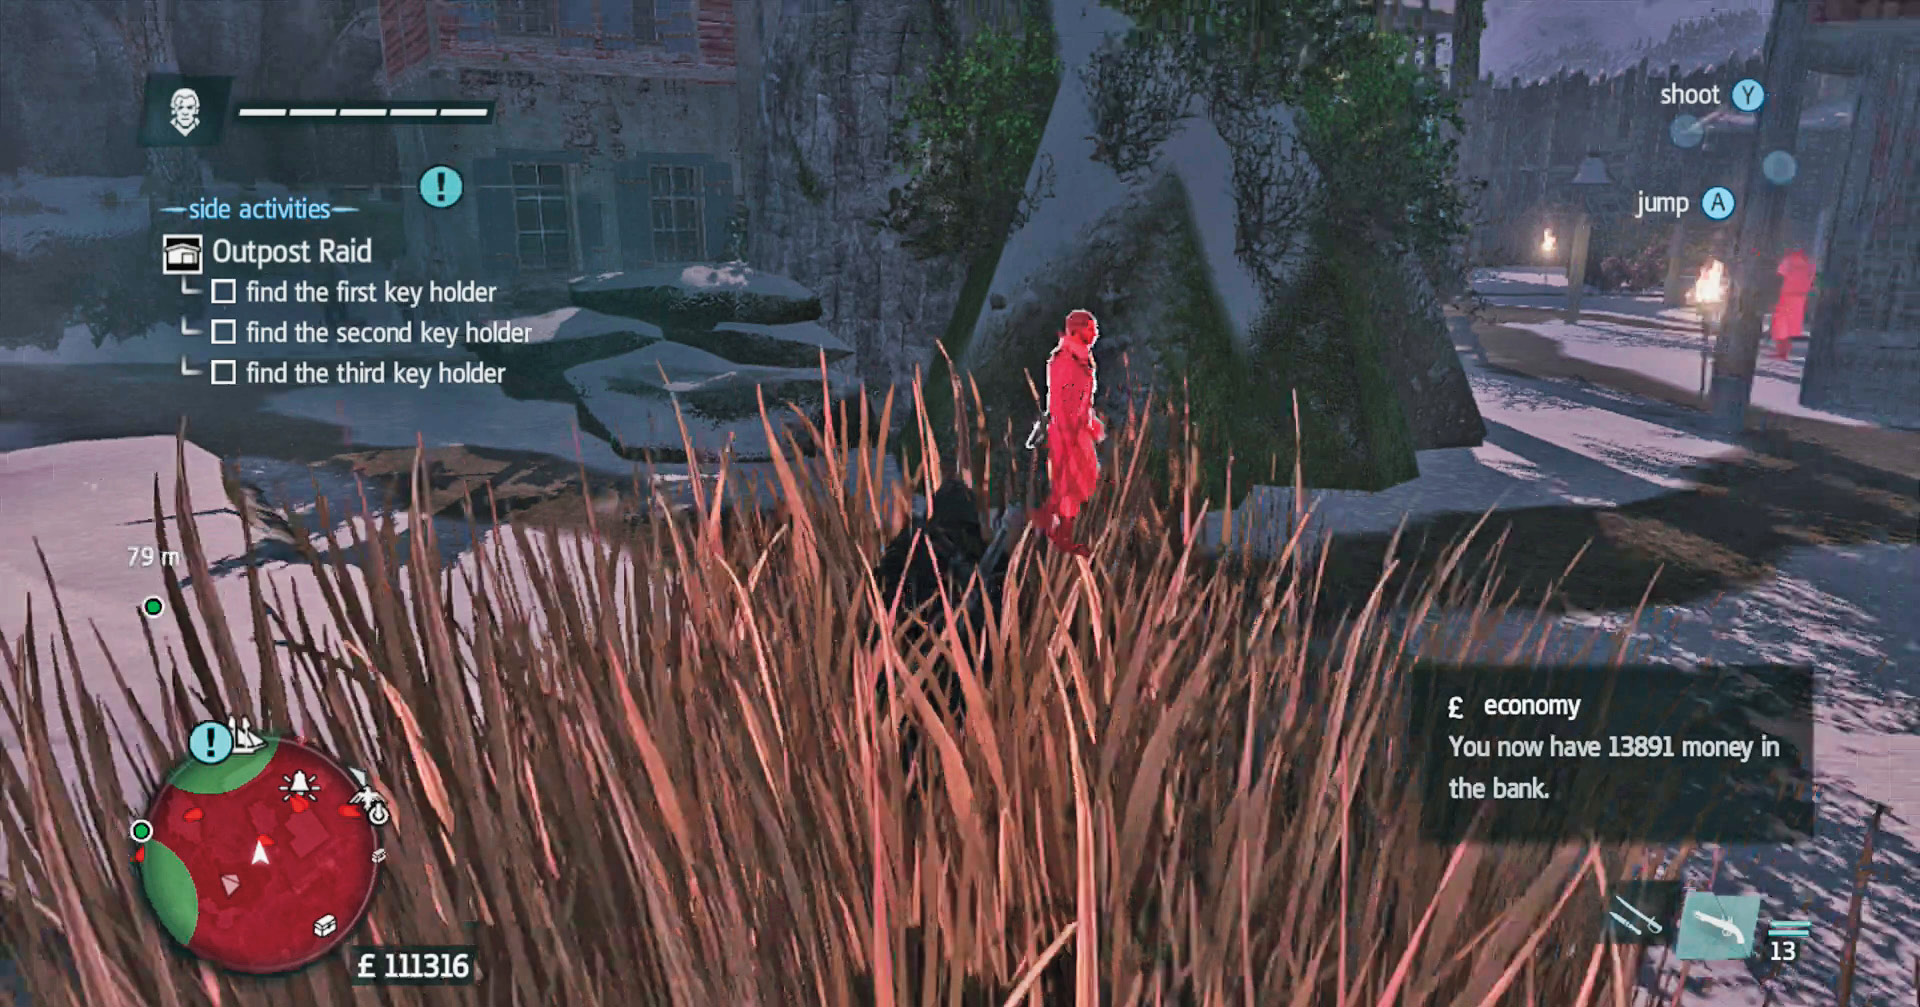
Use your money and resources to invest in Renovations throughout all three regions of the game. By putting your resources and money into these dilapidated buildings, you get back a huge amount of wealth over time as your investments pay for themselves (and then start to earn profits). The sooner you put money into Renovation work, the easier it is to get a massive income to power through the late game.
Capturing Gang HQs to increase your income even more. Even though these require some time and skilled killing to procure, you won’t need to devote Shay’s wealth to get them. That makes Gang HQs a wonderful set of targets when you’re low on money and resources.
Improving the Morrigan is also an investment in the future. Purchasing powerful combative upgrades to the ship allows you to take on heavier vessels without as much risk of failure. Once you’re able to board and seize the heaviest enemy ships, it’s possible to gain titanic amounts of money and resources without having to hunt around for them. Go to heavy shipping areas in the North Atlantic (in the northwest and northeast), and then go after the vessels there for extended battles with multiple ships. When victorious, you come home with so much money and raw goods that it’s easy to buy upgrades and still have items left over for investing in Renovations.
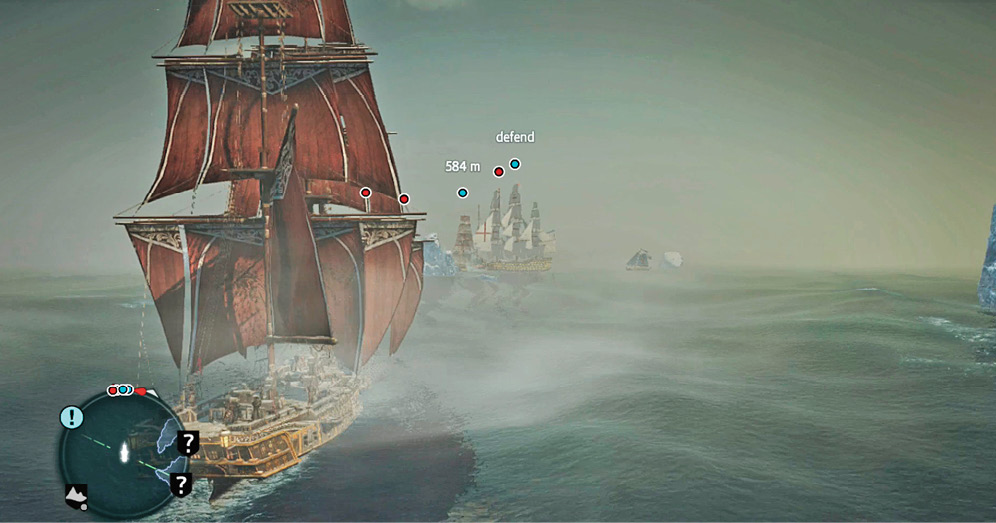
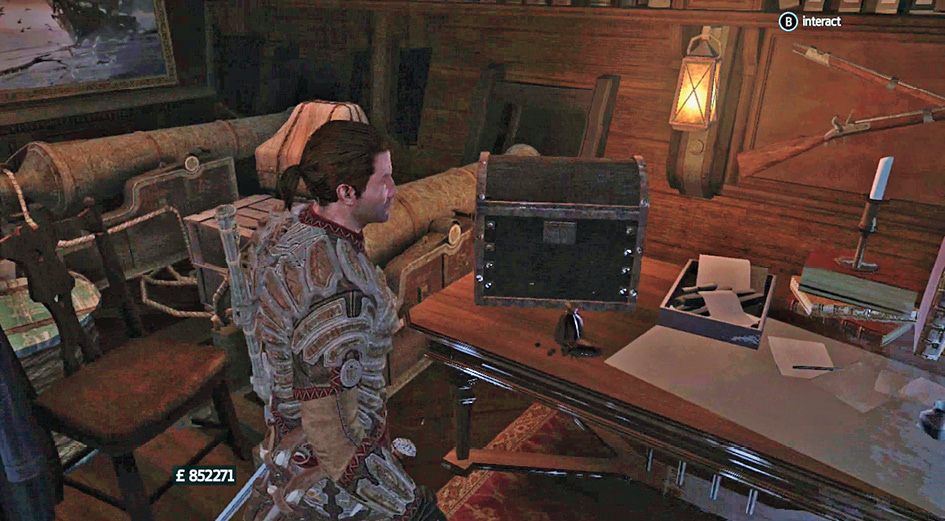
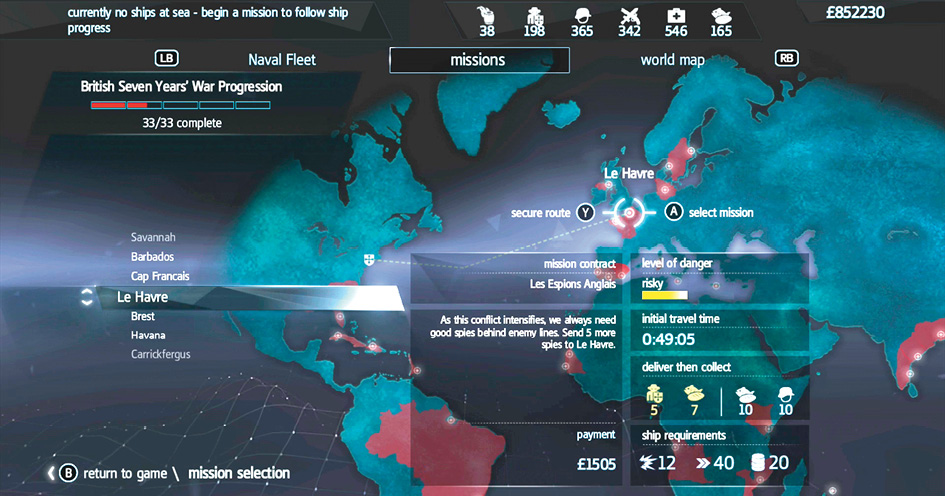
Fleet Missions generate quite a bit of money over time as well. These missions are launched from the Captain’s Cabin after a certain point in the game. They’ll happen behind the scenes and let you get free collectibles and wealth. The larger your fleet, the more ships you can send on missions at a time, allowing for pretty serious capital gains. You need money to invest in additional docks once your fleet gets big, and you also have to capture ships instead of simply looting them after boarding. But, this pays quite well over time as each ship goes on to complete many missions for you.
You can also bring in money by selling excess hunting pelts, Tobacco, and by continuing to open chests throughout the world while you hunt for collectibles.
Make sure to collect your money often from the Bank so that it doesn’t pile up and stop accumulating. The Bank is found in Gang HQs or inside the Captain’s Cabin of the Morrigan. Interact with the chest at those locations to get your money (it’s also shown on the map as a pound symbol).
Your income will grow large enough to start to using cash for hunting goods, ship upgrades, ammo, and spare outfits without getting in the way of everything else that he’s trying to accomplish.
Staying Warm
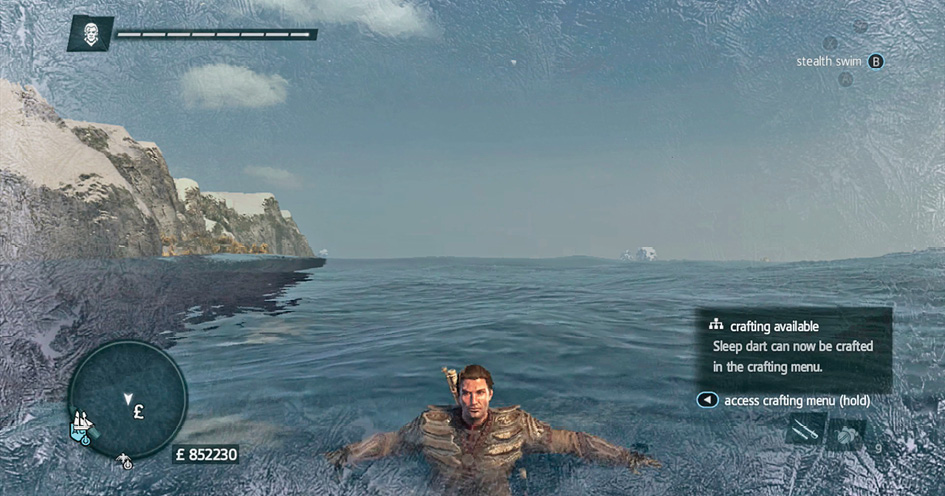
Shay takes damage if he swims in cold water for more than a few moments. The screen turns white as crystals form on the edges of your vision, and Shay’s health bar begins to fall. This damage is restored fairly quickly once you get out of the water, so this isn’t too dangerous. Make sure to only engage in short stints in the water when you’re playing in the North Atlantic or in the colder areas of River Valley (up north).
Pickpocketing
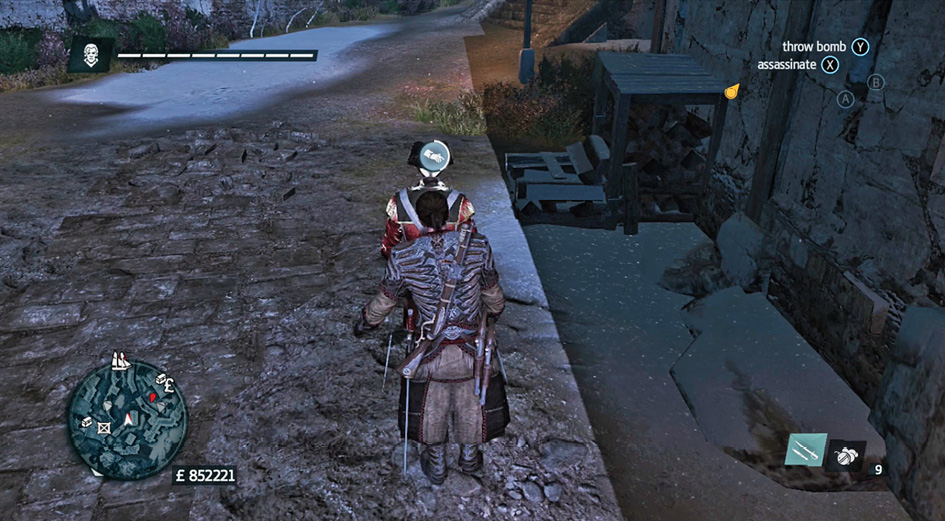
Shay can earn petty cash by pickpocketing both guards and civilians. Stand behind a target and keep pace with them if they’re moving. Hold down the Counter button and wait for the gauge to fill. As long as you aren’t spotted by a guard while you’re pickpocketing, you receive several pounds.
The individual you’re targeting determines how much money you get. Peasants don’t carry around piles of cash, do they? The better someone is dressed, the more likely it is they’ll have a moderate amount of money on their person.
Looting
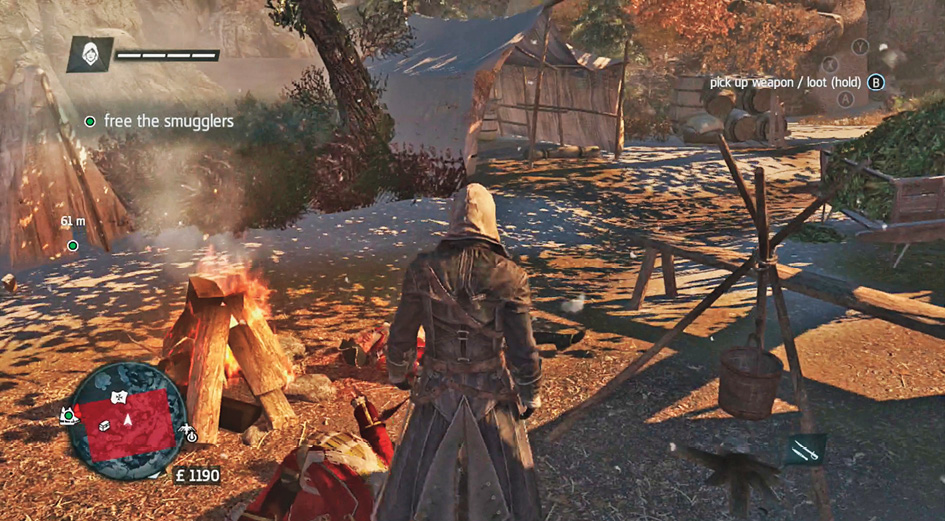
Another way to get small sums of cash is to loot the bodies of individuals you kill. They frequently have several pounds and may also have ammunition or tools to steal. To make this process faster, hold down the Counter button while moving past groups of bodies. Shay immediately loots each body in turn, making it easier to get the job done quickly.
Pick Locks
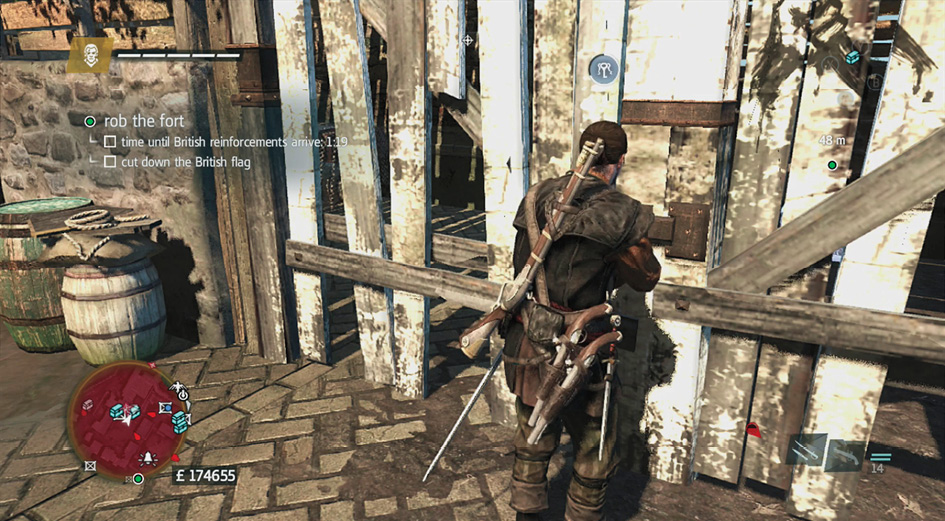
Though uncommon, some citizens lock up their goods. In New York, you come across some locked doors during specific missions. Interact with them to pick the locks and gain access to the location without making much noise. Although this is a slow process, Shay always gets the job done if he isn’t interrupted. Make sure that patrolling guards cannot see the activity, because you’re fairly exposed while picking locks.
The Naval Campaign
Later in the game, you unlock a Naval Campaign. This is a side activity that lets you collect ships for your fleet. Send them to secure trade routes and distribute goods along those routes for extra money and unlockables. There are 33 unique missions in the campaign, and it’s one of the many cool activities that you get to work on while going through the game.
The Naval Campaign is covered in the “Side Activities” chapter of this guide.