Assassin's Creed Rogue Guide Controls and Gameplay Controls and Commands
Standard Controls
Shay Controls
|
Xbox 360 |
PS3 |
Summary |
|
L |
L |
Controls movement direction; also control the direction of attacks during combat and of special navigation moves during Free Run. |
|
R |
R |
Controls the game camera. |
|
D-Pad |
D-Pad |
Ready weapons and tools of your choice. |
|
A |
Used for manual “unsafe” jumps, Fast Walk, ejecting during a climb, and to break an enemy’s defence during combat. | |
|
B |
The main button for contextual interactions, looting and picking things up. It also triggers dropping from ledges and during climbing. During combat, it triggers parry and initiates counter-attacks. | |
|
X |
The primary attack button. Outside of combat, it is used for assassinations. | |
|
Y |
△ |
Quickly activates the currently selected tool at the currently highlighted target. |
|
RT |
R1 |
Hold to switch to High Profile mode, which enables faster movement, climbing, jumping over gaps, activating navigation props, and using special manoeuvres to quickly circumvent, pass over, or pass under obstacles in your way. |
|
LT |
L1 |
Hold to activate Precision Mode, which is used to manually aim projectile weapons. |
|
RB |
R2 |
Hold to display a summary of the collectibles and activities in your current location. |
|
LB |
L2 |
Press to begin reloading the pistols (if they are selected). |
|
L3 |
L3 |
Activate Eagle Vision. |
|
R3 |
R3 |
Forces the game camera to look directly ahead of the character. |
|
START |
START |
Enter/exit the Pause menu. Open the Animus Database when pressed during an Animus Database update appearing on-screen. |
|
BACK |
BACK |
Opens/closes the main map. |
Naval Controls
|
XBOX 360 |
PS3 |
Summary |
|
L |
L |
Steer the ship. |
|
R |
R |
Camera control. |
|
D-Pad Right |
D-Pad Right |
Switch between sea shanties. |
|
D-Pad Up |
D-Pad Up |
Use the spyglass. |
|
A |
Increase ship speed. | |
|
B |
Reduce ship speed. | |
|
X |
Brace to take cover from incoming fire, rogue waves or snow tornadoes. | |
|
Hold X |
Hold △ |
Look behind the ship. |
|
RT |
R1 |
Fire cannons: The weapon selected depends on the camera direction – broadsides (with the camera looking to either side), front carronades (with the camera facing forwards), burning oil (with the camera facing the ship’s rear). |
|
LT |
L1 |
Targeting lines: Hold to focus, and use Right Stick to aim. |
|
RB |
R2 |
Hold to fire the Puckle gun, and use Right Stick to aim. |
|
LB |
L2 |
Mortar: Hold the button, then aim with Right Stick, and fire with the High Profile Button. |
|
R3 |
R3 |
Center the game camera to face the front. |
Standard Controls
These are the common controls you’ll use when Shay is walking around. A few of them are global and can be used even if you’re sailing, walking, or swimming.
Pause
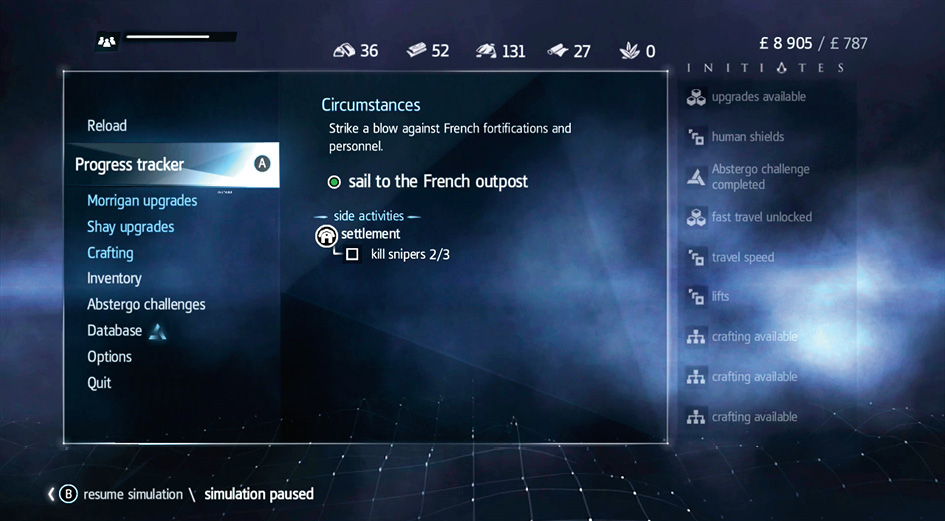
This stops the game and takes you into the Options menu. There are several submenus, including your inventory, the things you’ve located, possible upgrades, crafting, and so forth. You can also quit the game from this screen or go back into earlier memories to replay them. You can also turn cheats on and off.
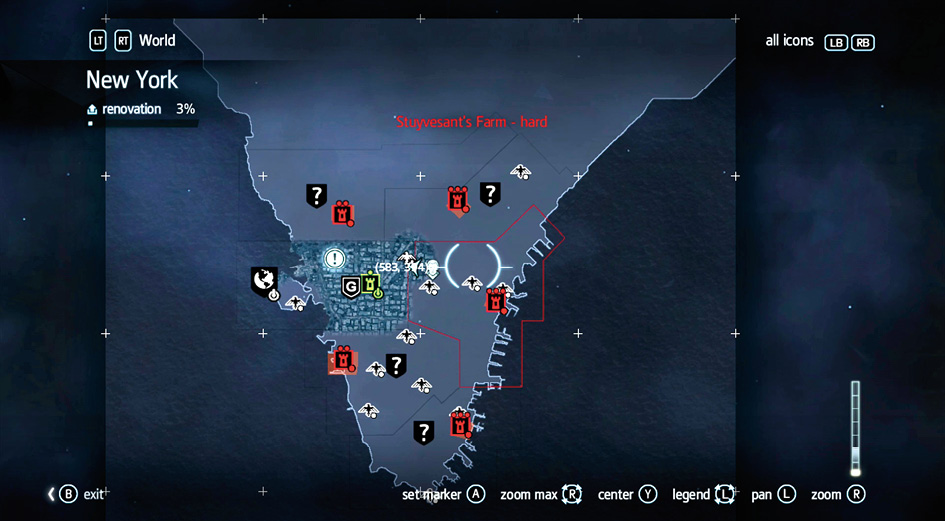
Open Map
The minimap is incredible and shows you a great deal about the game world, but the main map lets you look at places both near and far. The game pauses when you enter the map, so it’s useful for finding your way around, planning your next step, choosing a Viewpoint to quick-travel to, or taking a quick break.
Maps in new areas are mostly obscured when you arrive. You can see main objectives and any Viewpoints in the area, but some of the collectibles are hidden from view. To negate this, unlock all of the Viewpoints in each area; this reveals everything that there is to see (including quest items, collectibles, activities, etc.).
Another good trick is to hit RB / R1 to show the items that can be unlocked in your current area. Look for Viewpoints there and on your map to find out where to go first!
Movement
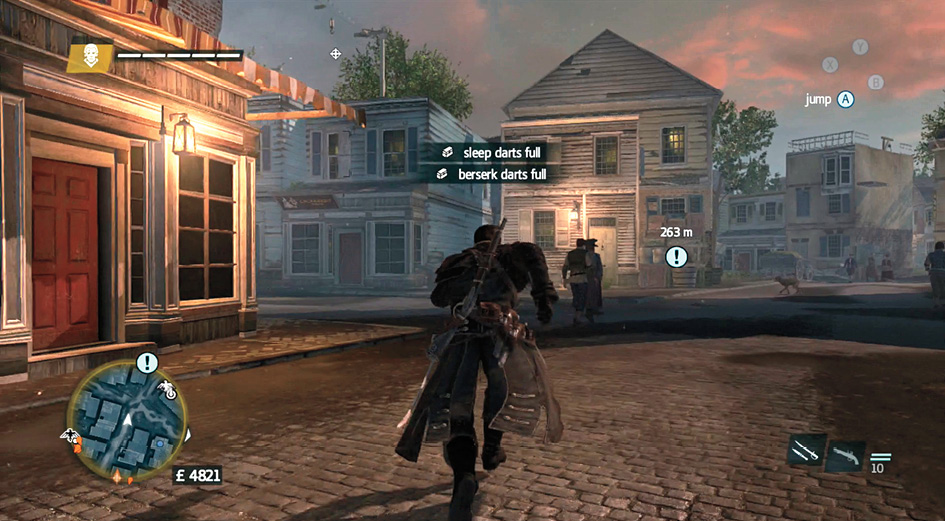
Movement is directed with your control stick. Gentle movement on the stick prevents Shay from walking too quickly. Push harder to get him up to a full walk. Use the fast walk or run command to make him go even faster as long as you don’t mind being high profile with your actions.
To walk: Use the left control stick.
To walk quickly: Use the left control stick and press A on the Xbox 360 controller or on the PS3 controller.
To sprint: Use the left control stick and hold down RT / R2.
Camera Control
The other control stick directs the camera. Keep it oriented so that you see where enemies are standing in the middle of battle. If you can’t see a foe, you won’t know when to counter their attacks.
Camera control is also vital during naval battles. The camera controls the ship’s weaponry. If you are facing the front of the ship, your weapons switch to the front carronades. If you’re looking beside the ship, the broadside cannons activate. From the rear, flaming oil is used.
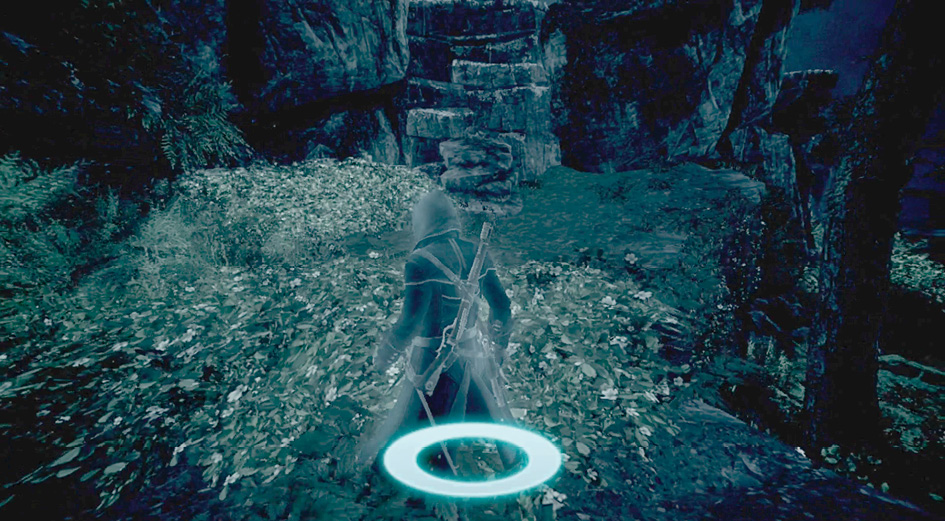
Center Camera
Click on the right control stick to center the camera in front of Shay without having to waste any time. This is useful when you’re looking all over the place and then want to quickly restore your point of reference.
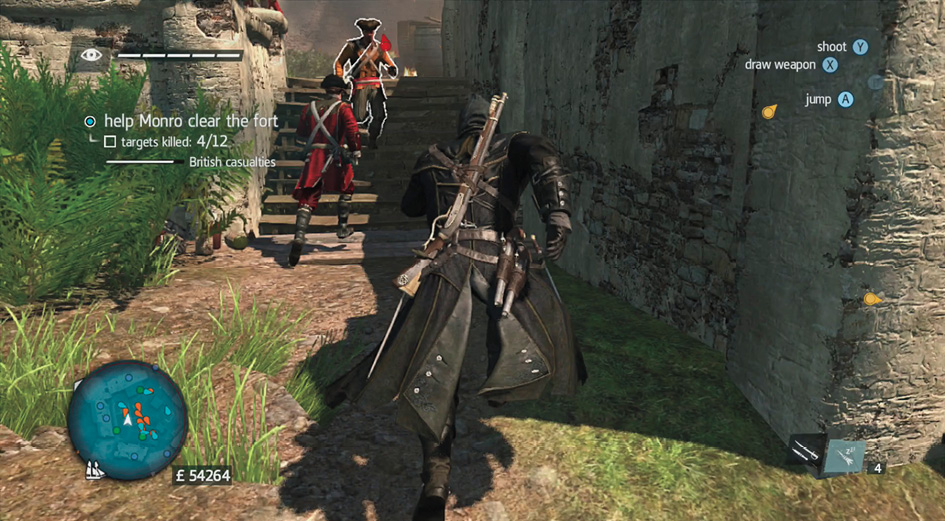
Jump/Break Defense
This command is contextual. Pressing the button makes you jump if you’re on a ledge, close to a precipice, and so on. If you’re engaged in battle, you try to break the defense of your target.
The controls are very clear when you’re in game, and the interface updates whenever an action would be different (you can track this in the screen’s upper corner).
Jumping causes Shay to take damage if he’s too high, but you avoid this if you take a Leap of Faith into a soft surface. If you spot a cart of hay or a pile of leaves or snow beneath your location, aim for that, hold the Free Run button, and jump into the air. Trust Shay to survive.
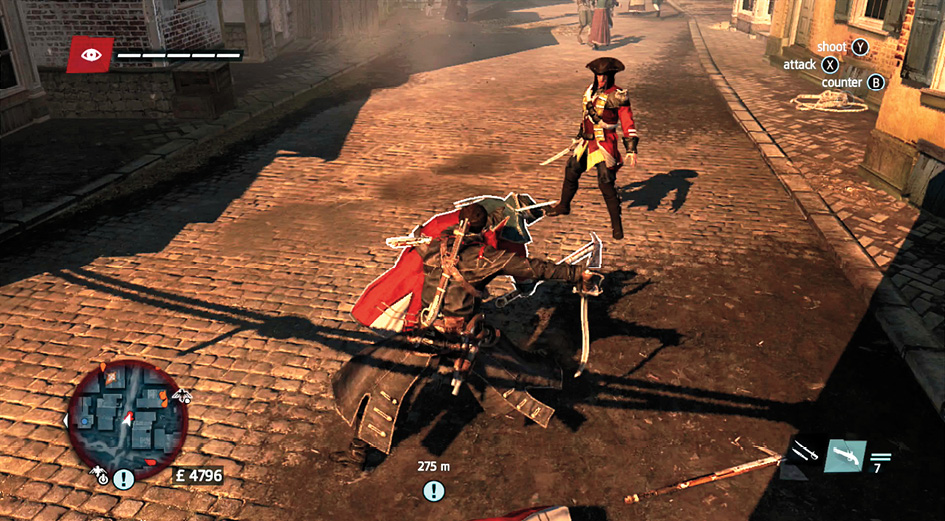
Interact/Counter
Normally, this command lets you open chests or doors, skin animals, or interact with anything that’s directly in front of Shay. In battle, this becomes the Counter command, which lets you block an enemy attack. Counter is paired with Attack to block and reverse your enemy’s moves; it’s a valuable way to stay alive and kill your targets that much faster.
Counter + Break Attack lets you steal weapons from foes. If you’re unarmed or want to use the weapon that an enemy is carrying, this is a useful technique.
Counter + Use Tool is a flashy way to finish off your enemies. Stab them and shoot the poor fool afterward. Try out a Rope Dart and see what happens. There are plenty of exciting possibilities.
If you’re worried about too many attacks at once and want to hold your ground, keep the Counter button depressed and parry your enemies’ attacks. This won’t trigger Counters, but it keeps Shay from getting smacked around.
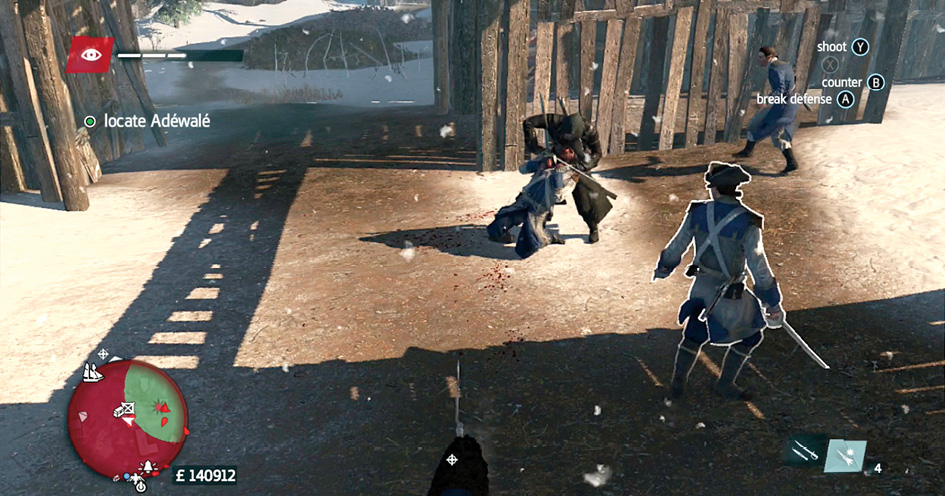
Assassinate/Attack
Use this command to kill unwary targets that are within your range of attack. It becomes an aerial assassination if you’re above your opponent, a charging attack if you’re running at them, and so on. As long as your enemy is vulnerable, they will die.
The regular attack version of this command activates during battle, when enemies can defend themselves. Use chains of basic attacks to wound and then kill your enemies. Counter and then immediately attack afterward for more exciting and effective kills, and use Break Attack if a foe starts playing defensively against you.
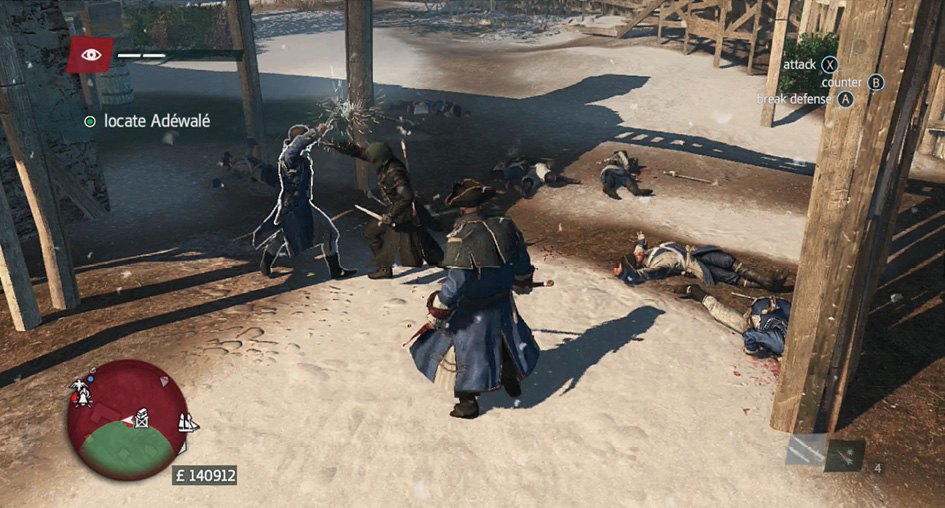
Use Tool/Ranged Weapon
Attack with your ranged weapon or use darts and grenades with this command. All of these give you the ability to take down opponents who are beyond the reach of your blades. Pressing this button on its own is a fire-from-the-hip situation. You need to be facing your enemy directly. To aim and then shoot, use the Free Aim command.
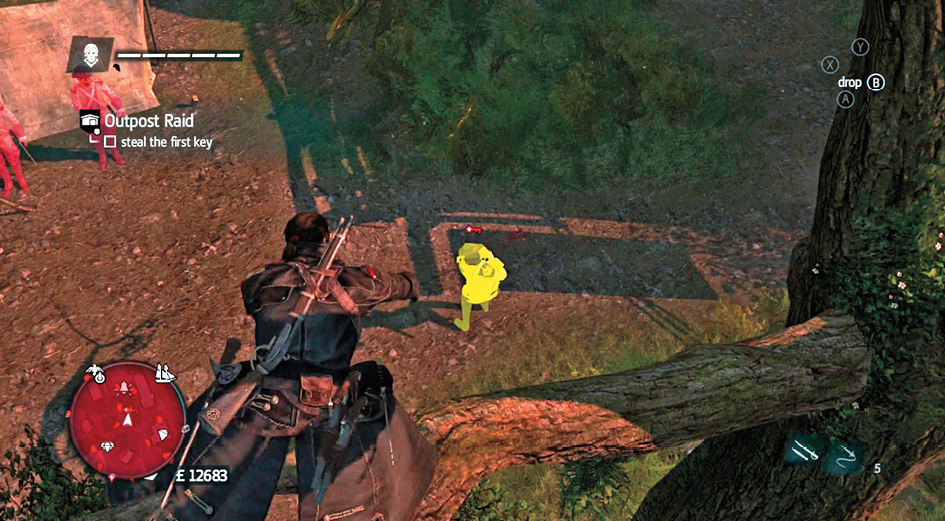
Eagle Vision
Eagle Vision is a special Assassin power that lets you see only the most important things in the world around you. Enemies, items of importance, and animals are all as clear as day. Even the best hidden opponents are slightly revealed as Shay gets an idea of where they are waiting.
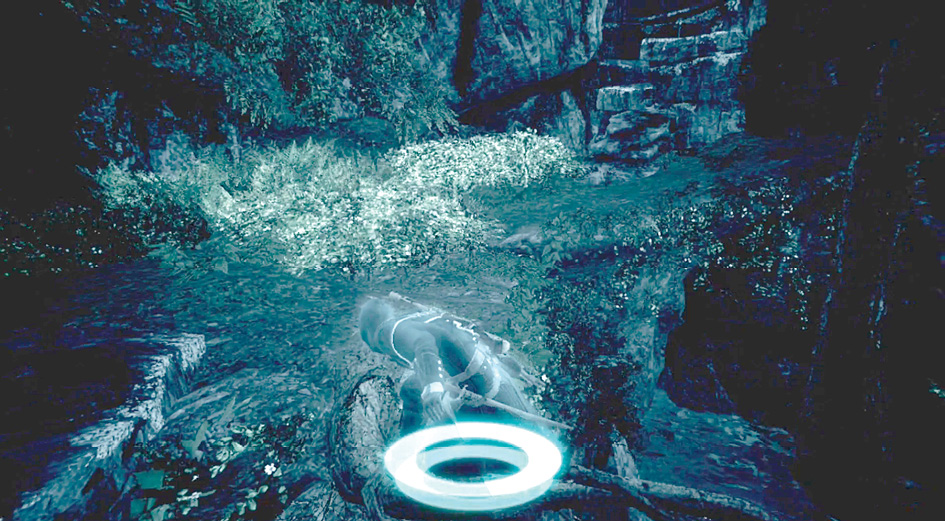
Free Aim
When you need to hit targets at longer range, use Free Aim. Hold down this button and use your camera control to fine-tune your targeting. Shoot when ready, and don’t miss!
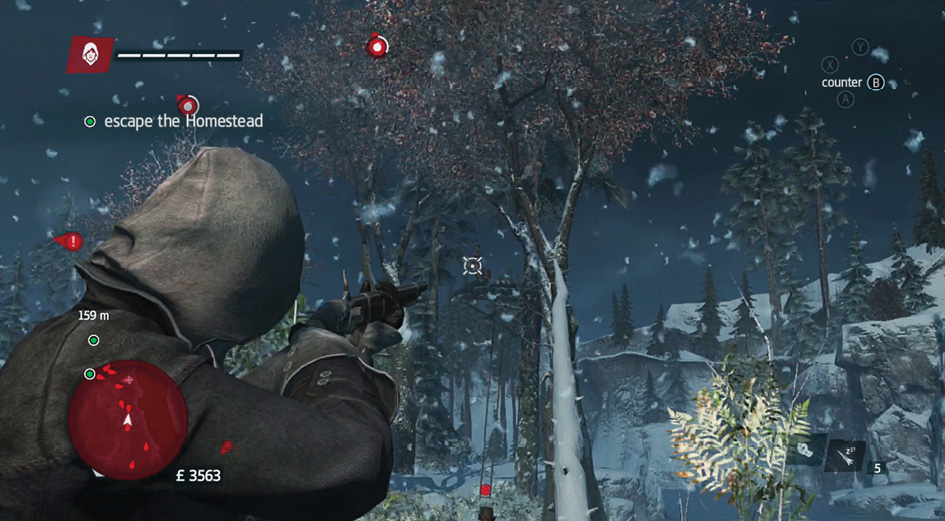
Free Run/Fire Weapon
When you’re not aiming, this command puts you into a free sprint. This draws more attention from people in the area, so use this when you’re alone, totally safe in a region, or have already been spotted. When you’re trying to be sneaky, walk slowly and look inconspicuous.
If you are aiming at the time, this button causes you to fire your weapon.
When free running, Shay automatically jumps if he comes to the edge of a building, cliff, and so on, as long as there is a safe landing on the other side of that jump. Direct him toward distant trees or buildings and don’t worry about pressing the Jump button. Free Run does most of the work for you! You only need to force Shay to jump if the landing would cause him to take damage.
Shay automatically grips walls, ropes, and other surfaces during Free Run, if you bump into these objects. Be careful with this; it’s easy to do something you didn’t intend. Ease off the Free Run button when you’re near walls, and then resume your run when you’re in the clear. Mastering this on and off aspect of free running makes the game way more responsive.
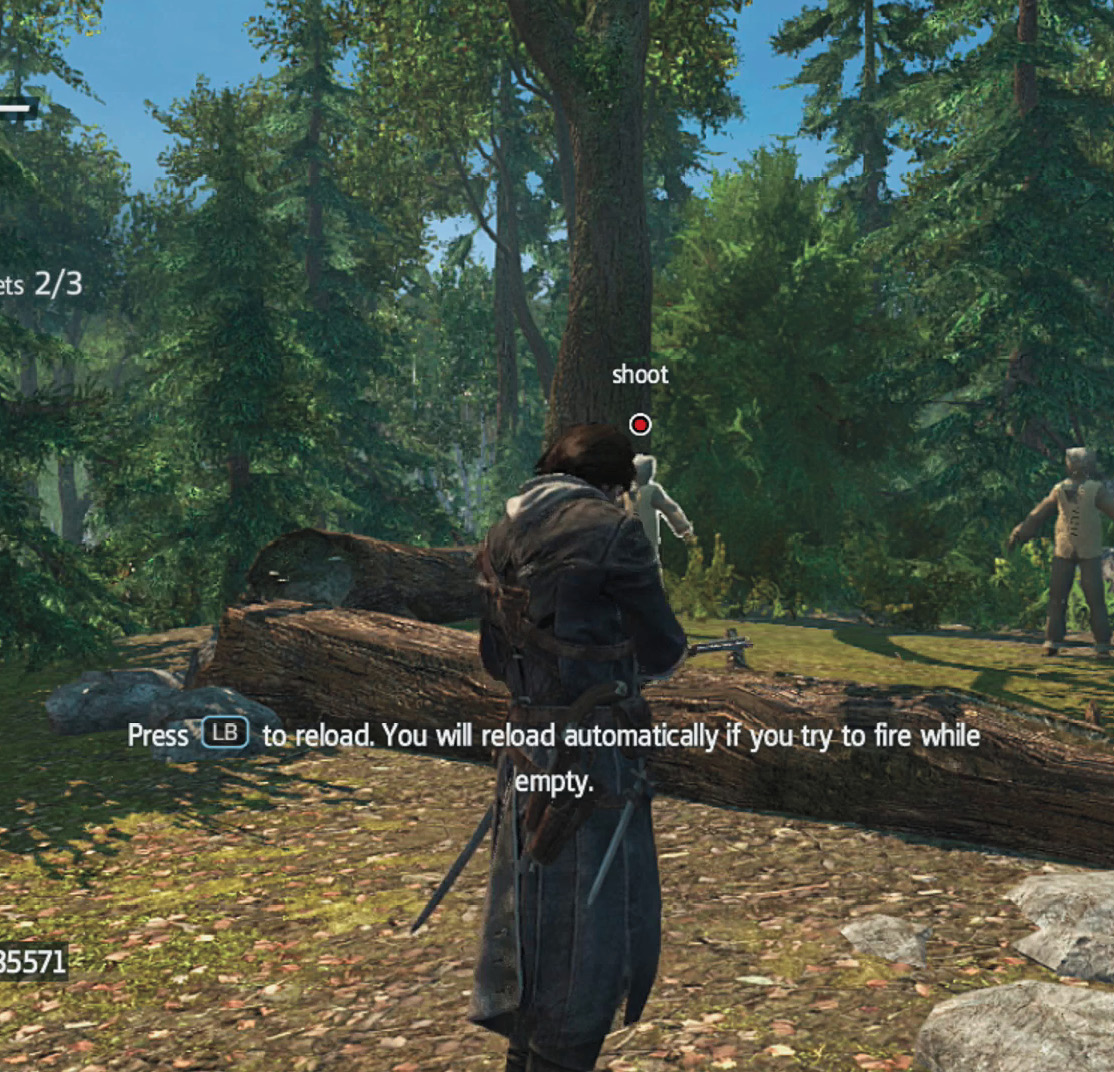
Reload Weapon
Reloading is always a good thing. You want to be prepared for a fight, so keep your weapons ready at all times. If you have to reload during a battle, take cover by breaking line of sight with your opponents. This gives you the ability to reload without getting shot. Failing all of that, reload while you’re running away to reach a better vantage point.
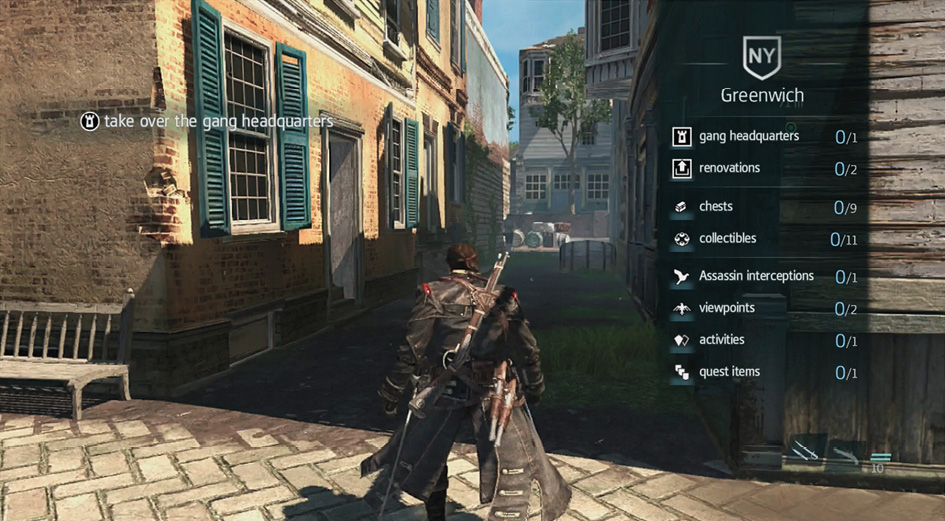
Location Information Panel
This useful button reveals the various quest items, collectibles, and points of interest in your current region. Check this frequently to make sure that you’re getting all of the treasure before moving on.
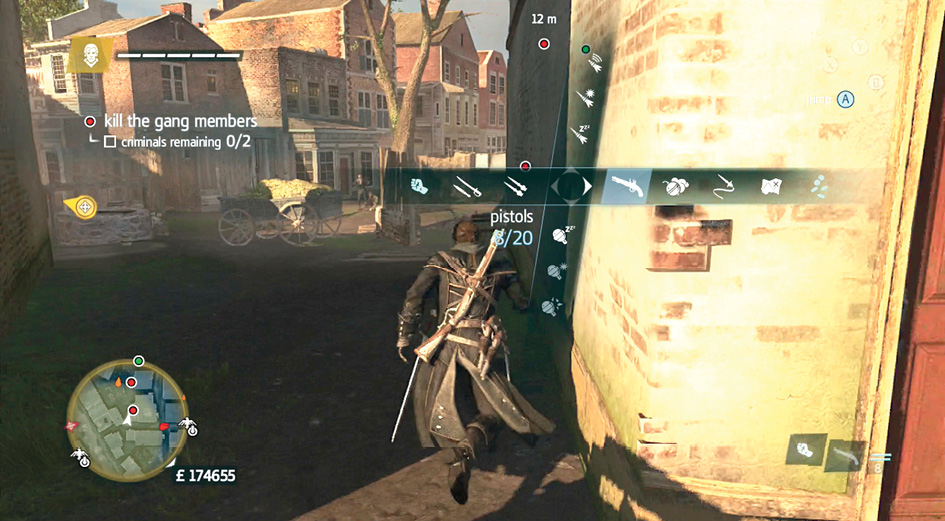
Inventory Control
Switch weapons and tools on the fly with the D-pad. Memorize where everything is located so that you don’t have to think about this during a fight. The faster you can get what you need, the safer you’re going to be.
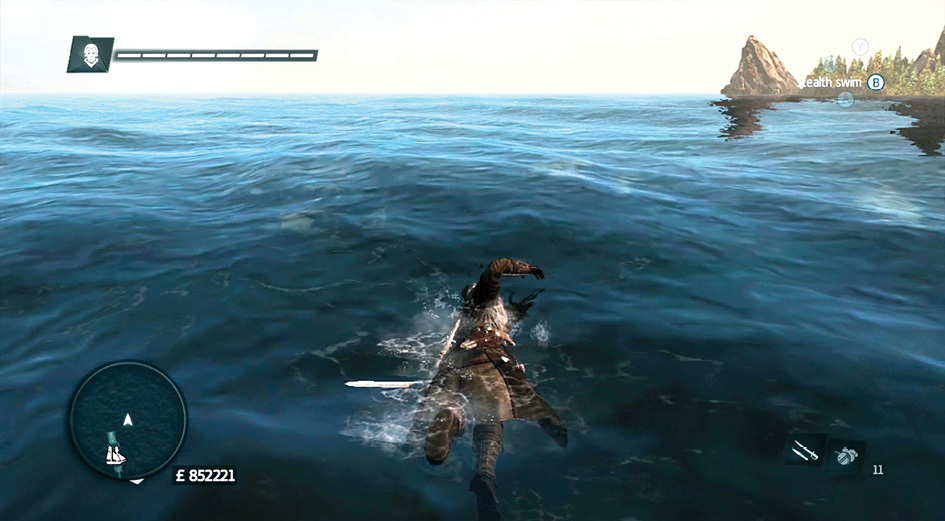
Swimming Controls
Most normal controls function the same way when you’re swimming. You can still check your map, pause the game, and so forth. There are just two new commands to worry about.
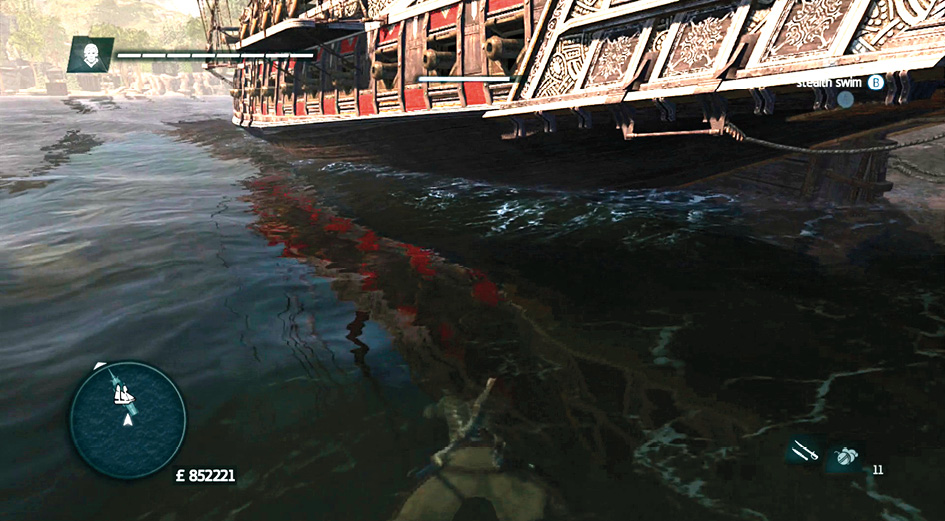
Dive (Stealth Swimming)
Use this to submerge Shay and avoid being seen. You can only hold your breath for so long, at which point you will surface. He’s not crazy, so he won’t drown himself to stay out of sight.
Fast Swimming
There’s no need to stay quiet if you’re safe or have already been spotted. Swim as fast as possible whenever you need to get where you’re going without delay.