
Assassin's Creed Rogue Guide Controls and Gameplay Captaining Your Ship
Boarding Ships
Boarding Ships
You lose so much potential money if you simply destroy every ship that you come across. Boarding enemy vessels is an ideal way to get free crew, money, resources, or even ships for your fleet once you’ve advanced farther into the game. Boarding is risky because Shay can be killed (or his crew can be slain, which also causes a desynch). However, the risk is well worth your time because ships yield over twice as many resources if you board them and win the fight compared to destroying them and salvaging what you can.
To board a ship, you have to cripple it. Use normal attacks against the enemy ship and bring down its health. Once the ship is critically damaged and on fire, you are free to board it. There is a visual indicator to show this in multiple ways (the enemy ship stops moving, catches on fire, loses its sails, and has its health bar drop into the critical range).
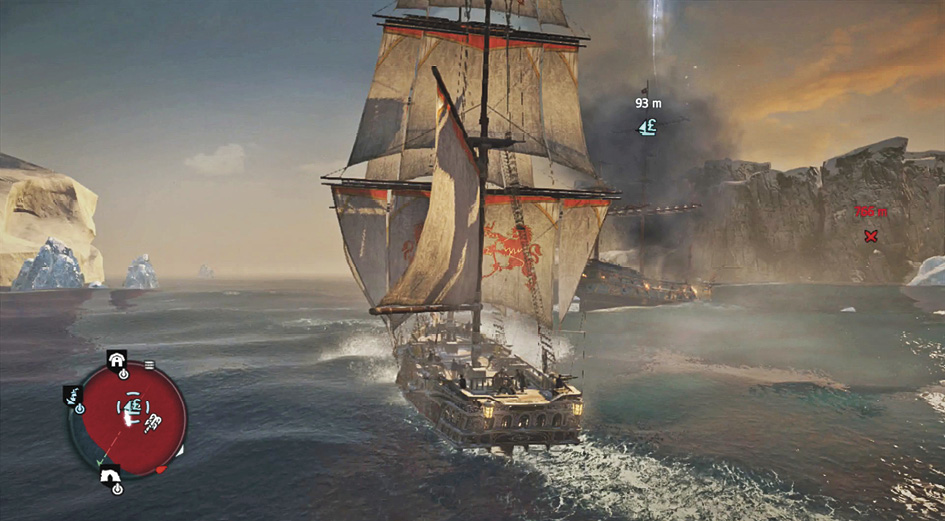
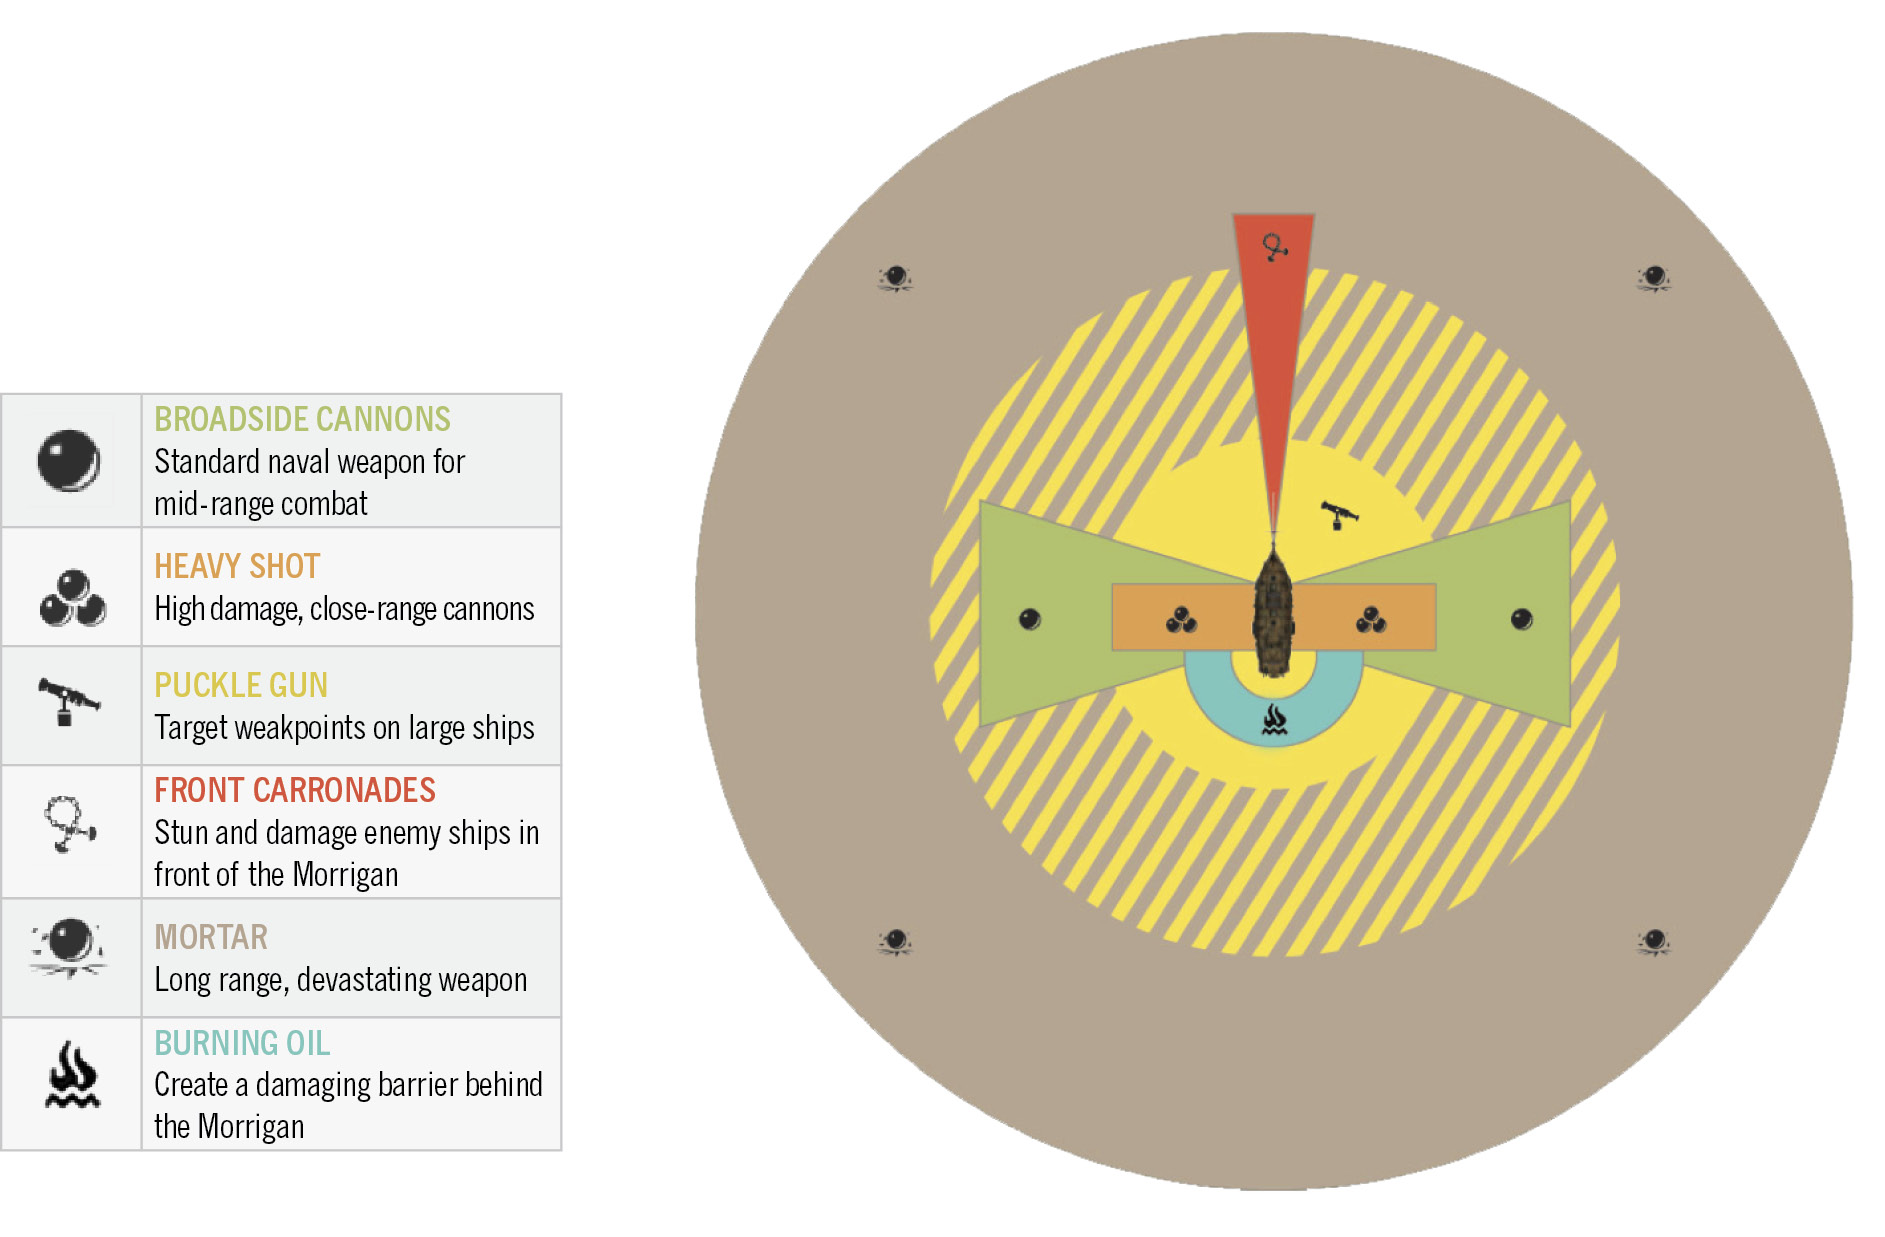
Approach the wounded ship and use the boarding command when it pops up onscreen. This lets the Morrigan start to close with the other vessel. Man the Puckle guns on the side of the ship that is facing your enemy, and sweep the enemy deck with the gun for free kills during the approach. This can sometimes defeat the enemy crew before you’ve even gotten onto their ship.
A number of win conditions appear to let you know what is required. Shay loses the fight if he or his crew are killed, but he wins if you fulfill the victory conditions. They’ll always have a number of enemy crew to kill, but larger ships have additional conditions to fulfill.
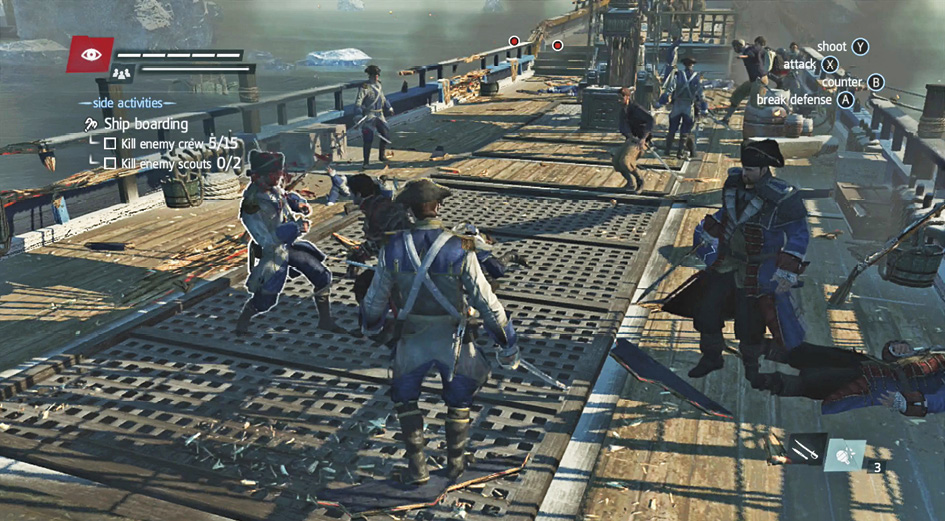
In general, try to destroy any barrels or marked officers before you get onto the ship. That’s exactly what the Puckle gun is great at doing. Improve your Puckle gun ammo count to assist with this process, and remember to use both Puckle guns if you want even more fire power (because they have separate ammo supplies). Run between the two guns and rack up the kills before you board the opposing vessel.
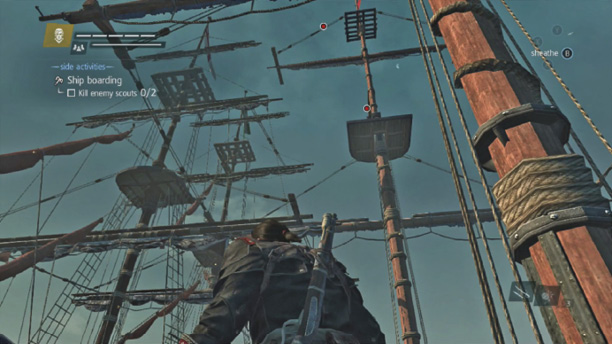
The difficult win conditions are usually higher up on the ship. These include enemies higher up that need to be killed. Use ranged attacks if you can, but the angle is often difficult. Zip up to the nests on your own ship to get a better line of sight, or climb up the enemy mast to reach your targets.
Grenades and skilled swordfighting help tremendously when attacking the enemy ship’s crew directly. Smoke Bombs and fast kills are also immensely useful. Try to focus your attacks on Brutes and Captains because they are the hardest foes for your crew to take down. Berserk Darts, launched from the Morrigan can also turn these tougher enemies into a non-issue.
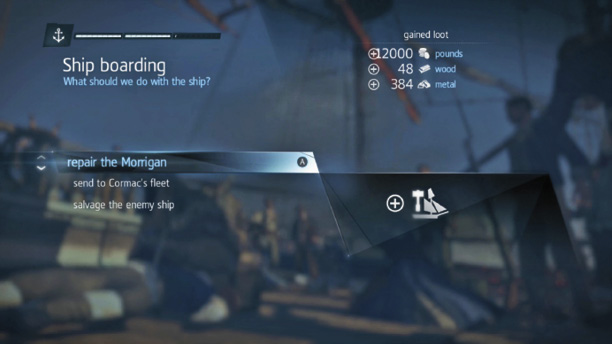
When you win, Shay gets control of the enemy vessel. You can then repair the Morrigan instantly (which is very useful in larger naval battles). Or, you can get more money by selling the ship. Once Fleet Missions are unlocked, Shay can send the ship to the fleet and use it for missions that give you extra money, resources, and collectibles.
To decide, see if the ship’s health is low. If the ship is badly damaged, repair it. Otherwise, take the money or improve your fleet. It’s good to have a variety of ships for Fleet Missions because heavier ships are required for tougher trade routes later in the game, but lighter ships finish missions sooner. You get more money by having a fleet with a full range of tonnage because you can always send an ideal ship on a given mission to avoid wasting time.
If enemy ships board you, there is a sudden dip in your crew count. Brace if you see vessels move quickly toward the Morrigan, and avoid this situation. You you should always try to control any boarding. It’s only worth being boarded by enemies a single time because there is an achievement/trophy for surviving a boarding party. After that, it’s never good to let the enemy board you.
Once you can navigate and fight well with the Morrigan, start to really learn how the mechanics of your weapons. Not all damage is universal when striking an enemy ship. Armour is spread out in different ways, and you can do more damage, pound per pound, by hitting enemies wherever they’re vulnerable.
This usually means aiming for the bow or the stern of the ship, and avoiding broadside strikes unless you’re going against a smaller vessel and don’t mind trading favorably on damage. Also, aim low at your targets. Hull hits do more damage than sail hits.
Defensively, the hardest trick is to master bracing. Use this before major mortar hits, ramming attacks, and broadside shots from superior vessels. This reduces incoming damage by a huge margin. Do this when you see the enemy start to fire. If you time your bracing correctly, you can counter boarding attempts completely. If you see a brig coming in fast toward the Morrigan, brace immediately!
All boarding attempts are dangerous, but any time your enemies board the Morrigan you will most likely lose crew. Brigs are bad enough, but a high wanted level can sometimes get you into trouble with Gang Ships. These vessels have Assassins in their crew, so you will probably lose crew members if they board you. Make sure to attack these ships at maximum range, keep to their sides or rear, and brace if they get any chance to push toward your ship. Gang Ships have a brown sails and a wide bow that makes them somewhat easy to identify before they close for battle. Keep your eyes out for them.