
Assassin's Creed Rogue Guide Equipment: Land and Sea
The Morrigan
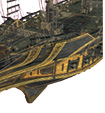
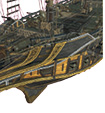
There are two varieties of upgrades for the Morrigan, once you get control of it. There are regular ship upgrades that improve the vessel’s combat performance, and there are appearance changes that let you customize the way it looks. Both cost money and materials, and you might be required to complete certain parts of the game or locate special Blueprints to gain access to all of the upgrades.
Because it’s easier to maraud around the seas and collect additional materials once you have a better fighting ship, you may want to prioritize weapon and armor upgrades before going after supplemental improvements to your storage, capacity, and appearance. However, it’s your ship, and you should do as you please with it!
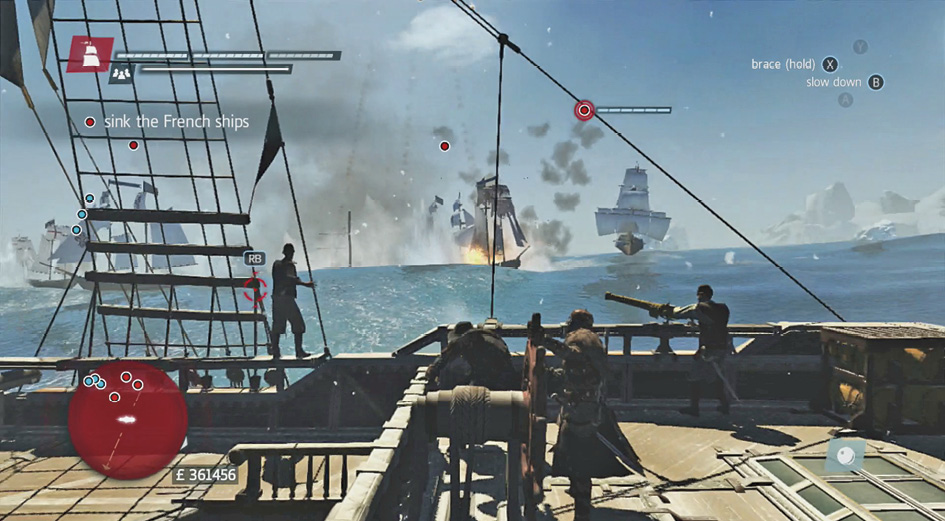
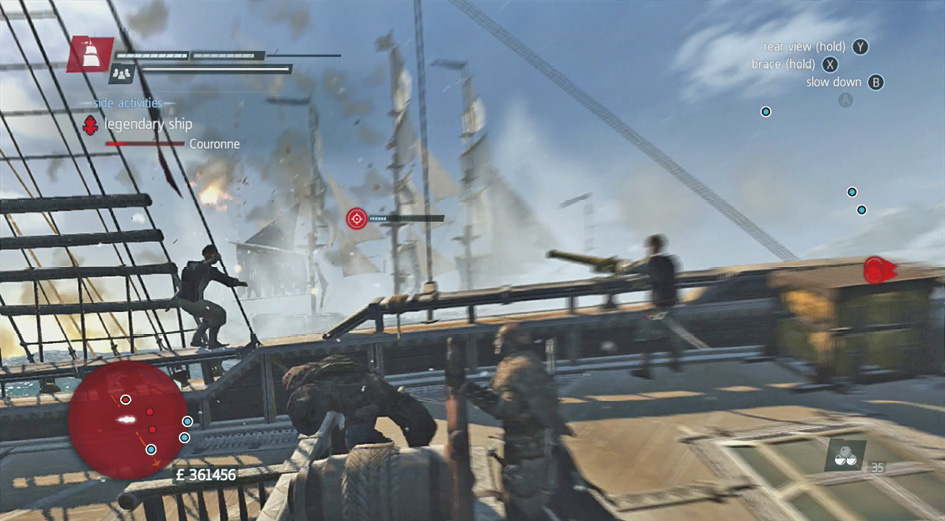
The best way to get additional resources for this task is to hunt down other ships. Brigs, frigates, and even larger vessels are out there on the seas, and they’re laden with goods. Metal and wood are the two resources that you need the most for your naval upgrades. Board ships to get their full cargo or sink them to get half of their yield.
If you attack vessels heavily and get a high Wanted level, even more ships come after you. As long as you survive, this is a great way to make even more money and resources without doing anything that you weren’t already interested in doing.
Ship Weaponry
Front/Bow Carronades
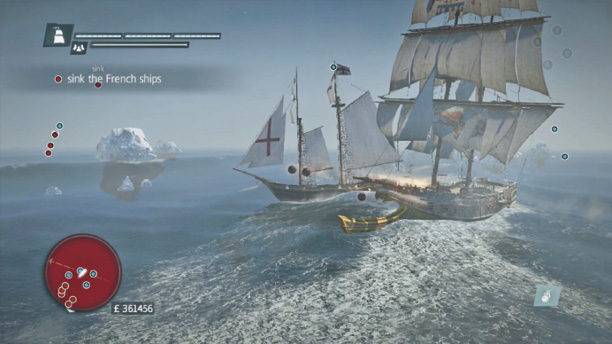
These are your forward guns. Use them to deal modest damage during pursuit or approach. Even though the carronades are more maneuverable than the broadside cannons because of their position, you still won’t use them for the majority of your combat damage. Short battles are safer battles, and skilled use of your larger batteries is essential for fast kills.
Broadside Cannons
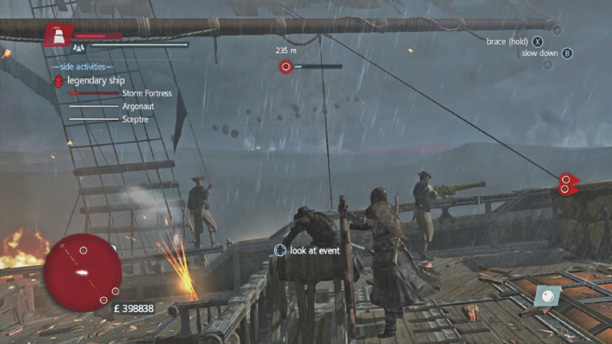
Two batteries of broadside cannons are deployed on your ship (one on each side of the vessel). Your biggest damage is caused by setting a full volley of these guns against the weakest parts of your enemy. Usually that means the rear of the vessel. Failing that, a broadside volley that fully hits anywhere on most ships is enough to cause serious damage.
Try to maneuver in such a way that the Morrigan’s broadside cannons face a target while the opponent doesn’t have their broadside cannons facing you. If you look at the enemy’s position like the center of a clock, your best angles of attack are a 1:30, 4:30, 7:30, and 10:30.
Constantly reposition your ship so that the enemy can’t turn their guns into you, and maintain the best firing solution for your guns while doing this.
Flaming Oil
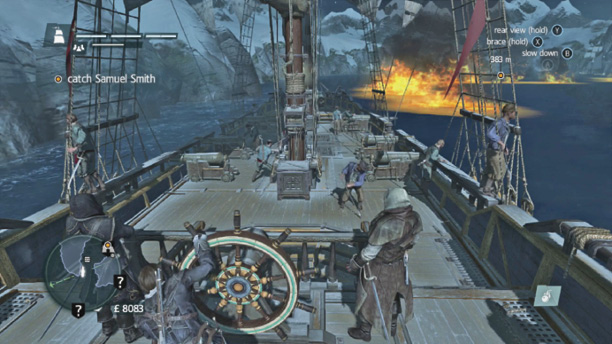
Flaming oil is used from the rear of the ship. It sets patches of water on fire, causing damage over time to anything that sails over the spill. You can deter pursuit with this weapon, but you’re not going to use it as often as your guns. Being on the attack is usually more effective than fighting defensively (at least when you’re on the water).
Puckle Gun
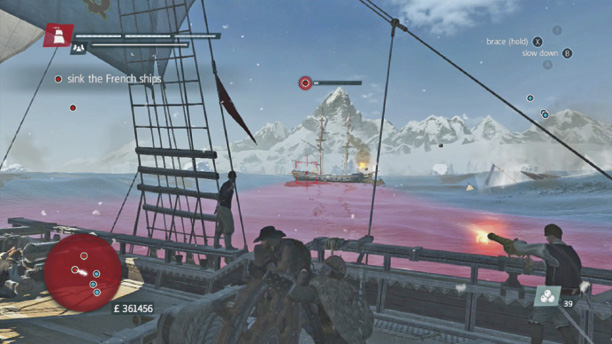
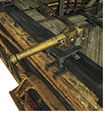
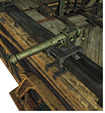
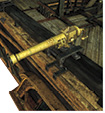
The Puckle gun is a lighter weapon that does damage to enemy ships by hitting their weak points. During ship-to-ship fighting, use the time between cannon shots to switch to the Puckle gun. Get free hits against the other ship’s highlighted points, and go back to your main guns after a few seconds. Once you get the timing down, this substantially improves your damage output and odds of success in a fight.
The Puckle gun isn’t a heavy hitter against armored ships like brigs, frigates, and such, but it’s a viable weapon for destroying gunboats and schooners. Use the Puckle gun in free aim mode to harass or destroy these ships outright.
After crippling an enemy and grappling with their ship, your sailors start to board the opposing vessel. Man the Puckle guns on the correct side of the ship (there is one Puckle gun fore and another one aft). Use the Puckle gun to sweep the enemy deck and eliminate as many of their defenders as possible. Shay won’t have to do as much work when he boards the opposing ship, if he even has to. Some enemy ships can be defeated using only the Puckle guns. This is less likely against larger vessels because they have more sailors to defeat and may be so high up that you can’t effectively shoot at most of their men.
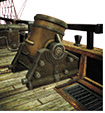
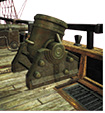
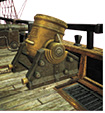
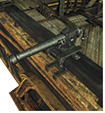
Mortar
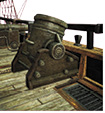
Mortars create the heaviest damage. They excel at range and destruction and have their own firing window. Once you have a mortar, you can practice a rotation that allows for cannon attacks, mortar shots, and Puckle gun use in the same firing window. That’s the maximum damage output that the Morrigan can sustain. Try to hit an enemy ship’s weak points, and watch your targets melt.
Remember to stock up on mortar shot when you’re in town. You go through it very quickly when fighting larger, heavier ships.
Types of Shot
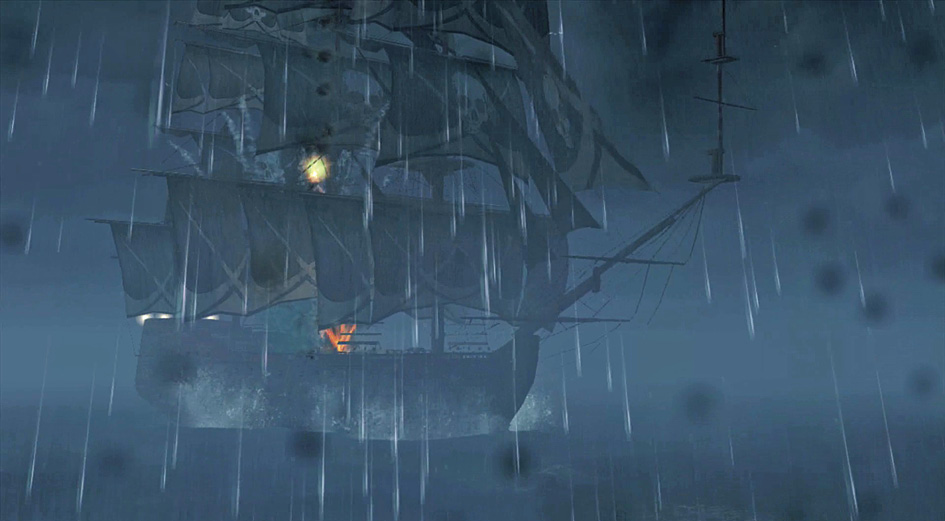
Round shot is your most basic cannonball. It’s loaded into the broadside cannons. Thus, any upgrade to your round shot is going to dramatically improve the Morrigan’s damage output. Get more cannons and better shot as early and as often as you can. For aggressive captains, this is a superior investment even compared with improved armor! Higher tiers of round shot even let the cannons fire in two bursts, dealing far more damage if you time the shots carefully and ensure that the target is moving into your shot rather than away from it. Lead your targets more once double round shot is acquired.
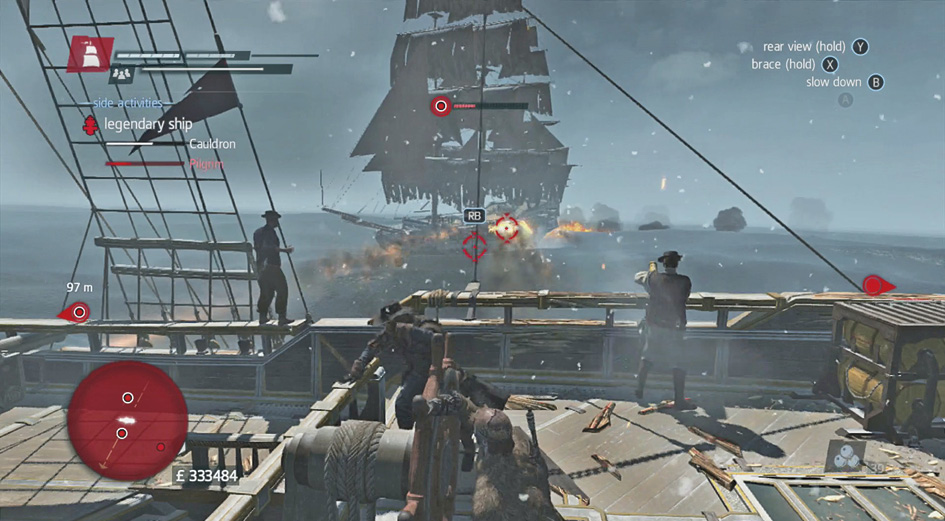
Heavy shot is harder to work with. This is fired when you are close to the enemy ship and are broadside with them. You don’t aim (and can’t; otherwise, round shot is used instead). Just hit the Fire button and watch the heavy shot do its work. Even though it iseasy to miss with heavy shot, you deal intense damage once you get used to using it.
For the best chance of success, ram the vessel, go broadside with it, and unleash hell.
Explosive shot upgrades the cannonballs that are loaded into your front carronades. They’ll never deal crippling damage, but they get better and better at slowing enemy movements to give you an edge while positioning your ship. The slower the target, the easier it is to get full volleys against them without soaking just as much damage in return.
Ramming Speed
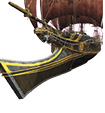
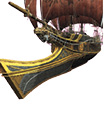
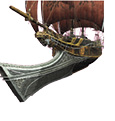
Ram upgrades let you deal damage when the Morrigan charges into an enemy ship. Higher-end rams let you cut through ice and even gain a special ability—this charge attack allows the Morrigan to temporarily go at travel speed even when it’s under fire. Use this to do heavy ramming attacks against ships or simply to outmaneuver vessels. That sudden charge can get you away from mortar blasts that would otherwise wreck your beautiful ship.
Note that you have to be facing forward to use a ramming maneuver. Rotate your camera to line this up as quickly as you can.
The Value of Upgrades
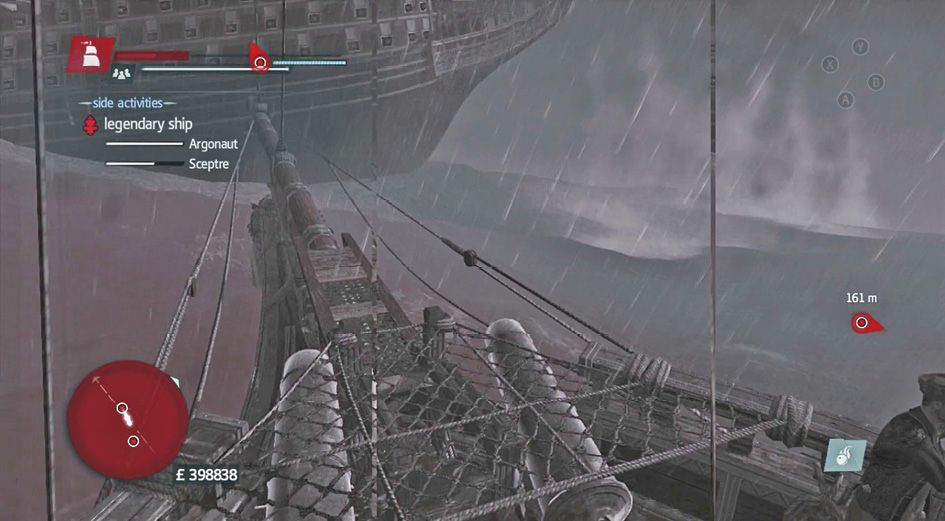
Though your primary weapon and armor upgrades are extremely important, you shouldn’t neglect the other features of the ship. Storage upgrades let you carry more ammunition for various weapons. More Puckle gun ammo means more shots to fire at enemies before boarding their ships; it’s extremely useful. Mortar rounds are essential for battles against heavier ships, so this is a very important upgrade to consider.
Improve your Crew Quarters so that the Morrigan can keep a larger crew and survive extended naval boardings against large ships without losing all of its sailors!
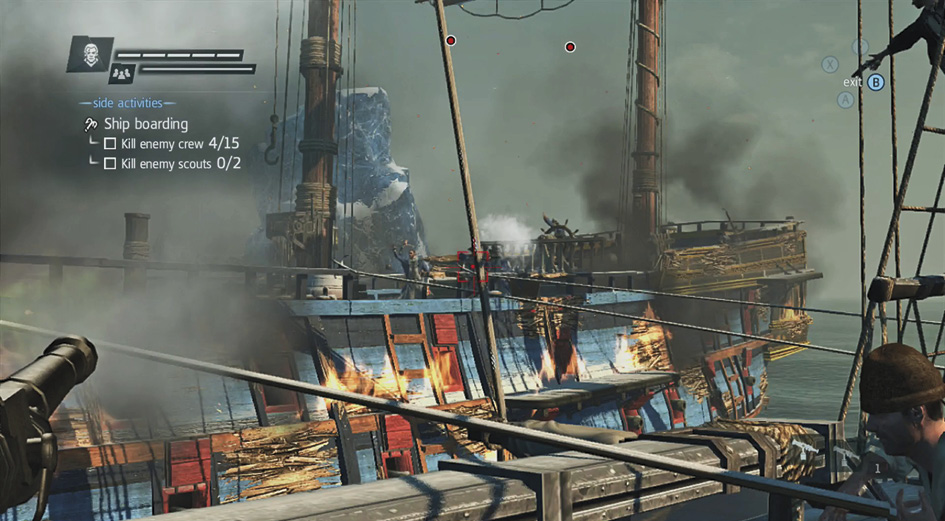
Cargo Storage lets you carry more resources without having any go to waste. This really helps when you go on extended raiding attacks against multiple ships. The more goods you can carry, the better.
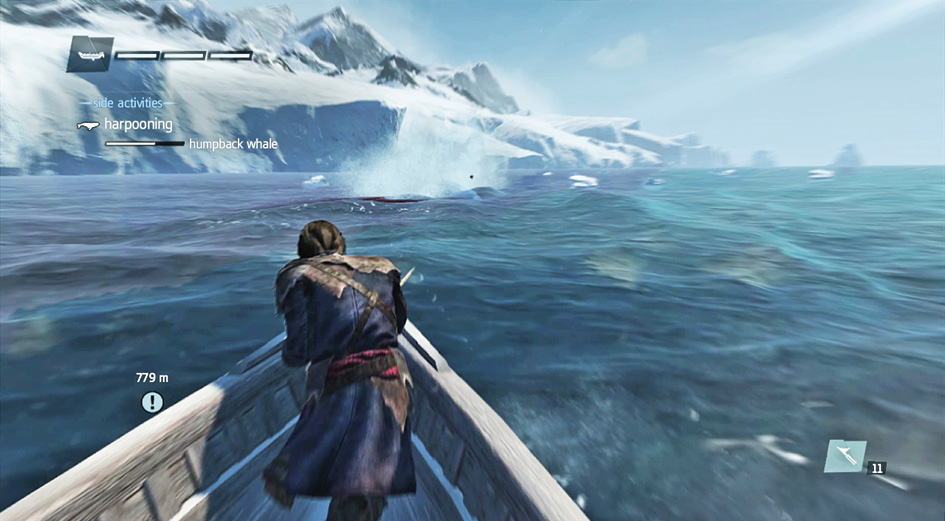
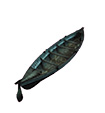
Harpooning improvements make it much easier to survive attacks from tougher whales. Harpoon Strength and Storage lets you finish these tasks quickly and reliably. Rowboat Armor is important if you’re having difficulty during the hunts, but this upgrade won’t let you finish the job any faster.
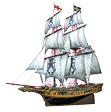
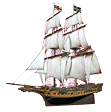
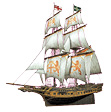
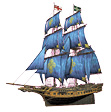
Sail, Figurehead, and Wheel upgrades change the appearance of the Morrigan. You won’t fight harder or survive longer because of these, but they give your ship an even stronger visual style and sense of identity. Once you have some resources to spare, you can customize the Morrigan with your own style.
Ship Upgrades
|
Upgrade Name |
Required Parts |
Effect |
|
 |
Broadside Cannons I: Standard | N/A | 6 Cannons |
 |
Broadside Cannons II: Intermediate | £ 500, 10 Metal | 9 Cannons |
 |
Broadside Cannons III: Advanced | £ 1,700, 70 Metal | 11 Cannons |
 |
Broadside Cannons IV: Superior | £ 8,000, 140 Metal | 13 Cannons |
 |
Broadside Cannons V: Elite | £ 16,000, 270 Metal | 15 Cannons |
 |
Broadside Cannons VI: Ultimate | £ 25,000, 400 Metal, Blueprint | 17 Cannons |
 |
Burning Oil Strength I: Standard | £ 500 | 200 Damage |
 |
Burning Oil Strength II: Intermediate | £ 3,000, 30 Metal, 10 Wood | 400 Damage |
 |
Burning Oil Strength III: Elite | £ 10,000, 60 Metal, 20 Wood, Blueprint | 600 Damage |
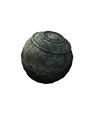 |
Explosive Shot Strength I: Standard | N/A | 40 Stun |
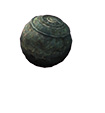 |
Explosive Shot Strength II: Advanced | £ 5,000, 60 Metal | 50 Stun |
| |
Explosive Shot Strength III: Elite | £ 15,000, 300 Metal, Blueprint | 65 Stun |
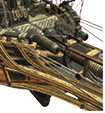 |
Front Carronades I: Standard | N/A | 2 Cannons |
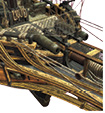 |
Front Carronades II: Advanced | £ 5,000, 80 Metal | 4 Cannons |
 |
Heavy Shot I: Standard | £ 900, 35 Metal | 120 Damage |
 |
Heavy Shot II: Advanced | £ 3,000, 90 Metal | 180 Damage |
| |
Heavy Shot III: Elite | £ 15,000, 320 Metal, Blueprint | 260 Damage |
 |
Hull Armor I: Standard | N/A | 600 Resistance |
 |
Hull Armor II: Intermediate | £ 500, 10 Metal | 1,200 Resistance |
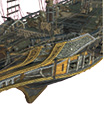 |
Hull Armor III: Reinforced | £ 1,200, 50 Metal, 70 Wood | 2,000 Resistance |
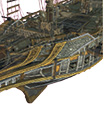 |
Hull Armor IV: Advanced | £ 8,000, 250 Metal, 140 Wood | 3,200 Resistance |
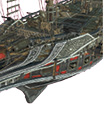 |
Hull Armor V: Elite | £ 16,000, 350 Metal, 240 Wood, Blueprint | 5,000 Resistance |
 |
Mortar I: Standard | £ 500, 20 Metal | 1,000 Damage |
 |
Mortar II: Intermediate | £ 2,500, 70 Metal | 2,000 Damage |
 |
Mortar III: Advanced | £ 12,000, 160 Metal | 3,000 Damage |
 |
Mortar IV: Elite | £ 30,000, 350 Metal, Blueprint | 4,000 Damage |
 |
Puckle Gun Strength I: Standard | N/A | 200 Damage |
 |
Puckle Gun Strength II: Intermediate | £ 700, 50 Metal | 300 Damage |
 |
Puckle Gun Strength III: Advanced | £ 3,000, 120 Metal | 400 Damage |
 |
Puckle Gun Strength IV: Elite | £ 15,000, 200 Metal, Blueprint | 500 Damage |
 |
Ram I: Icebreaker | £ 500, 25 Metal | 600 Damage |
 |
Ram II: Reinforced | £ 1,500, 50 Metal, 75 Wood | 800 Damage |
 |
Ram III: Advanced | £ 8,000, 120 Metal, 120 Wood | 1,200 Damage |
 |
Ram IV: Elite | £ 20,000, 250 Metal, 180 Wood, Blueprint | 2,500 Damage |
 |
Round Shot Strength I: Standard | N/A | 40 Damage |
| |
Round Shot Strength II: Intermediate | £ 900, 30 Metal | 50 Damage |
| |
Round Shot Strength III: Advanced | £ 3,000, 80 Metal | 65 Damage |
| |
Round Shot Strength IV: Elite Double | £ 9,000, 220 Metal | 110 Damage |
| |
Round Shot Strength V: Ultimate Double | £ 15,000, 320 Metal, Blueprint | 130 Damage |
Storage
|
Upgrade Name |
Required Parts |
Effect |
|
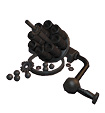 |
Puckle Gun Cylinder I: Standard | N/A | 15 Units |
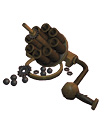 |
Puckle Gun Cylinder II: Reinforced | £ 500, 40 Metal | 25 Units |
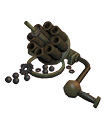 |
Puckle Gun Cylinder III: Advanced | £ 3,000, 100 Metal | 35 Units |
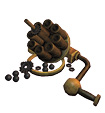 |
Puckle Gun Cylinder IV: Elite | £ 11,000, 160 Metal | 45 Units |
 |
Heavy Shot Storage I: Standard | N/A | 15 Units |
 |
Heavy Shot Storage II: Reinforced | £ 500, 50 Metal | 20 Units |
 |
Heavy Shot Storage III: Advanced | £ 1,500, 80 Metal | 25 Units |
 |
Heavy Shot Storage IV: Elite | £ 4,000, 110 Metal, Blueprint | 40 Units |
 |
Mortar Storage I: Standard | N/A | 5 Units |
 |
Mortar Storage II: Reinforced | £ 800, 50 Metal | 10 Units |
 |
Mortar Storage III: Advanced | £ 2,000, 80 Metal | 15 Units |
 |
Mortar Storage IV: Elite | £ 5,000, 110 Metal, Blueprint | 20 Units |
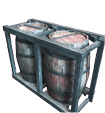 |
Burning Oil Storage I: Standard | N/A | 40 Units |
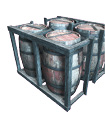 |
Burning Oil Storage II: Reinforced | £ 500, 50 Metal | 50 Units |
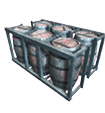 |
Burning Oil Storage III: Advanced | £ 1,400, 80 Metal | 60 Units |
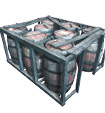 |
Burning Oil Storage IV: Elite | £ 5,000, 110 Metal, Blueprint | 70 Units |
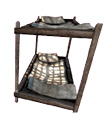 |
Crew’s Quarters I: Standard | N/A | 20 Storage |
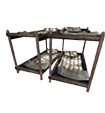 |
Crew’s Quarters II: Advanced | £ 800, 70 Cloth, 50 Wood | 30 Storage |
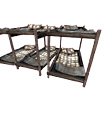 |
Crew’s Quarters III: Elite | £ 3,500, 110 Cloth, 100 Wood | 40 Storage |
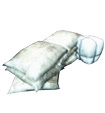 |
Cargo Storage I: Standard | N/A | 500 Storage |
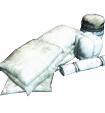 |
Cargo Storage II: Advanced | £ 1,000, 80 Cloth, 70 Wood | 1,000 Storage |
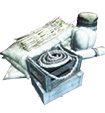 |
Cargo Storage III: Elite | £ 4,000, 130 Cloth, 120 Wood | 2,000 Storage |
Harpooning
|
Upgrade Name |
Required Parts |
Effect |
|
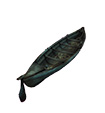 |
Rowboat Armor I: Standard | N/A | 100 Resistance |
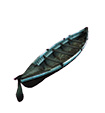 |
Rowboat Armor II: Advanced | £ 600, 50 Wood | 200 Resistance |
 |
Rowboat Armor III: Elite | £ 1,800, 100 Wood | 300 Resistance |
 |
Harpoon Strength I: Standard | N/A | 100 Damage |
 |
Harpoon Strength II: Advanced | £ 1,000, 30 Wood | 200 Damage |
 |
Harpoon Strength III: Elite | £ 4,000, 70 Wood | 300 Damage |
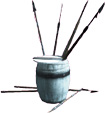 |
Harpoon Storage I: Standard | N/A | 20 Storage |
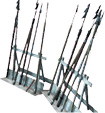 |
Harpoon Storage II: Advanced | £ 800, 50 Wood | 30 Storage |
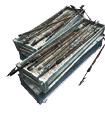 |
Harpoon Storage III: Elite | £ 1,800, 70 Wood | 40 Storage |
Appearance
Sails
|
Item Name |
Cost |
|
 |
White Sails | N/A |
 |
Wolf Sails | Gained at a specific point in the story |
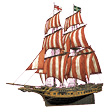 |
Red-Striped Sails | Gained at a specific point in the story |
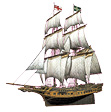 |
Gray Sails | £ 1,600, 70 Cloth |
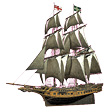 |
Black Shadow Sails | £ 2,500, 100 Cloth |
 |
Black and Red Sails | £ 3,200, 120 Cloth |
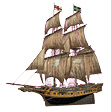 |
The Queen Anne’s Revenge Sails | £ 6,000, 250 Cloth, Blueprint |
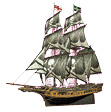 |
The Jackdaw’s Sails | £ 40 + Redeem on Uplay |
 |
Kraken Sails | Complete all Legendary Battles |
 |
The Aquila’s Sails | £ 4,400, 200 Cloth, Blueprint |
 |
British Lion Sails | Complete the Rio de Janeiro fleet mission |
 |
Gilded French Sails | Complete the Isle de France fleet mission |
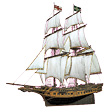 |
Elite Sails | £ 4,000, 170 Cloth |
Wheels
|
Item Name |
Cost |
|
 |
The Morrigan’s Wheel | N/A |
 |
Wolf Wheel | Gained at a specific point in the story |
 |
Black Shadow Wheel | £ 1,000, 20 Cloth, 10 Metal |
 |
Ivory Wheel | £ 1,600, 40 Cloth, 20 Metal |
 |
Blackwood Wheel | £ 2,500, 60 Cloth, 30 Metal |
 |
James Cook’s Wheel | £ 3,200, 80 Cloth, 40 Metal |
 |
Golden African Wheel | Complete the Luanda fleet mission |
 |
Elite Wheel | £ 4,000, 100 Cloth, 50 Metal |
 |
British Lion Wheel | Complete the Brest fleet mission |
 |
The Jackdaw’s Wheel | £ 40 + Redeem on Uplay |
 |
Kraken Wheel | Complete all Legendary Battles |
 |
The Aquila’s Wheel | £ 4,400, 120 Cloth, 60 Metal, Blueprint |
 |
Blackbeard’s Wheel | £ 6,000, 140 Cloth, 70 Metal, Blueprint |
Figureheads
|
Item Name |
Cost |
|
 |
The Morrigan’s Figurehead | N/A |
 |
Wolf Figurehead | Gained at a specific point in the story |
 |
Black Shadow Figurehead | £ 1,000, 20 Cloth, 10 Wood |
 |
Mermaid Figurehead | £ 1,600, 40 Cloth, 20 Wood |
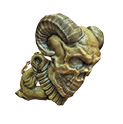 |
Harpy Skull Figurehead | £ 2,500, 60 Cloth, 30 Wood |
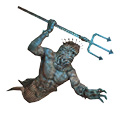 |
Experto Crede Figurehead | £ 3,200, 80 Cloth, 40 Wood |
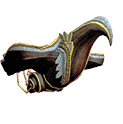 |
The Falcon Figurehead | £ 4,000, 100 Cloth, 50 Wood |
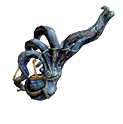 |
The Kraken Figurehead | Complete all Legendary Battles |
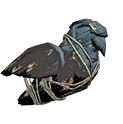 |
The Jackdaw’s Figurehead | £ 40 + Redeem on Uplay |
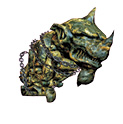 |
Blackbeard’s Figurehead | £ 6,000, 140 Cloth, 70 Wood, Blueprint |
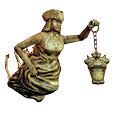 |
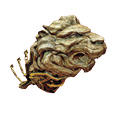
Aveline Figurehead | Complete the Louisiana fleet mission |
 |
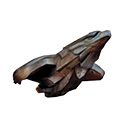
British Lion Figurehead | Complete the Mediterranean fleet mission |
 |
The Aquila’s Figurehead | £ 4,400, 120 Cloth, 60 Wood, Blueprint |