
Assassin's Creed Rogue Guide Hunting and Crafting
Craftable Upgrades
Hunting and crafting are still a big part of survival in the new world. You can go after wild game, bring it down, and use the parts you gather to make a number of powerful upgrades for Shay. This chapter lists all of these upgrades, the animals you can hunt, and where to find everything. Stay quiet, and strike quickly.

| Upgrade Name | Required Parts | Effect |
|---|---|---|
| Air Rifle Darts Pouch I | Deer Hide (1), Arctic Hare Pelt (1) | Allows Shay to carry 5 additional darts for the air rifle |
| Air Rifle Darts Pouch II | Polar Bear Pelt (2), Black Wolf Pelt (2) | Allows Shay to carry 5 additional darts for the air rifle |
| Arctic Explorer | Polar Bear Pelt (3), Narwhal Tusk (3) | New outfit |
| Berserk Dart | Bone (1) | These are fired from the air rifle; they send your foes into an uncontrollable rage. |
| Berserk Dart Efficiency I | Beaver Pelt (1), Gray Wolf Pelt (1) | Increases the duration of Berserk Dart effects |
| Berserk Dart Efficiency II | Black Wolf Pelt (2), Killer Whale Skin (2) | Increases the duration of Berserk Dart effects |
| Berserk Grenade | Bone (5) | Causes an entire group of enemies to go berserk |
| Berserk Grenade Pouch I | Black Bear Pelt (1), Shark Skin (1) | Increases the maximum capacity of Berserk Grenades by 1 |
| Berserk Grenade Pouch II | White Whale Skin (2), Polar Bear Pelt (2) | Increases the maximum capacity of Berserk Grenades by 1 |
| Berserk Grenades Efficiency I | Fox Pelt (1), Killer Whale Skin (1) | Increases the Berserk Grenade’s area of effect |
| Berserk Grenades Efficiency II | Eastern Elk Hide (2), Narwhal Tusk (2) | Increases the Berserk Grenade’s area of effect |
| Firecracker Dart | Bone (1) | Distracts enemies or lures them out of hiding |
| Frontiersman Outfit | Black Wolf Pelt (2), Black Bear Pelt (4) | New outfit |
| Health Upgrade I | Hare Pelt (2) | Increases Shay’s health by 25% |
| Health Upgrade II | Arctic Hare Pelt (2), Canadian Lynx Pelt (2) | Increases Shay’s health by an additional 25% |
| Health Upgrade III | Gray Wolf Pelt (2), Killer Whale Skin (2) | Increases Shay’s health by an additional 25% |
| Health Upgrade IV | Black Wolf Pelt (2), Narwhal Tusk (2) | Increases Shay’s health by an additional 25% |
| Hunter Outfit | Gray Wolf Pelt (2), Arctic Wolf Pelt (3) | New outfit |
| Pistol Ammo Pouch I | Deer Hide (1), Beaver Pelt (1) | Allows Shay to carry 10 additional bullets |
| Pistol Ammo Pouch II | Fox Pelt (2), Arctic Fox Pelt (2) | Allows Shay to carry 10 additional bullets |
| Pistol Holders | Eastern Elk Hide (1) | Allows Shay to carry 2 pistols |
| Rope Dart Pouch I | Gray Wolf Pelt (1) | Allows Shay to carry 5 additional Rope Darts |
| Rope Dart Pouch II | Humpback Whale Skin (2), Gray Wolf Pelt (2) | Allows Shay to carry 5 additional Rope Darts |
| Rope Darts | Bone (1) | Pulls enemies toward you (hanging them if you’re already above the target) |
| Shrapnel Grenade | Bone (5) | Damages all targets over a wide area |
| Shrapnel Grenade Efficiency 1 | Shark Skin (1), Gray Wolf Pelt (1) | Increases the Shrapnel Grenade’s area of effect |
| Shrapnel Grenade Efficiency I1 | Black Bear Pelt (2), Polar Bear Pelt (2) | Increases the Shrapnel Grenade’s area of effect |
| Shrapnel Grenade Pouch I | Humpback Whale Skin (1), Black Bear Pelt (1) | Increases the capacity of Shrapnel Grenades by 1 |
| Shrapnel Grenade Pouch II | Narwhal Tusk (2), Eastern Elk Hide (2) | Increases the capacity of Shrapnel Grenades by 1 |
| Sleep Dart | Bone (1) | These are fired from the air rifle; they put a target to sleep for a few seconds |
| Sleep Dart Efficiency I | Hare Pelt (1), Arctic Hare Pelt (1) | Increases the duration of Sleep Dart effects |
| Sleep Dart Efficiency II | Deer Hide (2), White Whale Skin (2) | Increases the duration of Sleep Dart effects |
| Sleep Grenade | Bone (5) | Knocks out an entire group of enemies |
| Sleep Grenade Efficiency I | Deer Hide (1), Canadian Lynx Pelt (1) | Increases the Sleep Grenade’s area of effect |
| Sleep Grenade Efficiency II | Arctic Hare Pelt (2), Humpback Whale Skin (2) | Increases the Sleep Grenade’s area of effect |
| Sleep Grenade Pouch I | Killer Whale Skin (1), Beaver Pelt (1) | Increases the capacity of Sleep Grenades by 1 |
| Sleep Grenade Pouch II | Eastern Elk Hide (2), Arctic Wolf Pelt (2) | Increases the capacity of Sleep Grenades by 1 |
| Smoke Bomb Pouch I | Arctic Fox Pelt (1), Canadian Lynx Pelt (1) | Allows Shay to carry 5 additional Smoke Bombs |
| Smoke Bomb Pouch II | Arctic Wolf Pelt (2), Eastern Elk Hide (2) | Allows Shay to carry 5 additional Smoke Bombs |
| Whaler Outfit | Shark Skin (2), Killer Whale Skin (2) | New outfit |
What to Make
Eventually you’ll be able to craft everything in the game, but that doesn’t tell you what to prioritize when you first start hunting. All of the upgrades that are in the table are useful, but your preferred playstyle dictates the best order for crafting your items.
Stealth players don’t need to race for health upgrades. They should look into expanding the number of items in their inventory as early as possible and improving the efficiency for their favorite tools.
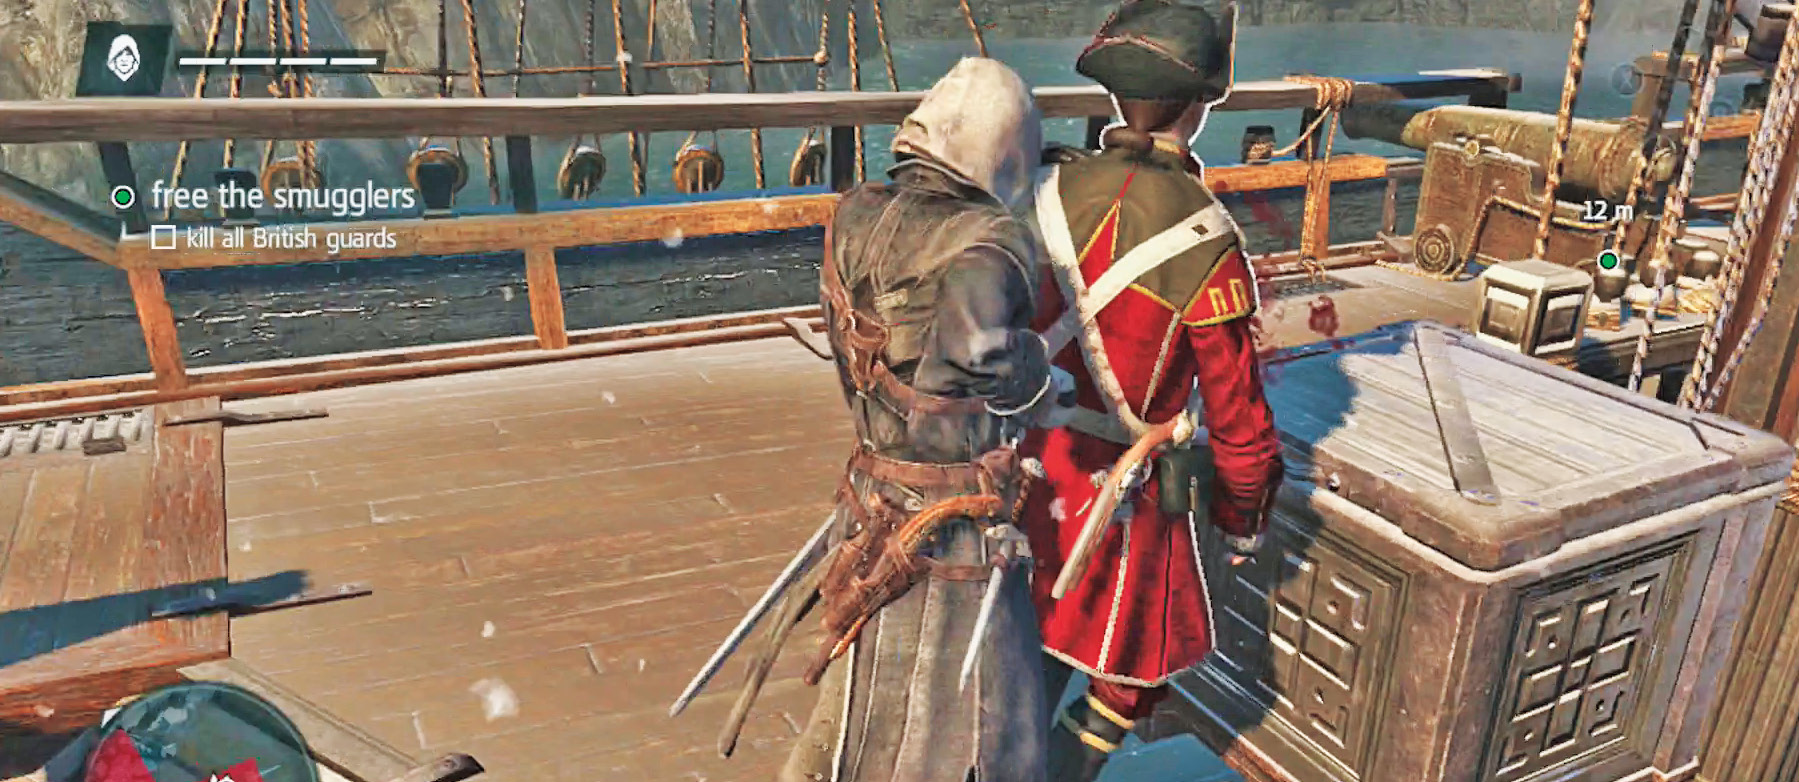
Sleep Dart Efficiency, Berserk Dart Efficiency, and the Air Rifle Dart Pouch are superb for more subtle players. They help in areas with optional synchronization that requires you to avoid being spotted.
More combative Assassins, on the other hand, should get bullets and health as soon as they possibly can. Then, invest in more overt tools like Berserk and Shrapnel Grenades.
Regardless of your interests, craftable upgrades have a larger influence on Shay’s mechanics than either sword or pistol improvements. Stats matter a great deal in this category, because they improve your ammo capacity and the efficiency of your best tools. Sword upgrades, in particular, offer only a modest improvement to Shay’s swordfighting abilities.
If you have a choice where to invest your time and efforts, these upgrades get you more bang for your buck.
If You Have More Money Than Time

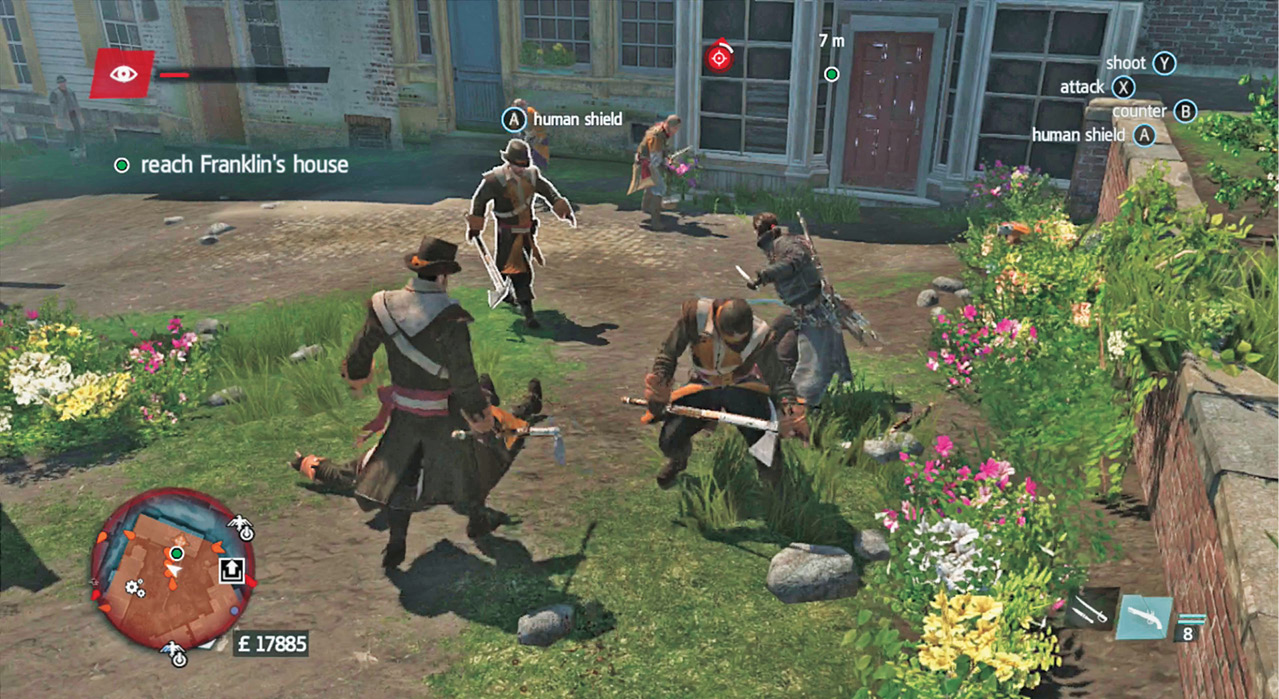
You don’t always have to hunt every single pelt or skin that’s needed for your upgrades. On the Morrigan, you have an outfit interface that also lets you purchase or sell hunting goods. Though very expensive, it’s possible to buy everything you need there for craftable upgrades. When you reach the late game, it’s totally viable to drop 20,000 pounds on items so that you can get a few upgrades that you had trouble finding ingredients for.
Harpooning
Your ship is able to stop and hunt sharks or whales if you enter the right territory. The Morrigan can be upgraded to get superior damage from its harpoons, to have more of them during each hunting expedition, and to have its boats take more damage before breaking apart.
Of these, we suggest that you upgrade harpoon damage first (for shorter, safer aquatic hunting). Then get more harpoons to ensure your kills. If you practice this type of hunting, it’s fairly easy to avoid damage, so upgrade the boats last.
The general pattern is to start a harpooning run and to watch the water ahead of Shay. The beasts of the sea are polite and always show up somewhere ahead of the boat, so you don’t need to turn around.
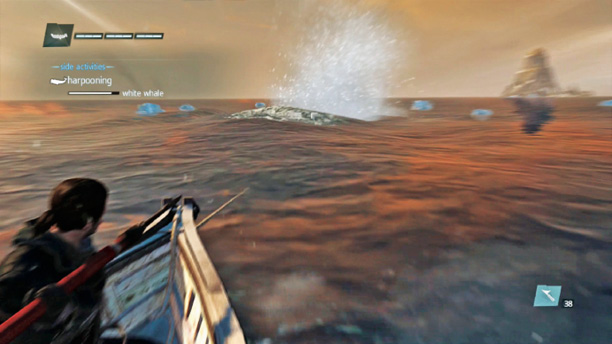
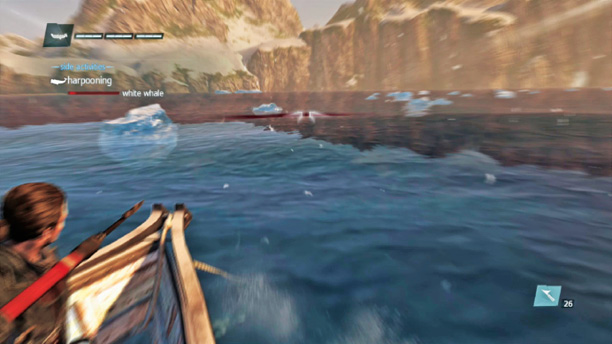
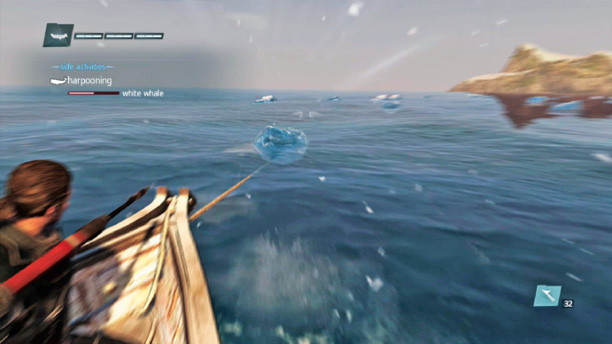
Hold down the Harpoon Attack button to prepare your throw. This raises the damage output when you do finally attack. Once you see your target and have a good angle, throw your harpoon well and true.
When it lands, the device spears into the target and attaches them to your boat with a rope. And now, the chase is on.
Shay’s boat is pulled after the creature until it smacks into a large amount of ice or the creature breaks free. Avoid the former problem by bracing any time Shay sees a block of ice ahead that the boat is going to hit.
Use this chase time to get additional harpoon attacks on the creature. Wait for it to surface and pummel the target as often as you can to do heavy damage. Your quarries eventually break free and either surface to attack the boat, or make some other dramatic movement. Make sure to hit them when this happens, and brace if you can’t stop them before they attack the boat.
You are desynched if the boat takes too much damage, and the hunt fails if you can’t kill the animal with your allotment of harpoons. Practice so that you don’t waste harpoons nearly as often, and read the entries on each animal to make sure that you understand their methods of survival.