
Assassin's Creed Rogue Guide Walkthrough Sequence 04
Memory 03: Scars

Monro, his troops, and his fort are under attack. Sail to their defense after you’ve replenished your supplies.
Reach Monro
Optional: Stay out of combat
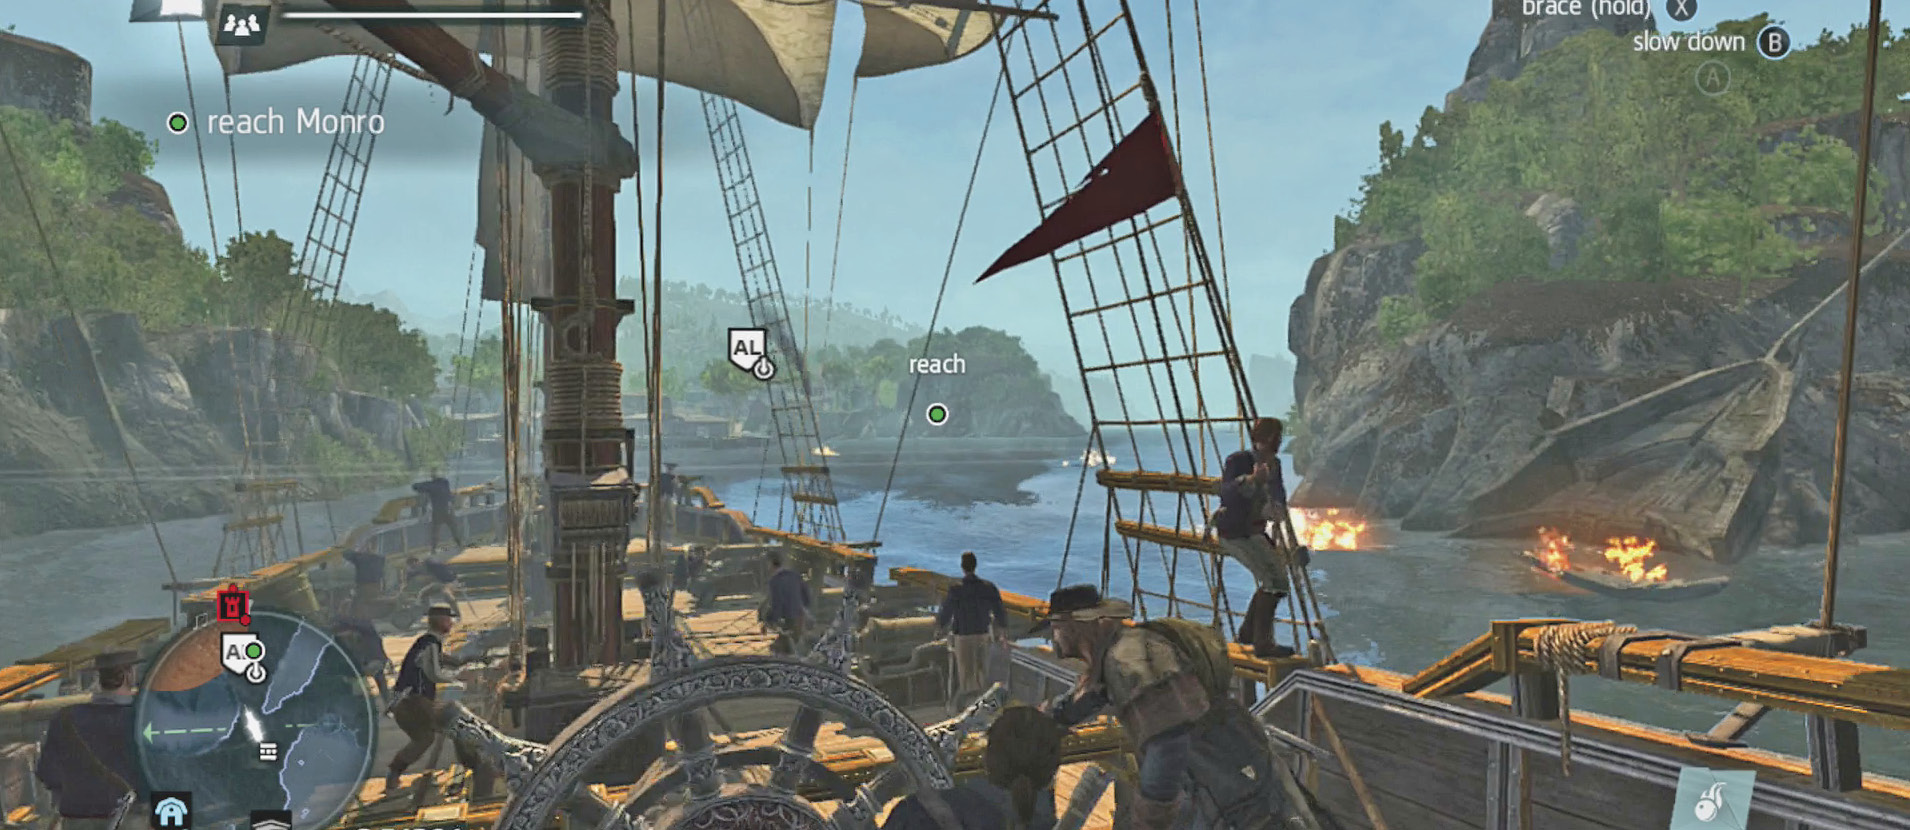
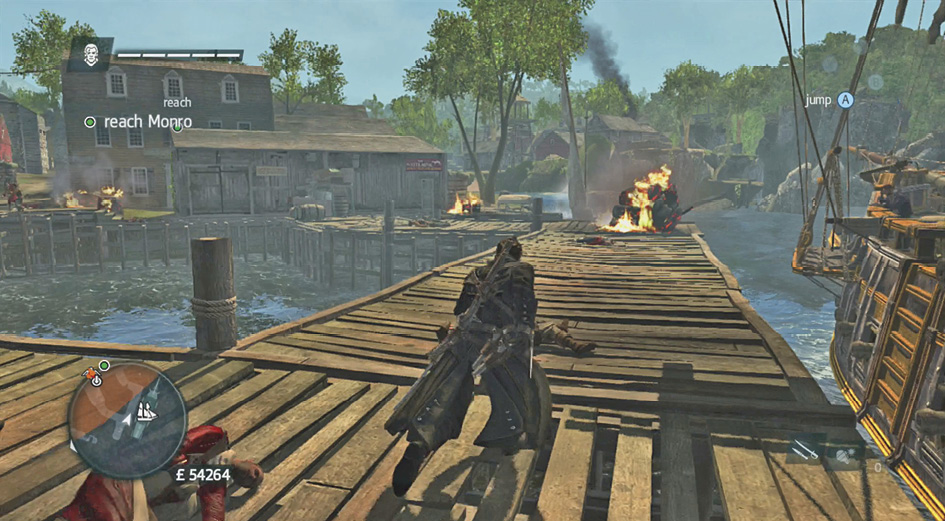
Dock at the Albany harbor. You have to make it several hundred meters inland without being spotted or doing any fighting. It’s going to take a load of rooftop jumping to make this happen, so make sure that you tie your boots.
Take the right route in from the docks to avoid the initial fighting between the British forces and those loyal to the Assassins. Climb on top of the first large building you reach and stay higher up as you move through the city. You won’t usually run the risk of being spotted this way, but there is a slightly tricky roadblock toward the back end of Albany. When you see a thick cluster of guards blocking the road ahead, climb to the top of the three-story house on the left. This lets you avoid the watchful eyes of the guards (they’ll pick out Shay if he’s moving along the awnings on the second floor).
Use a Sleep Dart on the guard in the field who is in front of the main fort. That’s the last person to beat, and you’re free to hop down and advance on foot after that.
Help Monro Clear the Fort and Kill the Head Assassin
Optional: Kill the Head Assassin using a Puckle gun
Kill a dozen of the attackers before they do much damage to the British. All of the targets are swarming around the fort. It’s easy to slip in behind your enemies, assassinate them, and continue to the next victim without wasting any time. You won’t need to engage in many swordfights.
There are also Puckle guns on the walls above. If you want to have a shooting gallery at your disposal, climb to the parapets and use the guns to get your kills.
Meet with Monro after the first fight ends, and then go after the Assassin leader. Sprint to the parapets of the fort and chase your quarry, but don’t try to catch up to him. Instead, shoot him with one of the Puckle guns that are on the edge of the parapets. Man those as soon as you find them, and fire ahead of the leader so that he runs into the slow-moving shots. He’ll take massive damage.
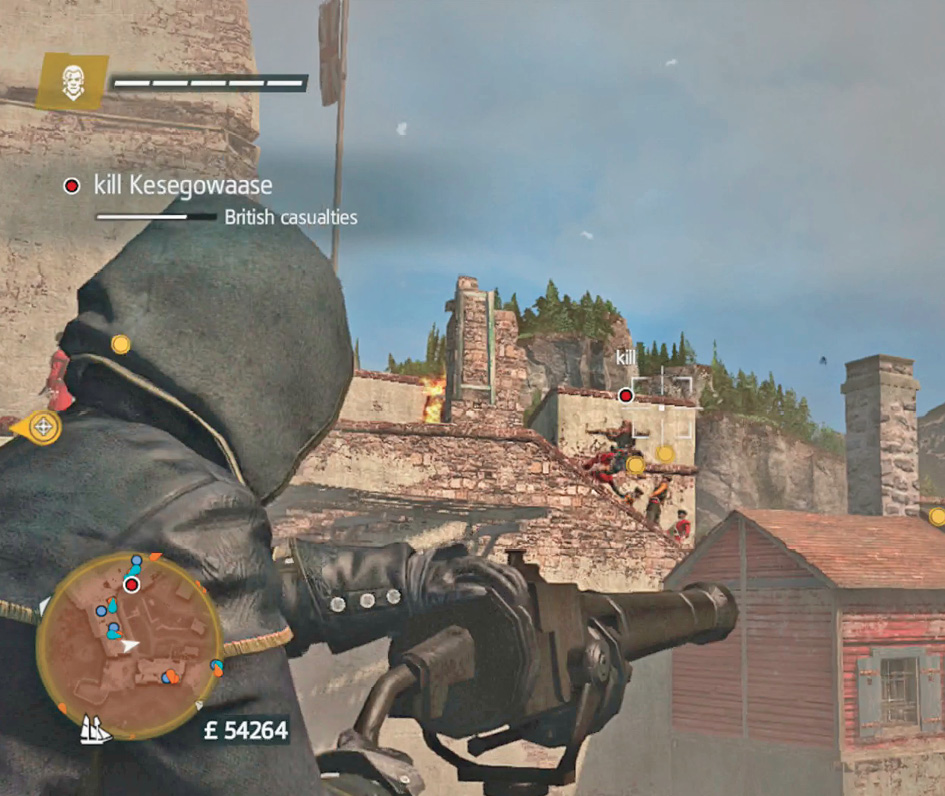
Sometimes your opponent stops to slice at the British soldiers on the walls, and that gives you even more of an opening to bring him down. Watch for the target to approach groups of fighting soldiers and bandits, and fire into the fray. It’s a mean trick, but it’s highly effective.
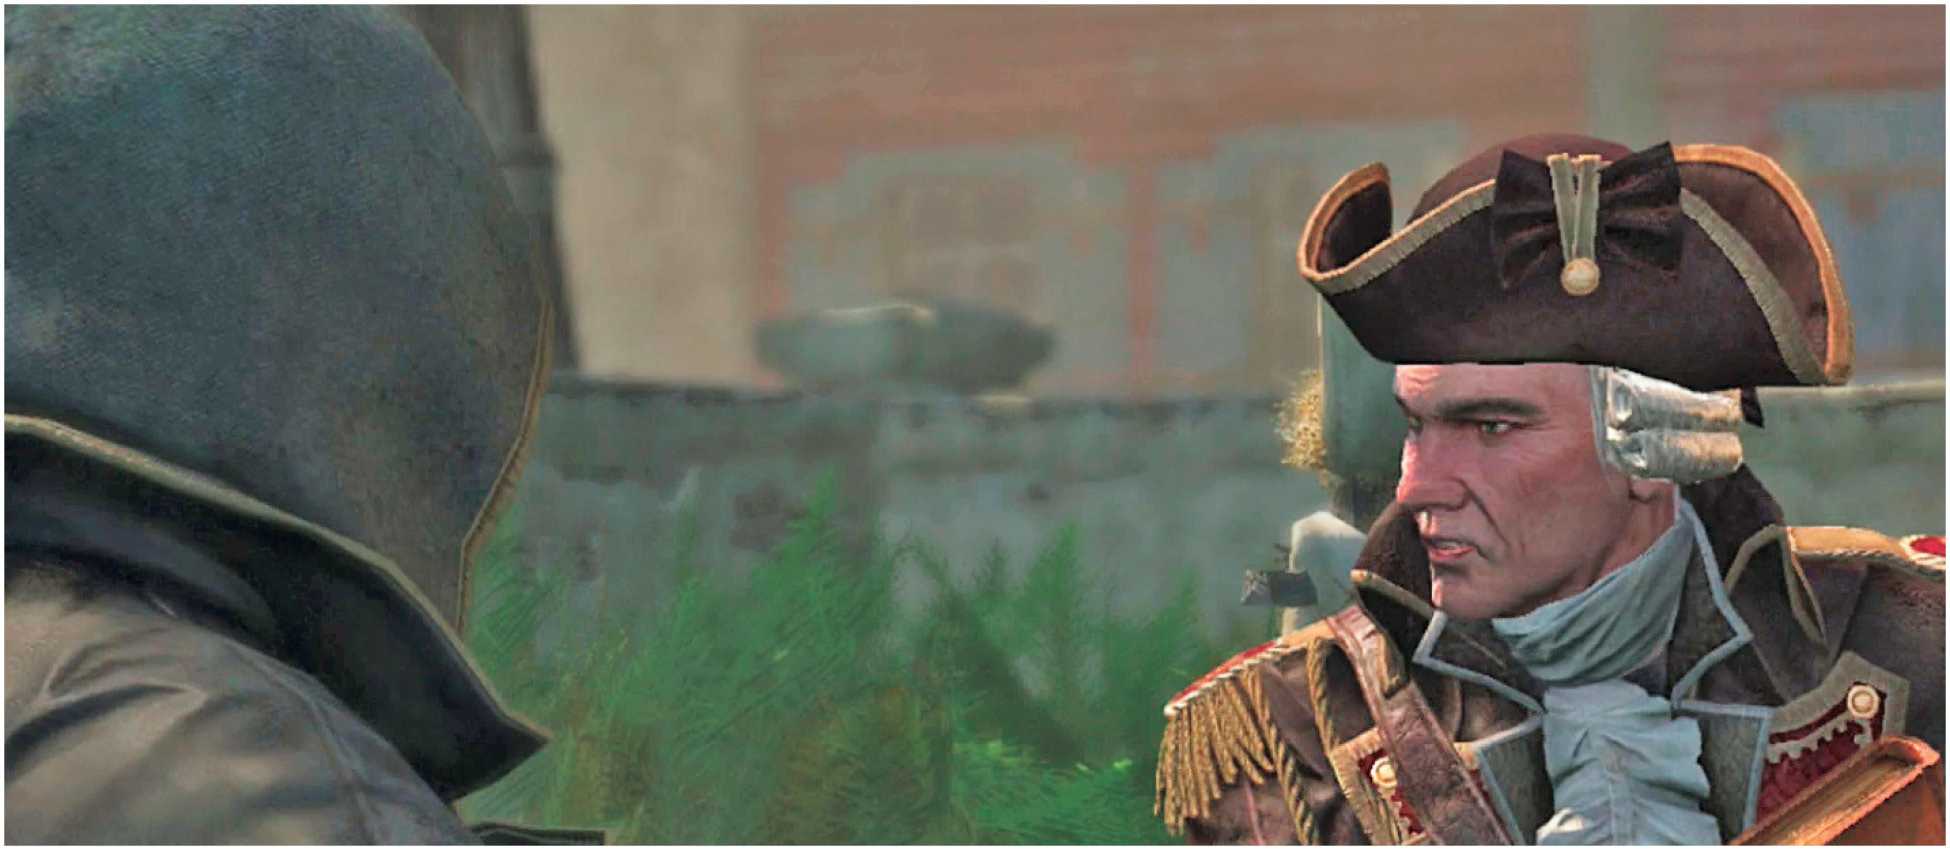
After several volleys, you kill the Assassin and Shay gets to talk to him. Sometimes your opponent stops to slice at the British soldiers on the walls, and that gives you even more of an opening to bring him down. Watch for the target to approach groups of fighting soldiers and bandits, and fire into the fray. It’s a mean trick, but it’s highly effective.
After several volleys, you kill the Assassin and Shay gets to talk to him.
Get to Monro
You find out more from the enemy’s leader before he dies. Instead of waiting to finish the fight here at the fort, get up and run out of there. Leap over the crenulations on the parapet wall if you want to save even more time, though this causes Shay to take fairly heavy damage.
Go back through Albany as fast as your legs can carry you. Don’t get onto the rooftops; you lose a bit of time climbing. And don’t engage anyone in battle. Not many people are left to attack you anyway, because the British have gotten the upper hand in the attack.
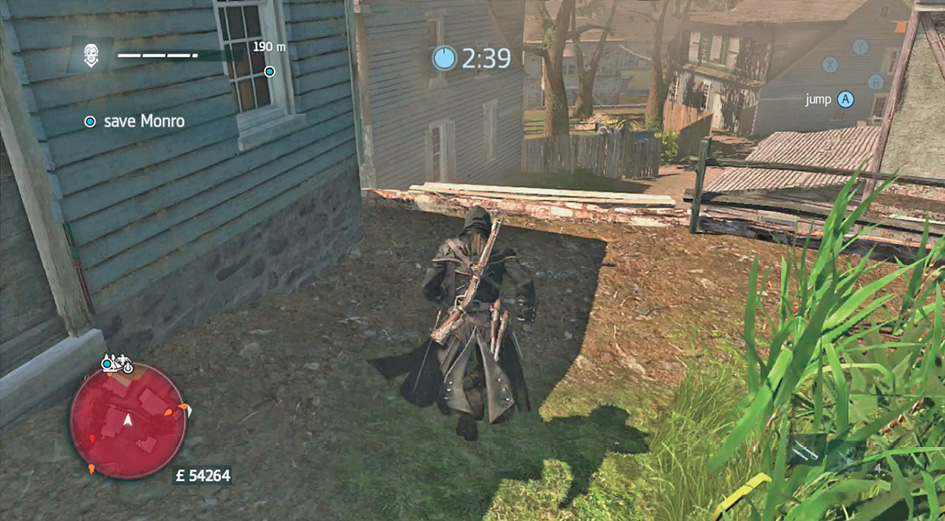
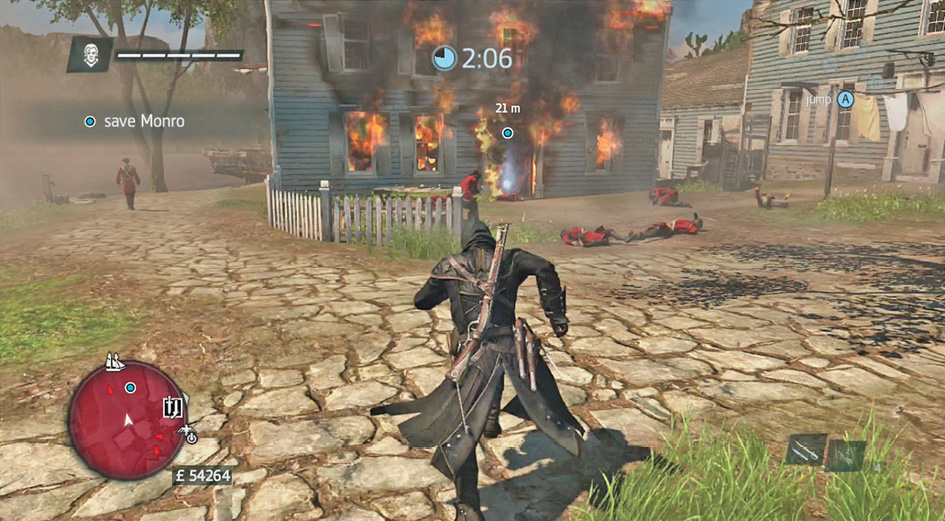
Monro is inside a burning building. Go right in through the front door and pick him up; he’s inside a room on the first floor, not far into the structure. Carry him out and talk to him outside, where it’s a tad less smoky.
This ends the memory.
Shay returns to New York and has a meeting in Greenwich. See this through to the end.
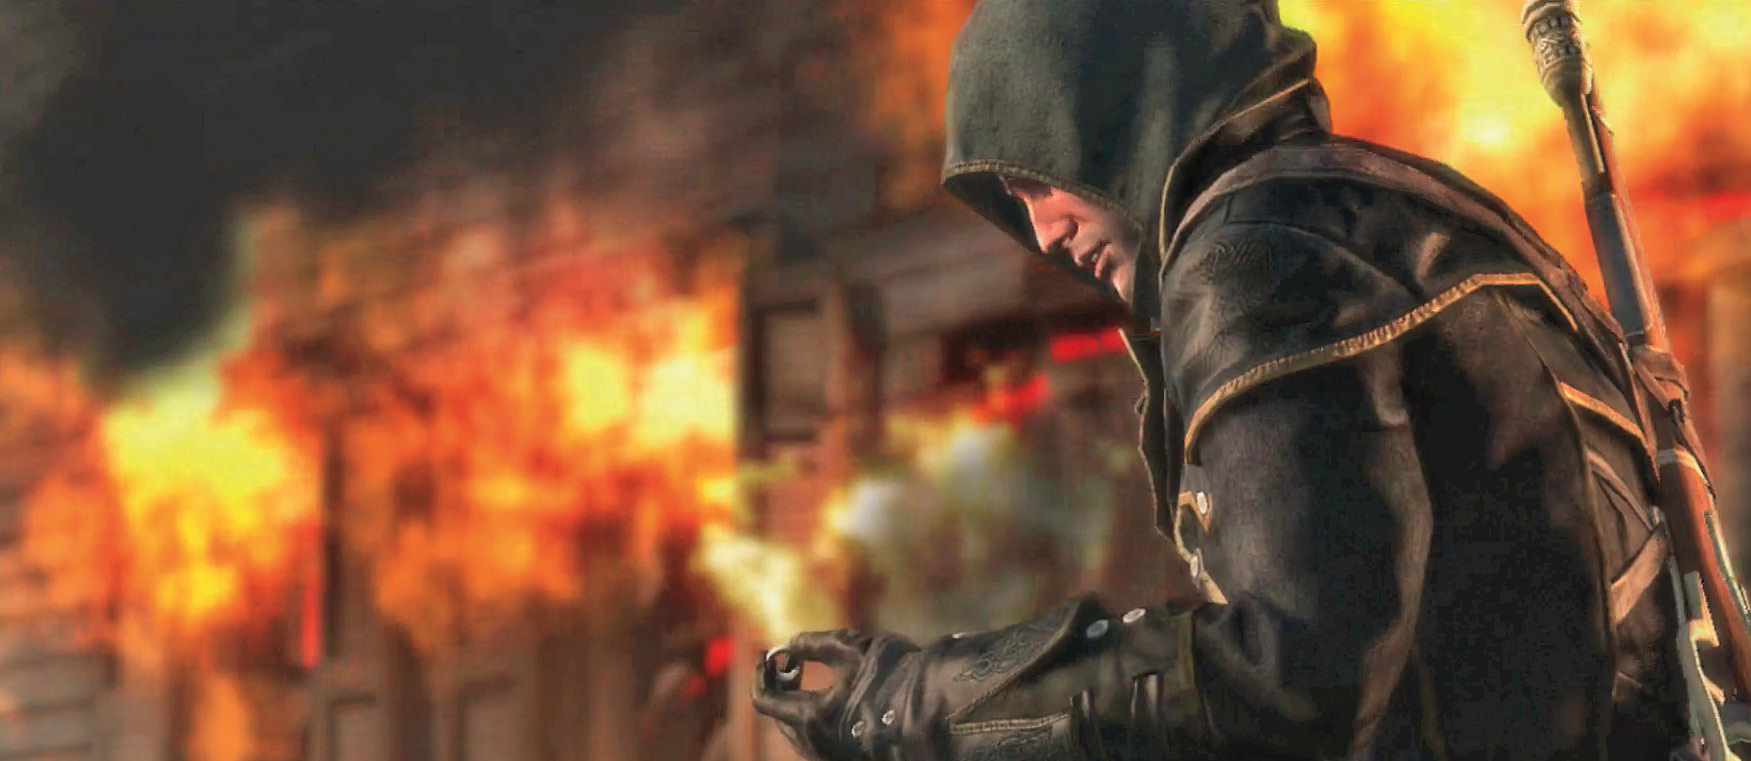
This unlocks the achievement/trophy “Picking Teams.”