
Assassin's Creed Rogue Guide Walkthrough Sequence 01
Memory 04: By Invitation Only

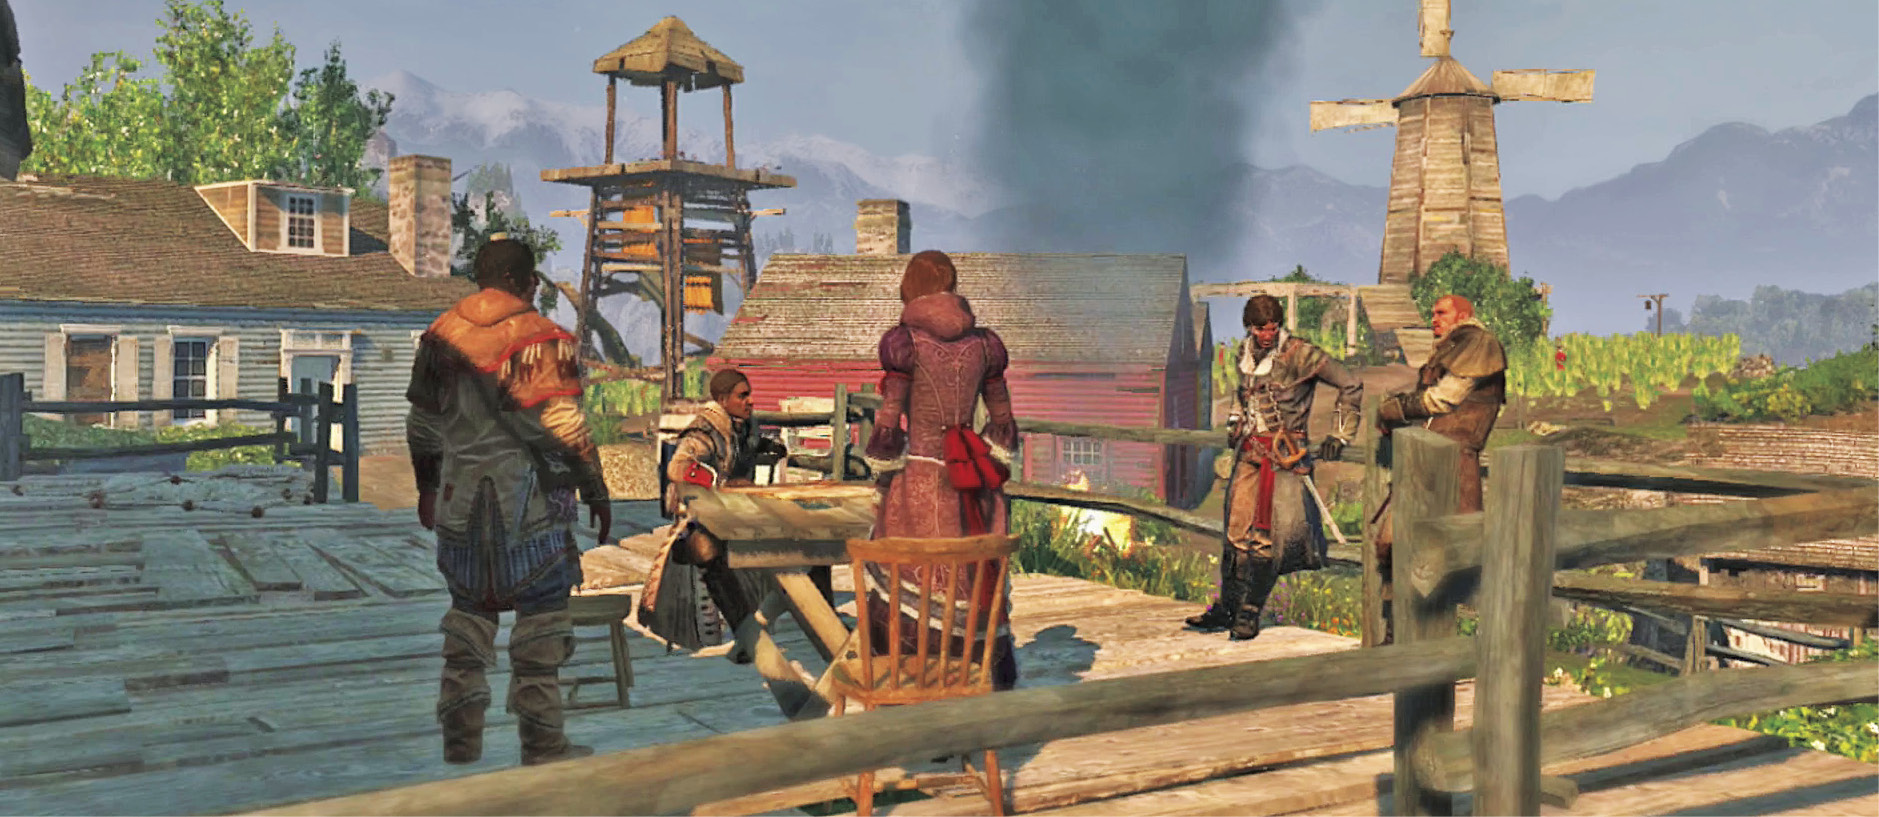
Meet your contact in Two Bends, up high on the hill. This starts another meeting. Your next goal soon becomes clear.
Reach the Morrigan and Locate the Shipment
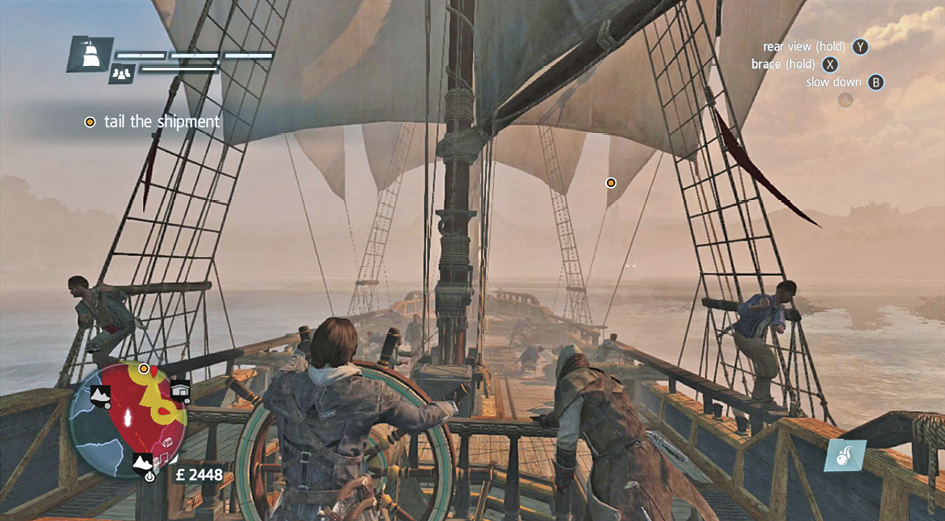
Return to your ship when the meeting is over and look for a vessel that’s carrying the goods you need. It appears as an orange dot on your map. Red dots are also all over the place, so this area isn’t exactly safe.
Don’t attack anyone during this time, because you have to remain undetected. To do this, stay at long range and make sure that you don’t let anything get close to you. Enemies can spot your ship, and that causes an instant desynchronization.
Watch the minimap constantly to see where enemy ships are sailing. Try to avoid them by taking the long way around. If you stick to the left side of the cliffs while tailing the ship, you can avoid running bow-first into the blockade that’s ahead.
Go around the island and steer the ship toward shore where a new waypoint appears. Now you’re safe to disembark. Shay will have to do this on foot instead.
Tail the Shipment on Foot and Then Loot the Package
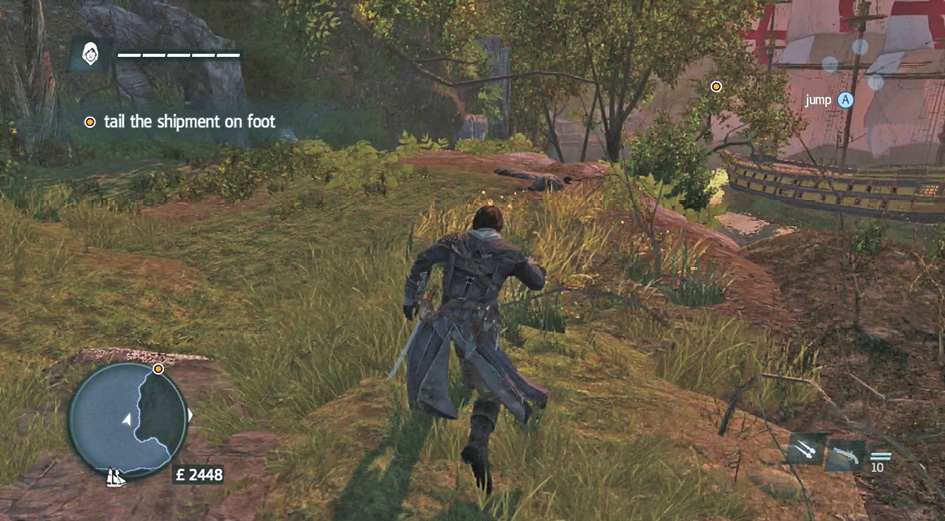
The overland route is quite engaging. Free Run within view of the coast and keep up with the ship as it heads toward its dock. The jumps along the way aren’t too difficult, but they get the blood pumping!
To avoid falling, run straight toward the edge of the cliffs, and let the game handle the jumping for you. Some players try instinctually to jump for themselves, and this can be okay. You can still often make the jumps correctly. However, it’s even easier if you hold down Free Run and let Shay jump automatically as he reaches the edge of trees, cliffs, and so on. That way, you only have to point him in the right direction. Timing won’t be an issue.
As long as you keep up with the ship, you won’t have any problems here. You arrive in Mount Vernon before long, and that’s the next leg of the mission.
Location: Mount Vernon
|
Points of Interest |
Number of Items |
| Chests | 3 |
| Viewpoints | 1 |
| Shanty | 1 |
| Fox | N/A |
| Animus Fragment | 2 |
The British are everywhere, so you need to avoid getting their attention all at once. Either stay stealthy, or engage in heavy assassination to pass through the town without getting shot. You get down from the cliffs by diving into a wagon of hay. Wait there for the guards to pass by, and then dig into them if you’re in a bloody mood. These kills aren’t required, but they aren’t restricted either.
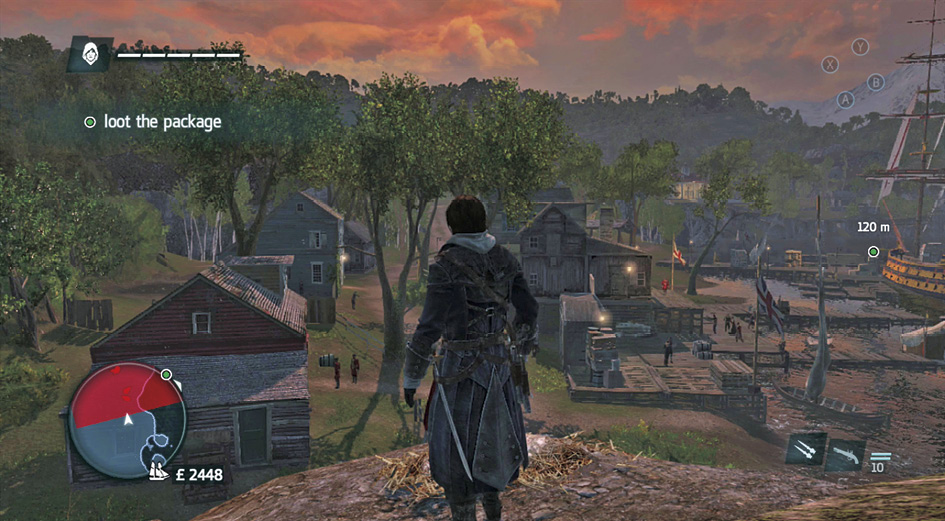
The package is still on the ship, so that’s your target. Weave or tear your way through the town. For the best possible rampage, use speed to close the gap on each guard, and then disappear back between the houses. The only tricky target is a musketman on top of a building, about halfway toward the docks. Climb up to kill him silently so that he won’t see what you’re doing.
Make your way onto the docked ship and loot the package that you’ve been tracking. The prize is an air rifle.
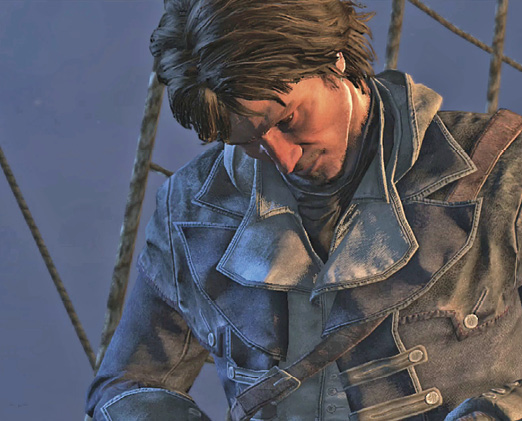
Locate Lawrence Washington
Optional: Make four enemies go berserk
With the rifle in hand, you’re off to find Washington. Your optional goal is to make several enemies go berserk. Select your Berserk Darts and then look for guards to tag with them. Solo targets are the easiest; you get credit for the optional goal, but they won’t go crazy and attack their allies if they don’t see any targets. It’s more exciting (and grisly) if you locate groups of guards to hit with these tools.
The best guards to hit are the pair near the watchtower, which is on the way to your next objectives. Make both of them go berserk and watch them climb the tower to take out their musketman friend. He doesn’t have anywhere to run.
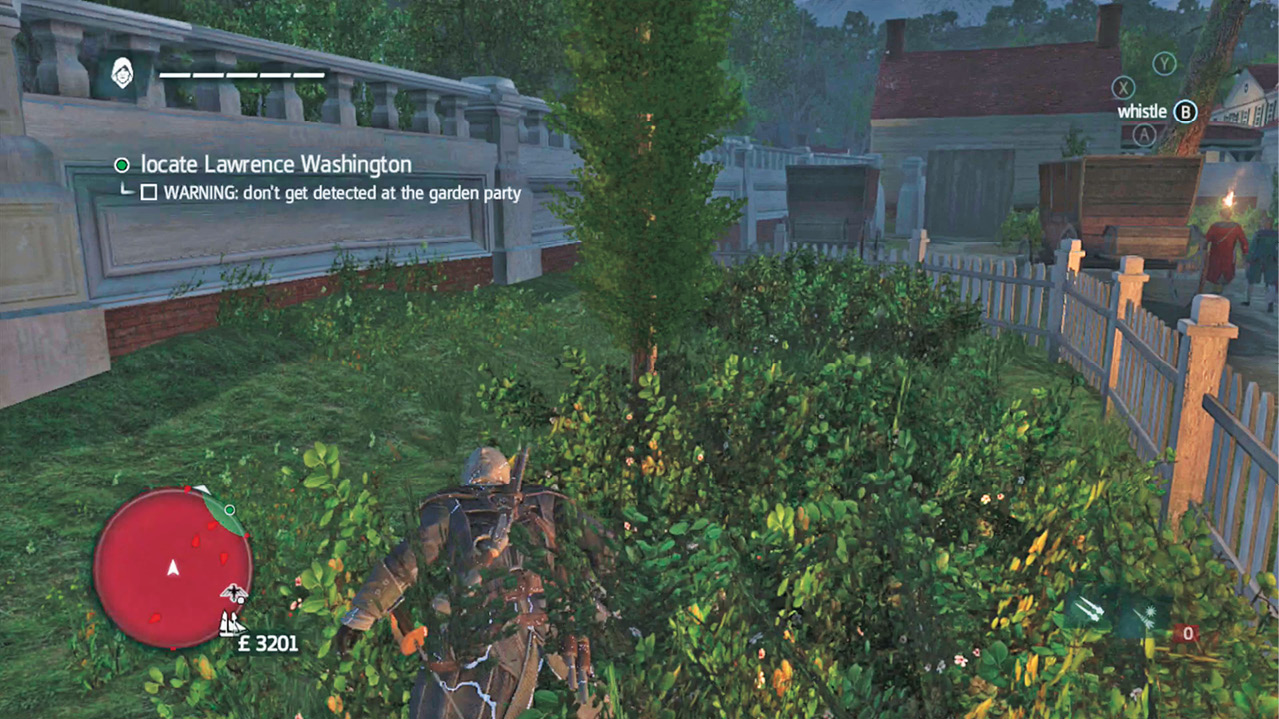
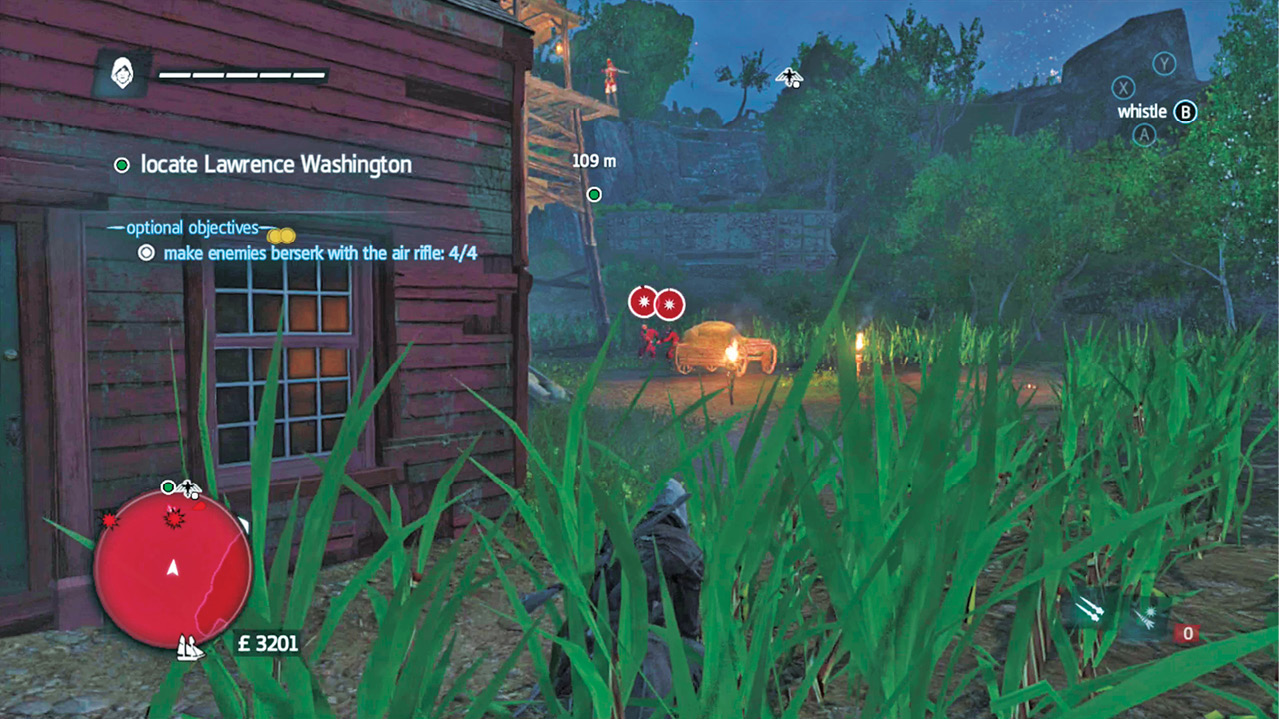
Make sure to loot bodies to replenish your ammo. Some of the soldiers in the area have more darts, which is pretty useful.
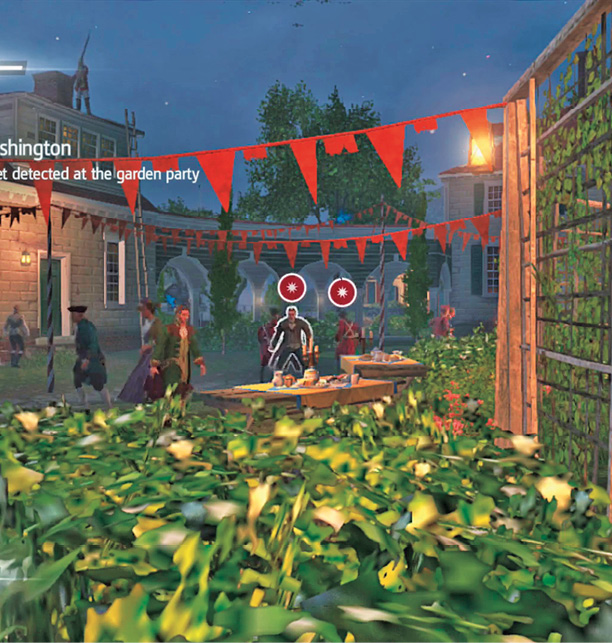
The mission gets serious once you arrive at the compound, because you have to maintain stealth. Stop making your enemies go berserk, and slip into the front gate when the lone soldier out front isn’t looking. There are several party guests up there, but they don’t care what you’re doing.
Walk through the bushes along the main road into the compound and head toward the white wall ahead. When no one is looking, you can climb the wall. Use Eagle Vision to observe the men in the gazebo below.
Kill Lawrence Washington
Optional: Make the kill while blended
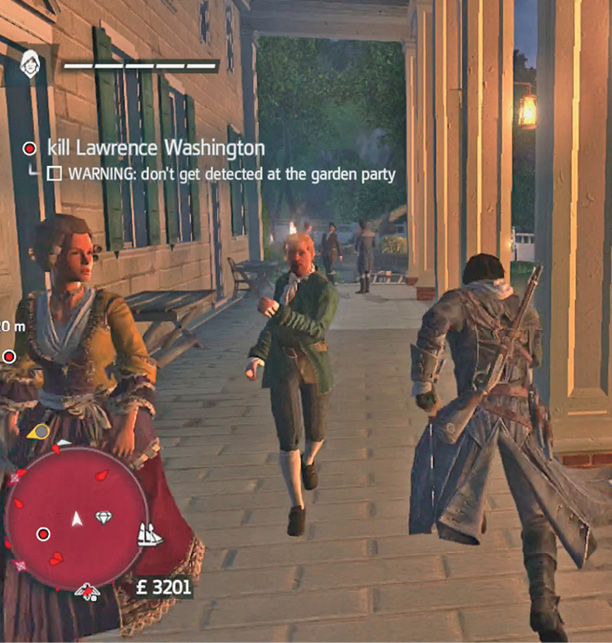
Washington is going to stay in the middle of his protectors and his guests, so killing him could be trouble, especially because you want to stay blended while doing it.
Don’t kill Washington yourself. Instead, use Berserk Darts on him and his escorts. They’ll battle each other. Washington is likely to win, but he’ll race around the party attacking more of his people. Use additional Berserk Darts to keep the fight going, and your target won’t last long.
Stay in the bushes while doing this so that no one sees you. You’ll get credit for the goal and the optional objective, and it won’t even take much effort. That’s some real assassination work!
Get Back to Your Ship and Flee the Area
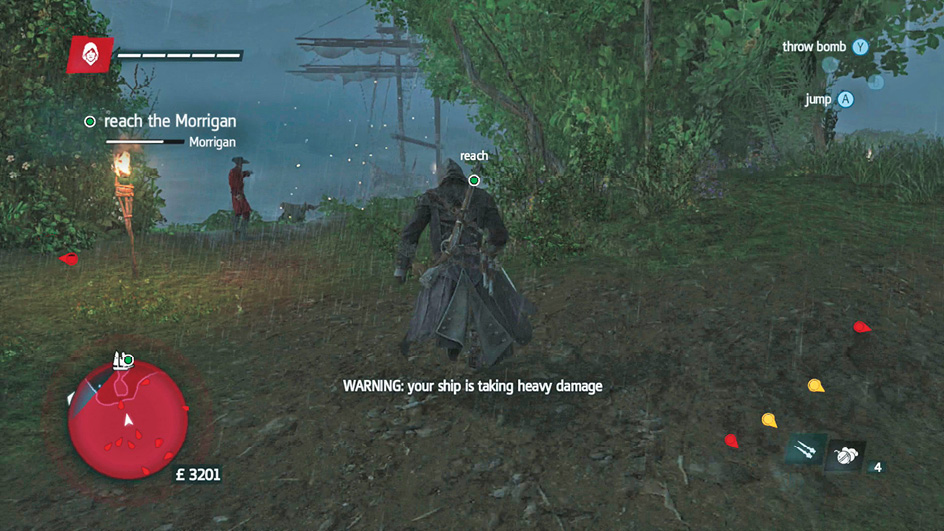
Sprint back to the Morrigan immediately. Don’t stop to fight. Run around guards and jump over obstacles so that nothing catches you on the way back. Use Smoke Bombs if anyone gets close to you.
Be careful when you reach the cliffs near the harbor. You lose tons of time if you leap into the water. Instead, jump to the rocks close to shore. Jumping across these two rocks lets you board the Morrigan almost instantly, making the time limit a simple objective to beat. Then get the Morrigan out of there! It seems that you’ve overstayed your welcome.
The entire area is well patrolled by enemy vessels. Take the Morrigan north as soon as you can. Don’t even fire at your attackers; you’re heavily outnumbered and don’t have enough upgrades yet to pound through everyone. Simply get to Travel Speed as soon as you can and keep going north until all of your pursuers drop far into the horizon. This ends the memory and the first sequence.
You also receive the achievement/trophy “Halcyon Days.”
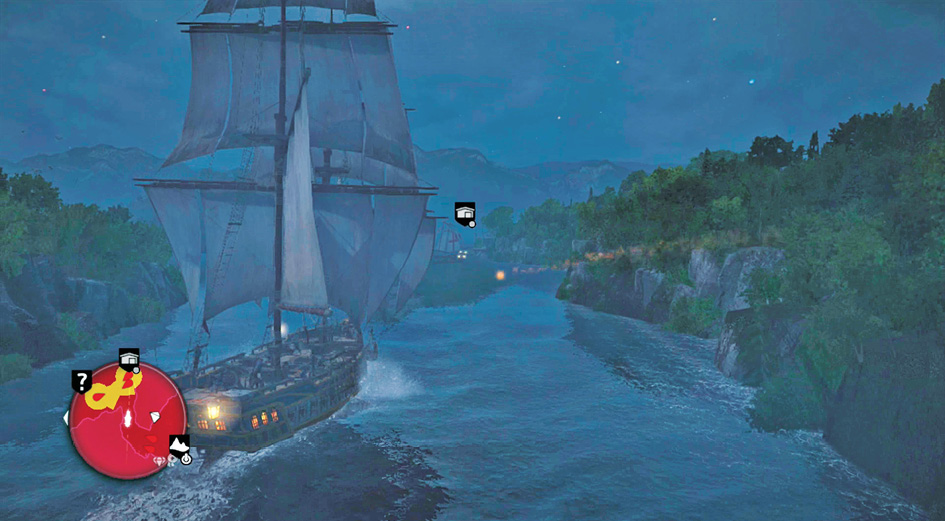
Sail to St. John’s, Newfoundland after you’ve recovered and had a little fun on the high seas. There are plenty of ports and islands to explore, so a bit of time spent wandering can pay well right now. Once you reach St. John’s, meet with your allies up high on the hill.