
Assassin's Creed Rogue Guide Walkthrough Sequence 01
Memory 03: Tinker Sailor Soldier Spy
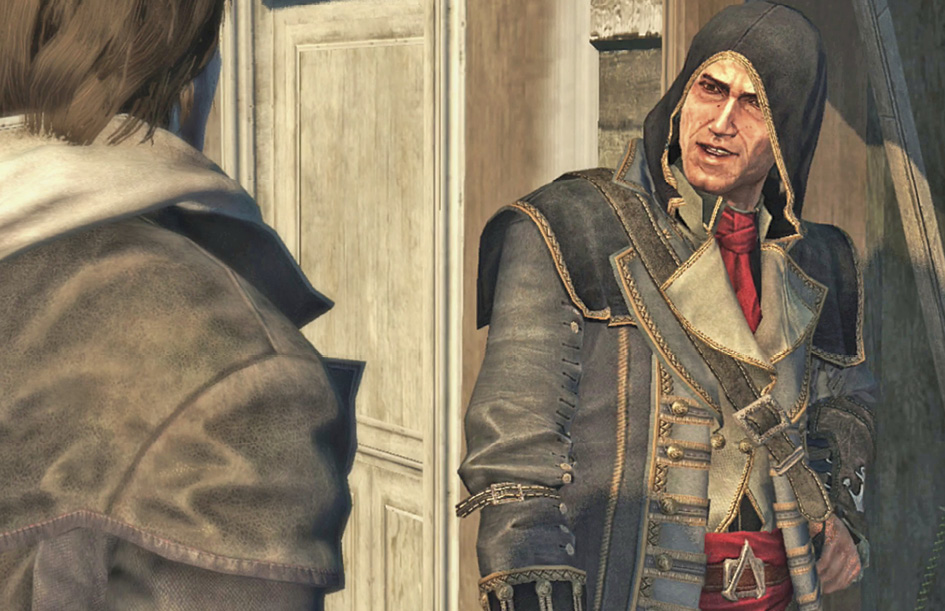
Sail across open waters to your next waypoint. It’s completely acceptable to explore right now and find extra treasure. Take time to do that if you like, but return here when you’re ready to move on in the main story. Meet with Chevalier on the docks marked on your map. He’ll give you your next goal.
Locate a Royal Navy Schooner
Optional: Do not lose more than 50% health during boarding
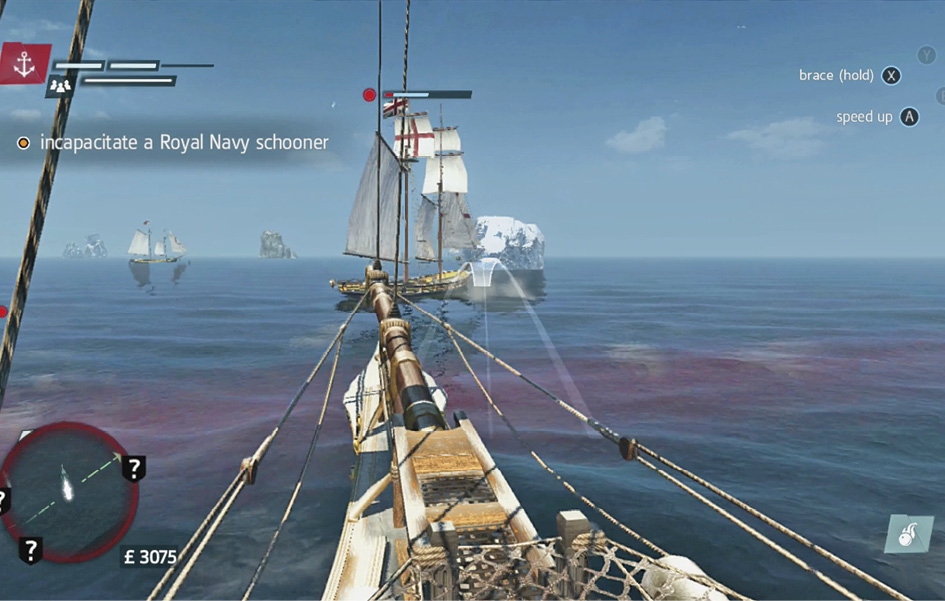
You’re told more about captaining as you sail north through the area. Chevalier gives you a spyglass so that you can look at distant ships and evaluate their nationality, cargo, and strength. To show that you know what you’re doing, he tasks you with finding a British schooner to attack and board.
There are multiple vessels of that type farther north. Use the spyglass to zoom in and look at ships as you approach. This reveals all of the information you need. Once you find a British schooner, approach it and attack. Your ship is tougher than the ones sailing out in this area, so the battle should be great for learning.
Fire carefully when you bring the enemy vessel to low health. You’re not trying to sink this one. Just cripple the ship and then approach it. Ships are crippled when their health bar loses all of its lighter tone and has only a small strip of red left over. This also is apparent because a crippled ship starts to burn and loses its sails. It should look quite badly damaged!
Close on the wounded ship. Use the Boarding command when it becomes available and jump over to the enemy vessel. Defeat the crew to seize control of the ship and its cargo. This gets you way more salvage than if you destroy the vessel outright (double the amount for each resource). You can also either repair the Morrigan of any battle damage that it’s taken, or salvage the enemy ship for money. Both are good options that you’ll need in the future.
Try this multiple times to get plenty of materials and money while restoring your health and having fun on your way to the next location.
Sail to Percé and Upgrade the Morrigan
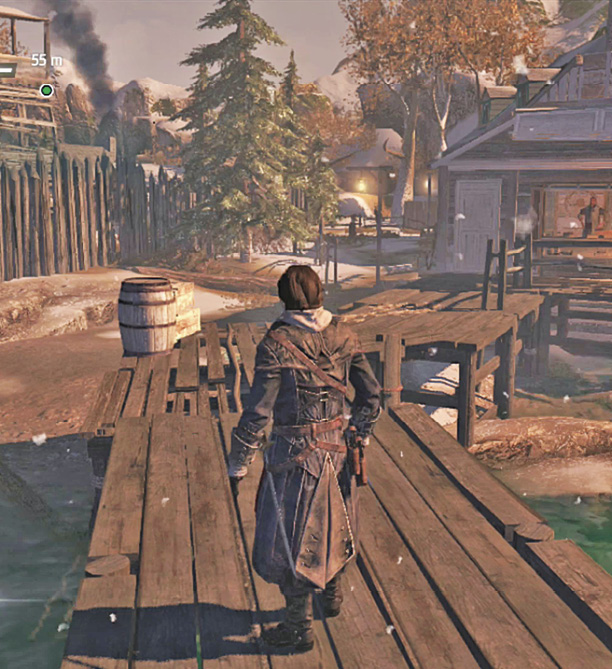
With your sea legs firmly underneath you, it’s time to go to Percé. Sail north until you reach this small town.
Location: Port Percé
|
Points of Interest |
Number of Items |
| Chests | 3 |
| Viewpoints | 1 |
| Animus Fragments | 2 |
| Shanties | 1 |
| Prosperity | 2 |
| Settlement | 1 |
| Assassin Interception | 1 |
| Renovation | 1 |
| Harbormaster | Yes |
| Tavern | Yes |
| General Store | Yes |
Once you’re in town, visit the harbormaster and buy some ship upgrades. You aren’t allowed to get too many options yet, but some broadside cannon and hull improvements would sure be nice. If you fought multiple ships on the way here, you should have both the money and materials to do this!
There is also a tavern in town. Go inside if you’re interested in a bit of fisticuffs and information. After a short and sweet fight, you can bribe the bartender for information, play games, or recruit sailors if you don’t have enough of them for your ship. Because you’re on a mission and are early in the game, this isn’t all available now. However, you can always come back later. Explore the town and grab any of the collectibles you’d like to have.
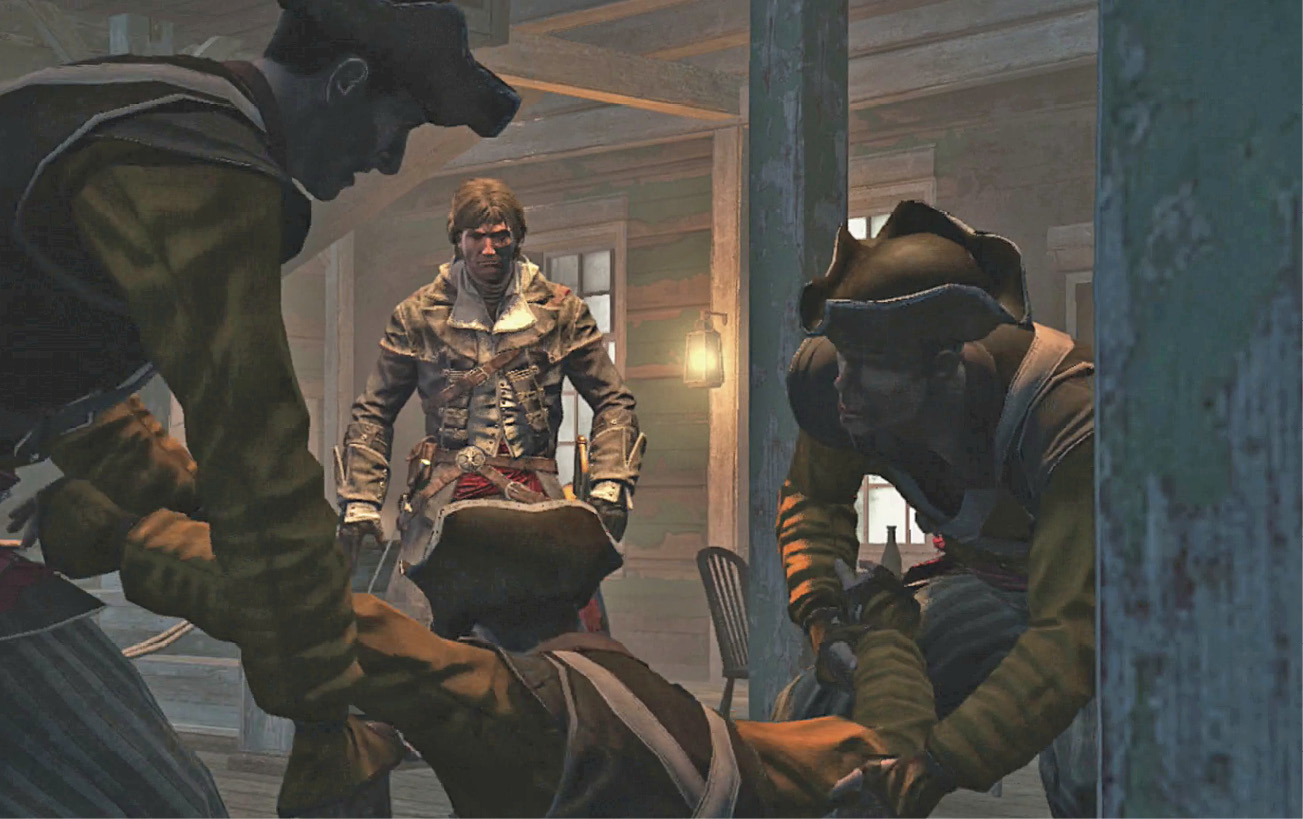
If you want to play around in the main compound, try this. There is a cute way in from the top. Go to the southern end of town and climb onto the small shack with an anchor tied to it. Jump from there to a tall tree where an Animus Fragment is located. Climb all the way up the tree and jump over to the cliff side, where the main compound is located. You’ve found a stealthy way in. Practice looking for subtle ways into the places you go, because you’ll be using those techniques frequently in the days ahead.
Do whatever you like in town and then leave when you’re ready to sail to Anticosti.
Sail to the Fort on Anticosti and Sink Five Navy Ships Along the Way
Optional: Sink the ships within three minutes
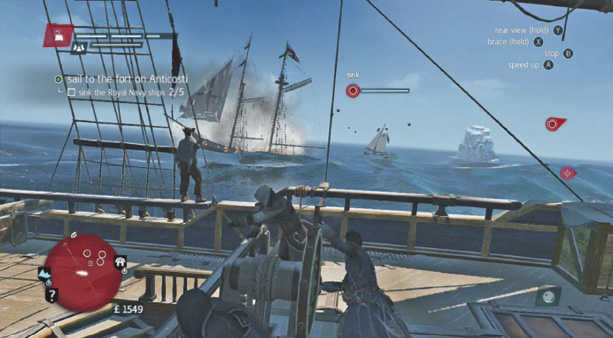
You stumble into a naval battle while sailing between the fishing town and Anticosti. There are several warships hunting local fishermen, and you are in a good position to do something about it. Use your new cannons to break through the enemy ships. They take heavy damage if you go broadside with them, as you now have many more guns than they do. Enjoy the advantage, and push the fight aggressively to score an optional bonus. Sink the ships quickly by firing as fast as possible and staying at lower speeds for increased maneuverability. This makes it much easier to keep your aim on target, even when your enemies try to turn and avoid your attacks.
Remember to shoot your gun even when enemies are in front of you. Though your front carronades aren’t upgraded, they still do respectable damage. Sail on to Anticosti after the battle ends, but don’t forget to take any salvage that’s left behind in the water.
Talk to the Spy in Anticosti
Location: Anticosti
|
Points of Interest |
Number of Items |
| Chests | 2 |
| Viewpoints | 1 |
| Alarm Bell | 1 |
| Animus Fragment | 2 |
| Viking Sword | 1 |
| Templar Map | 1 |
| Letter | 1 |
| Cave Painting | 1 |
| Shanty | 1 |
| Prosperity | 1 |
Dock in the next town and look around. You don’t need to start any trouble with the guards, but it’s not going to do much damage if you fool around a bit. In fact, there are several really fun collectibles here. The fortress at the end of town is climbable. There is a Viewpoint up top, along with Prosperity, a Shanty, and an Animus Fragment. You can also complete a challenge by diving off the top and into the water. This is more than a 45-meter drop, so you get challenge credit for doing it!
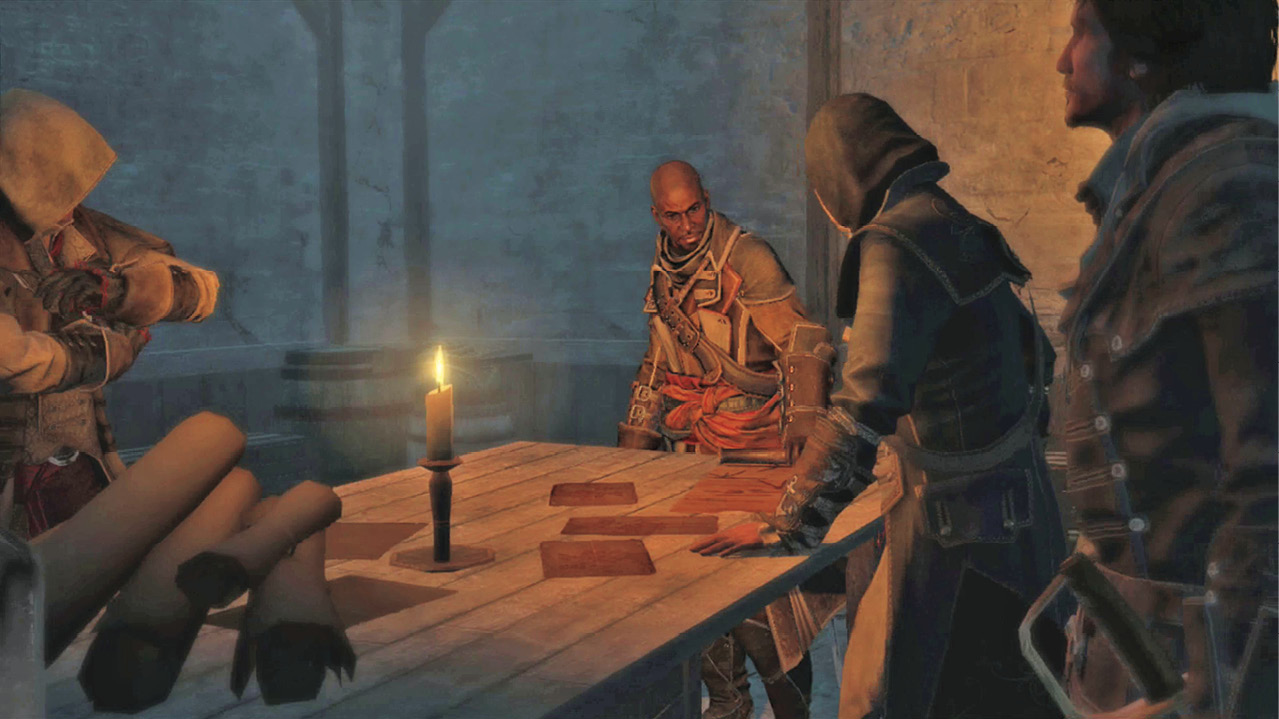
Once you’re done, go to the marked location to meet the spy. A conversation takes place, and then you’re free to go. This ends the memory.
Sail to the west, toward River Valley. That’s where the next mission is located.
Take the waterway up toward Two Bends, a town that isn’t far from where you begin in River Valley.