
Assassin's Creed Rogue Guide Walkthrough Sequence 06
Memory 04: Cold Fire
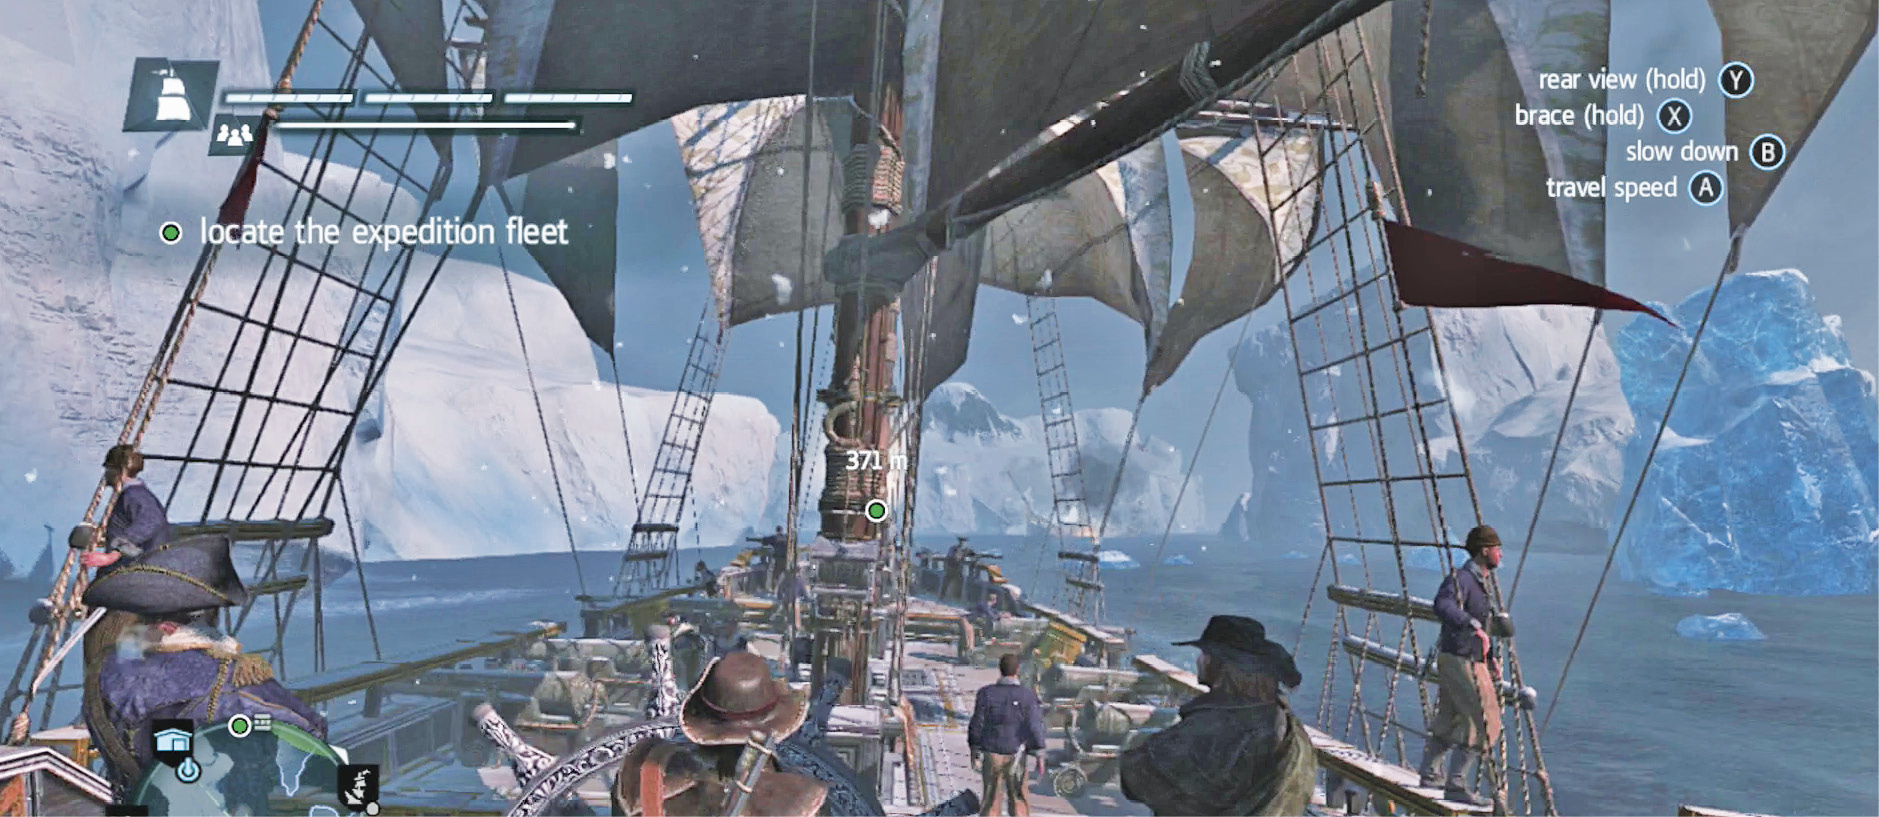
The ship is anchored near the eastern passage. Approach it and start the mission.
Locate the Expedition Fleet and Sink It
Sail east toward the narrow ice passages and move carefully through the gale that blows in. You know that enemy ships are close, but they won’t reveal themselves just yet. Wait for them to appear as you sail north toward open water, and have your weapons at the ready.
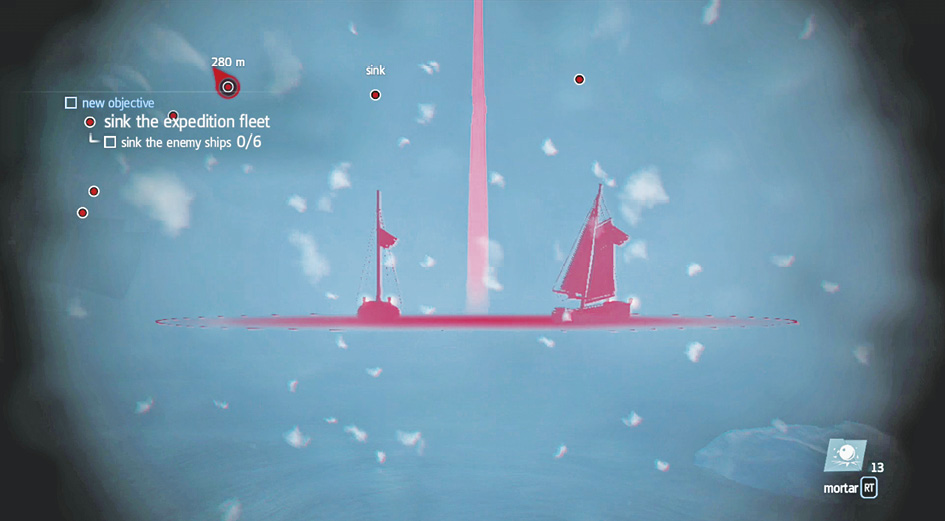
Use mortar fire and your front carronades to tear into the Expedition Fleet as soon as they emerge from the snow and storm. Go to broadsides with the two heavier ships to send them the pain, and mop up their smaller escorts once you’ve seized or destroyed the larger prey.
That should seem easy, but worse is still to come. After a short scene, you continue to hunt through the storm.
Locate and Incapacitate the Gerfaut and Kill Your Target
Optional: Do not collide with icebergs
Optional: Do not take any damage during your boarding
Sail deeper into the storm and have your mortar at the ready. Once you see the dreaded Gerfaut, turn all of your best guns against it. Use the mortar and a mix of front carronades and broadside cannons to deal damage while sailing between the many icebergs that litter the area.
The Gerfaut is huge and takes plenty of damage, so don’t try to skimp on your best ammo usage. Throw heavy shot and mortar attacks to get any advantage you can.
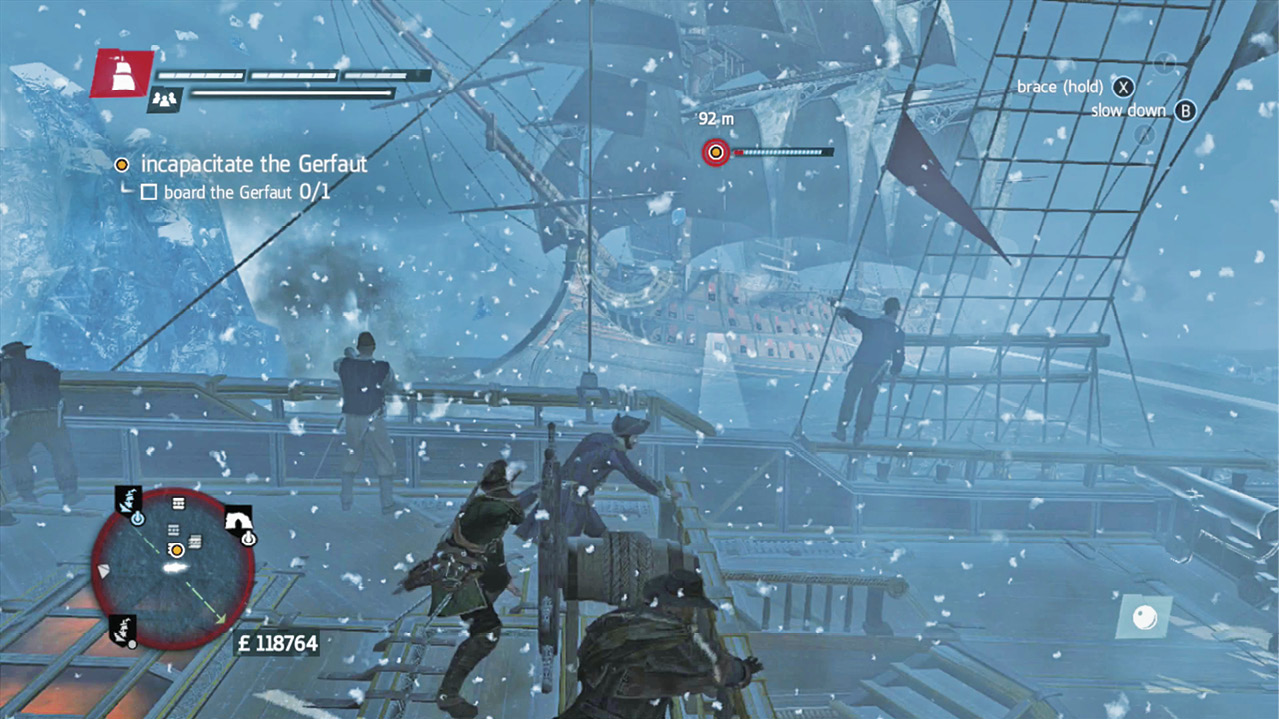
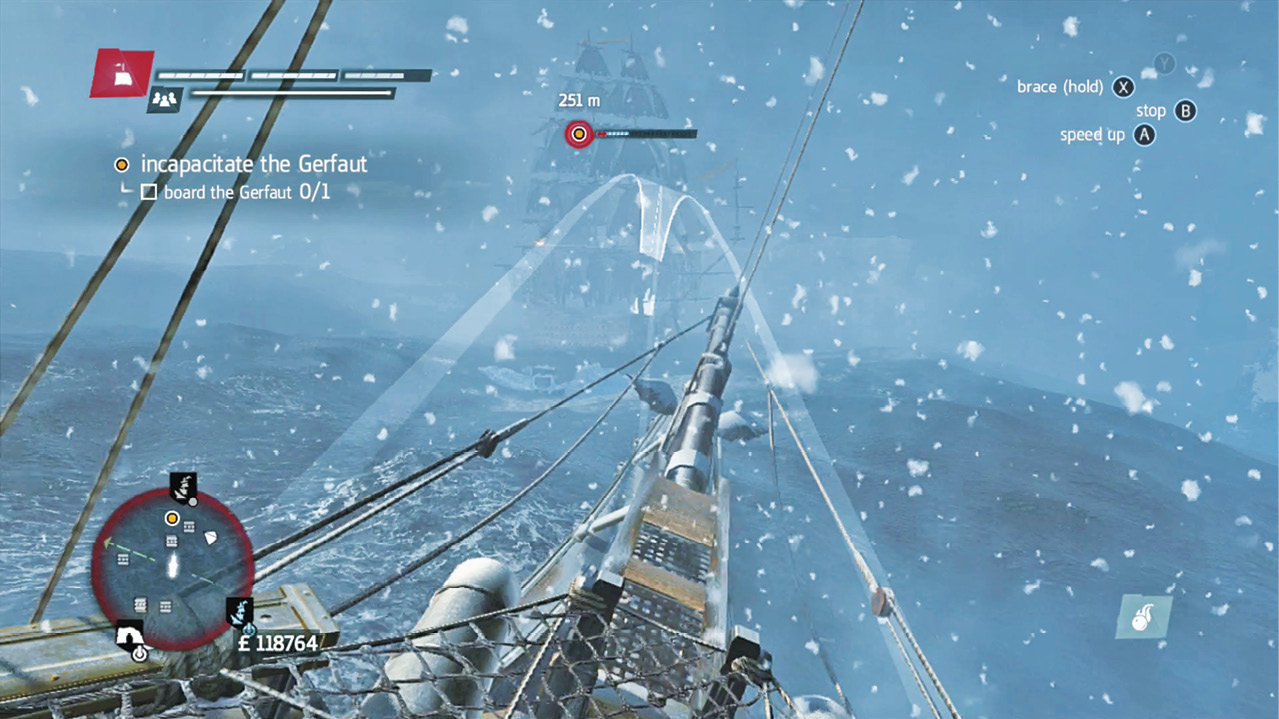
Once the Gerfaut struggles, move in for a grapple and board the wounded ship. You can’t take any damage to complete all of your goals, so be crafty about this. Spray the decks with your Puckle gun at range. The Gerfaut is high enough that your enemy won’t likely die from this, but why not try while you wait for the ships to close.
Then swing onto the Gerfaut toward its aft section. Let your men board first to receive the attention of the defenders, and then use that as a distraction to get in behind your opponent. Assassinate him if you can, or indulge in swordplay if it is necessary. An alternative is to use a Berserk Grenade against the leader and any nearby sailors and then leave. It’s all a matter of time after that, and you won’t have to risk yourself even a bit.
Reload if you’re struck by anyone. It doesn’t take long to perfect this, and it’s nice to have 100% synchronization for the memory.
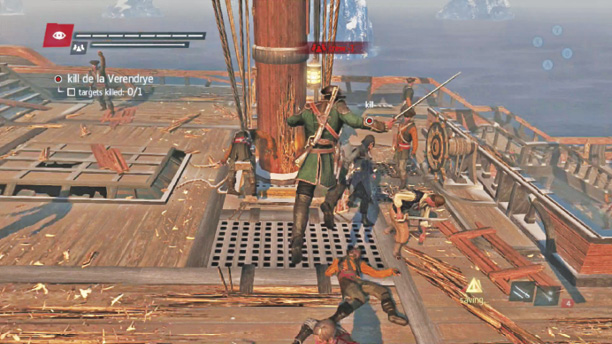
When the battle ends, Fast Travel to the HMS Miranda shipwreck, or anything else that’s near the northeastern portion of the map.