
Assassin's Creed Rogue Guide Controls and Gameplay
Enemies
Knowing Your Enemies
There are specific types of enemies in this game. Knowing their capabilities and weaknesses is a great boon and ensures that you don’t get yourself in a bad position during battles.
Soldiers are the weakest opponents. They don’t counter, they can be killed easily with basic attack combos, and their weaponry isn’t very powerful. Go for kill streaks and bring them down in droves. Ranged weaponry is also incredibly effective against soldiers.
Scouts
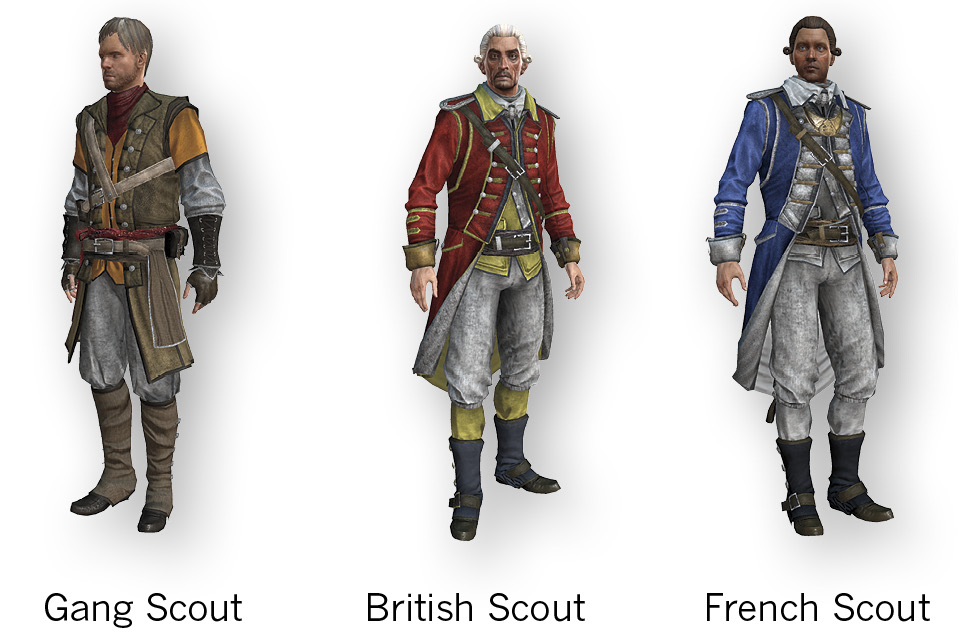
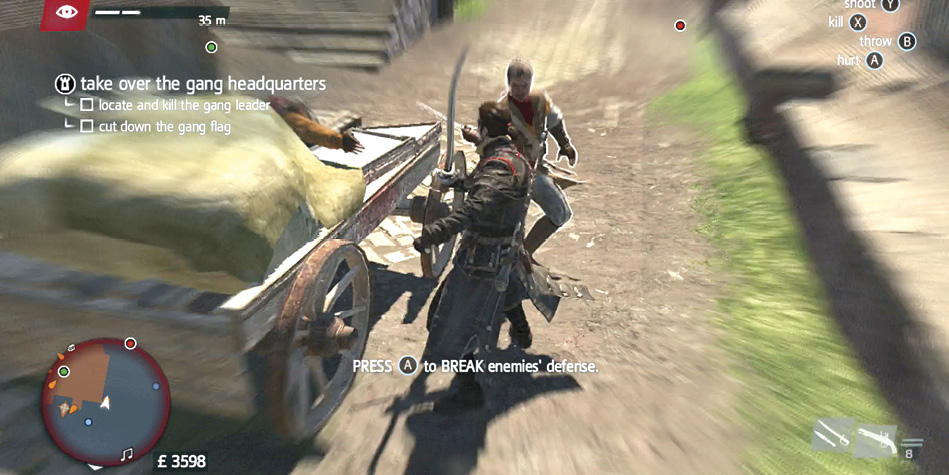
Scouts are agile enemies that carry knives, so they’re a mean-looking bunch. Be ready to Break Defense and attack when they start getting defensive. When they attack, scouts swing multiple times, so you have to keep trying to Counter if you miss the first incoming blow.
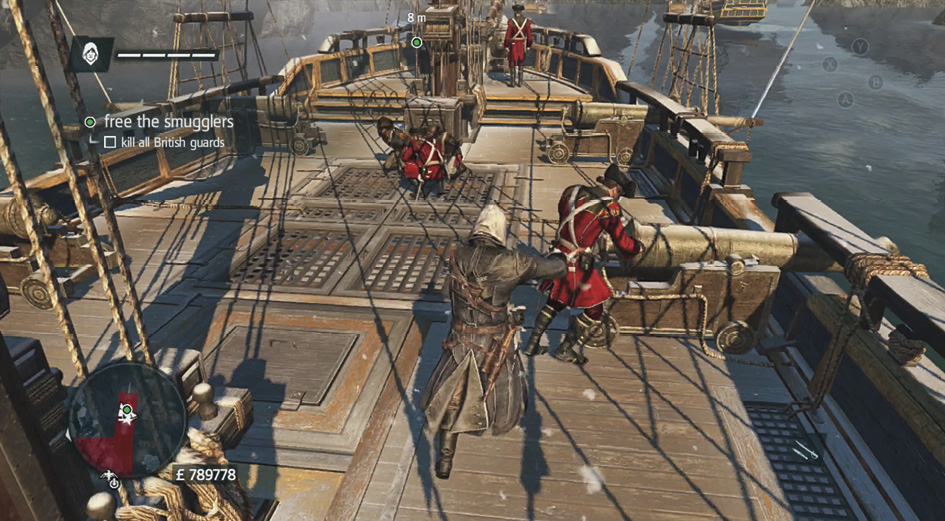
Scouts are very fast runners. They’ll charge after Shay and tackle him if they get a chance. Use Smoke Bombs to distract them, break line of sight, or kill these enemies to break free of their pursuit. If you use Break Defense during a tackle attempt, Shay avoids the move and won’t get pinned to the ground; keep that in mind too.
Gunners
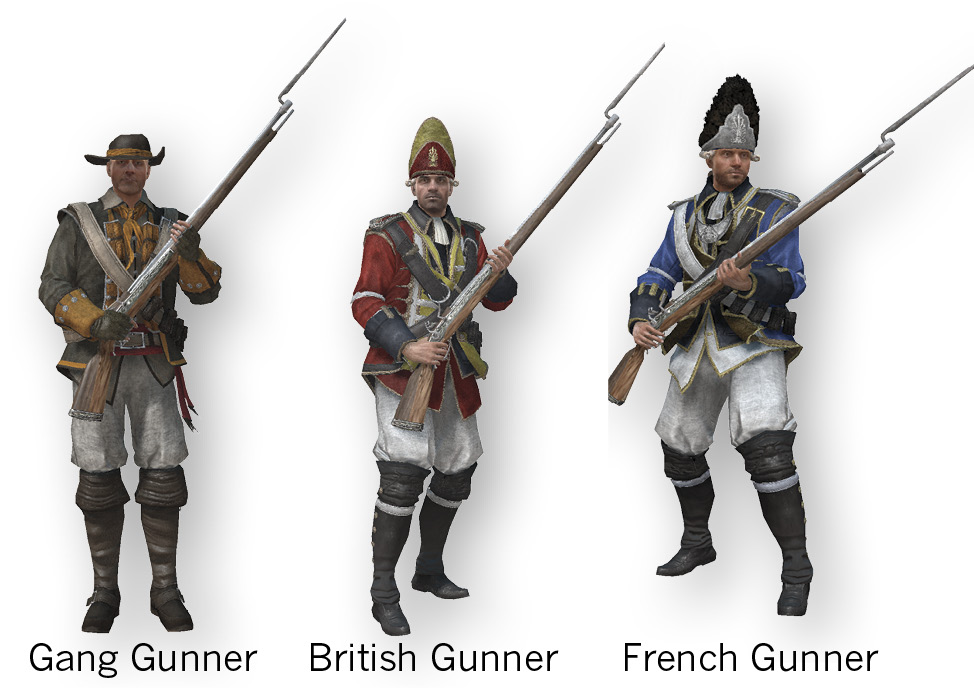
Gunners get their own map icons. They look like a dagger with a bull’s-eye inside of it. The tip of the dagger shows where the gunner is pointing. These snipers are often found higher up and should be killed before engaging most guards in the area. Gunners shoot at you once you’re spotted. You need to break line of sight, counter with your own ranged weapons afterward, or use human shields to block their shots. In melee, combos of swings work decently, and counterattacks are perfect for killing them.
Berserk Darts are wonderful against gunners because you often get a few free kills out of the deal; the gunners have great line of sight over their watch areas, and they’ll shoot their own allies while you laugh from the shadows.
Brutes
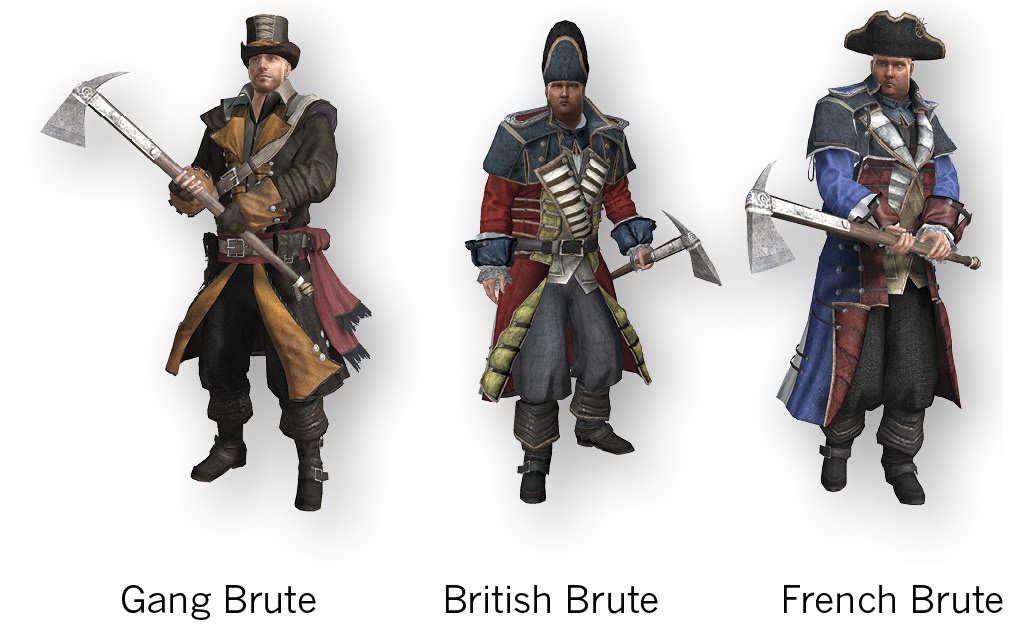
Brutes carry heavy weapons. They deal damage in droves and can desynch you easily if you haven’t mastered counterattacks. They’re almost immune to combos, but they’re weak toward Guard Breaks. Attack once, press Guard Break next, and then attack again once the brute is exposed. Done and done. If you’re missing that opportunity, then Break them twice to put the brute on the ground. They are doomed at that point, because a single stab ends their lives.
Watch out when brutes are close to you in an existing battle. Not only do they have their incredibly strength; they also carry grenades. They’ll toss these into the middle of your group, regardless of any friends they might kill in the process. Drop a Smoke Bomb quickly so that you can escape (and your enemies will be distracted and stick around for the Grenade’s explosion). It’s win-win for you. Rather bad for the brute’s post-battle report to his superiors though.
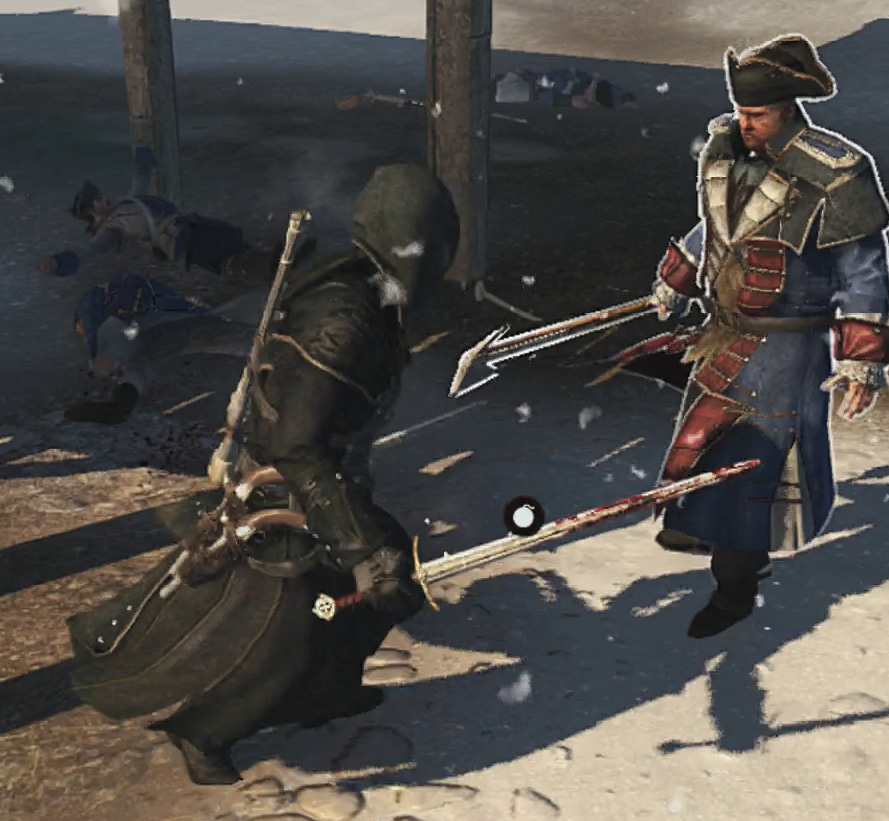
Captains
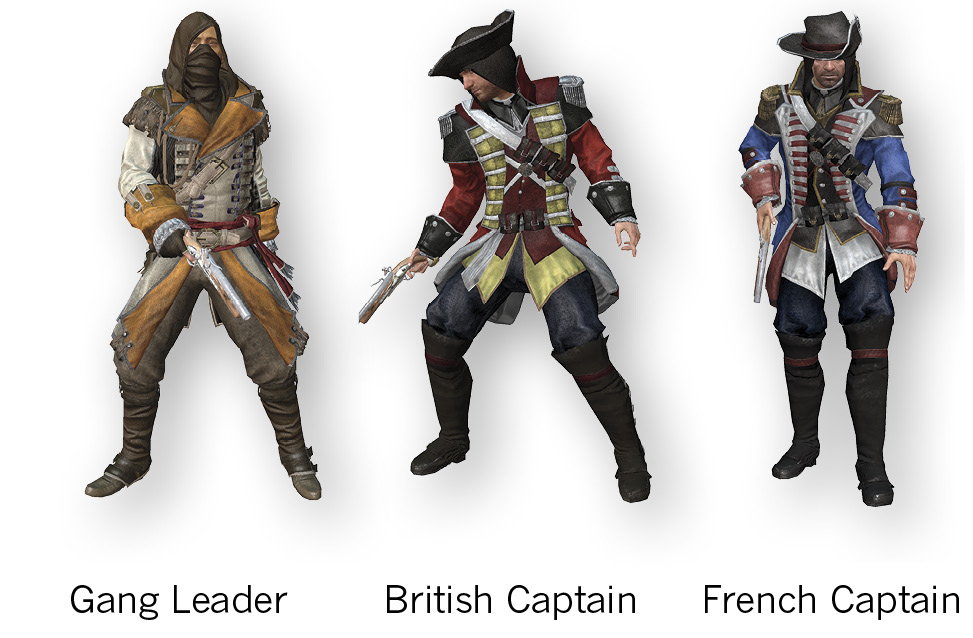
Captains are the best enemy fighters. They block wonderfully, aren’t always easy to Guard Break, and attack decisively on their own. Counter + Attack + Guard Break + Attack is a reliable combo against them, but rear attacks and pistol ambushes work well if you have time to set them up. Enemy captains are powerful combatants, especially during ship warfare. Assassinate them if you can, or focus on them during a swordfight to eliminate them before they hurt Shay or his sailor allies.
Stalkers
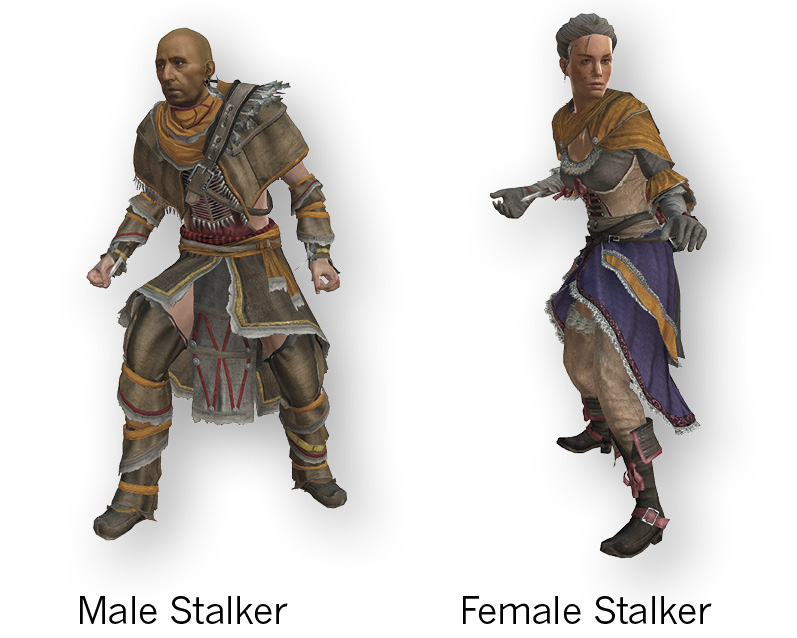
Stalkers are an interesting finish to the enemy list. They’re Assassins, and they don’t fight openly unless they have to. Counter their initial attacks to avoid monstrous damage. Listen for their battle cries if they attack from above, or spot them using Eagle Vision so that you can sneak up on them.
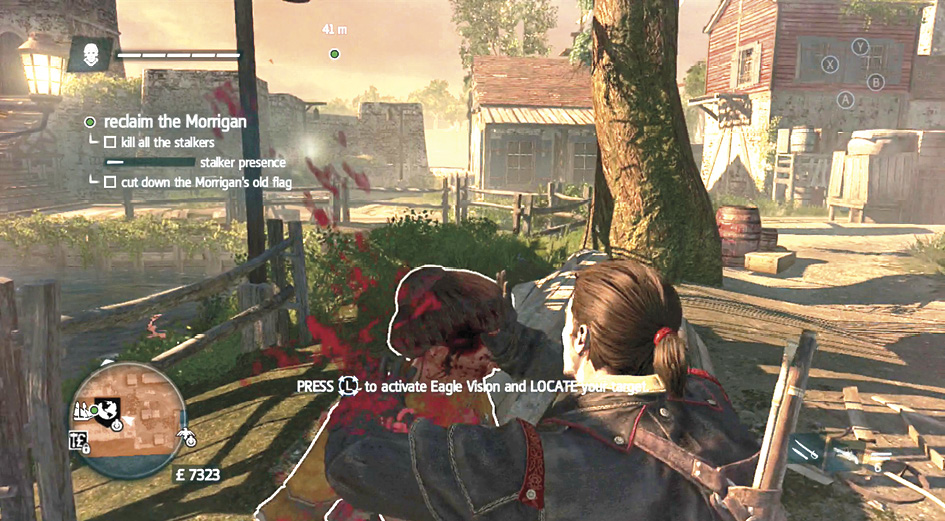
Gang Leaders are found in side activities. They’ll stay out of sight while patrolling Gang HQs. If they spot Shay, they’ll start an alarm and call reinforcements into the area. They also can ambush you, use Smoke Bombs, fire Pistols, and run away to hide.
Detect Gang Leader locations with Eagle Vision (just as you would a Stalker). Try to approach them from above and use ranged weaponry or air assassinations to secure faster and much easier kills. Don’t use Sleep, Berserk, or Smoke effects against them. These guys have seen it all, and they won’t be impressed or affected by those abilities.
hunters
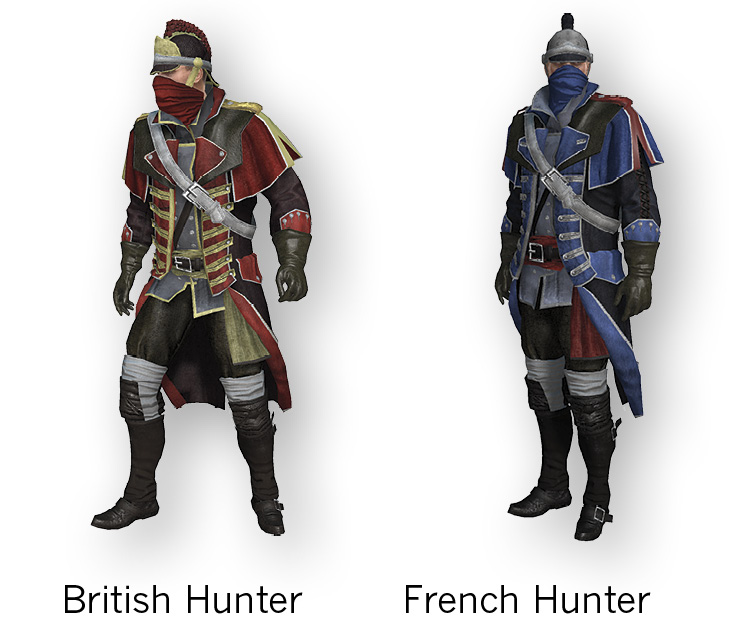
Hunters are the enemies that get called when you have a Wanted Level on land. They’re like super captains. You can’t counter their attacks, they aren’t influenced by Smoke Bombs, and they’re generally quite nasty. Berserk Darts and Grenades turn them against their friends!
“Death”
There isn’t any actual death for Shay in this game because he’s already lived his entire life. You can’t change the past in that way. Instead, you run the risk of desynchronization. If you take too much damage, lose the Morrigan in battle, or do something that Shay could never have done, you desynch from his memories. This resets the story to the most recent checkpoint. There aren’t any financial penalties for doing this, but any progress that you’d made since the last checkpoint is lost.
To avoid this condition, upgrade Shay’s health and practice countering attacks as often as possible. Use human shields to avoid ranged damage, and don’t jump from places that are too high unless you have hay or snow to fall into.
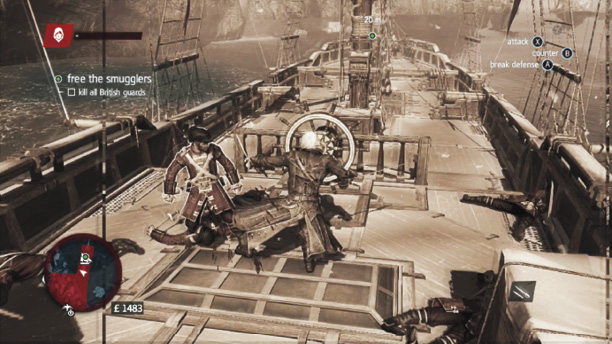
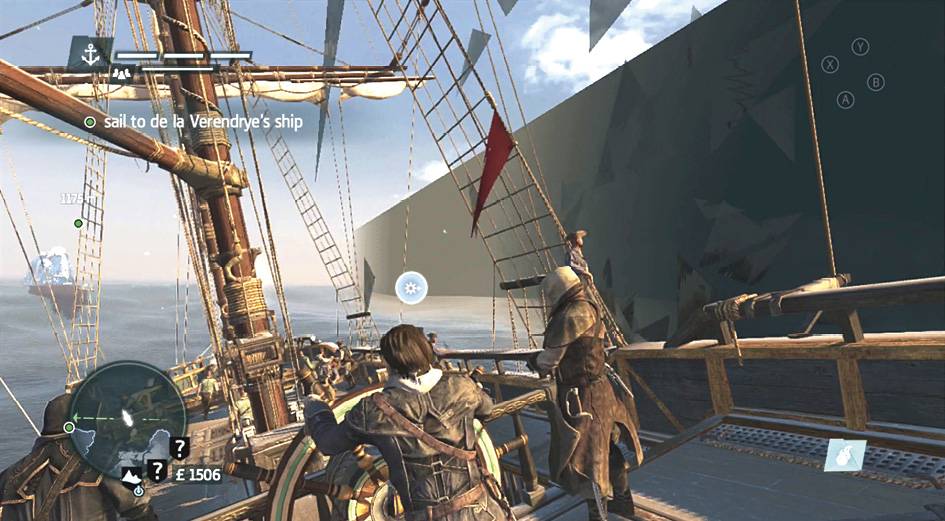
Make sure that you complete the required objectives. If the game says to stay undetected, then move slowly, stay in brush whenever possible, and avoid enemy patrollers. Watch your minimap! Stay close to targets that you’re supposed to chase, and watch for updates that warn whether you’re too close or too far from whatever you’re supposed to deal with.
Dark boundaries line the edges of the maps. These are places that Shay Cormac never went, so you can’t explore them in his memories. Walking too far into the darkness causes an instant desynchronization.
Don’t kill innocents or domesticated animals either. That’s not Shay-like behavior. Too many transgressions here can also desynch your memories.