
Assassin's Creed Rogue Guide Walkthrough Sequence 03
Memory 03: Circumstances

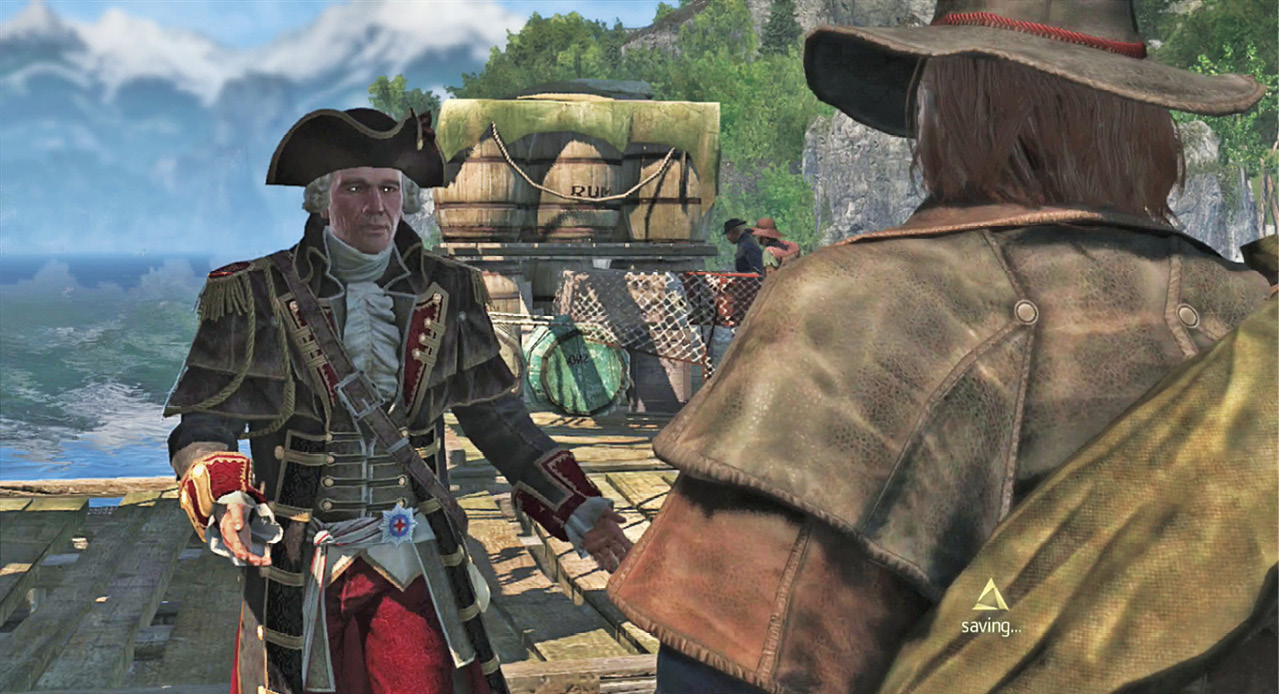
Monro is on the Albany docks. Find him there and talk to the officer to see what he’s going to do next.
It sounds like his plan is to go after the French before they’re ready to attack. Before anyone leaves, however, Gist suggests a bit of plundering for loot. It’s not a bad idea, and you could use more resources to upgrade the Morrigan.
Sail to the French Outpost and Raid It
Optional: Hang the key holder using the Rope Dart
Location: Vallée Verte
|
Points of Interest |
Number of Items |
| Chests | 4 |
| Viewpoint | 1 |
| Animus Fragment | 2 |
| Prosperity | 1 |
| Fox | N/A |
| Gray Wolf | N/A |
Go back to your ship and set sail. The outpost isn’t far, but there are mines all over the river. Use your Puckle gun to clear the way for the Morrigan while talking to George Monro and Gist. The French have mined the river heavily, but a quick shot from your guns destroys each mine. Maneuver around any mines that you miss, and keep going toward your waypoint.
Dock at the marked town and walk inland. The outpost is up on a hill not far from the shore.
Your task is to infiltrate the outpost and raid it. Though the main gate is closed, the French have made a critical security error and let trees grow alongside their palisade. Look for the trees that are close to this wall and climb onto them using a pallet. Get high enough to clear the wall, and leap into the compound.
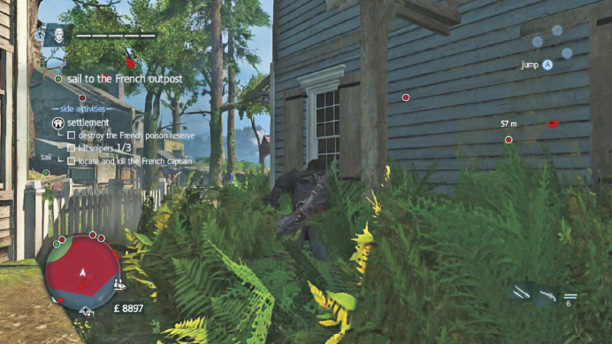
Raiding the outpost is easy, but the optional objective here isn’t—until you know what to do. There are enough guards around to easily spot when you try to hang the key holder with your Rope Dart. It’s an exercise in frustration, even if you have a good spot up in the trees.
Use Eagle Vision to spot the key bearer, and walk across the treetops to reach the far side of the compound. He’ll patrol over there from time to time. There are still guards, but you won’t have to deal with half a dozen onlookers. When the key holder is away, murder the two guards by the stable. Get the drop on them with Sleep Darts, and kill them before the key holder returns.
Now you can hang the key holder when he comes by and sees the bodies. No one is left alive to sound the alarm, so the key holder won’t get any backup as you hang him high.
Jump down from your tree or rooftop and search the key holder’s body. Once you have the key, go back to the warehouse that is marked on your map. Use the treetops and raid the place to your heart’s content when no one is looking. There are heavy resources inside, so it’s a lucrative effort. If Shay isn’t spotted, he’ll get a bonus from these activities, and he’ll get another bonus for avoiding an alert.
Go back over the wall, leave the outpost, and return to your ship.
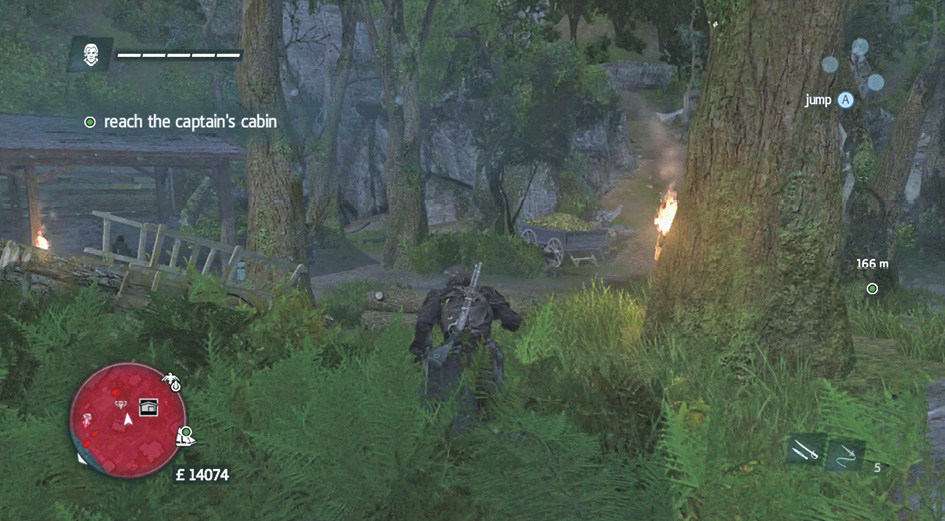
Check your bank and then upgrade the Morrigan. Focus on getting a mortar first, but some hull armour wouldn’t be bad either. You have a direct naval battle coming up, and the tougher you are, the better off you’ll be.
Your next mission begins by Fort La Croix. Sail to the French fort and try out your new weapon!
Take Out the French Fortifications
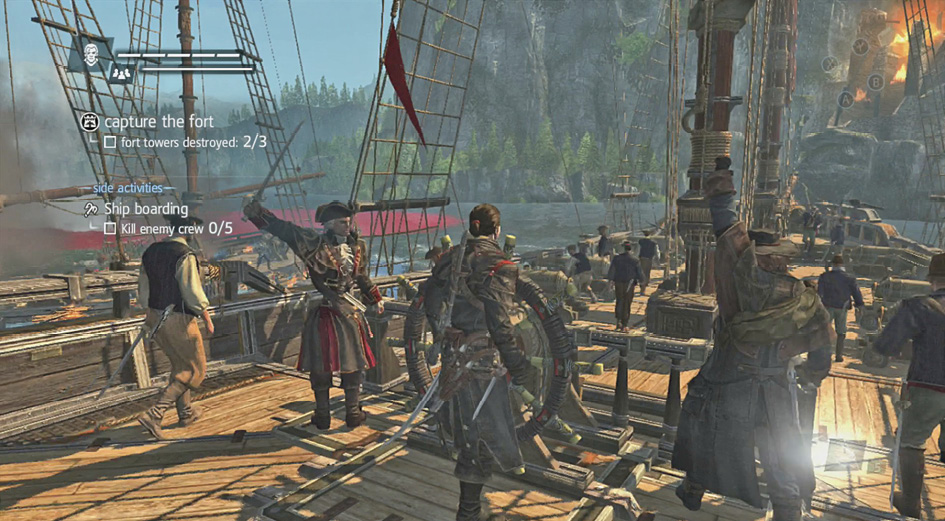
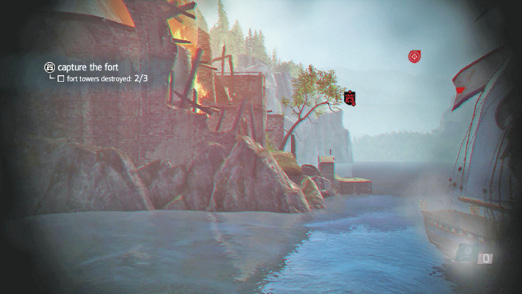
There are three French towers, a couple of ships, and some soldiers up on the walls. The attack is considered a success as soon as you get the towers down, so they are your primary targets.
Use the mortar to quickly damage the towers and the ships as you’re coming into range. Once you’re close to the fort, use the broadside cannons to knock down the towers while passing them, and switch to the Puckle gun while reloading so that you keep your damage output going even when you aren’t ready to fire the heavy guns. If you have any problems with your ship’s armour, then turn to fight the ships in the area and dock with them to score some free repairs in the middle of the battle.
Dock once the fort falls, but notice that you’re a wanted man. This action has unlocked a new system. The good news is that you’re impressive enough that people know who you are. The bad news is that they’re willing to pay to kill you.
Infiltrate and Take the Fort
Optional: Kill your enemy without taking any damage
Location: Fort La Croix
|
Points of Interest |
Number of Items |
| Chests | 2 |
| Animus Fragment | 2 |
| Fort | 1 |
| Harbormaster | Yes |
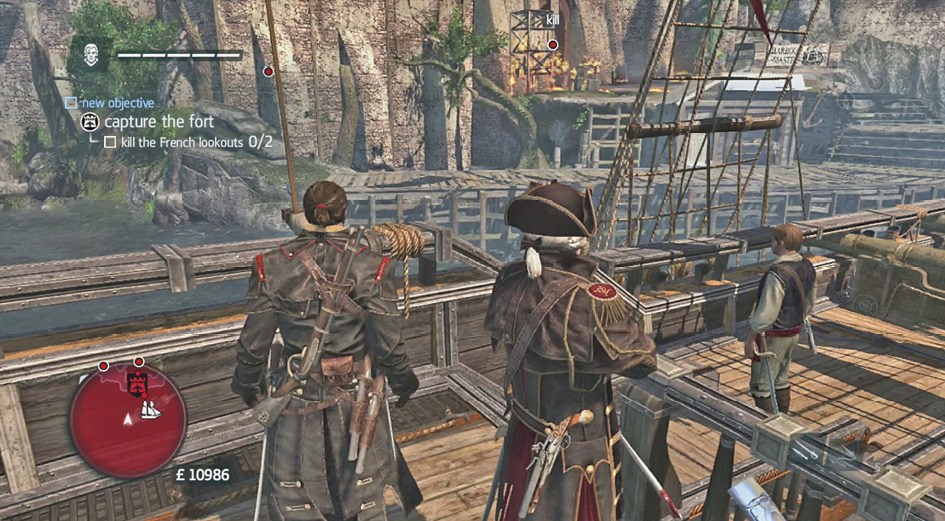
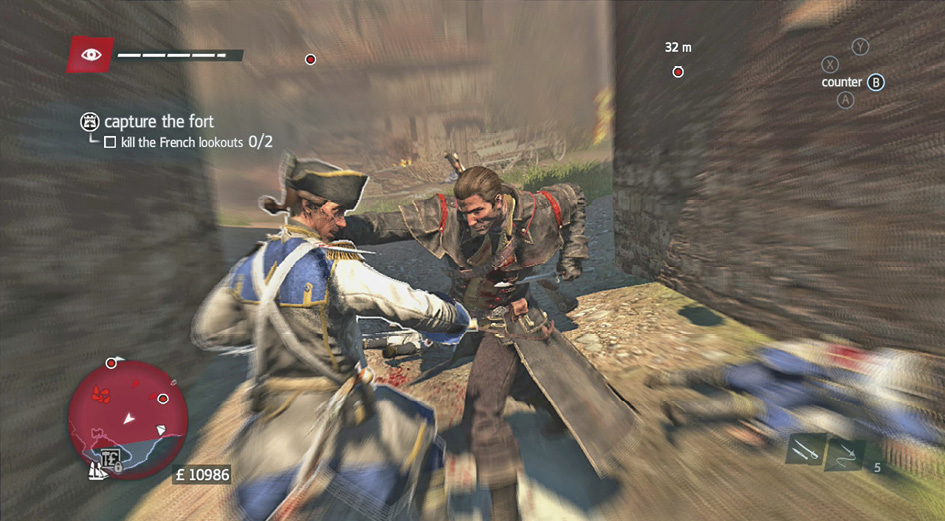
Dock in front of the fort and head into the fray. There are French soldiers everywhere, but the fires and destruction have caused so much chaos that they won’t respond as a single entity. It’s quite possible to fight small packets of troops while making your way into the main compound. Or use Smoke Bombs and stealth to avoid the battles altogether.
Once you’re inside, search for two gunners. Both are in watchtowers. It’s possible to kill them at range if you have good aim and decent pistols, or you can climb into their towers for a more subtle assassination. Use Sleep Darts to prevent them from seeing your approach, and then kill the gunners before they wake. Neither of them are well guarded, so it’s a safe act either way you approach this.
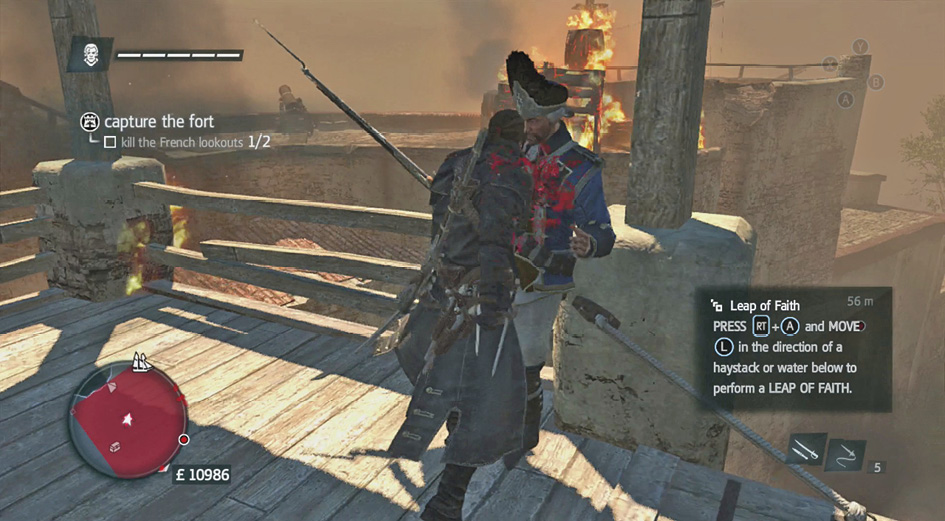
When the gunners are dead, you’re asked to go to the war room. This is at the back of the fort with heavier troops nearby. There are skilled soldiers and brutes in the area. Use Berserk Darts to make them fight each other unless you want a more challenging swordfight.
If you attack the heavier troops directly, remember to break their defense and rely on counters for most of your kills. Higher quality troops are good blockers and won’t let you cut them down without some setup.
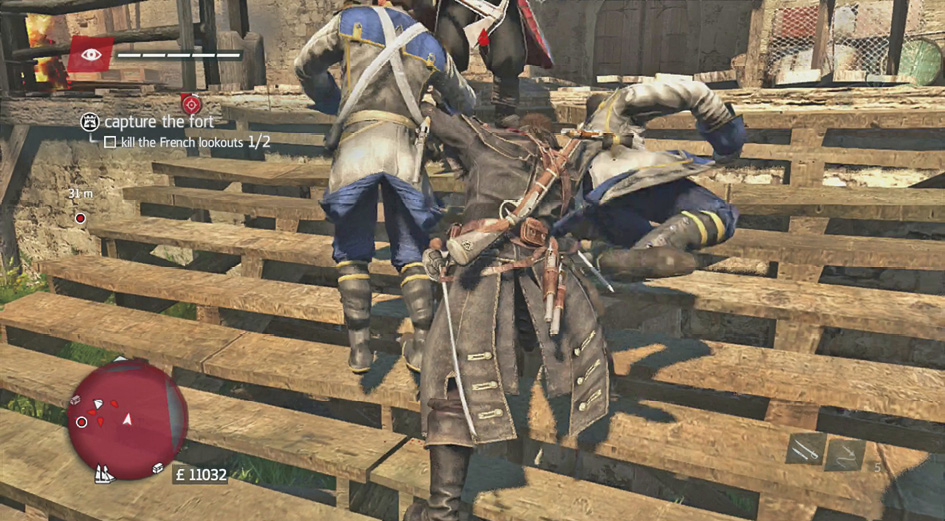
Leave the combat area if you’ve lost anonymity, and make sure that you’re clear before heading back to the war room. There is a challenging duel to be had once you’re inside, so equip the weapon and tools that you want the most. The sword and pistol combo works well in this fight.
A Skilled Spy
It’s never safe to take on a trained Assassin of this caliber, so keep your wits about you and focus on smart actions. The best ways to deal damage in this fight are counters and fast ranged attacks. However, counters are harder to get against this enemy than they are against generic soldiers. He’ll overpower your defenses if you press the button at the wrong time or tap it too often. Wait for his melee attacks and then press the Counter button once and immediately use Break Defense to score a real hit! Though tricky the first few times you do this, it’s fast to pick up.
Counters near the barrels and table in the room ensure that you get some actual damage against the Assassin, but that’s not the only way to hurt him.
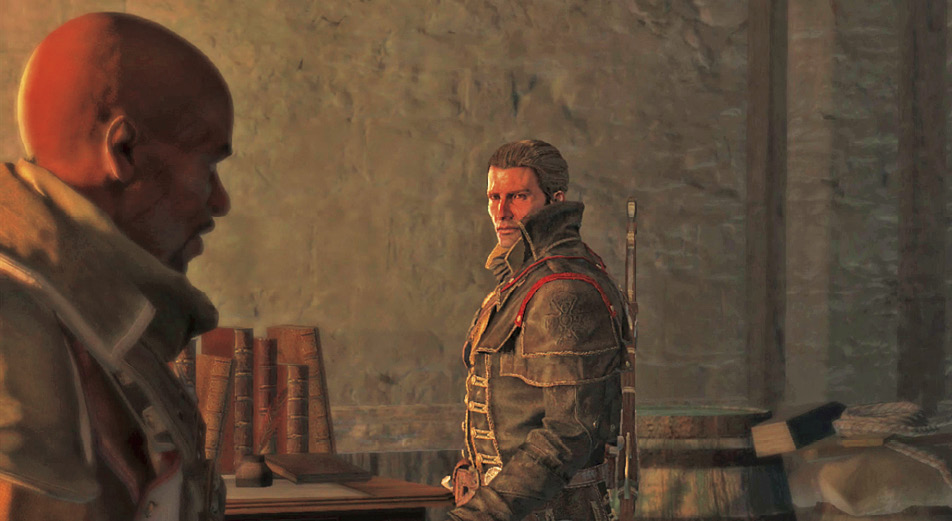
After wounding the assassin and pushing him back, take a quick shot with your pistol. It’s free damage if you hit, and you won’t take any returning blows because your opponent is already on the back foot. He’ll need a moment to recover.
Be willing to reload the checkpoint if you take hits. There is an optional objective to win this fight without getting hurt, and the battle is short. You can easily get this objective if you practice for a minute or two and perfect your timing.
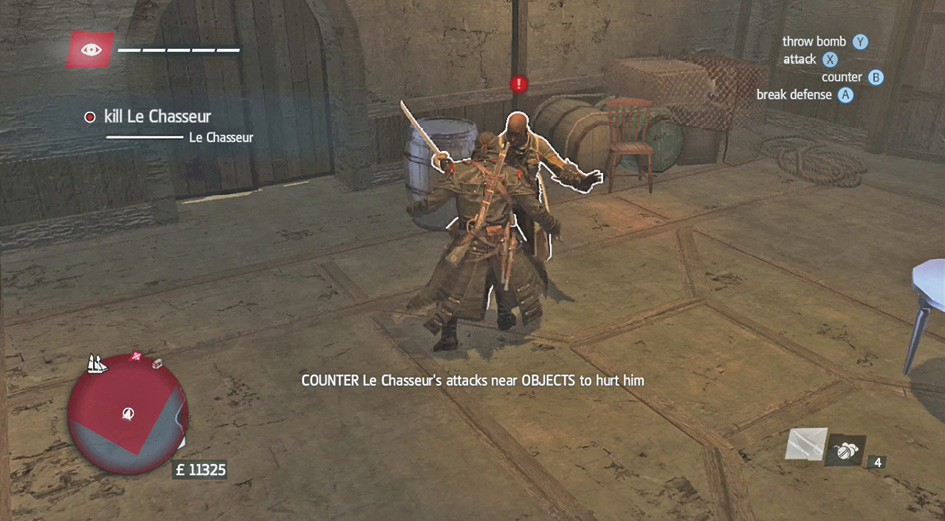
Kill the Assassin and leave the fort to end this memory. Back on the Morrigan, Gist has added a map to your captain’s cabin. This unlocks Fleet Missions!
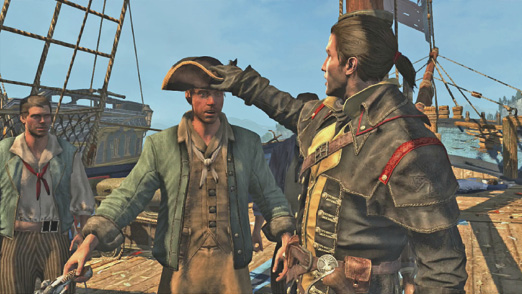
You can choose to manage your fleet for a while, and explore the territory if you’d like to earn some money. Your ship is deadlier than ever, and good piracy pays well. After you’ve drunk your fill, Fast Travel to New York and meet with Monro again.
When you get there, see if you have any Fast Travel points that are closer to Lower Manhattan. It takes a long time to walk through New York, and any time saver is a good thing unless you’re in the mood to collect various items along the way.