
Assassin's Creed Rogue Guide Equipment: Land and Sea
Shay's Weapons and Outfits

Shay and his sailing vessel have all manner of wonderful tricks and weapons to deploy his enemies. This chapter tells you how they work and how to upgrade them. There’s never anything wrong with doing even more damage or surviving despite impossible odds.
Shay’s most basic weapons are his set of blades and his pistols. These give him close-range and long-range fighting potential against any enemies he faces. These are upgraded with money, but sometimes there are special conditions that must be met before you can gain some of the more intricate weapons that appear later in the list.
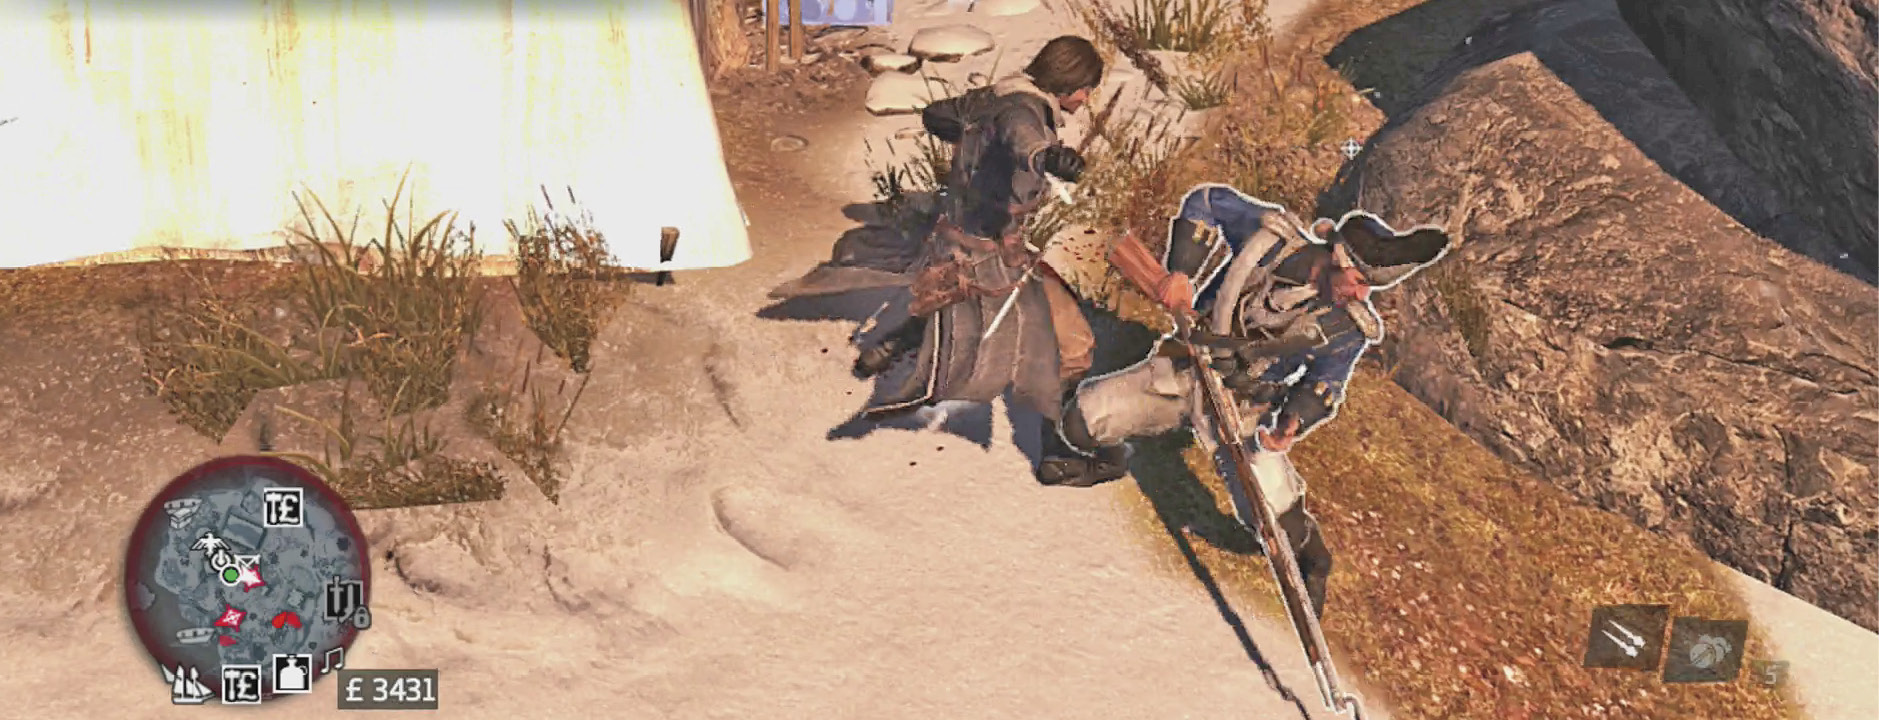
Sword and Dagger Sets
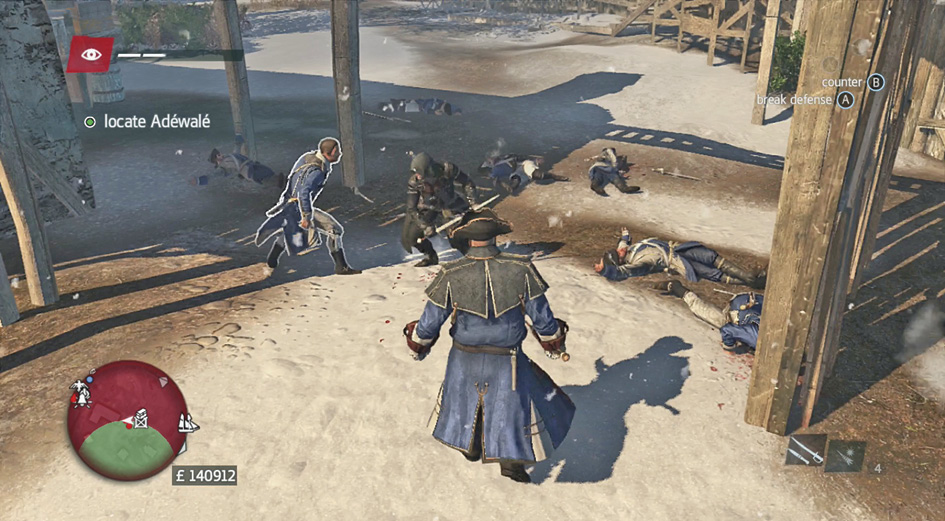
Your sword and dagger set determines the base speed, combo count, and raw damage of your melee attacks. Better weapons make it easier for Shay to dispatch multiple attackers during long skirmishes. If you enjoy swordfighting as much (or more than) as assassinations, these are a good use of resources when considering upgrades.
The Speed and Combo stats are the most useful. Weapon speed makes it easier to attack quickly, stay ahead of your enemies, and avoid damage.
Combo factors into the number of strikes it takes to initiate a kill move. In some ways, that makes it as much (or more) of a damage skill as your actual Damage rating. The higher your Combo, the faster your combinations of sword attacks build into a kill move. For many players, this is the best stat for scoring kills in a fight.
Damage is the least important of the stats in most engagements. Because the majority of your kills are triggered by countering, breaking defense, or combinations, you rarely have to worry about the direct damage your blows inflict. This isn’t unimportant, but you should usually focus on Speed and Combo first, and try to obtain a weapon with the best Damage output after the others are as high as you can afford.
|
Weapon |
Weapon Name |
Speed |
Combo |
Damage |
Cost (£) |
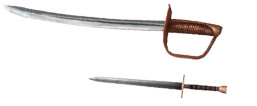 |
French Cutlass | 1 | 2 | 1 | N/A (Default) |
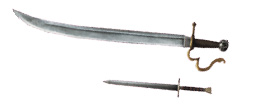 |
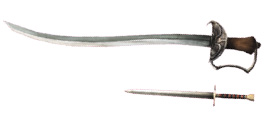
Pirate Scimitars | 2 | 2 | 1 | 1,200 |
 |
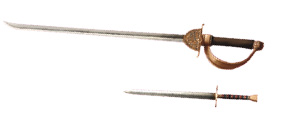
Colonial American Cutlasses | 2 | 2 | 2 | 3,000 |
 |
British Cutlasses | 3 | 2 | 2 | 5,000 |
 |
Privateer Cutlasses | 3 | 2 | 3 | 6,500 |
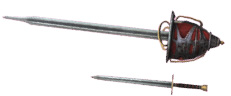 |
Scottish Broadsword | 3 | 3 | 3 | 8,000 |
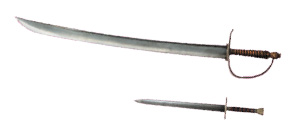 |
Hanger Sword | 4 | 2 | 3 | 12,500 |
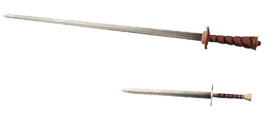 |
Cuttoe Sword | 3 | 4 | 4 | 10,000 |
 |
English Infantry Hanger Sword | 4 | 3 | 4 | 13,000 |
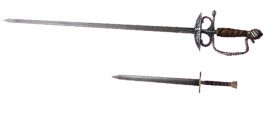 |
Officer’s Short Sword | 3 | 5 | 4 | 14,000 |
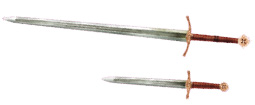 |
Bastard Sword | 4 | 3 | 5 | 18,000 + Complete “Armour and Sword” |
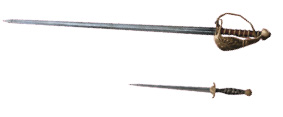 |
Governor’s Sword | 5 | 4 | 3 | Carry out all Renovations |
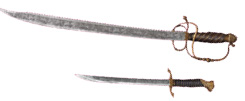 |
Hunting Sabre | 4 | 2 | 3 | Complete all hunting quests |
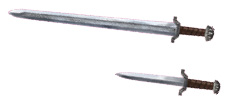 |
Viking Sword | 4 | 3 | 4 | Complete the Viking Sword quest |
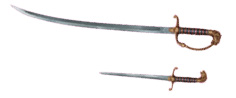 |
Admiral’s Lion Sword | 3 | 2 | 3 | Complete the Gothenburg fleet mission |
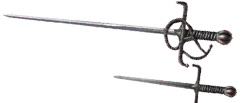 |
Spanish Sword | 4 | 2 | 4 | Complete the Gibraltar fleet mission |
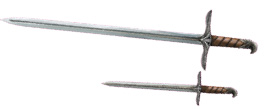 |
Altaïr’s Sword | 4 | 5 | 5 | Complete all fleet missions |
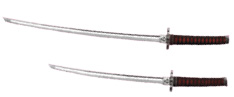 |
Katana | 2 | 3 | 4 | 30 + Redeem on Uplay |
Pistol Sets
Pistols are rated on their damage output, ability to stun targets, and the range at which they’re effective. In a pinch, Damage and Stun are the important stats because they’ll get you out of the most trouble. Pistols with better range have more “snipe” potential, but they don’t have the run-and-gun power that you often need. And there are pieces of equipment that are better for taking down ranged targets when you’re trying to be subtle. Pistols aren’t subtle Assassin weapons, after all. They make a huge amount of noise. Their best use is for taking down the most dangerous targets before you have to enter an extended swordfight.
Pistol headshots do incredible damage to targets. Even enemies who would be bosses in any other game can be dropped quickly if you use your pistols well. Practice your aim and watch the world become a more dangerous place for your enemies.
|
Weapon Name |
Damage |
Stun |
Range |
Cost (£ ) |
|
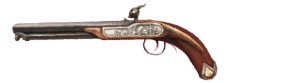 |
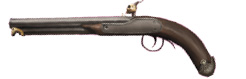
Common Flintlock Pistol | 1 | 1 | 3 | N/A (Default) |
 |
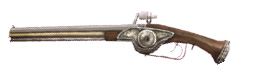
Pirate Flintlock Pistol | 3 | 3 | 1 | 800 |
 |
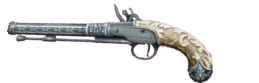
Standard Wheelock Pistol | 1 | 1 | 5 | 5,000 |
 |
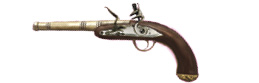
Belgian Engraved Pistol | 1 | 3 | 5 | 7,000 |
 |
Queen Anne’s Pistol | 3 | 3 | 3 | 8,000 |
 |
Admiral’s Lion Pistol | 3 | 3 | 3 | Complete the Barbados fleet mission |
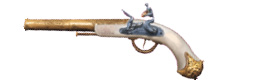 |
Indian Flintlock Pistol | 3 | 3 | 5 | Complete the Yanaon fleet mission |
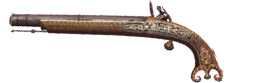 |
Scottish Flintlock Pistol | 3 | 5 | 3 | Complete all Forts, Gang Headquarters, and Settlement activities |
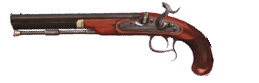 |
English Percussion Flintlock Pistol | 5 | 3 | 5 | Complete all Abstergo Tablets and go to River Valley |
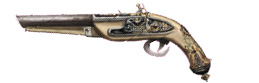 |
Edward’s Pistol | 3 | 3 | 3 | 40 + Redeem on Uplay |
Outfits
|
Outfit |
Outfit name |
Cost (£) |
 |
Assassin Outfit | N/A (Story) |
 |
Interim Outfit | N/A (Story) |
 |
Explorer Outfit | N/A (Story) |
 |
Raider Outfit | 5,000 |
 |
Tracker Outfit | 8,000 |
 |
Sharpshooter Outfit | 10,000 |
 |
Captain Outfit | 12,000 |
 |
Dark Assassin Outfit | 15,000 |
 |
Versailles Outfit | Complete the game |
 |
Native Armor | Complete Native Pillars quest |
 |
Templar 11th Century Armor | Complete the Templar Maps quest |
 |
Templar Enforcer | Complete all Assassin Intercept missions |
 |
Viking Armor | Complete the Viking Sword quest |
 |
Templar Master | Complete all Legendary battles |
 |
Admiral Outfit | Complete the Malacca fleet mission |
 |
Hunter Outfit | Craftable |
 |
Whaler Outfit | Craftable |
 |
Frontiersman Outfit | Craftable |
 |
Arctic Explorer | Craftable |
 |
Assassin Killer Outfit | 20 + Redeem through Uplay |
Outfits are gained by crafting or buying. Look in the “Hunting and Crafting” chapter to learn how to make them, but select the one you want based on style and appearance. Outfits don’t give you higher resistance to damage, so they’re more of a fun factor than a combat item.
Once you’re far enough into the game, you can switch outfits in the Captain’s Quarters of the Morrigan by interacting with your armor stand.
|
Outfit |
Effect |
| Hunter | Animals won’t detect Shay as easily |
| Whaler | Increases harpoon damage |
| Native Armour | Reduces damage taken from melee attacks |
| 11th Century Templar Armour | Reduces damage taken from ranged attacks |
| Assassin Killer | You are not affected by gas or smoke |
| Templar Enforcer | You spot enemy Stalkers from even farther away |