
Assassin's Creed Rogue Guide Walkthrough Sequence 04
Memory 01: Honour and Loyalty

Go to Marais Rocheux and dock your ship. Disembark and walk uphill to have a quick meeting. Leave afterward and go to find Monro.
Locate Monro
Optional: Do not take any damage
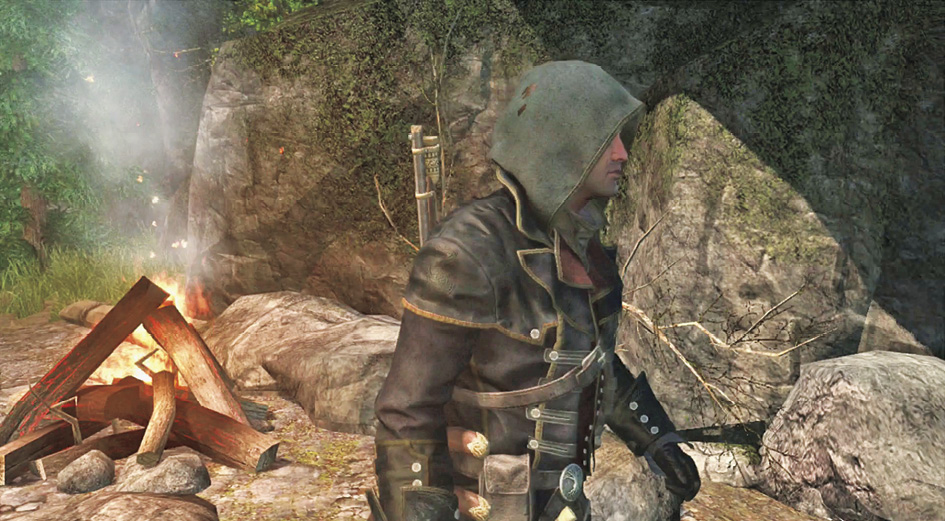
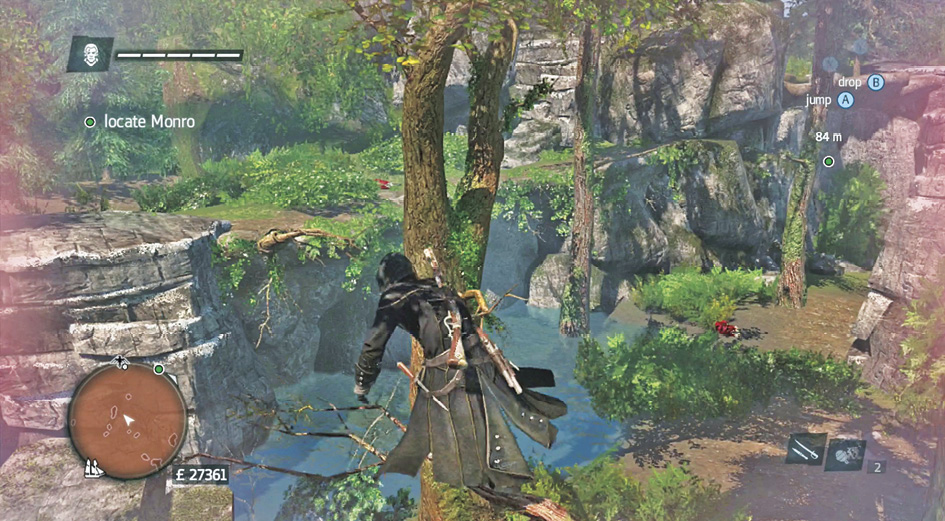
Take a careful approach toward the next waypoint. There are Assassins littering the forest, and though you’re not in tremendous danger, it’s easy for them to hit you and break your optional objective if you are hasty. There isn’t a time limit here, so slow down. Use Eagle Vision if you think there are enemies close by, and either steer clear of them, lure them out for a kill, or be super gutsy and draw them into a counter so you can kill them instead.
Go through the natural arch in the rocks in front of Shay, and use the upper branches of the trees to continue toward the waypoint. This gets you past a number of the Assassins without having to fight them.
Maneuver toward the cliffs that are ahead and on the left side of the path. Two Assassins are over there; one is on the ledge where you land, and the other is slightly higher up. Once you reach terra firma, use Eagle Vision to spot these Assassins. Defeat or avoid them so that you can reach your objective and get credit for this section.
Climb to the edge of that cliff area. You spot Monro and his British troops in the valley below. They’re under attack, so shuffle down the cliff as safely as you can and then leap into the leaves that are nicely positioned at the bottom of the chasm.
Fight off Monro’s attackers and get your bearings.
Escort Monro and Go After the Assassin’s Leader
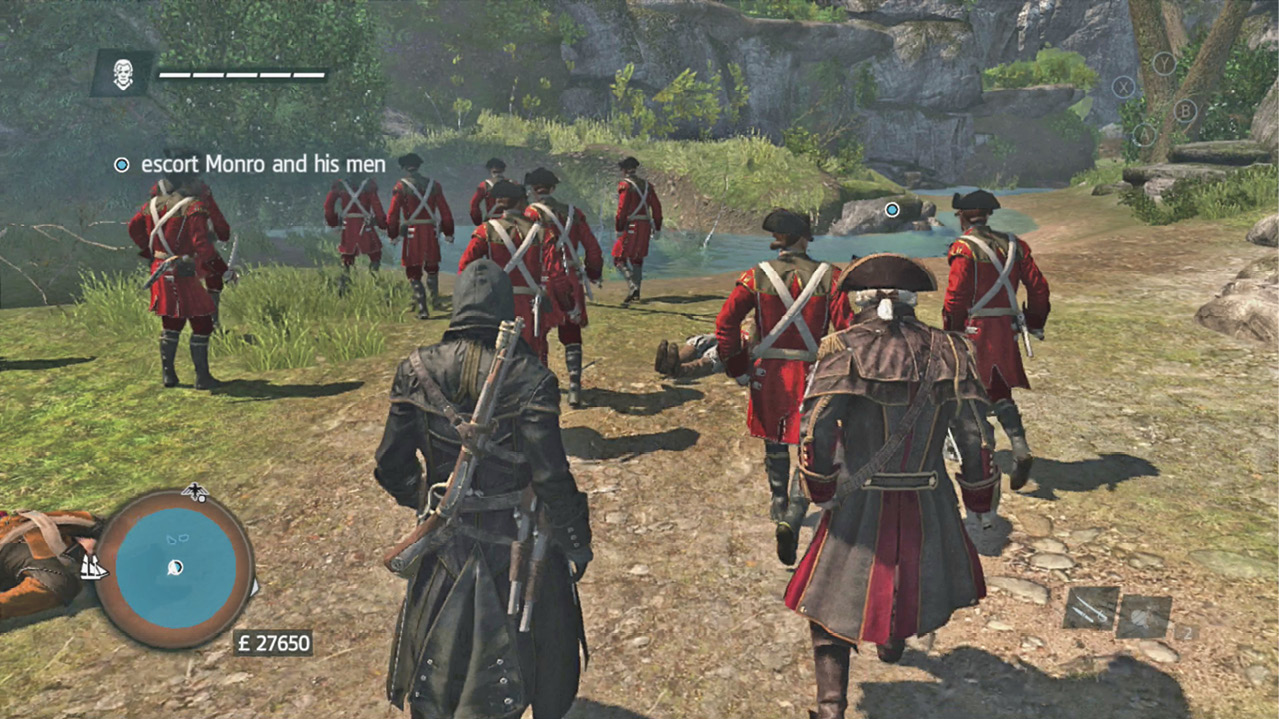
Walk with Monro and keep your eyes peeled for more Assassins. However, there is a brief period where the two of you can talk without interruption.
This ends when the formation enters a narrow valley. The enemy leader orders a unit of attackers to come down after you. There’s a small but frantic fight that you have to win before the enemies can bring Monro down. Break Defense and then attack to kill these enemies without too many problems, and as always look for counter opportunities.
For even more efficient kills, attack the enemy scouts from behind when they’re already engaging the British soldiers. Shay can score instant kills this way without risking himself, and he’ll really help out the British by doing it.
Climb the cliffs once the battle ends, and pursue the lead Assassin before he’s able to launch additional attacks on Monro’s troops.
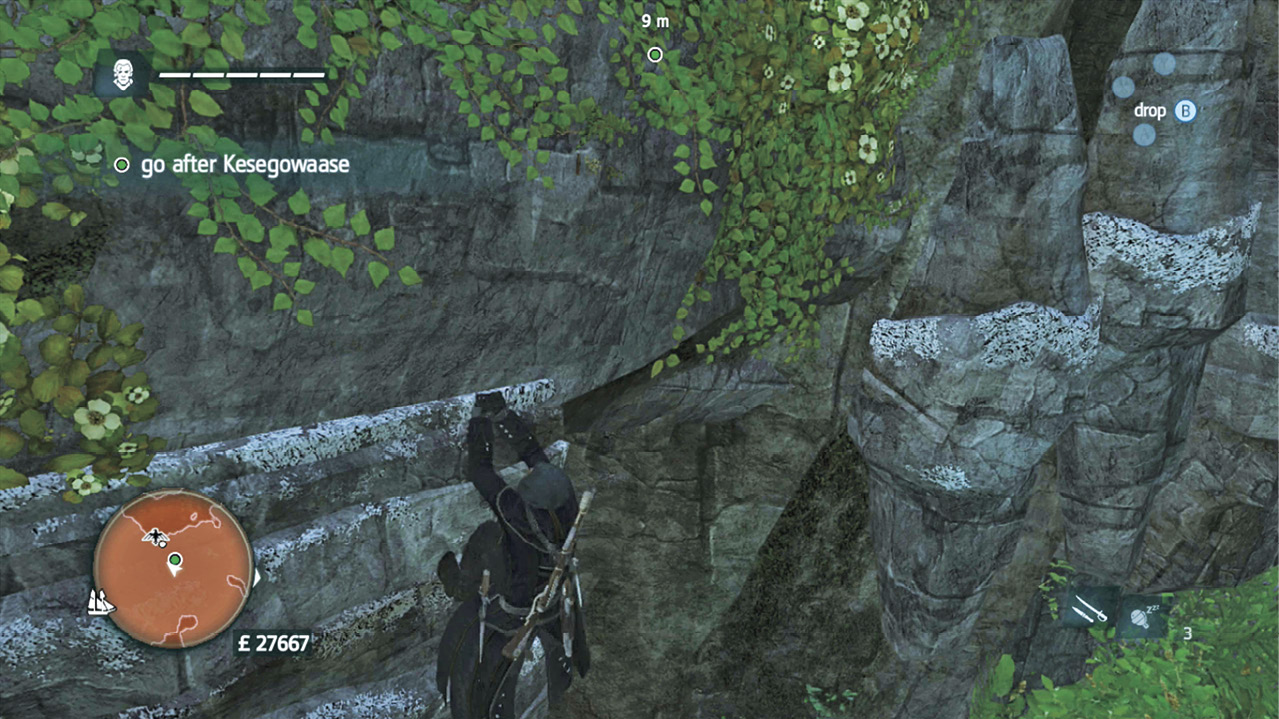
Go up the gray cliff wall and head right to find the way that leads to the top. Grab a Viewpoint while you’re up there, and look over the path ahead.
Clear the Area
Optional: Do not get detected
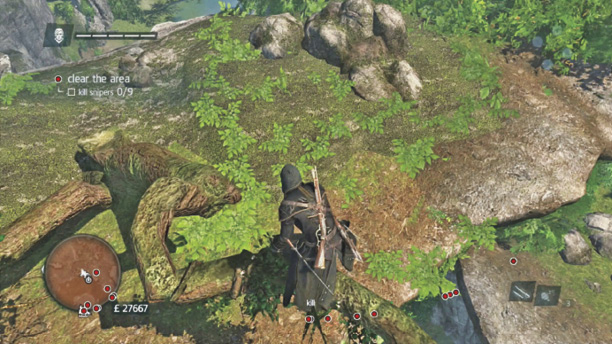
There are nine gunners along the upper hills of this region. They’re ready for a fight, but they’re not expecting you. It looks like an easy stealth run. It might not be. Assassins are in the bushes to protect those gunners, and you lose your optional objective if the snipers spot you.
Don’t try to get everything done with just your blades. You can make this much easier on yourself. Berserk Darts are a magic weapon in this scenario. They’ll turn the greatest strength of your opponents back on itself: The snipers have a great view of the valley and of each other. If you make them go berserk, they’ll kill each other and eventually die off from the effect of the darts or will get shot or stabbed by an Assassin. This is extremely effective, and you won’t have to put yourself in harm’s way.
Wait at the Viewpoint for the first sniper on the right to get as close as he can. This foe usually spots you if you try to do anything with your melee weapons along the left side of the valley. Use a Berserk Dart on him. He’ll likely score a kill against another sniper and then get knifed by his Assassin ally or shot from afar. Even if he doesn’t, the poison will kill him eventually.
Continue this with the snipers on the left cliffs, and stay higher up to avoid the stalkers.
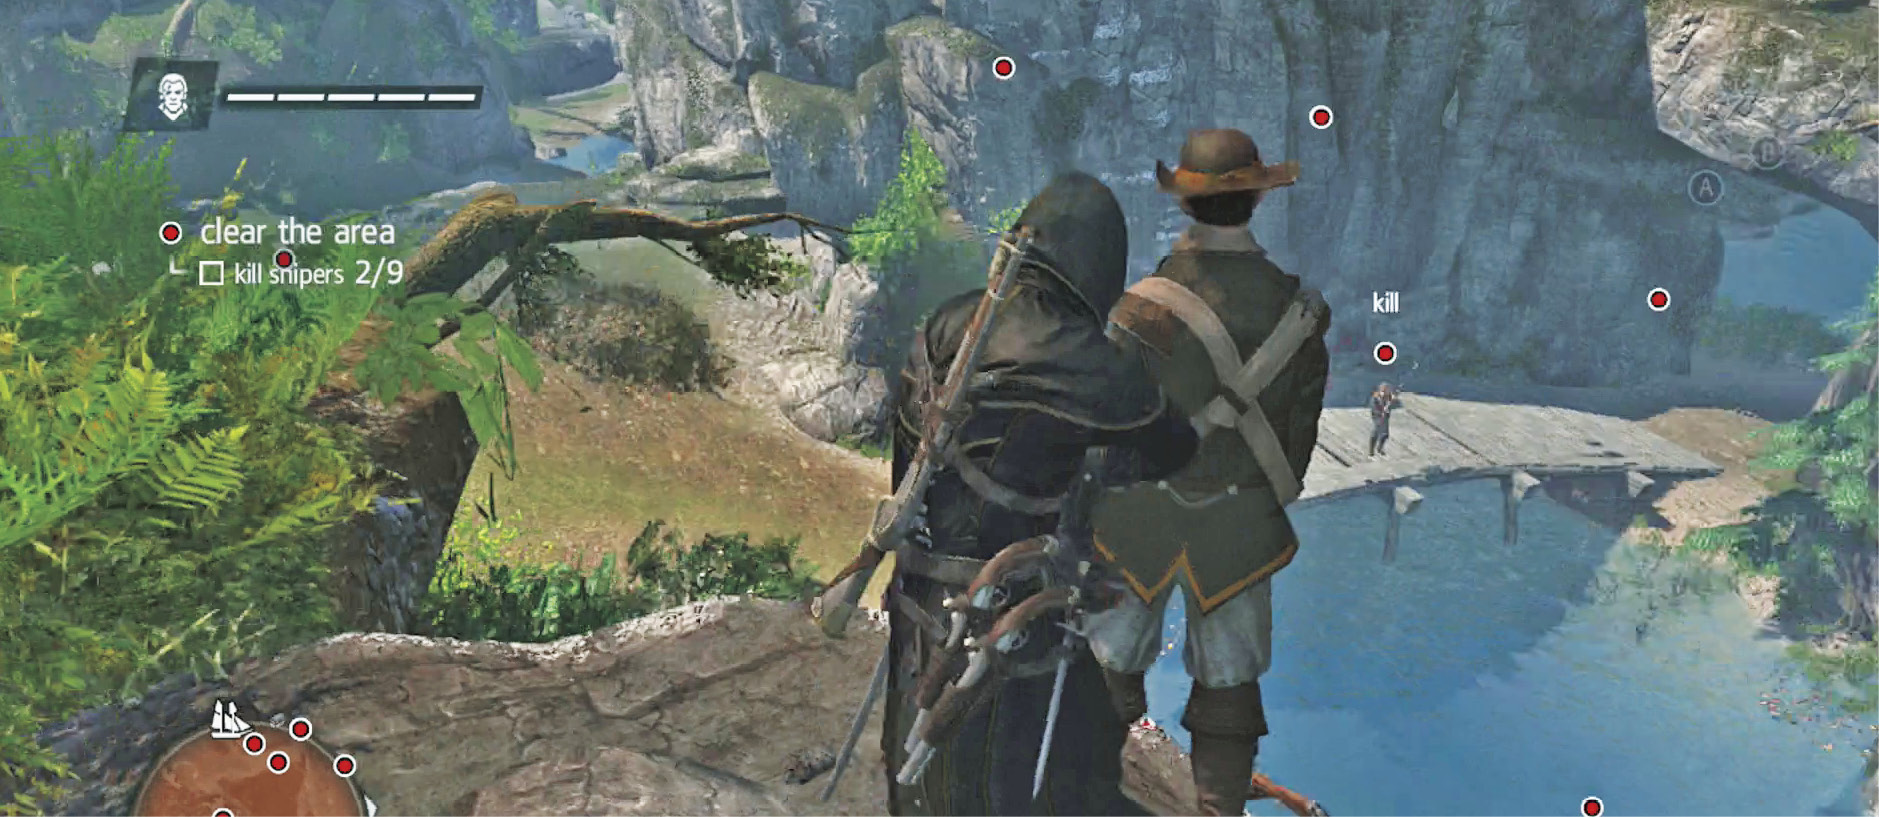
Jump into the river and climb the far side of the area to defeat the final two gunners. They’re too far away to get with your darts. An Assassin blocks the plateau that is close to them, but you won’t lose your objective if he’s the only one who sees you. Take out the Assassin or simply hide from him while you shoot a Berserk Dart the last sniper and wait out the carnage from that attack.
If you’re in the mood for faster kills, you can do the first half of the valley using keen stealth tactics. To do that, move quickly at the beginning. Hurry to the left side of the valley and use an air assassination to kill the first man below. Run forward onto a fallen tree and repeat this aerial attack against the nest gunner.
Climb up the rocks to get the third target, and then switch to darts for the enemies at range (including the fourth gunner on the left, who is protected by a hiding stalker).
Clear the entire valley and join Monro once you’ve gotten full credit for this.
Escort Monro and His Men to the Ship
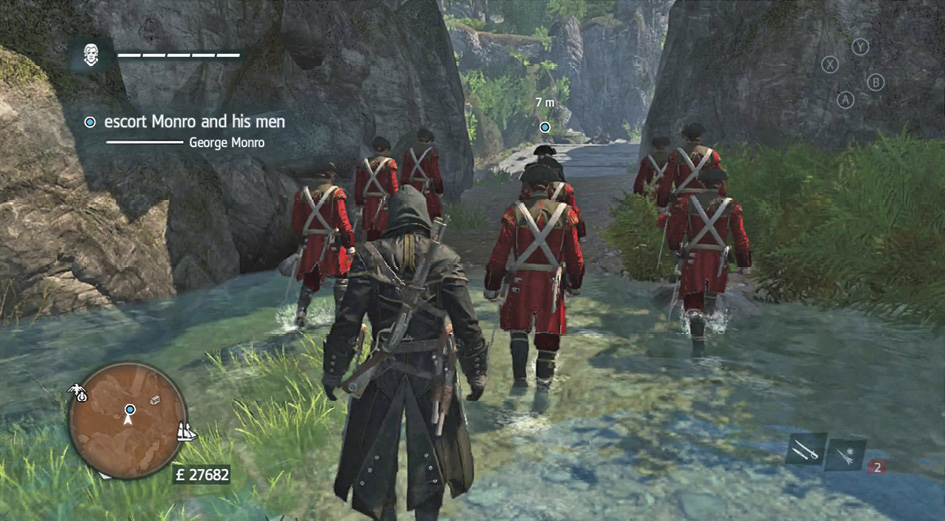
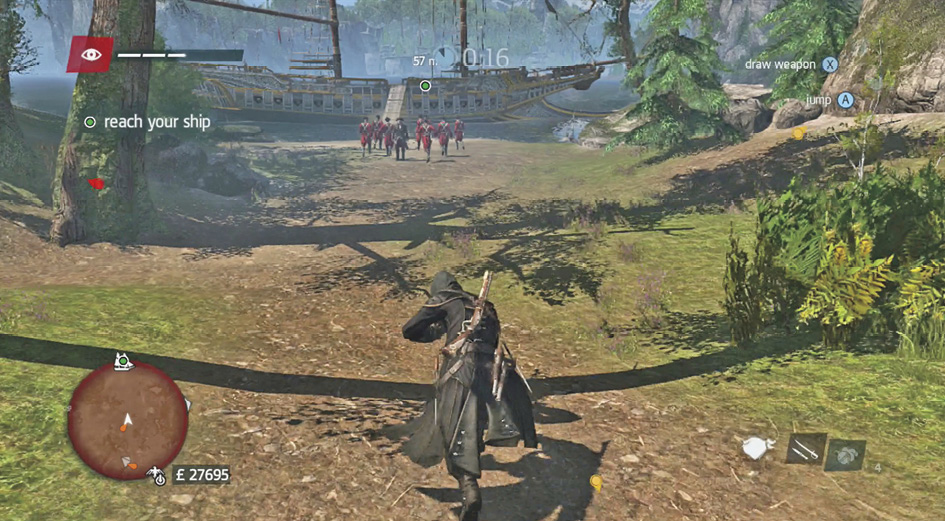
Lead Monro out of the ambush. Get your Smoke Bombs ready before any fighting breaks out. Stay calm, and walk slightly behind Monro. On the way out of the valley, you’ll be attacked by a stalker on the ground and some gunners up above. Block the stalker’s attack, and then use Smoke Bombs to disrupt the gunners’ line of sight on Shay while you sprint back to the Morrigan. Don’t stop to kill anyone or fight. You have a time limit and are in a vulnerable position. It’s better to live and fight another day.
This ends the memory as your people reach the ship and leave.
Sail to the western edge of River Valley and use the channel near Fort Soleil to reach your next mission target. There are quite a few harbors along the way, and this is a great time to grab waypoints, money, resources, and collectibles if you haven’t already been through the area.
Stop when you reach the Old Growth Forest. Your waypoint is there.