
Assassin's Creed III Guide Walkthrough
Sequence 01
This chapter has been designed to guide readers through all Main Missions in Assassin’s Creed III and, in conjunction with the companion Side Quests chapter, plot a course to a perfect 100% DNA Tracker rating – and, therefore, full game completion.
REFRESHER COURSE
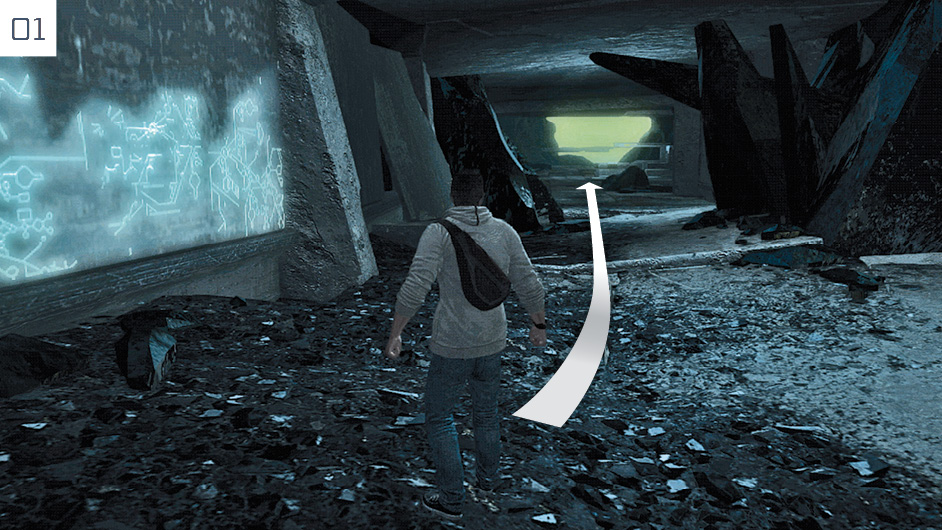
Enter the cave and walk with Desmond’s companions until you reach a cinematic interlude. After the second barrier has been opened, move down the steep slope and walk directly ahead to enter the Grand Temple.
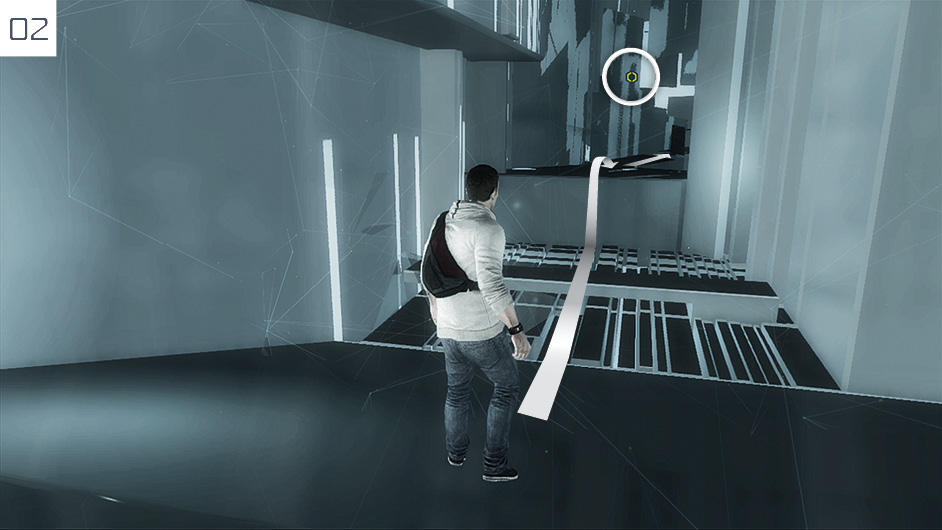
Once Desmond is inside the Animus, Sequence 01 (and the Refresher Course Memory) officially begin. Follow the waypoint markers (the green icon highlighted in the accompanying screenshot), onscreen prompts and Rebecca’s spoken instructions to navigate the initial sections of the assault course.
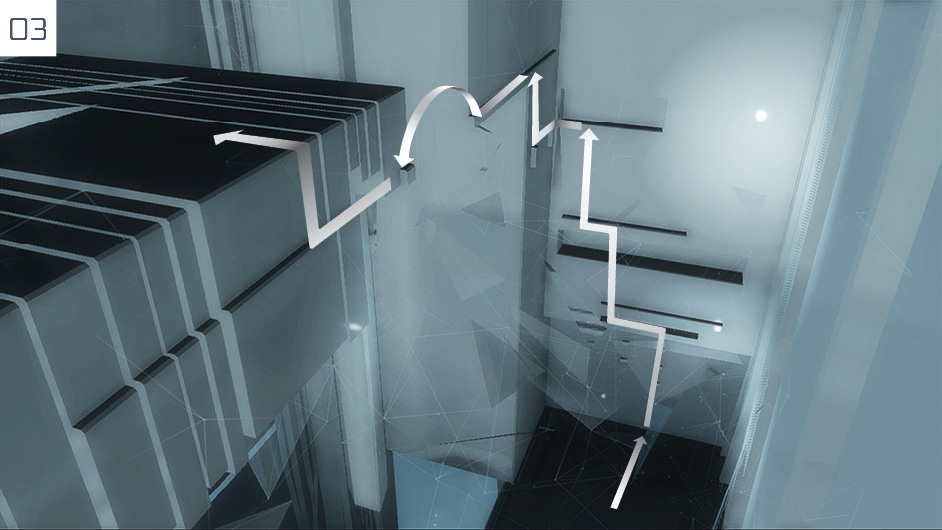
When you reach the first climbing section, follow the route pictured here. For further advice on climbing, see page 35 of the Primer chapter.
Screenshot Annotation Legend
Throughout the Walkthrough chapter, we use annotated screenshots to highlight essential actions or points of specific interest, such as paths you should follow and enemy patrol routes. The following legend details all of the annotations you will encounter, and the simple color code that we employ.
|
Annotation |
Meaning |
|
|
Player character movement |
|
|
Optional player character movement (alternative path or optional challenge) |
|
|
Objective/point of interest/point of interactivity |
|
|
Enemy movement/patrol route |
|
|
Enemy/potential threat |
|
|
Ally movement |
|
|
Ally |







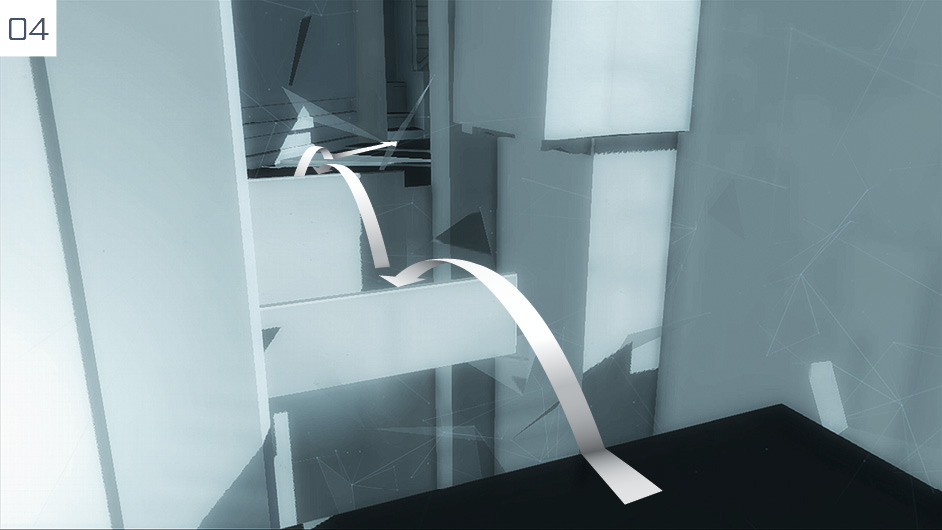
Continue along the linear course until Rebecca introduces the “Optional Objective” concept as you overlook two targets.
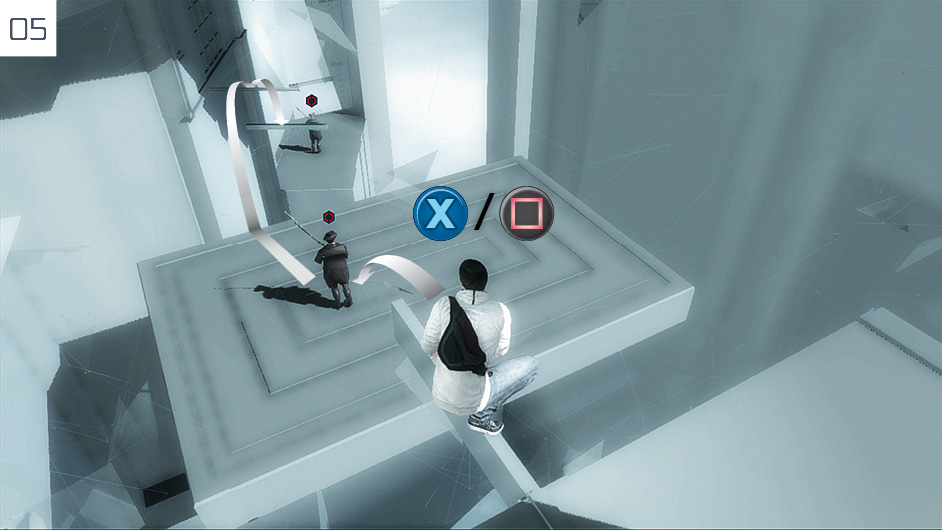
Walk to the end of the beam and press  /
/ to perform an air assassination on the first guard, then dispatch the second in a similar fashion.
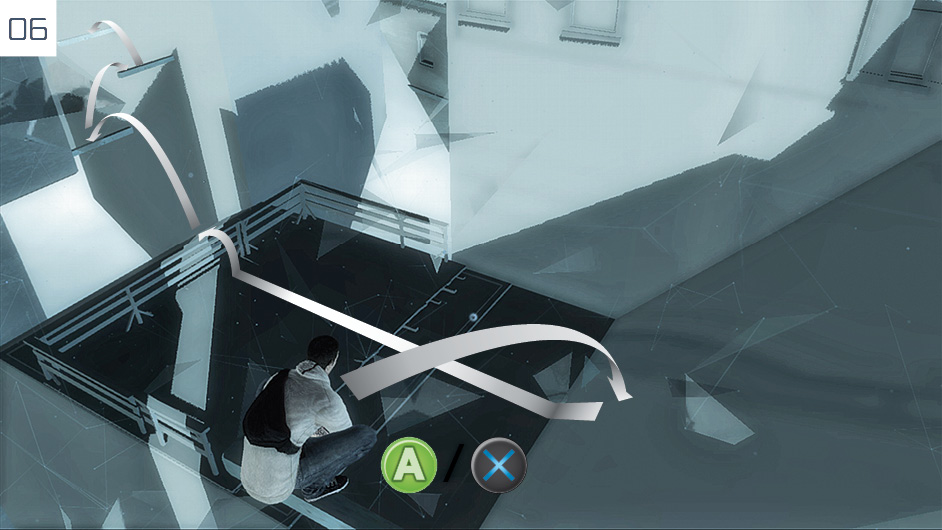
When you reach a beam overlooking a steep slope, perform a manual jump (hold  /
/ and
and  forward, then press
  /
/ ) to reach the next section of the course.
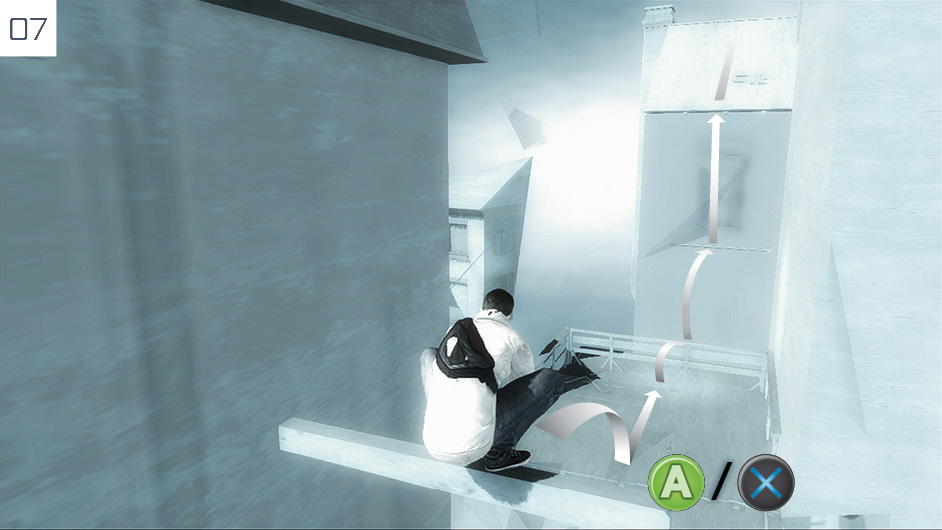
Employ a manual jump to cross this large gap safely, then climb the wall to reach the rooftops.
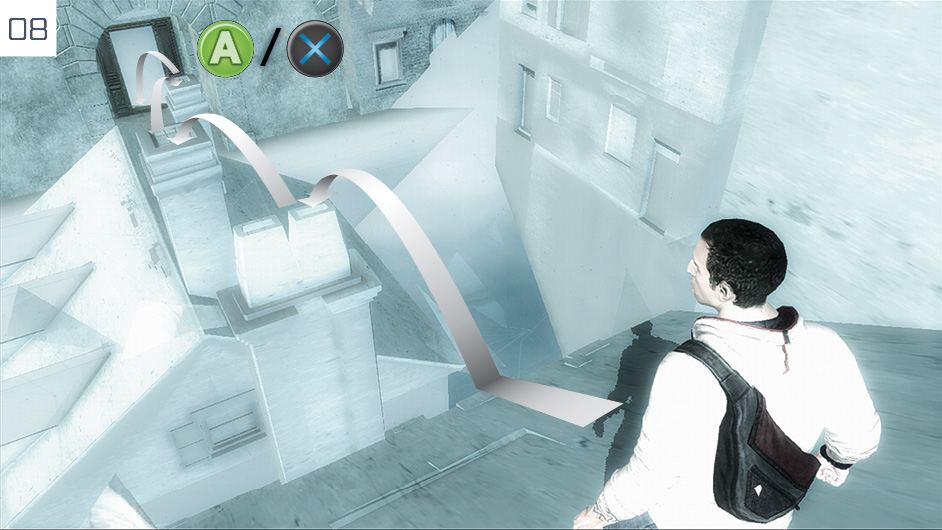
Free run over the chimneys, then perform a manual jump to reach the entrance through the archway.
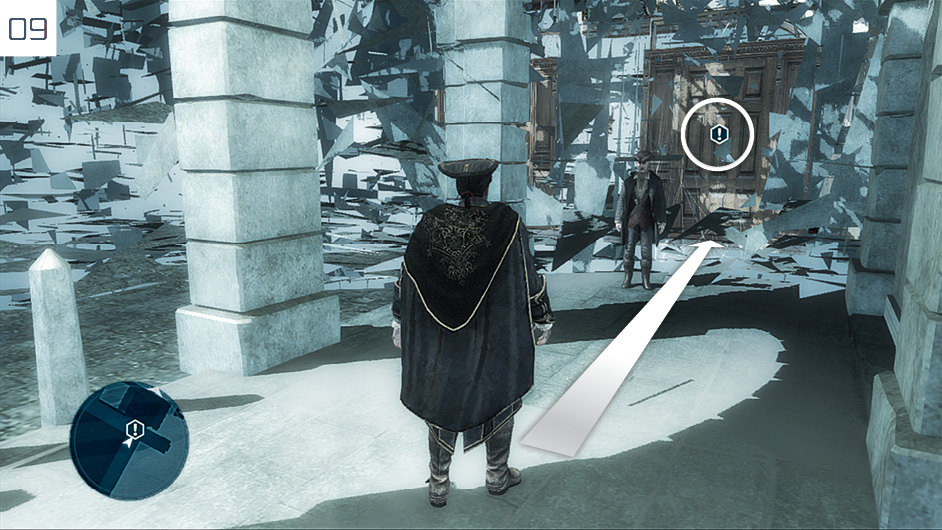
Walk along the path until you reach a door, then press  /
/ when the prompt appears to enter the world of Haytham Kenway.
A Deadly Performance
Walk directly ahead to reach the auditorium, where an attendant will guide Haytham to his seat.
During the cutscene, press  /
/ to trigger Eagle Vision and identify your target with
  .
.
When Haytham stands, walk to the left and enter the secluded area at the rear of the auditorium. Climb the ladder, use the ledge to traverse to the right, then move around the corner.
Follow the route detailed here to reach a balcony just to the left of the stage, where you can safely climb up. Walk to the highlighted door and unlock it by following the onscreen prompts.
Once backstage, jump from the balcony to reach a small ledge on the “sun and clouds” stage prop.
When the stage prop drops, traverse to the left and climb the ladder.
Climb the ledge to reach the “crescent moon” prop. After another brief plunge, continue left to reach a balcony. Walk into the waypoint to trigger a cinematic.
Follow the waypoint markers to lead Haytham out of the theater. When you reach the crowded doorway pictured here, use the Fast Walk ability to push through. The Memory ends when you reach the building’s main entrance.
Journey to the New World
Mission Overview
|
Optional Objectives |
|
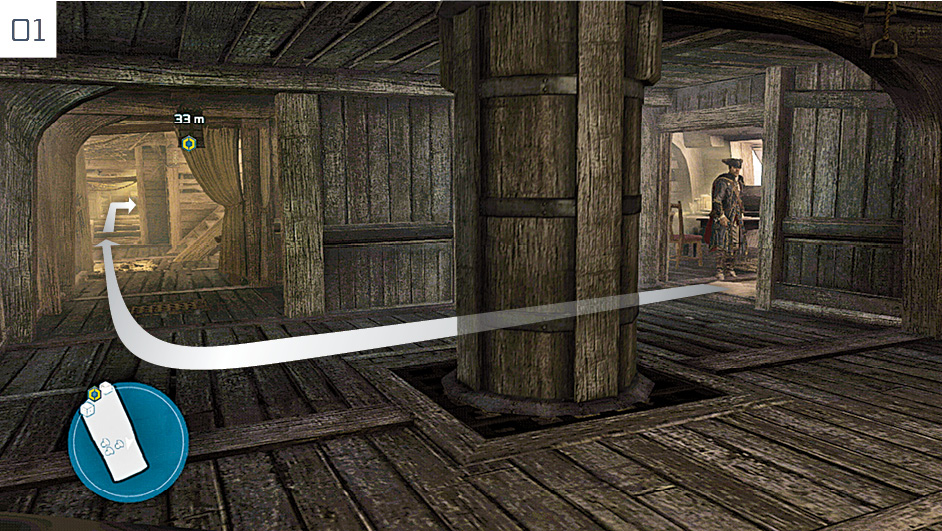
Day 2: Leave Haytham’s cabin and run to the waypoint at the front of the ship to reach the upper deck. There are some diversions that may pique your curiosity during the short walk: see “Minigames & Optional Conversations” for details.
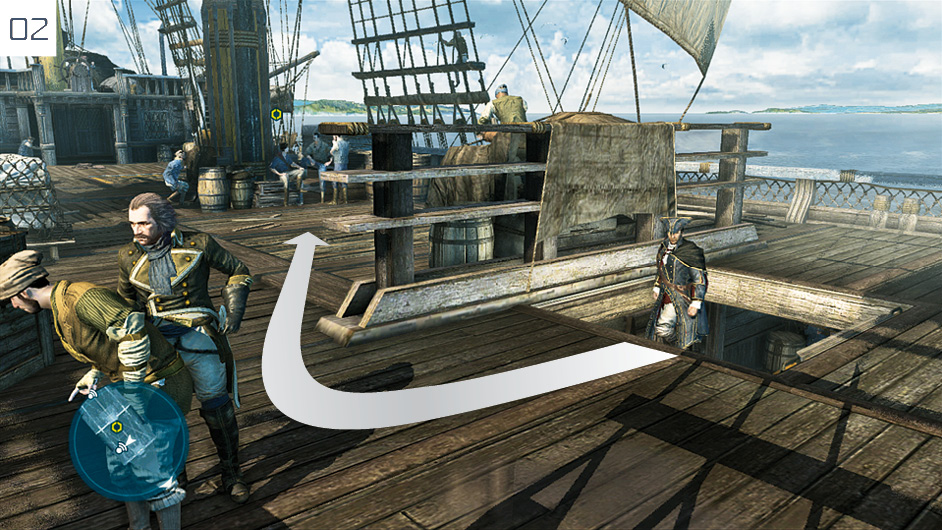
Approach the second waypoint on the upper deck. After the cinematic ends, you must complete a series of fights that introduce elements of the Assassin’s Creed III combat system. An Optional Objective is introduced here; if you fail the damage-based constraint (see “Mission Overview” table), you can use the Reload Last Checkpoint option in the Pause menu to try again. For additional advice to supplement the onscreen prompts, refer to the Combat section of the Primer chapter (page 51). After the third and final bout, accompany the captain to his cabin, then return to Haytham’s quarters and interact with the desk to advance the story.
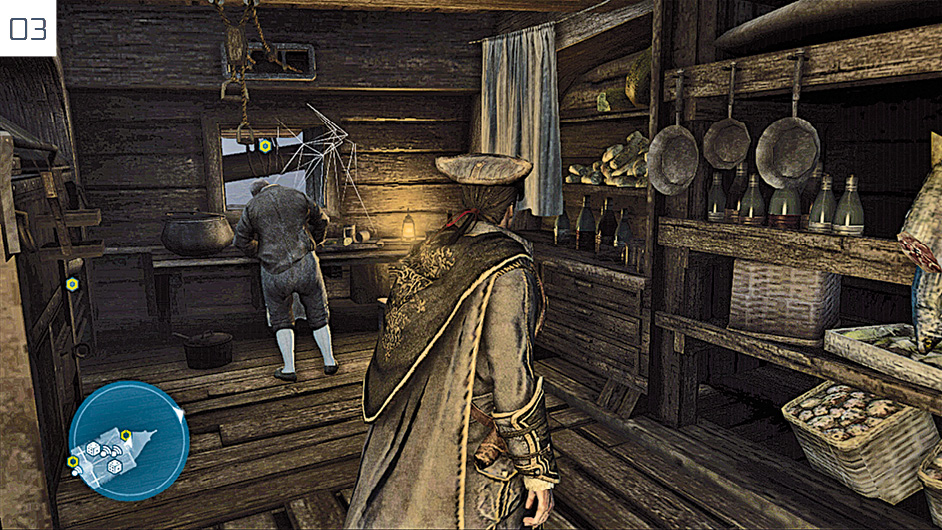
Day 28: When play resumes, speak to the sailor at the sole waypoint. When confronted by two avenues of inquiry, head straight for the cook at the back of the galley (pictured). Speak to the nearby James to continue.
|
 Minigames & Optional Conversations
 icon. Both games, Fanorona and Nine Men’s Morris, are encountered in a variety of locations later in the story (and with wagers to add a little spice to proceedings), so don’t feel obliged to take part now. A rule summary appears before you begin a contest.
 icon and press
  /
/ to have Haytham strike up a conversation.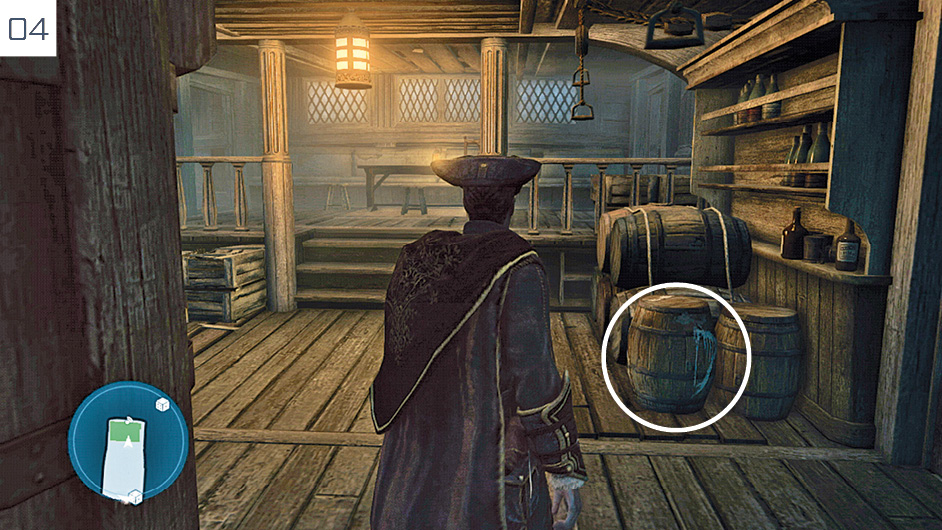
Run to the waypoint at the stern, then head to the specified area of the lower deck (highlighted in green on the mini-map). Activate Eagle Vision, then direct Haytham’s gaze to regard the barrels highlighted here. Investigate them with  /
/ , then return to Haytham’s cabin and interact with the desk to advance time.
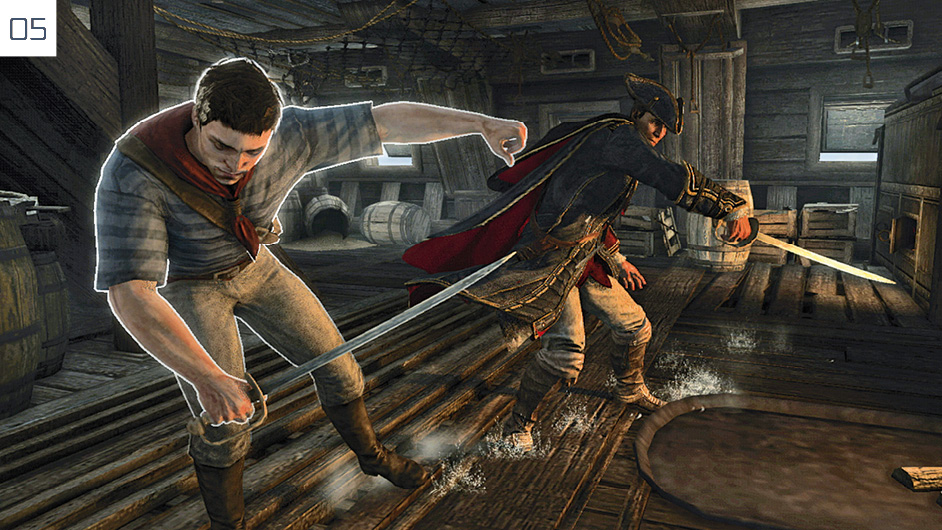
Day 33: During the duel with Mills, use the Counter Disarm move ( /
/ when the
  icon appears over his head, then
  /
/ when time slows down), then follow up with short combos (see page 51 for further advice). Each time he interrupts Haytham’s assault, repeat the process again. Deplete his Life Bar to end the fight. If you want to bring a swift end to the fight, perform a Counter Kill (press
  /
/ when time slows down after a counter).
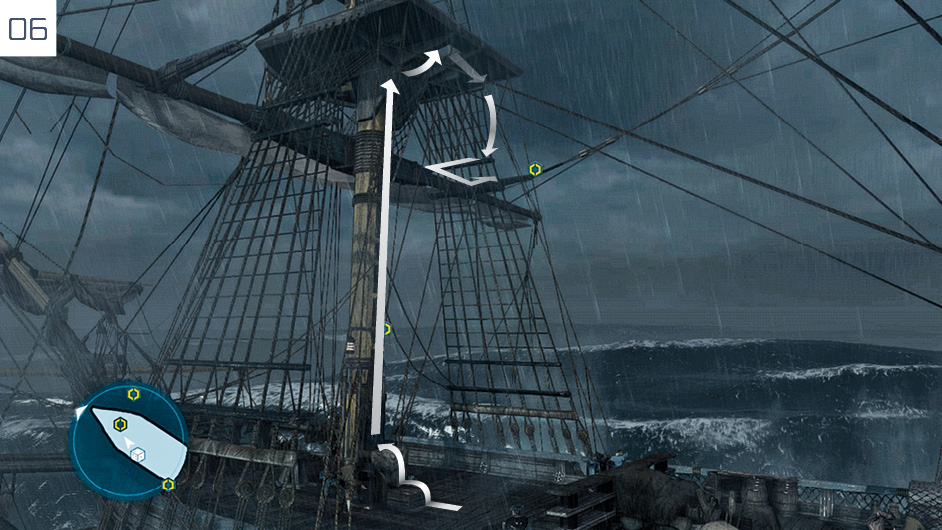
Speak with the captain, then secure the rigging by pressing  /
/ at the locations marked by waypoints; afterwards, attend to the broken rope in the same fashion. Your next task is to deploy the sail from the yard; the route pictured here is marginally faster than others.
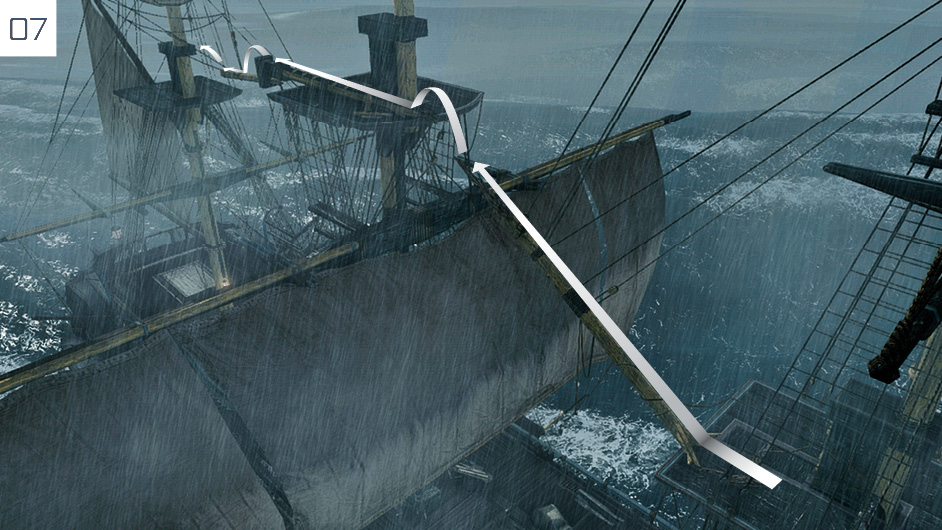
You must now save James from a surely fatal fall; the Optional Objective offers a very generous time allocation. Follow the route pictured here, and Haytham will do the rest in the resultant cutscene.
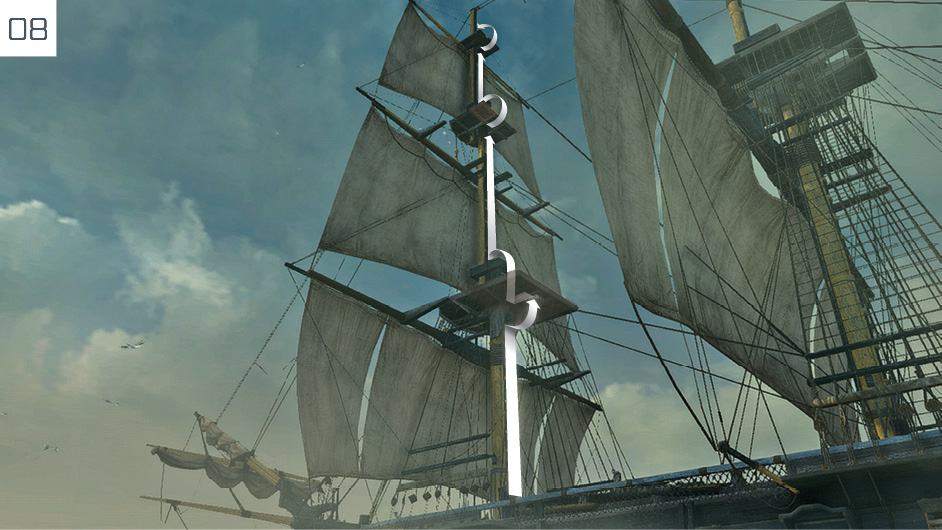
Day 72: Meet the captain at the bow, then climb to the top of the foremast to bring Sequence 01 to a close.