
Assassin's Creed III Guide Primer
Social Interaction

Though the opening hour of Assassin’s Creed III takes place in relatively small environments, Sequence 02 marks a transition to the vast, open-plan sprawl of Boston. One of the biggest challenges after reaching this milestone is to learn the rules and idiosyncrasies of a quite remarkable sandbox environment, and the behaviors of those who inhabit it. It’s also rather important to begin the process at an early stage: the world Haytham arrives in will only grow and become more detailed in time.
Broadly speaking, there are five distinct categories of non-player character in Assassin’s Creed 3.
1.Civilians make up the vast majority of individuals that you will encounter on your travels, and present no threat to Haytham; indeed, their presence often enables him to hide in plain sight through the essential Blending ability (see page 43). There is no real profit to be had by harming them, and repeatedly attempting to do so (isolated accidents notwithstanding) will actually return you to a previous checkpoint. In areas marked with the  icon, select groups of civilians will attempt to restrain enemies that seek to harm Haytham, facilitating easy kills or a less complicated escape from combat.
2. Orphans, in contrast to often ambivalent civilians, are a nuisance that may test your patience – and yet, the same prohibition on direct acts of violence applies. These groups of small children will beseech Haytham for coins, moving into his path to block his progress ( 01). They have the potential to disrupt your plans by causing unfriendly eyes to alight on the unfolding spectacle. Fortunately, orphans only operate in fixed zones, and will lose interest outside of those boundaries. Should you attract their attention, your options are as follows:
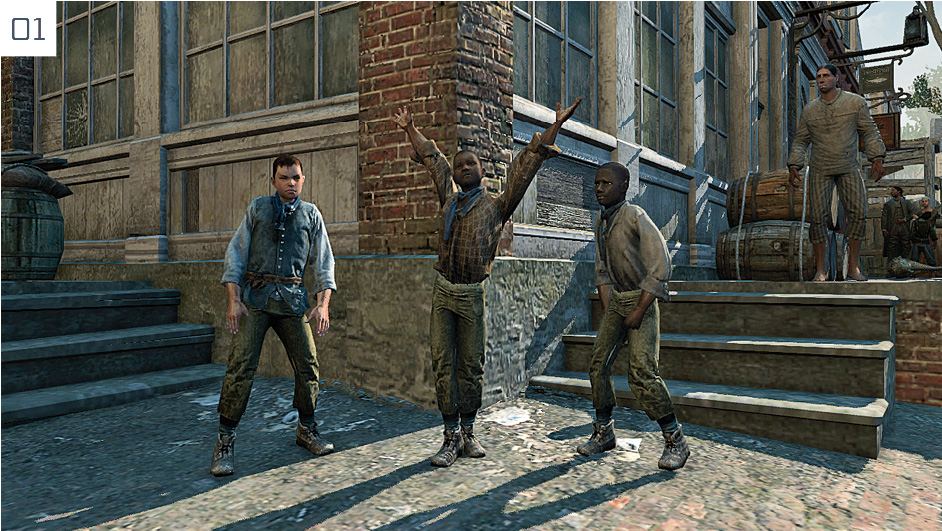
- Avoid them: if there is no cause for stealth, just run straight past.
- Pay them off: the Throw Money ability (see page 45) will bring their pestering or threats to an end.
- Intimidate them: drawing a weapon may cause orphans to pause, but they will soon resume their irksome onslaught with the realization that Haytham doesn’t really intend to use it.
3.Combatants include Redcoat patrols ( 02), rooftop sentries, and a wide variety of mission-specific targets that often attack on sight. Any individual who might potentially enter into combat with Haytham is represented on the mini-map by a red dot. You can avoid needless conflict with the soldiers who patrol Boston and the Frontier by following these simple rules:
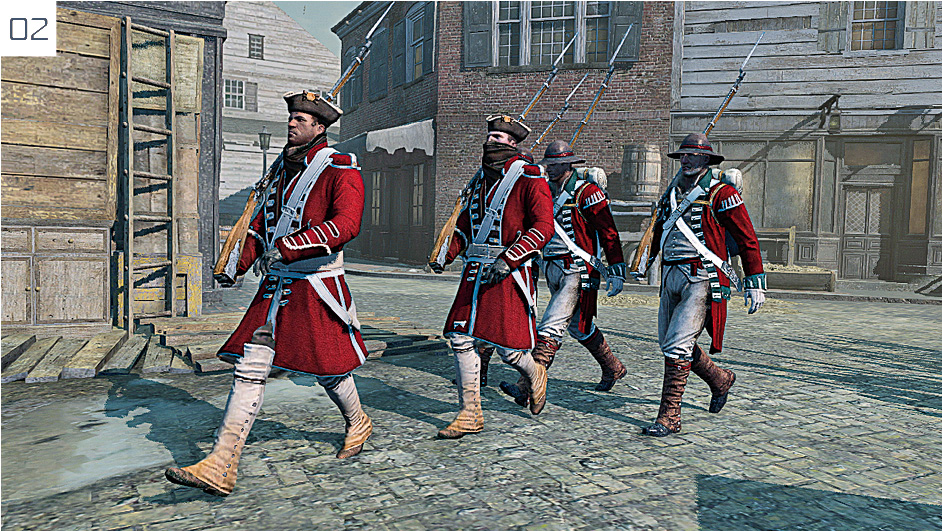
- Pay all patrols and guards a wide berth. Avoid accidental collisions. If a patrolling Redcoat is barged, he will usually move to rebuke Haytham. Stand still, and the situation need not escalate; run, and it could lead to conflict.
- Avoid illegal or excessively extravagant actions while Haytham is in sight of patrols or sentries: these may be regarded as a direct provocation. Common sense will usually suffice, but you’ll gradually acquire an appreciation of what you can and can’t get away with.
- Avoid Restricted Areas marked in red on the mini-map unless you actively need to enter. Trespassing will lead to automatic conflict once Haytham has been identified as an interloper.
4.Allies may accompany Haytham in his endeavors during certain missions; they are marked by a blue hexagon that can be seen through solid objects over greater distances, and by a blue dot on the mini-map. You are usually enjoined to protect them at all costs, though many of them are happy to dive into the fray in the event of hostilities. In some instances, allies can be issued the following instructions:
- To ask an ally to temporarily stop following Haytham, approach them and press
 /
/ . Use the same procedure and button to ask them to accompany him once again.
 - To request an ally to take refuge in a suitable hiding place – see page 44 – target a suitable position with
 /
/ , then tap
  /
/ . Press the latter button again in close proximity to their hiding place to ask them to emerge.
 - 5. Vendors are individuals that offer some form of service or meaningful interaction (such as a shopkeeper), or represent the start point for a mission or activity. Press
 /
/ when a suitable prompt appears to begin.
 - When you approach an individual who acts as the trigger for a mission or side quest, certain details appear as an onscreen overlay (such as the name of a mission). Later in the adventure, this will enable you to easily identify optional activities and study their parameters in our Side Quests chapter before you commit to playing them.
- With shopkeepers, pressing
 /
/ brings up an interface where you can browse their wares, and buy or sell items.
 - You will periodically encounter individuals who are highlighted on the mini-map by the
 icon. Approach them and press
  /
/ to have Haytham take part in optional conversations. These are not critical to your progression, but often provide illuminating background information as you learn more about the game world, and the key players in its story.
 - The dice icon (
 ) indicates that Haytham can take part in a minigame with a friendly opponent at the location marked on the mini-map.