
Assassin's Creed III Guide Side Quests
Naval Missions
The Chase
Mission Overview
|
Unlocked |
Optional Objectives |
|
|
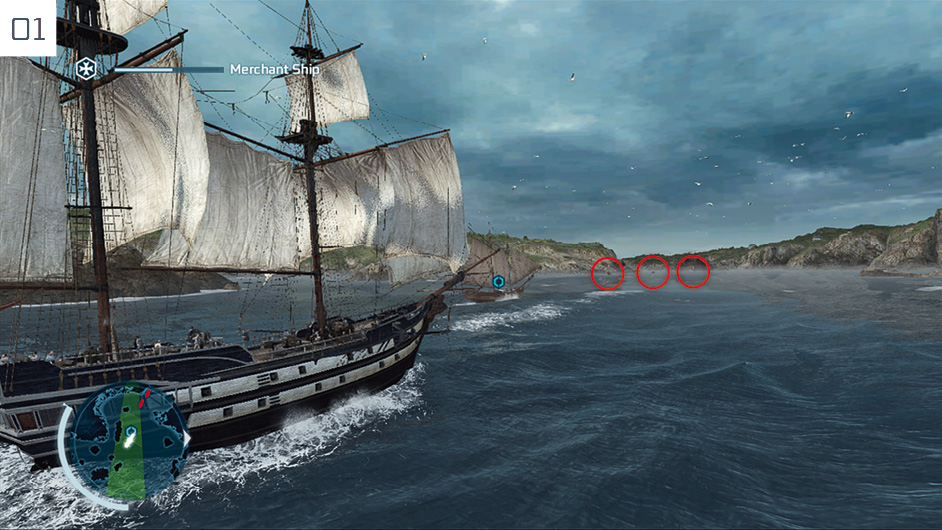
Once you reach the first green zone, several enemy gunboats will attack your ally. In order to complete the related Optional Objective, you must destroy these targets (and those that follow) quickly and efficiently. Use broadsides for groups, if possible, and use swivel gun blasts to eliminate individual ships between reloads. Gunboats in the distance can be destroyed with the swivel gun if you have sufficiently quick reactions, which is the key to completing the Optional Objective.
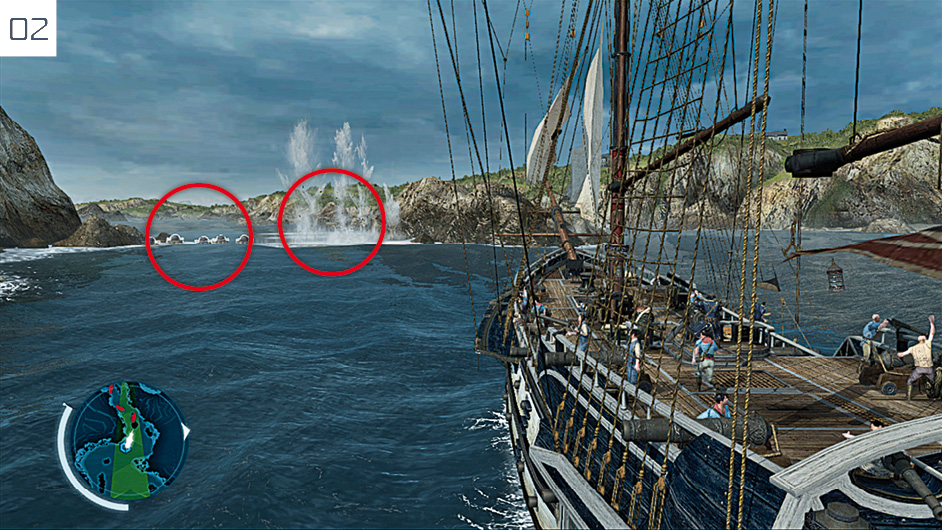
Aim your swivel guns at a mine until the target indicator turns red. Destroying a mine will set off a chain reaction, creating a safe path.
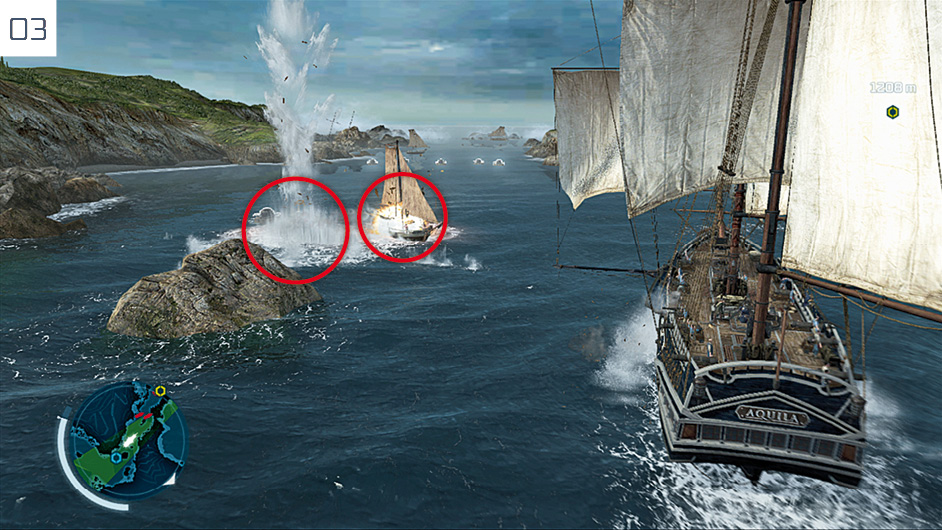
In order to complete the related Optional Objective, simply shoot the three mines behind this rock – a gunboat is lurking right next to them.
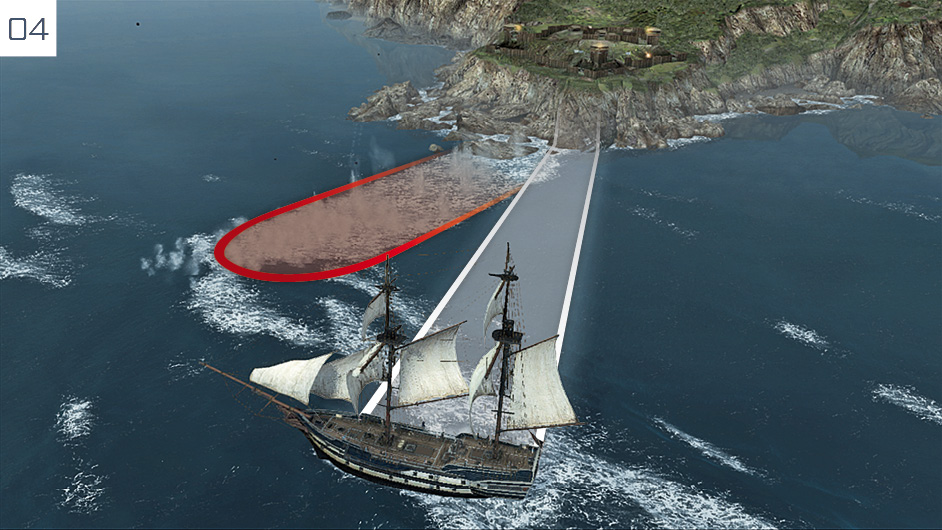
Try to hit the Fort (or, more specifically, its three towers) with a precision broadside as soon as the introductory cutscene ends. You should then sail parallel to the Fort at Full Sail. When it fires its mortars, turn hard at Half Sail to steer away from the wash that indicates where the mortars are landing. With this tactic, you can usually land a broadside on a tower between each flurry of mortar fire. If you fail the Optional Objective, note that there is a checkpoint just prior to this final battle.
The Rescue
Mission Overview
|
Unlocked |
Optional Objectives |
|
|
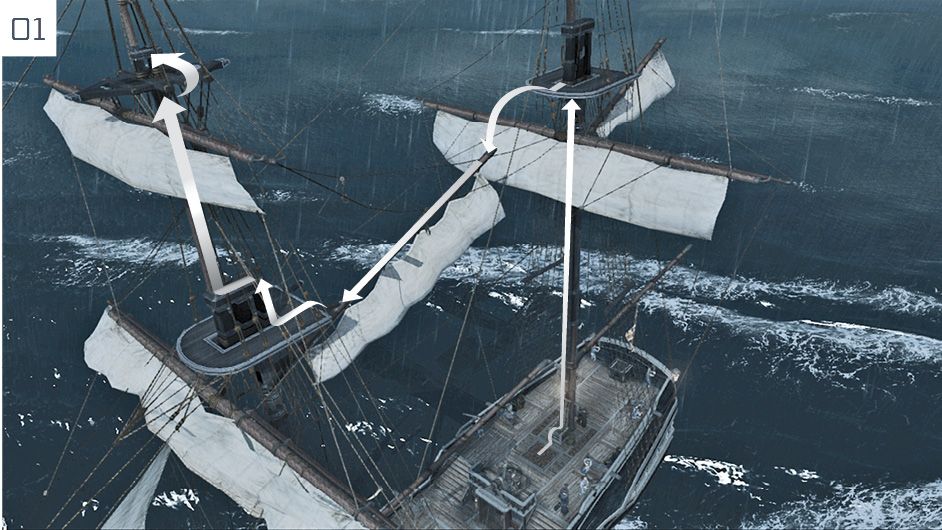
At the beginning of the mission, follow the waypoint markers to reach the top of the mast. Once you have done so, return to the wheel.
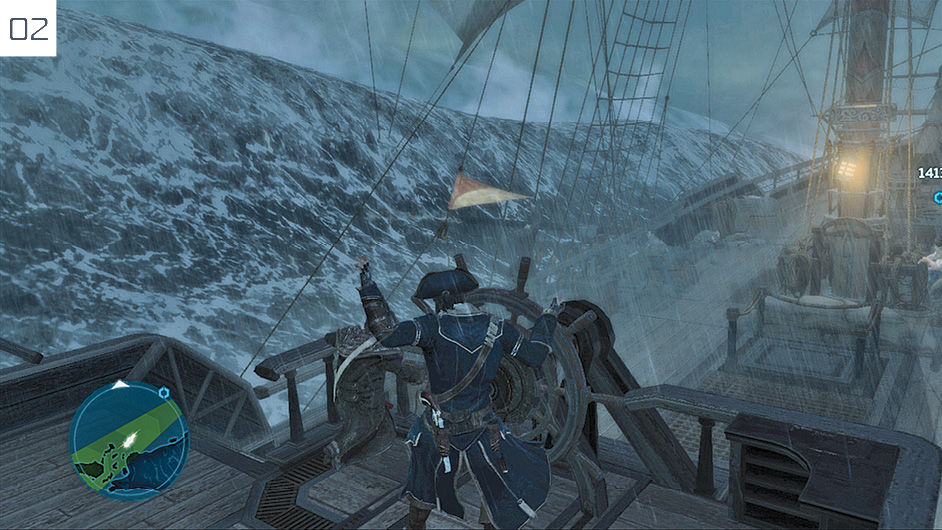
On your way to rescue the merchant ship, counter the Rogue Wind, by alternating between Half Sail to correct your course, and Full Sail to maintain overall speed. Even if only employed fleetingly, brief snatches of Full Sail will enable you to keep up with the target. Always press  /
/ to brace for Rogue Waves when the prompt appears.
In order to complete the accuracy-related Optional Objective, it makes sense to move in close to the schooners before you open fire. When the frigates enter the battle, fire a single broadside at their bow sections to reveal their Weak Points. You can then target these with the swivel guns to sink them with a single shot, as shown in the accompanying screenshot.
French Involvement
Mission Overview
|
Unlocked |
Optional Objectives |
|
|
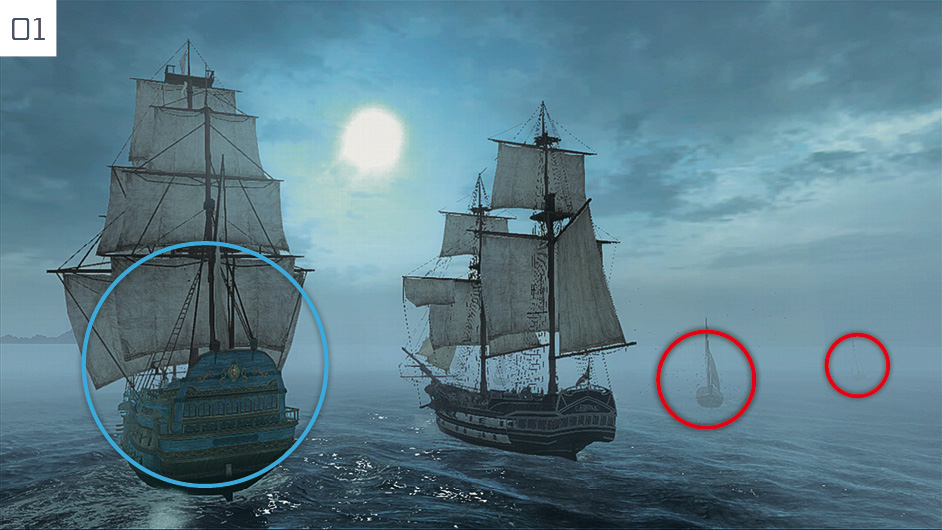
In order to sink more enemies than La Belladonna, concentrate primarily on the smaller gunboats, as they can be destroyed with a single shot from the swivel gun. It is also a good tactic to place the Aquila between the enemy fleet and La Belladonna for two reasons: you can act as a shield, protecting La Belladonna from harm, while also preventing her from destroying too many enemy ships so you can reach the Optional Objective.
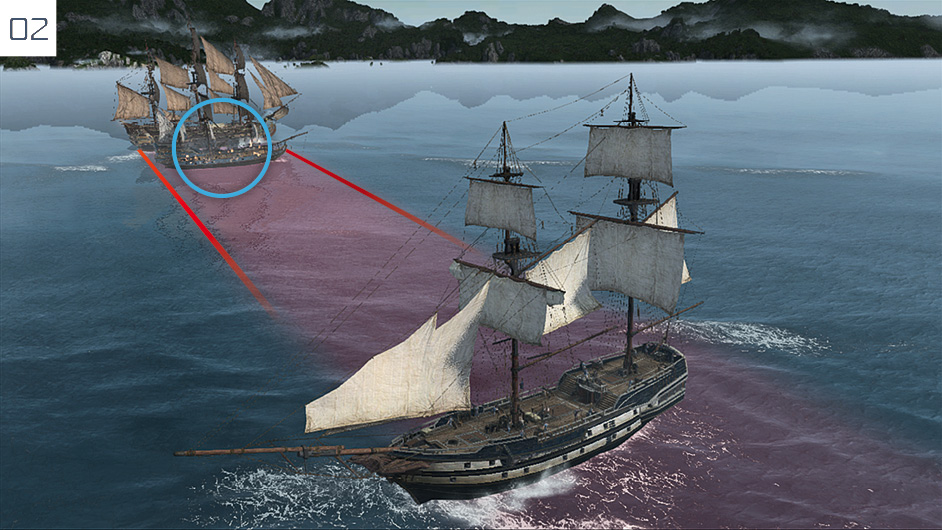
The screenshot here illustrates a scenario that you will do well to avoid. Sailing around the incapacitated La Belladonna places her in harm’s way, and prevents you from targeting the man-of-war. Break the circle immediately and try to force your opponent to engage the Aquila.
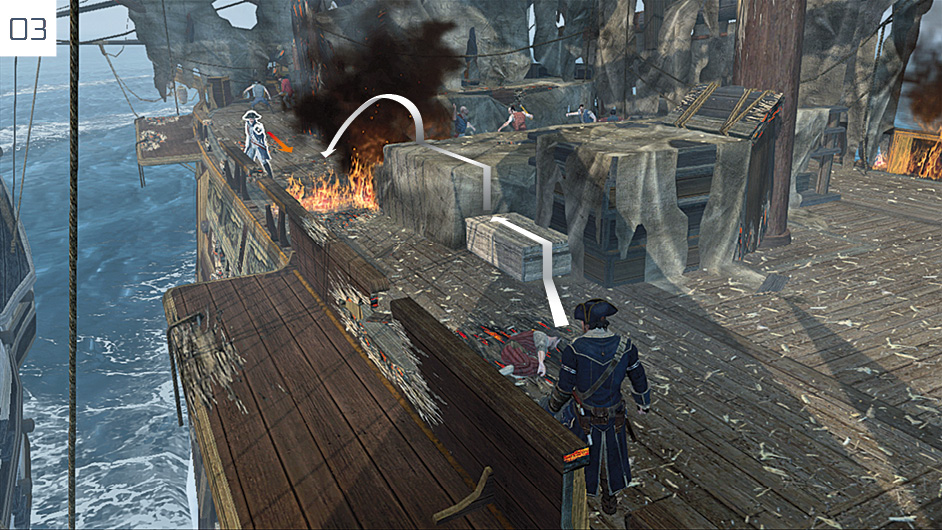
Pursue the Officer, avoiding all other potential assailants, and avoid flames. The opposing force may attempt to block Connor’s path after his quarry clears the first bend. Bypass these by any means necessary and continue the chase.
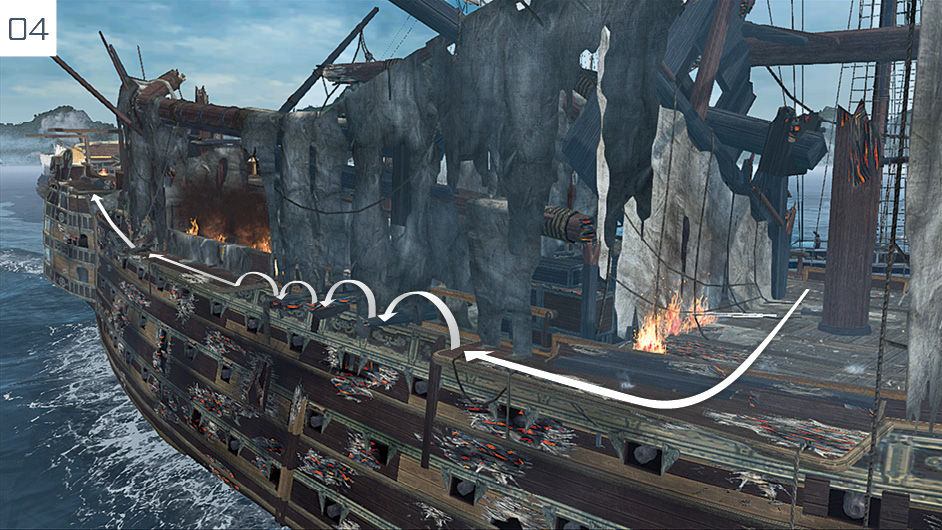
If you intercept the Officer while he is close to other enemies, a Counter Kill on one of his allies will set up a simple Kill Streak finish. Alternatively, just perform a double Weapon Swipe to knock him to the ground, then finish him where he lies to end the Memory.
Biddle’s Hideout
Mission Overview
|
Unlocked |
Optional Objectives |
|
|
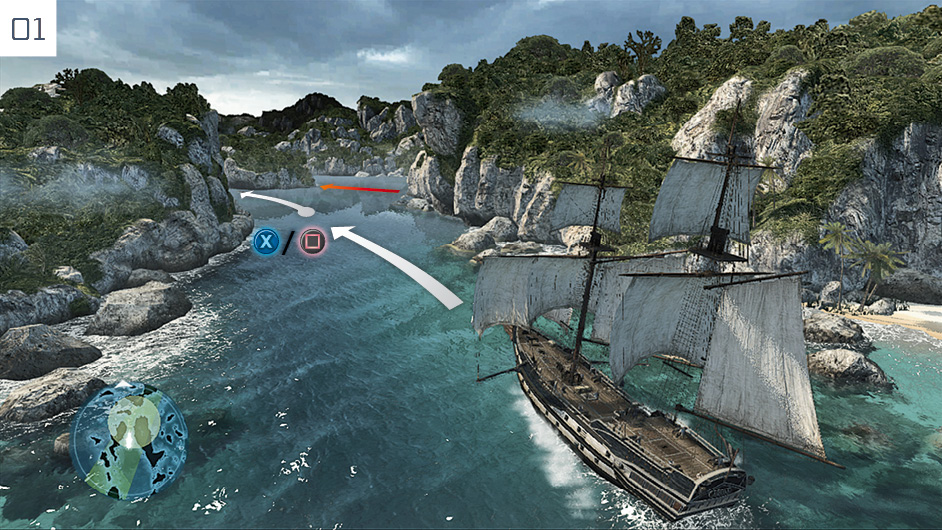
At this first bend, inside the green area, the Randolph appears for the first time and fires a broadside at the Aquila. Brace at the indicated moment. Focus your attention solely on the pursuit, and do not fire on the Randolph.
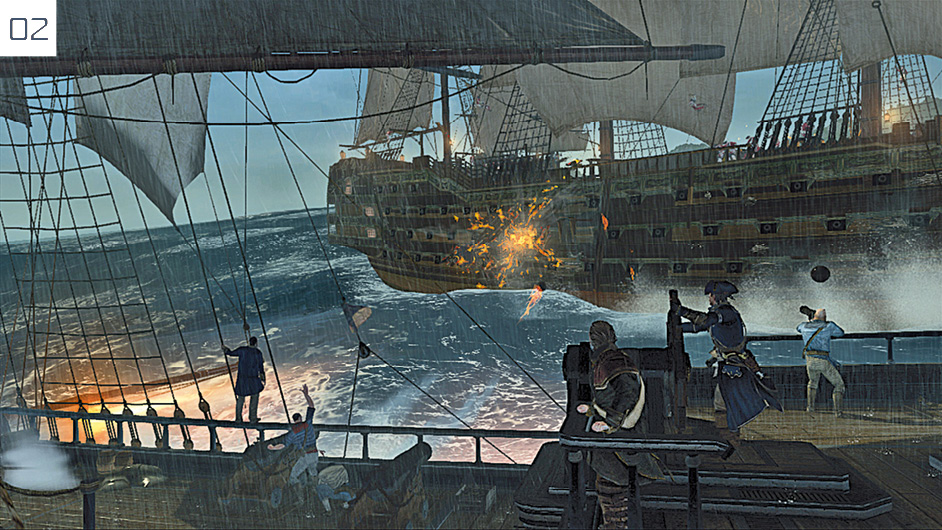
Before you disable the Randolph, you must destroy the men-of-war within three minutes in order to complete the Optional Objective. We strongly suggest that you purchase the Extra Cannon, Heat Shot and Improved Rudder upgrades before you seriously attempt to complete this Optional Objective, as the time limit is extremely tight. The quickest way to sink them is to fire on their bow sections to reveal their Weak Point, but this requires extremely adept sailing and a healthy gust of good fortune.
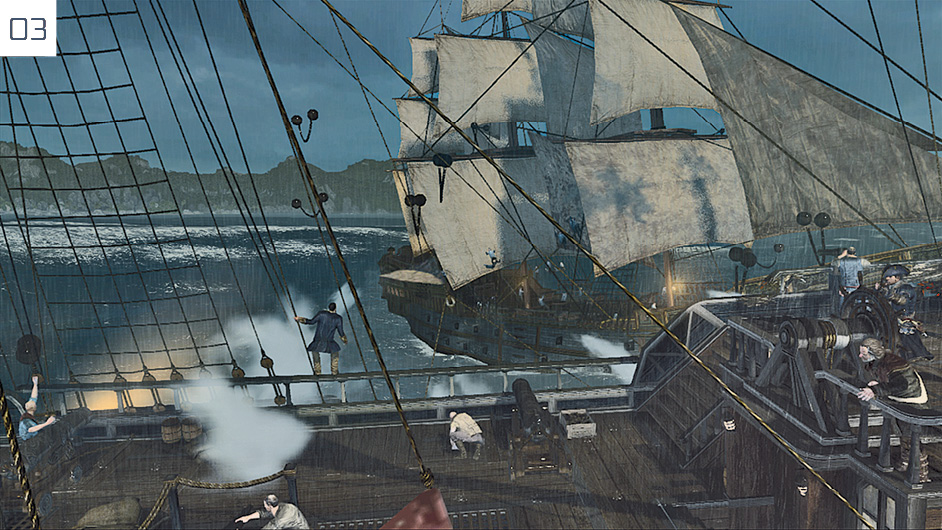
To complete the second Optional Objective by destroying the Randolph’s mast with just one chain shot broadside, you must move in very close to her before you open fire, as shown on the accompanying screenshot.
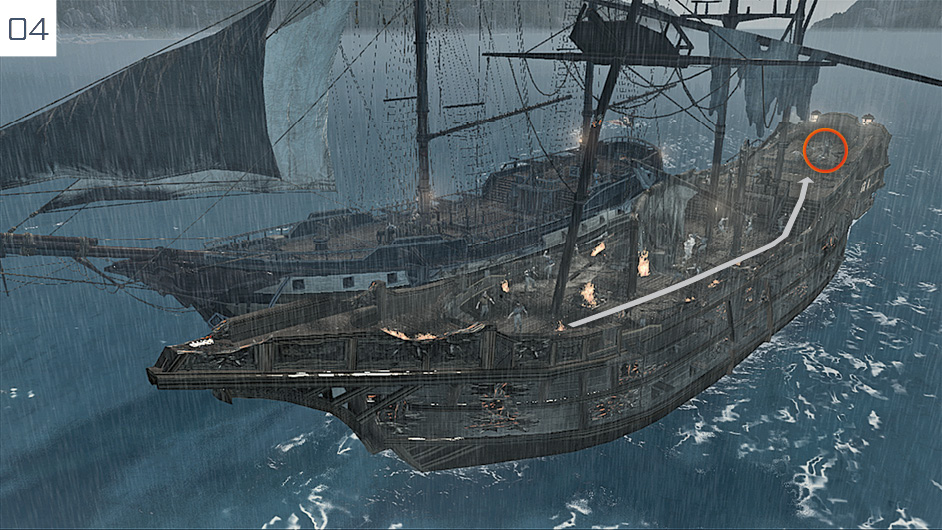
To fulfill the final Optional Objective, sprint directly to Biddle’s position at the stern of the ship.
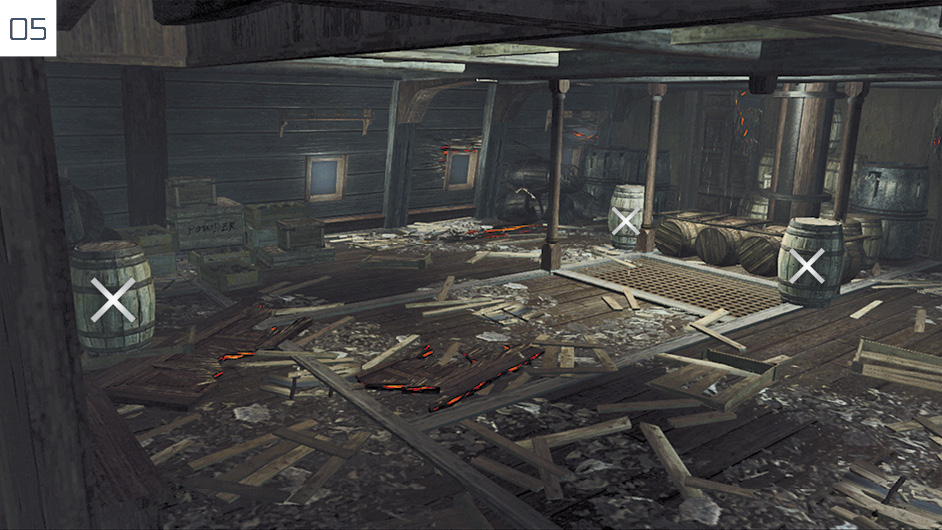
Once the fight begins, wait until Biddle attacks and respond with the Counter Disarm technique. Follow this up with immediate combo attacks. When he in turn counters, use Weapon Swipe to render him vulnerable to another combo. In the second part of the battle below decks, position Connor close to the barrels and just press  /
/ to smash Biddle into them when he attacks. Use the Weapon Swipe ability to prevent him from bringing his pistol to bear on Connor. After three of the contextual counters, Biddle should fall to a single combo.