
The Legend of Zelda: A Link Between Worlds Guide Walkthrough Turtle Rock
Turtle Rock
Entering the Dungeon
Turtle Rock is a dungeon in Lorule Lake—the same spot where the House of Gales appears in Hyrule. To reach this region, use the fissure that’s south of the Lakeside Item Seller (merge around the southern cliff to reach it), or use the fissure near the Racing Bro, who runs the Hyrule Hotfoot game. Entering either of these fissures in Hyrule takes you to the Lorule Lake region.
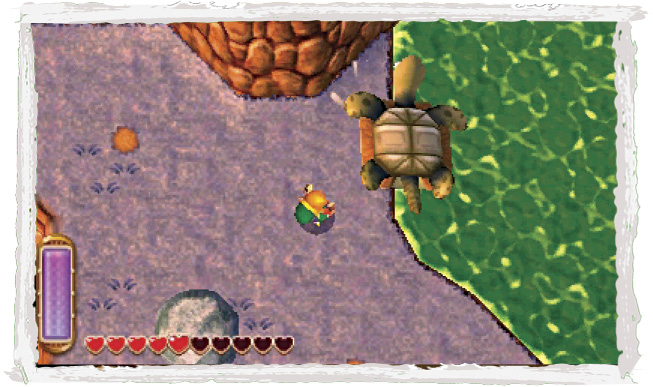
Now, to the dungeon! Head for Lorule Lake, and look for three troubled turtles that are stuck in tricky situations around the lake. One turtle is located in the lake’s southwest corner—slay the Slaroks near the turtle, then press  to flip the turtle upright and into the lake.
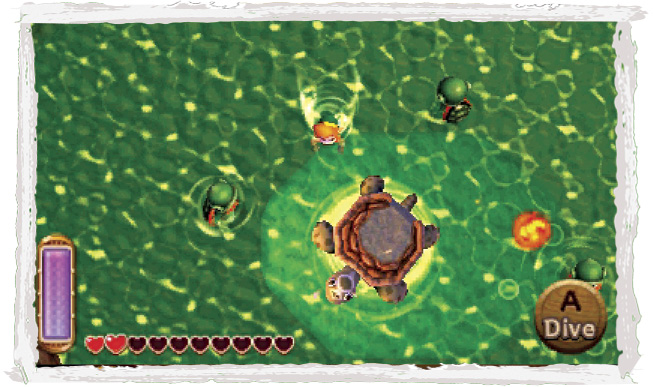
Another turtle is being harassed by evil Kus up north, on the lake’s west side. Cut down all of the Kus near the turtle to rescue the poor creature.
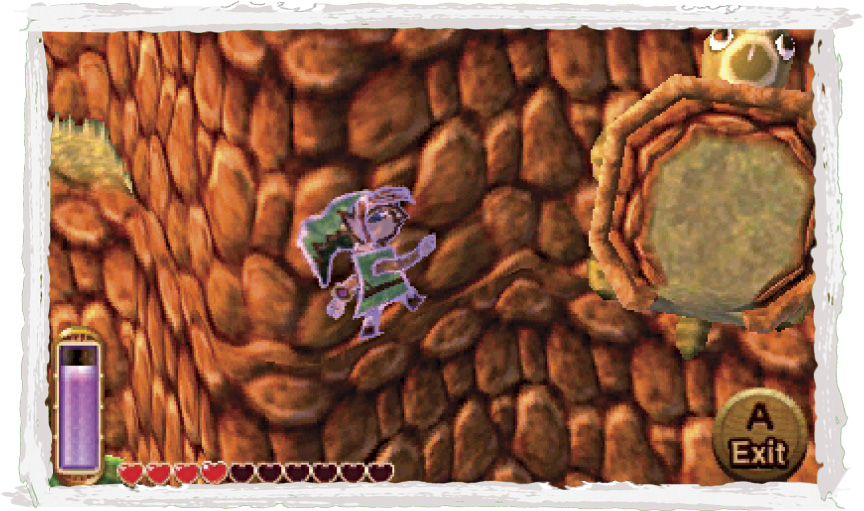
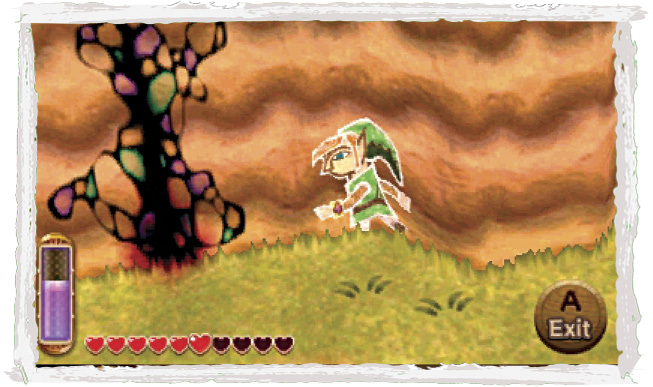
The third and final turtle is stuck on the high north cliff. To reach it, scale the northwest ladder to climb out of the lake, then merge into the high north cliff.
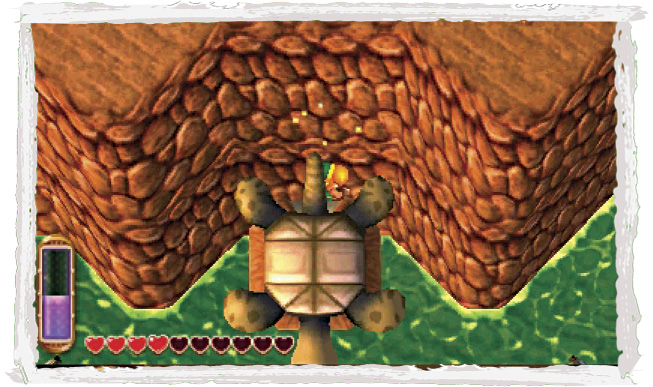
Now slide eastward along the cliff, heading for the stuck turtle. Slide right behind the turtle and pop out of the wall to knock it down, just like you’ve done to rescue many a Maiamai by now.
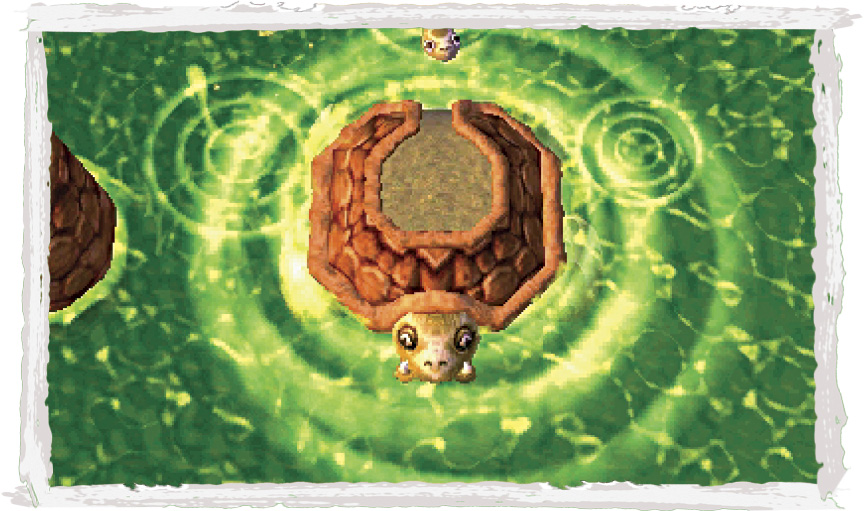
With all three turtles returned to the lake, the gigantic Mama Turtle rises up from the depths. Mama Turtle thanks Link for helping her children, and offers to give our hero a ride around the lake. How thoughtful! Swim up behind Mama Turtle and climb aboard.
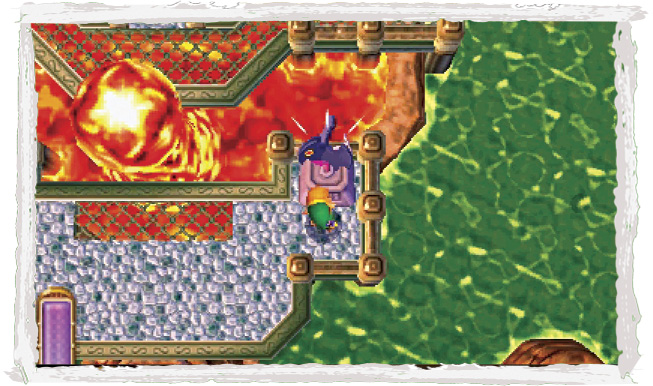
Use the Boomerang to snatch nearby items as you ride Mama Turtle around the lake. When you pass the fiery north temple of Turtle Rock, step off Mama Turtle and save your game at the weather vane.
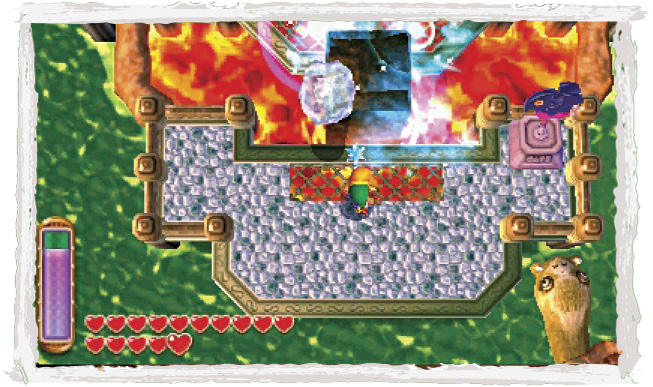
You’ve made it to the dungeon—now, to enter it! Wait for a lava geyser to froth up from the nearby magma, then use the Ice Rod to freeze the geyser solid.
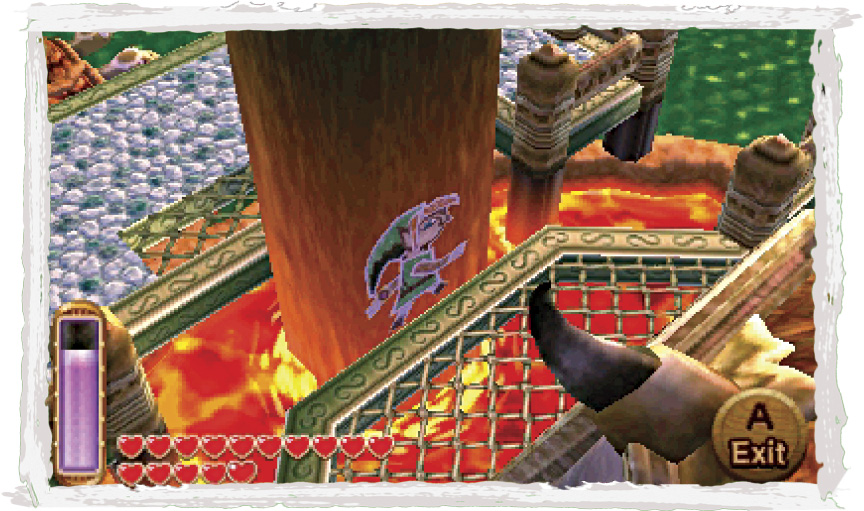
Now’s your chance! Merge into the frozen geyser and slide around to its north side. Pop out of the geyser before it returns to its molten state, then head into Turtle Rock.
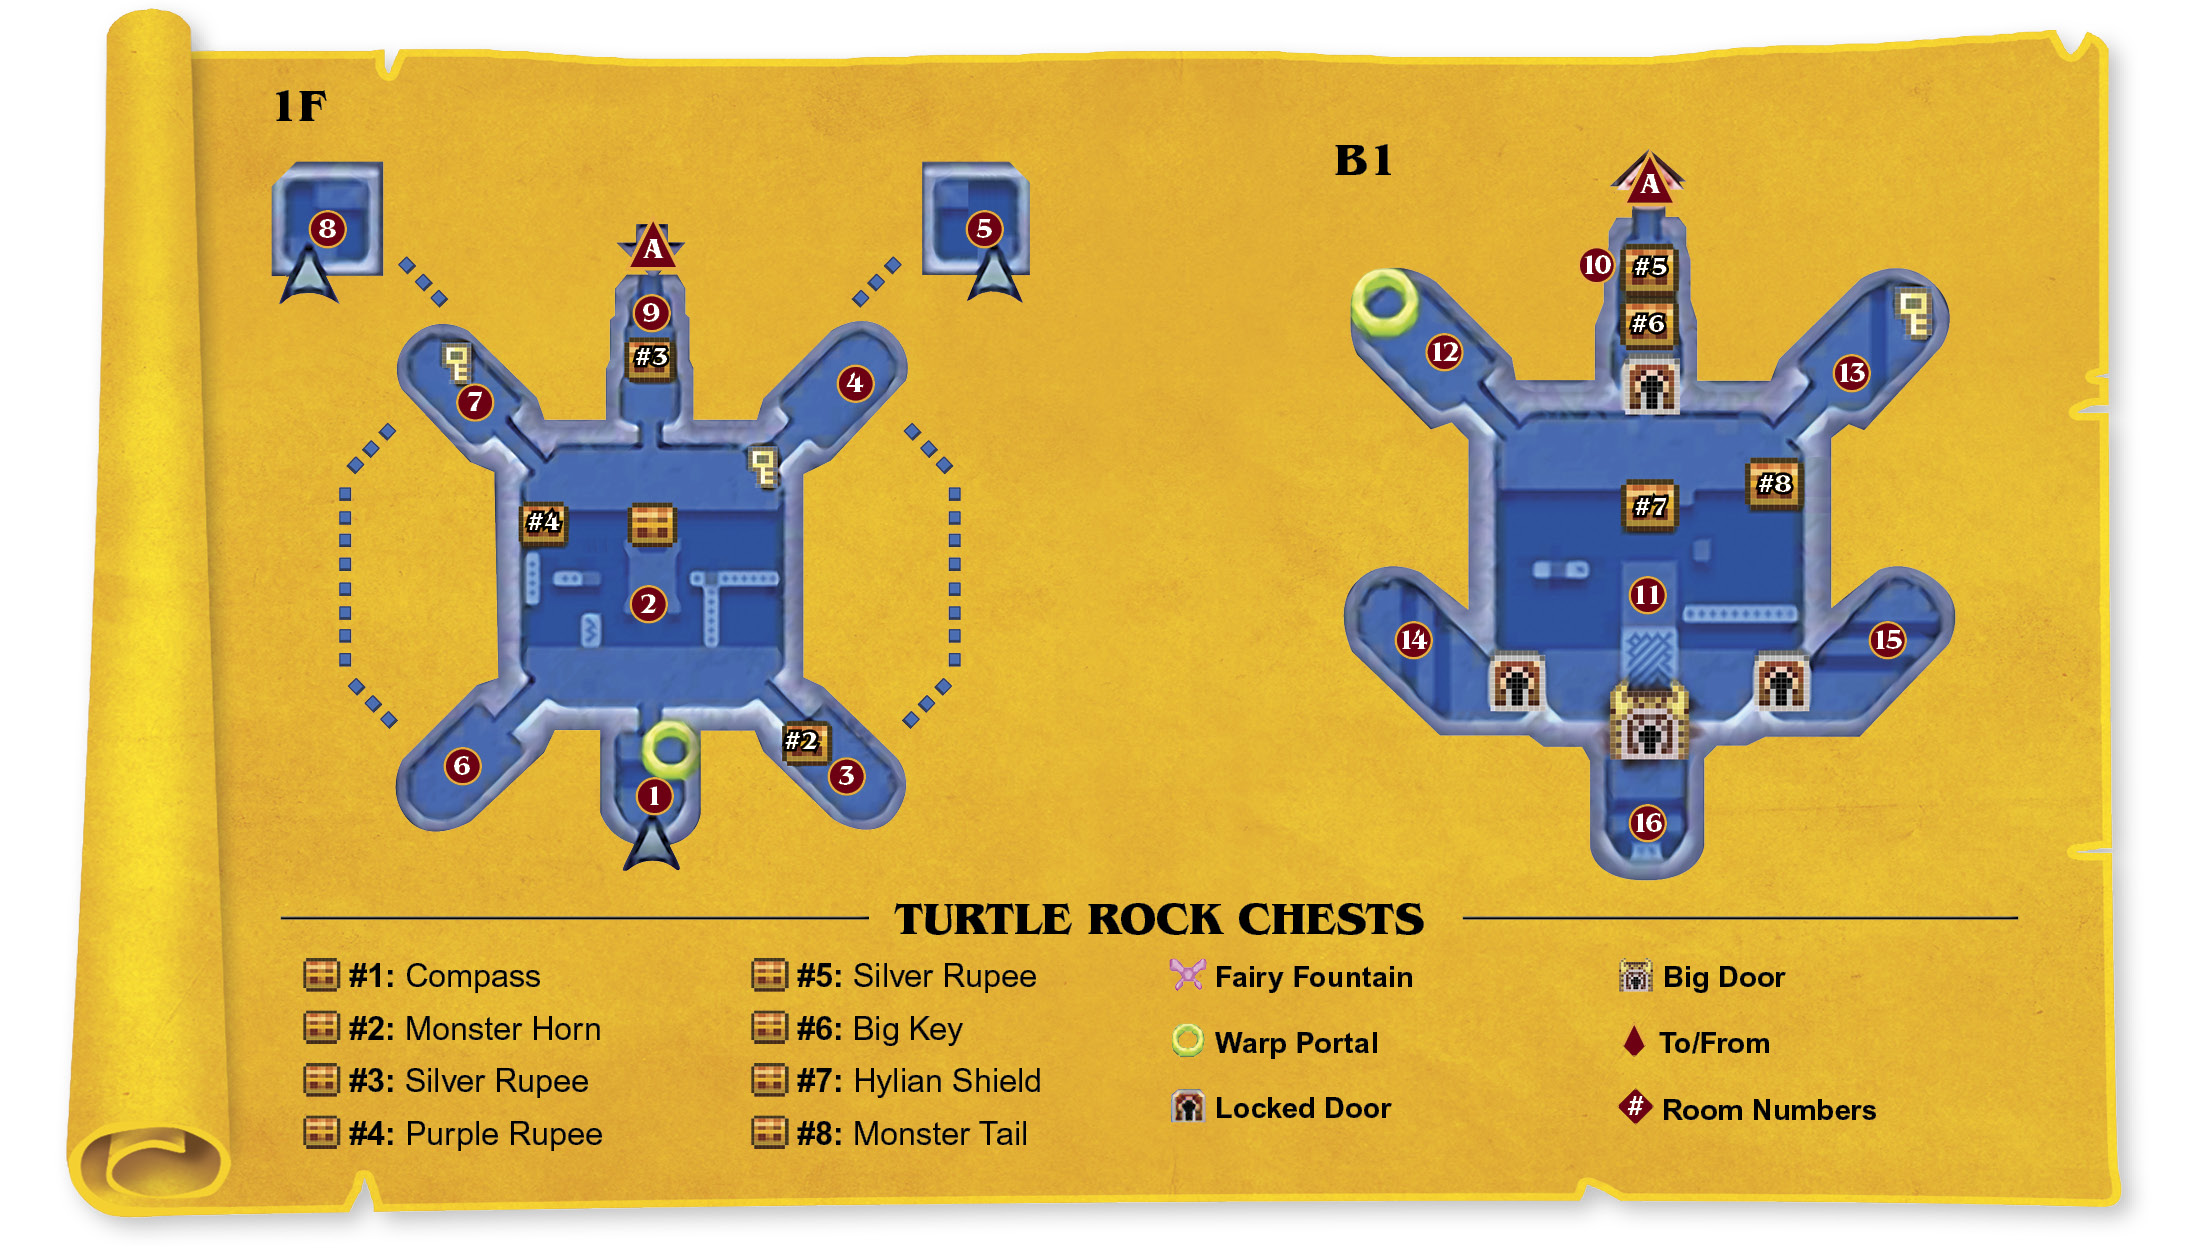
Room 1: Entry
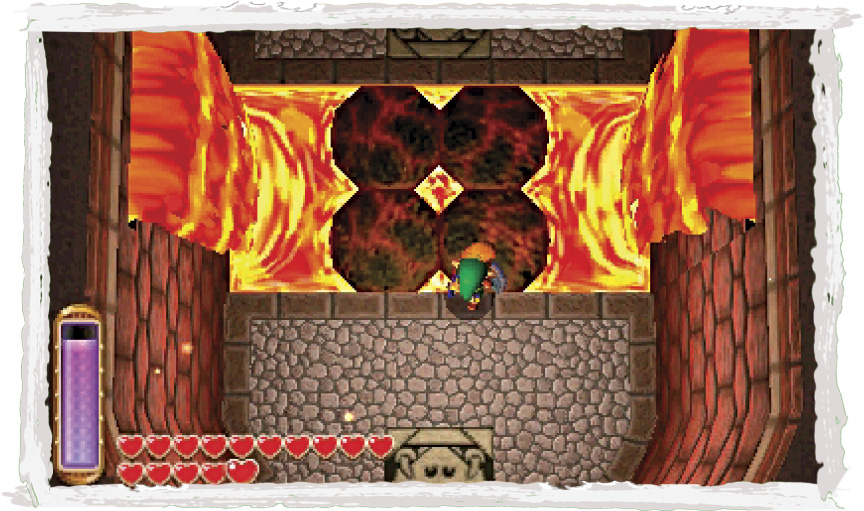
A river of lava flows through this room, presenting an impassible obstacle to all save those who possess the Ice Rod. Use the Ice Rod to freeze small sections of lava, then hurry across the cooled substance before it reverts to its lethal liquid state.
Room 2: Fire Cavern A
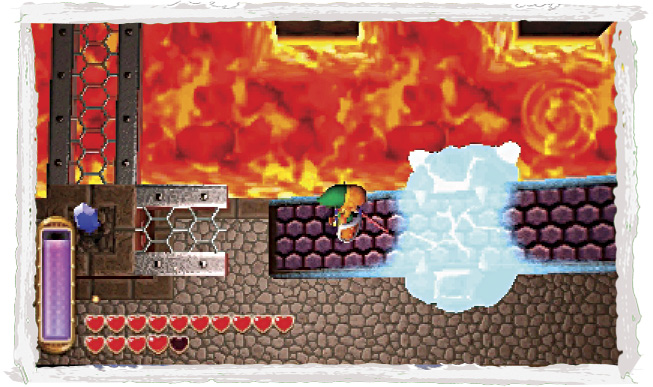
More lava flows through this wide chamber, which features small side rooms at all four corners, as well as a fifth room up north. Ignore the side rooms for the moment and use the Ice Rod to freeze the nearby balanced beam.
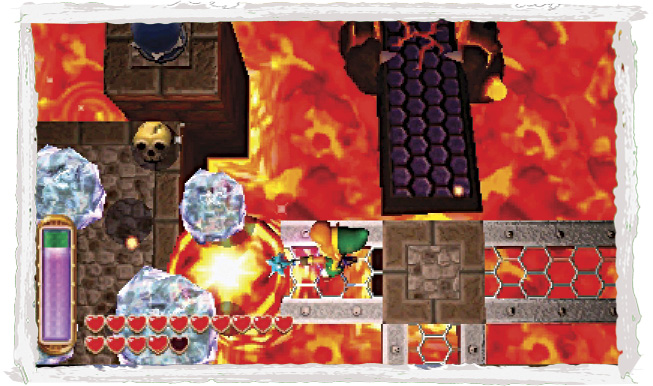
After freezing the beam, run up to reach the room’s east walkways. When you encounter another balanced beam, stop and wait for a lava geyser to froth up nearby. Freeze the geyser with the Ice Rod, then merge into it and slide around the geyser to reach the room’s central platform.
 Turtle Rock Chest #1: Compass
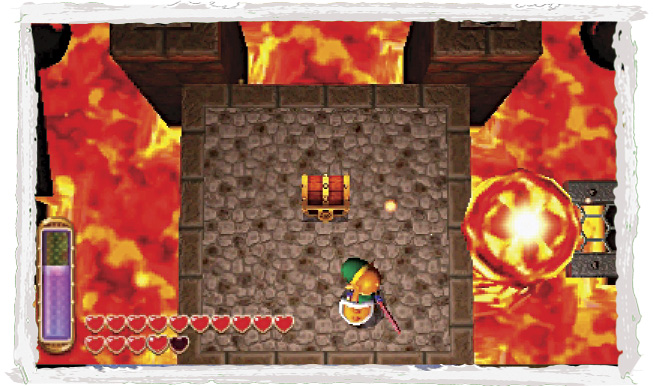
Once you’re standing on the central platform, use the Ice Rod to activate all four nearby crystals. After all four switches have been activated, a chest appears. Open the chest to claim the dungeon’s compass.
Finding the Floor Switch
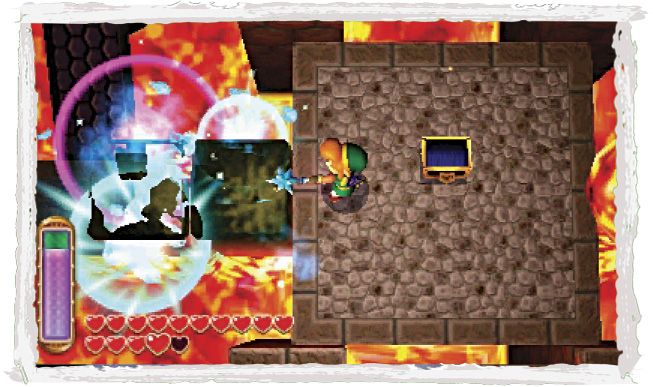
You’ve found the compass, now let’s locate an important floor switch. Freeze the two lava geysers to the west, then merge into and around them to reach the room’s west walkways.
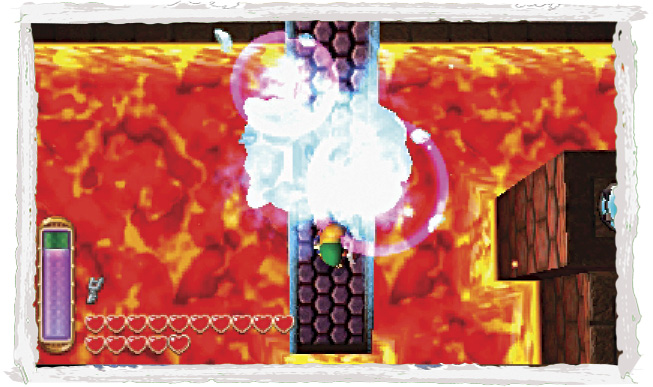
Freeze the balanced beam to the north after crossing the lava geysers. Go north across the frozen balanced beam afterward.
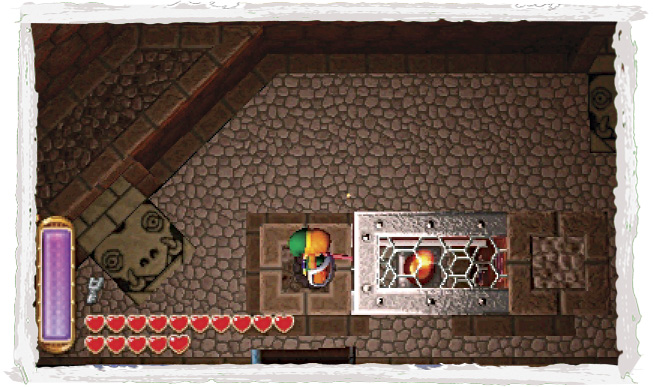
The floor switch is hidden under a short section of metal walkway beyond the balanced beam. Step on the floor switch to open the high north door. Great—now you’ve just got to get up there!
Side Room Exploration
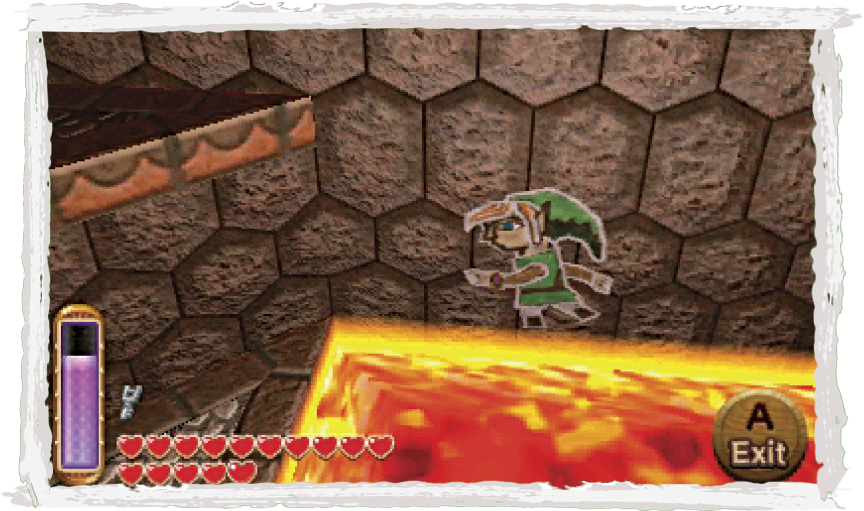
Drop from the ledge after activating the floor switch. You can’t explore very much of the northwest and northeast side rooms, so ignore them for the moment and merge southward along the room’s west wall, returning to the room’s entry area.
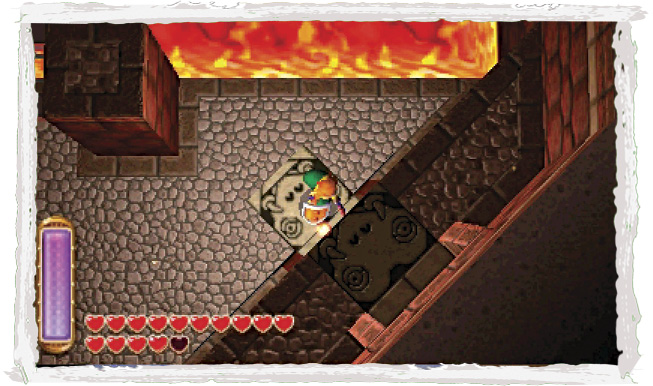
When you return the room’s southern entry, go east and enter the southeast door to visit Room 3.
Room 3: Southeast Kodongo Wing
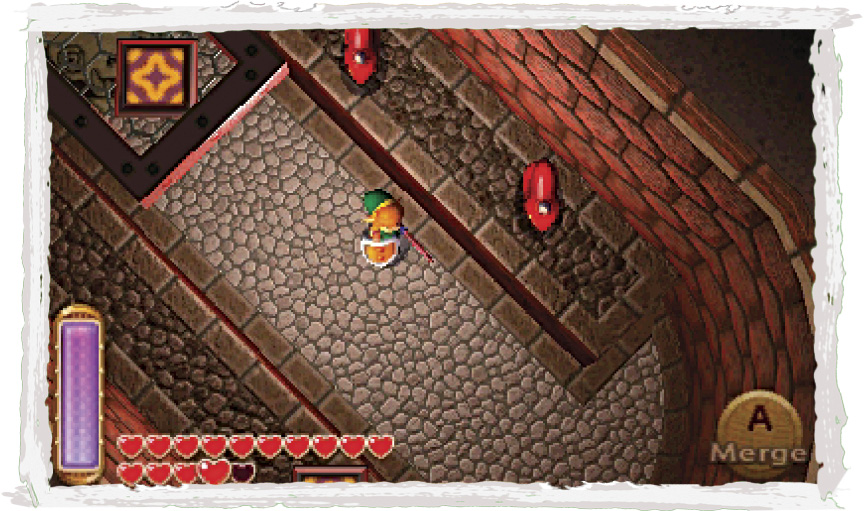
This small room is filled with vicious, fire-breathing Kodongos. Stay mobile to avoid their flames as you toss bombs up at the Kodongos from the low ground. (You can also freeze them with the Ice Rod to make them easier prey.) Slay all of the room’s Kodongos to make a chest appear on a high ledge.
Room 2 (Revisited)
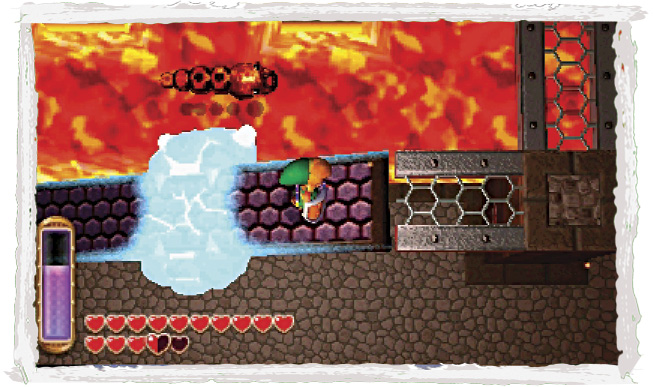
You can’t reach Room 3’s chest, so exit the room and return to Room 2. Use the Ice Rod to freeze the southern balanced beam, then sprint up the beam to reach the high east walkway.
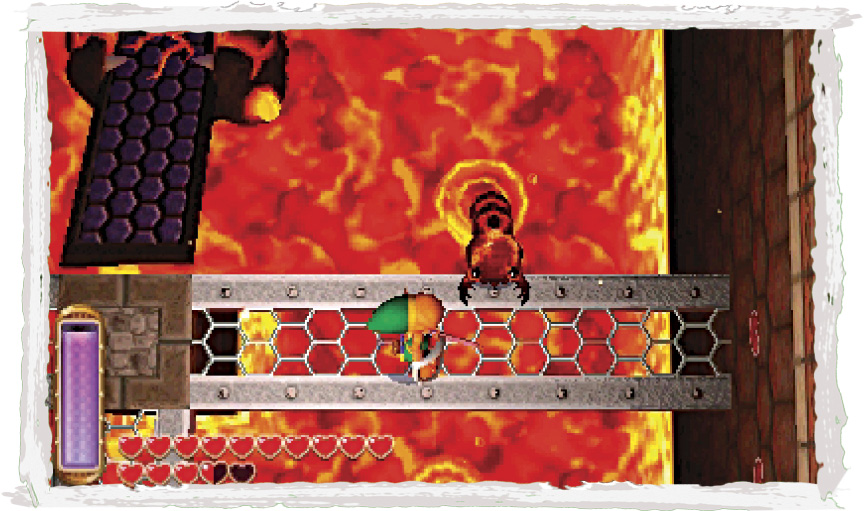
Beware the Flamolas that leap out of the lava as you navigate the east walkway. These monsters are exactly like the Swamolas you battled at Misery Mire, and they can be stunned and defeated with the Ice Rod if you like. Slay or avoid the Flamolas as you move to merge into the room’s east wall.
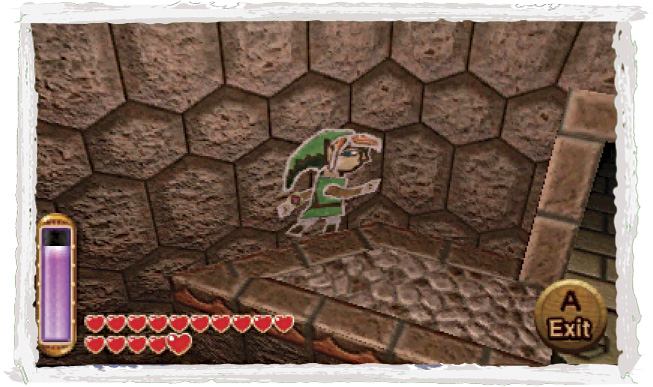
Slide south along the east wall, heading for the room’s high southeast ledge. Exit from the wall when you get to the ledge, then pass through the high southeast door to revisit Room 3.
Room 3 (Revisited)
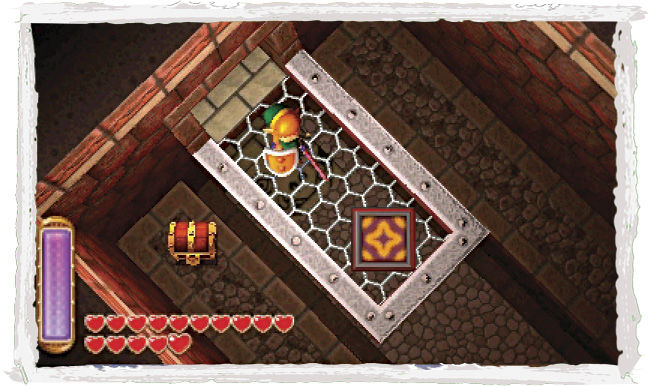
Entering this room from Room 2’s high southeast door places you within reach of a warp panel. You still can’t reach this room’s chest, however. Step on the panel to warp to Room 4.
Room 4: Northeast Kodongo Wing
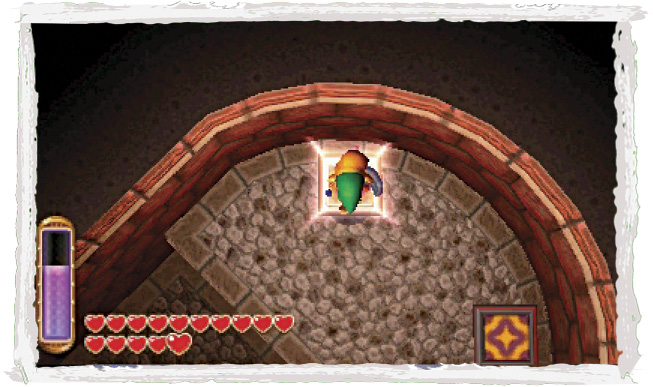
The warp panel whisks you to a high ledge in Room 4. Ignore the Kodongos below you and simply step onto the other nearby warp panel to travel to Room 5.
Room 5: Fairy Fountain Access
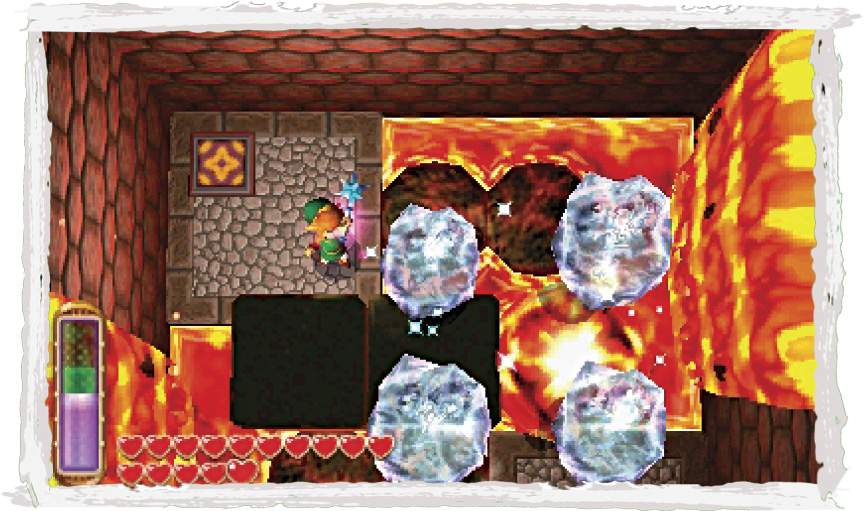
Three red-hot geysers regularly froth up from this room’s central lava pool. Freeze all three geysers at once, then merge into them and slide over to the southeast door, which leads outside. (You can also simply freeze the lava to create temporary platforms and walk across.)
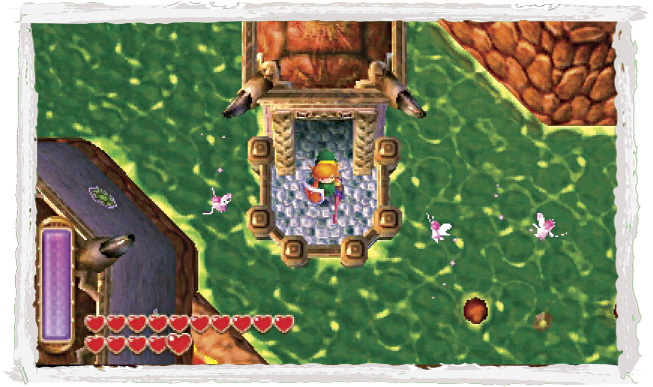
Link emerges outside on Lorule Lake, among a small group of circling fairies. What a nice change of scenery! Collect a few fairies if you like before heading back into the dungeon. Travel back through Room 5’s warp panel to return to Room 4.
Room 4 (Revisited)
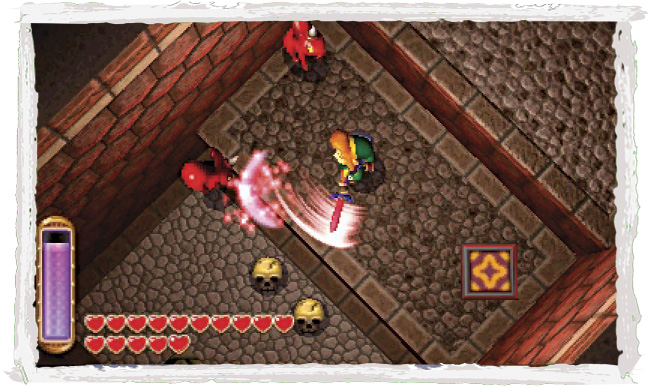
This time, drop from Room 4’s high ledge and slay the Kodongos on the lower ledge. Step onto the lower ledge’s warp panel to travel back to Room 3.
Room 3 (Third Visit)
 Turtle Rock Chest #2: Monster Horn
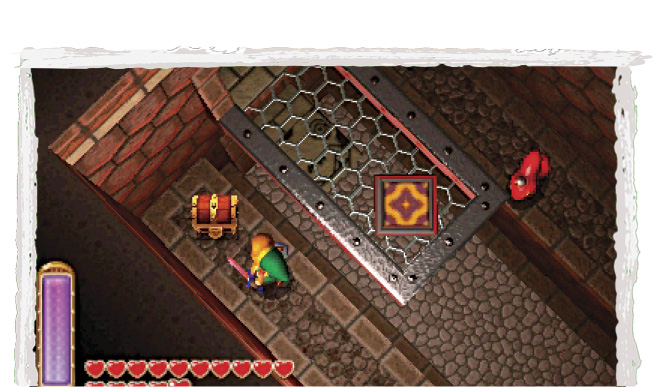
Room 4’s lower warp panel brings you to Room 3’s southern ledge. At last, you can reach this room’s chest! Flip its lid to score a monster horn. (If there’s no chest here, you must slay all of the room’s Kodongos to reveal it.)
Room 2 (Third Visit)
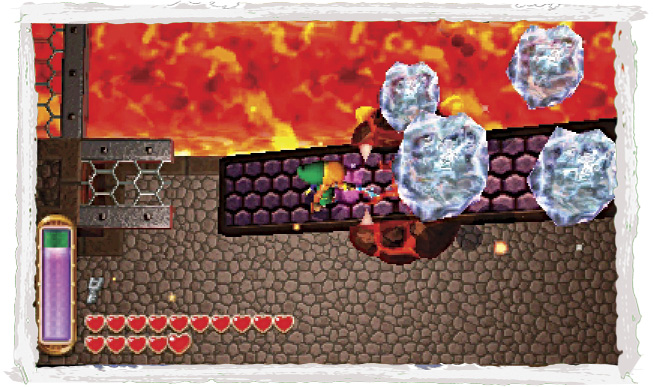
Drop from the ledge after looting the chest and go north into Room 2. Once again, freeze the southern balanced beam and sprint up to the east walkways.
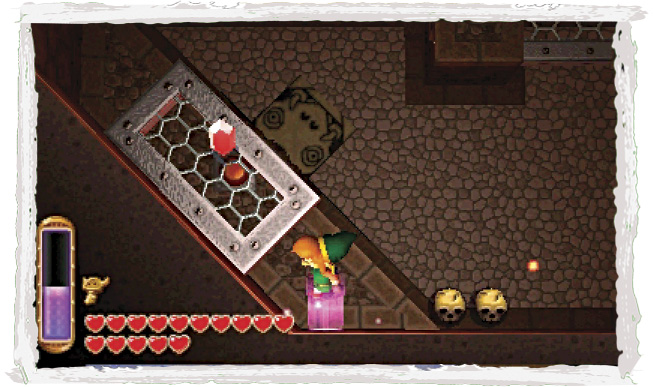
Go east and merge into the room’s east wall again. Slide southward along the wall once more, but this time, keep going past the room’s southeast ledge. Slide westward along the room’s south wall, heading to the high southwest ledge.
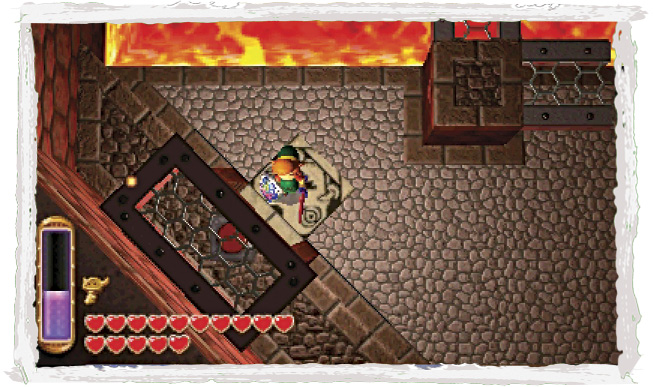
Room 2’s high southwest ledge features a Red Rupee. Pop out and collect this prize, then carefully drop to the lower ledge, which features a floor switch. Step on this switch to open the nearby door below you, then drop down and go through the door to visit Room 6.
Room 6: Southeast Gibo Wing
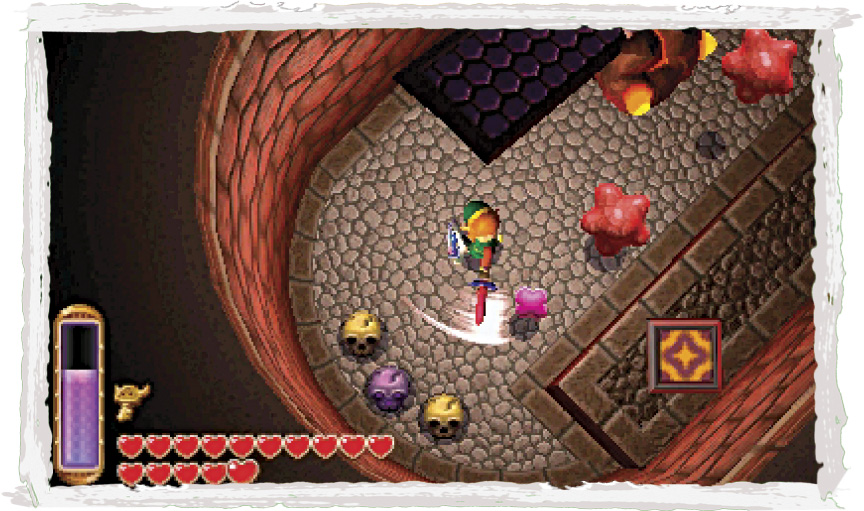
This small room’s balanced beam is guarded by a pair of blob-like Gibos. These monsters are similar to the Water Gibos you faced in the Swamp Palace, except that they hover through the air, and only their smaller part can be harmed (unless you use the Ice Rod).
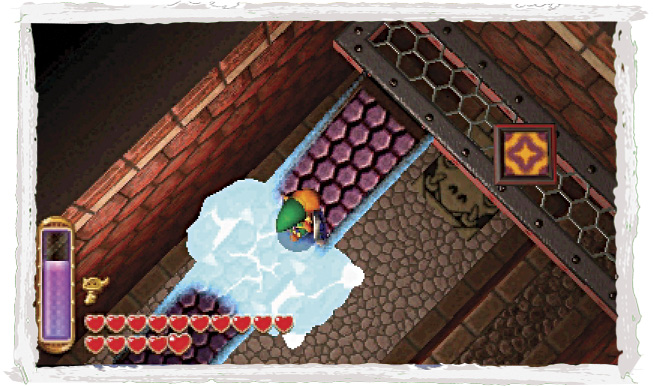
Slay or avoid the Gibos as you step onto the balanced beam. Tilt the balanced beam so that you can reach the high north ledge, then freeze it with the Ice Rod and sprint up there. Use the ledge’s warp panel to travel to Room 7.
Room 7: Northeast Gibo Wing
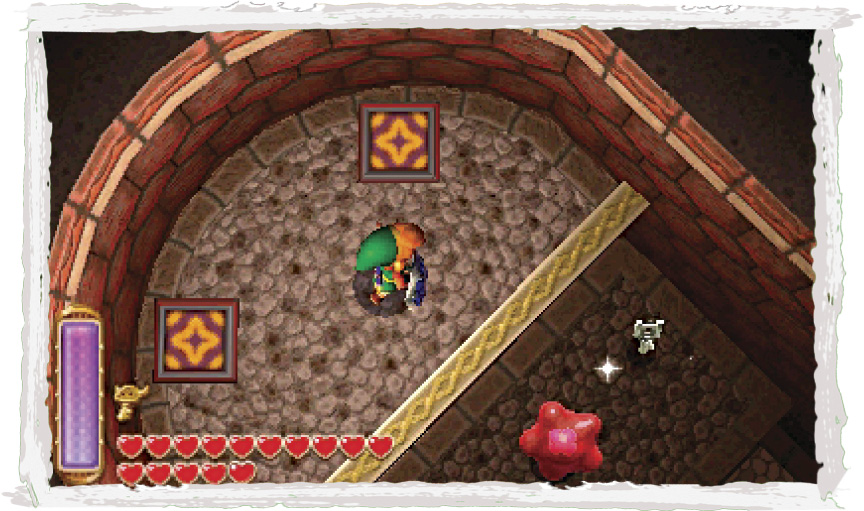
Room 6’s warp panel whisks you away to a high ledge in Room 7. Ignore the small key on the lower ledge below for the moment and simply use another nearby warp panel to visit Room 8.
Room 8: Outdoor Balcony Access
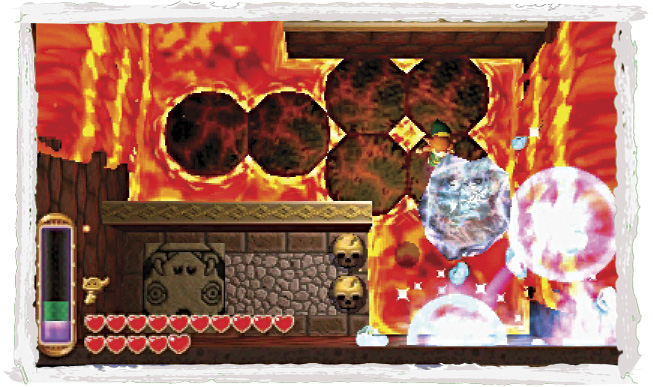
The heat of this small, lava-filled room certainly is intense! Quickly use the Ice Rod to freeze the molten floor so you may cross over and exit through the southwest door. (Merging around the walls makes the journey a little easier.)
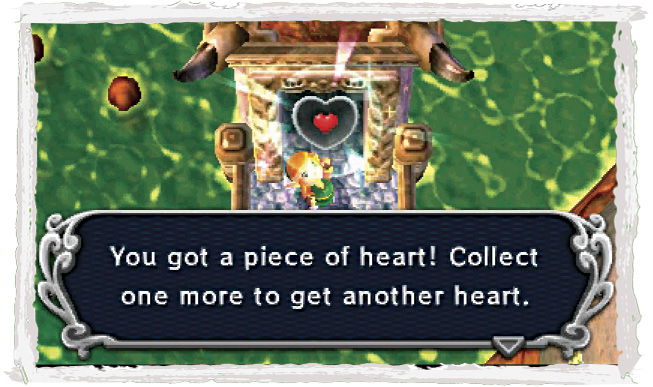
The door leads outside to the fresh air of Lorule Lake. Hey, there’s a piece of heart out here! If you’ve followed this walkthrough faithfully, then this happens to be the final piece of heart you’ll find. Congratulations!
Room 7 (Revisited)
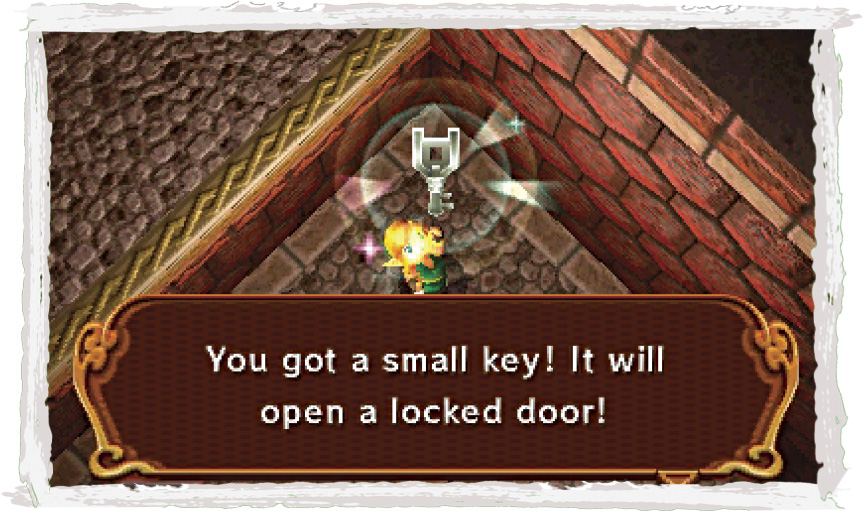
Now that you’ve secured your last piece of heart, it’s time to get a move on. Travel back through Room 8’s warp panel to return to Room 7, then drop to the lower ledge and slay a pair of Gibos that guard the small key you noticed before.
Room 2 (Fourth Visit)
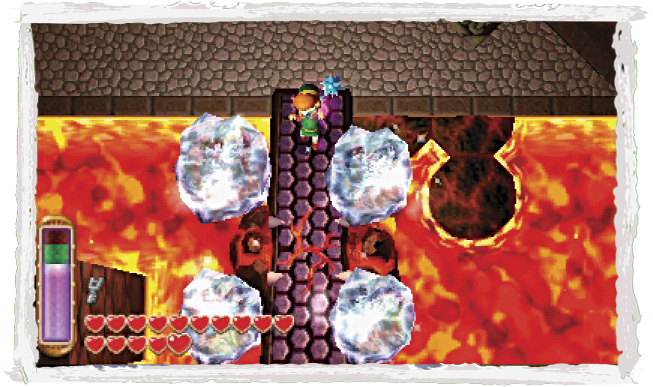
Exit Room 7 with your small key in hand and return to Room 2. Go east and freeze the room’s northeast balanced beam, then go southward up the beam.
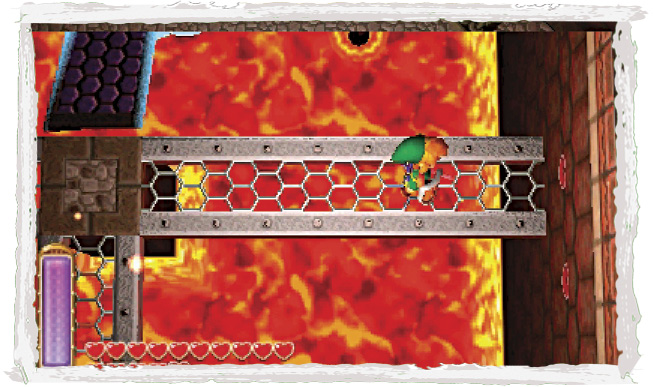
The beam leads back up to the east walkways. Go east and merge into the east wall again. This time, slide north along the wall to reach the room’s northeast ledge.
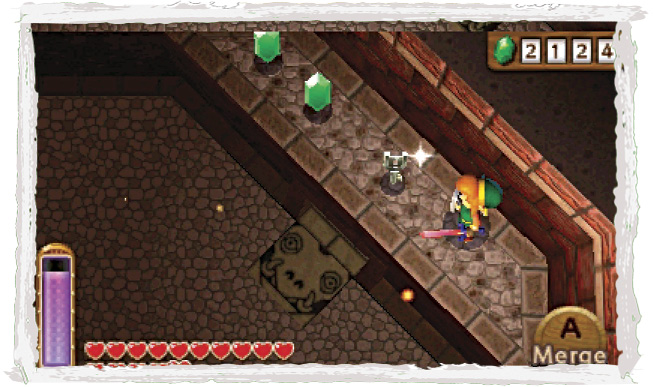
Hey, there’s another small key up here! Pop out of the wall and pocket the key, which is sure to come in handy.
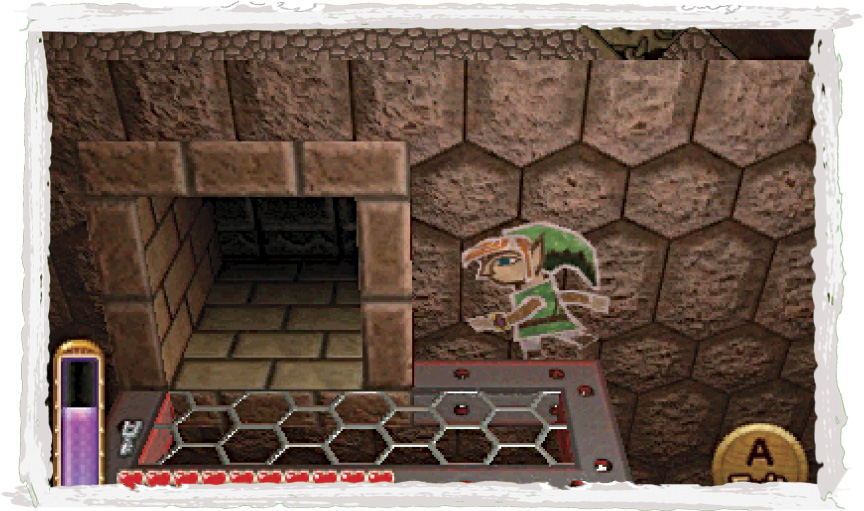
Merge back into the wall after claiming the key, and continue sliding northward and then west, wrapping around the room’s northeast corner. Keep going until you reach the high north door—the very one you opened by stepping on the floor switch a short time ago. Pop out onto the high north ledge and go through the high north door to visit Room 9.
Room 9: Stairwell
 Turtle Rock Chest #3: Silver Rupee
Room 2’s high north door leads to an overhead wire balcony in Room 9. Open the chest up here and collect a shiny Silver Rupee.
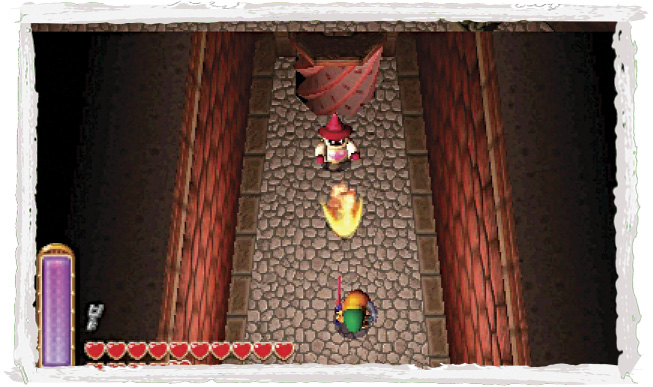
Beware: Dangerous Fire and Ice Wizzrobes appear when you drop from the wire balcony! Slay these formidable foes to unseal the room—but don’t go downstairs just yet!
 Wizzrobe
Damage: 2 Hearts
These spooky spellcasters warp around rooms, appearing and disappearing at will. Each time a Wizzrobe materializes, it fires a beam of fire or ice (depending on its type). Both spells inflict damage, but the Ice Wizzrobe’s spell also freezes Link for a brief time—not cool! Wizzrobes can be tough to hit with traditional weapons, but the Ice and Fire Rods can quickly bring them down.
Chest Quest
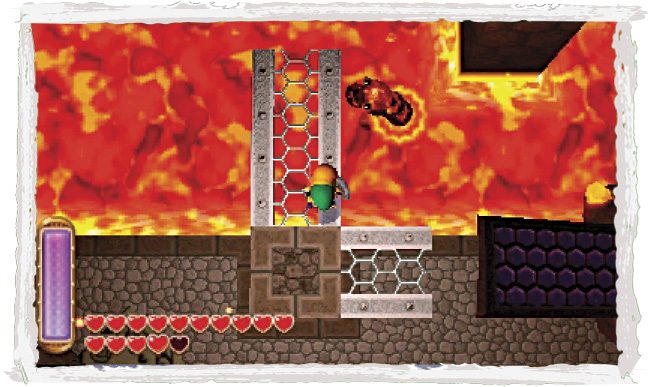
After defeating the Wizzrobes in Room 9, backtrack southward into Room 2. Begin searching the room for snake-like Flamolas that leap out of the lava pit here and there. Use the Ice Rod to stun and slay every Flamola in the room.
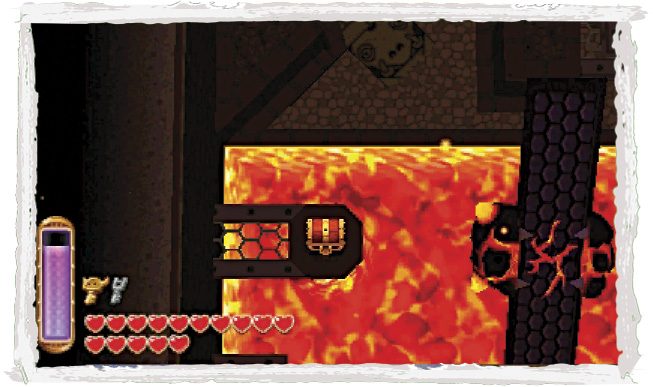
Defeat all of Room 2’s Flamolas, and a chest appears near the west wall. Nice! But how to reach it?
To get the chest, you must first cross the room’s east walkways and merge into the east wall. Make a long clockwise journey around the room afterward, heading west along the south wall and then north along the west wall as you loop around toward the chest.
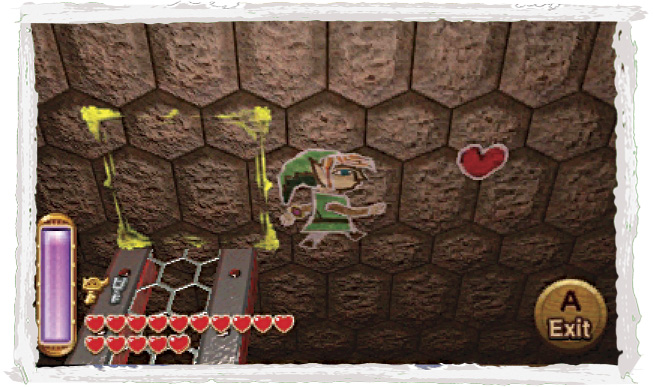
 Turtle Rock Chest #4: Purple Rupee
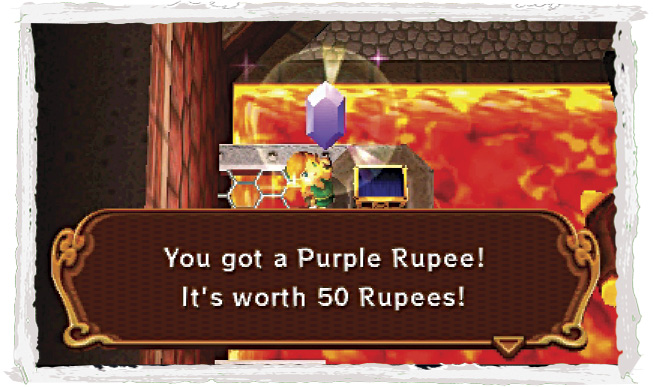
When at last you arrive at the chest’s ledge, pop out of the wall and plunder your Purple Rupee prize. Proceed through the north door to return to Room 9 afterward, and take the north stairs down to Room 10.
Room 10: Basement Stairwell
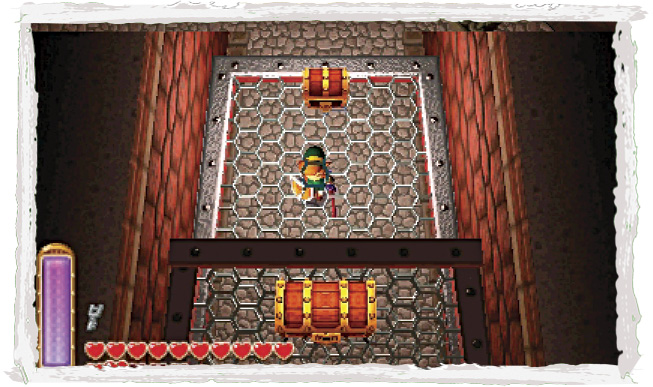
The basement stairwell houses two chests—one large, one small—but both are out of your reach, perched atop high wire ledges. Too bad! Go south into Room 11 for now.
Room 11: Fire Cavern B
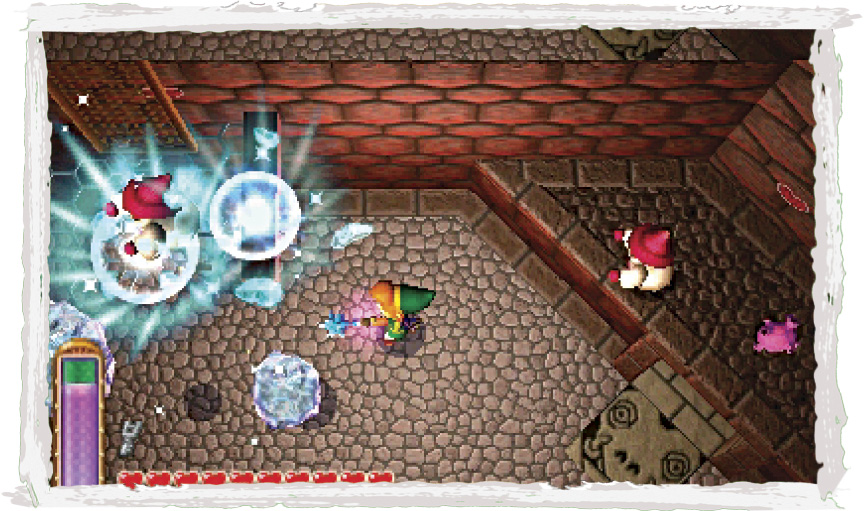
This huge, lava-filled chamber is home to many more hostile Wizzrobes. Stay mobile and use the Ice Rod to slay as many of these high-flying foes as possible. (You won’t be able to reach the northwest Wizzrobe at first, for an overhead ledge protects it.)
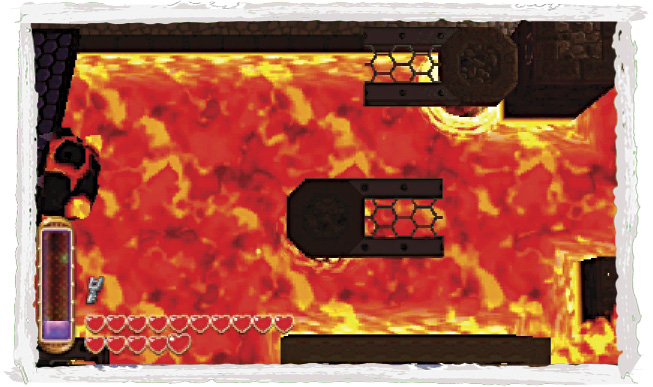
Each time you defeat a Wizzrobe, a small section of walkway rises up from the central lava pit. Looks like you should slay every Wizzrobe in this room!
Room 12: Fire Gimos Wing
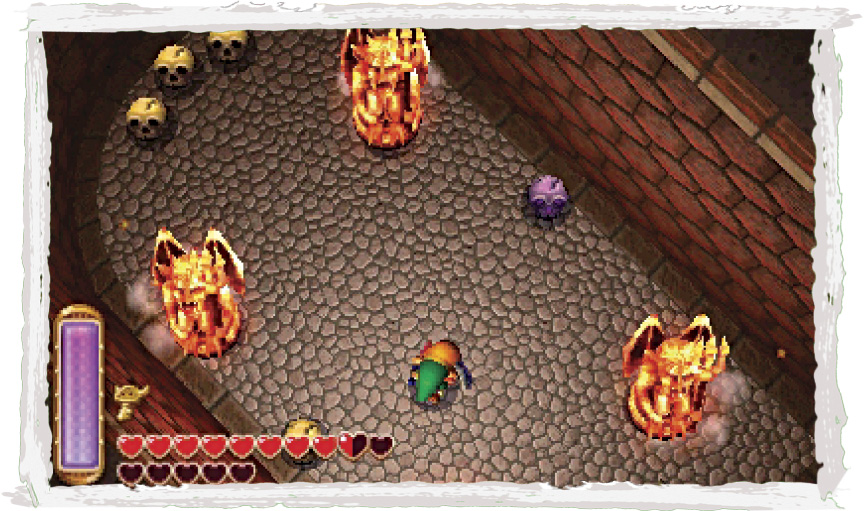
Go through Room 11’s northwest door, and Link will become trapped inside this small chamber, forced to contend with a group of Fire Gimos. The enemies all spring to life at once—use the Ice Rod to keep them stunned while you hack and slash away with Link’s blade.
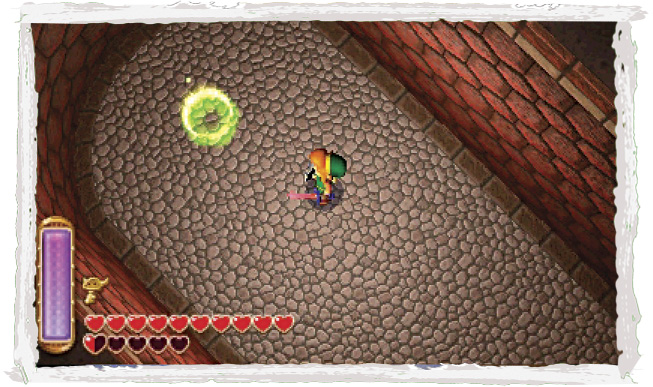
The room unseals after the Fire Gimos have fallen, and a portal appears. Warp through the portal to return to the dungeon’s entrance, then go outside and save your game before venturing onward.
Room 11 (Revisited)
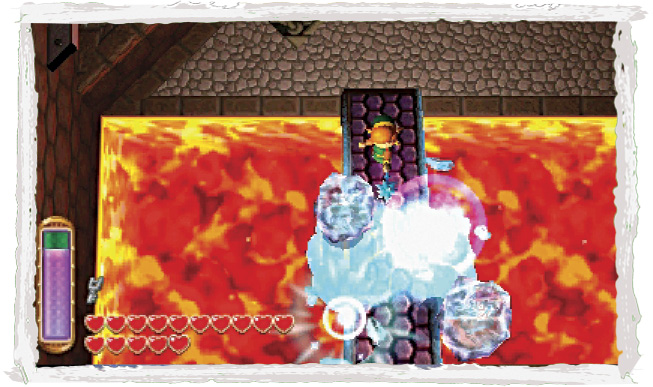
Warp back through the portal and return to Room 11. There are sure to be more Wizzrobes down south! Freeze the northwest balanced beam with the Ice Rod, then run southward, up the beam.
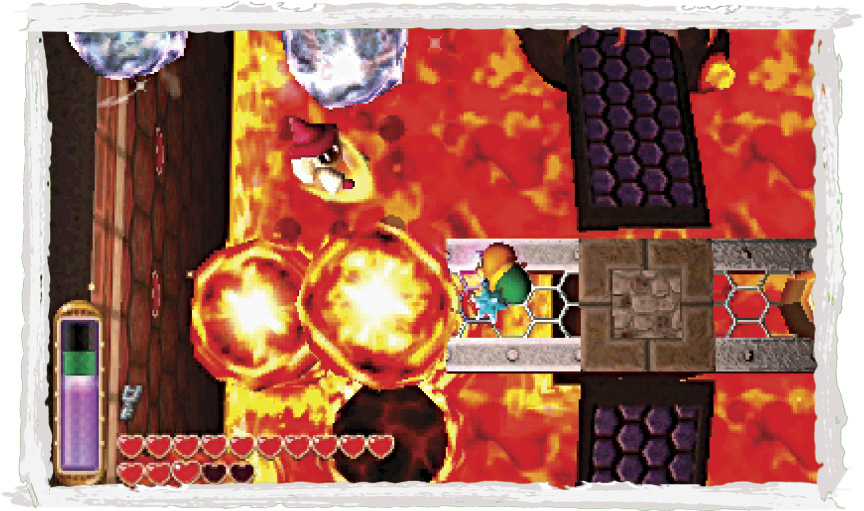
Sure enough, another Wizzrobe appears near the small walkway that the beam leads to. Beware: A nearby fire trap also spins ’round and ’round, posing a dangerous threat! Stand on the walkway’s west edge, right next to a pair of frothing lava geysers, and you’ll be safe from the spinning fire trap as you battle the Wizzrobe.
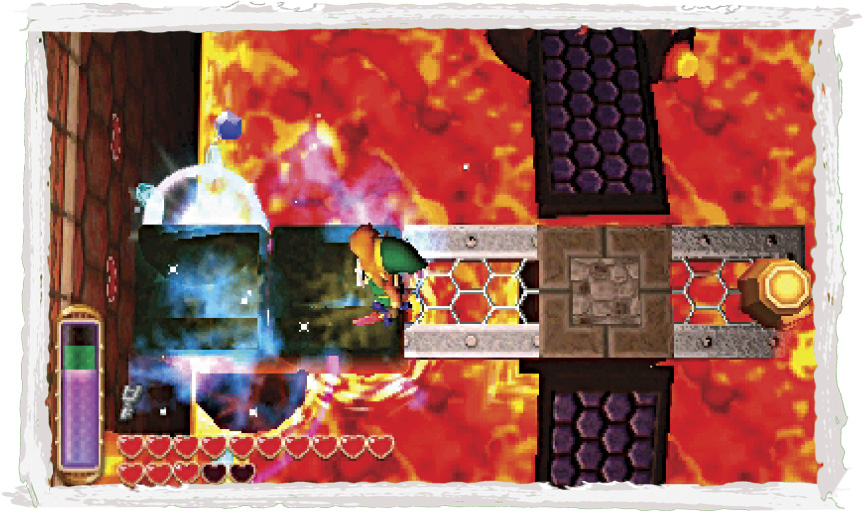
After taking out the Wizzrobe (and raising a section of walkway in the process), freeze the nearby lava geysers and walk across their tops to reach the room’s west wall. Merge into the west wall and then slide northward, heading for the room’s northwest ledge. Pop out and claim several Rupees there, along with a monster horn.
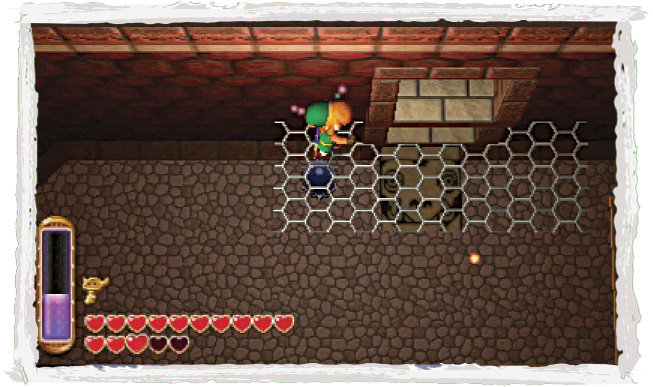
Merge back into the wall after looting the ledge and continue sliding around the room. You soon come to a locked door way up on the north wall. Slide right up close to the door, then exit from the wall to drop to a lower ledge.
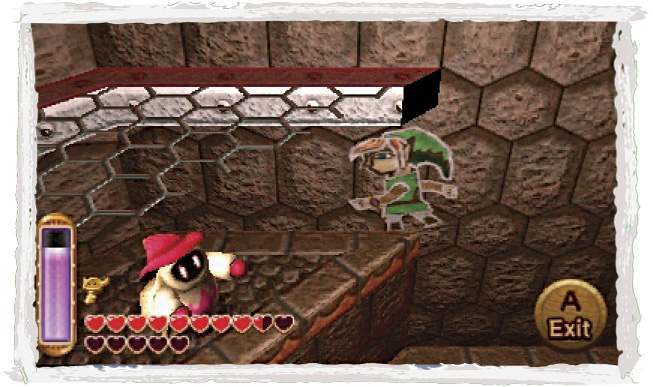
Hey, there’s another door down here! But before you go through, merge into the north wall again and slide west, heading for the ledge with the Wizzrobe that’s been sheltered by an overhead ledge all this time.
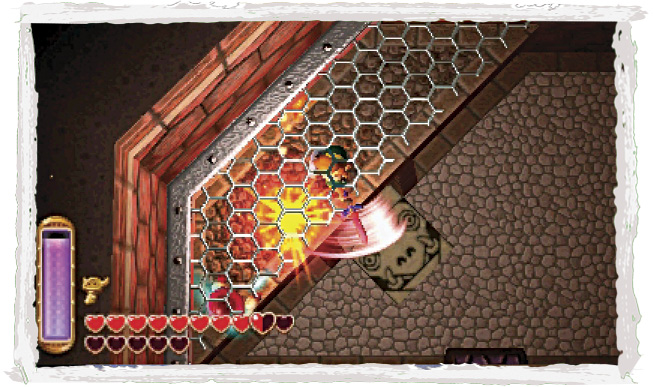
Exit onto the Wizzrobe’s ledge and slay the villain to raise another section of walkway from the lava pit. If you’ve slain every Wizzrobe up to this point, then a treasure chest has also appeared by now!
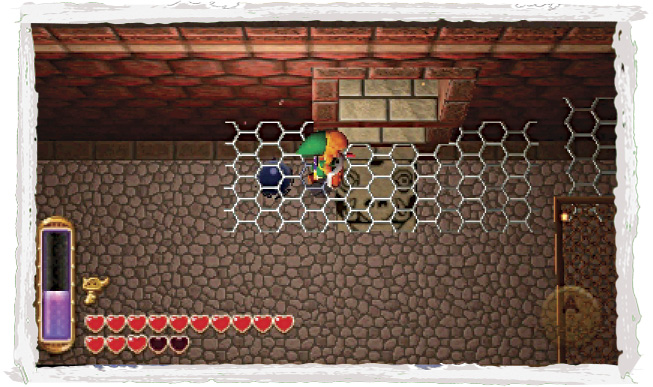
Merge back into the wall and return to the north ledge and door. Pop out onto the ledge and go through the north door to revisit Room 10.
Room 10 (Revisited)
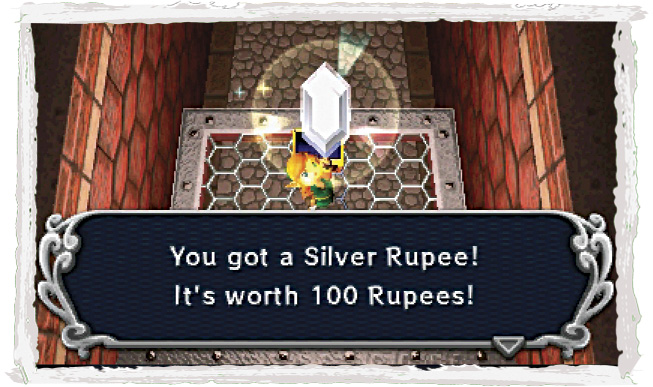
 Turtle Rock Chest #5: Silver Rupee
Room 11’s middle-height north door leads to Room 10’s lower wire ledge. Open the small chest you discover down here to claim a Silver Rupee. Sweet!
Room 11 (Third Visit)
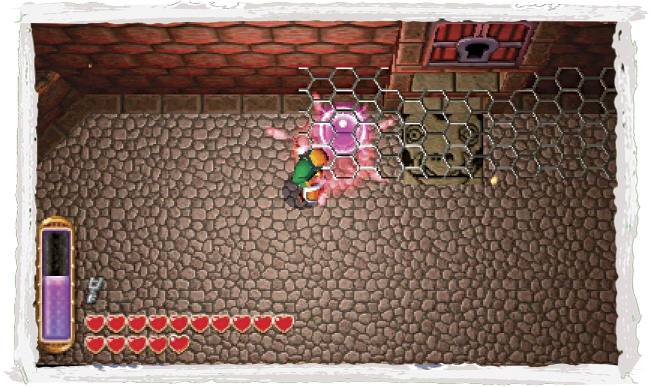
Return to Room 10 after looting the small chest and drop to the ground floor. Strike the nearby crystal to raise the overhead ledge up to the higher, locked north door.
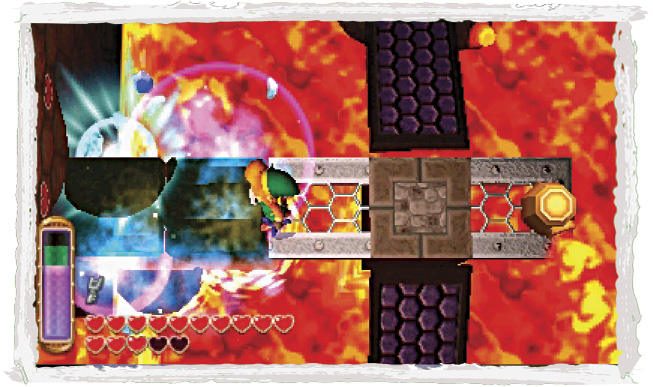
You know what to do! Freeze the balanced beam again and go up to the tiny west walkway. Freeze the western lava geysers and merge back into the west wall. Slide north along the wall, traveling back around to the locked north door.
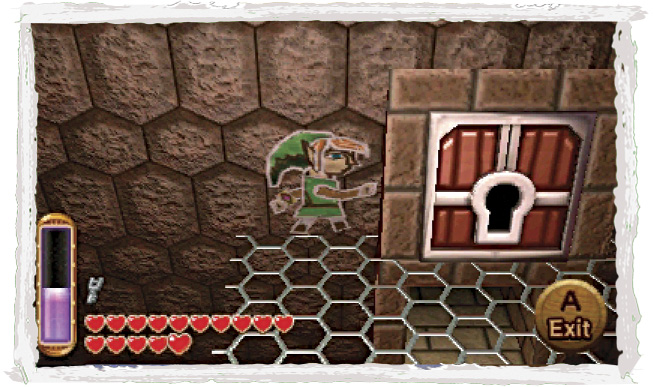
When you reach the locked north door, exit from the wall and onto the ledge that you raised by striking the switch a moment ago. Now that the ledge has been elevated, you can unlock the high north door and return to Room 10.
Room 10 (Third Visit)
 Turtle Rock Chest #6: Big Key
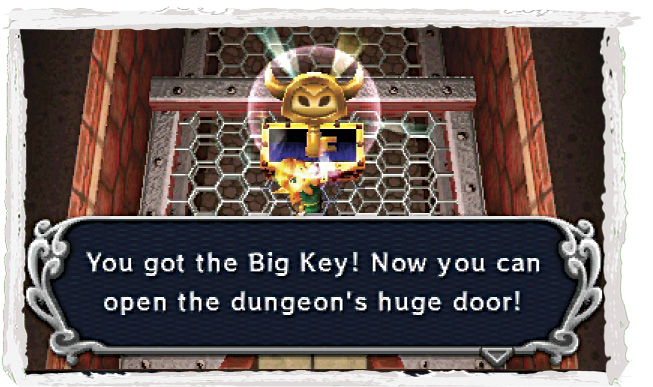
Back in Room 10, you’re now standing on the highest wire ledge. Raid the big chest you discover up here to claim the dungeon’s Big Key.
Room 11 (Fourth Visit)
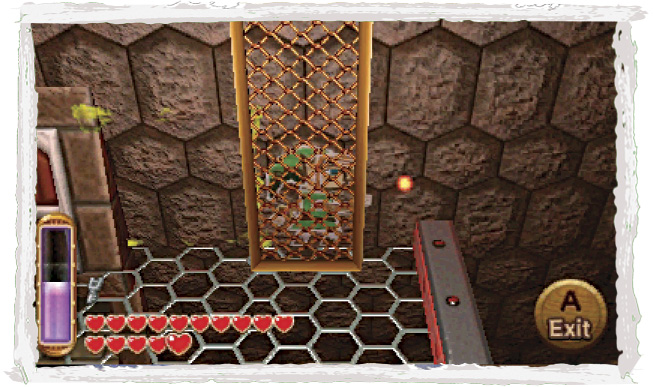
Back out in Room 11, notice a metal bridge that’s leaning against the north wall. This looks familiar—it’s the same kind of leaning bridge you saw in the Thieves’ Hideout! Merge into the north wall and slide behind the bridge, then pop out to knock it down.
 Turtle Rock Chest #7: Hylian Shield
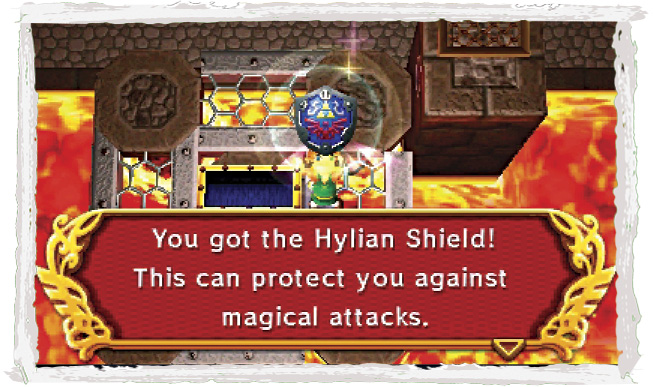
If you’ve slain all of the Wizzrobes on Room 11’s north and east sides, then several walkways and a chest have appeared nearby. The bridge you’ve just knocked down leads to this chest—go over and flip its lid to claim Turtle Rock’s special treasure, the Hylian Shield!
 Hylian Shield
A shield that’s based on excellent Hylian design. Raise it with  .
.
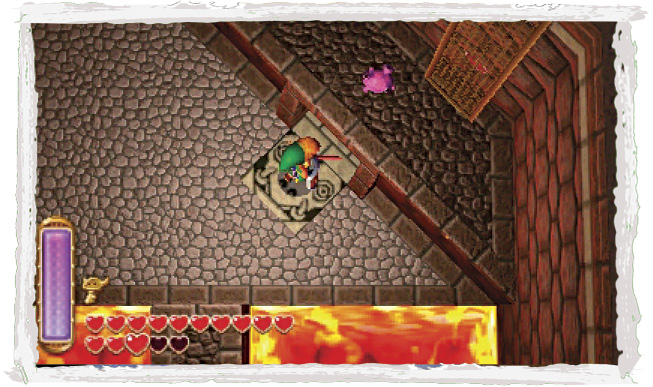
Backtrack onto the bridge and drop to the ground floor. Go through Room 11’s northeast door to visit Room 13.
Room 13: Beamos’s Key
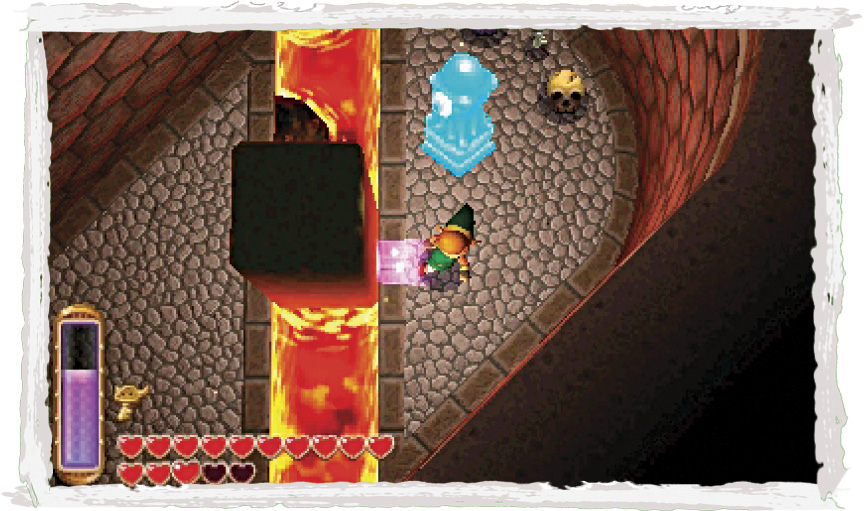
Your Ice Rod gets a workout in this small chamber! Beware the roaming Gibos as you move to freeze the room’s central lava (and lava geyser) with the Ice Rod. Use the frozen lava geyser to avoid the laser-gaze of the Beamos that guards the far key. Or simply freeze the Beamos with the Ice Rod and slip past. (You can also simply merge into the wall to avoid the Beamos’s laser.)
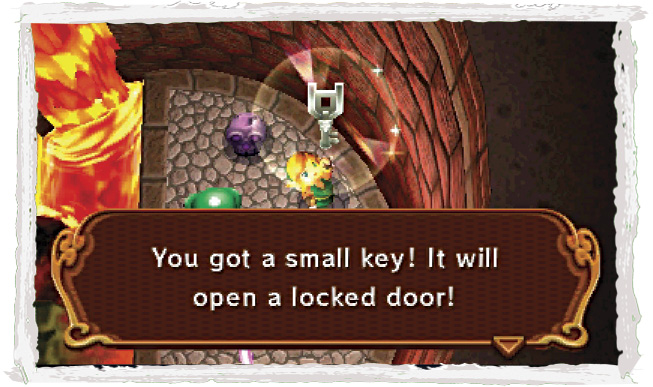
Get past the Beamos, then collect the small key. Nice work! Now slip back out to Room 11.
Room 11 (Fifth Visit)
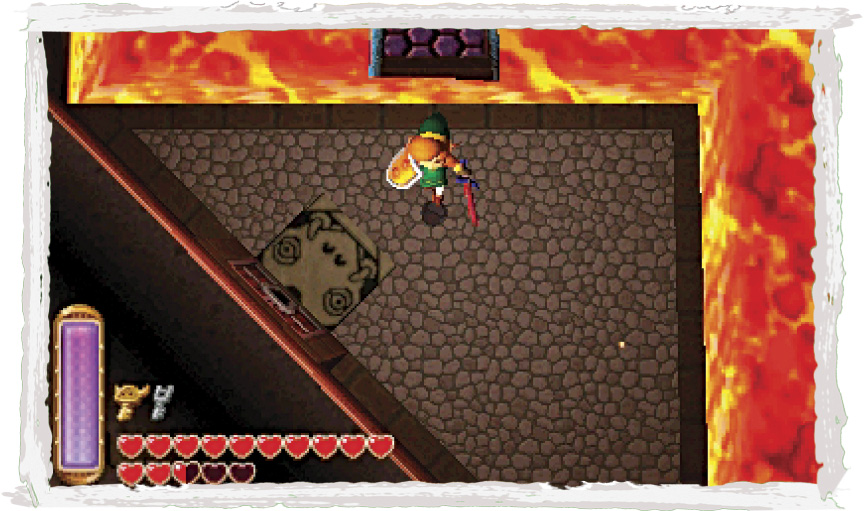
Back in Room 11, freeze the northwest balanced beam once again, and go up to reach the tiny western walkway. This time, cross the next balanced beam to the south to reach the room’s southern half. Open the locked southwest door and go through to visit Room 14.
Room 14: Path of Fire
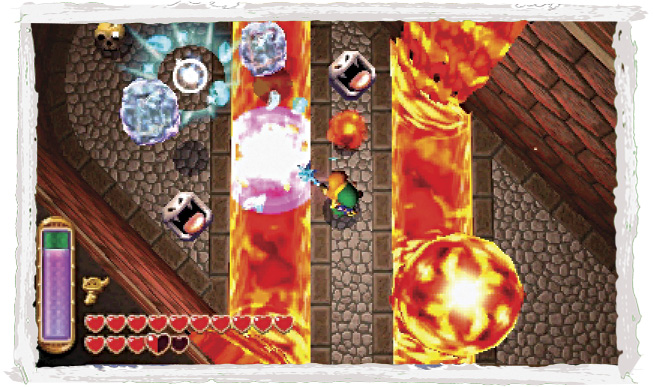
This small room is filled with lava geysers and fire-spitting statues. Use the Ice Rod to freeze the lava and the statues as you head for the far skulls.
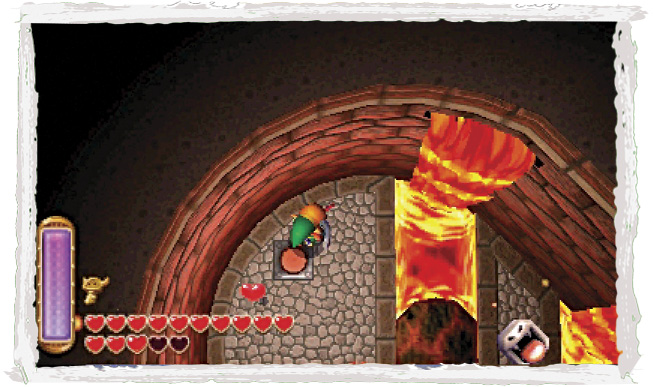
Smash the far skulls to expose a floor switch. Aha! Step on the switch to extend a walkway back in Room 11. Better head back out there!
Room 11 (Sixth Visit)
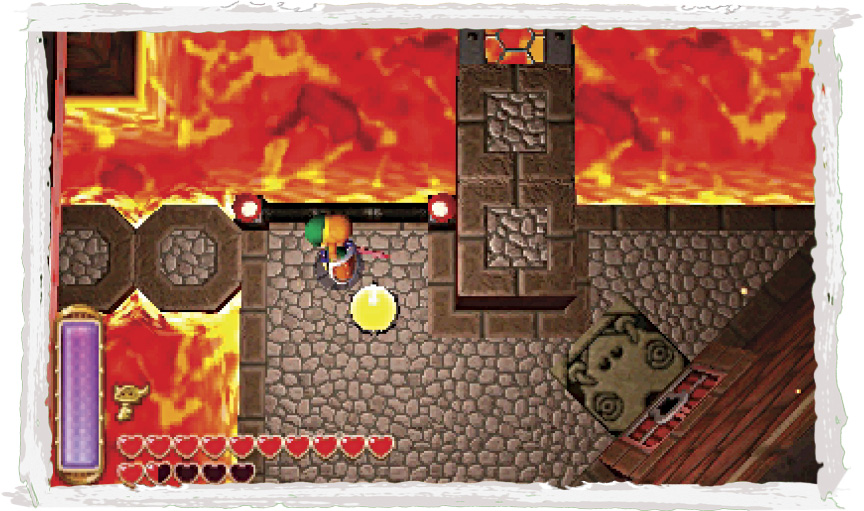
Back in Room 11, go east across the new walkway you’ve just created by stepping on the floor switch in Room 14. The walkway leads to Room 11’s locked southeast door. But before going through, strike the nearby crystal to activate it, making a walkway rise from the northern lava pit.
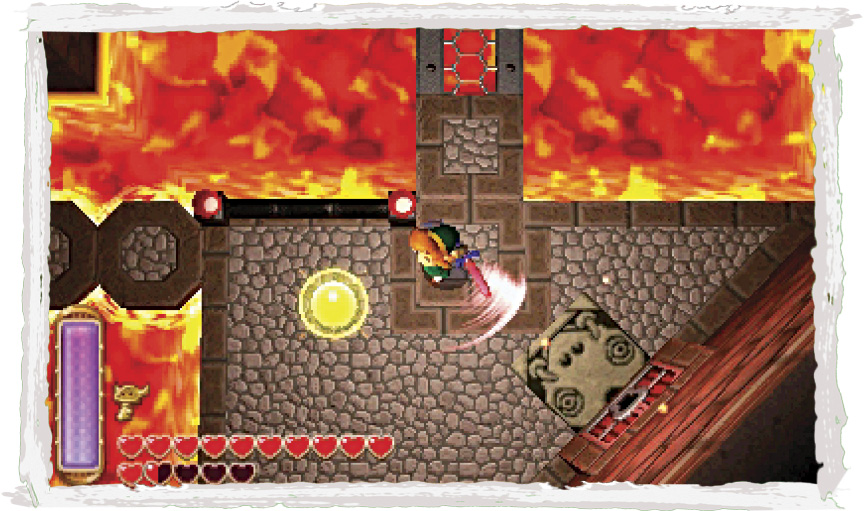
The switch deactivates after a few seconds, plunging the walkway back into the lava. Now that you understand the timing, stand at the walkway’s south end and strike the switch to raise the walkway, then immediately run north along the walkway.
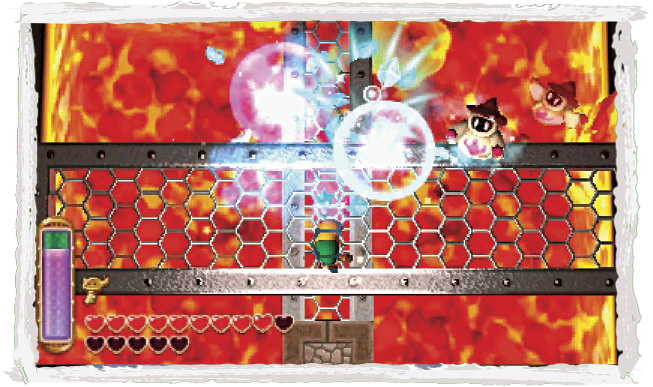
While running north, look for Wizzrobes to defeat with the Ice Rod. Slay two more Wizzrobes over here to extend two platforms on the room’s east side, one of which features another chest!
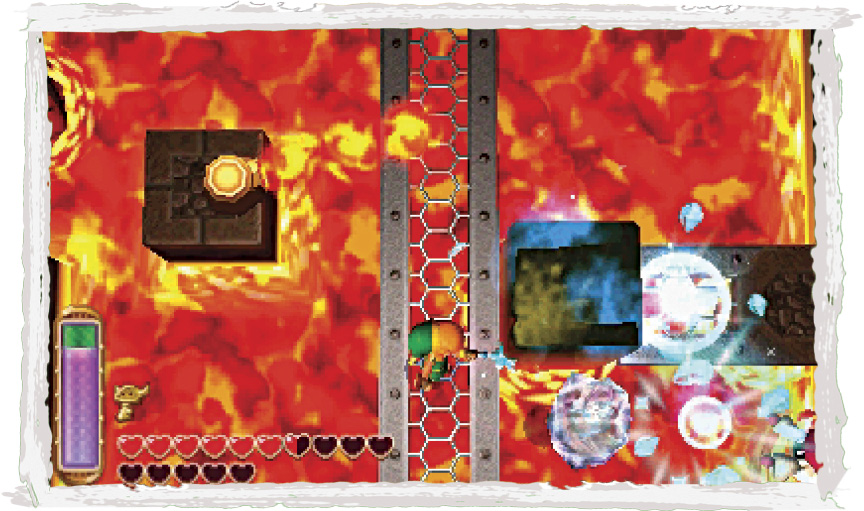
Backtrack off the walkway before time runs out, then strike the crystal again to raise the walkway once more. After slaying both Wizzrobes over here, you can freeze the east lava geyser and merge around it to reach the east wall—but you’ve got to be quick!
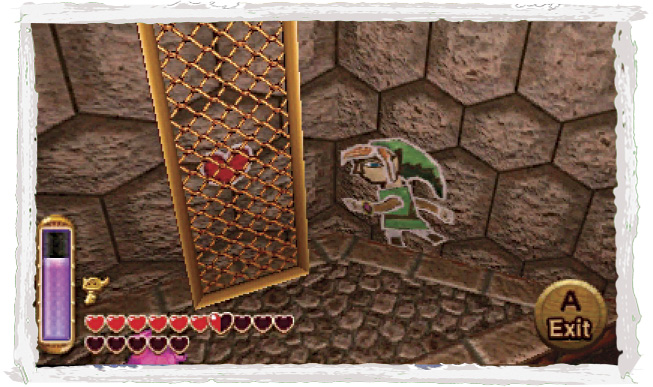
Merge into the east wall, then slide north toward the room’s northeast ledge. When you get there, slide behind a leaning bridge and pop out from the wall to knock the bridge down.
 Turtle Rock Chest #8: Monster Tail
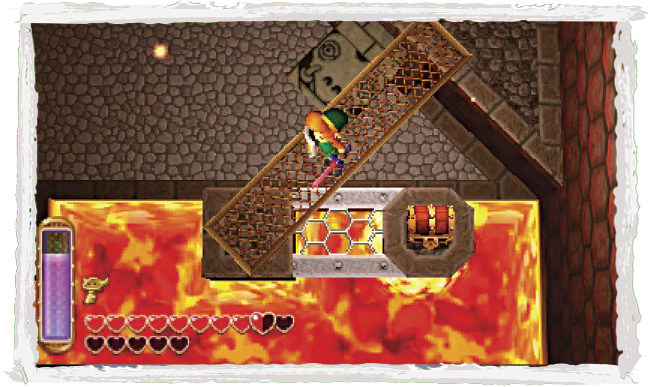
Nice work! Now cross the bridge and loot the chest you discovered by slaying all of the Wizzrobes. You’ve certainly earned it!
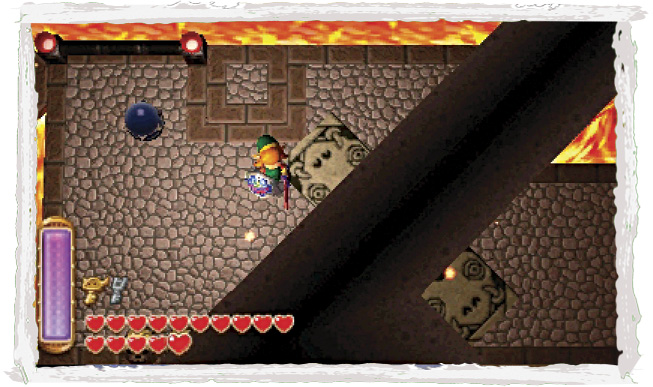
Return to Room 2’s south end by way of the balanced beams. When you get there, go through the locked southeast door to visit Room 15.
Room 15: Spike Trap Wing
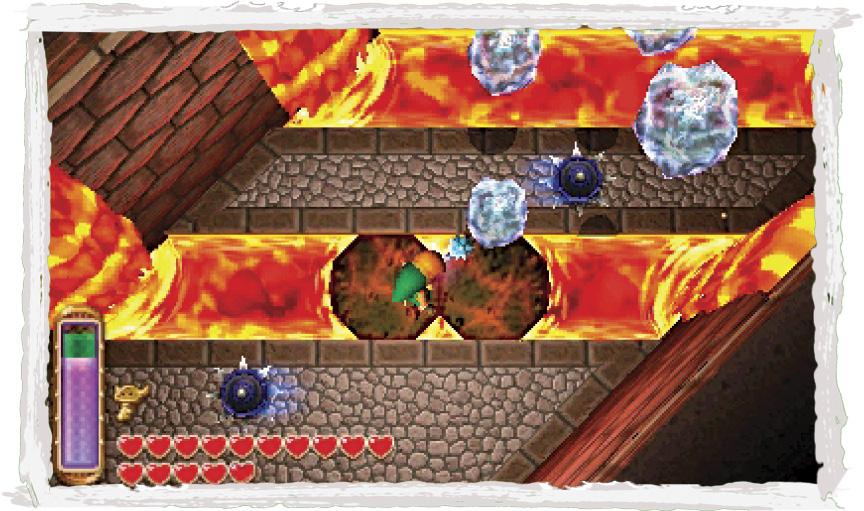
Carefully avoid the dangerous spike traps as you move through this small chamber. Use the Ice Rod to freeze the traps if you like—you’ll also need to cool the lava streams that get in your way.
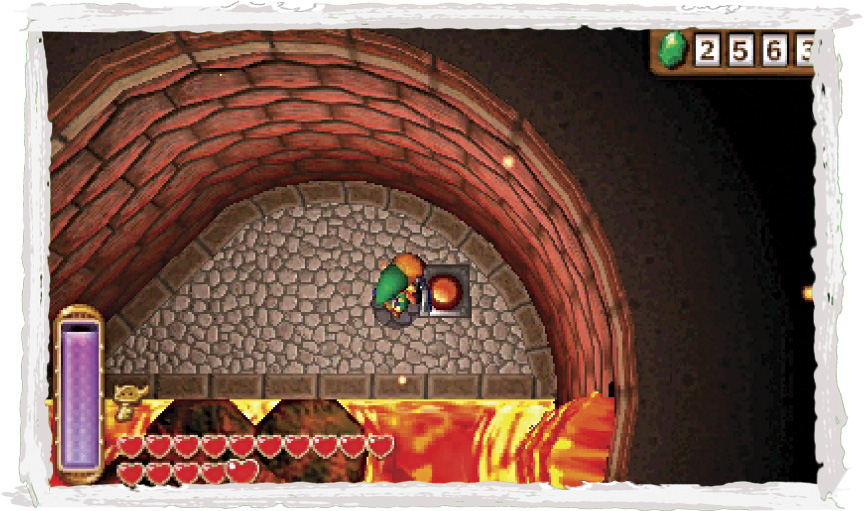
Smash the room’s far skulls to discover a floor switch. Pay dirt! Step on the switch to extend another walkway back out in Room 11. Now you can proceed through Room 11’s southern door to visit Room 16!
Room 16: Big Door Chamber
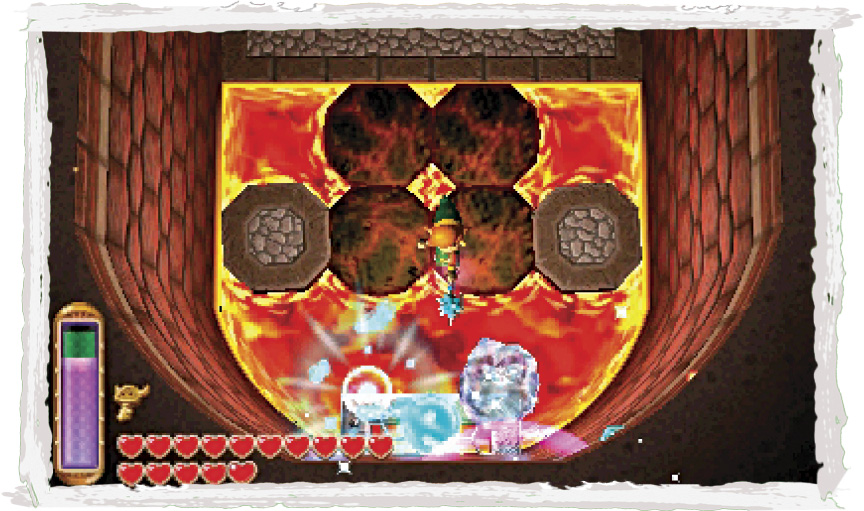
Stepping on the floor switch in Room 15 lets you reach the door to this small chamber, where the big door is found. Use the Ice Rod to freeze the lava here so you may approach the high southern switch. Wave the Ice Rod again to activate the switch from your lowly position. You could also travel to either platform by merging into the wall, then throw a Bomb to activate the switch.
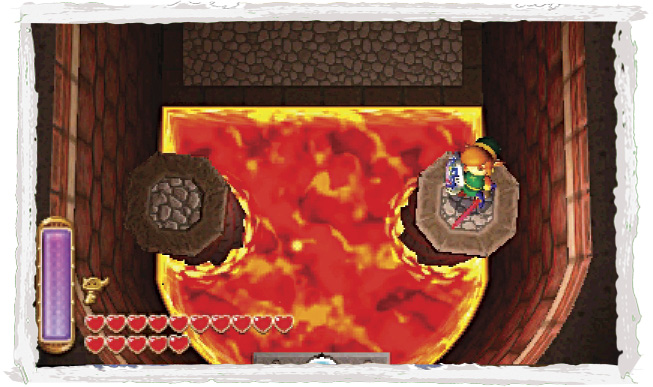
Triggering the southern crystal activates the room’s elevators. Step onto one of them when it lowers and then ride up.
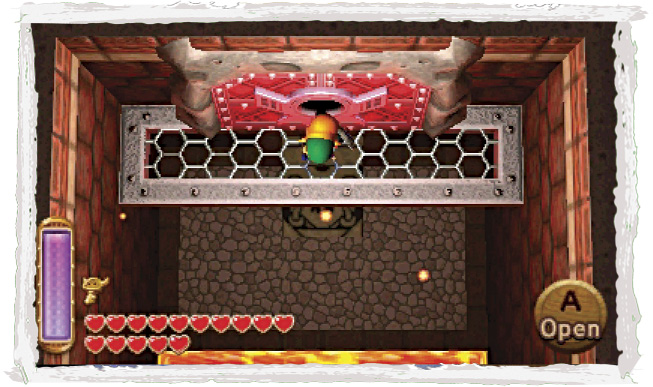
When you reach the top of the elevator, merge into the nearby wall and then slide over to the big door. Use your Big Key to pass through and reach Room 11’s overhead wire walkway.
Room 11 (Final Visit)
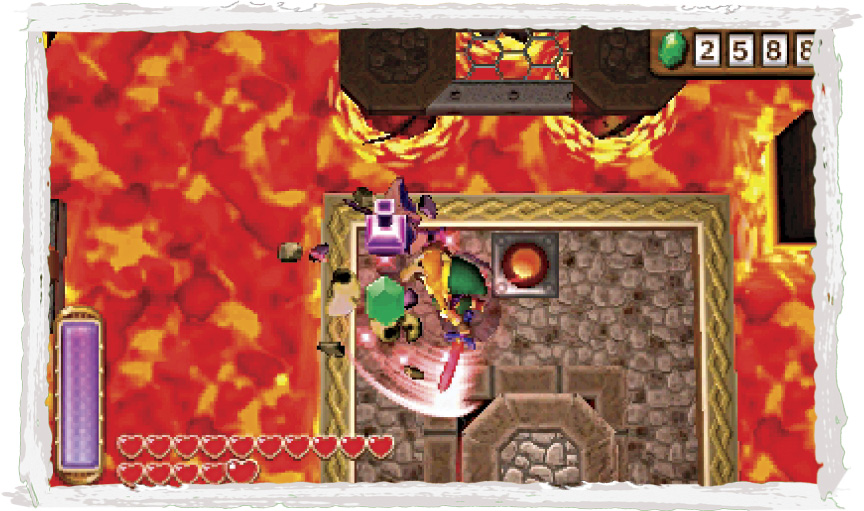
You’re back in Room 11, exploring its high wire walkway. Carefully avoid the rolling spiked pins as you advance northward. Smash some skulls up north to locate another floor switch.
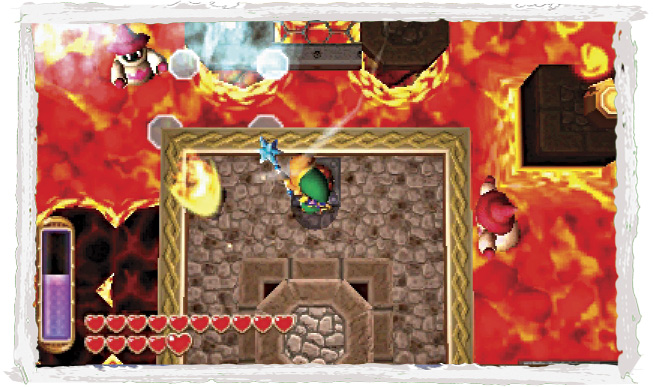
Beware: Stepping on the floor switch summons a pair of devious Wizzrobes! Stand your ground and use the Ice Rod to defeat the troublesome twosome, just as you’ve done before.
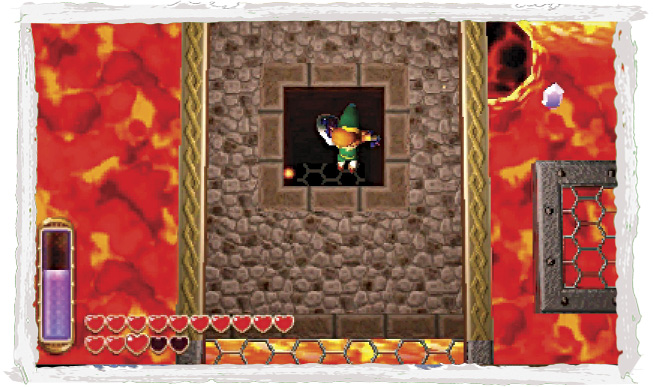
After both Wizzrobes fall, the central elevator lowers, exposing a dark shaft. There’s nothing else for it—drop into that shaft to commence the final battle!
Boss Battle: Grinexx
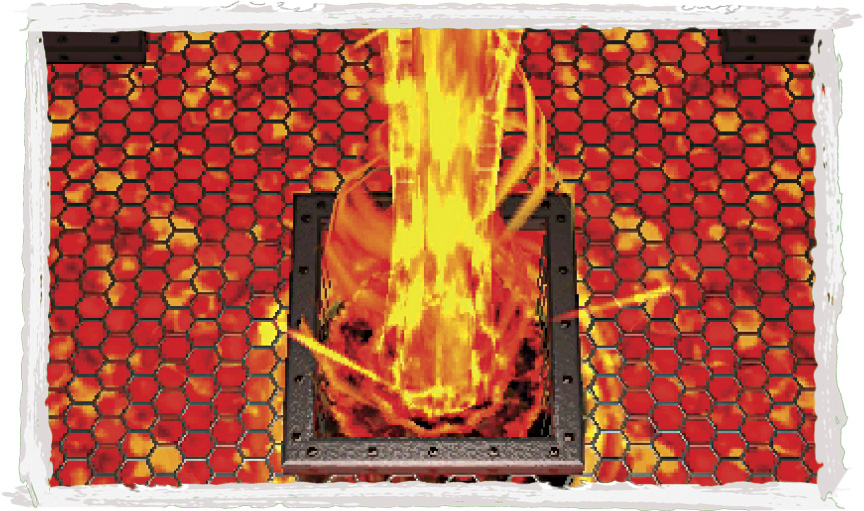
Link lands on a large wire cage, a giant, fiery lake of lava below him. Suddenly, some sort of giant turtle made of pure rock surfaces from the lava. With a roar, the monster spouts up a giant lava geyser that bursts right through Link’s wiry platform. Yikes!
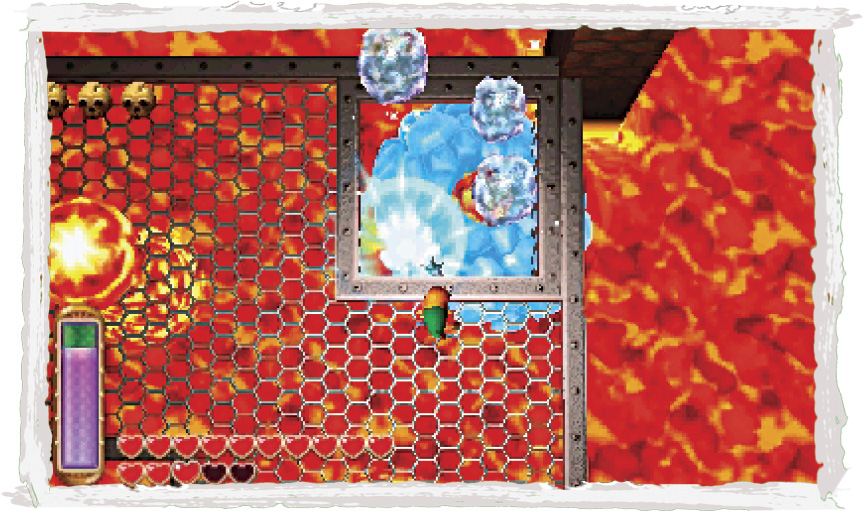
Don’t let that monster’s geyser get you! Keep away from the boss as it moves about below, but stay close enough to strike the monster with the Ice Rod each time it passes beneath an opening in the wire floor.
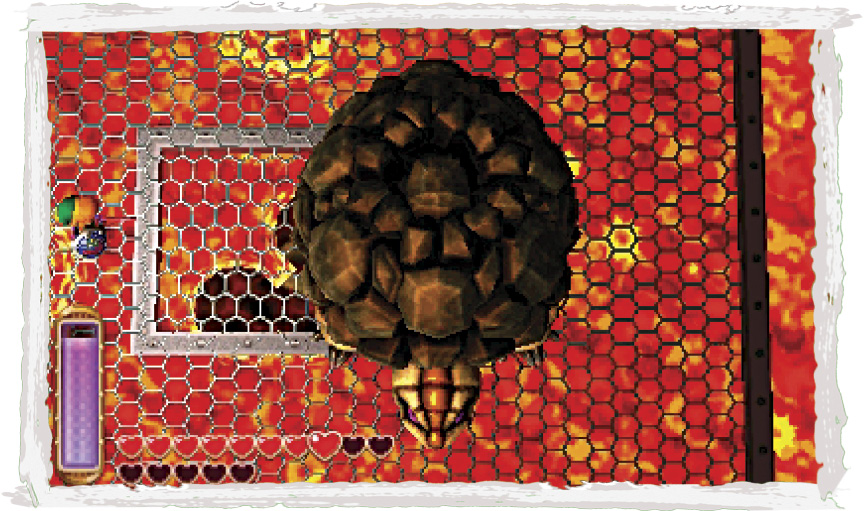
Freeze the creature at every opportunity, and the great beast will finally have no choice but to confront Link head-on. The boss leaps up from the lava and lands on the wire cage. Now the boss battle against Grinexx has truly begun!
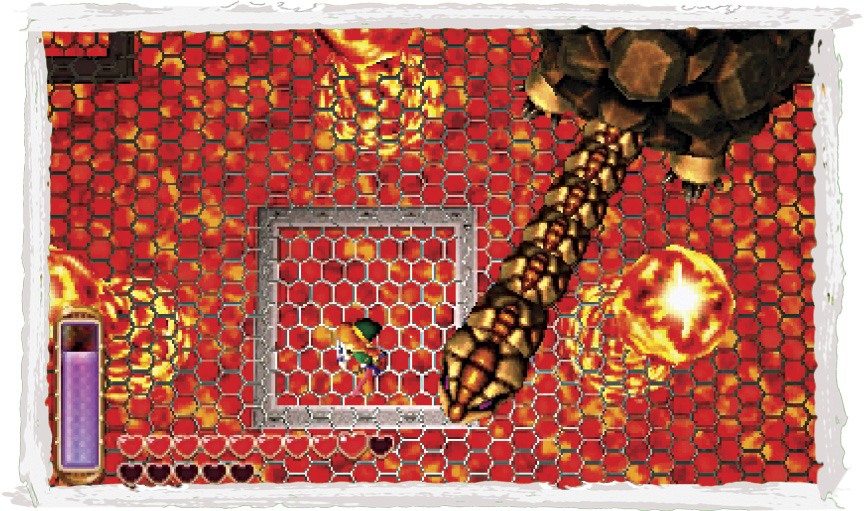
Grinexx regularly lashes out at Link with its stretchy neck, aiming to take a big bite out of our hero. Keep your distance and be ready to dodge this attack at a moment’s notice. Continue to punish Grinexx with the Ice Rod from afar. You can move closer if you use the Hylian Shield
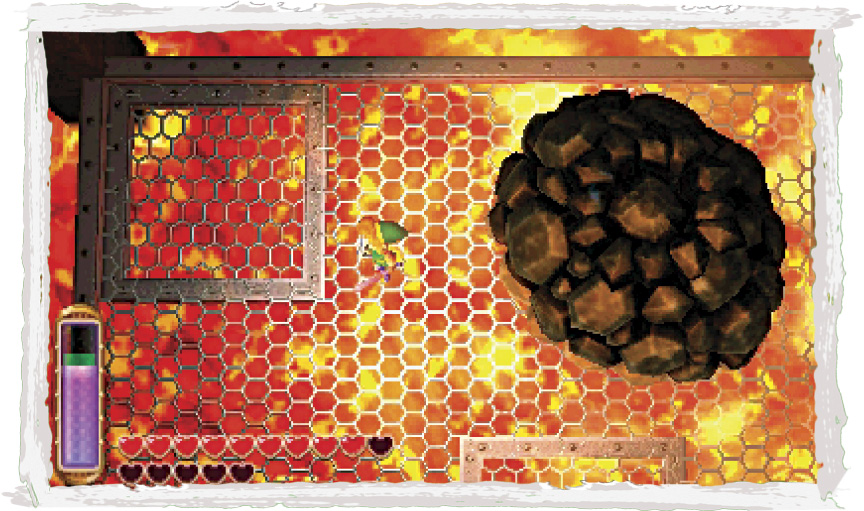
After suffering significant damage, Grinexx will ball up into its shell, becoming immune to damage. Flee from the boss whenever it balls up, because it’s about to unleash a powerful blast that rocks Link if he’s caught standing anywhere nearby!
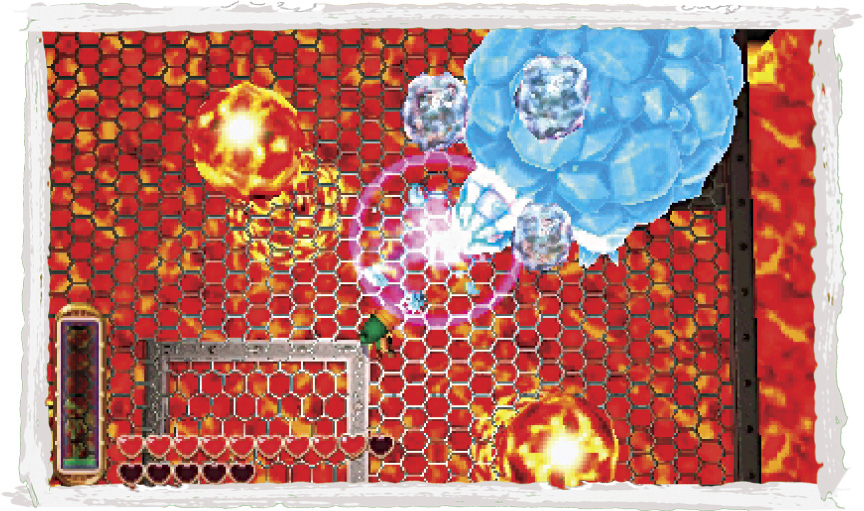
Continue punishing Grinexx with the Ice Rod whenever the boss emerges from its shell. Beware that Grinexx will multiply its attacks as the battle wears on, striking multiple times in a row. Grinexx will also spin around the arena in its shell at times—keep well away from the monster during these dangerous fits of rage!
The Nursemaid Sage
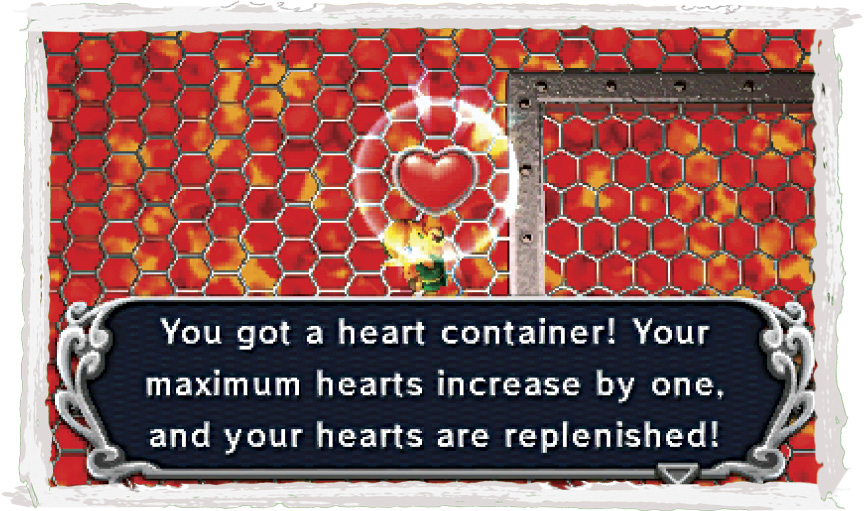
Stay one step ahead of Grinexx with the help of the Ice Rod, and it won’t be long before the beast finally falls. Collect the heart container that Grinexx so graciously leaves behind.
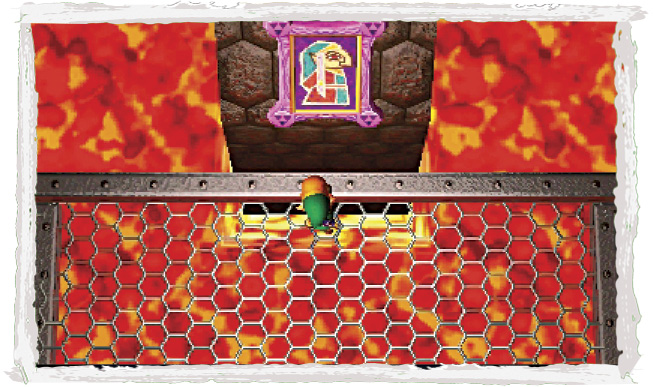
After Grinexx has been bested, a Sage’s painting rises up from the arena’s north end. Approach the painting and touch it to rescue another of the Seven Sages!
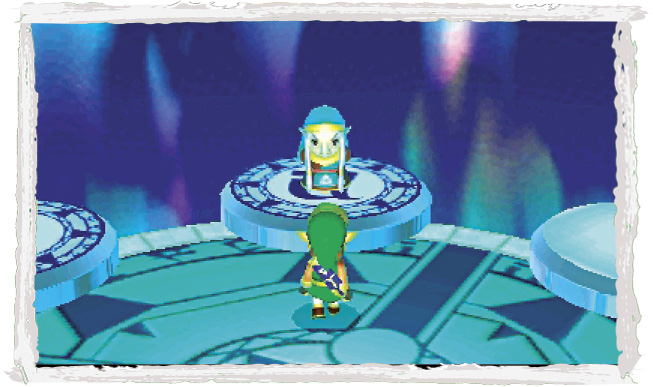
Great work—you’ve rescued Impa! The royal nursemaid is grateful to Link, but urges our young hero to continue with his quest. There’s only one Sage left to save!