
The Legend of Zelda: A Link Between Worlds Guide Walkthrough The Desert Palace
Titan's Mitt Tour
Now that you’ve cleared the Desert Palace and obtained the Titan’s Mitt, you can complete your exploration of both Hyrule and Lorule. There’s important stuff to find at this point, but let’s make this quick—after all, there are more dungeons to explore!
More Master Ore
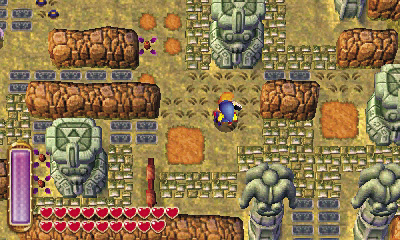
Now that you have the Titan’s Mitt, you can score more Master Ore. Fly to the Graveyard in Lorule. Now that you’ve rescued Irene, she’ll speak to you from the Sage’s realm each time you summon her broomstick!
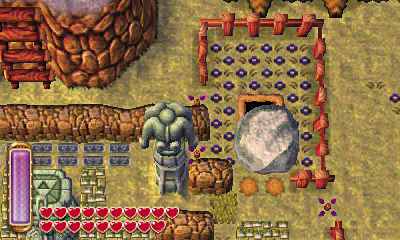
Lift and toss the large rock that’s just north of the Graveyard weather vane in Lorule to discover a secret passage. No wonder Dampé never knew of this—only the power of the Titan’s Mitt could move such a heavy stone!
Lorule’s Secret Passage: Room 1
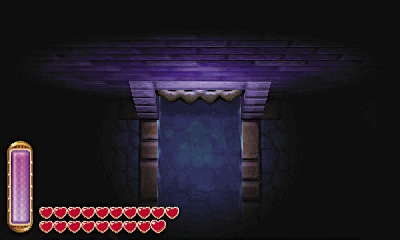
You’ll find that Lorule’s secret Graveyard passage is very similar to the one in Hyrule—in terms of layout, at least. Equip the lamp so that you can see, and loot the first room’s chest to collect a Green Rupee (this chest contained the lamp back in Hyrule). Smash the room’s skulls afterward to uncover a floor switch, and step on the switch to open the north door.
 Lorule Chest #17: Green Rupee
Lorule’s Secret Passage: Room 2
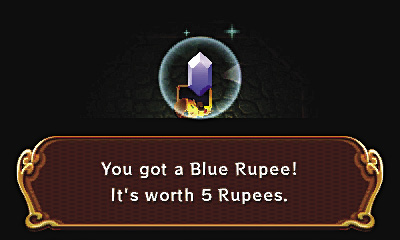
Loot the chest on the ground floor of the passage’s second room to claim a Blue Rupee. Cut through Skullropes and Chasupas on your way to the locked northwest door. Cross the metal walkways to the east as you did back in Hyrule to reach another chest, which contains a Red Rupee.
Lorule Chest #18: Blue Rupee
Lorule Chest #19: Red Rupee
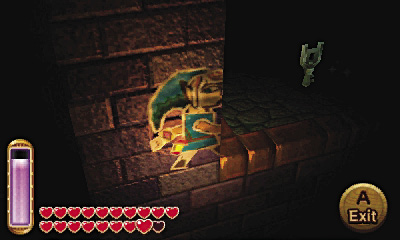
After looting the Red Rupee chest, merge into the wall and slide eastward to reach a small ledge with a key. Collect the key and use it to unlock the northwest door.
Lorule’s Secret Passage: Room 3
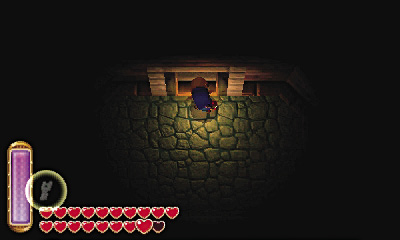
Beware: A trio of Eyegores lurks in this room! This is the same spot where you fought the Poes back in Hyrule, and the solution is the same: slay all three Eyegores to open the sealed north door.
Lorule’s Secret Passage: Room 4
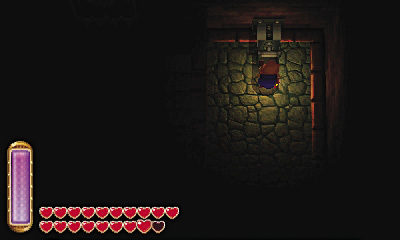
This room features two familiar levers. In Hyrule, the west lever was the correct choice—so naturally, it’s the east lever here in Lorule. (Pulling the west lever causes Skullropes to drop into the room this time around.)
Special Treasure
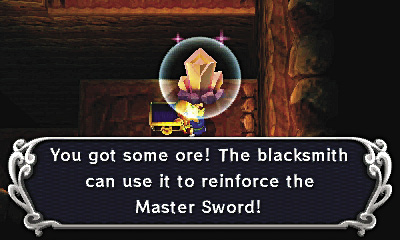
Passing through Room 4 takes you to a high ledge in the Philosopher’s cave. Merge along the east wall to cross the gap and reach a chest that contains Master Ore.
Lorule Chest #20: Master Ore
Master Ore #2
Collect these and give them to the Blacksmith, and he’ll strengthen your sword.
Master Sword Upgrade
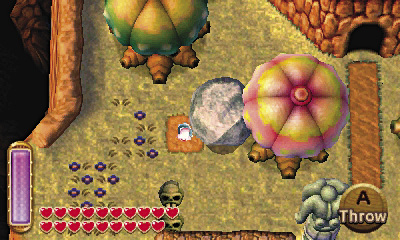
Now that you’ve found two pieces of Master Ore (one from the previous chest, and one from the Thieves’ Hideout dungeon), you can upgrade the Master Sword. But before you return to Hyrule, exit the Philosopher’s cave, and lift the large rock outside to discover a hiding Maiamai.
 Lost Maiamai #88
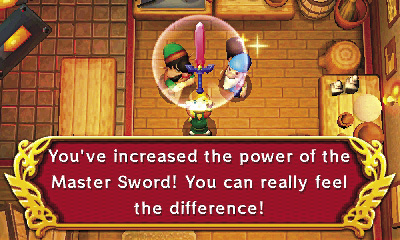
Now fly to Link’s House and use the fissure to return to Hyrule. Journey northwest to reach the Blacksmith, and he’ll kindly upgrade your Master Sword.

Master Sword Lv.2
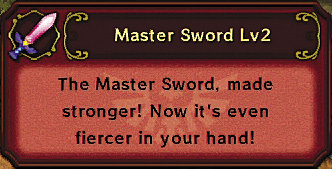
A sharpened Master Sword. It feels even more fearsome.
The Blacksmith’s Cave
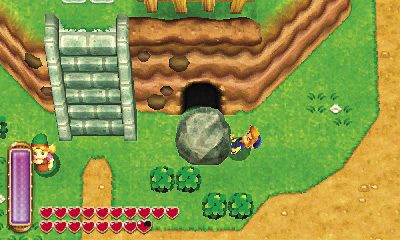
Now that your Master Sword has been upgraded, take your leave of the Blacksmith and toss the large rock that blocks the cave right near the forge. That thing’s been in your way forever!
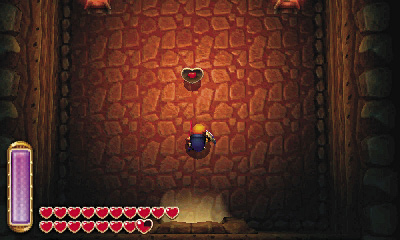
Inside the cave, you discover a piece of heart. Lovely!
Piece Of Heart #27
Fortunate Fountain
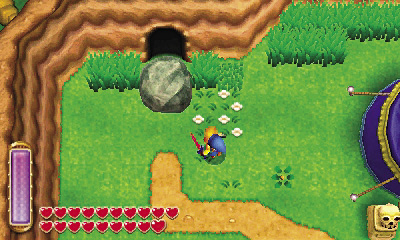
As long as you’re near the Blacksmith, let’s check out that cave near the Fortune-Teller’s tent. Go north and then west from the Blacksmith to find the Fortune-Teller’s tent, then lift the large rock that blocks the nearby cave.
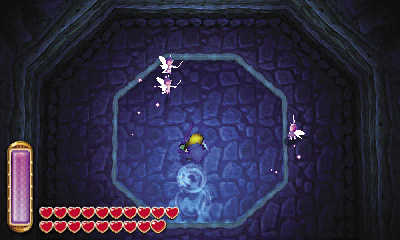
Hey, it’s a Fairy Fountain! This one’s proximity to Kakariko Village makes it a convenient stop. Fill your bottles before heading back outside.
Lost Woods’ Last Chest
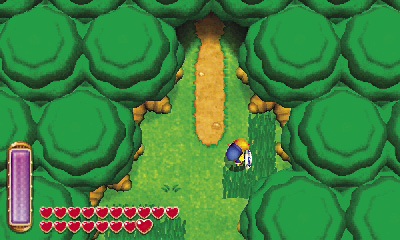
Head southward into Kakariko Village next—it isn’t far. When you get there, take the north trail near Sahasrahla’s house into the Lost Woods’ entry area, lifting and tossing a large rock out of your way. You’ll also need to hammer down a few pegs.
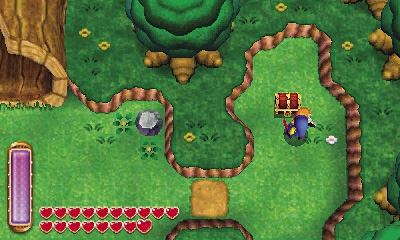
When you enter the Lost Woods’ entry area, go through the east log to reach another large rock. Toss this one aside as well, then plunder the chest beyond.
Hyrule Chest #28: Red Rupee
Death Mountain Maiamai
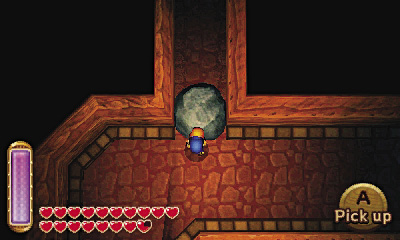
Remember that large rock you saw in the passage that leads to Death Mountain? It’s time to see what lies beyond it! Fly to the Death Mountain weather vane, then go west and reenter the passage. Cut down Mini-Moldorms on your way to that large rock, then toss it aside.
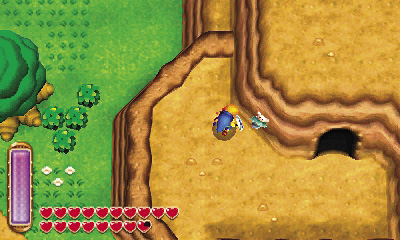
Follow the passage beyond the large rock to reach another exit. Step outside, and you’ll be on a high ledge, right next to a stuck Maiamai. Merge into the wall and free the little fellow.
Lost Maiamai #89
Circle of Stones
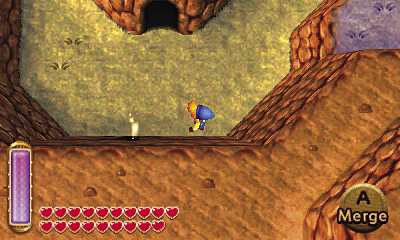
Fly to Link’s House next, save your game, and then travel through the nearby fissure to return to Lorule. Go west and then south from the Vacant House, heading toward the circular woods where the Octoball Derby minigame is held. Head south from those woods to find a fissure in the southern cliff, and go through the fissure to return to Hyrule.
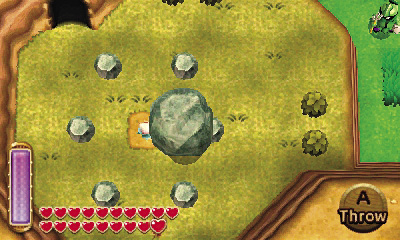
When you emerge from the fissure, you’re standing on a high ledge, right near a familiar circle of stones. Lift and toss the large stone in the center to discover another Maiamai.
Lost Maiamai #90
Treasure Hunter Cave #7
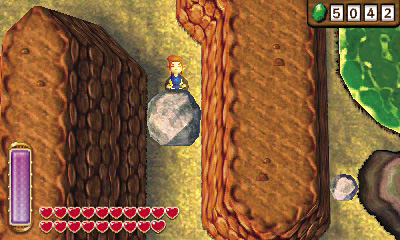
Drop from the ledge and go east, heading toward the Southern Ruins. If you like, lift and toss the large rock that you’ve been merging past all this time to at last move it out of your way. That felt good!
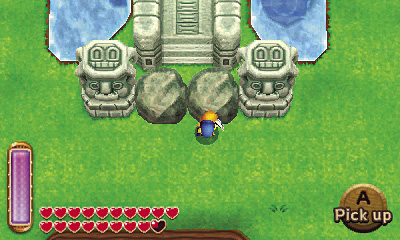
Find this temple in the Southern Ruins, which doubles as the Swamp Palace in Lorule. Lift and toss away the large rocks that block access to the temple so you may enter.
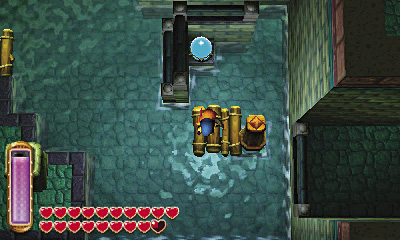
The Hookshot and boomerang are needed to reach this cave’s valuable treasure. Begin by stepping onto the east raft and firing the Hookshot eastward, latching onto a wooden post. The Hookshot pulls you and the raft over to the post—use it again to activate the nearby crystal switch.
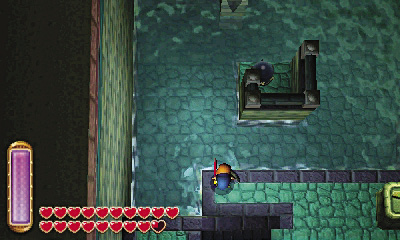
Return to the entry ledge and go west. There’s another crystal up north. Stand near the stairs and toss the boomerang northward, so that it passes just to the left of the crystal. Quickly run to the right afterward, so that the boomerang strikes the switch during its return trip.
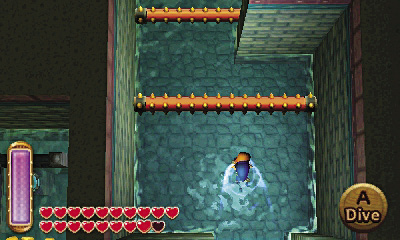
With both crystals activated, the room’s water level rises. Swim into the east passage, pressing  to dive and slip under the passage’s rolling spiked pins.
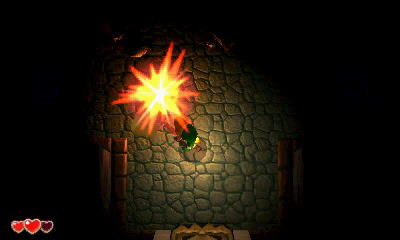
When you reach dry land, feel free to merge around the walls and collect some painted Rupees. Step on the nearby floor switch afterward to lower a wall, then toss the boomerang southward. Quickly move east so that the boomerang strikes another nearby crystal on its return trip.
With the crystal activated, return to the entry ledge and step onto the other raft—the one you haven’t used. Fire the Hookshot north and then west, latching onto a pair of posts to sail close to another switch. Use the Hookshot or boomerang to activate it.
With both switches activated, the water level rises again. You’ve done it! Sail back to the previous post and then fire the Hookshot at the wooden wall near the chest to sail within plundering distance.
Hyrule Chest #29: SIlver Rupee
Desert Maiamai
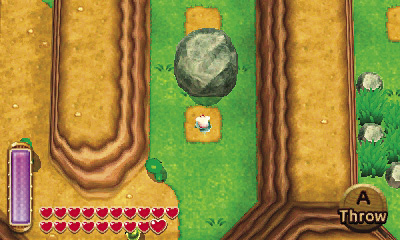
After clearing the Treasure Hunter cave, go west into the desert’s entry area. Lift and toss the large rocks here to find another Maiamai. Hey there, little guy!
Lost Maiamai #91
Eastern Ruins’ Last Secret
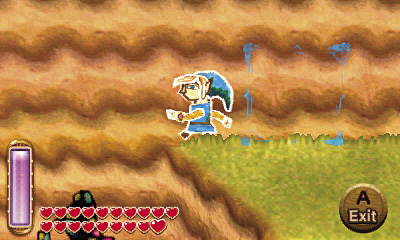
Let’s head for the Eastern Ruins next. Fly to the Eastern Palace, then travel south, into the southern basin where the blue Tektites roam. When you get there, merge into the north wall and slide around counterclockwise, heading for the high southern ledge.
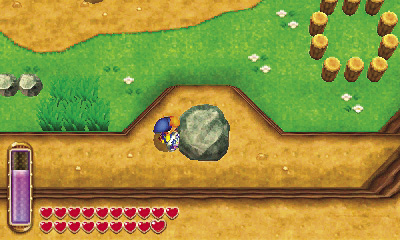
Lift the large rock you find on the ledge to expose another hiding Maiamai. Let’s get you home, friend!
Lost Maiamai #92
Hyrule’s Final Maiamai

Your Maiamai Map now shows that there’s only one little Maiamai left in Hyrule. Fly to the House of Gales, then swim east, heading for the east bank. Go north when you get there and climb the ladder to reach the Racing Bro, who runs the Hyrule Hotfoot game.
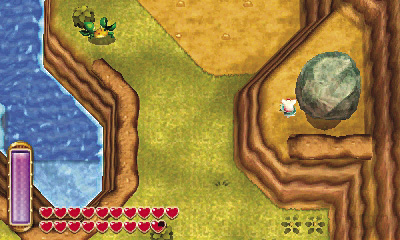
Merge into the east wall near the Racing Bro, then slide southward to reach a small ledge with a large rock. Toss that rock away to find Hyrule’s final Maiamai.
Lost Maiamai #93
Let’s Check Lorule
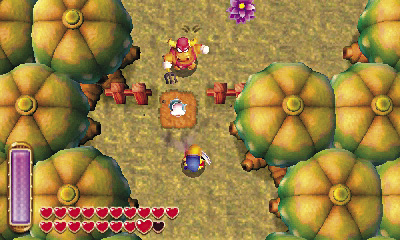
We’ve had our fun with the Titan’s Mitt in Hyrule—now let’s take one last tour of Lorule. Fly to Kakariko Village, then use the fissure behind Sahasrahla’s house to enter Lorule. When you arrive, go north and lift a large rock on the trail that leads into Skull Woods. What do you know? You’ve found a Maiamai!
Lost Maiamai #94
More Mountain Maiamais
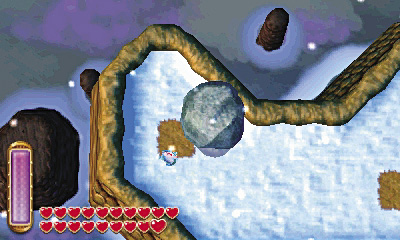
Fly to the Treacherous Tower next, which you’ll recall stands at the peak of Death Mountain in Lorule. After you arrive, go west and use the Fire Rod to melt a trio of Ice Gimos (if you haven’t melted them already). Hammer a peg afterward, then lift the large rocks beyond to discover a hidden Maiamai. It must be half frozen by now!
Lost Maiamai #95
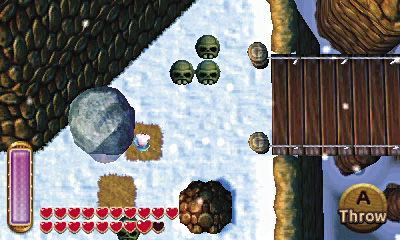
Now fly to Lorule’s Death Mountain weather vane. Use the Hookshot to zip across the broken bridge to the west, then hoist a large rock to find another Maiamai that’s sought shelter from the cold.
Lost Maiamai #96
Lorule Field Finds
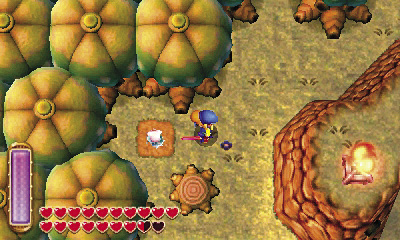
You’re all done on Death Mountain, so let’s head for warmer weather. Fly to the Vacant House, then go west, into the nearby forest of Like Likes. Lift and toss the large stone that’s just west of the Vacant House to discover a Maiamai.
Lost Maiamai #97
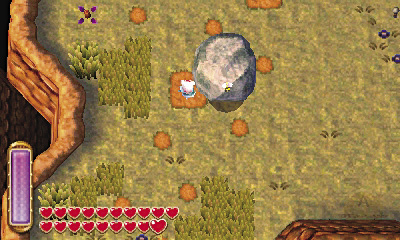
Go north after finding the Maiamai, heading for the Blacksmith’s. Keep heading north beyond the Blacksmith’s to reach the Fortune-Teller’s tent. Uncover another Maiamai around here by tossing the large rocks.
Lost Maiamai #98
Mire Maiamai
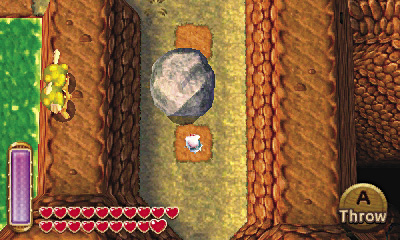
You’re almost finished! Fly to Misery Mire next, then go east, heading away from the mire and into the entry area. Toss the large rocks that are just south of the fissure here to find another Maiamai.
Lost Maiamai #99
Turtle Rock’s Rock
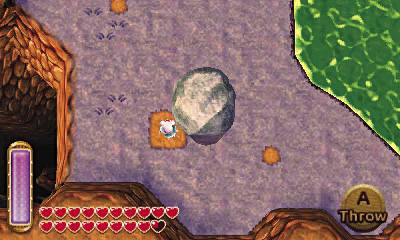
Only one more Maiamai to find! Fly to Turtle Rock, then swim to Lorule Lake’s southwest corner, where the Slaroks roam. Slay the Slaroks and then lift the large rock here to find Lorule’s final Maiamai. Well done!
Lost Maiamai #100
Get Your Upgrade On
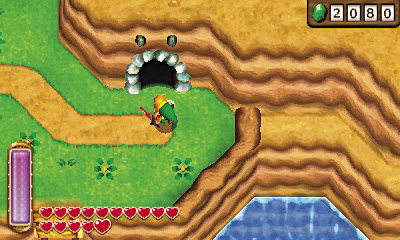
It’s been fun, but our grand Titan’s Mitt tour has finally come to an end. Now that you’ve found all 100 lost Maiamais, it’s time to receive your final upgrades from Mother Maiamai. For finding all 100 of her lost tykes, Mother Maiamai not only upgrades the last of Link’s items, but also grants him the power to unleash the great spin attack! Now that’s what we call nice!