
The Legend of Zelda: A Link Between Worlds Guide Walkthrough Great Explorations, Part I
Head for the Desert
Head for the Desert
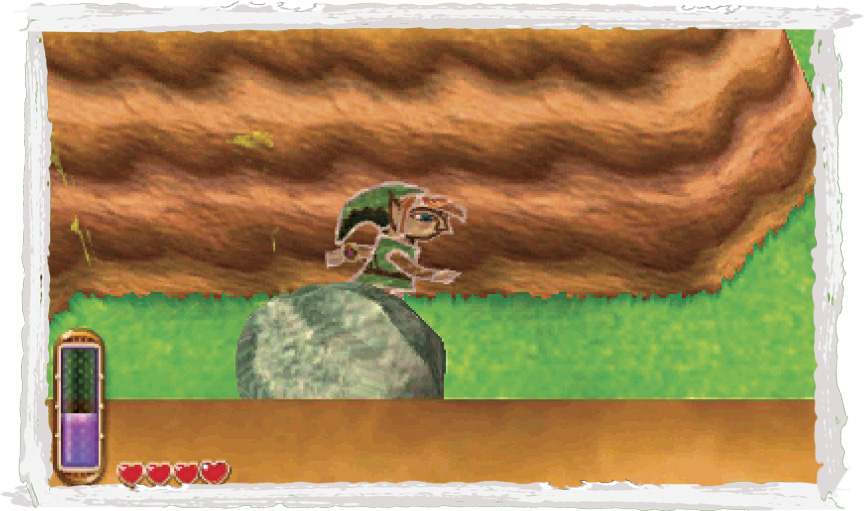
Link can’t explore much of the desert yet, but a few things are worth checking out. Go east from the Rupee Rush game and southeast from Gulley’s woods, and your path will be blocked by a familiar large rock. Though Link can’t lift this sizeable obstacle, he can merge into the wall and slip past it. Neat!
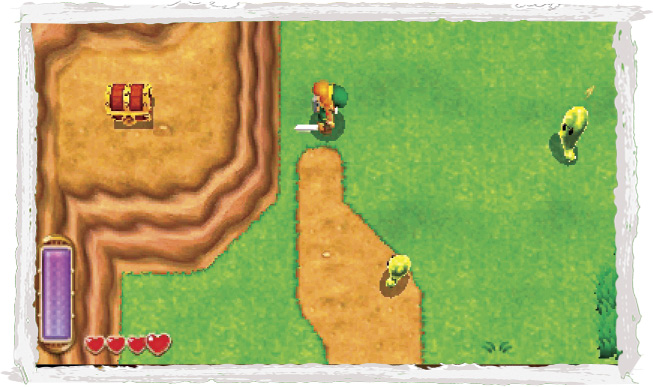
Continue moving south, eyeing a treasure chest on a high ledge to the west. Take the narrow southwest path to reach the desert’s entry area.
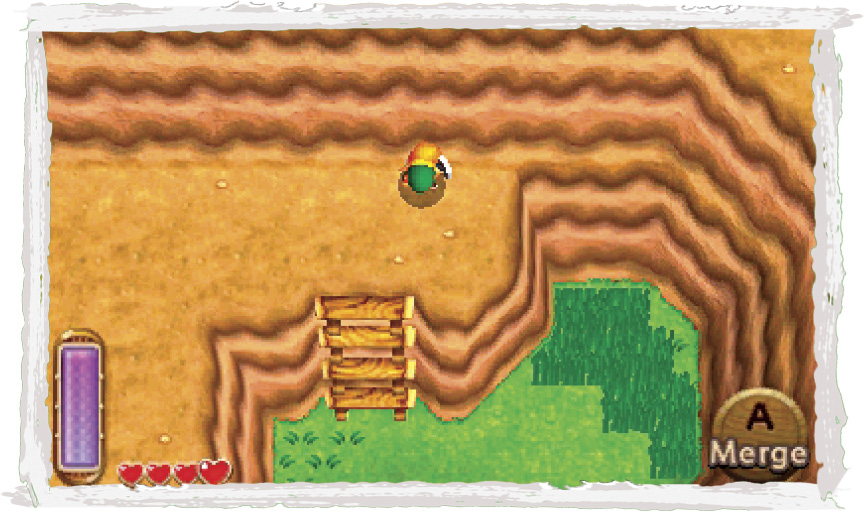
Rest at the Great Fairy Fountain if you like, then climb the ladder to reach a high ledge.
More Rupees, If You Please
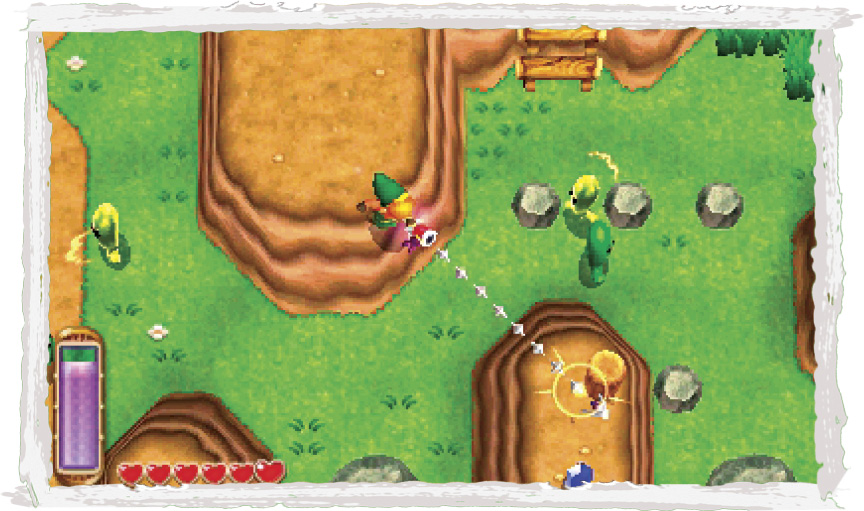
Stand on the south end of the high ledge and fire the Hookshot at the southeast peg to zip over to a high line of Blue Rupees. Score!
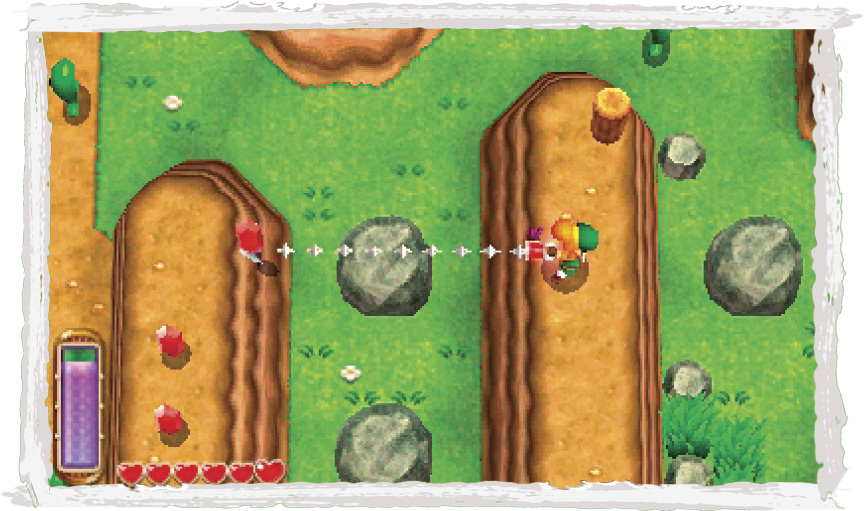
After nabbing the Blue Rupees, launch your Hookshot westward to snatch the Red Rupees on the neighboring ledge. Cha-ching! The Hookshot sure is a nifty little gadget.
Chest Trek
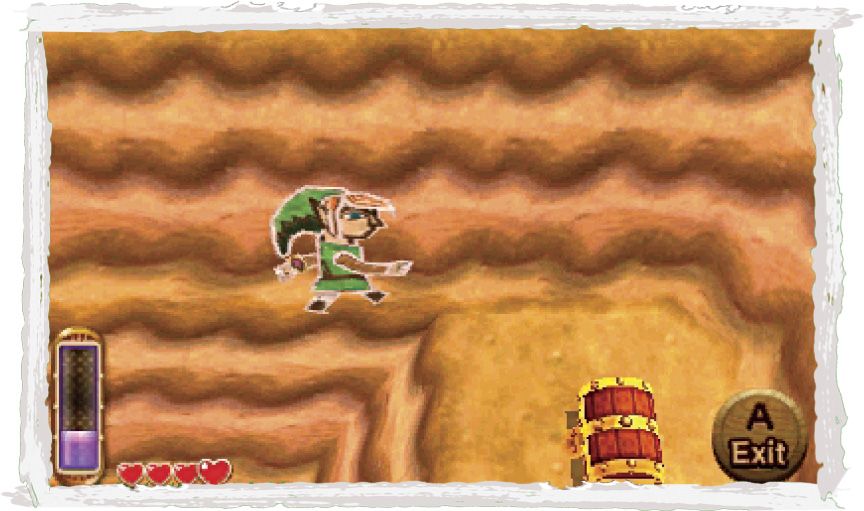
Drop to the ground after claiming the Rupees and climb back up the ladder to return to the high ledge. Merge into the north wall and then go right (east) along the wall, looping around a corner. Keep moving along the wall until you reach the chest on the high ledge you noticed earlier. Drop from the wall and lift the chest’s lid to claim a Silver Rupee.
 Hyrule Chest #15: Silver Rupee
Treasure Hunter Cave #2
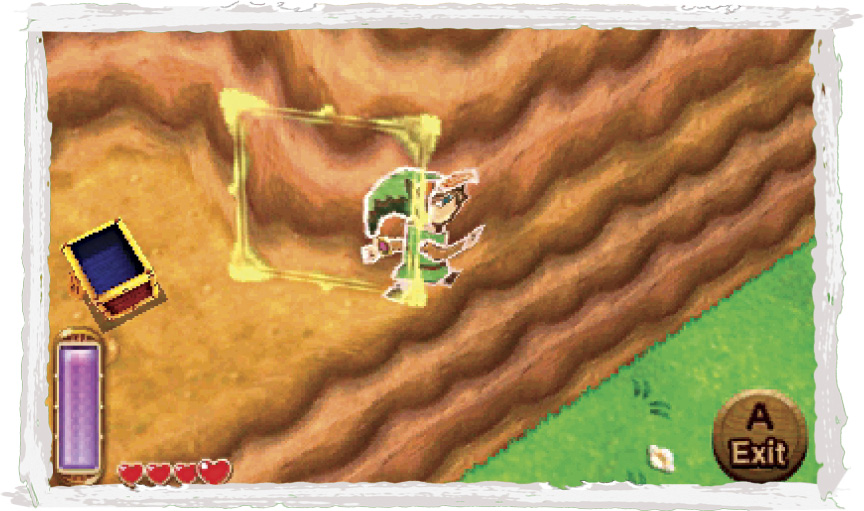
Let Link catch his breath, then merge into the wall near the chest after his energy gauge has refilled. Make a long journey north along the wall, rounding corners as you go.
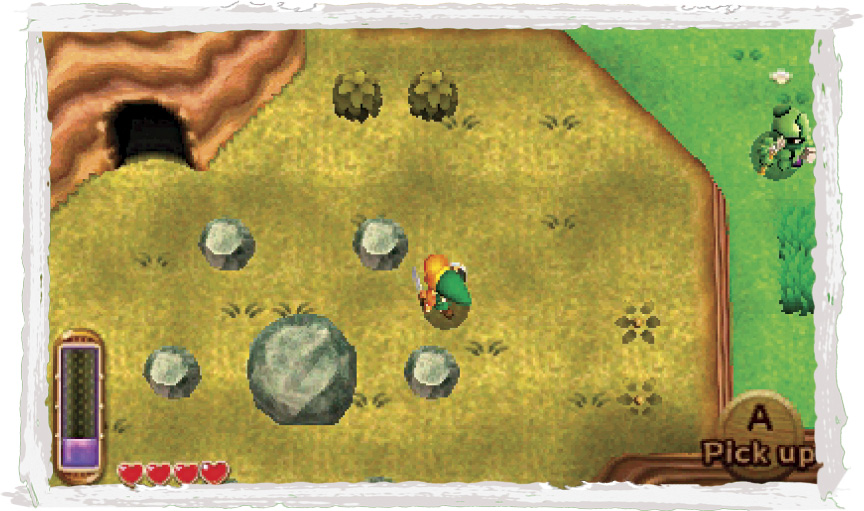
Keep moving until you at last reach another high ledge—Link has just enough energy to get here. You hear a Maiamai crying from the circle of stones here, but you can’t lift the large rock to rescue it. Enter the nearby cave instead.
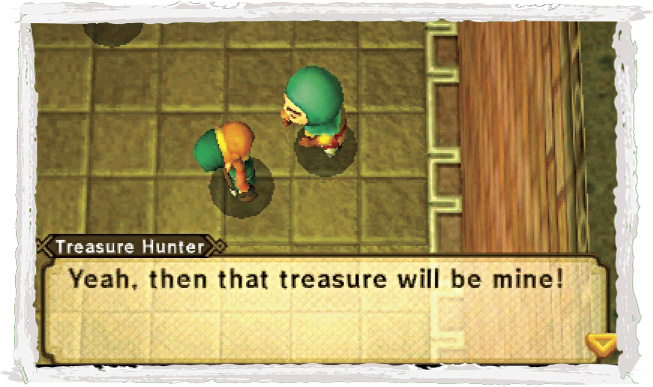
Inside the cave, Link meets a Treasure Hunter who has his eye set on the Rupees in here. We’ll just see about that! Grab a cucco and run north, then peer into the deep pit ahead.
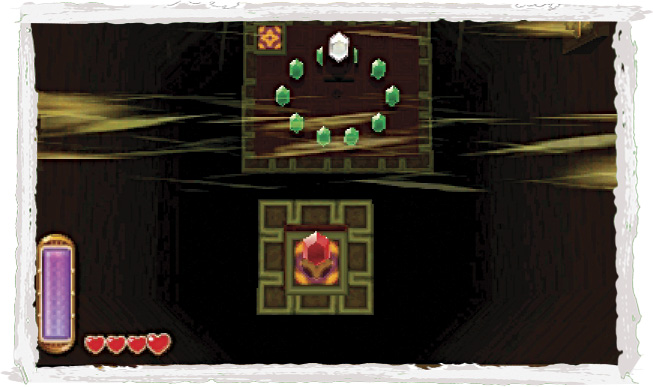
The pit features several small platforms that contain valuable Rupees. Most of these are relatively easy to grab, though the powerful wall fans threaten to knock you off course. Use a warp panel to return to the top of the cave each time you reach the bottom.
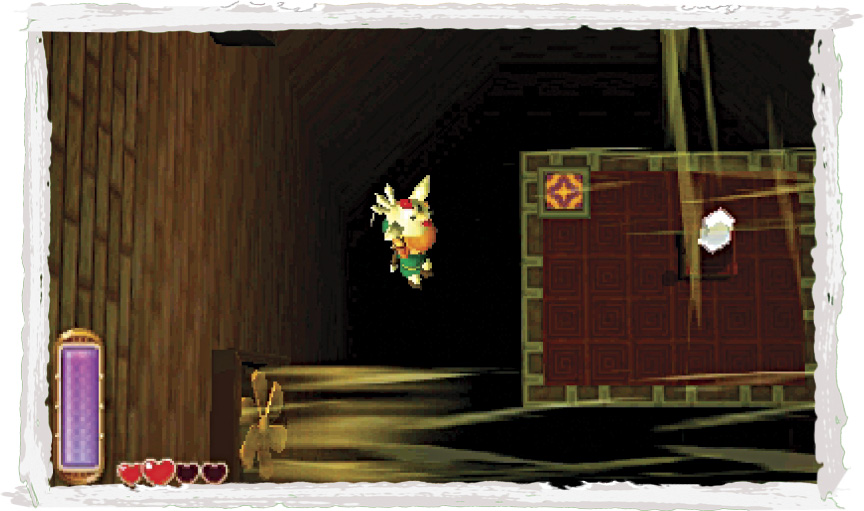
The most precious prize is the Silver Rupee near the bottom of the pit, but only a masterful cucco glide will land you upon it. There are many ways to approach the Silver Rupee, but we found it easiest to keep to the left until you’ve passed all of the fans, then quickly swing to the right and grab the Silver Rupee just before you fall past.
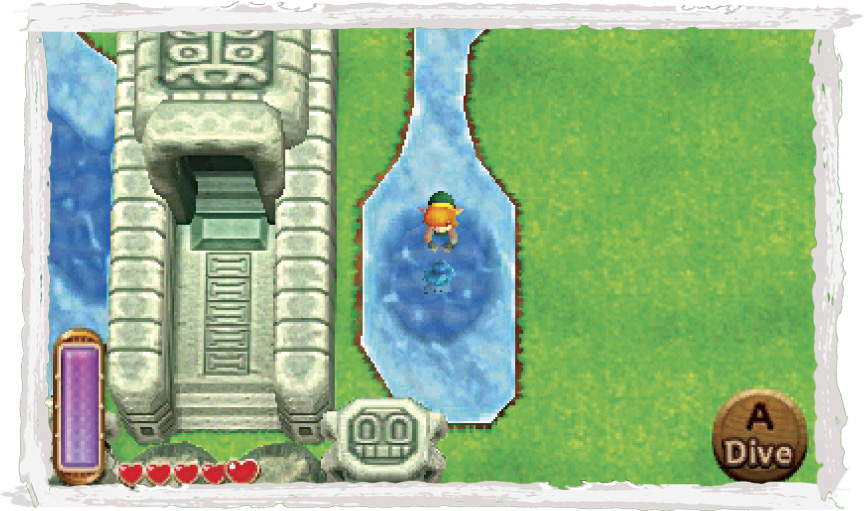
Ring Irene next and fly to Link’s House. Save your game and then go south, into the Southern Ruins. Head for the southern temple, which is blocked by large rocks. You can’t lift these yet, but you can dive underwater to rescue another lost Maiamai.
 Lost Maiamai #26
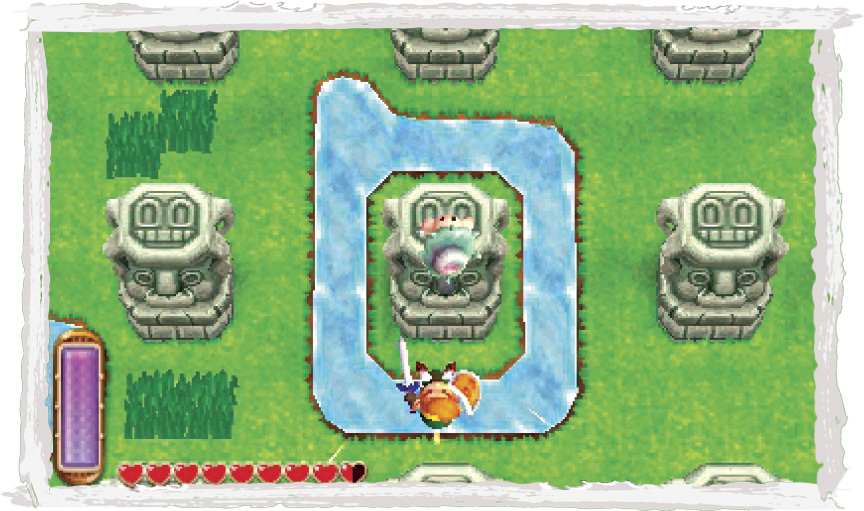
Go northeast as you continue to explore the Southern Ruins. Look for a Maiamai that’s stuck atop a pillar here, and dash into the pillar to knock the little tyke to the ground.
 Lost Maiamai #27
Bombing Run
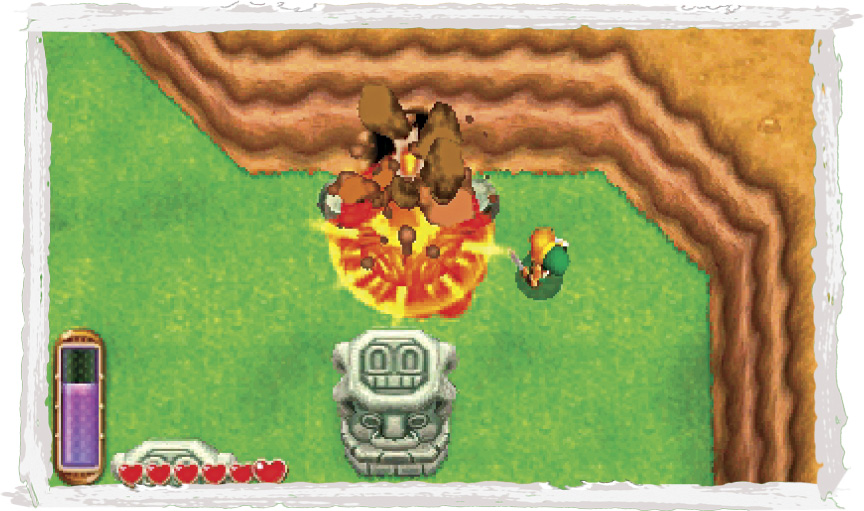
Fairies are fantastic companions, but up until now they’ve been hard to come by. But that’s all in the past! Go east to reach the Southern Ruins, then go northeast and look for a cracked wall between two small rocks. Place a bomb near the cracked wall, then step back and enjoy the fireworks.
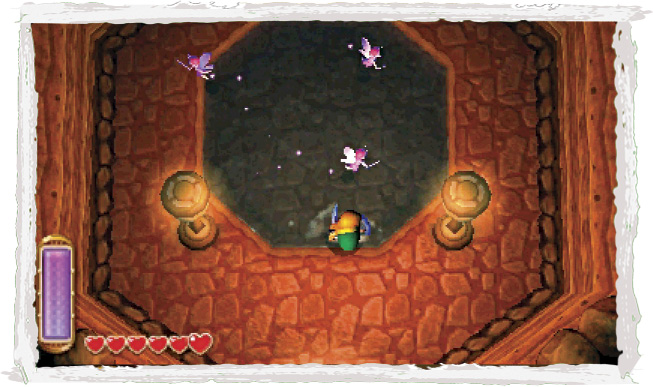
Kerblam! The bomb blasts through the cracked wall, exposing a cave. Head inside to discover a Fairy Fountain. Use your net to nab a couple of fairies and fill both your bottles. Leave and reenter the Fairy Fountain to make more fairies appear.
Trouble in Paradise
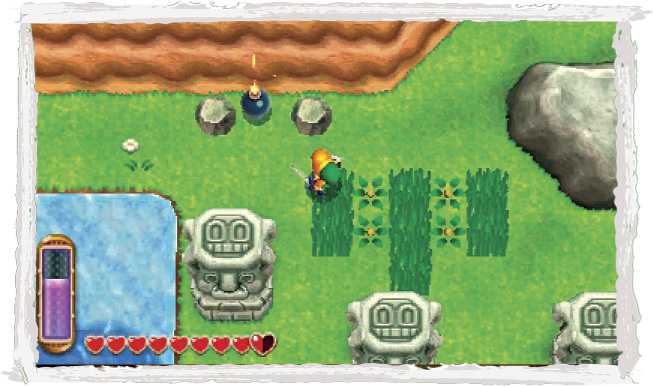
Exit the Fairy Fountain and run directly west to locate another pair of small rocks near the Southern Ruins’ north wall. There’s no cracked wall here, but these rocks must have been placed here for some purpose. Try planting a bomb between them and see what happens.
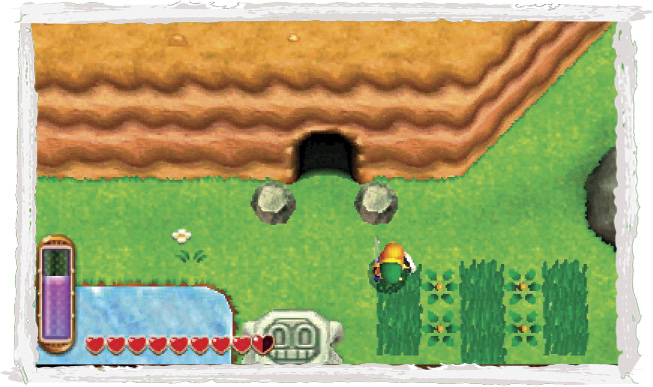
Blammo! The bomb blasts a hole through the wall, revealing a secret cave. Head inside to at last locate the Runaway Items Seller.
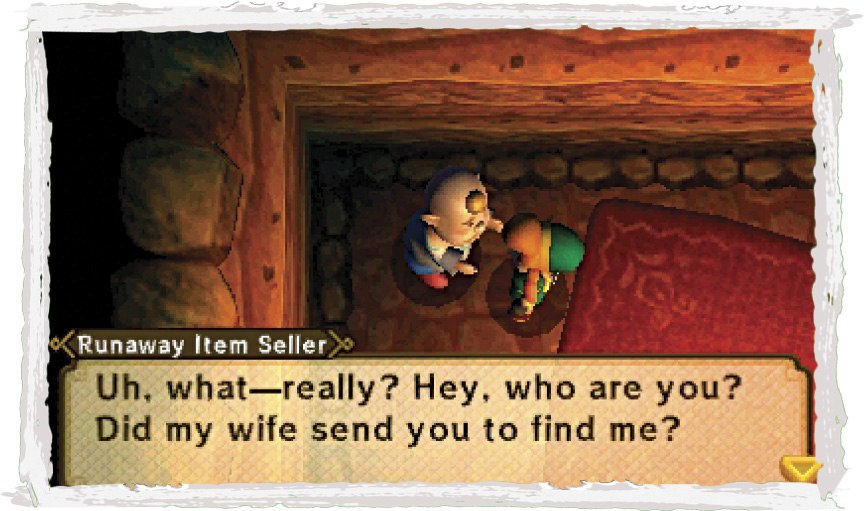
If you recall, the Items Seller at Kakariko Village told you a sad tale of her runaway husband. Well, you’ve found him! Listen to the man’s tale of woe, then give him a Scoot Fruit if you have one to spare. (You can buy Scoot Fruit for 50 Rupees from his wife, the Items Seller, in Kakariko Village.) The man will then give you a Silver Rupee in trade. Not a bad deal!
Another Secret Cave
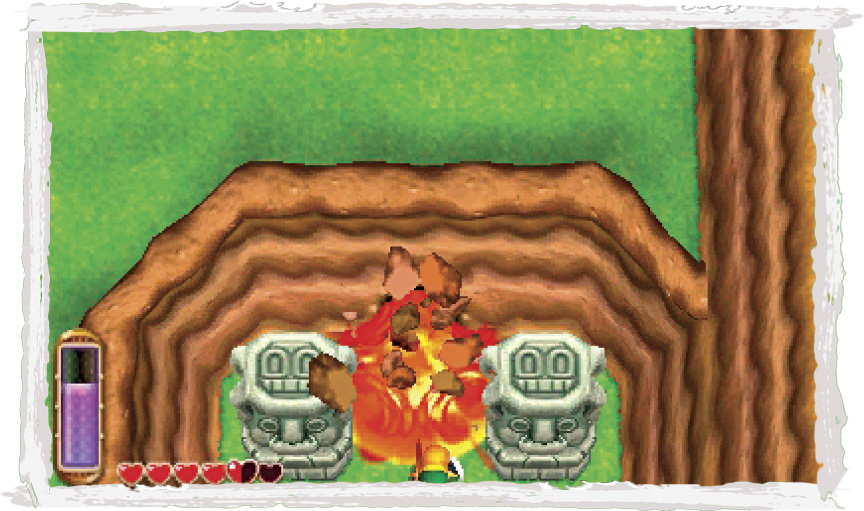
Your bombing run isn’t over yet! Leave the Runaway Items Seller’s cave and go southeast, heading for the path that leads to Lake Hylia. On your way, notice two large statues standing near the north wall in the low ground where the Octoroks roam. Place a bomb between these suspicious statues to blast open another secret cave.
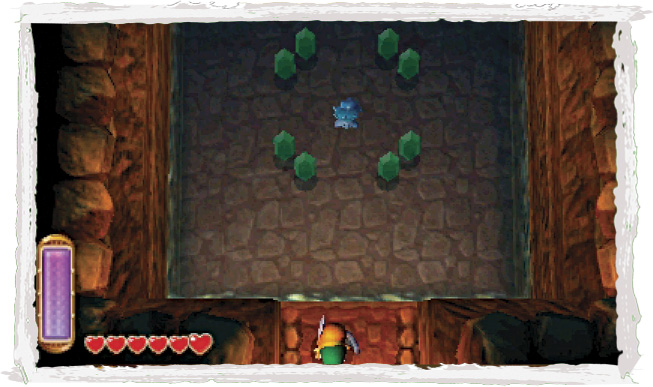
Slay the Ropes and Keese as you explore this secret cave. When you reach the north pool, dive in to claim some sunken Rupees and an underwater Maiamai.
 Lost Maiamai #28
 Keese
Keese
Damage:1/2 Heart
These pesky bats flap about caves and dungeons, looking to take a bite out of trespassers. Their swift movements make them somewhat unpredictable, so slash madly at them with the sword, or keep your distance and employ ranged weapons. The Tornado Rod is also quite useful for stunning Keese when they begin to swarm.
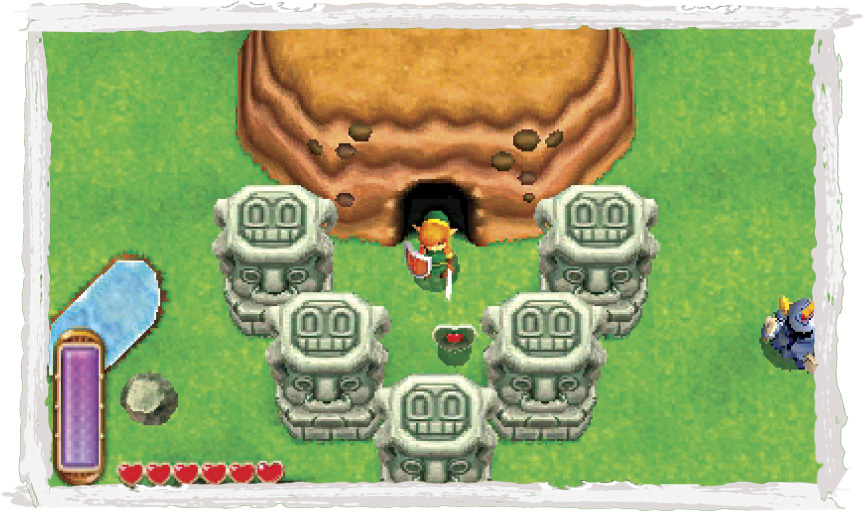
Follow the cave to its far exit, and you’ll pop out back in the heart of the Southern Ruins, right next to a piece of heart! Claim this wondrous prize, then journey back through the cave to escape confinement.
 Piece of Heart #9
Let’s Check the Lake
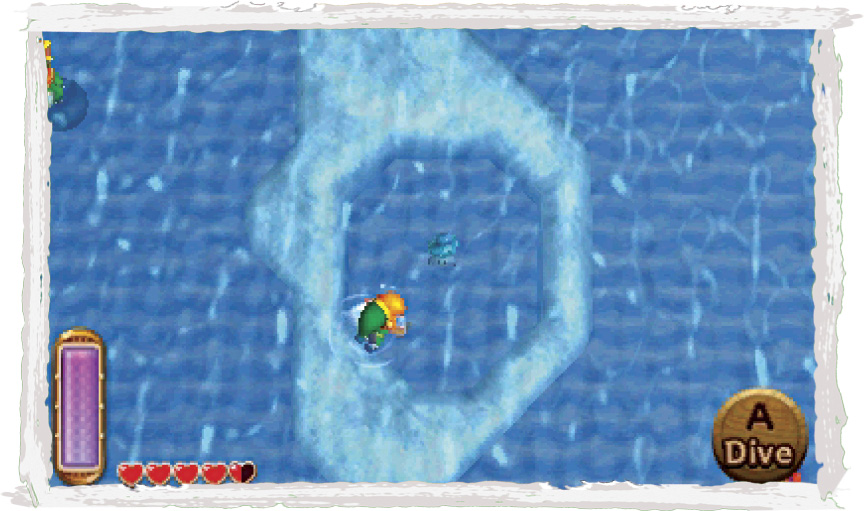
Lake Hylia is your next stop, and it’s a short trek east of the Southern Ruins. Head east and dive into the lake when you get there, then swim around and look for an underwater Maiamai that’s surrounded by shallow water just south of the House of Gales.
 Lost Maiamai #29
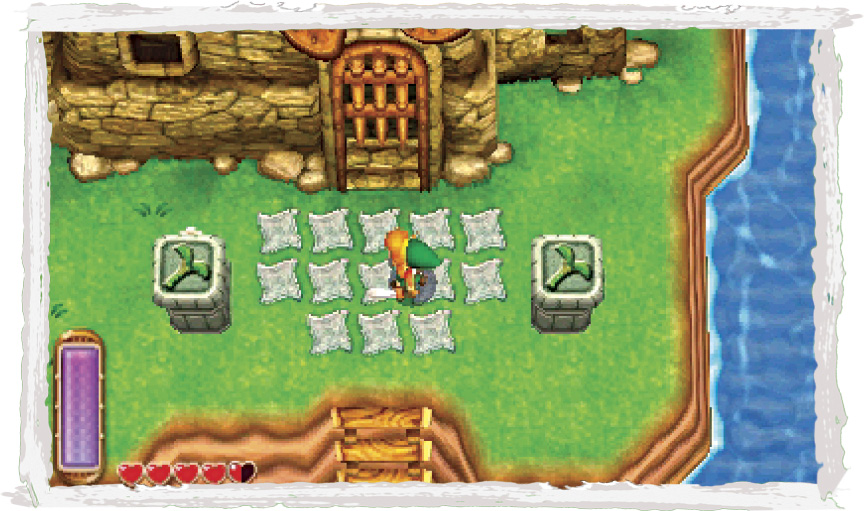
Since you’re here, you might as well check out the House of Gales. Climb onto the dock, scale the ladder, and activate the weather vane here for future use. Take note of the symbols on the nearby columns as well—they resemble the Tornado Rod, a tool you need to enter the House of Gales.
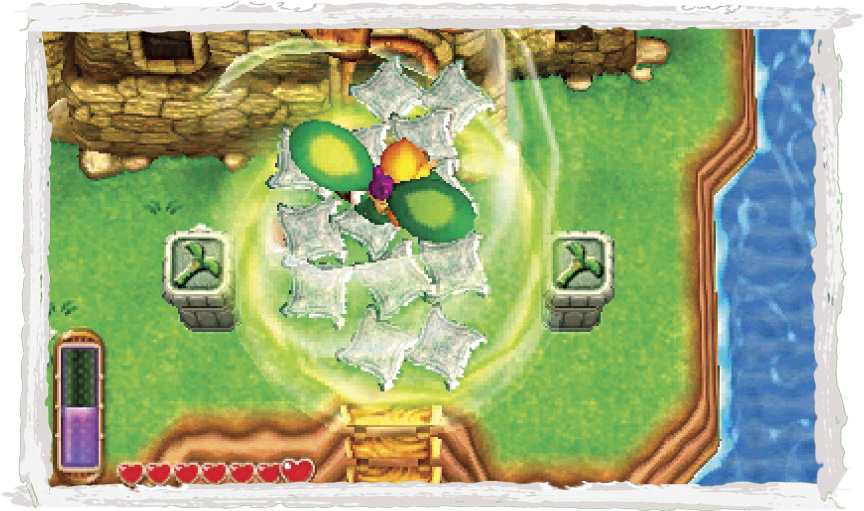
Use the Tornado Rod to blow away the floor tiles near the House of Gales and expose a floor switch. Step on the floor switch to open the dungeon’s entry door.
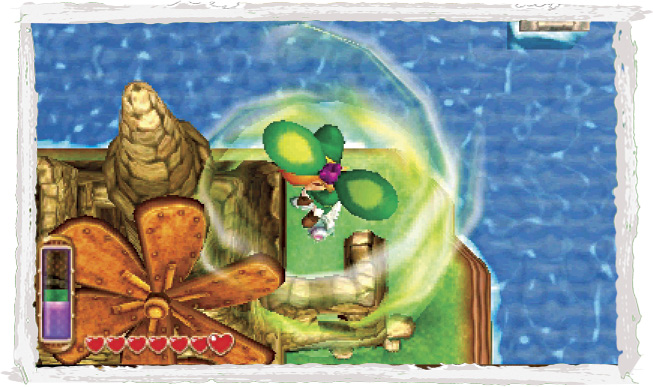
Inch around the House of Gales’ east wall to discover a lone Tornado Tile. Use the Tornado Rod again to blow the tile away and discover a hidden Maiamai. Rescue the little fellow, then save your game.
 Lost Maiamai #30
Under the Bridge
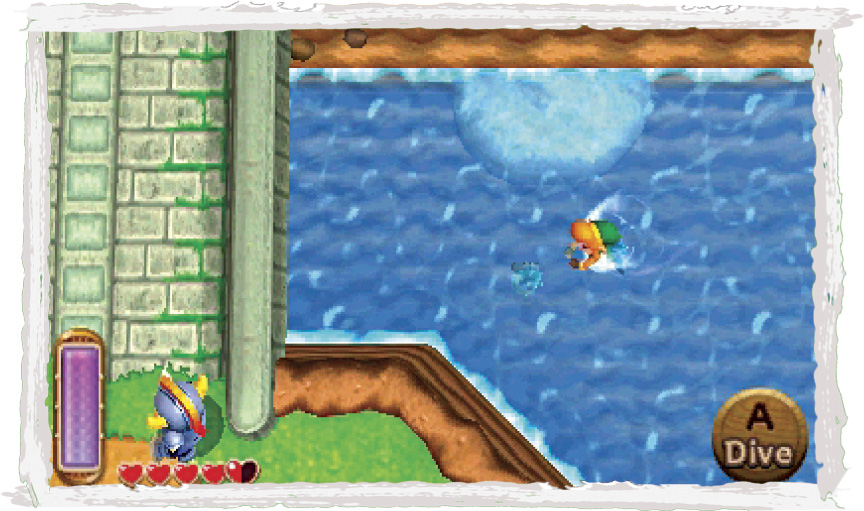
Jump back into Lake Hylia and swim north, following the river northward to a stone bridge that you’ve crossed many times on foot. Dive and collect an underwater Maiamai from the river just east of the bridge.
 Lost Maiamai #31
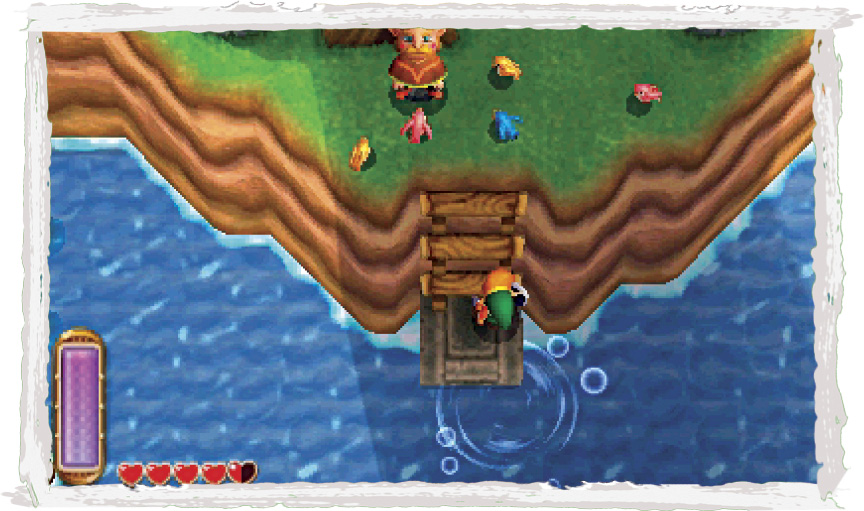
Now swim underneath the stone bridge to discover the secret hideout of a man known as the Bird Lover. Climb up to the Bird Lover’s perch and take a moment to chat with him. Tell the Bird Lover that you like birds, then tell him that you want to talk. He’ll give you an empty bottle that washed up not long ago. Now you have two bottles to store stuff in!
 Bottle #2
Can hold many different things. You’ll need one to buy potions.
Long-Lost Letter
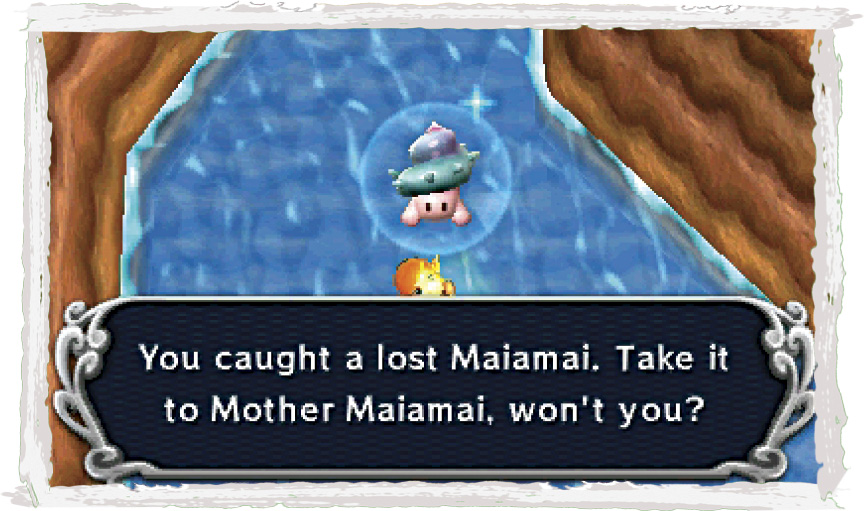
Swim back to Lake Hylia and then swim east, following a short river to its end. Dive and scoop up another underwater Maiamai as you go.
 Lost Maiamai #32
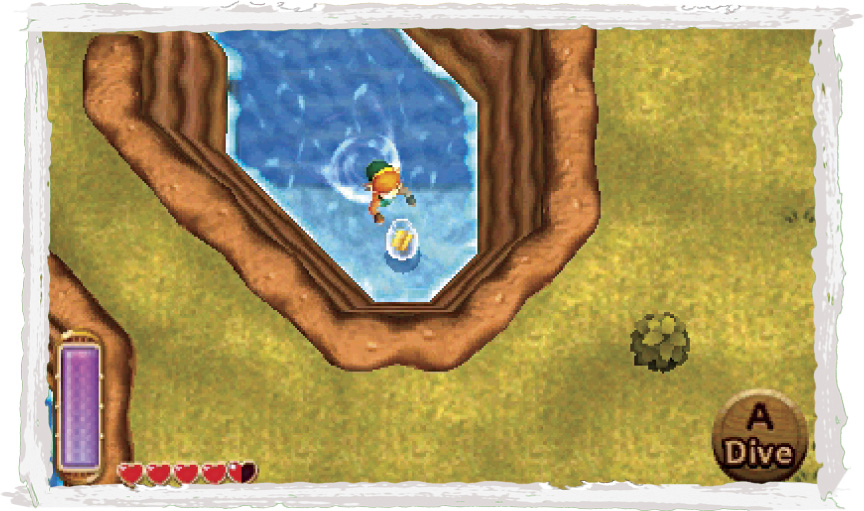
When you reach the end of the river east of Lake Hylia, you discover a letter in a bottle. How peculiar! The letter indicates that someone has gotten into a trouble up on Death Mountain, way past the Tower of Hera. The person seems to really want something called premium milk, which is available at the Milk Bar in Kakariko Village. Maybe you can help them out?
 Letter in a Bottle
Someone’s heartfelt message. You should take good care of it.
Go for the Gold
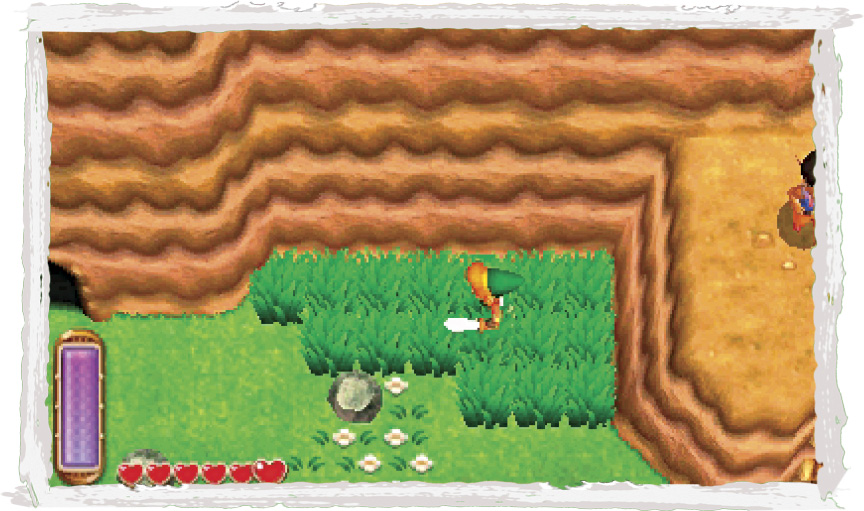
Having collected the letter in a bottle, use a nearby dock to climb onto dry land. Enter the cave at the north end of Lake Hylia’s east bank.
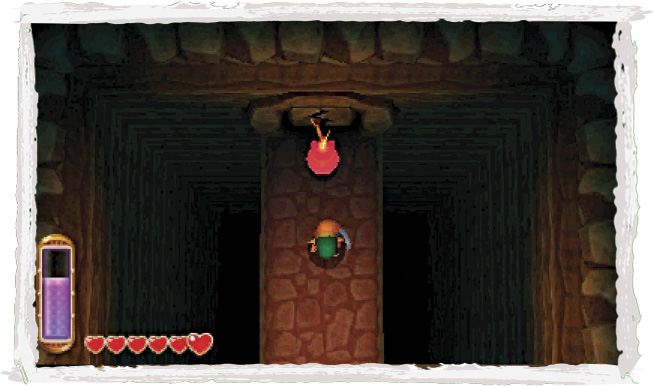
The cave features a cracked wall at its north end. Use a bomb to blast the cracked wall, then advance north to reach a Fairy Fountain. This one isn’t as easy to reach as the one near Link’s House, but more sources of fairies are always good.
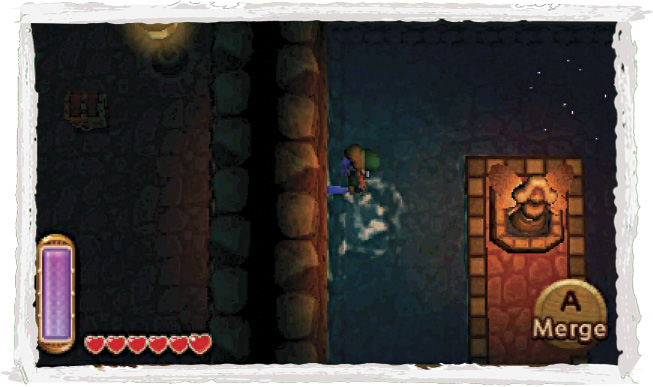
After collecting your fairies, use  to pan the camera to the west. Hey, there’s a chest over there! But how to reach it?
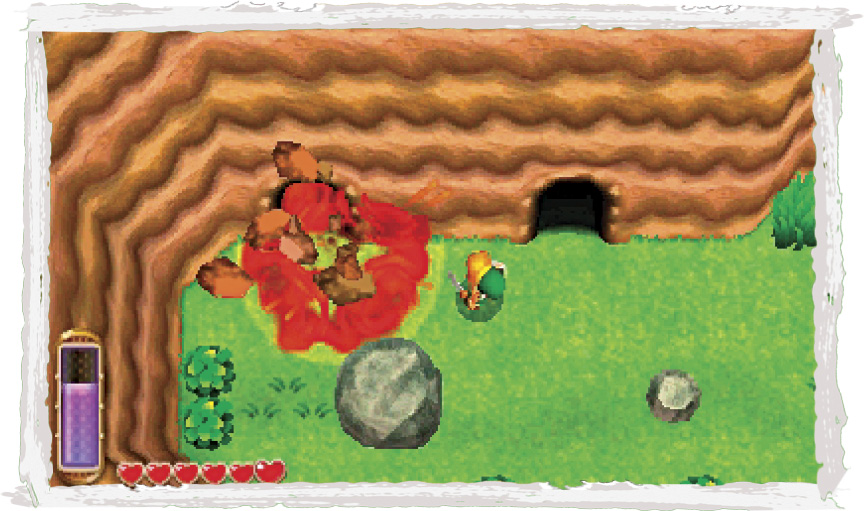
Exit the Fairy Fountain cave and return to the outdoors. Place a bomb just to the left of the cave’s mouth to blast open a secret cave. Sneaky!
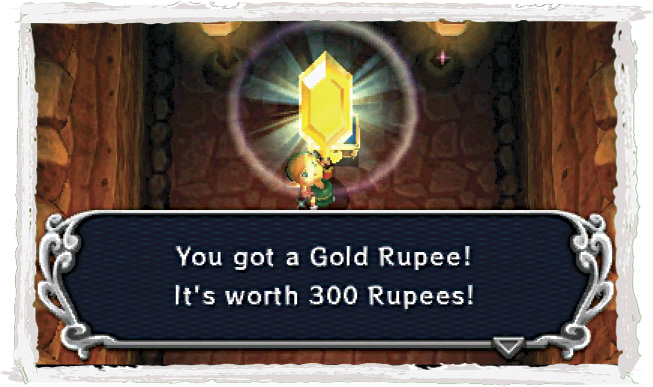
Enter the secret cave and crack open the chest you spied moments ago to claim your reward: a precious Gold Rupee! Just one of these is worth a whopping 300 Rupees!
 Hyrule Chest #16: Gold Rupee
Who’s Up for Some Hotfoot?
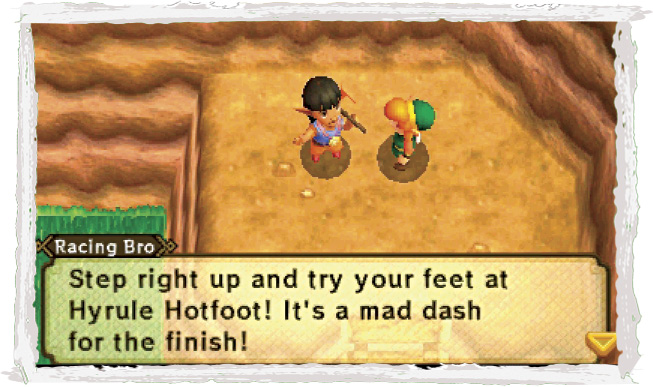
Exit the cave with your Gold Rupee tucked away and climb a nearby ladder that leads up to a man on a ledge. This is the Racing Bro, and he asks if you want to pay 20 Rupees to try a racing challenge across Hyrule. Sure, why not?
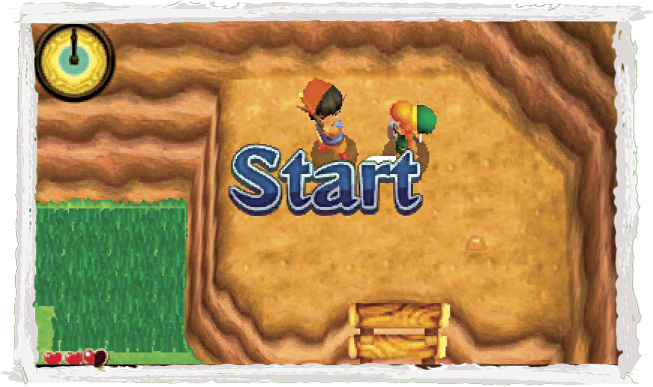
The rules of Hylian Hotfoot are simple: pay the entry fee, then race to the goal. The goal always appears way up north, near the house of Rosso, the miner (north of the Blacksmith). You only have 75 seconds to get there, but it’s doable if you avoid enemies, make use of the Pegasus Boots, and take the shortest route.

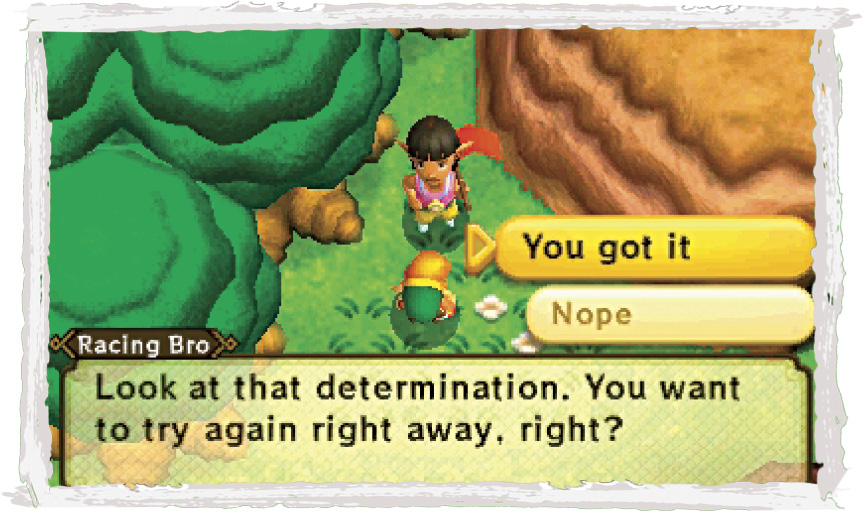
Reach the goal in less than 75 seconds, and you’ll win a Silver Rupee and unlock the game’s Intermediate level. And don’t worry if you fail to reach the goal on time—just speak to the Racing Bro at the goal to quickly begin the game again from the starting point back near Lake Hylia.
During the Intermediate run, you have only 65 seconds to reach the goal. The route is the same, but you’ll have a hard time reaching the goal in less than 65 seconds without a little help from the Pegasus Boots. Race hard to reach the goal in time and win your piece of heart prize!
 Piece of Heart #10
Eastern Ruins Romp
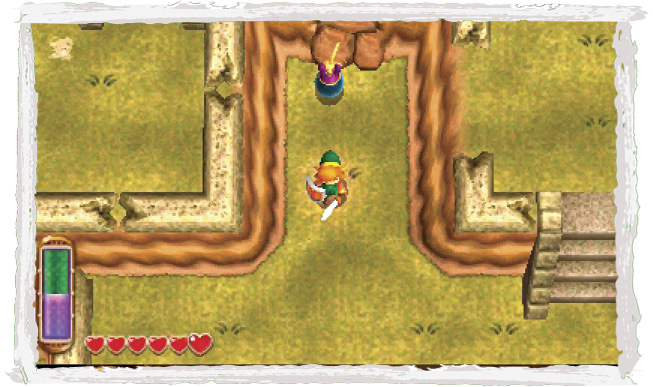
After having your fill of Hyrule Hotfoot, ask Irene to drop you off at the Eastern Palace. Go directly south from the palace and bomb a cracked wall to expose a cave.
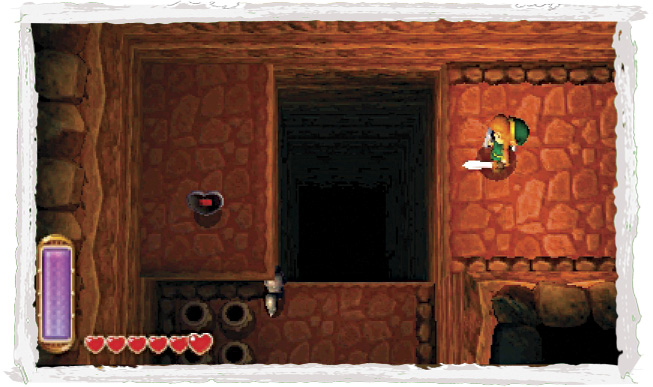
Enter the cave and merge into the north wall. Cross over to the west ledge, where a piece of heart awaits. Claim this valuable prize, then drop from the ledge and exit the cave.
 Piece of Heart #11
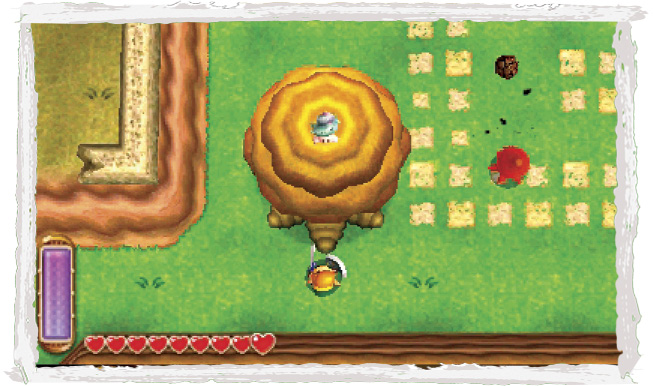
Go west after exiting the cave. Don’t climb any steps; just go west to find another Maiamai perched atop a brown tree. Add this little fellow to your growing collection.
 Lost Maiamai #33
Link Hearts Fairies
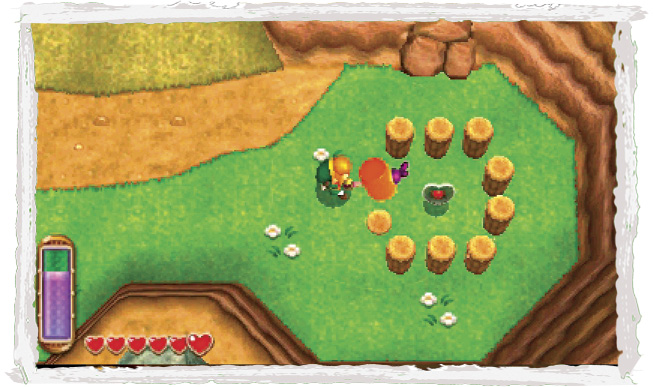
Backtrack eastward and then go south, taking the southeast trail down to a Tektite-filled gully. Use the hammer to pound the pegs you find here and claim another piece of heart. All right! That makes another heart ontainer!
 Piece of Heart #12
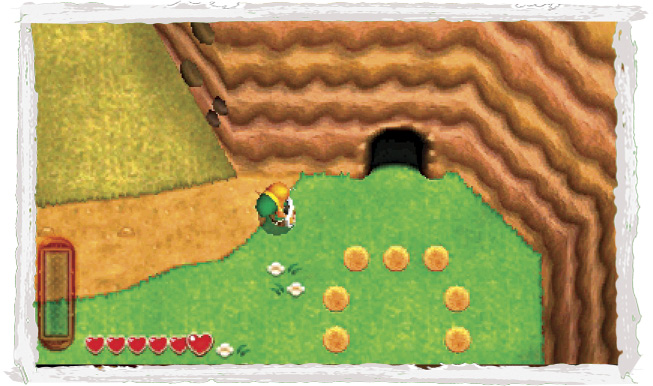
Next, blast open the cracked wall just north of the piece of heart. Head inside to visit a Fairy Fountain—the third one you’ve found thus far.
Treasure Hunter Cave #3
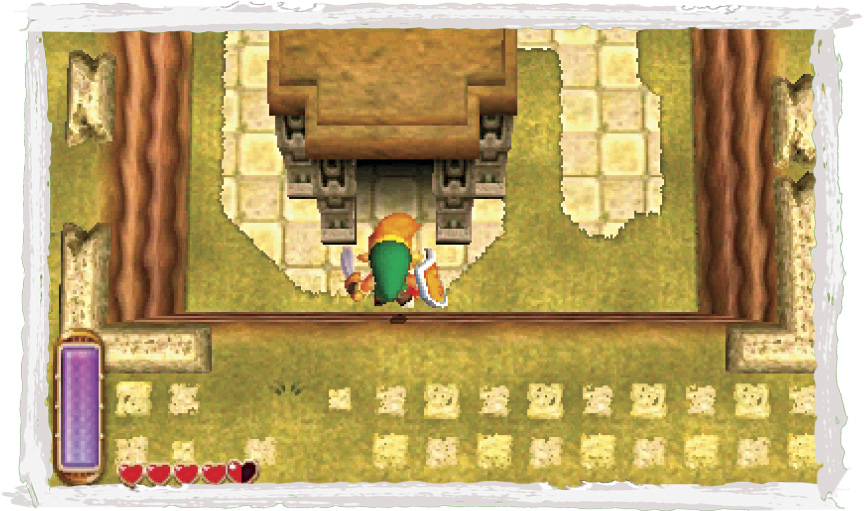
Proceed north into the Eastern Ruins again and drop into the west pit that lies just beyond the bow checkpoint gate. Enter the stone structure in this pit to visit another Treasure Hunter cave.
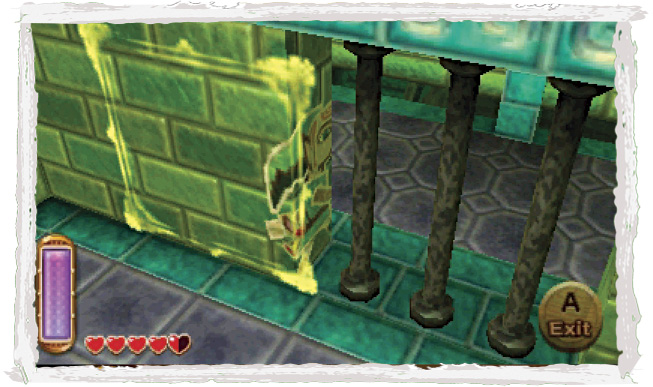
You couldn’t explore this cave before, but now you can. Merge into the wall and slip past the bars near the entrance, then go downstairs and speak with the Treasure Hunter, who seems baffled as to how to reach the cave’s treasure.
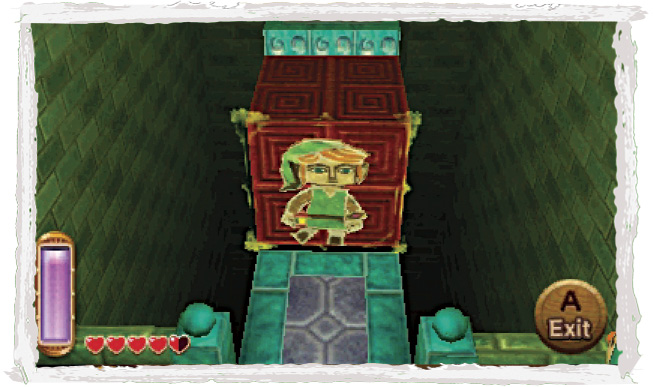
Claiming this treasure requires some clever use of Link’s merge ability. Merge into the first moving block that you see, then move around the block after it rises and exit onto the solid platform beyond.
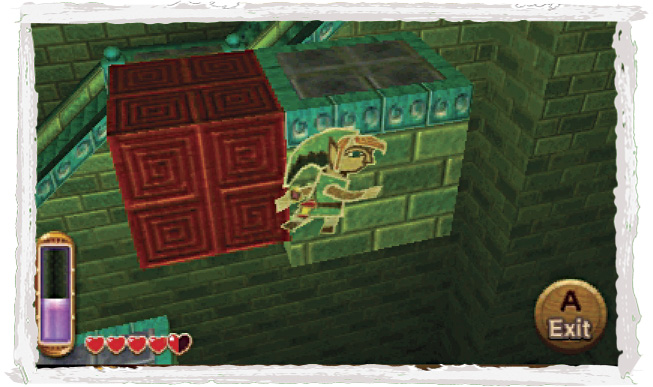
Let Link catch his breath, then merge onto the next moving block. Slip to one side, then move onto the stable platform after the block rises. Wait for the block to lower again, the slip back around the stable platform and exit to land atop the moving block you just used.
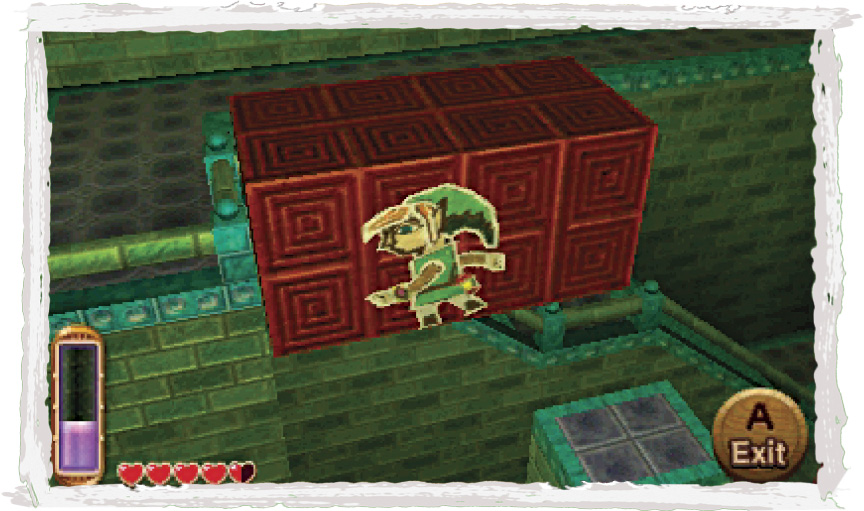
You’re doing well! Again, merge onto the third moving block after Link’s energy gauge has refilled. Slip around one side and wait until the third moving block lines up with the fourth. Then move onto the fourth moving block.
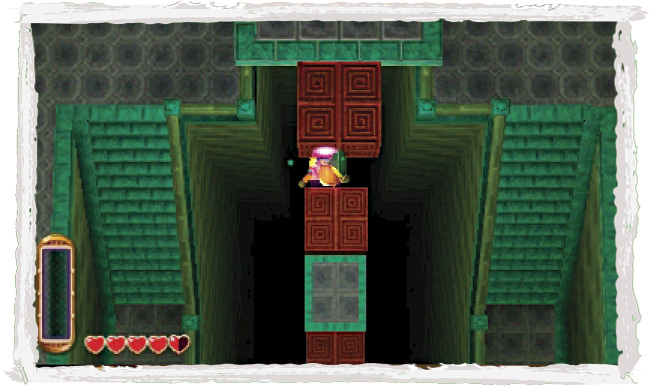
Slip back around to the front (south side) of the fourth moving block and exit when the third moving block has lowered. Link will land atop the third moving block.
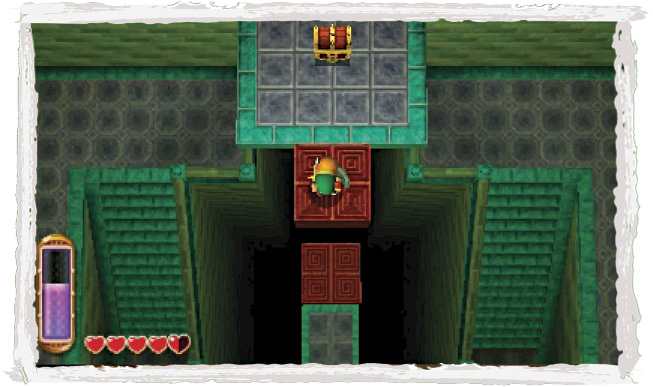
Wait for the third moving block to line up with the fourth again, then simply step onto the fourth moving block. Allow this final block to hoist you up to the chest ledge, then stroll over and claim your well-earned reward.
 Hyrule Chest #17: Silver Rupee
More Merging
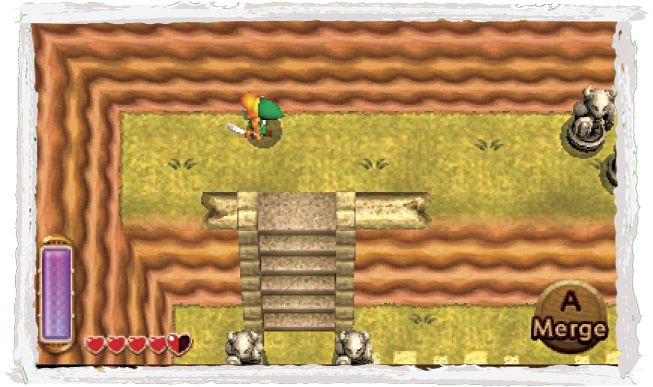
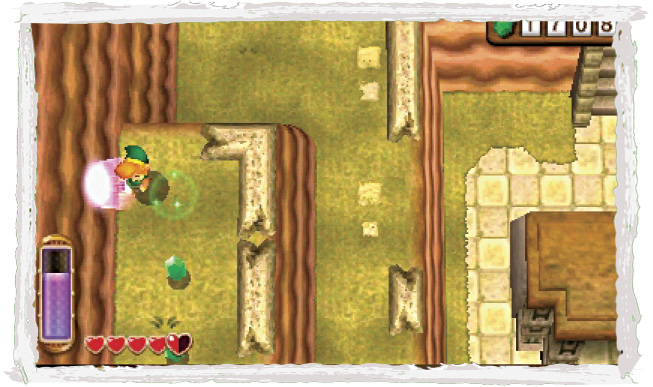
Exit the Treasure Hunter cave with your Silver Rupee safely tucked away, then head up the north stairs to reach the ruins’ northwest corner. Merge into the wall and make a long trek to the south to reach a line of Green Rupees on high. Hey, every little bit helps!
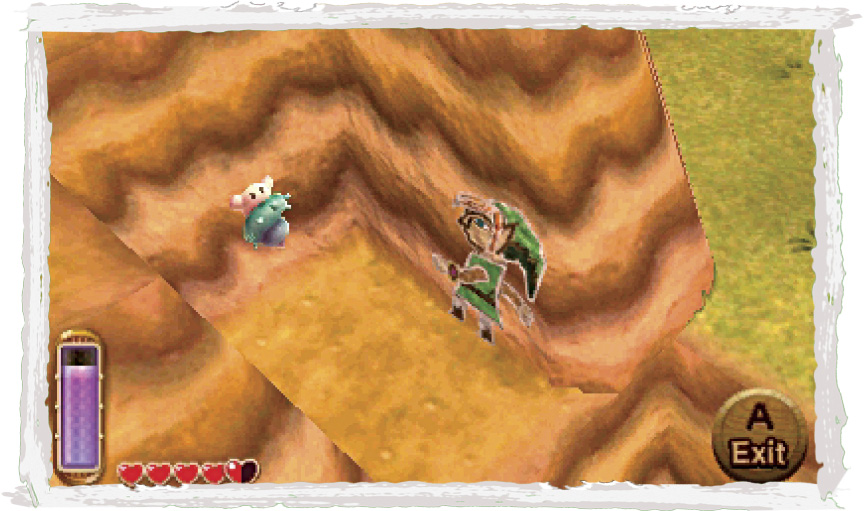
Drop from the opening in the south wall to return to the bow checkpoint gate. This time, merge into the wall to the east of the gate and head for a lost Maiamai that’s stuck to the wall nearby. Free this little fellow and add him to your collection.
 Lost Maiamai #34
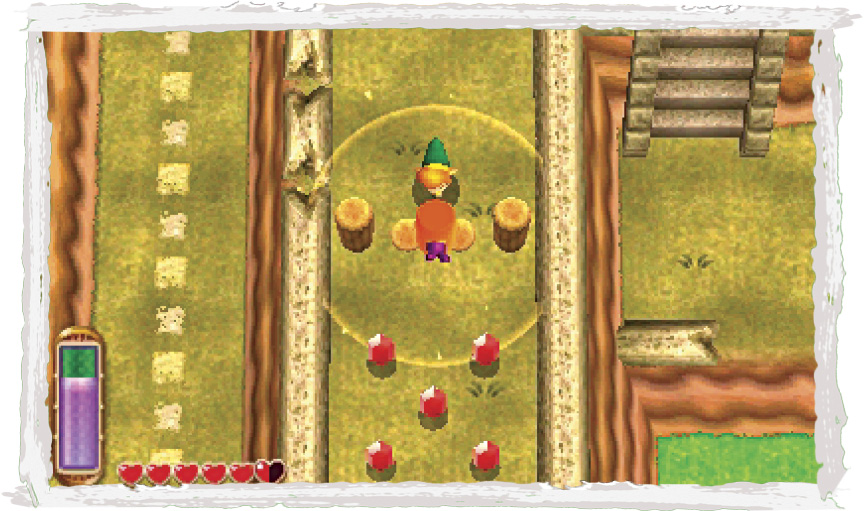
Merge eastward along the wall again after collecting the Maiamai. Use the hammer to pound down the nearby pegs so you may collect the Red Rupees beyond.
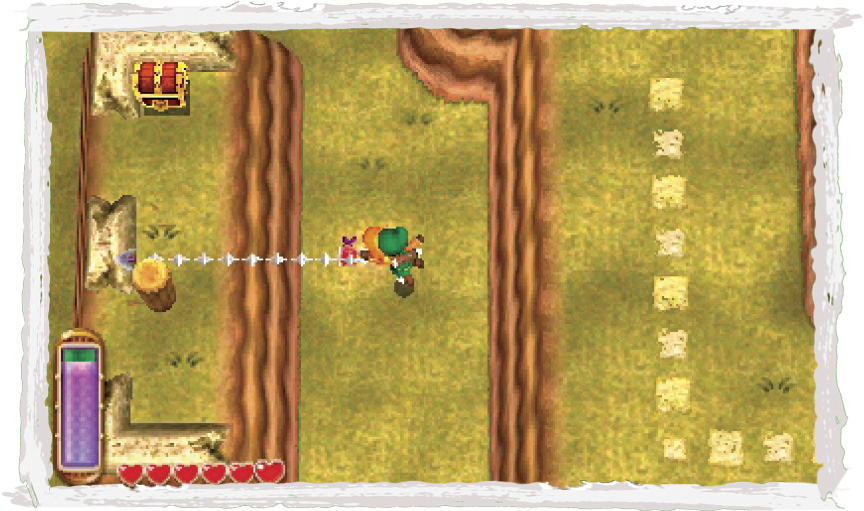
Go north from the Red Rupees and spy a chest on a high standalone ledge. Drop off the ledge to the east, climb the north stairs, and then use the Hookshot to zip over to the chest (target the peg near the chest).
 Hyrule Chest #18: Red Rupee
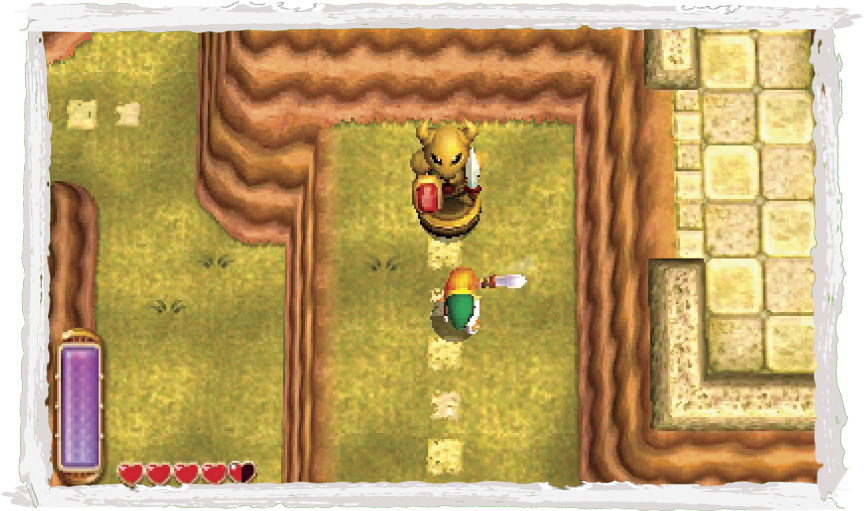
Drop from the ledge after looting the chest, then go south and drop from the east ledge again. Scale the north stairs once more and slay a lone Armos when you reach a dead end.
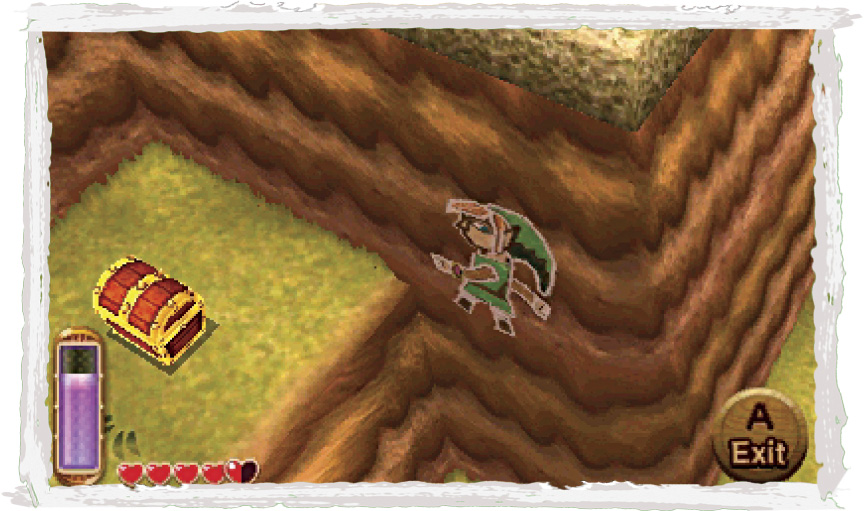
After defeating the Armos, merge into the north wall and loop around to the west to reach a chest on a high ledge. Pop out and pluck your prize from the chest.
 Hyrule Chest #19: Silver Rupee
An Explosive Shortcut
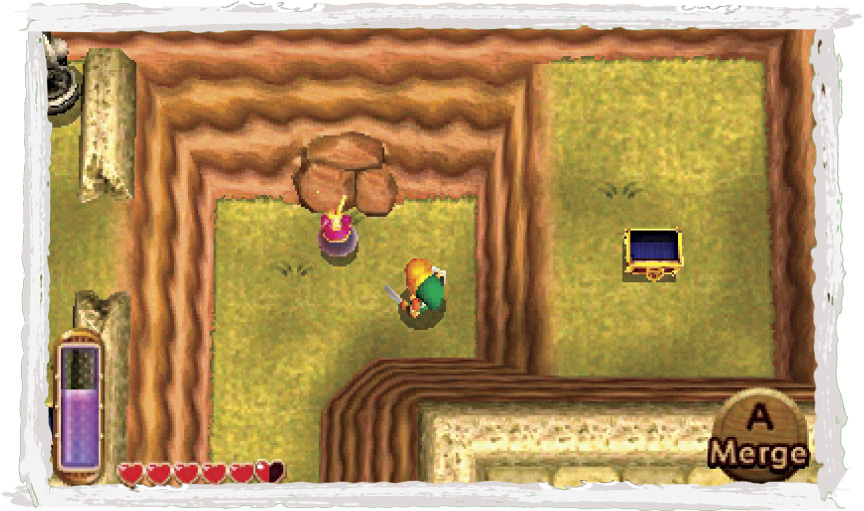
Drop from the chest ledge and go directly north to find another cracked wall. Bomb this wall to expose a cave, and head inside.
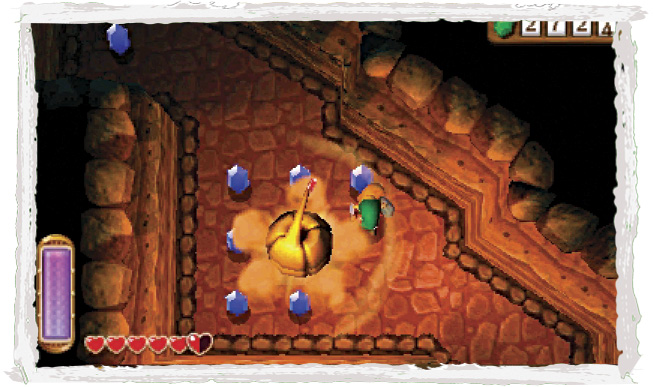
Collect the Rupees inside the cave, but watch out for the Red Rupee—it’s actually a Rupee Like in disguise!
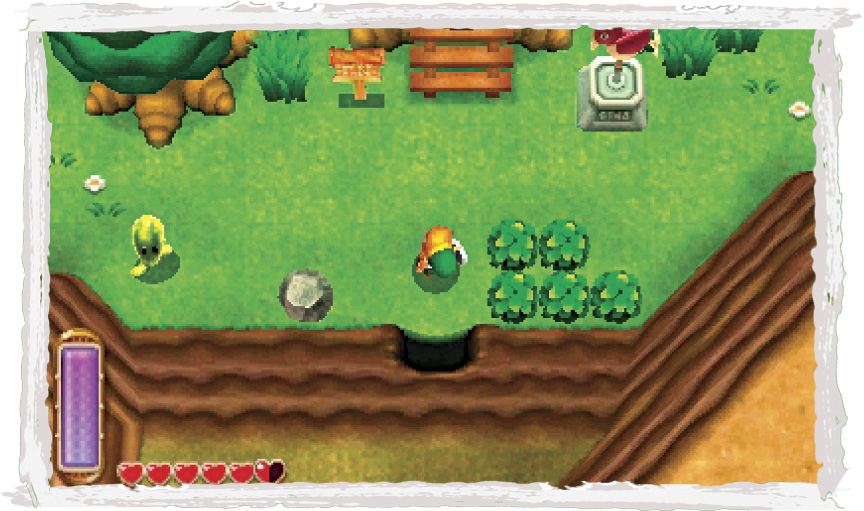
Leave the cave via its north exit to find yourself at the Witch’s House. What a convenient shortcut! Visit the Witch if you like, then save your progress before heading back through the shortcut to return to the Eastern Ruins.
Ruins Wrap-Up
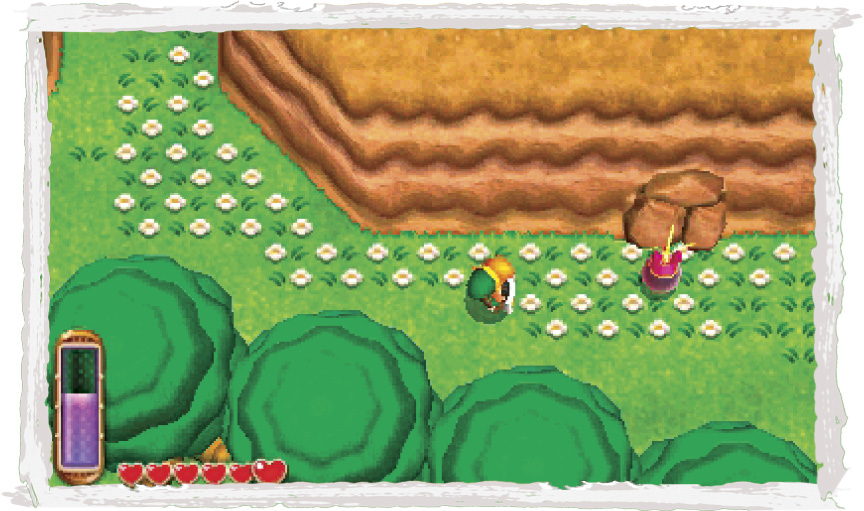
We’ve searched the interior ruins—now let’s check the outer grounds. Go southwest, making for the ruins’ exit. After leaving the ruins, go east and look for a cracked wall.
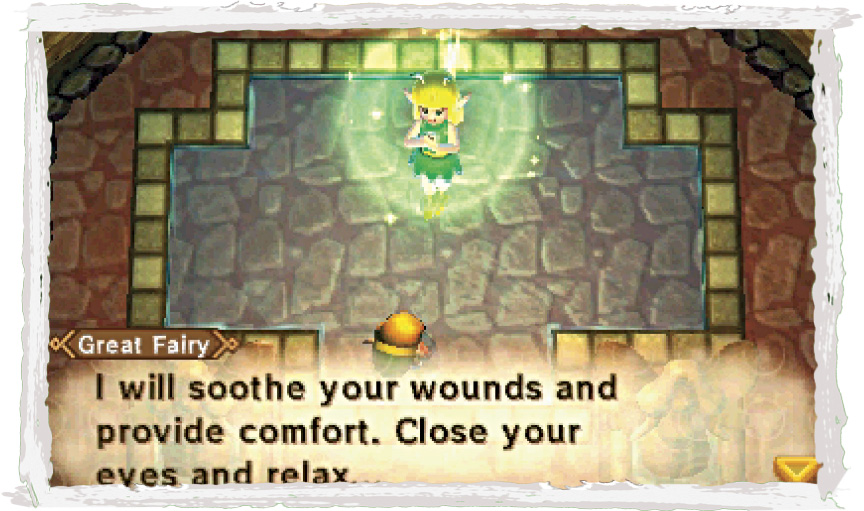
Bomb the wall to expose a Great Fairy Fountain, just like the one in the desert’s entry area. Link can come here at any time to rest and recover all of his hearts.
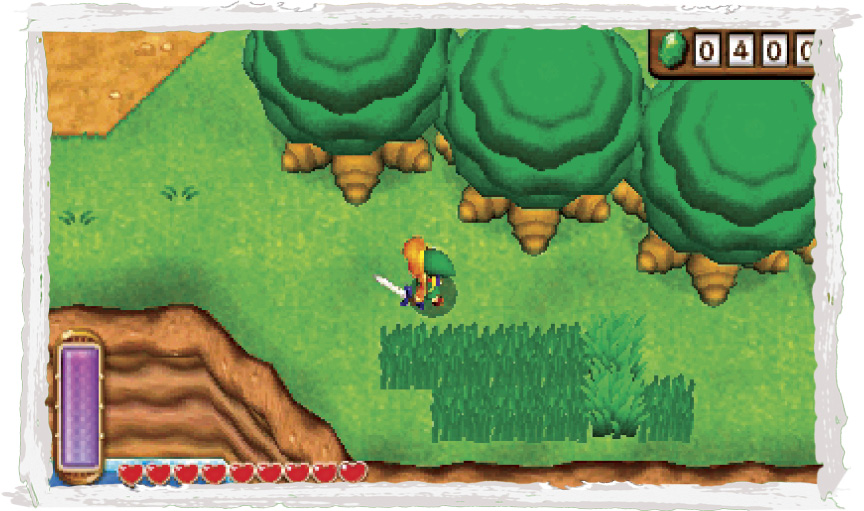
Exit the Great Fairy Fountain and listen for the cries of a nearby Maiamai just outside the cave. Dash into the nearby trees to knock the Maiamai down.
 Lost Maiamai #35
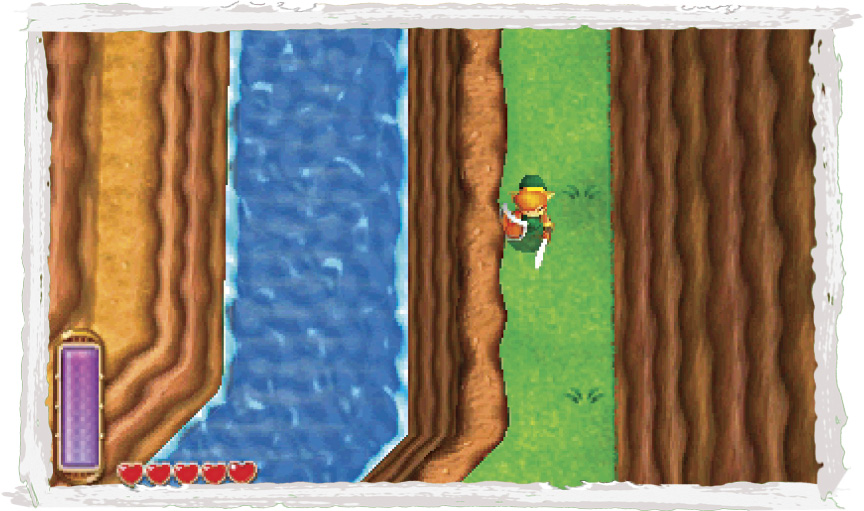
Go south after saving the Maiamai, following the river’s east bank southward. Keep to the narrow path on the river’s east side until you reach a dead end.
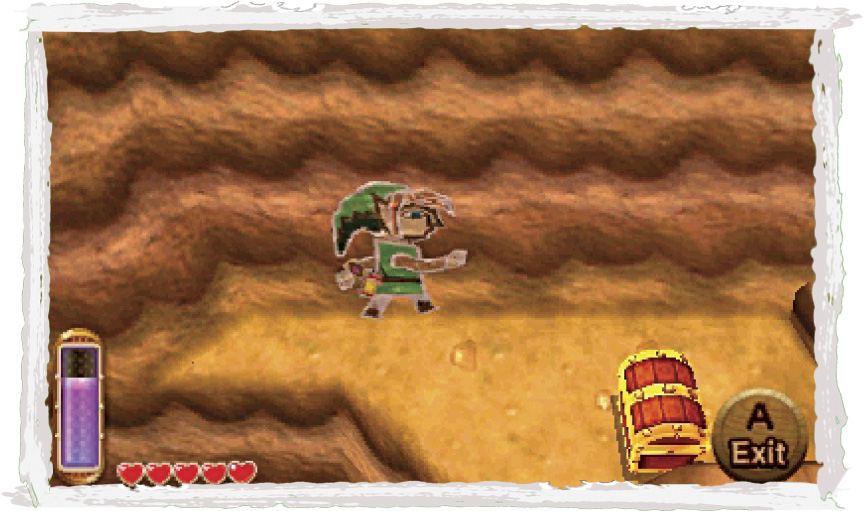
At the dead end, merge into the east wall and then continue moving south. You soon come to a small ledge that sports a treasure chest. Backtrack north along the wall after claiming your reward.
 Hyrule Chest #20: Red Rupee
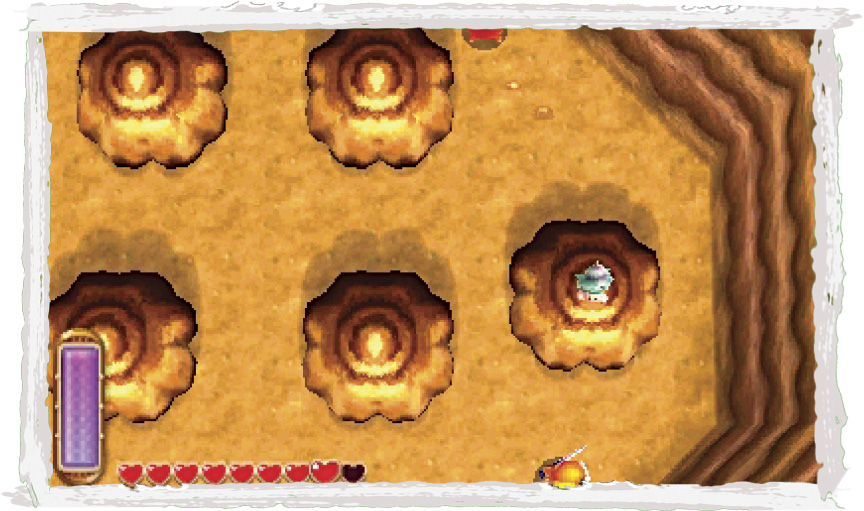
Keep backtracking north and then west, heading into the valley of Octoroks that lies just west of the Eastern Ruins. Go north and search the Octorok-filled grounds for a Maiamai that’s stuck atop a brown stone. You know what to do! Dash into that stone to send the Maiamai tumbling to the ground.
 Lost Maiamai #36
To Death Mountain!
You’ve now taken an extensive tour of Hyrule, but there’s still one place to explore: Death Mountain. This is the most dangerous region in all of Hyrule, but if you’ve followed this walkthrough faithfully, Link now has plenty of items to aid him, including two bottles that can hold heart-restoring milk, potions, or fairies. Link also has seven hearts in his life gauge now, making him one tough hombre. It’s time to brave the dangers of Death Mountain!
A Quick Pit Stop
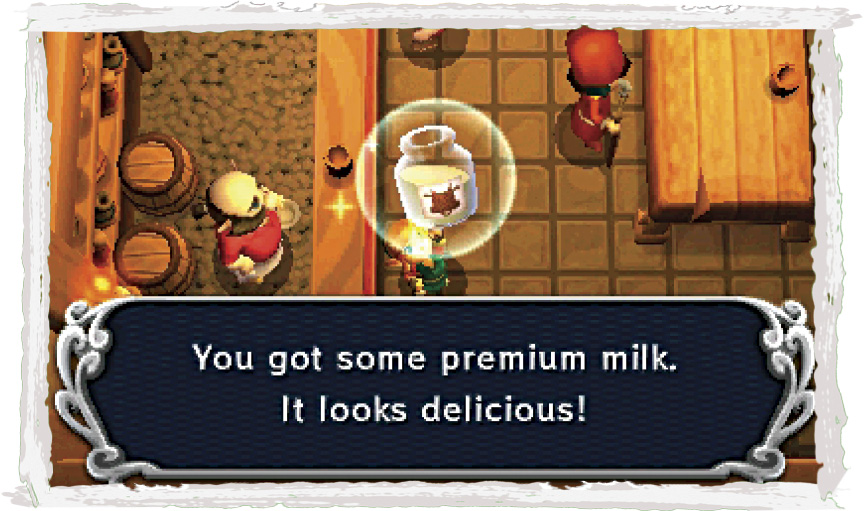
Before heading to Death Mountain, fly to Kakariko Village and visit the Milk Bar. Remember that letter in a bottle that you found at the end of the river east of Lake Hylia? Speak to the Milk Bar owner with that letter in a bottle in your inventory, and he’ll fill up that same bottle with premium milk. Now you’re ready to rescue the man who desperately sent that urgent letter!
Death Mountain Trail
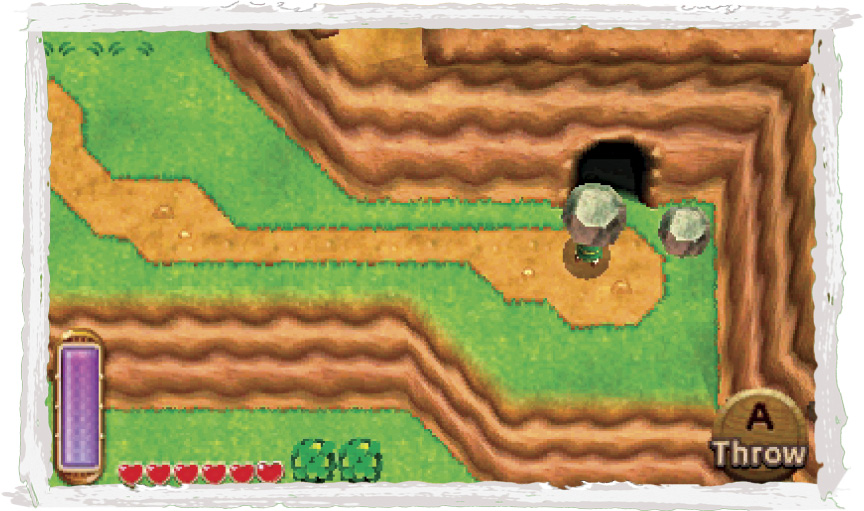
The trail leading to Death Mountain begins near Rosso’s house, just north of the Blacksmith. Look for a cave that’s blocked off by a group of small rocks, and toss the rocks aside to enter the cave.
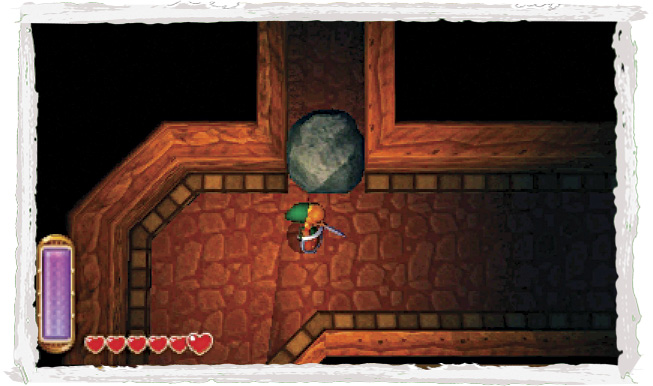
Inside the cave, you must navigate a long tunnel filled with Mini-Moldorms. Fight to the far exit, tossing small rocks at the Mini-Moldorms if you like. As you go, note a large rock that blocks a north passage. You can’t get past this obstacle yet, but remember where you saw it.
 Mini-Moldorm
Damage:1/2 Heart
These snake-like enemies move swiftly, bouncing off of walls and objects in a hazardous fashion. Getting close to a Mini-Moldorm is risky, so use ranged weapons such as the boomerang, bow, Hookshot, Fire Rod, and Ice Rod to stun or harm them from afar.
Great Balls of Fire
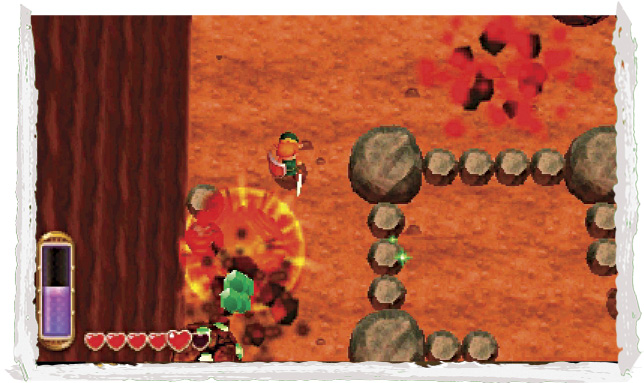
After passing through the cave tunnel, you emerge at the foot of Death Mountain. Make haste through this outdoor region, which is filled with Deadrock enemies, Tektites, and falling fireballs that rain down from the overhead volcano.
 Deadrock
Damage:1/2 Heart
These bipedal lizards are surprisingly agile and will turn to stone if Link strikes them, becoming largely invulnerable. Turning Deadrocks to stone is a good way to slip past them. If you must defeat them, use bombs or the hammer to finish them off after they’ve taken stone form.
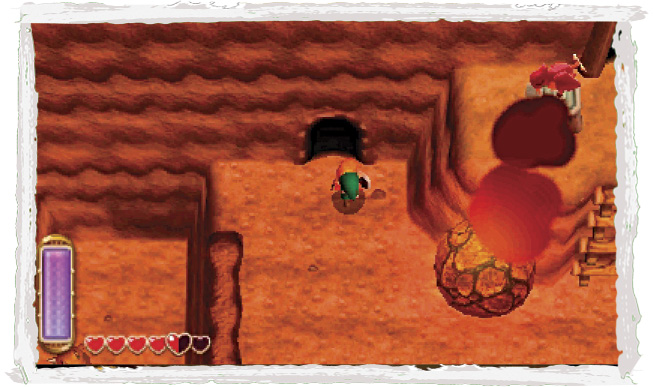
Navigate the first cluster of rocks and cross a bridge to reach a weather vane and two caves. Save at the weather vane, then enter the lower cave to claim a Blue Rupee from a chest.
 Hyrule Chest #21: Blue Rupee
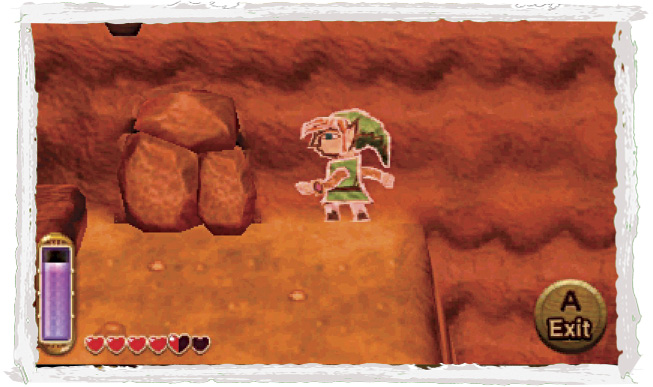
Exit the lower cave and merge into the north wall. Go west to reach a small ledge with a cracked wall. Bomb the cracked wall and take cover inside the cave you expose.
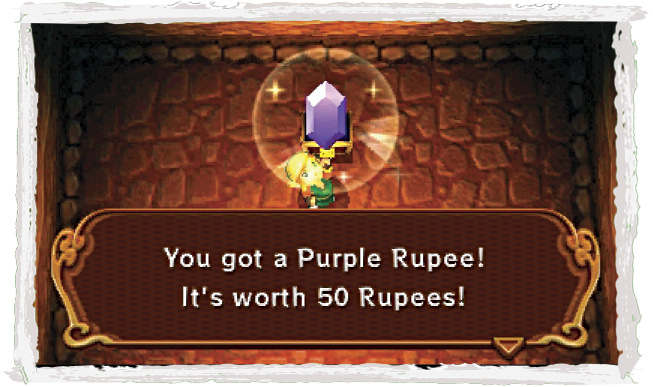
It’s another small cave with a treasure chest. This one contains a Purple Rupee. Nice!
 Hyrule Chest #22: Purple Rupee
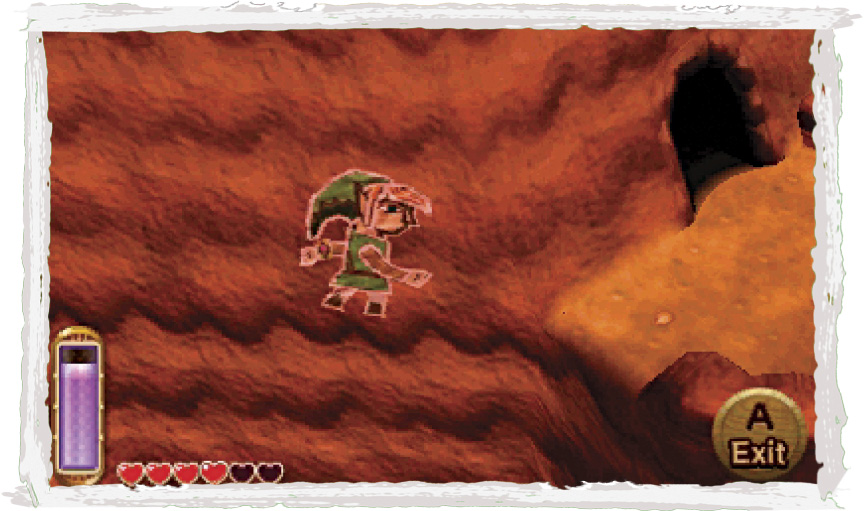
Return to the weather vane and save your game again. Before entering the nearby cave, merge into the north wall again. Go east this time to reach another small ledge, where you find the entrance to another cave.
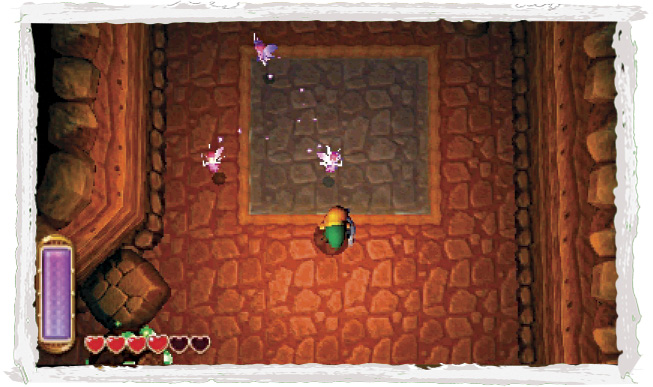
This cave leads to a Fairy Fountain. Score! This is another convenient Fairy Fountain, because it’s near the Death Mountain weather vane.
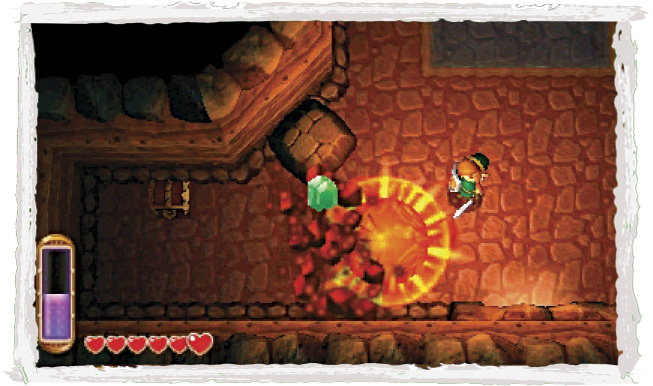
After collecting your fairies, use a bomb or the hammer to smash the nearby boulders on the cave’s west side. Now you can reach a treasure chest that contains some monster guts.
 Hyrule Chest #23: Monster Guts
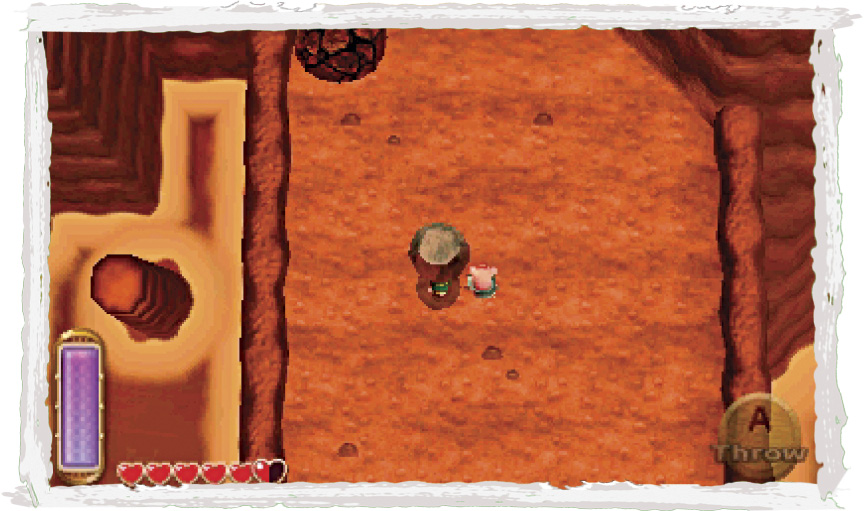
You’re almost done here. Exit the Fairy Fountain cave and drop to the ground below. Lift a lone Rupee Rock here to discover a lost Maiamai. This is no place for such a vulnerable creature—you’d better take it with you.
 Lost Maiamai #37
Rolling Boulders
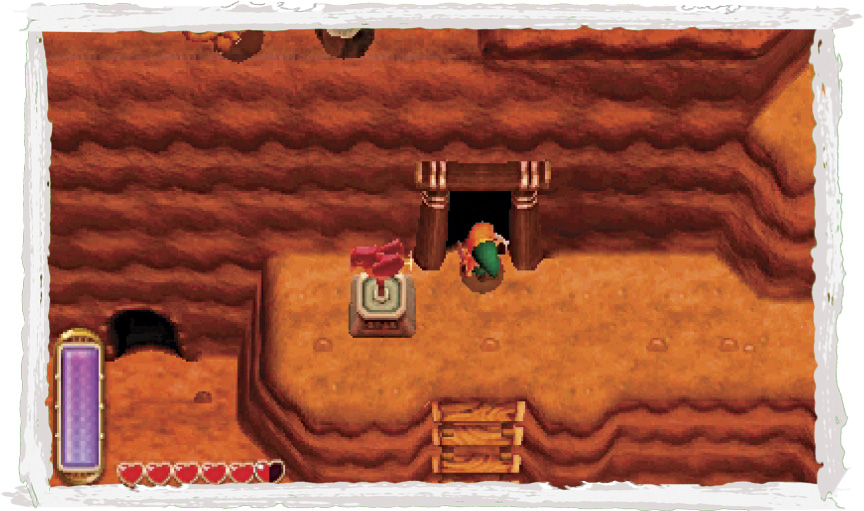
Dart back over to the weather vane and save once more. You’re all done out here, so head into the nearby cave to begin your ascent up Death Mountain.
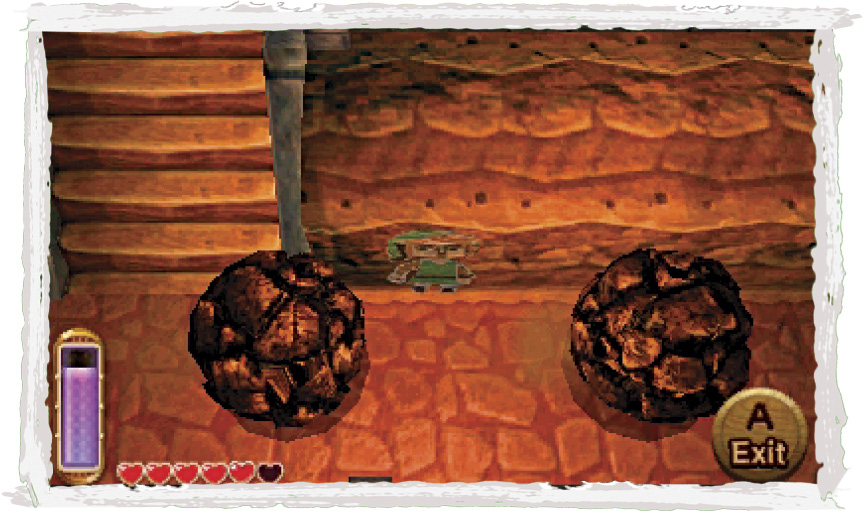
This first passage features an endless stream of rolling boulders that come snaking along from above. These massive rocks will knock a full heart off of Link’s life gauge if they crush him, so take care to avoid them. Seek shelter on the steps that connect the passage’s different tiers, or by merging into walls to avoid the boulders. You can also slam down the hammer to destroy the boulders in a pinch.
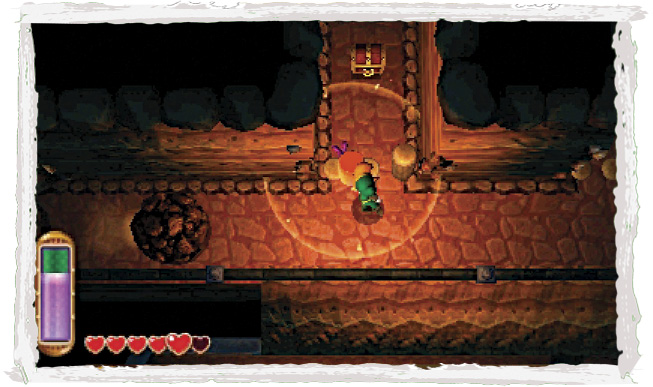
When you come to gaps in the passage’s floor, merge into the wall to slip past them. Use the hammer to pound the top tier’s pegs and claim some more monster guts from a chest.
 Hyrule Chest #24: Monster Guts
Two Routes
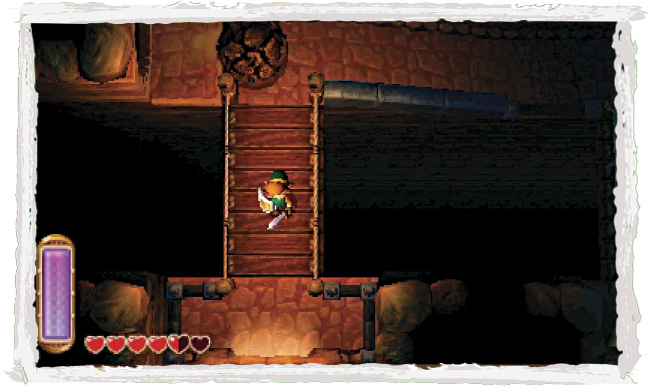
The rolling boulder tunnel features two exits: a higher one and a lower one. Ignore the first (lower) exit and scale the west slope to reach the higher one.
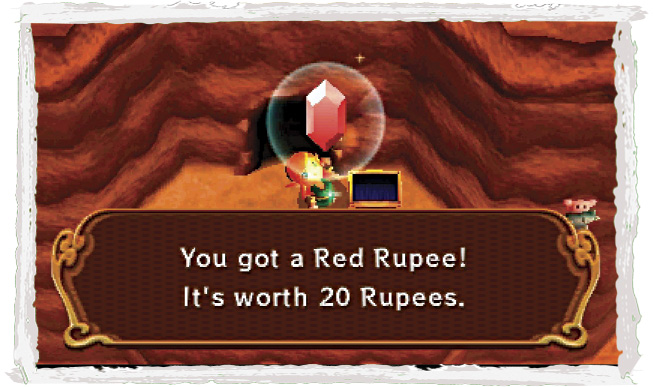
The higher exit leads to a small ledge with a chest. Crack it open to claim a Red Rupee.
 Hyrule Chest #25: Red Rupee
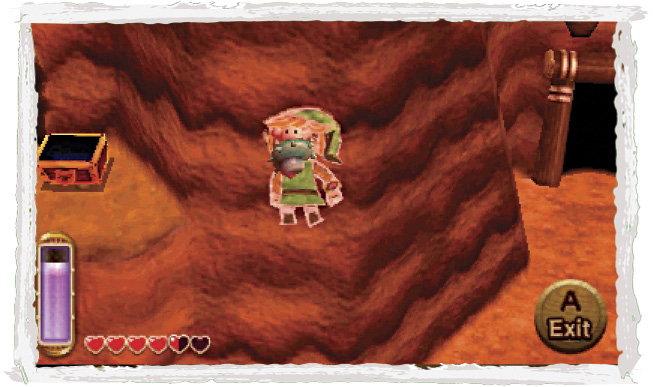
Merge into the wall after looting the chest and go east to find a lost Maiamai that’s stuck to the wall. Exit and knock the little tyke down so you may collect it—but beware the Deadrocks roaming below you.
 Lost Maiamai #38
More Rolling Boulders
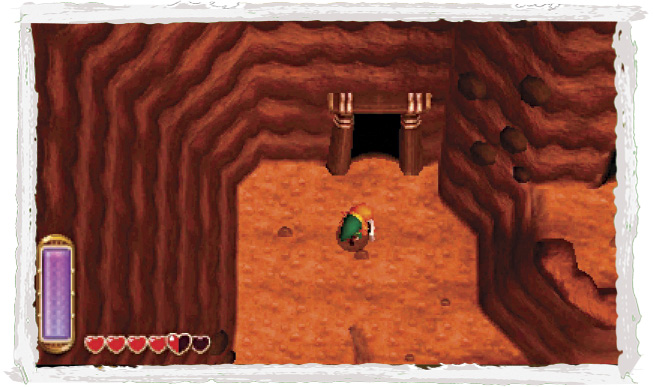
The east cave leads back into the previous boulder tunnel, so ignore it and go west to find another cave. Head inside to reach a second passage that’s filled with rolling boulders.
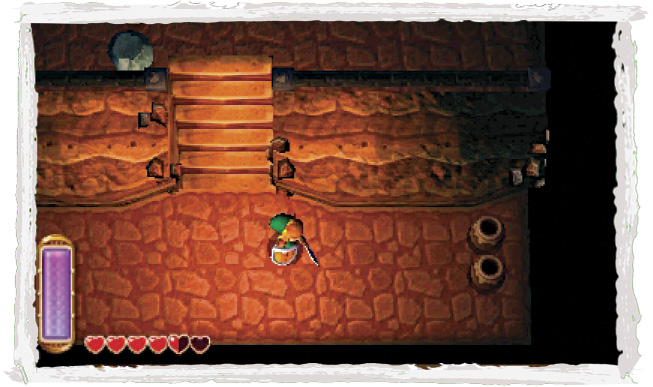
The second passage is more dangerous than the first, because the boulders come rolling down the steps that connect the passages. Merge into walls as needed to avoid being crushed, and smash the pots at the ends of the passages to find hearts. Remember to merge around any pits you encounter in the passages.
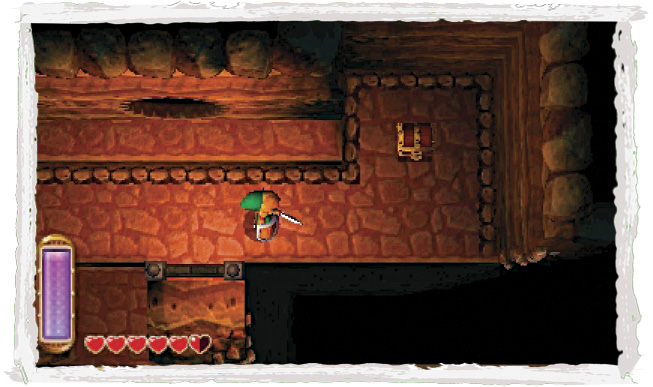
The passage’s sixth tier top features two exits, but neither is necessary—they both lead to an outdoor ledge that holds nothing of interest. Keep going upward until you reach the top tier, then go east to find a treasure chest.
 Hyrule Chest #26: Monster Guts
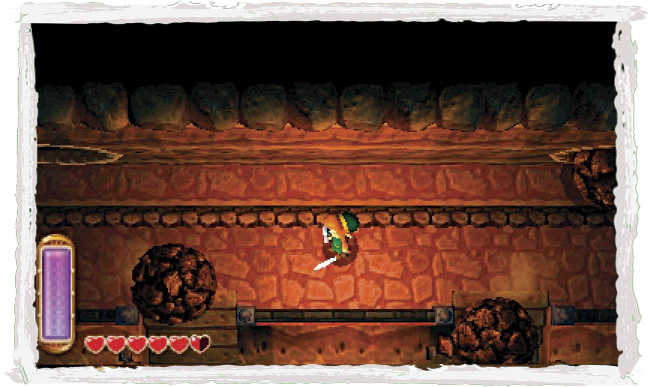
Carefully cross the top tier after looting the chest, heading for the passage’s west exit. Beware: You can’t merge into the north wall, so pause and allow the boulders to roll downstairs before sprinting past.
Another Fairy Fountain
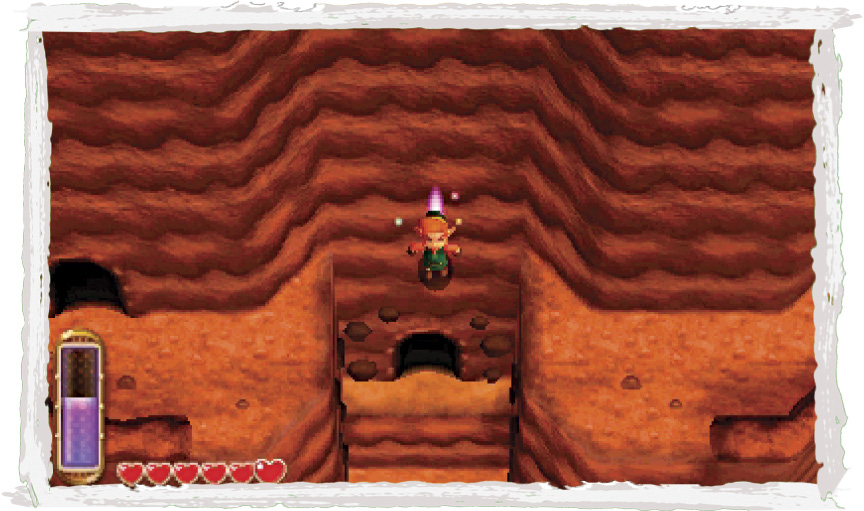
Don’t worry if you’re wounded—another Fairy Fountain lies ahead. Merge into the wall after emerging from the second rolling boulder passage and go east, collecting a couple of painted hearts. Double-back afterward and drop from the wall so that Link lands on the small ledge below, near the entrance to a lower cave.
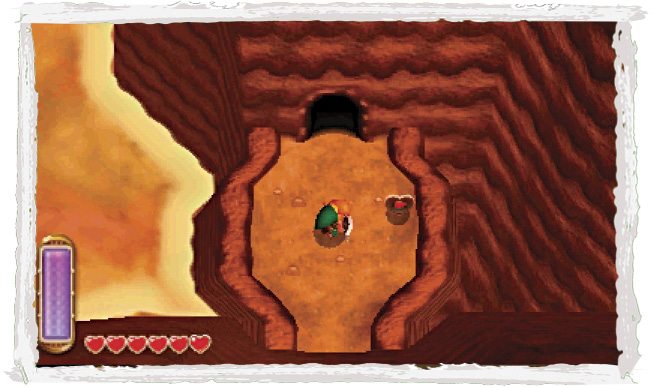
Pass through the cave to discover a piece of heart. Lovely! Now enter the next cave ahead to visit Death Mountain’s second Fairy Fountain.
 Piece of Heart #13
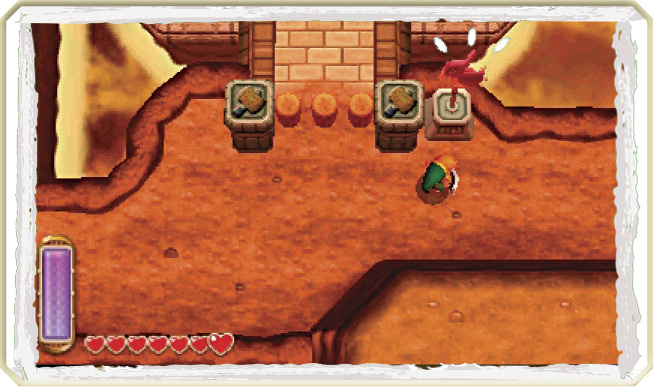
After healing Link and bottling some fairies, drop from the Fairy Fountain’s ledge and head back outside. You’re now right next to the Tower of Hera, where one of the two remaining Pendants of Virtue is kept. Save at the weather vane and pound the pegs near the tower so you may enter it later.
The Road to Rosso’s Ore Mine
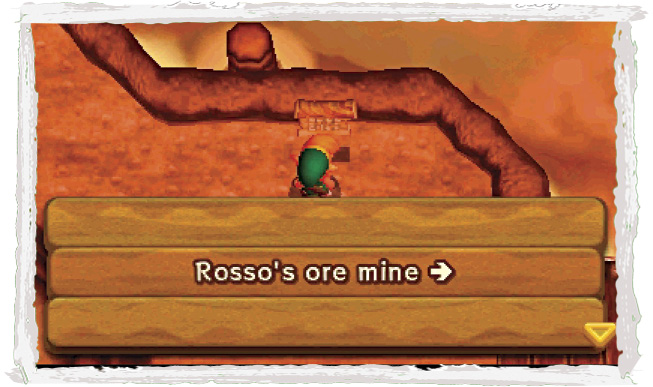
Hyrule’s muscular miner, Rosso, has an ore mine up here on Death Mountain. It’s a bit of a hike to get there, but there’s plenty to see and do along the way.
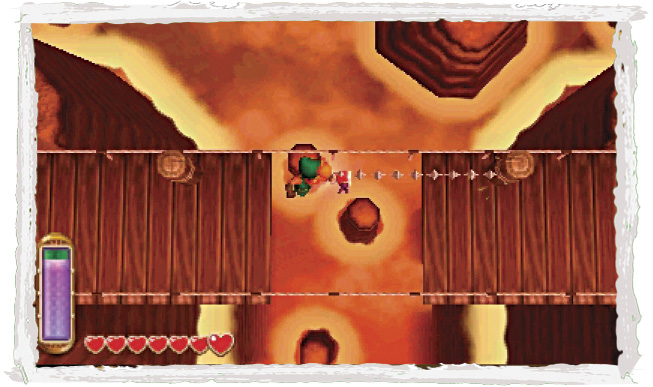
Uh-oh, the bridge is out! Fortunately, this isn’t a problem for a well-prepared hero. Use the Hookshot to snag the wooden post on the bridge’s east side and zip across.
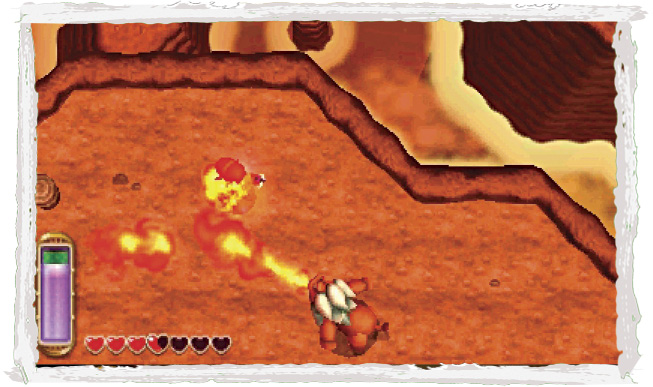
Beware! Mighty enemies called Lynels roam just beyond the broken bridge. These monstrous foes can defeat Link surprisingly fast, so don’t mess around with them. Just keep moving to avoid being burned to a crisp!
 Lynel
Lynel
Damage:3 Hearts
By far the most powerful enemies in all of Hyrule, Lynels spew long jets of flame at Link, which inflict a whopping 3 hearts’ worth of damage. Link can defeat these foes, but it takes 30 strikes with the forgotten sword (or 15 shots with the bow) to do so. If you must fight a Lynel, try to take them on one at a time. Use items such as the Ice Rod to stun them in between attacks—you don’t want them burning Link up!
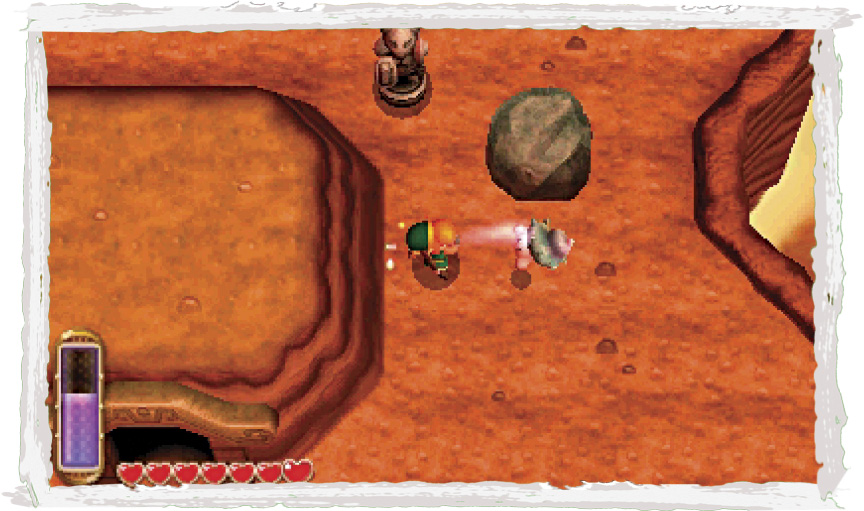
The entrance to Rosso’s ore mine lies just beyond the Lynels. But before you enter, continue heading west to discover a cave that’s surrounded by Deadrocks, Tektites, and Armos. And before you enter the cave, merge into its east wall and free the little Maiamai that’s stuck there.
 Lost Maiamai #39
Treasure Hunter Cave #4
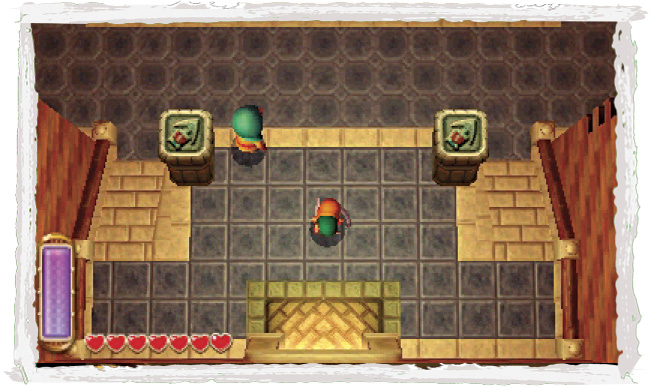
Enter the cave after collecting the Maiamai, and you’ll find yourself in yet another Treasure Hunter cave. This one requires the use of the Hookshot—but you couldn’t have gotten here without it!
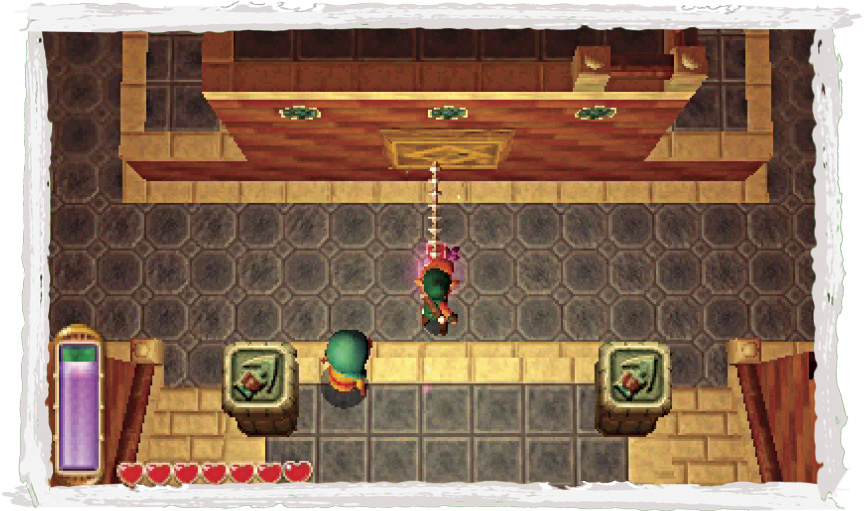
Begin by firing the Hookshot at the wooden panel directly north of the entry. The moment Link smacks into the panel, press # to merge into the wall.
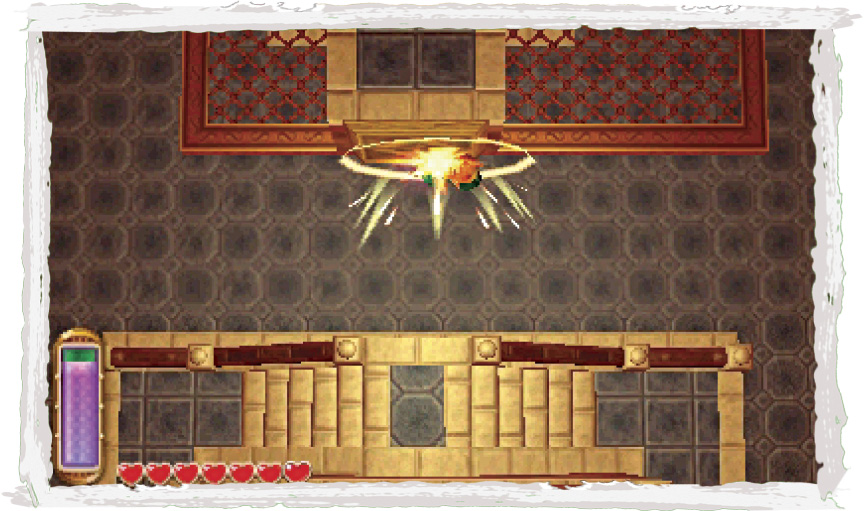
Circle around the wall to reach solid ground, then pop out. You can see the treasure chest above you, but it’s out of reach. No matter, it will soon be yours! Fire the Hookshot at the next wooden panel to the north, again merging into the wall the moment you make contact.
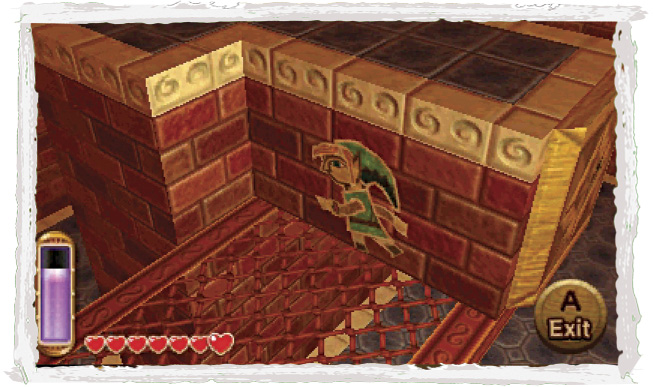
A moving platform slides east and west beneath this wall. Loop around to the wall’s west side and pop out when the moving platform is beneath you.
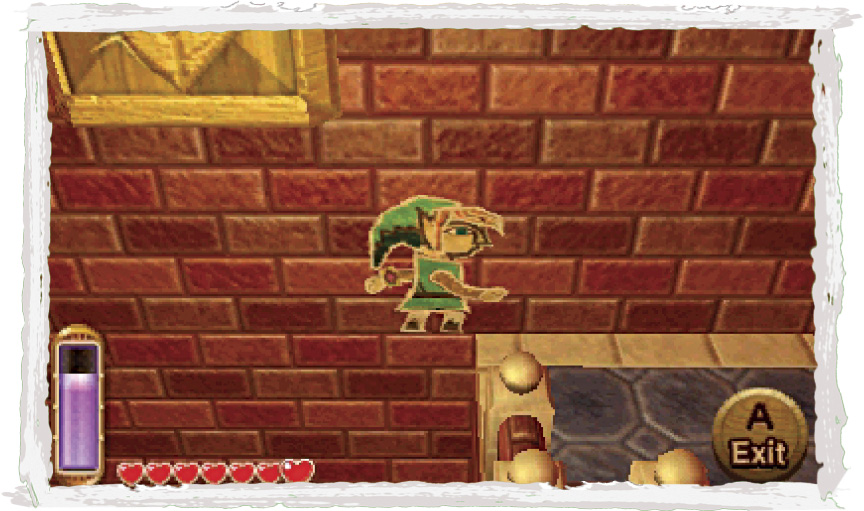
Allow the platform to move all the way to the west, then quickly merge into the west wall. Go north to reach a ledge.
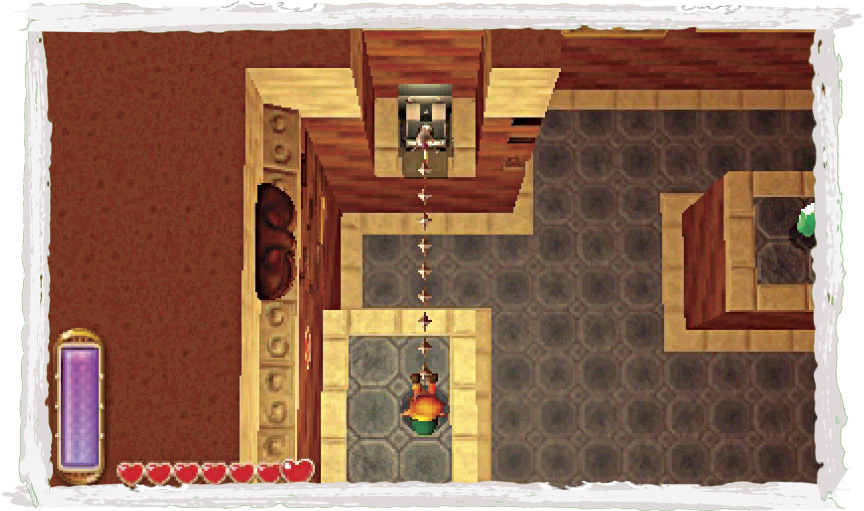
Exit onto the ledge and then fire the Hookshot at the north lever. The Hookshot latches on; move backward to pull the lever out from the wall.
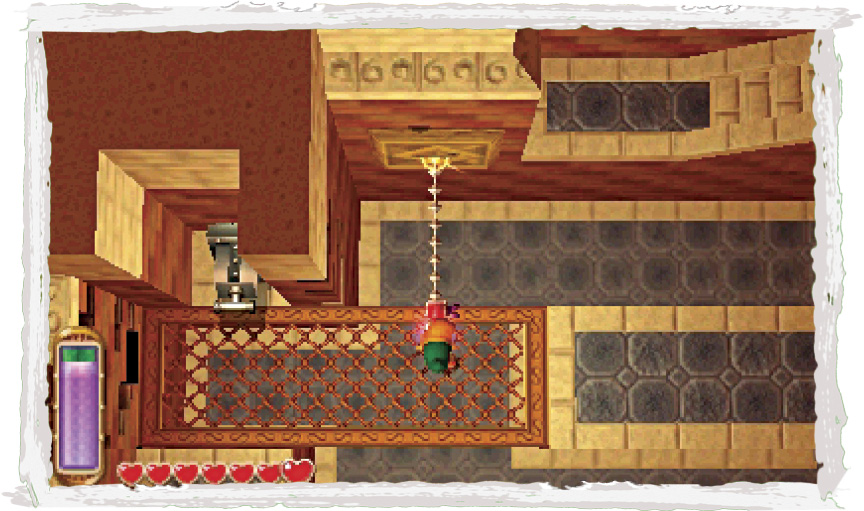
Pulling the lever causes a platform to extend ahead of you. Step onto this and collect the nearby Rupees, then use the Hookshot to zip over to the north wall’s wooden panel. Round the corner to reach the narrow north ledge.
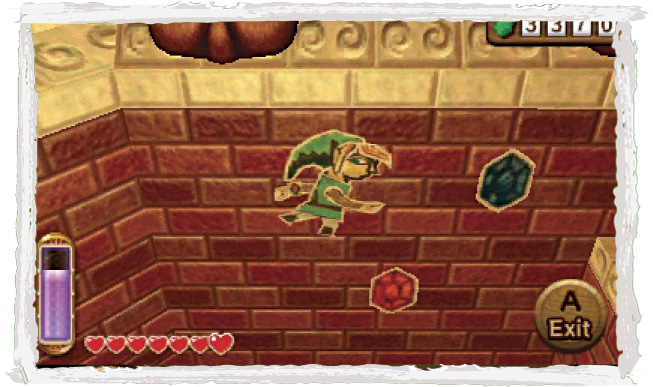
This is fun, isn’t it? And it’s about to become profitable! Climb the north ledge’s stairs and then merge into the wall. Move south along the room’s east wall, collecting Rupees as you head for another ledge.
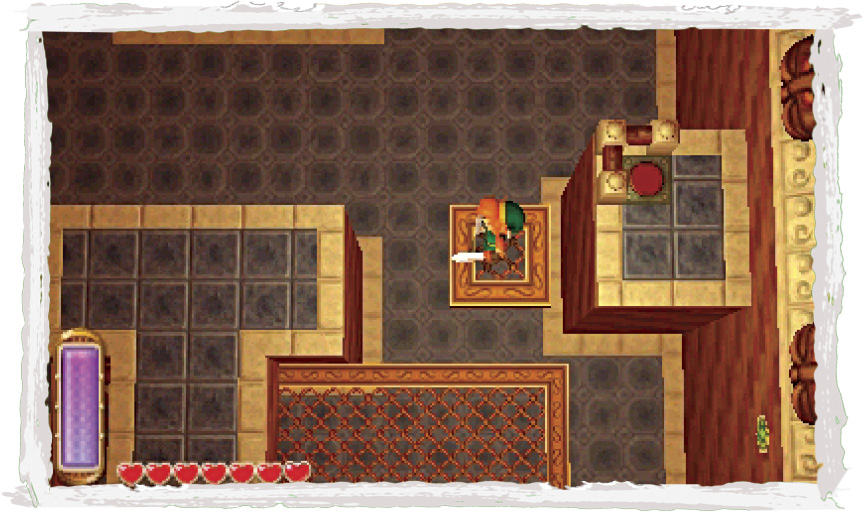
Exit onto the east ledge and step on the floor switch up here. This starts a pair of small platforms moving. Step onto the nearby platform and ride it over to the room’s central platform.
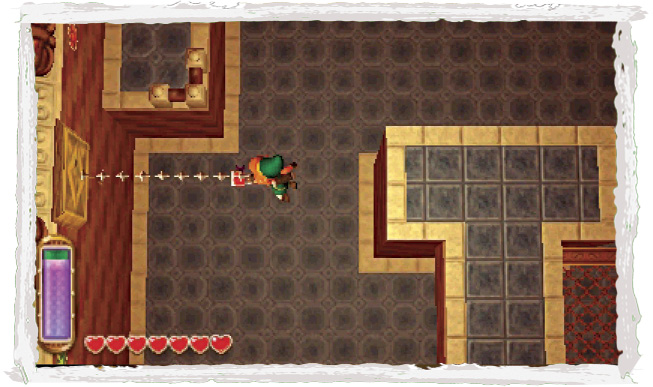
Move to the central platform’s west end and use g to view the west wall. There’s another wooden panel over there! Snag the panel with the Hookshot and merge into the west wall when Link makes contact.
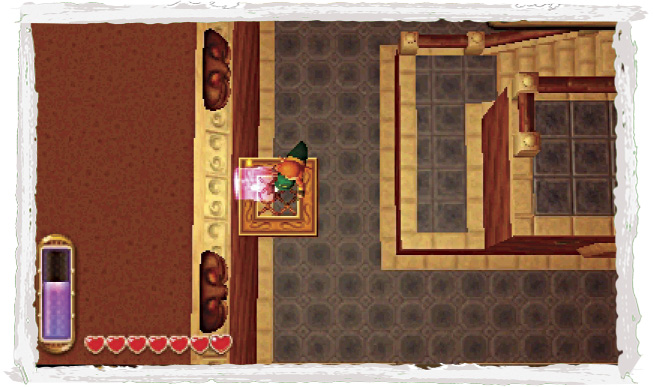
Move south along the west wall, heading for the other small moving platform that you activated with the floor switch. Exit onto the platform, then allow it to ferry you over to the chest.
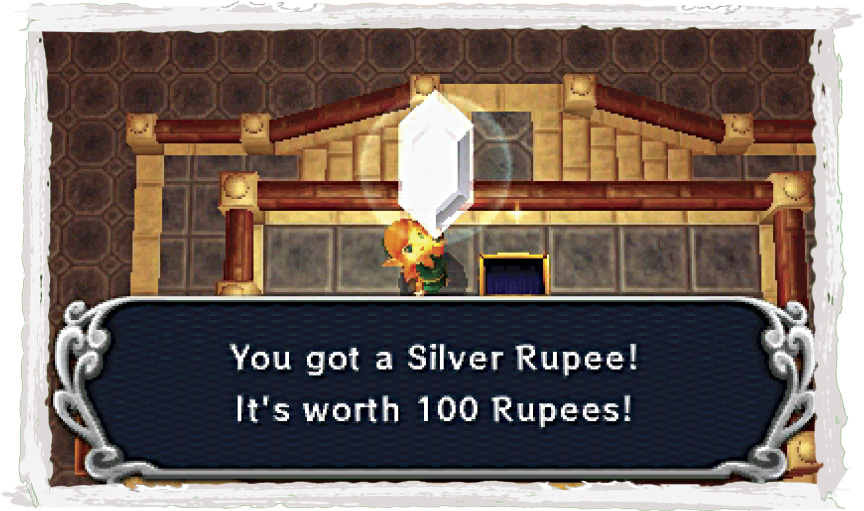
Nice work! This cave’s treasure is now yours. If you can’t get enough Hookshot action, try collecting all of the painted Rupees on the walls—some of them require a bit of thinking to reach!
 Hyrule Chest #27: Silver Rupee
Link Vs. the Volcano
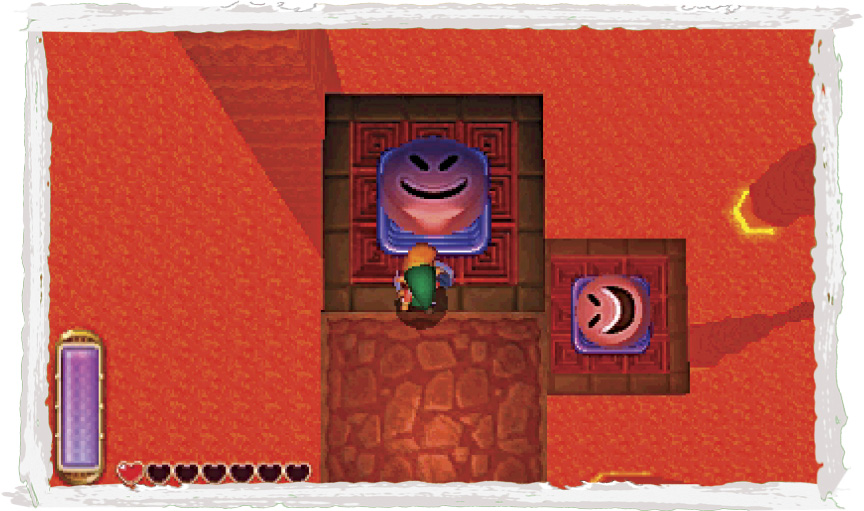
With the fourth Treasure Hunter cave’s treasure in your possession, head outside and backtrack west toward the cave near the Lynels. (You may wish to fly back to the Tower of Hera and save.) A sign out front indicates that Rosso’s ore mine lies beyond this cave. Hurry inside before those roaming Lynels find you!
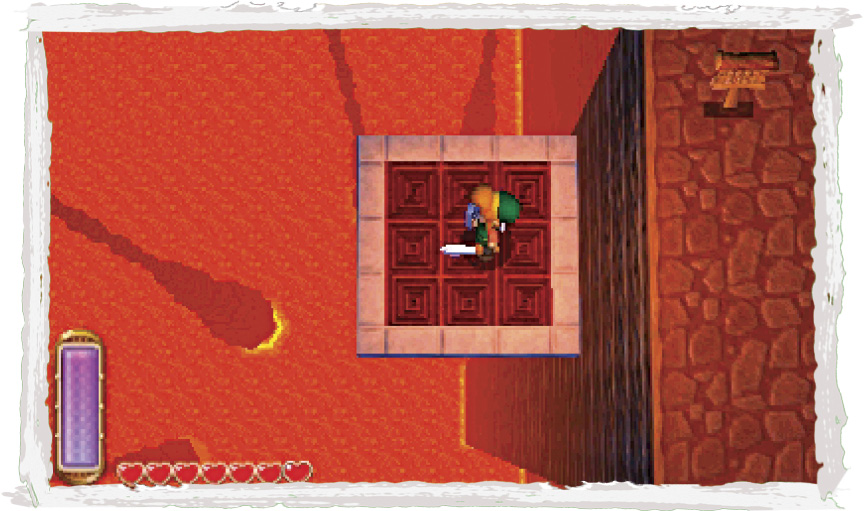
This cave leads into the heart of Death Mountain’s volatile volcano. Step onto the first moving platform, and you’re ferried westward.
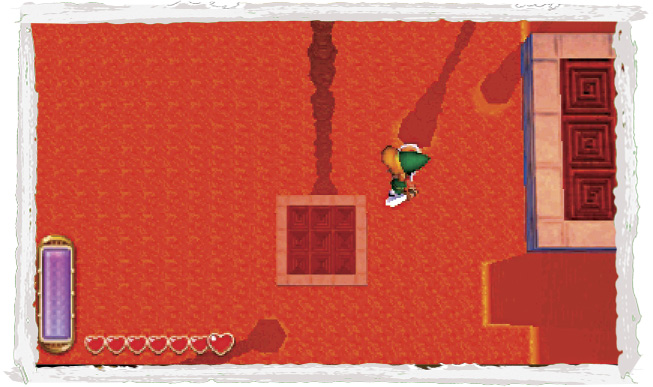
When the platform stops, you can see another one in the distance below you. Take a deep breath and make a daring drop onto this distant platform.
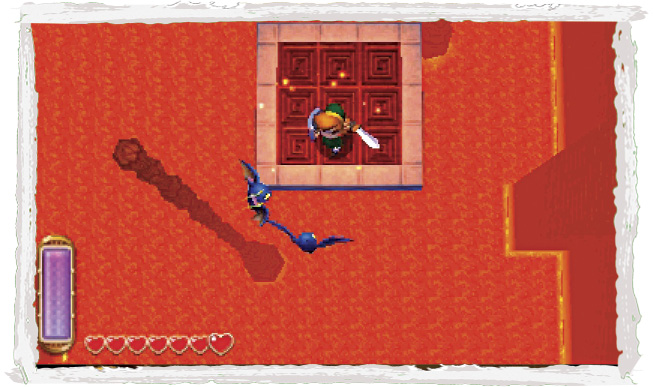
Beware: Pesky Keese attack you as the second platform shuttles you southward. Slay them with rapid sword strikes before they cause too much chaos.
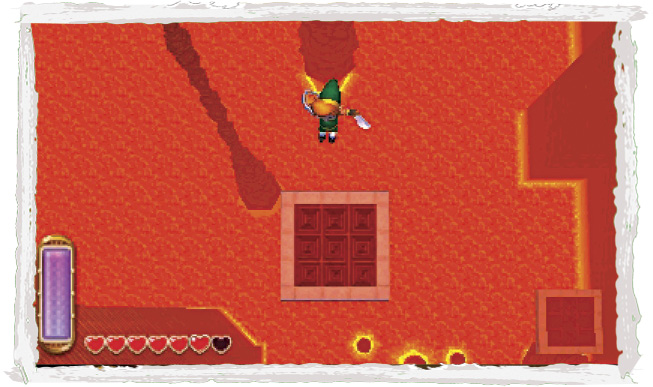
When the second platform stops, spy a third far below. Again, make a daring drop and land on this distant platform.
Octagon Monsters
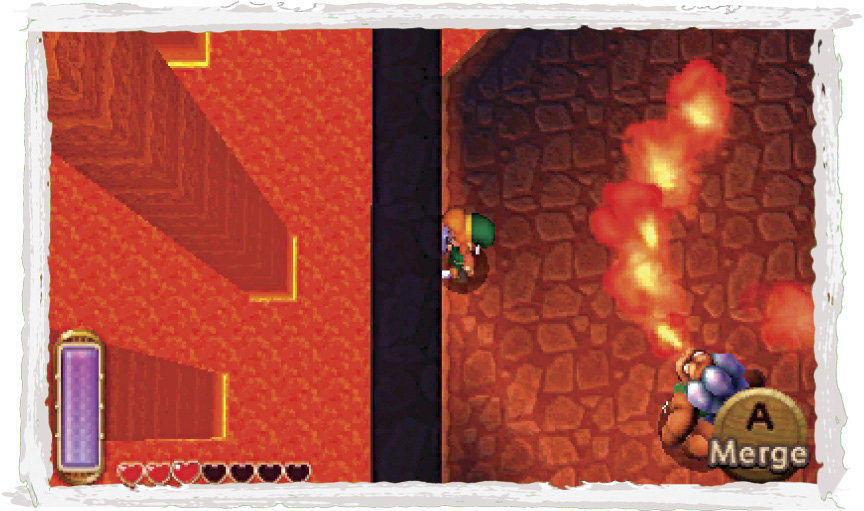
Heads up! The third platform brings you to an octagonal ledge that’s patrolled by two ferocious Lynels. You could try to avoid these beasts, but it’s best to wipe them out if possible. Keep them stunned with the Ice Rod as you lay into them with the sword—it takes 30 strikes to defeat each one, so try to knock them off the ledge instead. Flee to the previous platform if need be, or take shelter by merging into one of the three walls at the ledge’s east, west, and south sides.
Heading for the Heart
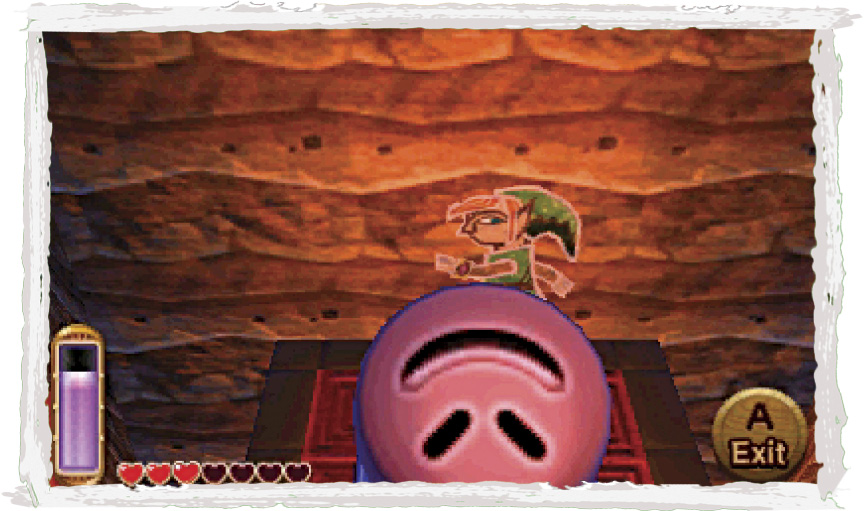
After dispatching the Lynels, merge into the west wall and loop around to its outer side. Wait for a platform to slide close, then pop out and land on the platform.
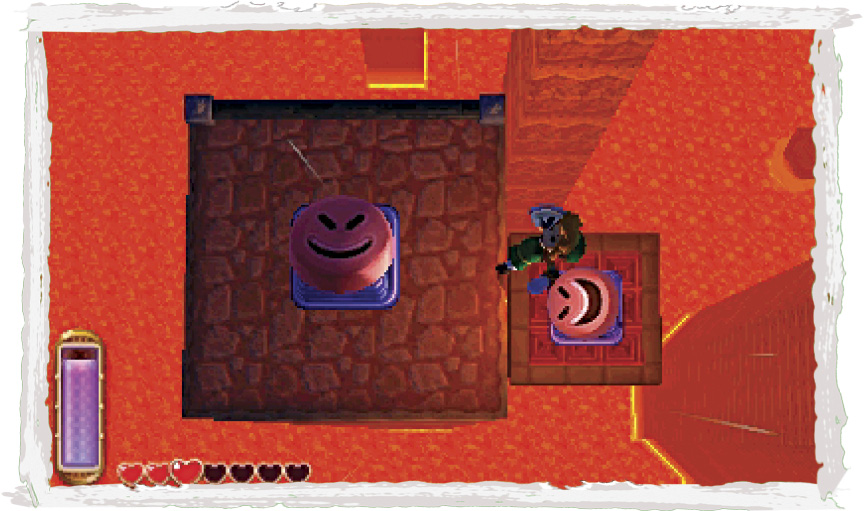
The platform features a peculiar red button with a smiley face. Allow the platform to move over to a tall west pillar, then use the hammer to pound down the button. Stand on the button, and when it pops back up, Link will be rocketed up to the top of the tall pillar (provided you timed it right).
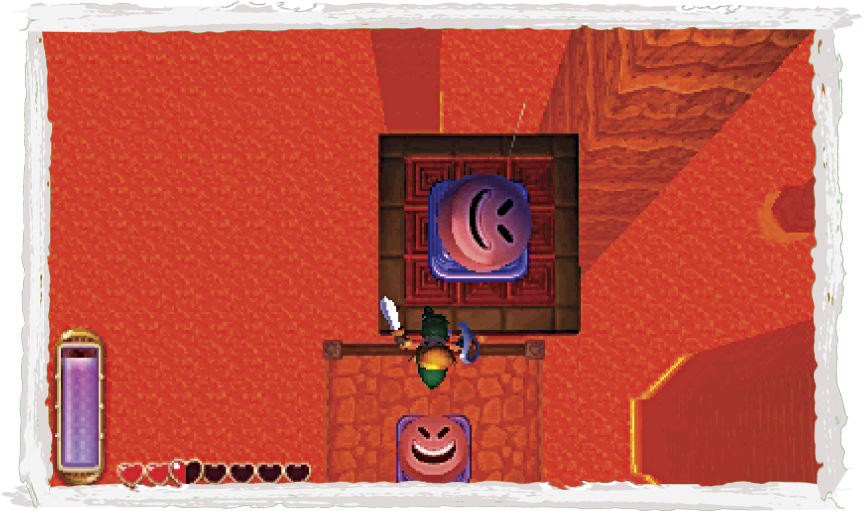
Careful: The pillar features another button, but this one requires proper timing. Watch as another platform slides by overhead. Hammer the pillar’s button just after the moving platform changes direction, then launch up and onto the platform.
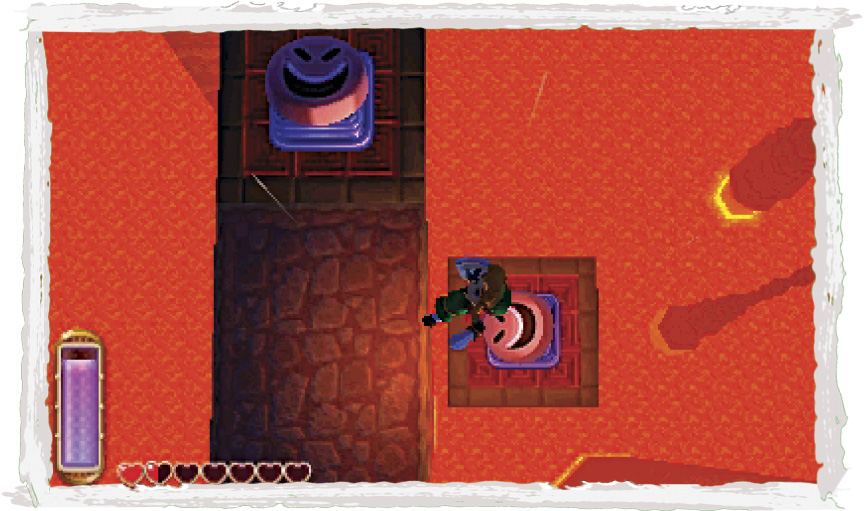
To make the next leap onto the next moving platform above, pound your platform’s button just as its lower-left corner slides past the edge of the previous pillar below you.
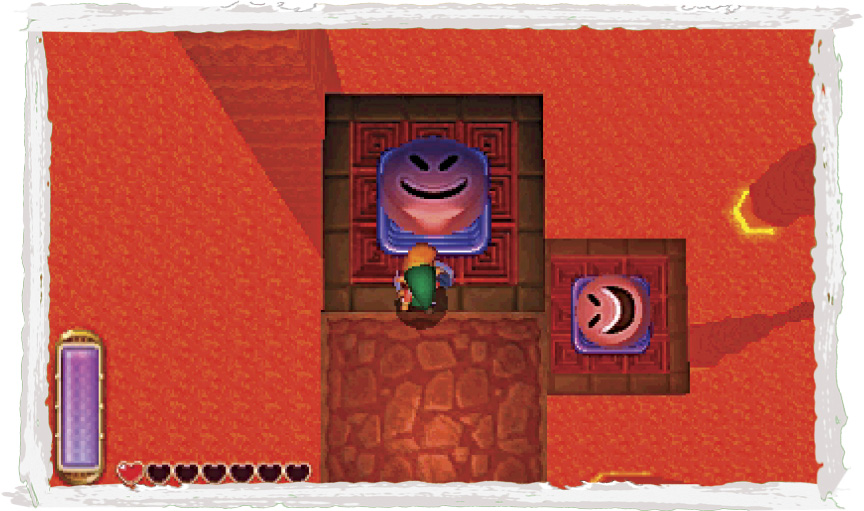
Are we having fun yet? Of course we are! The next jump is a little easier. Pound your platform’s button as you approach the tall pillar, and you’ll soar up onto it with ease.
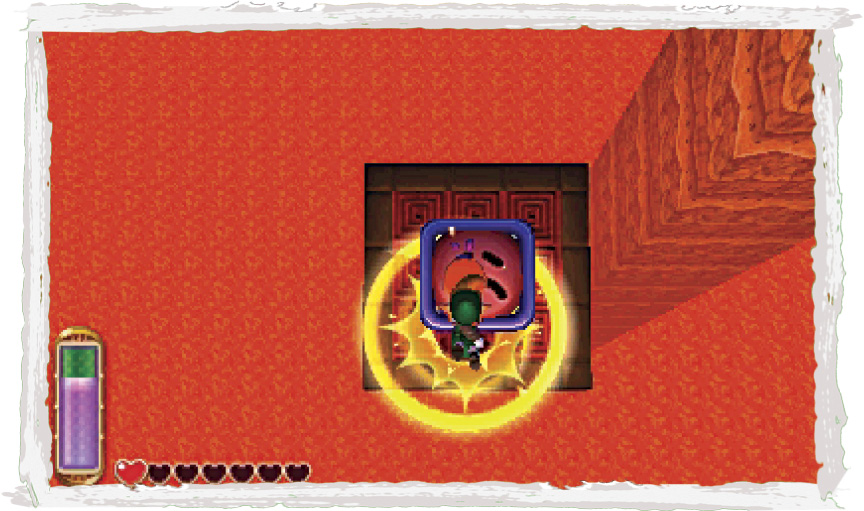
From the height of the pillar, you can reach the final moving platform. This one’s the toughest of all, as it moves quickly in a circular pattern. The ideal time to pound the button is when the platform begins to round the corner and travel northward, right before it changes direction and zips eastward.
Make this final jump, and you’ll land on a pillar with a piece of heart. Amazing work! Collect this prize, and Link’s life gauge will be refilled (thank goodness!).
 Piece of Heart #14
Link, the Milkman
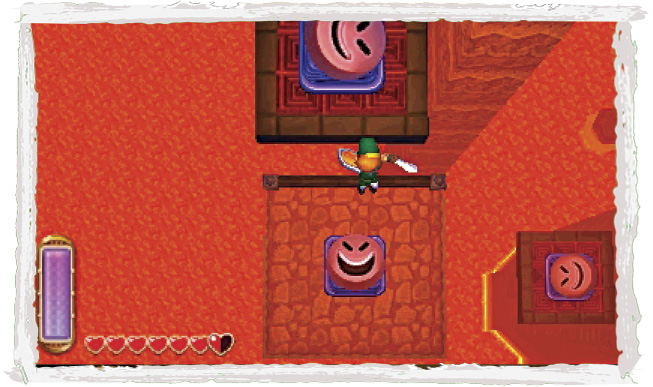
Now comes the hard part. Did we mention you’ll need to backtrack to the Lynel Octagon? This requires some well-timed drops onto those moving platforms, but at least you don’t need to worry about hammering their buttons anymore!
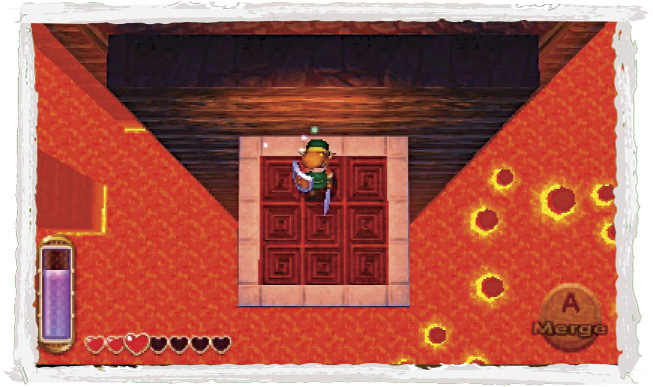
When you reach the Lynel Octagon, merge into the south wall and loop around to reach another moving platform. Don’t worry, there are no more red buttons to hammer!
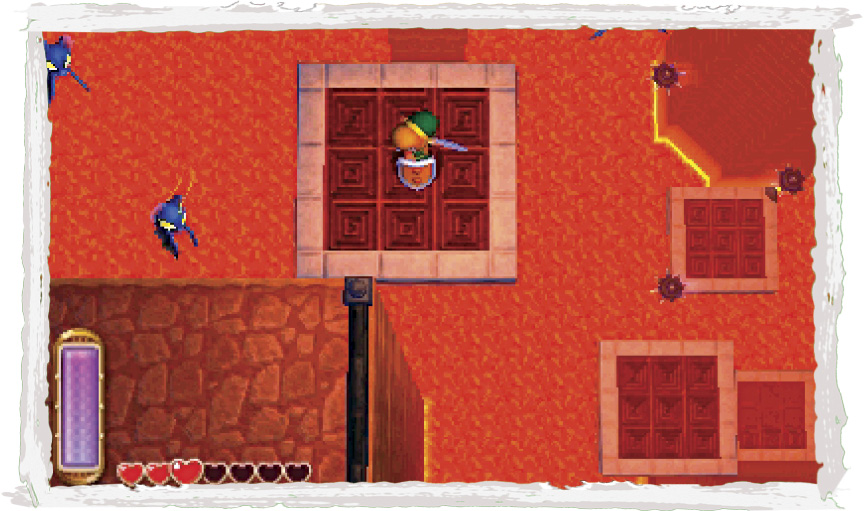
Simply ride from one platform to the next, keeping to the platform’s centers so as not to be struck by the few spiked balls that zip past. When you reach the point where two platforms connect to the east and west, take the west platform toward an exit.
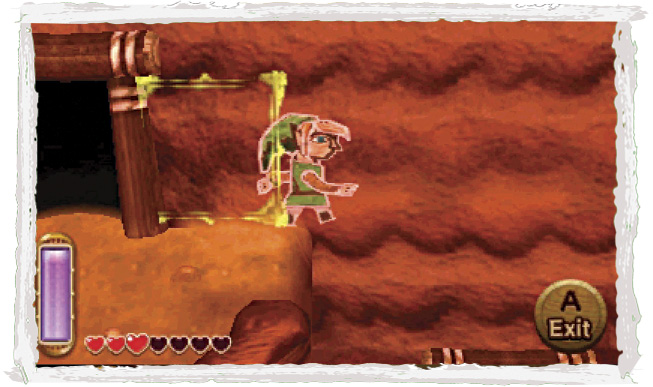
Take a deep breath, hero, you’ve just emerged from that sweltering volcano! Better yet, you’ve also located a man who needs your help. Merge into the wall and cross over to the man’s ledge, then talk to him.
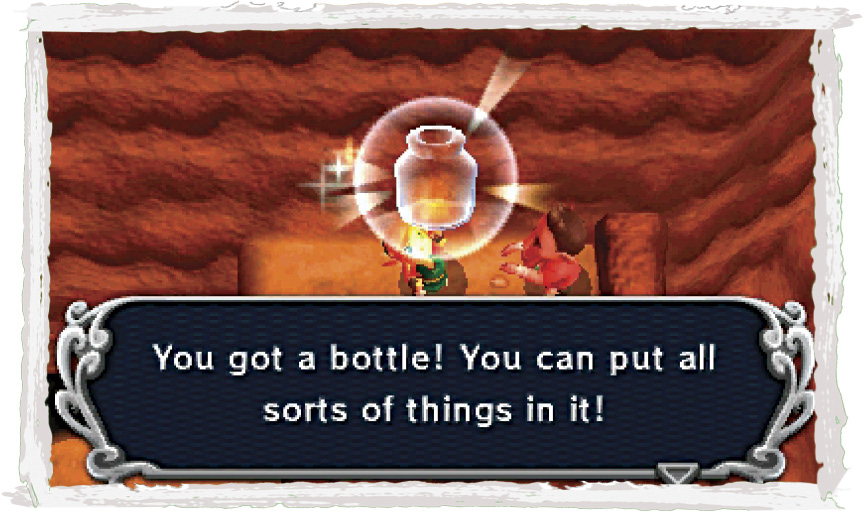
This is the Bouldering Guy, and he’s the person who sent the letter in a bottle, asking for premium milk. Give him the premium milk you’ve been carrying all this time, and he’ll repay the favor by letting you keep the bottle!
 Bottle #3
Can hold many different things. You’ll need one to buy potions.
Back Into the Fire
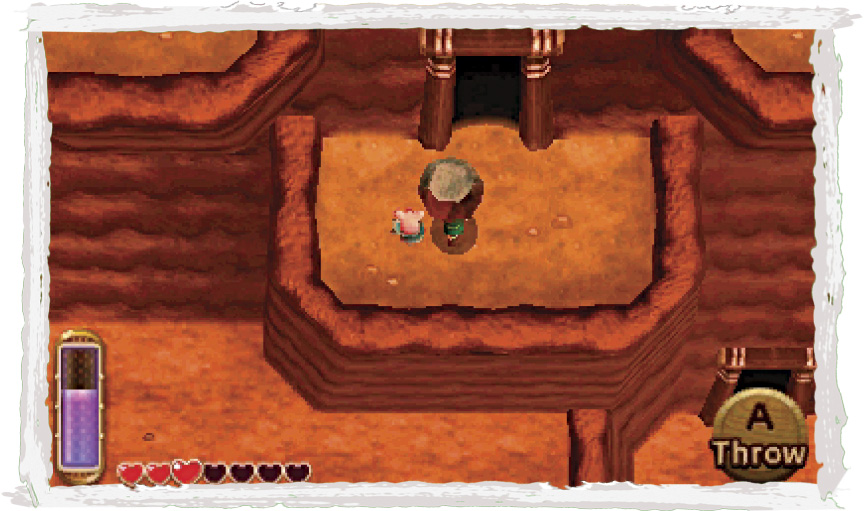
You’ve saved the Bouldering Guy, but there’s still more to explore around Death Mountain. Merge into the wall again, and this time, drop when you’re halfway between the ledges to fall to a lower ledge with a small rock. Lift the rock to discover a lost Maiamai. This one’s a real survivor!
 Lost Maiamai #40
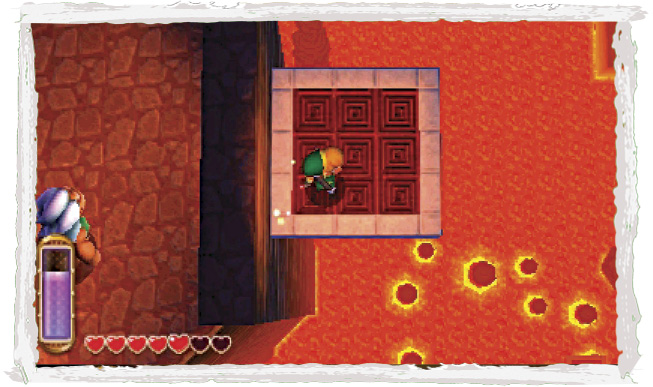
Enter the cave after collecting the Maiamai to return to the volcano’s interior. Don’t worry, you’re almost done here! Ride back up to the Lynel Octagon, and merge into the east wall.
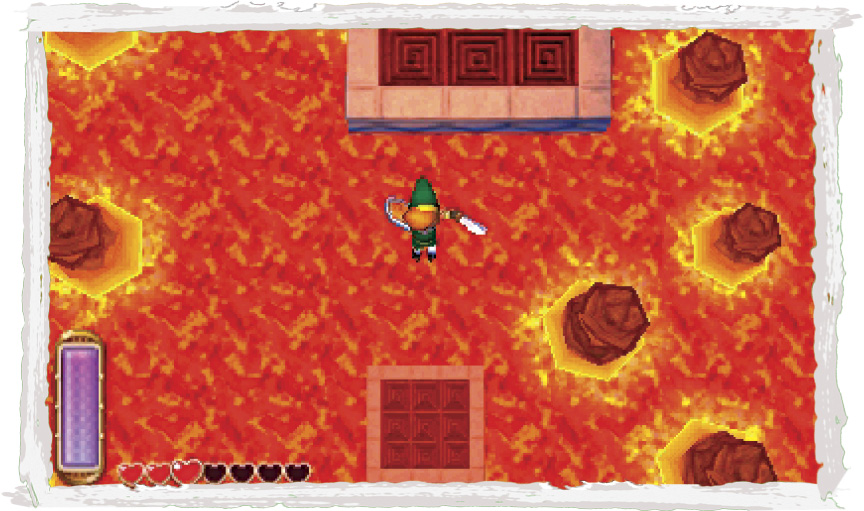
Circle around the east wall and pop out onto a moving platform when it slides close. You must now make a series of carefully timed drops to land on the moving platforms below. The first few drops are fairly straightforward, but the final one takes some skill. Drop just as your platform begins to slide back to the east and the final platform slides into view from the south. Exit through the south opening when you finally reach solid ground.
Rosso’s Ore Mine
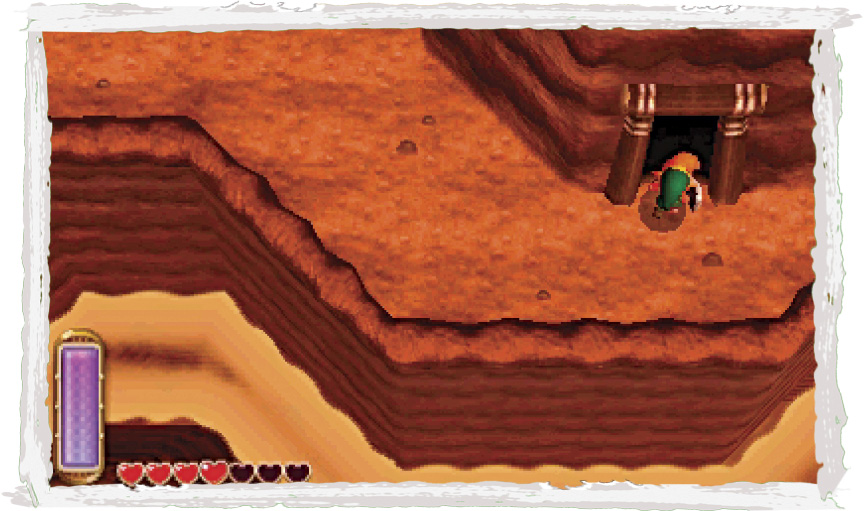
At last, you’ve reached Rosso’s ore mine! Talk about a secluded spot—how does Rosso get here on his own? No matter—head directly for the south cave, where a Great Fairy lives. You could likely use a pick-me-up by now!
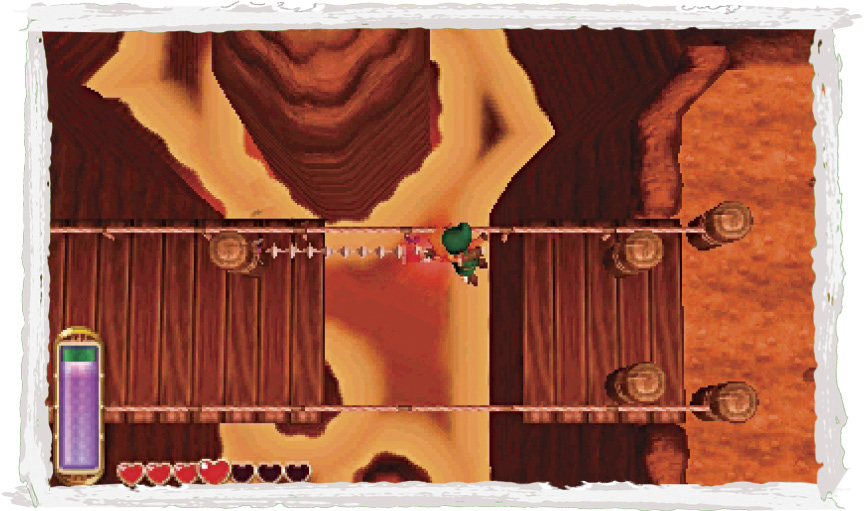
Exit the cave and beware the roaming Lynel and Deadrocks as you travel westward. When you reach a broken bridge, use the Hookshot to zip across.
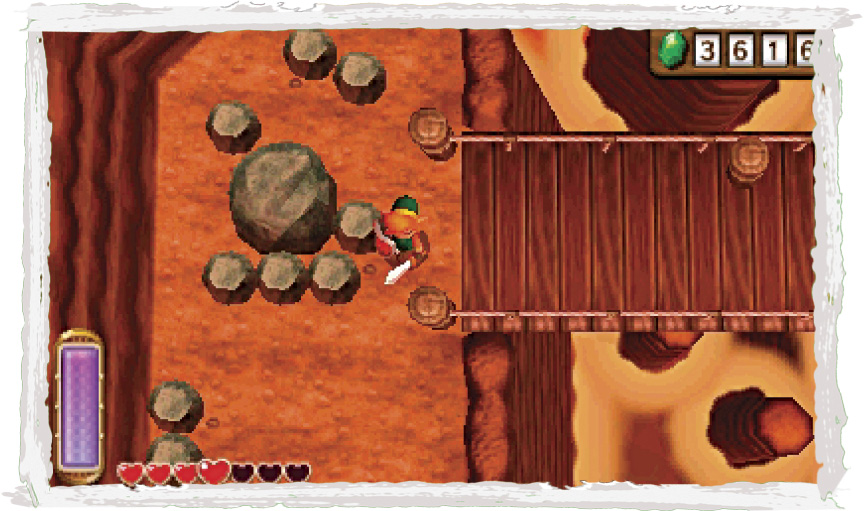
Rapidly strike the Rupee Rock on the bridge’s west side to score some Rupees, then lift and toss the surrounding small rocks to discover a lost Maiamai. Maybe this one’s a friend of Rosso’s?
 Lost Maiamai #41
Choose Your Adventure
It’s been fun, hero, but the time has finally come for you to choose your next path. You’ve thoroughly explored Hyrule by this point, but the land still suffers in the grip of evil. Should you brave the Tower of Hera next, or explore the wonders of the House of Gales (covered in the next chapter)? Both present unique challenges, and both must be overcome before Link can claim the Master Sword!