
The Legend of Zelda: A Link Between Worlds Guide Walkthrough Great Explorations, Part II (in progress)
The Skull Woods
Even Freakier than the Lost Woods
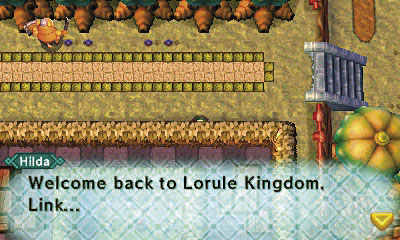
As Link emerges from the fissure behind Sahasrahla’s house, Princess Hilda’s voice calls out to him, welcoming our hero to this new region of Lorule. The dark princess warns that the Skull Woods of Lorule are even more perilous than Hyrule’s Lost Woods, and hints that one of the Seven Sages is being held here.
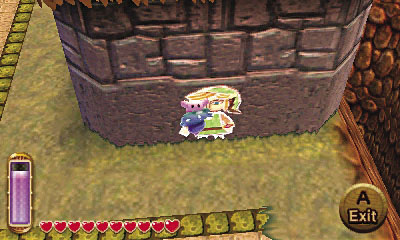
Before proceeding north into the Skull Woods, merge back into the side of the building and free a lost Maiamai that’s stuck to the building’s west side.
 Lost Maiamai #55
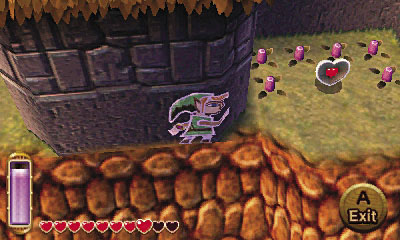
Merge back into the building again after rescuing the Maiamai. This time, slip around the corner and move along the building’s south side to reach a piece of heart that rests on a small ledge. Collect the piece of heart and then merge back around the building.
 Piece of Heart #20
Let’s Wait on Those Woods
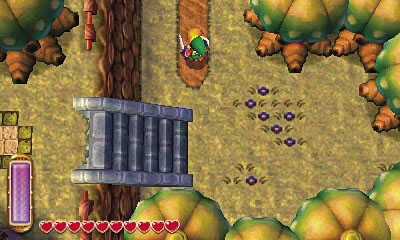
Two paths lead north into the Skull Woods, just like the Lost Woods back in Hyrule. Ignore both paths for now and go east, taking the northeast trail as if you were heading to Rosso’s house in Hyrule. Beware the powerful Hinoxes that roam this treacherous trail!
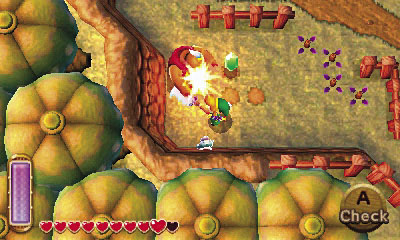
After you pass under a large wooden sign, go directly west to find a little Maiamai that’s stuck to the side of the cliff. Wipe out the surrounding Hinoxes so you may safely rescue the little guy.
Lost Maiamai #56
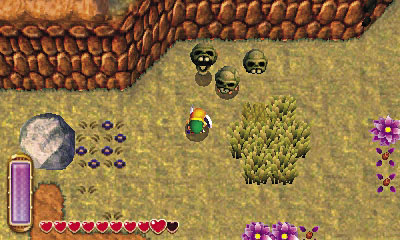
Go north after saving the Maiamai, smashing skulls in search of items. Be careful, though: Some of these skulls are actually Stahls in hiding!
Stahl
Damage:1/2 Heart
Smashing skulls in search of loot is usually profitable, but some of Lorule’s skulls are actually evil creatures called Stahls in disguise. Run away from any skull that doesn’t shatter when you strike it, for the Stahl will soon spring to life! Stahls are not powerful enemies, but they have a knack for catching travelers unaware.
Skull Woods Weather Vane
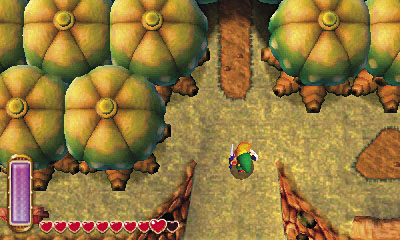
Yet another path leads north into the Skull Woods. No such path exists in Hyrule, so it begs for exploration. Go north, following the path into the Skull Woods.
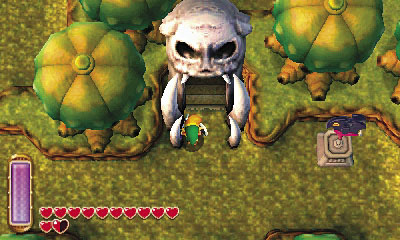
You can’t explore much of the Skull Woods by following this path, but it does lead to an important place: the entrance to the Skull Woods dungeon! Save at the nearby weather vane, then backtrack out of the Skull Woods—there’s still so much more to explore around Lorule!
Moblin Pit
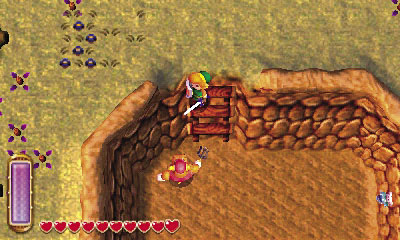
Go east after you emerge from the Skull Woods, following the trail to a pit that’s patrolled by an angry red Moblin. He sure looks mean!
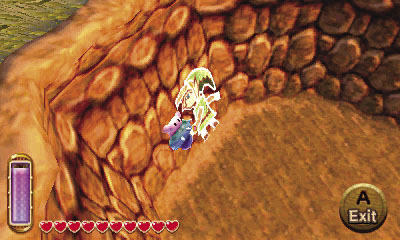
Before entering the pit, toss bombs at the Moblin from the safety of your high vantage. After obliterating the beast, calmly enter the pit and rescue the little Maiamai that’s clinging desperately to the wall.
Lost Maiamai #57
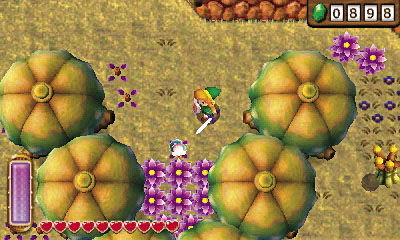
Go north from the Moblin pit, heading for what would be Rosso’s house back in Hyrule—but beware of the Dactos that swoop down at you along the way! When you reach a group of trees that have grown together in a V shape, cut down the bushes at the point of the V to discover another hiding Maiamai.
Lost Maiamai #58
Dacto
Damage:1 Heart
These flying lizards are Lorule’s version of the Crows seen around Hyrule. Dactos dive at Link when he passes near, attempting to ram him with the sharp horn that grows from their heads. Stand your ground and swipe wildly at diving Dactos to counter and slay them in mid-swoop.
Abandoned Shack
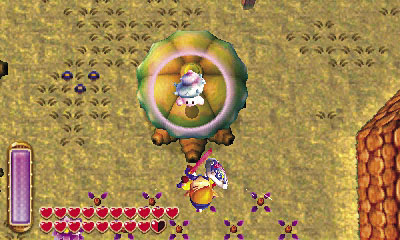
Rosso’s house took quite a beating when the earthquake rocked Hyrule earlier in the adventure, but even then it was in far better shape than the crumbling shack you find here in Lorule. Clear the surrounding forest of enemies, then dash into the tree that’s just south of the shack to knock loose a hidden Maiamai.
Lost Maiamai #59

Next, grab one of the nearby clucking cuccos and run south, keeping close to the east cliff. Find a ladder and climb up, still carrying your cucco overhead.
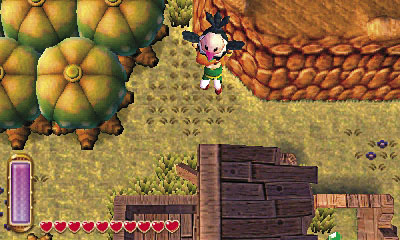
Go north along the ledge, heading back toward the shack. Notice two gaps in the ledge’s low wall—leap from either gap and glide with your cucco, aiming to land on the remnants of the shack’s tattered roof.
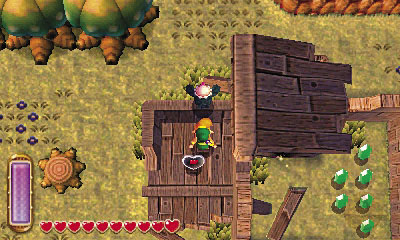
After you’ve landed, carefully drop and collect the piece of heart on the shack’s high porch. Nice gliding! Drop afterward and collect the Rupees inside the shack before merging to slip through the southern bars.
Piece of Heart #21
Into the Woods
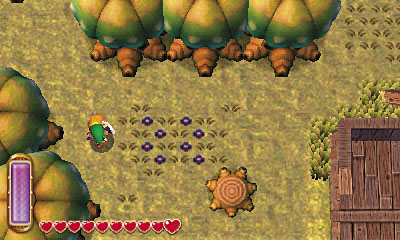
We’ve explored everything around here except the Skull Woods, so the time has come to head inside. Go west from the abandoned shack and follow a trail into the Skull Woods.

The Skull Woods are aptly named, for the massive bones of fallen beasts lie all about. Go west and pass through two giant rib cages to reach a lone skull that’s encircled by tall grass. Smash this skull to discover a lost Maiamai.
Lost Maiamai #60
A Honey of a Deal
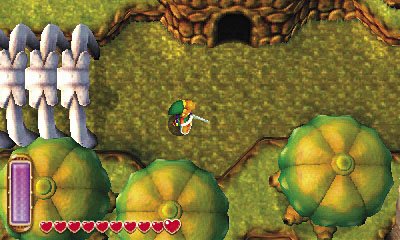
You passed by a cave on your way to the Maiamai. Backtrack through one rib cage and enter the cave to the north.
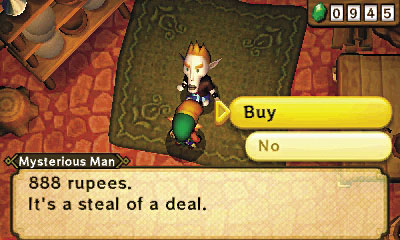
A Mysterious Man lives inside the cave, and he offers to sell Link something from his “collection.” Whatever this might be, it will cost you 888 Rupees to find out! Actually, it won’t, because we’ll just tell you: it’s a golden bee. This is an easy way to collect a golden bee and earn the Bee Badge from the Bee Man in Kakariko Village if you haven’t already. If you decide to make the deal, be sure that you have an empty bottle to keep the bee in!
Sage on Display
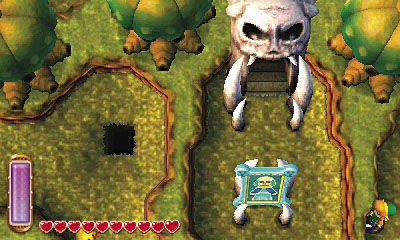
Leave the Mysterious Man’s cave and backtrack through the other rib cage, then go south, continuing your search of the Skull Woods. You can’t help but notice the portrait of a Sage as you go—it’s the Priest’s daughter, Seres! Sadly, the maiden is out of your reach—you must brave the Skull Woods dungeon (p. 220) to save this saintly Sage.
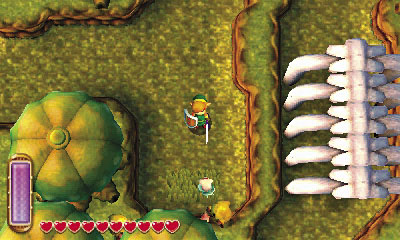
Continue moving south from Seres’s portrait, heading for a small patch of tall grass. Cut this down to discover another hiding Maiamai. Can’t blame the little guy for taking cover in this dreadful place!
Lost Maiamai #61
Skull Woods Fissure Pillar
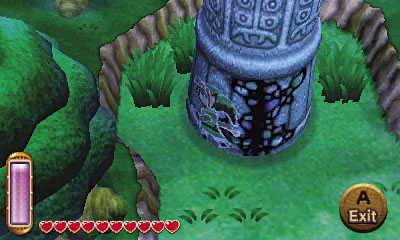
Continue exploring westward after collecting the Maiamai, and you’ll come to a familiar stone pillar. You’ve seen similar pillars in Hyrule, but this one features a fissure. Merge into the pillar and travel through the fissure to emerge in the entry area of Hyrule’s Lost Woods. How convenient, because you’re all done with the Skull Woods for now! Call for Irene’s broomstick once you’re back in Hyrule and set Link’s House as your destination.
Another Upgrade
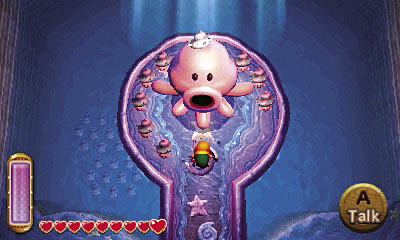
Guess what? You’ve found another 10 Maiamais! Save your game at Link’s House and then pay a quick visit to Mother Maiamai to have her upgrade an item of your choice.
Reaching Lorule Lake
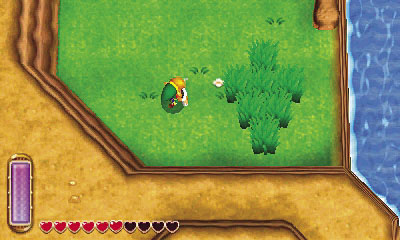
After visiting with Mother Maiamai, go south, past the Item Shop, taking a stroll along the high ledge that overlooks Lake Hylia. Notice the tall grass at the ledge’s south end—it seems to be shaped like an arrow pointing southward. How curious!
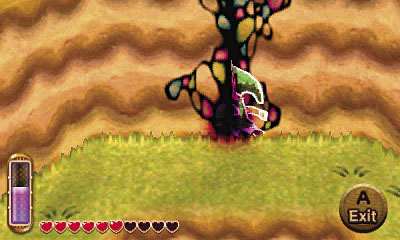
Merge into the south wall near the tall grass “arrow” and travel south, around the wall, to reach another ledge. Don’t pop out from the wall; just keep going until you slide into a fissure, returning to Lorule.
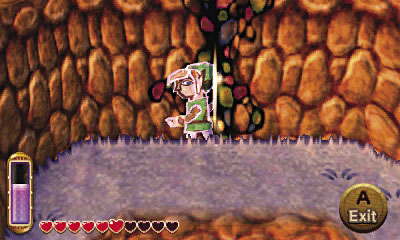
Link is again welcomed by Princess Hilda as he exits the fissure. She warns our hero that Lorule Lake is a maze built to contain the power of fire, and also hints that a Sage is being kept somewhere around here. It’s time for some more exploration!