
The Legend of Zelda: A Link Between Worlds Guide Walkthrough Great Explorations, Part I
Meet Mother Maiamai
Meet Mother Maiamai
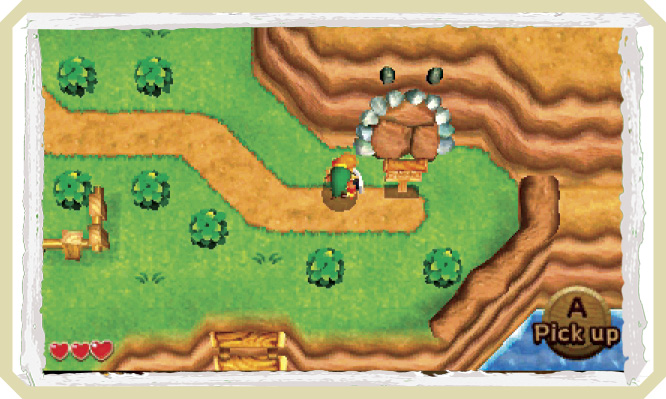
Go east from Link’s House to locate a stone bridge leading north. Ignore the bridge for the moment and go south to discover an Item Shop and a unique cave whose entrance is sealed with stones. A warning sign indicates that some sort of creature is sealed away inside.
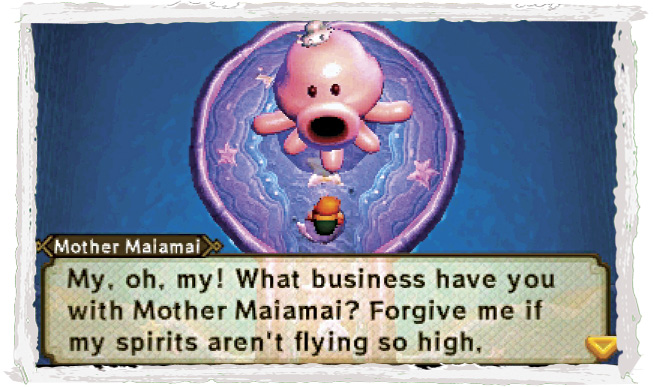
The Item Shop offers the same goods as the one in Kakariko Village, for the same prices. The cave is far more interesting, however—for inside lives a kind yet troubled creature, Mother Maiamai! Use a bomb to blast open the cave, then go inside.
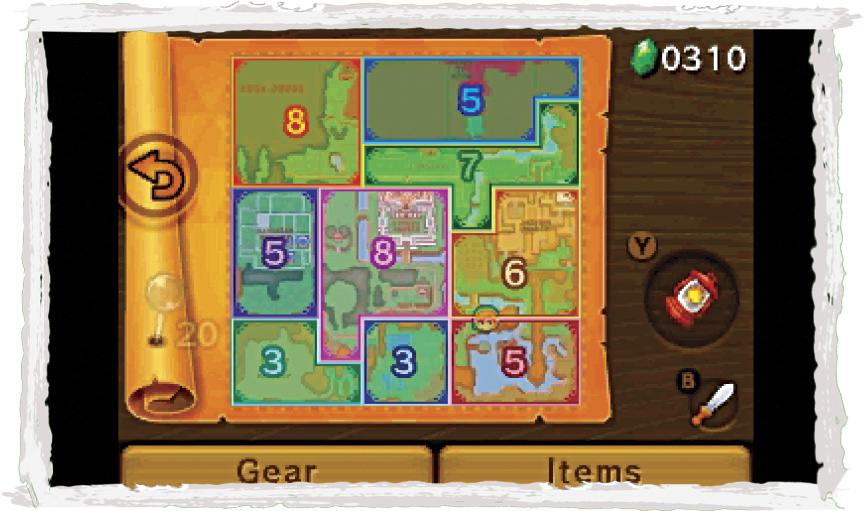
Mother Maiamai recounts a sad tale: her 100 children are all missing. Agree to help find all of her lost offspring, and Mother Maiamai gives you the Maiamai Map to help you in your search. This map shows how many lost Maiamai can be found in each of Hyrule’s nine zones. As you discover lost Maiamais in each zone, the numbers on the Maiamai Map will decrease accordingly. What a useful tool!
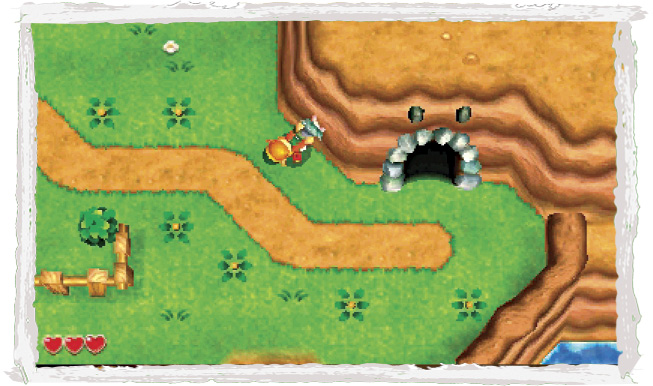
Exit Mother Maiamai’s cave, and you’ll hear soft chirping. Hey, there’s a lost Maiamai on the nearby wall! But try as you might, you can’t pull the lost Maiamai off the wall. To free the Maiamai, merge into the wall behind it and then pop out of the wall to knock it down.
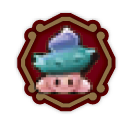 Lost Maiamai #1
Which Witch Is Which?
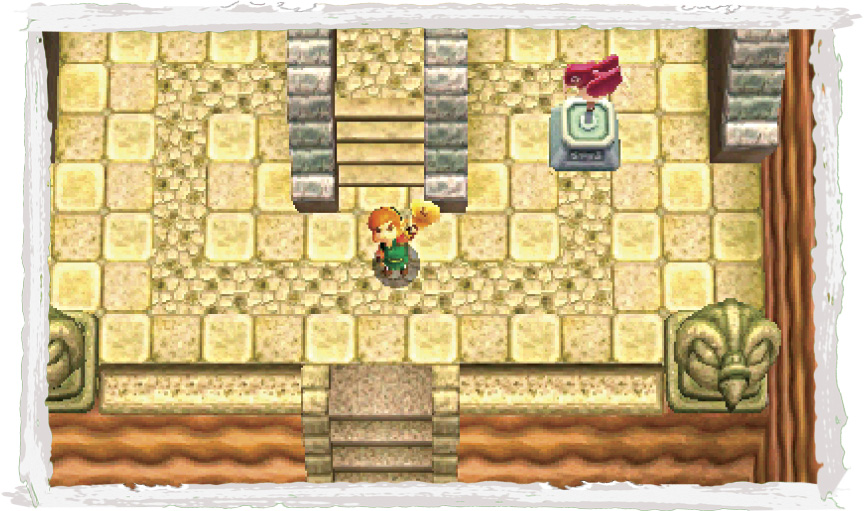
Next, ring your bell and have Irene fly you to her gram’s place, the Witch’s House. Save when you get there—you’ve accomplished quite a lot!
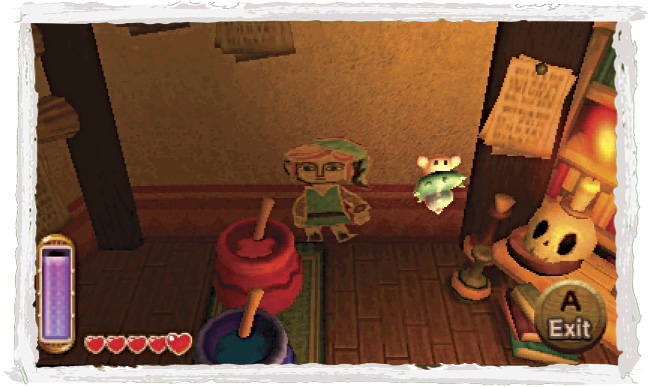
Enter the Witch’s House to find a lost Maiamai clinging to the interior wall. Merge and knock the little guy down so you may rescue it.
 Lost Maiamai #2
To Zora’s Domain
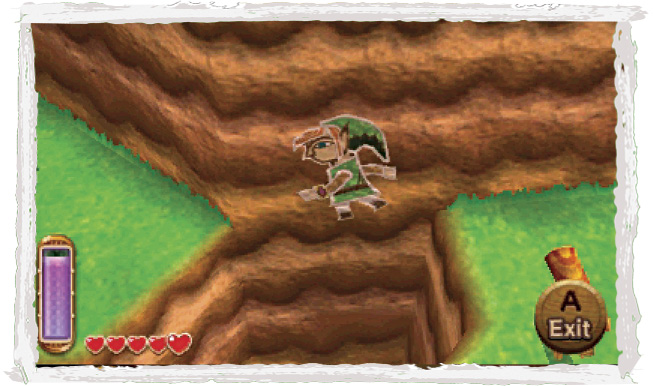
Exit the Witch’s House and save your game again. The bridge leading to Zora’s Domain is still out, but that’s not a problem anymore. Merge into the east wall and slip past the water, exiting after you’ve crossed the river.
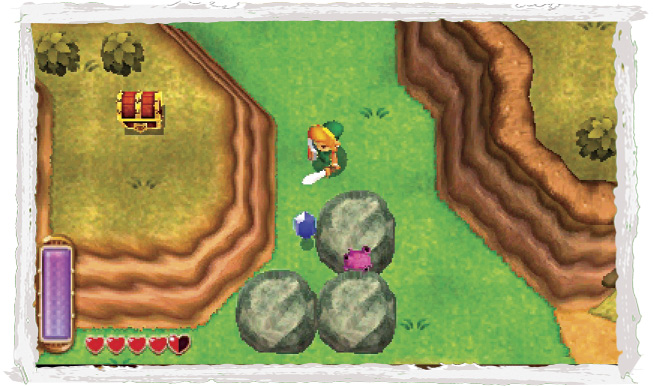
Go east and then south, eyeing a chest atop a high ledge as you go. This will soon be yours! For now, climb down a ladder and slay some Blobs in a shallow pit.
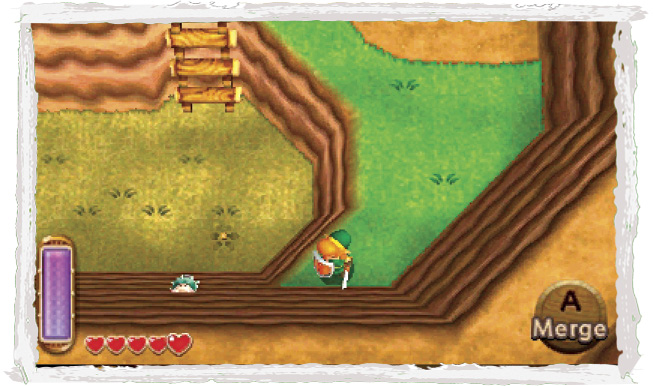
Climb back out of the pit, then merge into the south wall. Walk over the pit and exit to knock loose a chirping Maiamai.
 Lost Maiamai #3
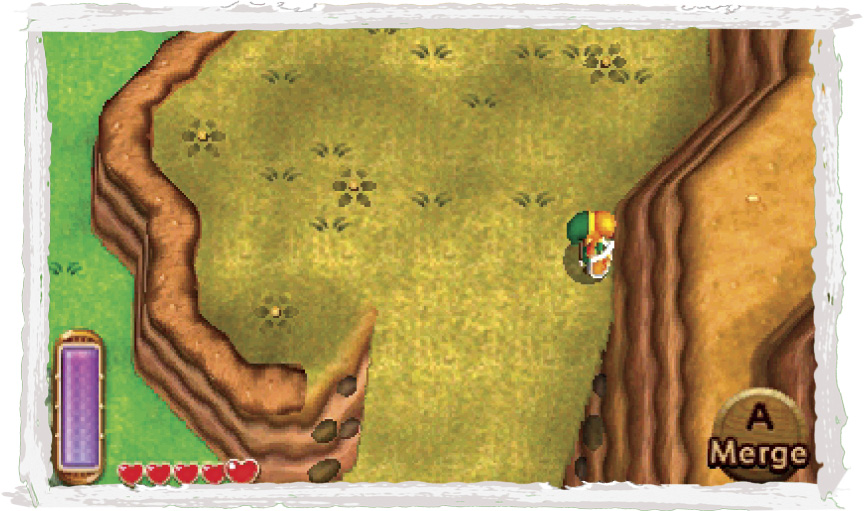
Reaching the chest you noticed a moment ago takes a bit more effort. Scale the north slope to reach a darker path that features a few Sand Crabs. Once you’re up the slope, merge into the east wall and make a long trek to the south, west, and then north, passing the pit and heading for the chest ledge.
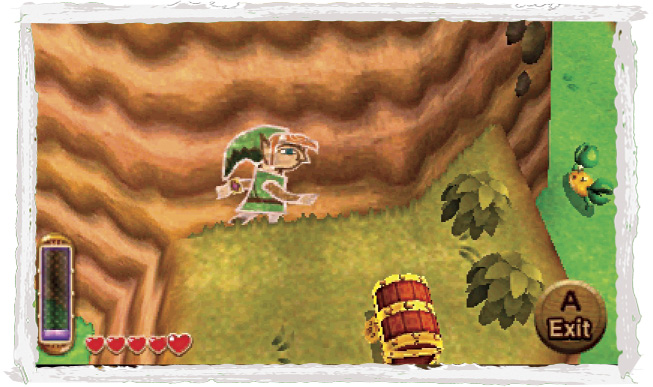
Link has just enough energy to reach the chest. Exit the wall when you reach the ledge and claim your treasure.
 Hyrule Chest #10: Red Rupee
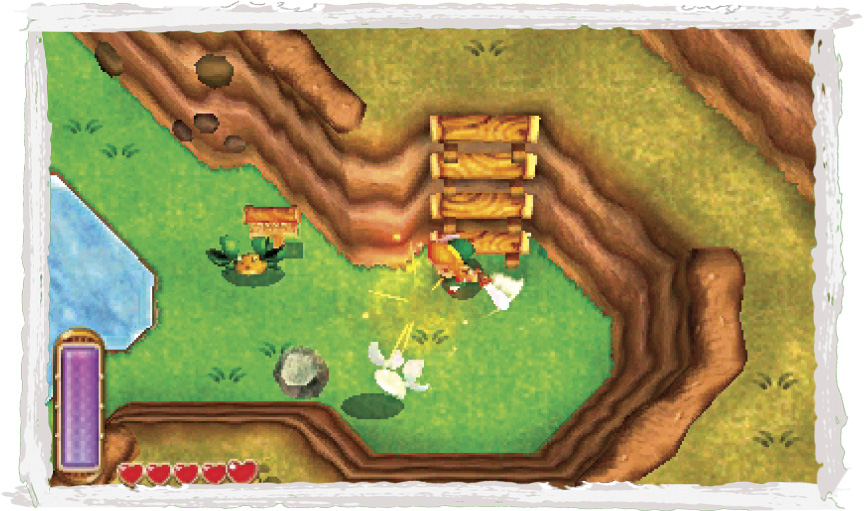
Drop from the chest ledge and scale the slope once more, heading north into Zora’s Domain. Descend another ladder and dispatch more Sand Crabs as you near Zora Lake. Be careful not to fall into the deep water around here! Stay in the shallows for safety.
Stop, Thief!
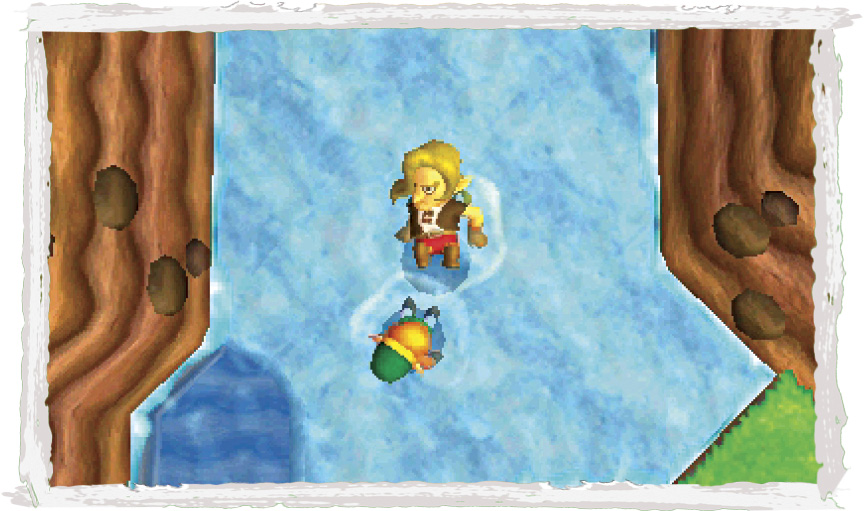
Go north across the shallow water, heading for a large waterfall. As Link approaches the waterfall, a man suddenly comes running out from behind it! It’s the Thief from Kakariko Village, and he bumps into Link as he flees the scene.
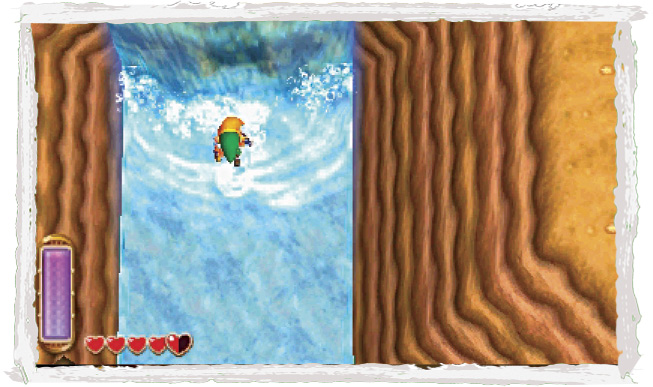
What could all that have been about? You’d better see what’s behind that waterfall! Pass through the cascading water to enter a secret cave.
Oren’s Plight
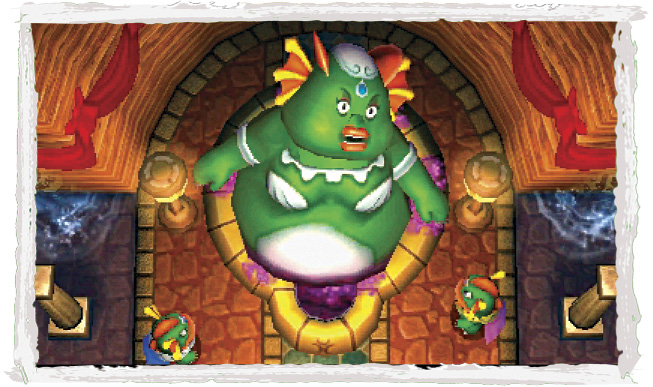
The waterfall cave turns out to be the home of the Zora Queen, Oren. Unfortunately, the queen is in a sea of trouble. That awful Thief has made off with a special gem that Oren desperately needs. Without this precious gem, the Zora Queen swells up so large that she can’t squeeze out of her royal pool!
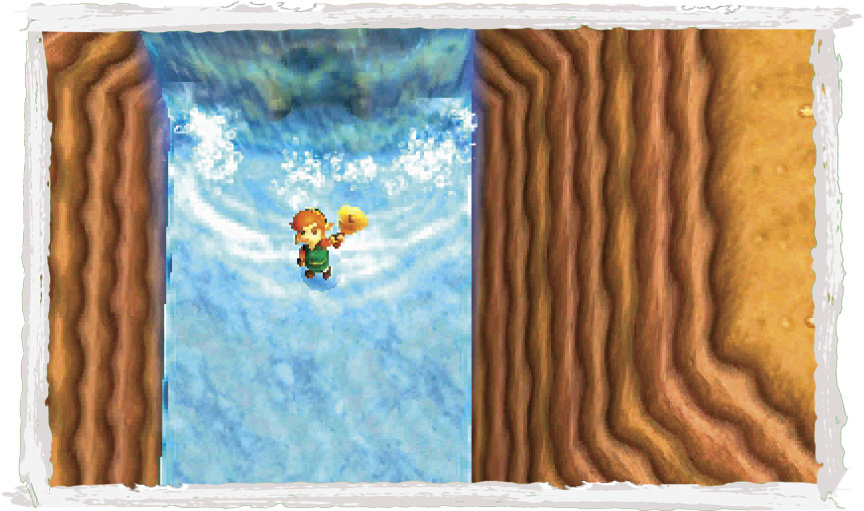
Speak to the Zoras if you like, but your task is already clear: Bring that greedy Thief to justice! Leave the cave and ring your bell to have Irene fly you all the way back to Kakariko Village.
Boy, This Is Really Expensive!
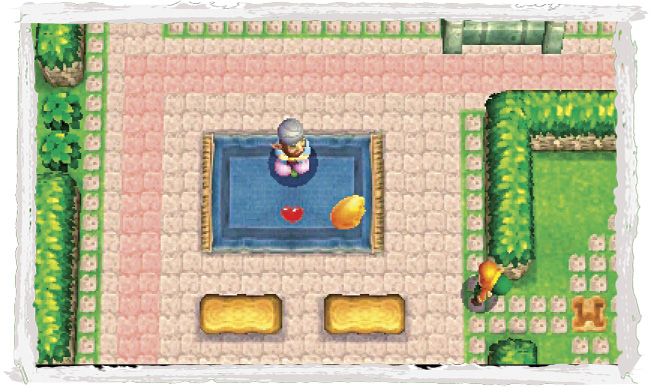
When you reach Kakariko Village, you find that the Street Merchant now has a smooth gem for sale. This silky-smooth jewel is none other than the Zora Queen’s most precious treasure, and it costs a whopping 200 Rupees to purchase. You must cough up the cash to obtain the smooth gem.
 Smooth Gem
A beautifully polished stone. It’s smooth to the touch.
To Catch a Thief
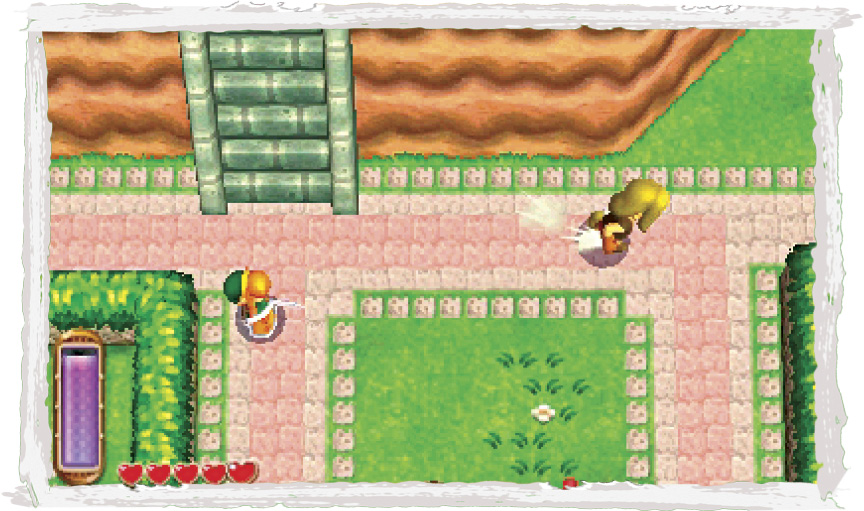
That pesky Thief can’t be allowed to get away with this! He’s already made his money by selling the smooth gem, but now he must pay for his crime. Unfortunately, the Thief is incredibly fast and quickly dashes away whenever you approach him. What a snake!
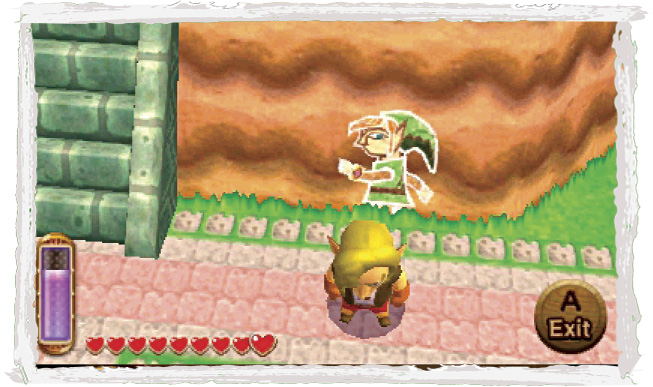
To catch the Thief, you need to get creative. If he has dashed away, leave the village via the northeast trail and then return. This time, merge into the wall near Sahasrahla’s house and slip behind the Thief undetected.
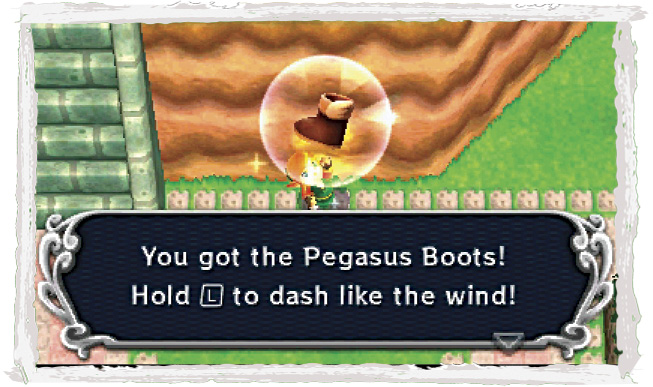
Pop out of the wall when you’re right behind the Thief, and you’ll have him dead to rights. After a period of guilty stammering, the Thief decides to repay you for his crime by handing you the awesome Pegasus Boots. Now you can dash around at top speed, just like the Thief!
 Pegasus Boots
Boots that let you dash incredibly fast when you press  .
.
Saving Oren
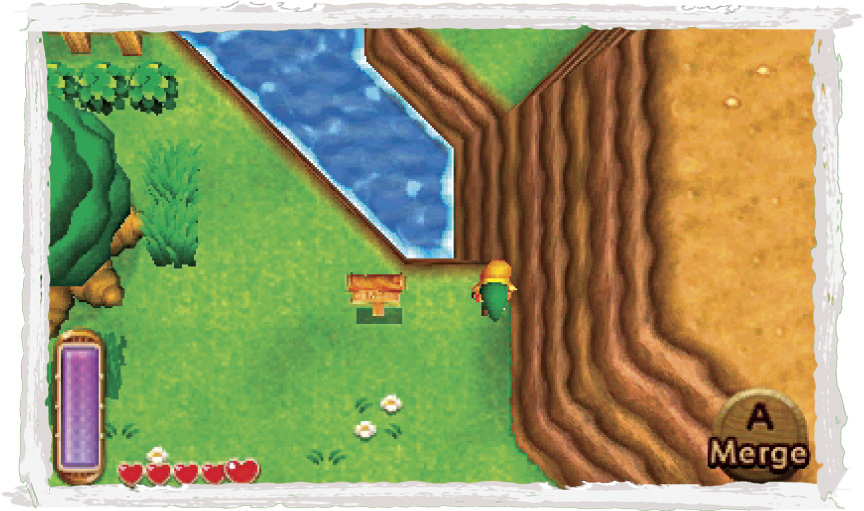
You’ve busted the Thief—now it’s time to rescue Oren, the Zora Queen. Have Irene fly you to the Witch’s House, heal and save if you like, then merge around the east wall to begin your journey back to Zora’s Domain.
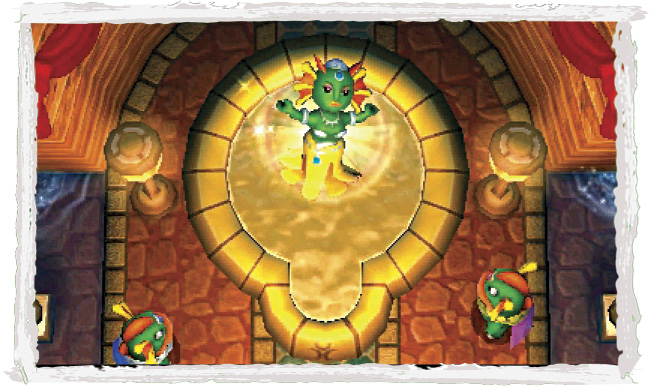
Run into the waterfall as you did before to return to Oren’s chamber. Approach the Zora Queen and throw the smooth gem into her pool.
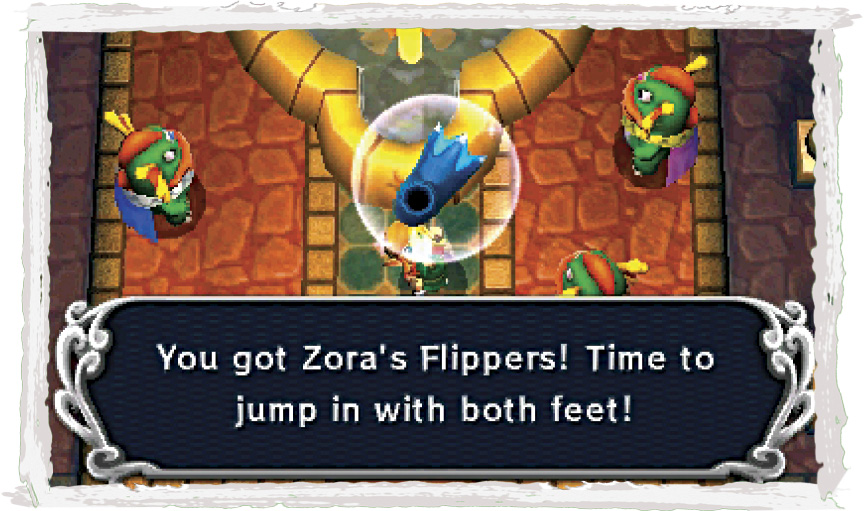
The smooth gem does its work, and after a flash of magic, Oren is restored to her natural form. The grateful queen can’t thank Link enough, and bestows upon our hero a most excellent item, Zora’s Flippers.
 Zora’s Flippers
Flippers given to you by the Zoras. Dive with , and swim with  !
!
It’s Going Swimmingly!
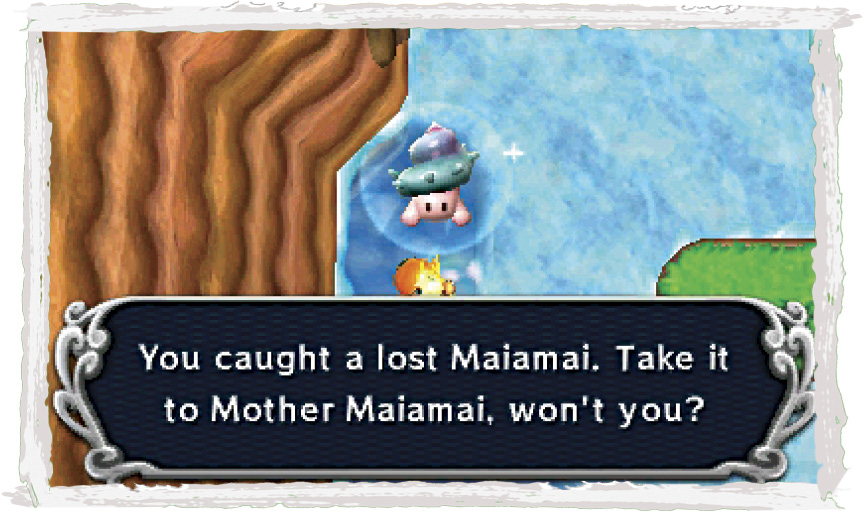
Leave the Zora Queen’s chamber and head outside. Now that you’ve got Zora’s Flippers, deep water is no longer a threat to you. Move into the deep blue water just south of the waterfall, and Link automatically swims. Press  to dive and collect the underwater Rupees and Maiamai you find here.
 Lost Maiamai #4
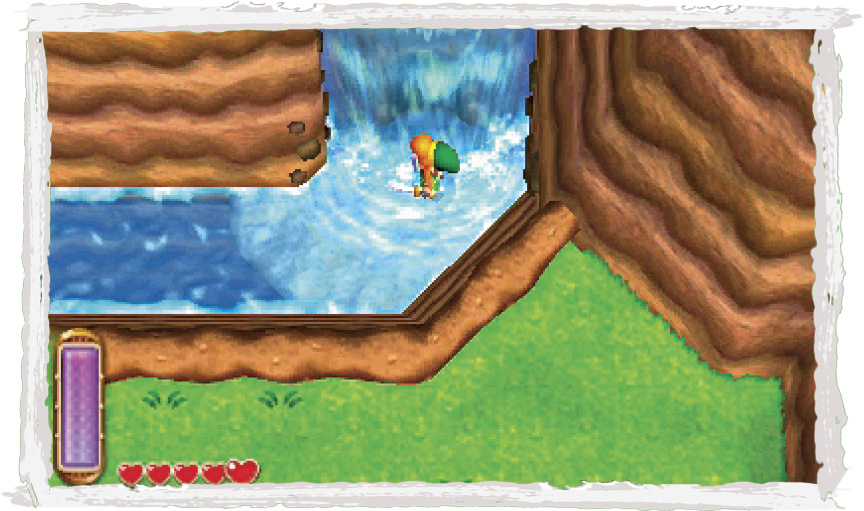
Press  to swim south along the river, tumbling harmlessly over a small waterfall. After dropping from the waterfall, turn around and swim north to enter a secret cave that’s hidden behind the cascade.
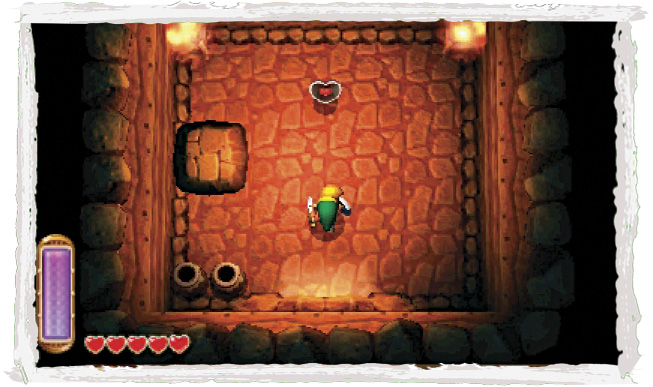
The small cave features a few pots and a piece of heart. Nice find!
 Piece of Heart #3
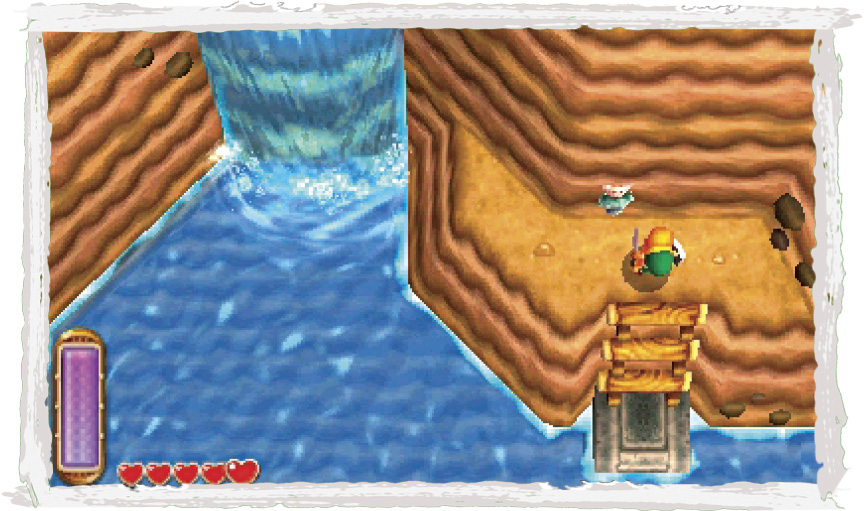
Keep pressing  to swim along the river, heading west toward a small dock. Climb onto the dock and up the ladder to reach a small ledge. Merge into the wall and free the Maiamai that’s stuck there.
 Lost Maiamai #5
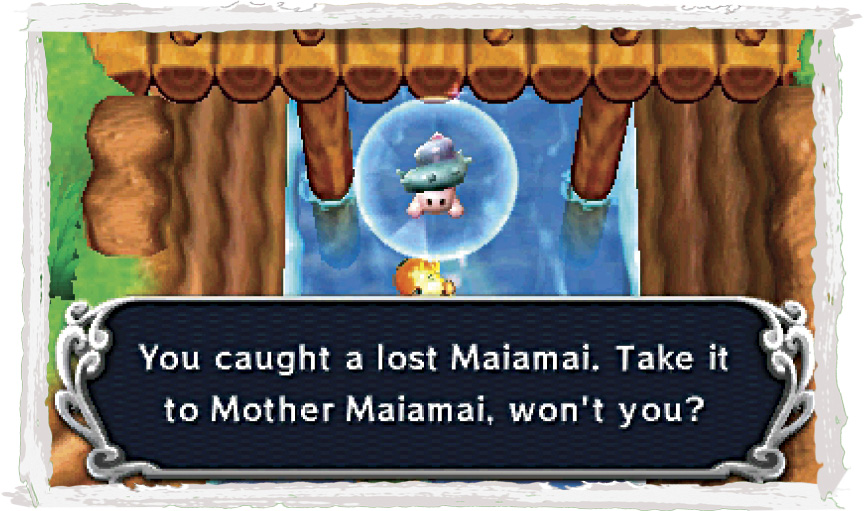
Jump back into the water and continue swimming along the river, ignoring the other docks you see. Swim underneath a wooden bridge, then press  to dive and scoop up an underwater Maiamai that’s just south of the bridge.
 Lost Maiamai #6
Treasure Hunter Cave #1
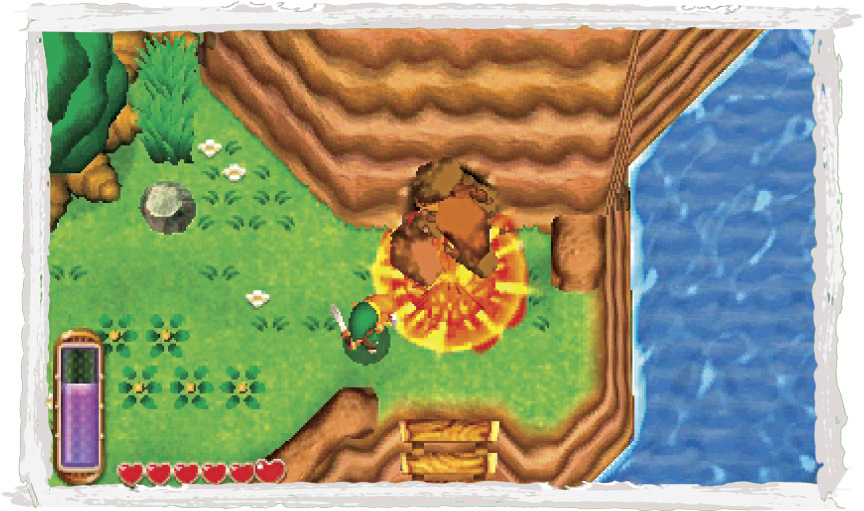
Climb out of the water using a nearby western dock. Go north along the river’s west bank, heading for a cracked wall near the river. Bomb this cracked wall to expose a cave.
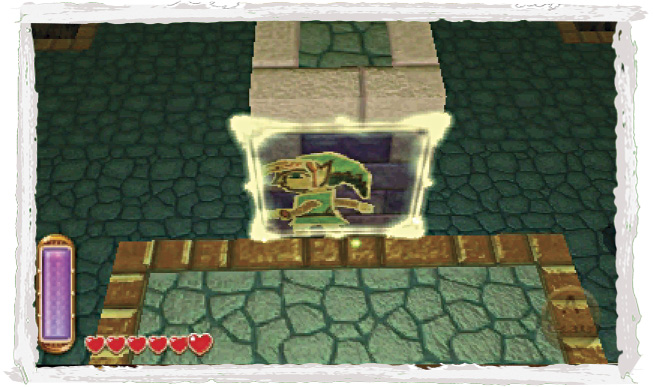
Aha! It’s another Treasure Hunter cave! This one’s a bit tricky, so bear with us. Begin by merging onto the first moving block when it moves close.
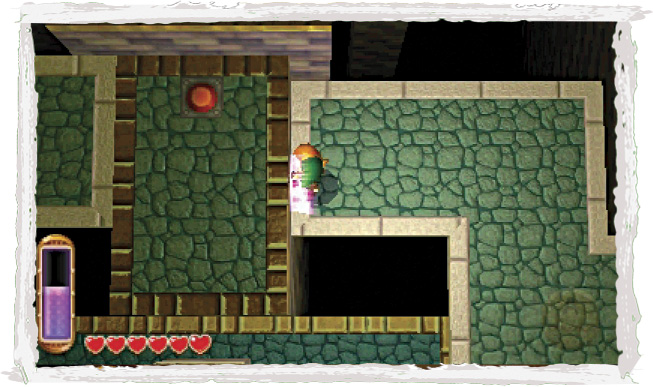
Slip around the right (east) side of the moving block, and move onto the stable platform ahead. Exit from the merge when a thin moving platform slides in from the east.
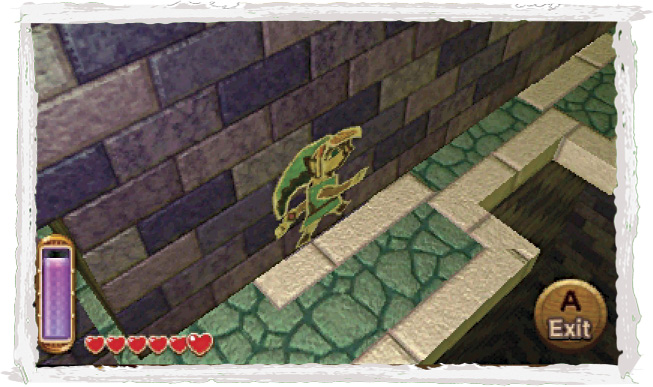
The east moving platform slides into and out of the east wall. Merge onto the east wall and slip through a thin slit to reach the other side. Exit from the merge and land on the moving platform, then head north, merging back into the wall as needed to keep from falling when the platform slides westward.
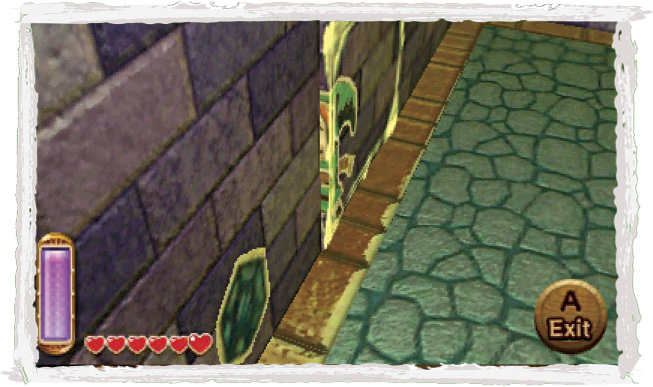
Scale the north stairs to reach a big room with an energy potion and Red Rupee. Claim these, then slide through a thin slit in the room’s south wall, wrapping around to the main chamber’s north wall.
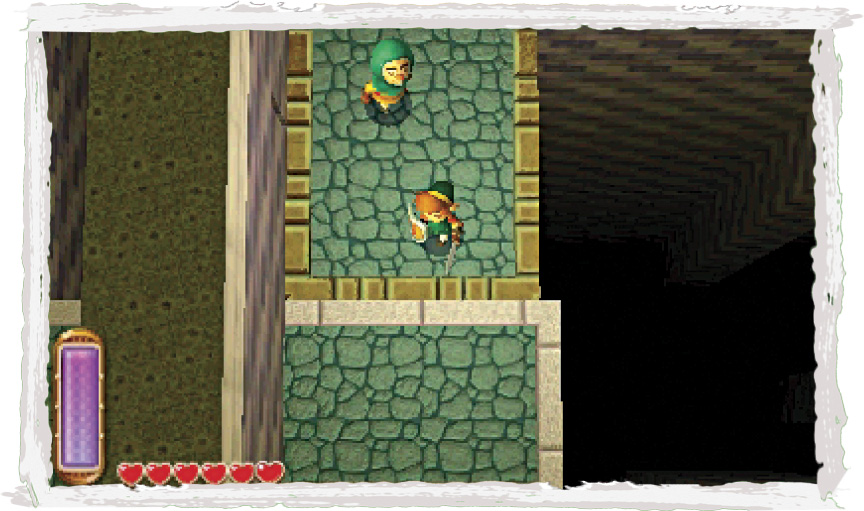
Keep moving west along the main chamber’s north wall, heading for the northwest ledge. There’s another Treasure Hunter and energy potion here. Grab the potion before stepping onto the west moving platform.
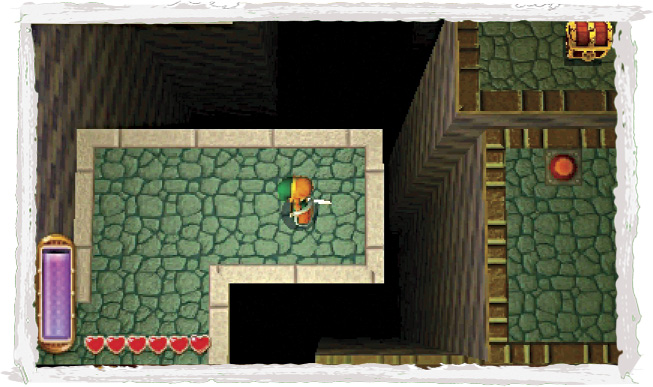
You’re doing great! Cross the west moving platform, merging into the west wall as needed to avoid falling as it slides into and out of the wall. When the chance permits, walk onto the room’s central platform, which features a floor switch. Step on this switch to cause a block to start moving up north.
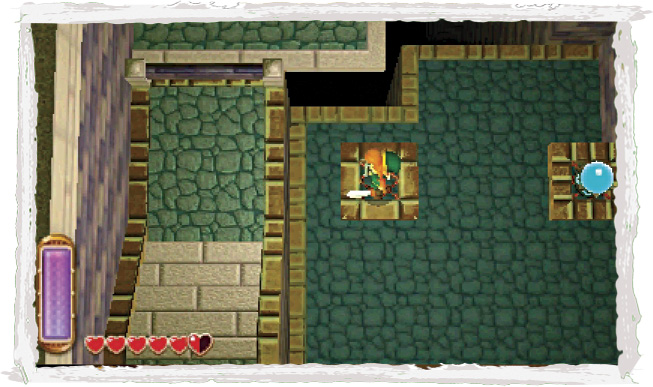
Ignore the north moving block for now and step onto the south moving block instead. Activate the nearby crystal switches with a swipe of Link’s sword. This starts a pair of small platforms moving to the east and west of the crystals. Carefully step onto the east crystals’s platform, then move onto the small, east moving platform when it comes close.
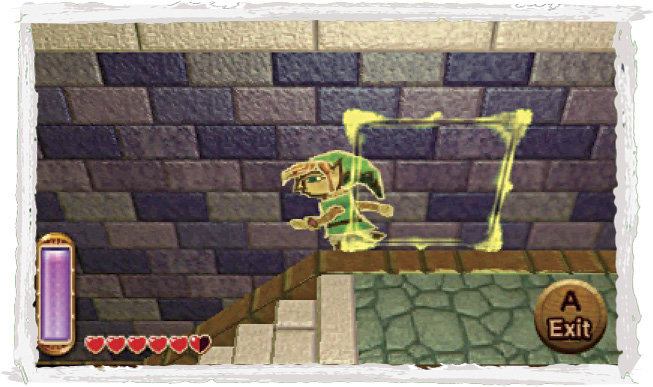
The small moving platform ferries you over to a set of steps in the room’s southeast corner. Scale the steps to reach a high ledge, then merge into the east wall. Trek along the east wall, collecting Rupees as you go.
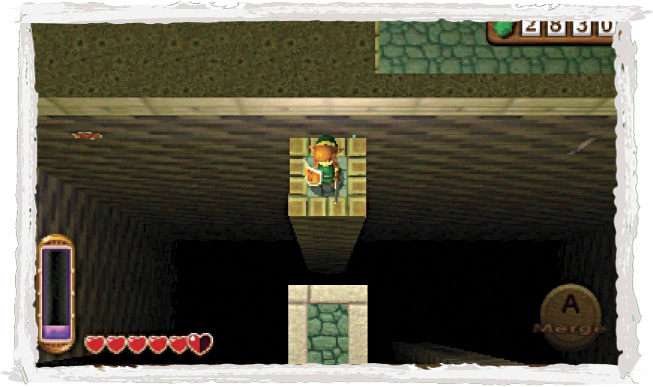
Wrap around the room’s northeast corner, heading for a Red Rupee. Go a bit farther until you’re standing over a small platform, then pop out from the wall and land on the platform.
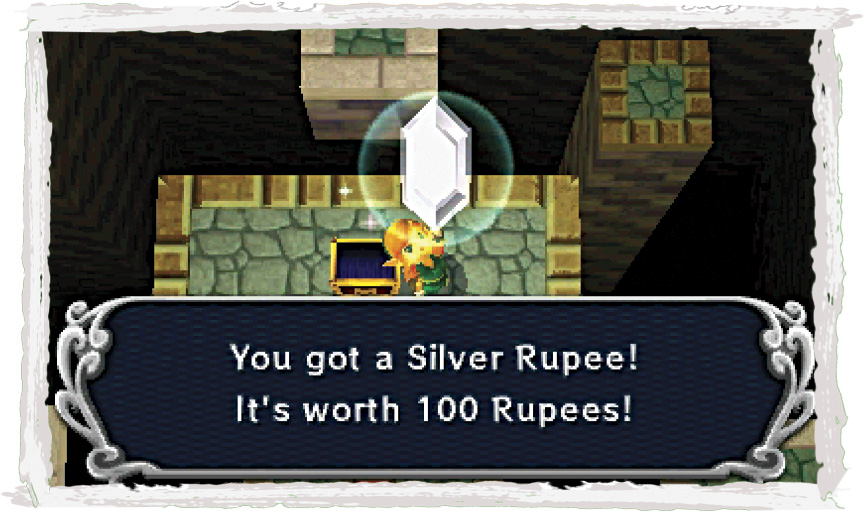
That treasure is as good as yours! Step onto the north moving block when it draws near and allow it to ferry you over to the central chest. Step off the moving block and flip the chest’s lid to claim your hard-earned reward.
 Hyrule Chest #11: Silver Rupee
Graveyard Heart
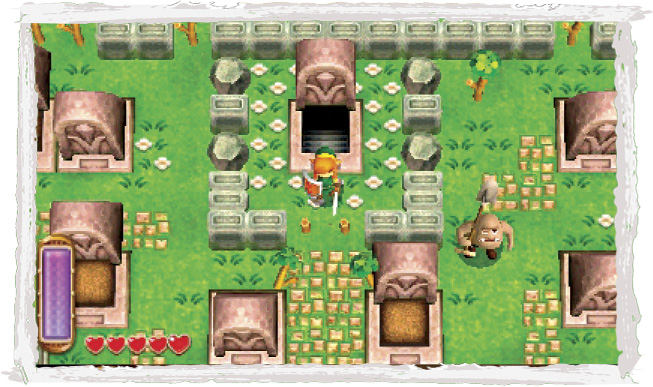
After clearing the Treasure Hunter cave, go west to reach the Graveyard. Equip the lamp and enter the secret passage that leads underground, which you used to sneak into the Sanctuary earlier in the adventure.
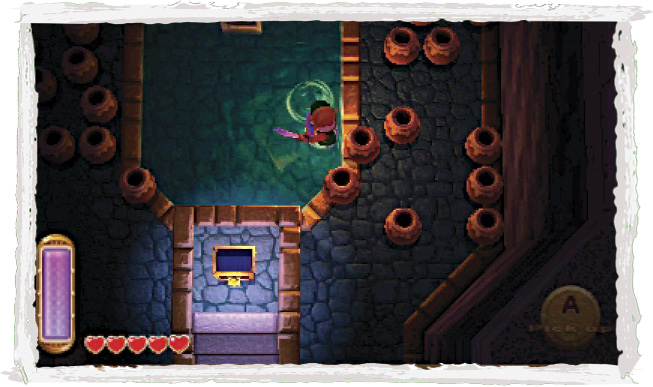
Cut straight through the secret passage’s first room and notice the piece of heart on the high ledge in the second room. It’s time to claim this lofty prize!
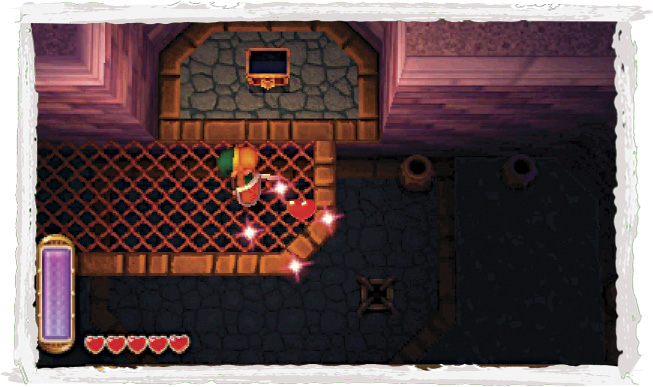
Go west and climb the stairs to reach the room’s elevated walkway. Go east along the walkway until you reach the final alcove, then merge into the wall and continue moving east.
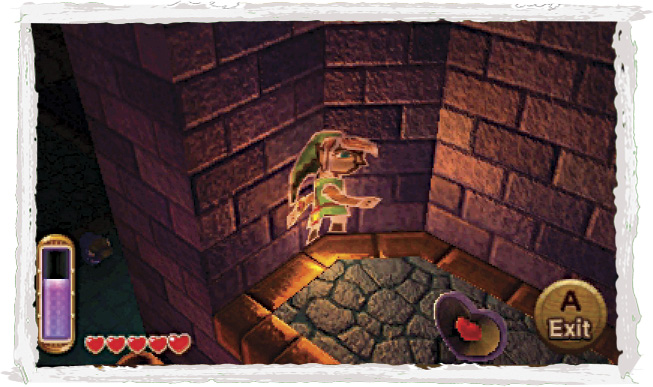
You soon reach the piece of heart’s ledge. Pop out of the wall and collect this worthy reward.
 Piece of Heart #4
Sanctuary Secrets
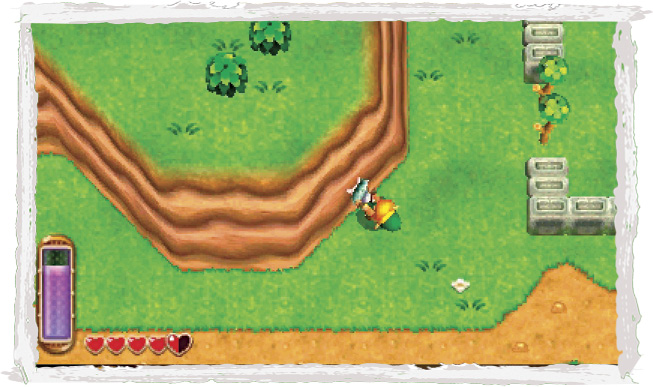
Contineu through the secret passage until you emerge in the Sanctuary. Head outside and save, then go west to find a lost Maiamai clinging to the nearby wall. Merge into the wall and pop the little fellow free, then collect it.
 Lost Maiamai #7
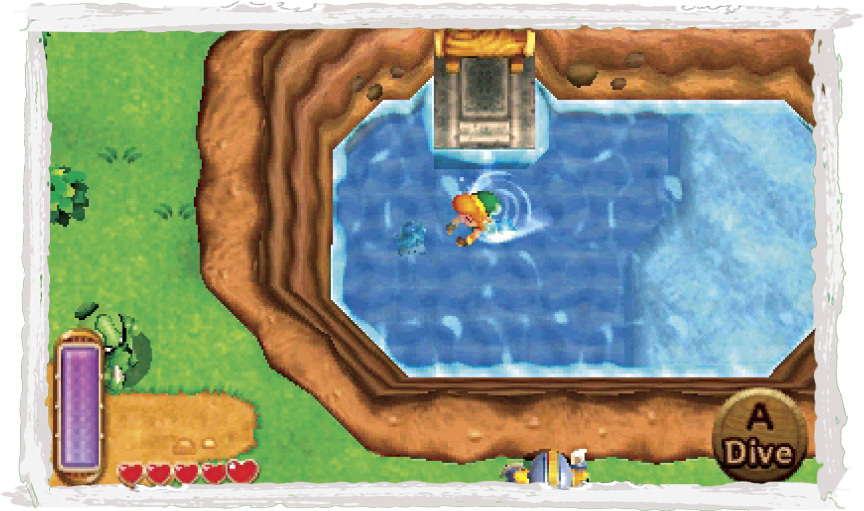
Now travel west from the Sanctuary to locate a small pond that’s north of the Blacksmith. Hey, there’s a little Maiamai down there! Dive in and rescue the tyke.
 Lost Maiamai #8
Hammer Time
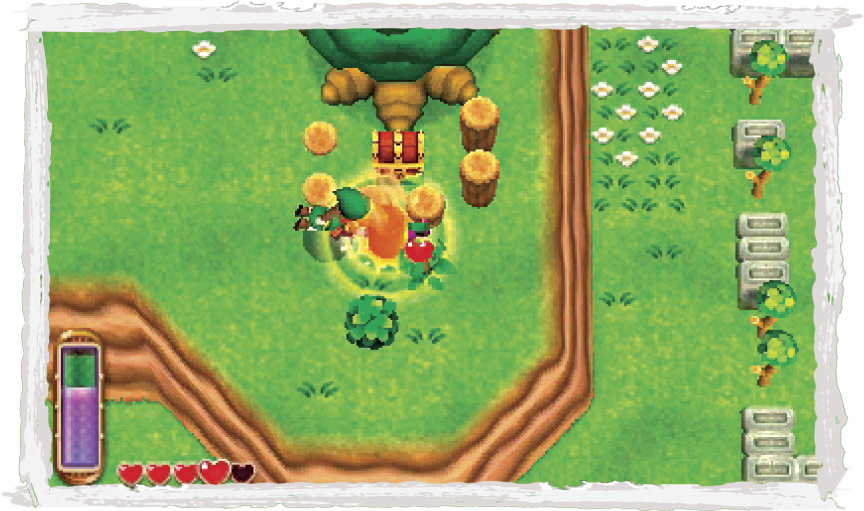
Go northeast from the pond, heading back toward the Sanctuary. Keep to the high ground, and you’ll discover a chest surrounded by wooden pegs. (The chest is on the high ledge west of the Sanctuary.) Pound down those pegs with the hammer and crack open that chest to claim a valuable Silver Rupee.
 Hyrule Chest #12: Silver Rupee
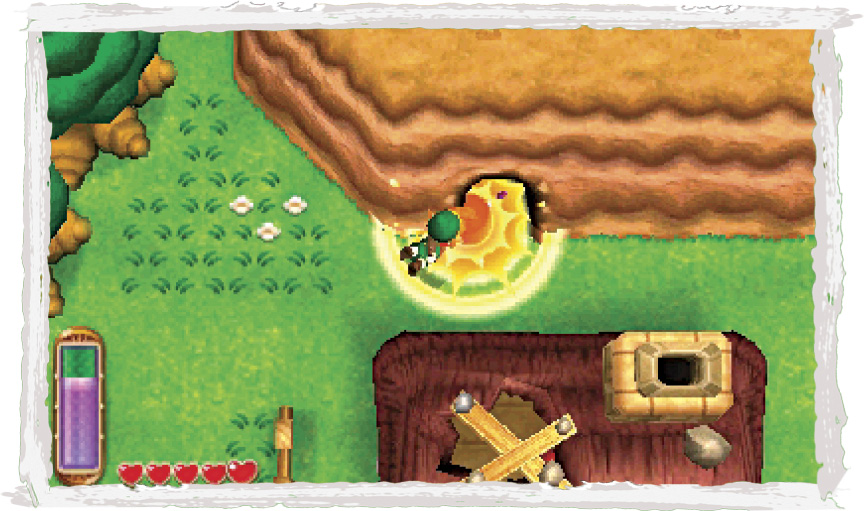
Go north from the chest, heading for the home of Rosso, the miner. The cave just behind Rosso’s place is blocked by a wooden peg. Equip the hammer and use it to pound down the peg so you may enter the cave.
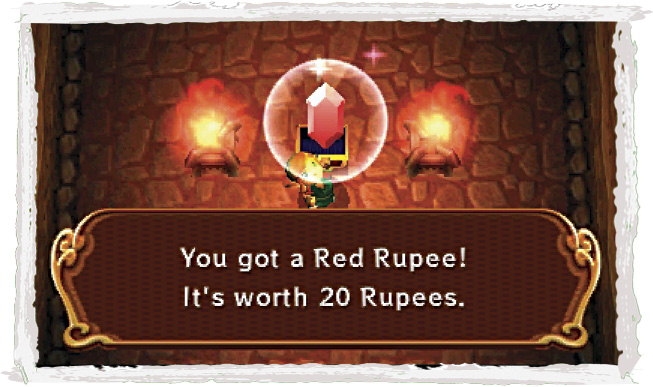
The small cave features a lone chest. Lift its lid to claim a Red Rupee. Ravio’s items are already paying for themselves!
 Hyrule Chest #13: Red Rupee
The Maiamai’s Cry
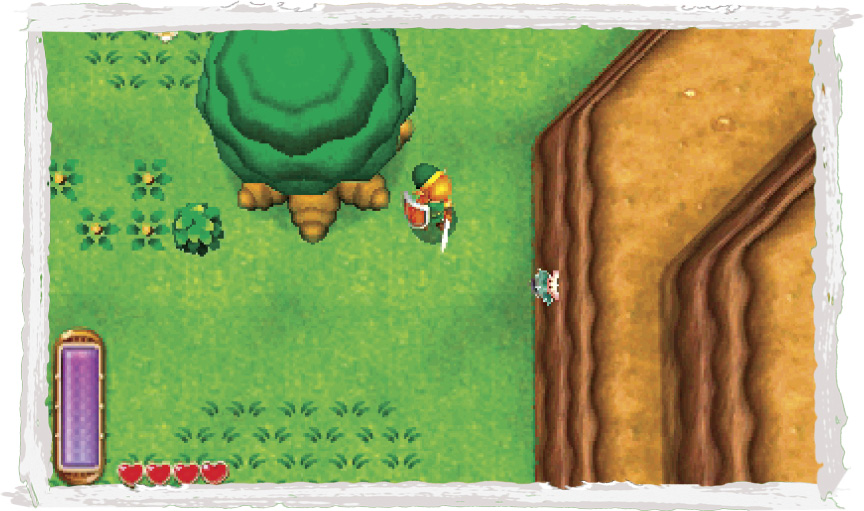
By now, you’ve certainly heard the chirping of a little lost Maiamai that’s stuck to the wall near Rosso’s house. If you haven’t, go south just a bit from Rosso’s place to find the Maiamai stuck to the east cliff. Link’s new merge ability does the trick.
 Lost Maiamai #9
Into the Woods
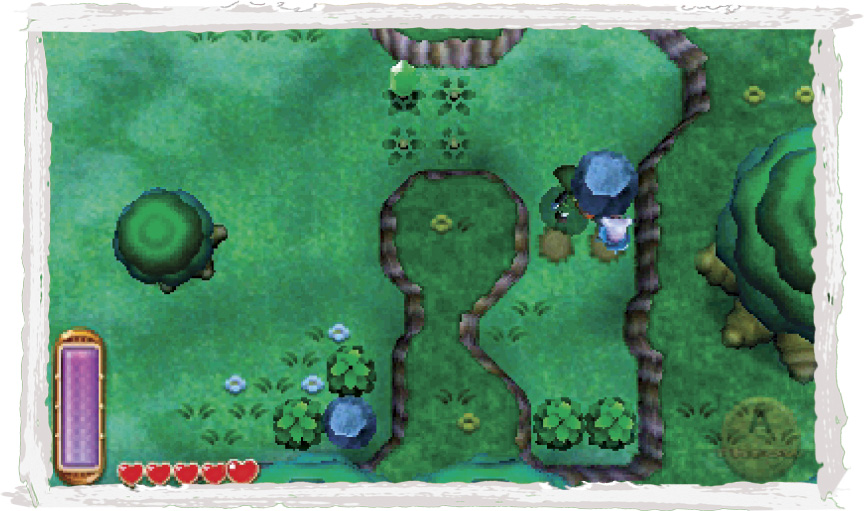
Go northwest from Rosso’s place next, heading into the Lost Woods’ entry area. Lift the small rocks to the south to discover another lost Maiamai.
 Lost Maiamai #10
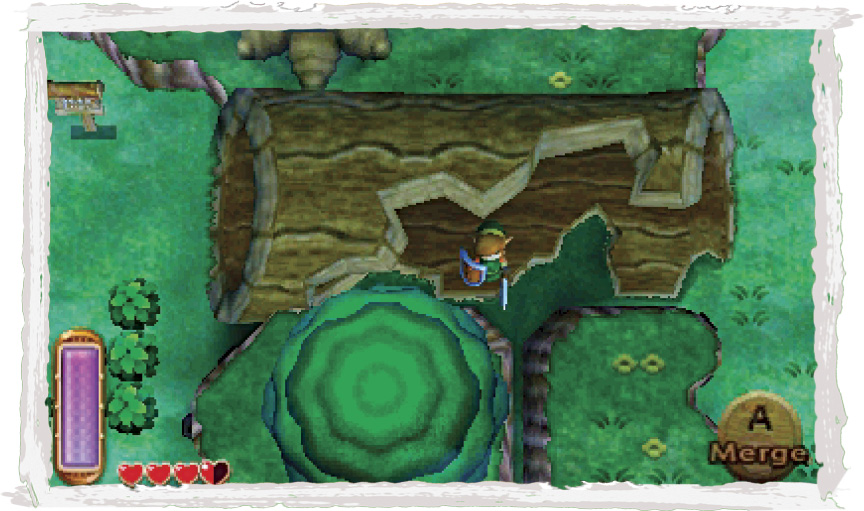
Go west from the rocks and enter the hollow log. Notice the thin gap in the wall to the south.
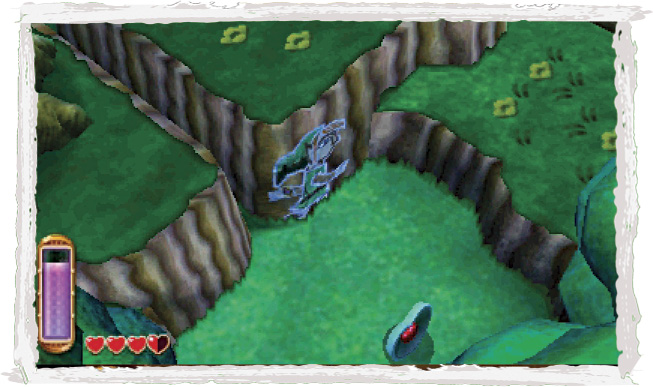
Merge into the south wall and inch through the thin gap to reach a small area with a piece of heart. This merging ability sure has its uses!
 Piece of Heart #5
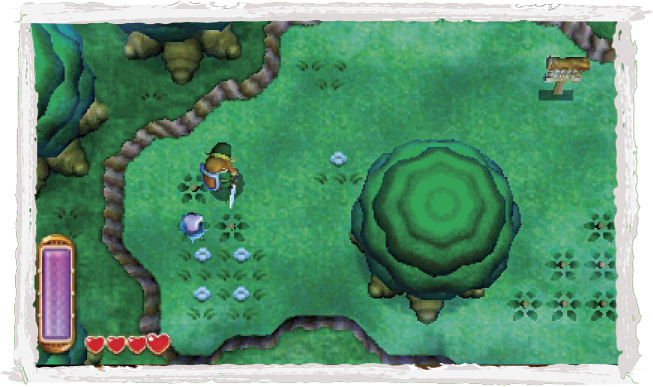
Travel back through the thin gap and go west, heading for the entrance to the Lost Woods proper. Cut down the bushes to the west to discover another lost Maiamai. These guys are everywhere!
 Lost Maiamai #11
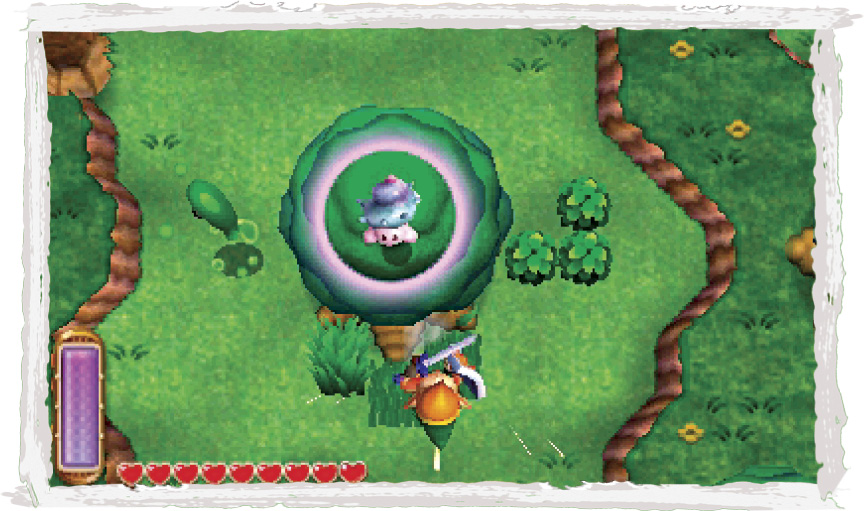
Take the southeast trail out of the Lost Woods’ entry area, and look for a Maiamai in a tree just before you exit the woods. Hold  to dash into this tree and knock down the Maiamai, then pick up the little guy.
 Lost Maiamai #12
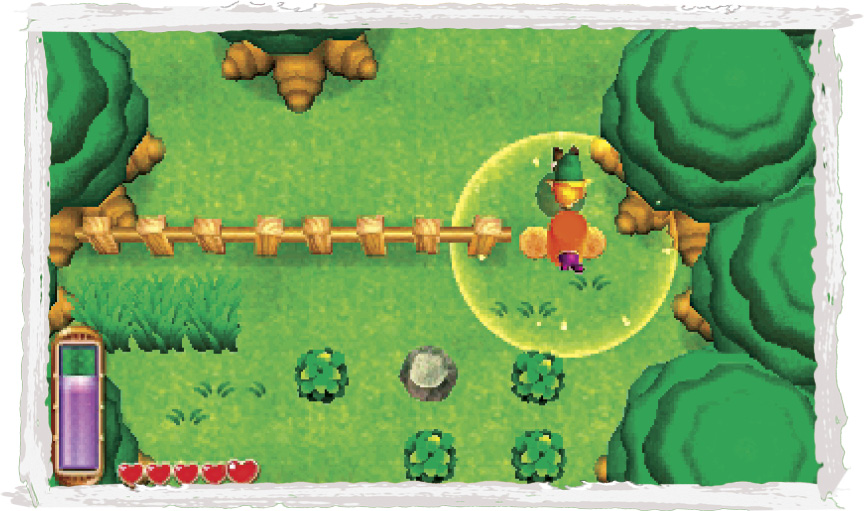
Take the southeast trail out of the Lost Woods entry area, heading toward Kakariko Village. You’ll come to a pair of pegs; pound them with the hammer to remove the obstacles.
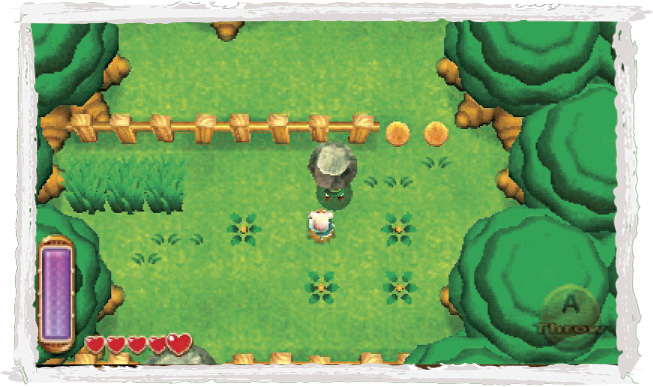
After pounding the pegs, pick up the nearby small rock to discover a lost Maiamai. Smashing!
 Lost Maiamai #13
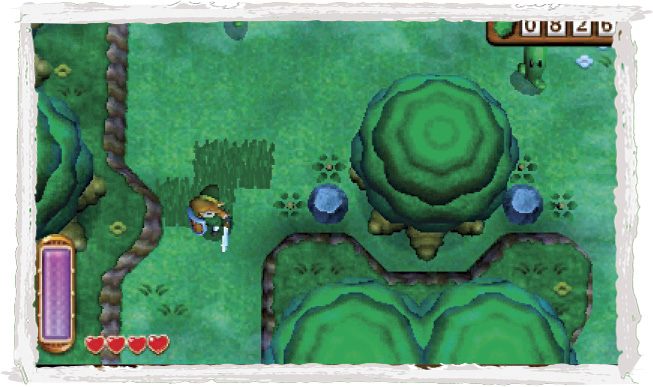
That’s all you can accomplish in the Lost Woods region for now. Go south and take the southwest path out of the woods to reach Kakariko Village.