
The Legend of Zelda: A Link Between Worlds Guide How to Play
Environment
The overworld is dense and varied, especially because you have two worlds to traverse, instead of one. The following section will dissect the different environmental terrains you will encounter along your journey.
Interacting with the Overworld
While the following objects can be found in dungeons, they are more often found throughout the overworld.
Tall Grass and Bushes
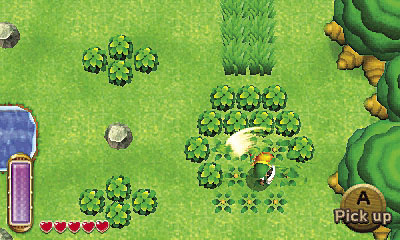
Grass and bushes are scattered throughout the overworld, and are the most common way to find collectible items, like hearts and Rupees. Slash at the plantlife with  to search for collectibles.
Skulls
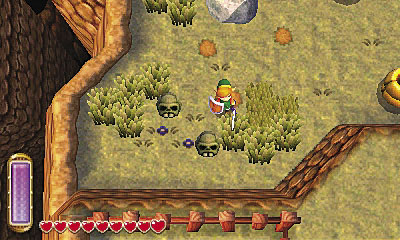
Find these scattered in the mountain and desert areas of Hyrule and Lorule. Shatter them with your sword (press and  ), then collect any hearts or Rupees hiding within these objects. At a certain point in the game, broken skulls may yield collectibles such as monster guts, monster horns, and monster tails, which you can have made into potions.
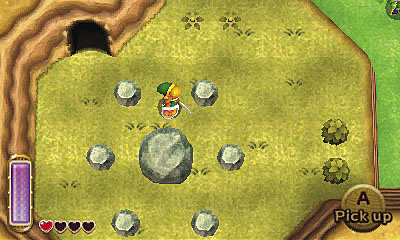
Boulders, Large and Small
These objects are nuisance for some time, blocking your way to useful items such as Heart Pieces, chests, and cave entrances. Nevertheless, the smaller boulders are nothing more than a slight hinderance once Link possesses the Power Glove. The large boulders can only be lifted once Link gets the Titan’s Mitt, an upgraded form of the Power Glove. Press and hold toward the boulder to make Link hoist the boulder above his head. Press  a second time to hurl it in the direction Link is facing. Once you can remove boulders, you can access different areas of the overworld.
Cracked Boulders
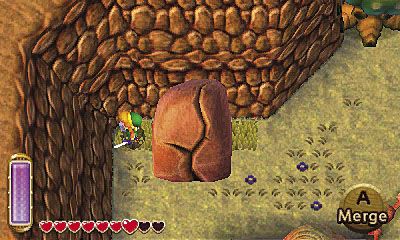
These boulders, found directly south of Lorule Castle, block an important temple and a couple cave openings. Unfortunately the Titan’s Mitt won’t budge these, but a well placed Big Bomb Flower will. Speak with the Bomb-Shop Man and pay him 200 Rupees, and he will allow you to access the Big Bomb Flower field next to his house as often as necessary. Press  next to the explosive flower to encourage it to follow Link. Lead it to a cracked boulder that you wish to decimate, slash the Big Bomb Flower with your sword to trigger the bomb, then stand back and watch the fireworks.
Deep Water
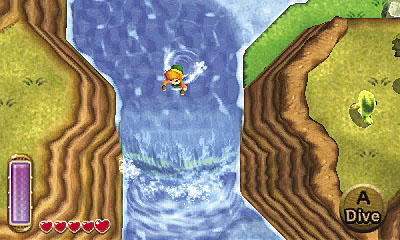
Link cannot swim in deep water until he gains Zora’s Flippers. Press  repeatedly to make Link to swim faster. To make Link dive underwater, press
  . Diving is very useful to reach underwater items such as lost Maiamais or Rupees.
Dilapidated Bridges
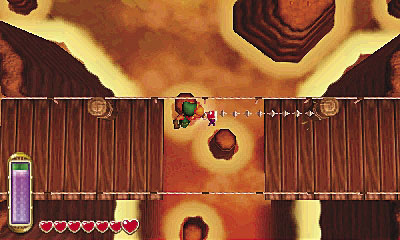
On occasion, your path will be hindered by bridges that are not structurally sound. With the middle missing, the bridge may not seem functional. However, if the other side has a wooden peg, target it with your Hookshot, which will attach to the peg and pull Link safely across. Unfortunately, some bridges only have a peg on one side, so if you’re on the wrong side, you will need to find another way around.
Pegs
Pegs can be found throughout the overworld and are usually used as a perch for Crows in the light world, or Dactos in the dark world. Pegs can also be used as a tool to reach special items. On your journey, you may find chests that are out of reach, but conveniently accompanied by a peg, The Hookshot can attach to a peg which will then pull Link quickly toward it.
Trees
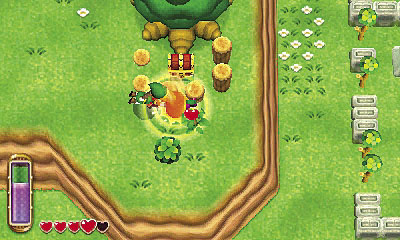
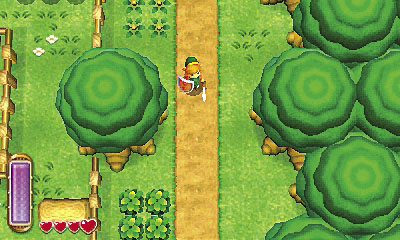
Trees are found throughout the overworld, and they sometimes have lost Maiamais perched atop them. Once Link has the Pegasus Boots, hold  to make him sprint and ram into the tree, knocking down the Maiamai, and possibly a few Rupees as well.
Armos Statues
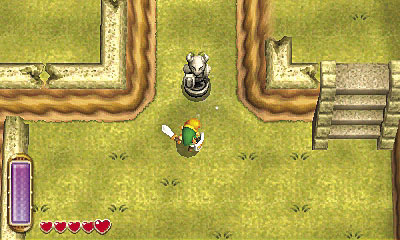
These lifeless statues are often nothing more than an ancient ruin. But sometimes they’re an Armos lying in wait for Link to come, so approach them with your sword hand ready.
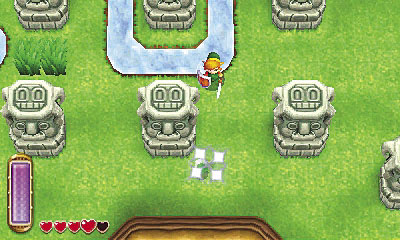
Ancient Monuments
Like trees, these are scattered in the overworld but appear more frequently near temples. If a lost Maiamais is perched atop one, it can be knocked down by sprinting into it with the Pegasus Boots.
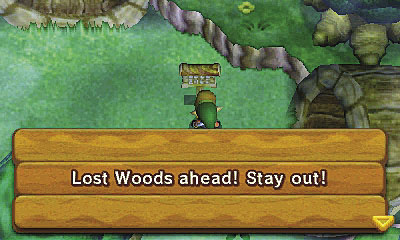
Signs
If you see a sign nearby, be sure to read it. It may contain information helpful to your quest!
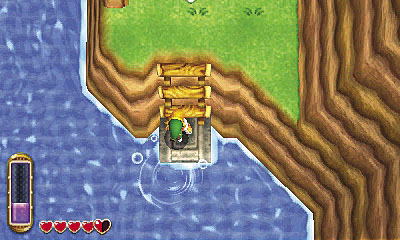
Dock
These platforms along bodies of water allow Link access from a river or lake. All docks have a ladder leading up to dry land, which can help provide a shortcut to an important landmark.
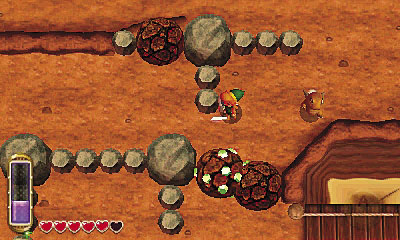
Boulders
Found on the Death Mountain trail, boulders roll around hazardously and can damage Link. With expert timing and a well-placed blow with your hammer, they can be reduced to a pile of pebbles.
Dungeon Objects
The following items are the most common objects seen throughout dungeons. Some objects only appear in a certain dungeon and are never seen again, while others are frequently encountered everywhere.
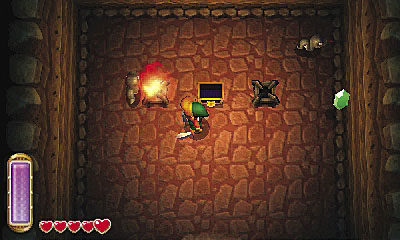
Braziers
Braziers are a staple item in the Zelda universe, and are rarely intended simply as a light source. A brazier might trigger a door or uncover a hidden switch, for example. Light braziers with your lamp, or swing your sword to extinguish them. Some braziers stay lit indefinitely, while others go out after a while.
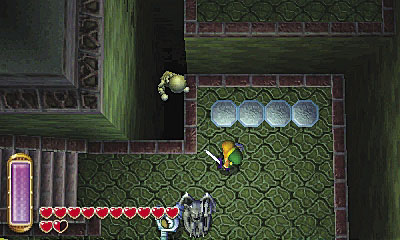
Pressure Plate
Pressure plates may be easy to miss, but they are incredibly important to completing some dungeons or temples. Stand on them to trigger an event. Some pressure plates must be constantly compressed. For these, find an object to pull or push on top of the pressure plate.
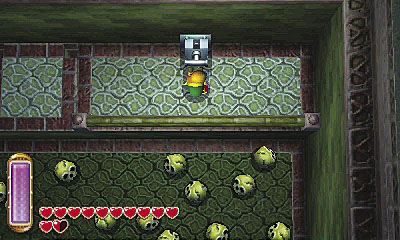
Levers
Levers usually activate an event when Link interacts with them. Stand in front of the lever and press  to pull it. Other levers are out of reach. For these, target the lever with the Hookshot, and use that to pull it.
Locked Doors
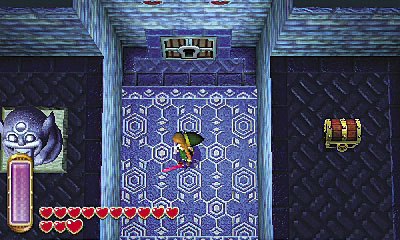
Unlock doors by finding and using the small keys that you discover at certain locations within the dungeon. To use a key after collecting it, walk up to a locked door and press  .
.
Crystal Switch
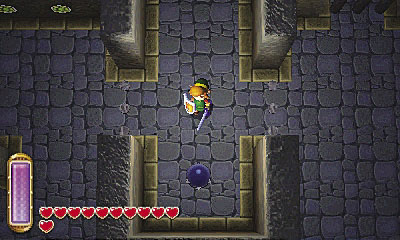
Trigger crystals by attacking them with your sword, bombs, Hookshot, or other quest items. These switches illuminate once activated, and trigger an event. Crystal switches frequently need to be activated with other crystal switches in quick succession to trigger the appropriate event.
Floor Switch
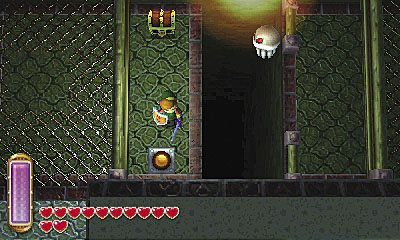
These switches looks like orange buttons. Step on one to activate it, or use  to grab a nearby statue, then drag it over the floor switch to hold it down.
Sealed Doors
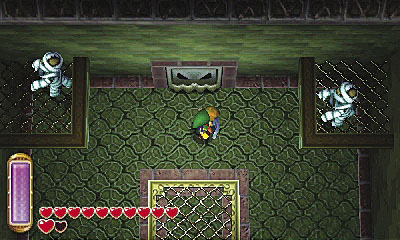
Sometimes a door will close unexpectedly behind Link once he enters a room. Sealed doors cannot be reopened until you’ve cleared the room of all enemies or solved the puzzle.
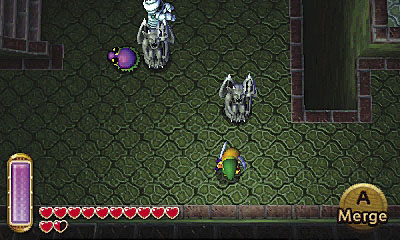
Gimos Statues
Scattered through some dungeons, these statues can be handy for holding down a floor switch. Press  to pull or push a Gimos on top of a floor switch. Sometimes, though, they come to life and attack Link!
Fire/Ice Statue
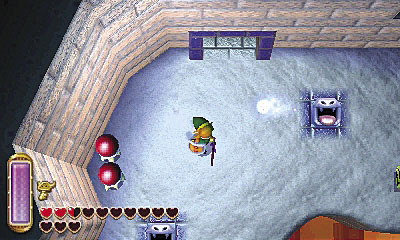
These statues appear in some dungeon rooms and can hinder your progress, especially when you are trying to fight other enemies, or complete puzzles near these statues. Their ominous smiling open mouth shoots fireballs or iceballs at Link relentlessly. They cannot be destroyed, however they can be stopped momentarily by freezing them with the Ice Rod.
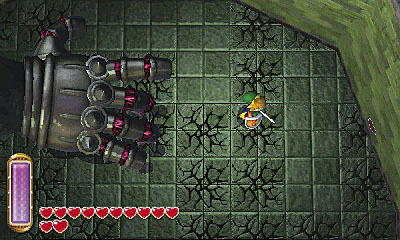
Cracked Floor Tiles
Cracked floor tiles can damage Link if he falls though them into a chasm, but they can also be a handy way into a room on the floor below. Shatter these tiles with a hammer blow or a bomb blast. Another good trick is to fool an enemy, such as a Wallmaster, into smashing it for you.
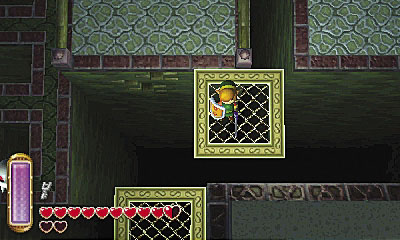
Moving Platforms
Moving platforms are the most common mode of transportation in dungeons, but they are also the most common way to fall to your doom. Use moving platforms to reach different areas of the dungeon.
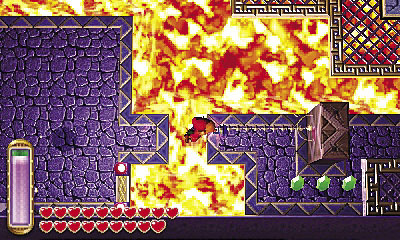
Wooden Plaques
Wooden plaques in dungeons have the same effect and purpose as pegs do in the overworld. A well-placed zap with your Hookshot at the wooden surface of the plaque will send Link reeling toward it and on to another area of the dungeon.
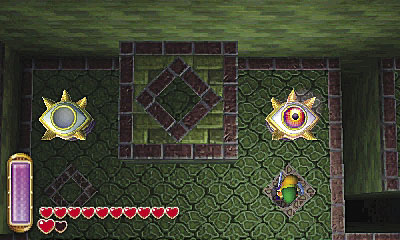
Eye Switch
To activate this interestingly morbid mode of opening doorways, you must locate the missing eye, retrieve it (by pressing  ) and place the eye into the empty slot (press
  again). It seems simple enough, but recovering that eye can be tricky.
Buttons
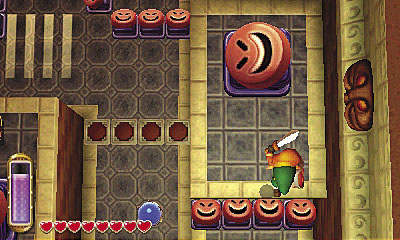
Ever wanted to be launched forcefully to an unknown destination by a spring platform that smiles at you? Well now you can! Just hit the platform square in the face with your hammer, quickly plant Link’s feet on top of the button, and in seconds he’s soaring through the air. Don’t be frightened by the larger buttons. They harmlessly launch you even higher. Just sign this release waiver before activating.
Chests
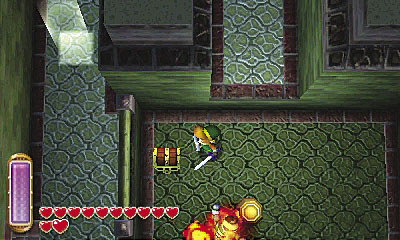
Chests may contain many different items, from special treasures to Rupees. To open a chest, stand in front of it and press  .
.
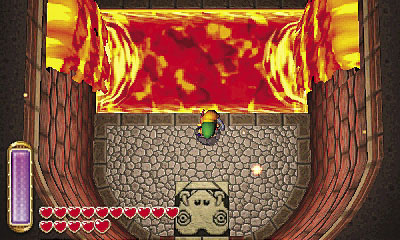
Lava
You have to cross a large body of lava via a thin moving platform, while dodging lava spouts and fire-covered enemies. It’s a good thing you brought along your trusty Ice Rod. Shoot this quest item at lava, and it will harden a small platform that’s cool enough to walk on. The platform only lasts a few seconds, but this can allow you to create a pathway to an area that would otherwise be unreachable.
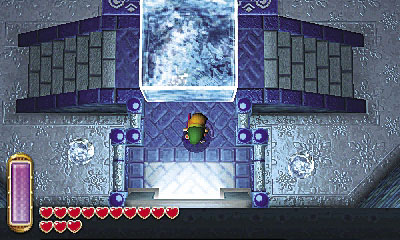
Ice
Ice is hard to walk on, and makes traversing an area slow and difficult, but it can be done. Just be wary when using your Fire Rod, because you might just melt the floor right beneath your feet.
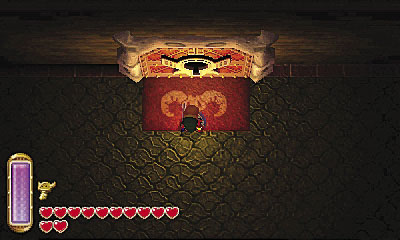
BIG Key Doors
All of your efforts have finally paid off. You’ve solved every puzzle, activated every switch, and vanquished every enemy. The only thing that stands between you and fate is this very large and menacing locked door. Let’s hope you remembered to grab the Big Key! Don’t worry, our walkthrough will key you into every key location.
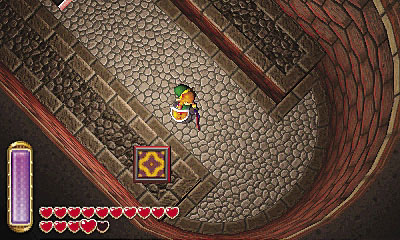
Teleportation Panels
These multi-colored floor panels teleport Link to another location. Be ready for anything when you set foot on one of these panels.
Portals
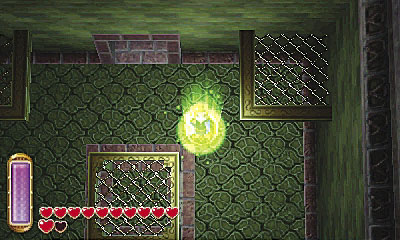
After certain events are completed within a dungeon, these green circular warp points appear and will conveniently transport Link to the entrance. This makes it convenient to save your progress before fighting the boss. You could also leave the dungeon altogether, and start right where you left off when you return.
Flying Tiles
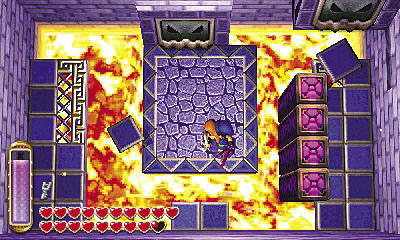
When tiles fly at you relentlessly, you must have patience. On occasion, the floor will actually rise and hurl itself at you. Stand your ground, hold  to bring up Link’s shield, and block from each angle the tiles come from. It may take a while, but it’s better than a concrete tile hitting you over the head.
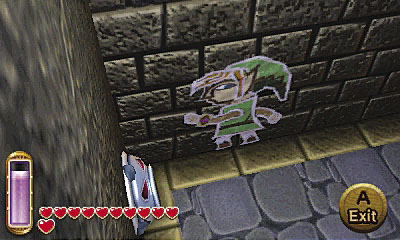
Arrow Trap
You can spot these ahead of time on the walls of some temples since they protude obviously from the wall they are attached to. Once you step in front of the direction it faces, it will begin shooting arrows at Link continuously, until they are deactivated or you are no longer in its pathway. Be sure to have your shield ready to block the arrows as they come.
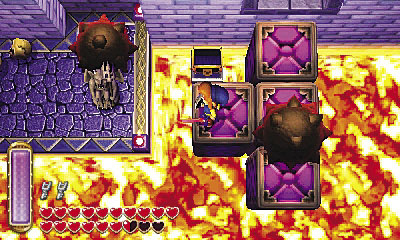
Iron Balls
Iron balls are big and they tend to roll at fast paces. In some instances, you will need to create paths for them to trigger an event, or simply escape or dodge them as you make your way through a room.
Pots
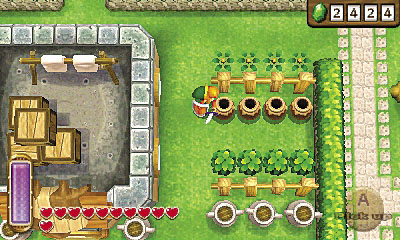
Pots are found in some dungeons and can be smashed with just about any weapon, or picked up and hurled at an enemy or wall to collect the contents from within. Pots drop consumable and collectible items most of the time.
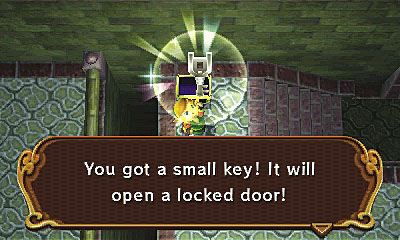
Small Keys
Small keys will open locked doors throughout dungeons and temples. They are absolutely necessary to find your way to the boss!
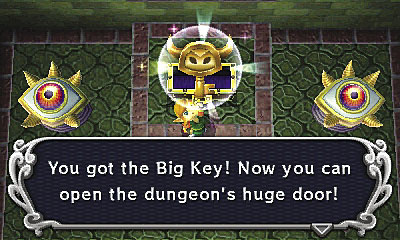
Big Keys
Big Keys are needed to enter the doors to the final boss fight within a dungeon. These are found in big chests and usually mean that your journey is almost through!