
The Legend of Zelda: A Link Between Worlds Guide Walkthrough Great Explorations, Part II (in progress)
Lorule Lake Region (Lorule)
Turtles in Trouble
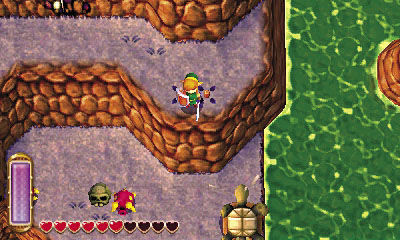
Look south to spot a turtle that’s somehow managed to flip over onto its back, unable to move. A few dangerous Slaroks roam near the turtle—drop bombs on the Slaroks from the safety of the ledge, or drop and give them a taste of Link’s blade.
Slarok
Damage:1 Heart
These colorful slug-like enemies are swifter than they appear, and they mirror the Octoroks seen around Hyrule. Just like Octoroks, Slaroks move unpredictably and regularly spit rocks out of their snouts. Be ready to block their rocks with Link’s shield as you battle them, or simply avoid them altogether.
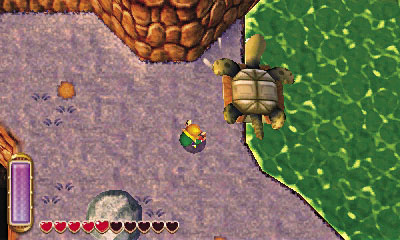
After slaying the Slaroks, approach the turtle and press  to toss it back into the water. The grateful turtle swims away, saying that it has to get back to its mom. OK, see ya!
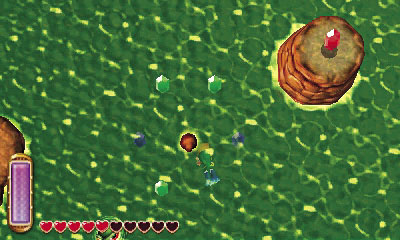
Hop into Lake Lorule’s murky depths and swim north, heading for some Rupees. Dive to collect the sunken Rupees if you like, but beware the many Kus that pop up from the water around the lake—they’re dangerous enemies!
Ku
Damage:1 Heart
Kus are very much like Zoras—they emerge from deep water and spit fireballs at Link. Kus are more dangerous, however, for they offer little warning before they strike. Kus can also pursue Link on dry land, something that a Zora would never dream of. It’s best to simply avoid these dangerous enemies, swimming hard and diving as needed to dodge their fireballs.
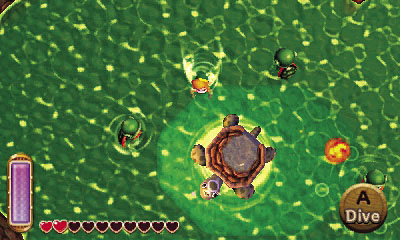
Keep swimming northward to discover another turtle that’s stuck on its back. This one’s surrounded by Kus that are singeing the turtle with fireballs. You can’t let this go on! Swim up to the turtle and move to the shallow water that surrounds it, then take a stand and wipe out the surrounding Kus.
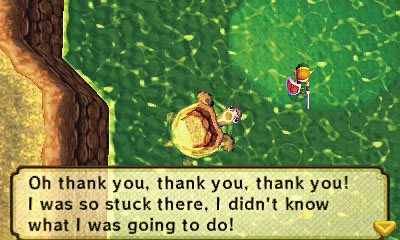
After slaying all of the Kus, the turtle will jump into the water. The turtle showers Link with thanks before swimming off to find its mom, just like the last one did.
The West Bank
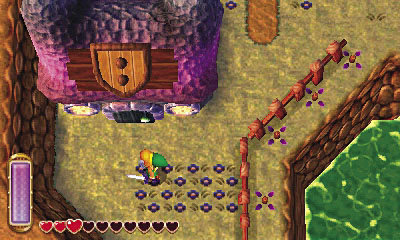
Climb onto the dock to the north and return to dry land. (You can’t yet reach the piece of heart that you pass along the way—it’s actually found during the course of the Turtle Rock dungeon.) Mother Maiamai’s cave is not present here in Lorule, but there is an Item Shop nearby. The Item Shop sells the same goods as the one at Thieves’ Town, for the same prices.
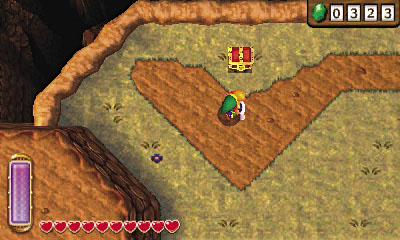
Go north from the Item Shop to discover a chest that’s guarded by a few Taros. Slay the monsters and then claim the chests contents as your just reward.
 Lorule Chest #7: Silver Rupee
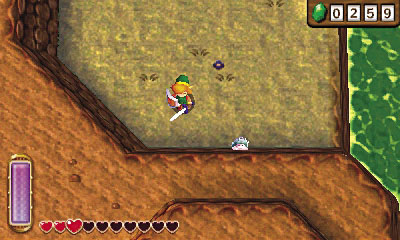
Backtrack south, heading past the Item Shop. Keep going south to find a lost Maiamai that’s stuck to the southern cliff. Merge and free the little fellow.
 Lost Maiamai #62
The Third Turtle
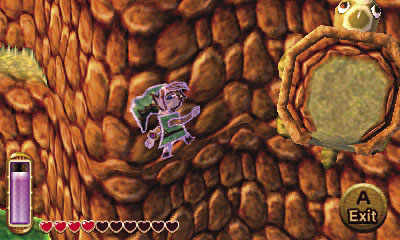
Return to the dock you used to climb out of Lorule Lake, but don’t return to the water just yet. Instead, notice a small gap in the nearby wall. Merge into the cliff and go east, slipping past this gap to reach another turtle that’s clinging to the cliff for dear life.
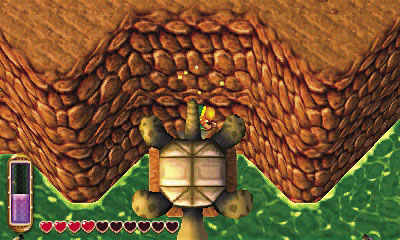
Slip behind the turtle and then pop out from the cliff to knock it down into the lake. Splash! The turtle can’t thank you enough, and quickly swims off.
Mama Turtle Emerges
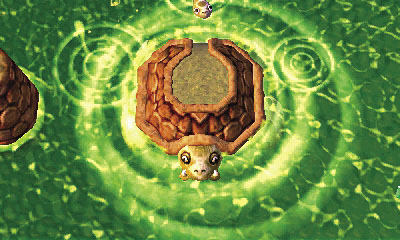
After you rescue all three turtles around Lorule Lake, a giant turtle rises up from the murky depths. This is Mama Turtle, and she’s so grateful to have her children back that she offers to give Link a ride around the lake. How thoughtful!
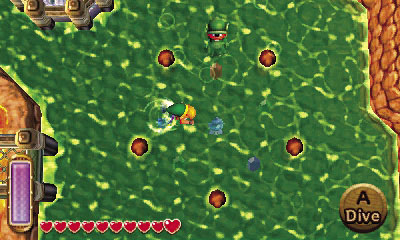
You can swim up and onto Mama Turtle’s back as she swims around the lake, but don’t do so just yet. Instead, swim southeast after saving the third turtle, maneuvering past a small structure around which fairies flutter. Collect a few fairies to refill Link’s life gauge as you swim to rescue an underwater Maiamai in the midst of a circle of stones.
 Lost Maiamai #63
Turtle Rock Weather Vane
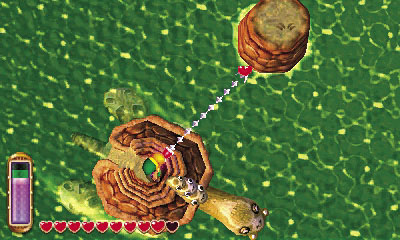
Now swim up behind Mama Turtle, tapping  to gain speed and climb onto her back. Mama Turtle will then ferry you around Lorule Lake—use the Hookshot to snag any items you see atop the high rocks and ledges.
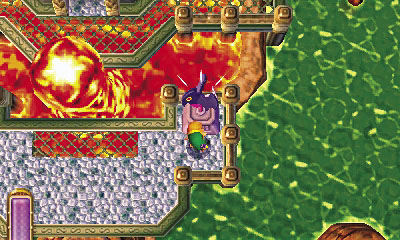
Eventually, Mama Turtle will carry you close to the lake’s central structure. Step off Mama Turtle and activate the weather vane near the structure to add the Turtle Rock weather vane to your map. If you feel like braving the Turtle Rock dungeon at this point, go ahead and flip to page 249—but you can always do so later!
The East Bank
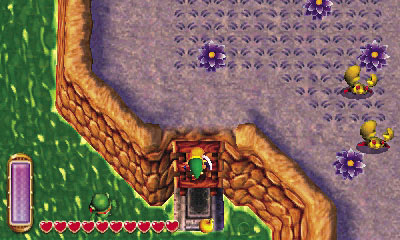
Drop from the structure after saving at the weather vane and then swim east, heading along a river. Climb onto the first dock you see and return to dry land, then begin exploring Lorule Lake’s east bank.
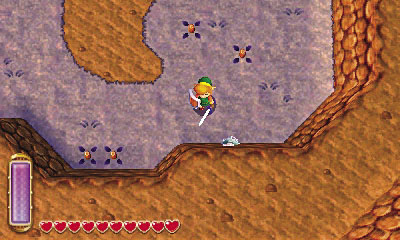
Head south along the east bank, slaying Karat Crabs and Zirros on your way to a lost Maiamai that’s stuck to the southern cliff. Merge and free the little tyke when the coast is clear.
 Lost Maiamai #64
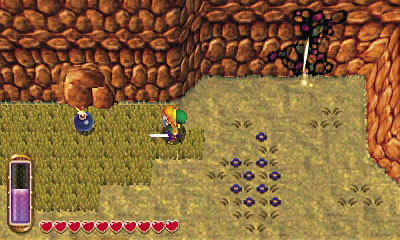
Now travel north to discover a fissure at the east bank’s north end. Ignore the fissure for the moment and plant a bomb at the nearby cracked wall to the west, blasting open a cave.
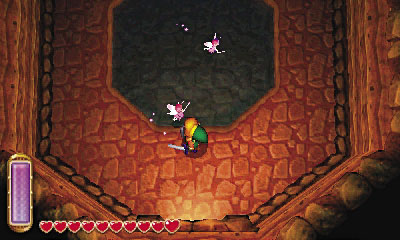
You’ve discovered a Fairy Fountain! Rest up and fill your bottles with fairies before heading back outside.
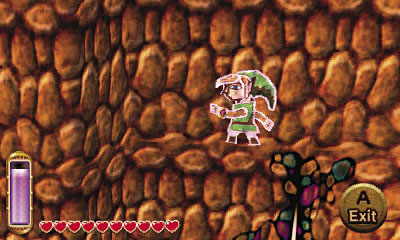
Again, ignore the fissure and climb the nearby ladder to reach a high ledge. In Hyrule, the Racing Bro who runs the Hyrule Hotfoot game stands here, but he’s nowhere to be seen here in Lorule. No matter; merge into the north wall and travel westward, past the fissure and Fairy Fountain, to reach a small ledge.
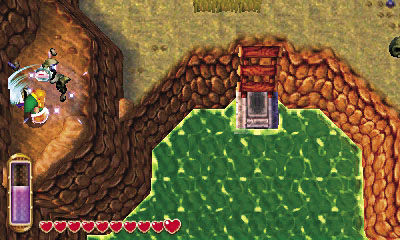
The ledge sports a single skull. Shatter it to discover a hidden Maiamai. Well hey there, little guy!
 Lost Maiamai #65
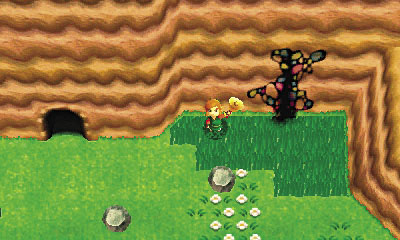
That about wraps up the Lorule Lake region. Drop from the ledge and enter the nearby fissure to return to Hyrule. Fly to the Sanctuary afterward, then save your game.
Reaching Lorule’s Graveyard
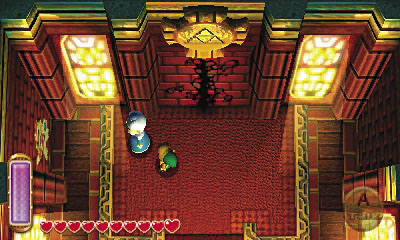
Enter the Sanctuary to find a fissure on its back wall. Boy, these things are everywhere! Pay your respects to the Priest (and perhaps to the Captain, who’s still trapped in a painting), before slipping into the fissure to return to Lorule.