
The Legend of Zelda: A Link Between Worlds Guide Walkthrough The Eastern Palace
Eastern Palace
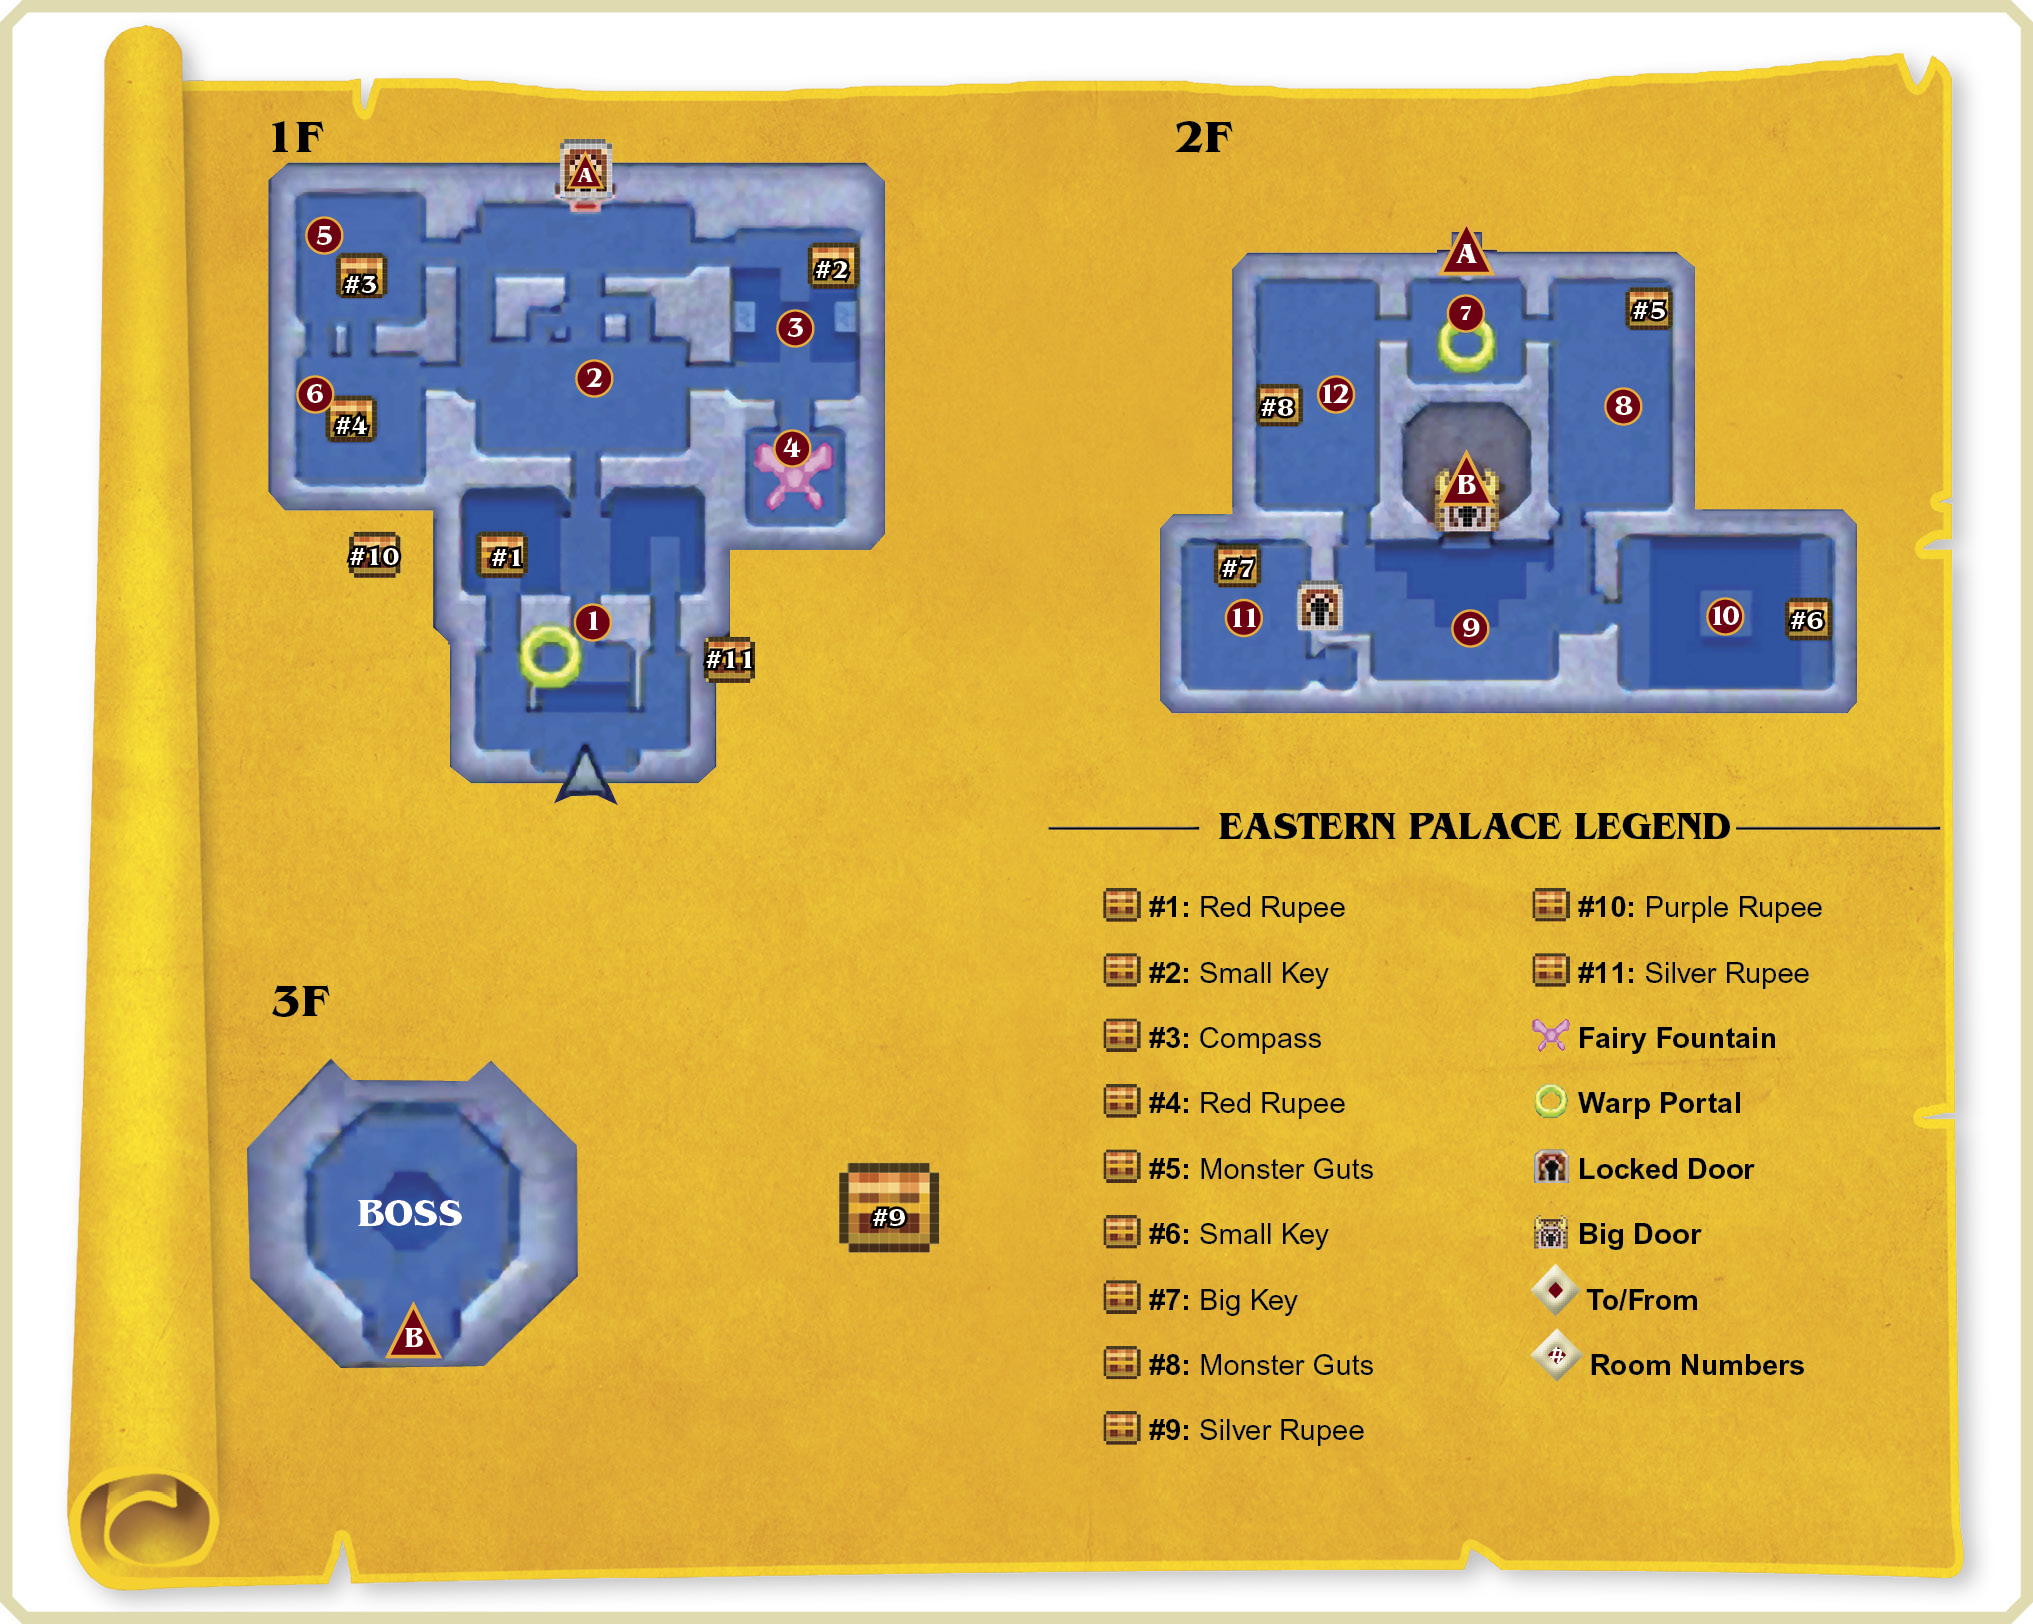
Room 1: Three Paths
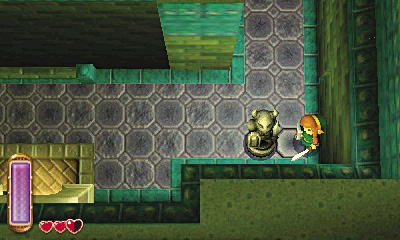
The Eastern Palace’s entry chamber features three paths leading north. Step on the southeast pressure plate, which is hidden behind a statue, to open the northeast door.
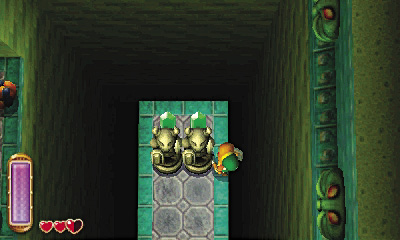
The path ends abruptly beyond the northeast door. Carefully collect the Rupees behind the statues at the end of the path, then backtrack south.
Crystal Switches
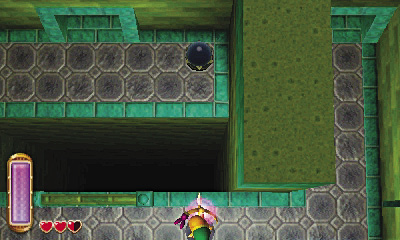
Stand near the central pit and use  to look north. See that dark crystal across the pit? Fire an arrow at it.
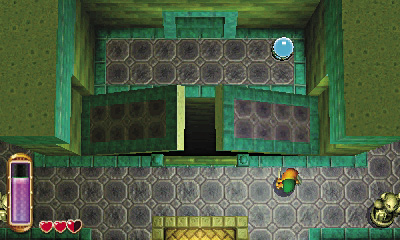
The arrow strikes the crystal, activating it. The crystal begins to glow, and the nearby walls collapse to cover the central pit. Cross the pit and proceed along the central path.
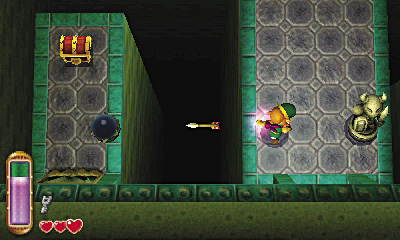
Defeat the Popo beyond the pit with a swing of Link’s sword. Before proceeding north into the next room, notice another crystal to the west, near a treasure chest. Activate this one with another arrow to open the final door.
Popo
Damage:1/2 Heart
These slow-moving monsters are easy prey for Link. Don’t let their gross appearance scare you—just hack them to bits with a swing of Link’s sword!
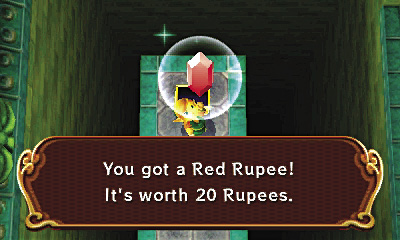
Loop around to the south, heading for the west path. Inspect the chest here to claim a Red Rupee. Nice! Now return to the central path and proceed to the next room.
 Eastern Palace Chest #1: Red Rupee
Room 2: Rolling Balls
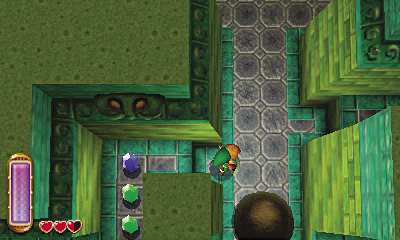
Beware of the balls that come rolling down this room’s central passage. The small ones are easy to avoid, but larger ones that consume the passage roll through periodically. Duck into the side nooks to avoid the balls as needed while you advance northward.
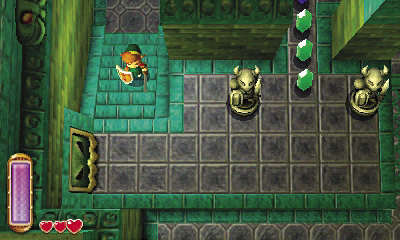
The north door is locked and requires a small key to open. Go west and then south, scaling some stairs to reach the higher west ledge.
Armos Ambush
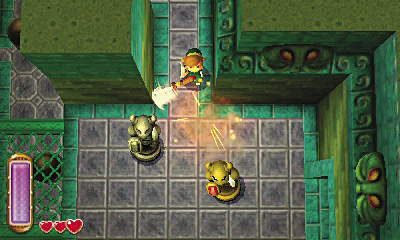
Cross the metal bridge to reach the east ledge. Go north to step on a pressure plate that opens the nearby east door. Head for the door to reach Room 3, defeating the Armos that springs to life on your way.
Room 3: Small Key Chamber
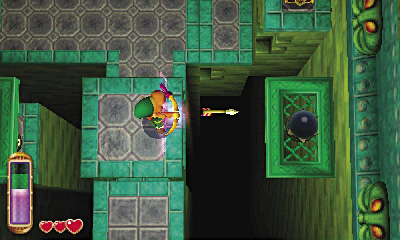
Slay the Popos in this room, then stand on the central elevator. Fire an arrow to the east when you’re up high, and shoot another arrow to the west when you’re down low, activating a pair of crystals.
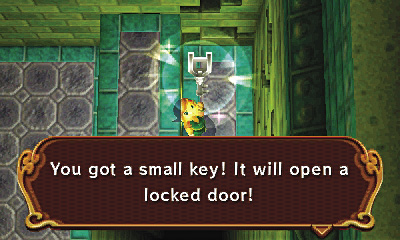
After activating both crystals, rush to the north chest. The chest is within your reach while the crystals are active, but it rises out of reach when the crystals deactivate. These crystals will automatically deactivate after a few moments, so you’ve got to be quick! The chest contains a small key.
Eastern Palace Chest #2: Small Key
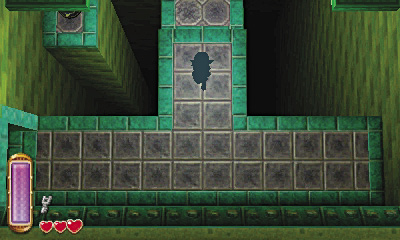
The small key allows you to proceed through the locked door back in Room 2. But before you return there, explore the room to the south. To enter this room, stand on the elevator and move south when it reaches its lowest point. You’ll pass through a secret doorway and enter Room 4.
Room 4: Fairy Fountain
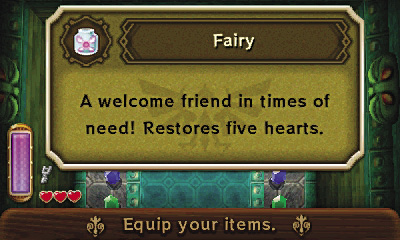
This small room features a few fluttering fairies. Empty your bottle if need be and catch a fairy with the net to store it for later use.
Fairy
A welcome friend in times of need! Restores five hearts.
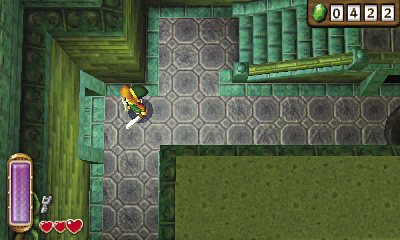
After you’ve caught a fairy, backtrack through Room 3 to return to Room 2. You now have a small key and can open the north door to head upstairs, but don’t do so just yet. Instead, go west and explore Room 5.
Room 5: Popo Ambush
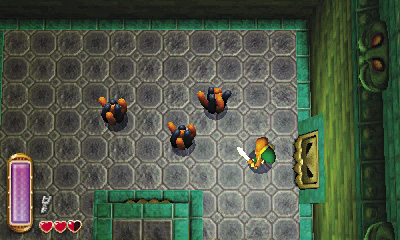
Slay all of the Popos in this small room, and another group of Popos will drop in from the ceiling. Defeat these as well to open the southwest door and cause a chest to appear on the room’s central platform. You can’t reach the chest, so proceed through the southwest door.
Room 6: Chamber of Secrets
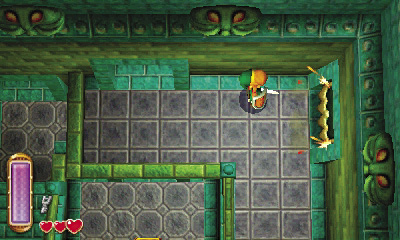
Scale this room’s west stairs to reach its upper level, taking note of the lower north door. Step on a pressure plate up here to open the east door, but don’t go through just yet. Instead, go through the upper north door to return to Room 5.
Room 5 (Revisited)
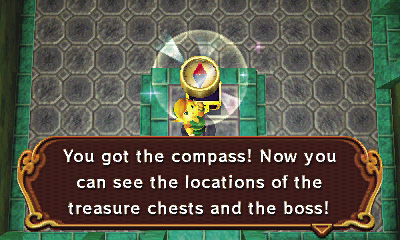
Room 6’s upper north door brings you to Room 5’s central platform. Open the chest that you recently revealed to obtain the compass for the Eastern Palace.
Eastern Palace Chest #3: Compass
Hidden Treasure

The compass shows that there’s a chest back in Room 6. Drop from Room 5’s central platform, then move underneath the platform, proceeding through a secret south door.
Room 6 (Revisited)
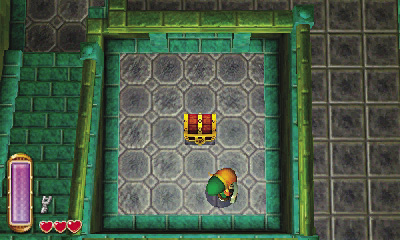
Room 5’s secret south door brings you to Room 6’s central pit. Step on a pressure plate down here to reveal a chest that contains a Red Rupee.
Eastern Palace Chest #4: Red Rupee
Moving On Up
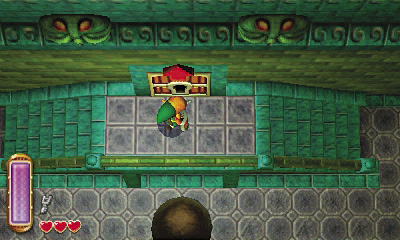
Nice work! You’ve fully explored this floor. Return to Room 2 and unlock the north door, then proceed upstairs to the Eastern Palace’s second floor.
Room 7: Armos Ambush
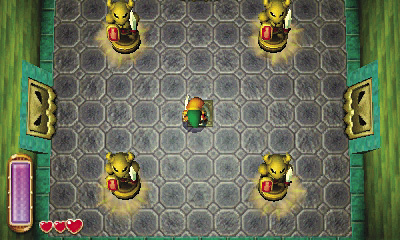
You’re sealed inside this small room the moment you enter. Step on the central floor switch to cause the surrounding Armos to attack. Slay them all to open the room’s doors and cause a portal to appear. Use the portal to warp to the Eastern Palace’s entrance if you’ve had enough; otherwise, proceed through the east door to visit Room 8.
Room 8: Room of Arrows
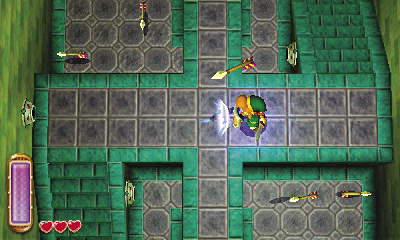
Your shield gets a workout in this dangerous chamber. Numerous arrow traps line the walls, spitting out swift-flying arrows at regular intervals. Press and hold  to raise Link’s shield and deflect these pointy projectiles.
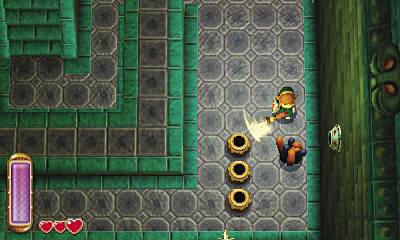
Several Popos slither up from the floor as you explore the room. Defeat them all to make a chest appear to the north. Sneaky!
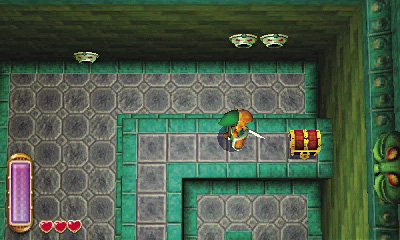
Mosey over to the chest and flip its lid to claim some monster guts. Gross! But these are useful for creating potions at the Witch's House, so it's important to collect as many as you can find.
Once you've pocketed your gooey monster guts, head to the southern-most tip of the raised platform to find a pressure plate that, when pressed, will unlock the door to the south. Step on the plate and head through the south door to reach Room 9.
Eastern Palace Chest #5: Monster Guts
Monster Guts
The Witch will make you some purple potion if you bring her 10 of these.
Room 9: Tricky Crystals
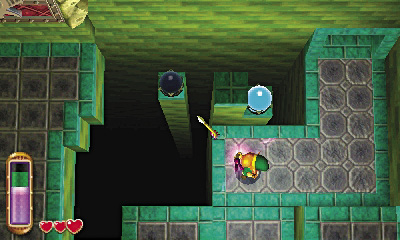
This large room features several crystal switches set at varying heights, making them tricky to activate. Two are near the door you used to enter from Room 8. Activate the farther crystal first by firing an arrow diagonally toward it. This activates a nearby elevator (and an Armos for you to defeat).
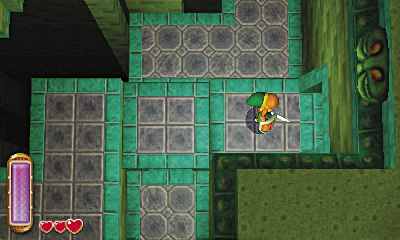
Step onto the elevator, then aim north and loose another arrow to activate the other crystal. The east door opens; go through to explore Room 10.
Room 10: Crystal Pit
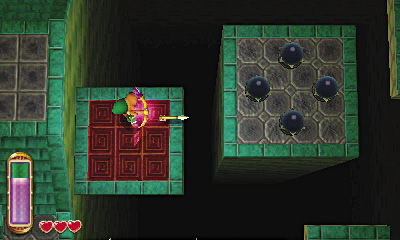
Don’t smash the pots in this dangerous room—they may contain precious hearts, and you don’t want to waste them!
Hop onto one of the moving platforms and ride it around the room, aiming to activate the four central crystals with arrows. Beware: The walls are lined with arrow traps, so keep your shield up whenever you’re not firing arrows at the crystals. The larger moving platforms give you more room to maneuver, and the safest time to fire is when you’re moving east to west (or west to east).
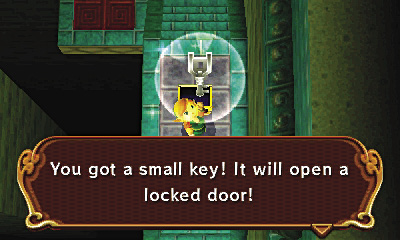
After all four crystals have been activated, the arrow traps deactivate, and a chest appears on the east ledge. Ride over and open the chest to claim a small key. This will come in handy!
Eastern Palace Chest #6: Small Key
Room 9 (Revisited)
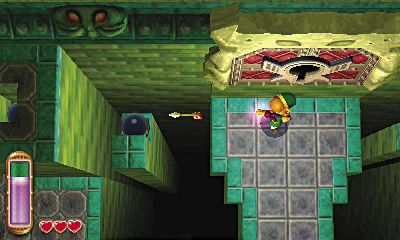
With the small key in hand, ride a platform back to the west and return to Room 9. Take the central path to reach a giant locked door (the big door) and activate the crystal to the west. This starts another elevator moving.
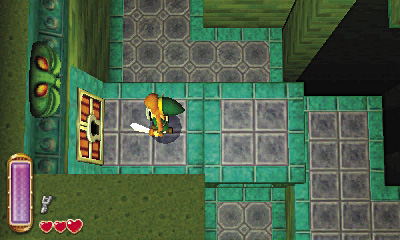
Move onto the elevator you’ve just activated and defeat the Armos. When the elevator reaches its full height, step off and use your small key to open the west locked door. Head through to visit Room 11.
Room 11: Stalfos Ambush
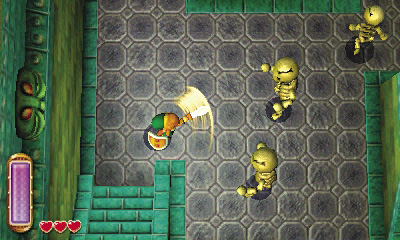
Link becomes trapped in this room, forced to battle a group of skeletal Stalfoses. Slay all three of these agile enemies to unseal the room and lower the north platform, upon which sits a giant chest.
Stalfos
Damage:1/2 Heart
Stalfoses are nimble skeletons that leap out of range of Link’s sword. Either use the sword to back them into a wall so they may be struck, or fire arrows at them from afar. Arrows are the better option, as they’re more likely to find their mark. Use the sword to keep the Stalfoses at bay while lining up your bow shots.
Big Chest, Big Treasure

Open the room’s giant treasure chest after the Stalfoses have fallen. The chest contains the Eastern Palace’s big ol’ Big Key. Now you can unlock the big door!
Eastern Palace Chest #7: Big Key
Room 9 (Third Visit)
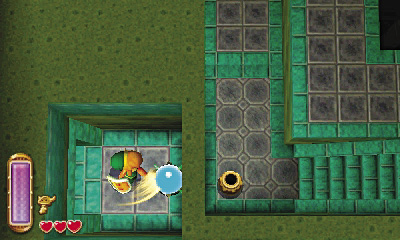
Scale Room 11’s west stairs and cross the metal bridge to reach a door that leads back into Room 9. You’re right near an enclosed crystal; hit it with your sword to activate it and expose Room 9’s final dark crystal.
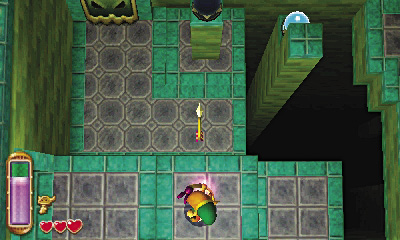
Loop back through Room 11 to return to Room 9’s main floor. Loose an arrow at the final crystal to make the central path spin around, revealing steps that lead up to the big door.
One Last Treasure
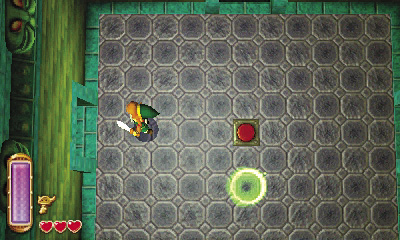
The final battle is at hand, but your compass reveals a chest that you don’t have yet. Backtrack through Room 8 to return to Room 7, and go through Room 7’s west door to reach Room 12.
Room 12: Brutal Balls
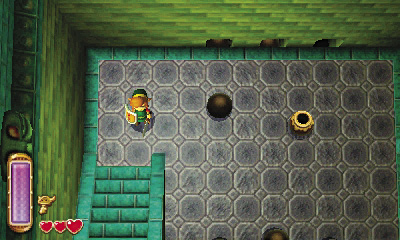
Iron balls roll through this room, making it a dangerous place to explore. Smash the pots on your way to the room’s west side, where you discover a pressure plate. Stand on the plate to extend a hidden set of stairs from the western wall. Wait until the stairs are fully extended (you’re safe on the pressure plate), then sprint up.
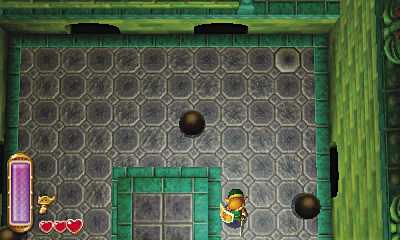
Head to the room’s south end, where many more iron balls roll in a hypnotic pattern. Stand on the central pressure plate for safety, and the nearby stairs retract into the east wall. Press  to see that the stairs were covering a secret pressure plate. Clever!
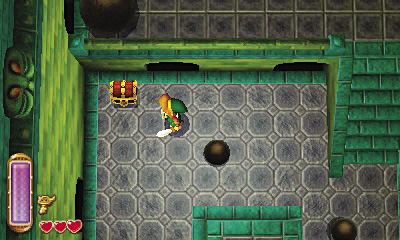
Sprint to the secret pressure plate before the stairs emerge from the wall and cover it back up. Stepping on this plate causes a chest to appear to the west. Dart over there and lift the chest’s lid to claim some more monster guts.
Eastern Palace Chest #8: Monster Guts
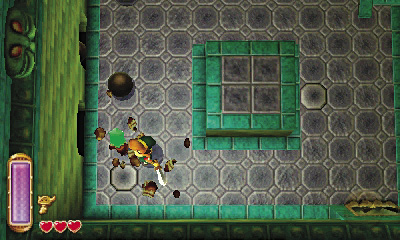
Smash the southwest pots and step on the room’s final pressure plate to open the south door. You’re all finished here, so go through the south door to return to Room 9.
Room 9 (Fourth Visit)
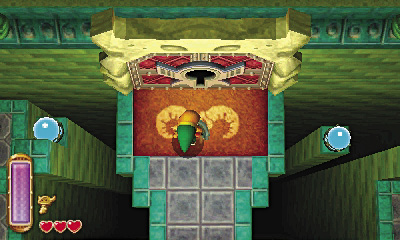
It’s time to challenge the boss of the Eastern Palace. Scale Room 9’s central steps to reach the big door, and use the Big Key you found in Room 11 to open it. Head through to enter the Boss Chamber on the Eastern Palace’s third floor.
Boss Battle: Yuga
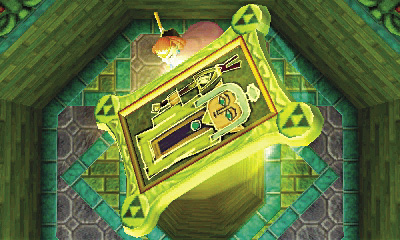
Link arrives just in time to witness Yuga work his terrible magic on Osfala. Before our hero can act, the Seven Sages’ descendant is transformed into a painting!
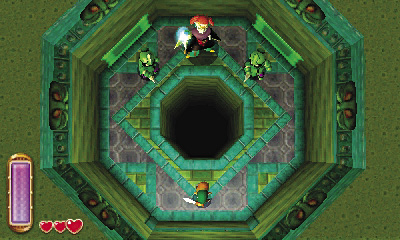
Yuga isn’t pleased at Link’s intrusion, and decides to end the boy’s meddling once and for all. The villain deftly merges into the wall, then summons two Short Sword Soldiers to combat Link.
Short Sword Soldier
Damage:1/2 Heart
These armored minions aggressively pursue Link when they catch sight of him. Their short swords lack the reach and offer no defensive benefits, so simply stand your ground and swipe away with Link’s sword to defeat them.
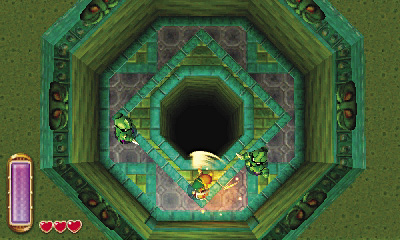
Defeat the Short Sword Soldiers with Link’s sword, saving his bow energy to use against Yuga. It takes two sword strikes to defeat each Short Sword Soldier. If you’re lucky, the Short Sword Soldiers may drop valuable hearts that can replenish Link’s health.
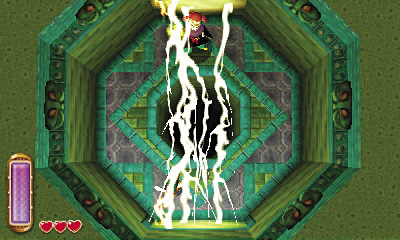
Yuga returns after the Short Sword Soldiers have been slain, and quickly casts a beam of yellow lightning at Link. Try to hit Yuga with the bow a few times before the lightning is unleashed. Your shield cannot defend against the lightning, so simply move out of the way of this linear attack.
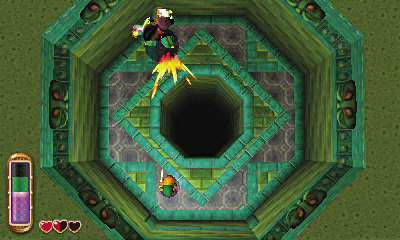
Yuga retreats into the wall after each attack, becoming invulnerable as he slides around the room. Slay any Short Sword Soldiers that he summons to potentially obtain hearts as you wait for Yuga to return. Yuga always moves one panel to the left or one panel to the right while merged into the wall (whichever is farther from Link). Anticipate his moves and shoot him with an arrow the moment he emerges. If you’re fast, Yuga won’t be able to attack!
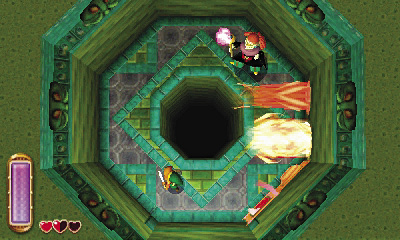
Rather than firing his yellow lightning or summoning Short Sword Soldiers, Yuga sometimes casts a spell that causes columns of fire to roar out of the room’s walls. The flames will pursue Link, so keep well away from them.
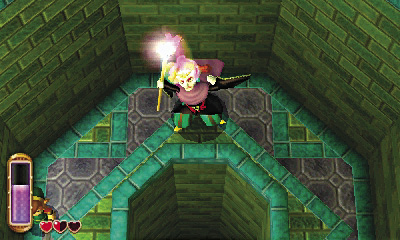
After suffering significant damage, Yuga becomes enraged, and his spells become even more fierce. Now the mage summons three Short Sword Soldiers instead of two. He also casts out two crisscrossing beams of lightning instead of one, and summons more flames than before. What a hot head!
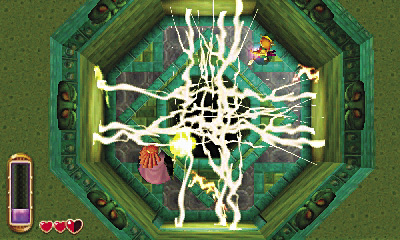
Continue to take advantage of the hearts dropped by the Short Sword Soldiers, block or avoid Yuga’s lightning, and punish Yuga with arrows at every chance. Keep it up until the fiend is at last defeated.
Link Gets Framed
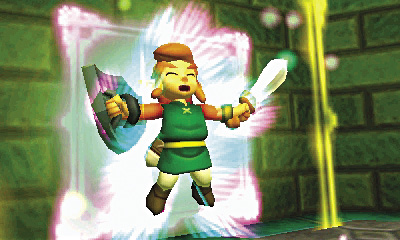
Having failed to defeat Link by brute force, Yuga decides to unleash his foulest magic against him. With a wave of his scepter, the evil mage sends Link flying backward into the wall, transforming our hero into a painting!
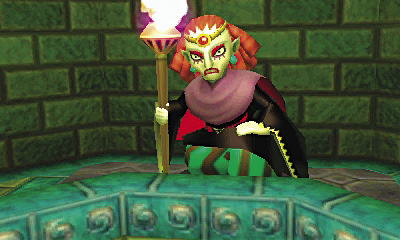
Satisfied with his work, Yuga leaves the Eastern Palace, leaving Link to his fate. As the vile wizard departs, he lets slip that he’ll be going after Princess Zelda next. How awful!
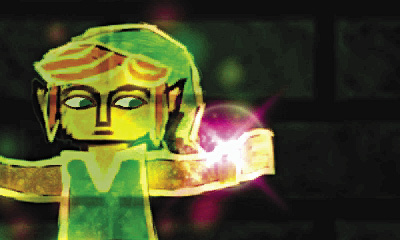
It seems our hero has finally met his end—but wait! A flash of colorful magic suddenly shines from his wrist. Ravio’s old bracelet seems to be having some sort of effect!
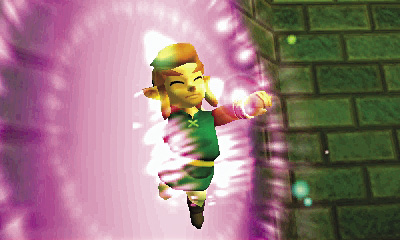
Indeed, Link finds himself able to emerge from the wall, none the worse for wear. What incredible luck!
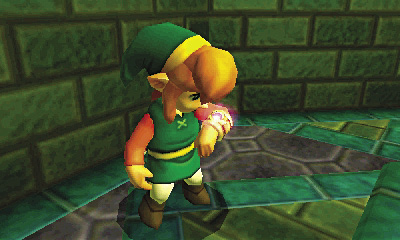
Whatever mysterious magic is contained in Ravio’s bracelet, it seems to have awoken just in time. This beautiful bracelet could be just the thing Link needs to save Hyrule!
Ravio’s Bracelet
A bracelet Ravio gave you that now gives you the ability to merge into walls!
Contain Yourself
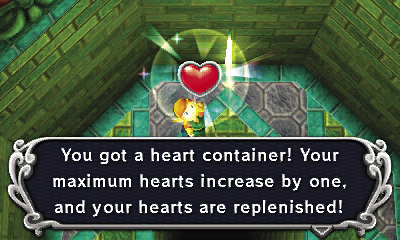
In his haste to escape the Eastern Palace, Yuga seems to have left something behind. It’s a heart container! Collect this precious prize to extend Link’s life gauge, making him able to soak up more damage.
Escaping the Eastern Palace
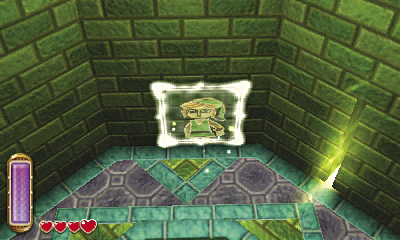
It’s a good thing you can merge into walls now, for there’s no other way to escape the Eastern Palace. Notice the thin slit in the north wall—light is shining through it. Merge into the wall to the left of this slit by standing near the wall and pressing  .
.
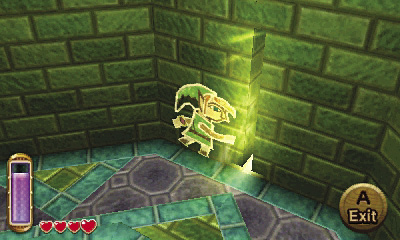
After merging into the wall, move to the right, and Link will slip through the slit and emerge on the palace’s outside wall. Wild!
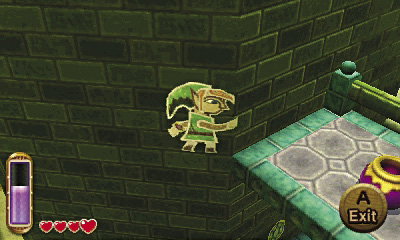
Keep moving to reach a high balcony, where several Rupees and a pot containing an energy potion are found.
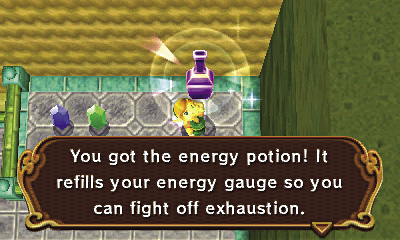
When you’re “standing” over the ledge, press  to exit from the wall and return to normal form. Collect the ledge’s Rupees and smash the pot to claim an energy potion that instantly refills Link’s energy gauge.
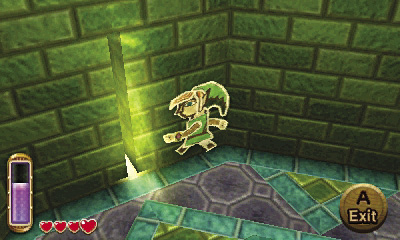
Merge back into the wall and move through the slit to return to the room where you battled Yuga. This time, merge into the wall on the slit’s right side and go through.
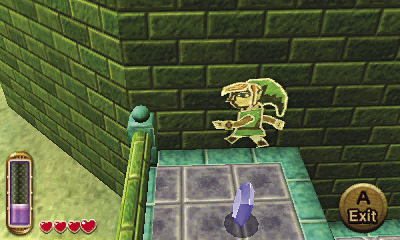
Walk around the wall until you reach a pair of ledges. Exit the wall when you’re standing over the higher ledge and claim a Blue Rupee.
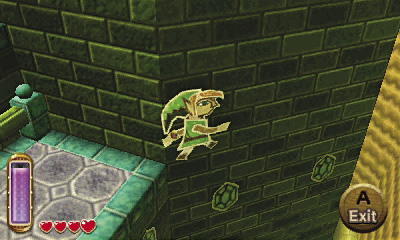
Drop to the lower ledge and smash a pot to score another energy potion. Merge into the nearby wall afterward and loop back around the palace’s outer wall, noticing a long line of Rupees painted on the wall below you.
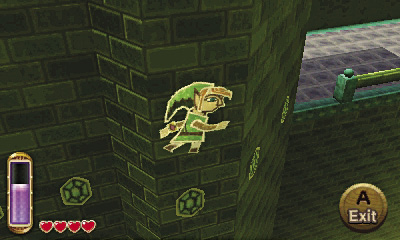
Keep moving around the wall until you’re beneath the small upper balcony you visited before and a larger balcony that’s below you. Exit from the wall to drop down to the lower balcony.
Merging for Fun and Profit
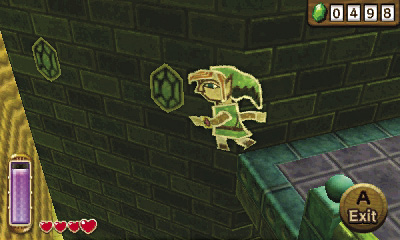
Smash another pot to score an energy potion, then merge back into the wall. Loop back around the palace, this time collecting the line of painted Rupees you noticed before. Now that’s some valuable art!
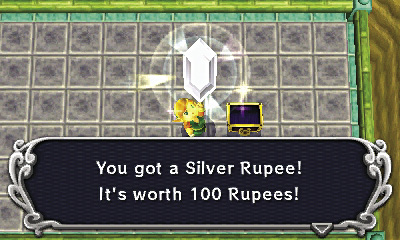
Follow the Rupees to a far balcony, then exit the wall to return to solid ground. You’re off the map now, but your trusty compass shows that there’s a chest nearby. Run over and open it to claim a Silver Rupee.
Eastern Palace Chest #9: Silver Rupee
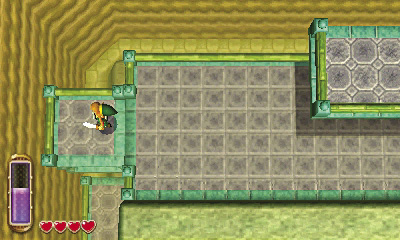

Loop back around the palace wall one more time, returning to the large west balcony. This time, continue west and use the elevator to travel down to the palace’s second floor.
Danger: Retractable Floor
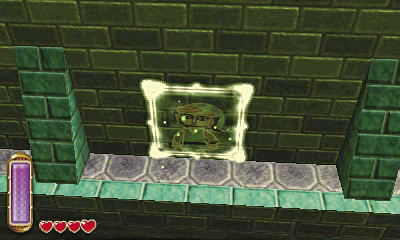
Sprint south after stepping off the elevator, but beware: The narrow floor ahead retracts into the wall as you cross it! Merge into the wall as needed while you wait for the floor to emerge, then quickly sprint past. Use the next elevator to travel down to the first floor.
Wacky Walls
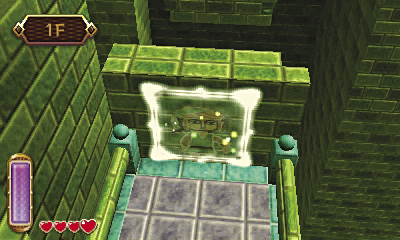
The walls ahead regularly swing “open” and “closed” like a pair of double doors. Merge into the first wall when the walls are “open” (separated) and wait patiently for the walls to swing “closed.”
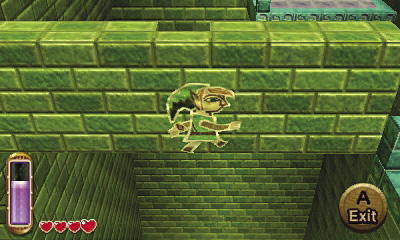
After the walls have “closed,” quickly move to the right, crossing over onto the farther swinging wall. Wait for this walls to swing “open” again, then exit from the wall to bypass this little obstacle.
Chest Trek
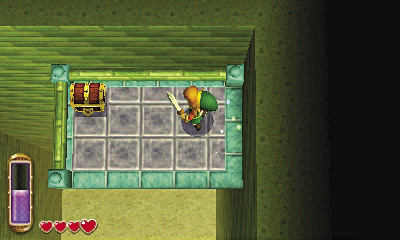
After passing the swinging walls, merge into the wall ahead and travel north, ignoring the slit in the wall for the moment. Travel north a short distance to reach a small ledge with a chest containing a Purple Rupee.
Eastern Palace Chest #10: Purple Rupee
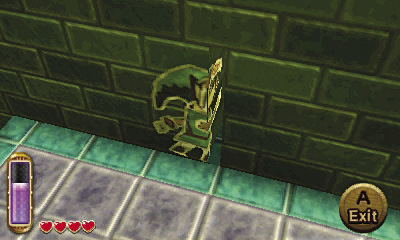
Backtrack along the wall, and this time, go through the thin slit to emerge back in Room 1. You’ve made it! But don’t go rushing out of the palace just yet...
One Last Chest
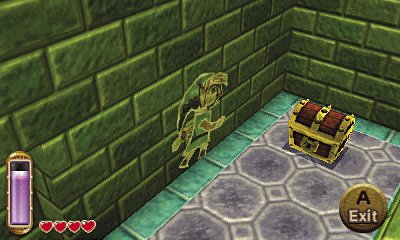
Instead of taking the south door and leaving the palace, merge into Room 1’s east wall and travel through a thin slit to reach a small ledge with the dungeon’s final chest. Crack this bad boy open to score a worthy Silver Rupee.
Eastern Palace Chest #11: Silver Rupee
A Friendly Face
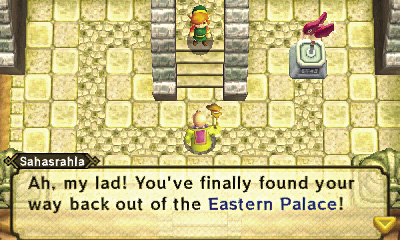
The Eastern Palace certainly put you through your paces, but a friendly face greets you outside: Sahasrahla! The old wise man is happy to see Link in one piece, but troubled by the news of Osfala’s capture by Yuga, and even more so by the villain’s plan to kidnap Princess Zelda next.
Suddenly, a terrible earthquake shakes the land. Sahasrahla sees that something is happening at Hyrule Castle, and bids Link follow him there without delay.
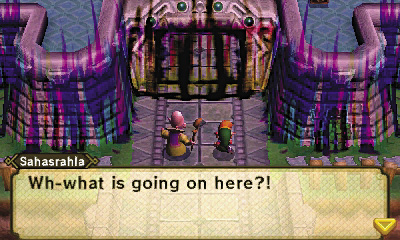
When the two arrive at the castle, they find it in a terrible state. The entire stronghold is surrounded by mighty barrier of the vilest magic. Try as he might, Sahasrahla cannot breach the nefarious barrier.
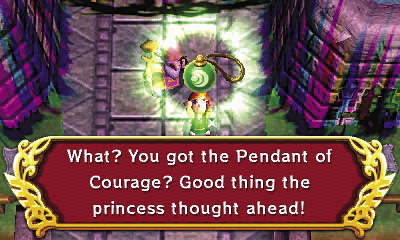
Suddenly, Sahasrahla realizes that events are unfolding in Hyrule just as they had in the past, all those many ages ago. He recounts how the hero of that time quested to claim three Pendants of Virtue in order to obtain the Master Sword—the blade of evil’s bane. To Sahasrahla’s great surprise, Link is already holding one of those three sacred pendants—the Pendant of Courage! This is the charm that Princess Zelda gave to Link during their meeting at the castle!
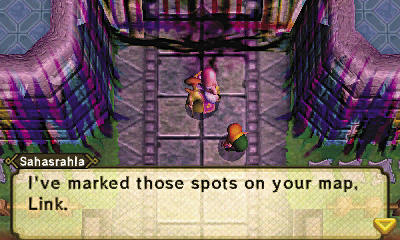
As luck would have it, Sahasrahla already knows the locations of the remaining two Pendants of Virtue. One is kept in the House of Gales, and the other resides within the Tower of Hera. The wise man marks both locations on Link’s map to help him find them. Looks like you’ve got your work cut out for you, hero!
Pendant of Courage
A pendant you got from Princess Zelda, needed for claiming the Master Sword.