
The Legend of Zelda: A Link Between Worlds Guide Walkthrough The Thieves' Hideout
Sand Rod Action
Make the Sand Rod Even Nicer
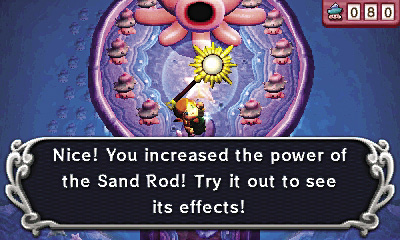
Your newfound Sand Rod is quite powerful, but it can be upgraded to become even more useful, just like any other item you buy from Ravio. Visit Mother Maiamai and have her upgrade the Sand Rod if you can—it’s about to get a workout!
Nice Sand Rod
Lets you make and break your own sand pillars!
Kakariko’s Last Secret
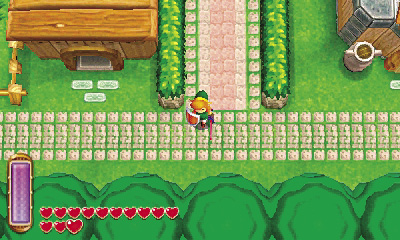
Whether or not you’ve upgraded the Sand Rod, fly with it to Kakariko Village. Go south from the weather vane, heading for the village’s cucco pen.
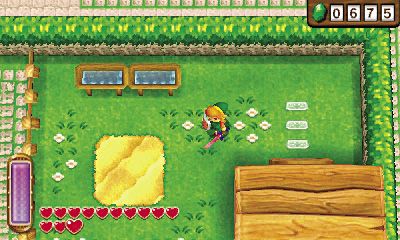
Pass through the small house to get inside the cucco pen. Listen carefully, for cries can be heard coming from the nearby patch of sand.
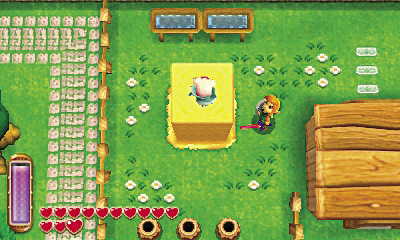
Stand before the sand and wave the Sand Rod. A massive pillar of sand rises up, elevating a hidden Maiamai. How about that! Collect the Maiamai after the sand pillar collapses.
 Lost Maiamai #83
Head for the Desert
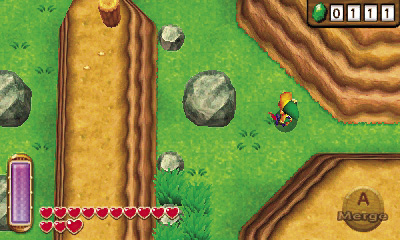
It’s finally time to explore Hyrule’s southwest desert. Previously, you could only explore the desert’s entry area, which lies west of the Southern Ruins—but now you’ve got the Sand Rod! Go south from Link’s House to reach the Southern Ruins, then take a narrow west passage to reach the desert’s entry.
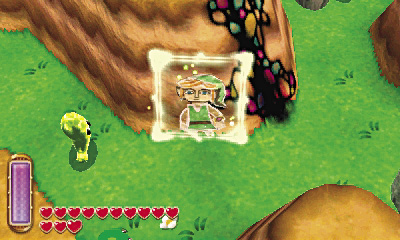
We’ve searched the desert’s entry before, but there’s a fissure here now. Merge into the wall and travel through the fissure to visit Lorule.
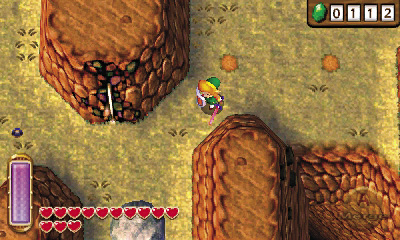
In Lorule, the sandy desert is replaced by a dreary bog known as Misery Mire. Because this is your first visit to Misery Mire, Princess Hilda pipes up with some useful advice, mentioning that the Sand Rod is needed to fully explore this region. No problem, princess!
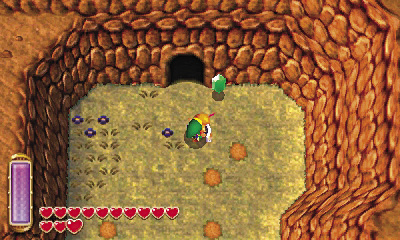
Before going west into the heart of the mire, let’s explore the nearby cave to the northeast. You’ll find the excursion to be quite profitable!
Treasure Hunter Cave #6
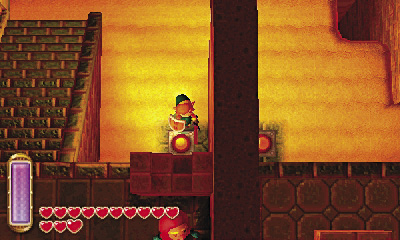
You need the Sand Rod and Tornado Rod to reach this cave’s precious treasure, and it helps if your Sand Rod is upgraded. Begin by running around the cave’s sandy floor, stepping on six different floor switches. You’ll need to merge past a gap in the floor to reach the northeast switch.
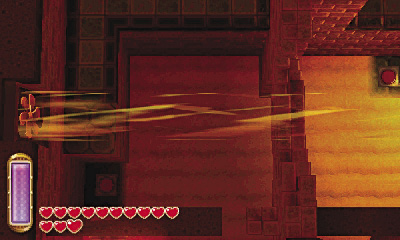
After all six floor switches have been triggered, the west wall’s fan begins to blow. Now you’re ready to go after that treasure!
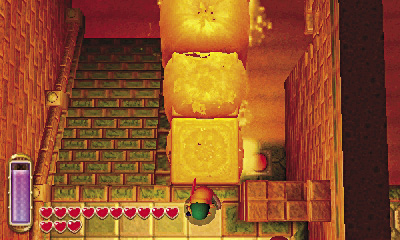
Return to the entry ledge, stand near the Treasure Hunter, and face north. Wave the Sand Rod to make long wall of sand rise up from the ground below. Neat!
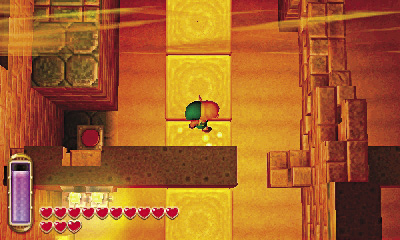
Run north along the top of your sand wall, merging and slipping around the solid wall that gets in your way. Hurry to the northern ledge before your sand wall crumbles. (You don’t need to hurry if you’ve upgraded to the Nice Sand Rod, because its sand walls won’t fall until you use the rod again.)
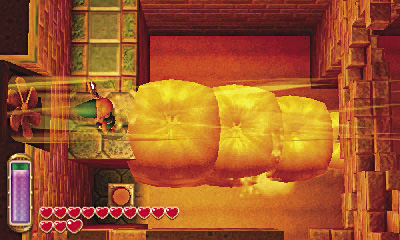
Loop around the ledge and stand right below the west fan’s powerful gale. Wave the Sand Rod again to extend a long sand wall to the east, directly below the fan’s draft.
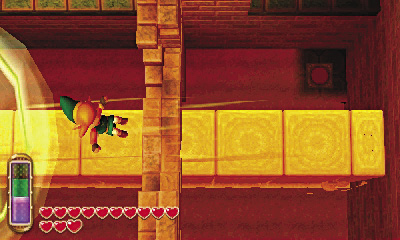
Run east along your sand wall until a solid wall blocks you. Quickly use the Tornado Rod to boost Link upward, and the fan’s draft will blow him past the wall.
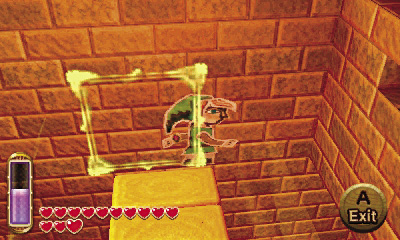
As soon as you’re past the wall, run to the end of your sand wall and merge into the next solid wall ahead. Slide north (left) to reach another ledge.
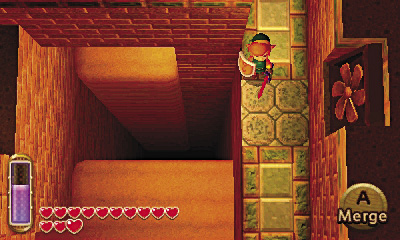
You’re doing great! Go east and then south along the ledge, heading for another fan in the east wall. This fan isn’t blowing yet, so you need to activate it.
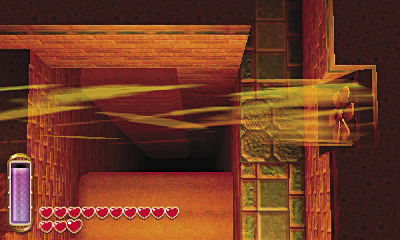
Merge into the east wall near the fan and then slide southward to reach another nearby ledge. Step on the floor switch you find here to start the east fan blowing.
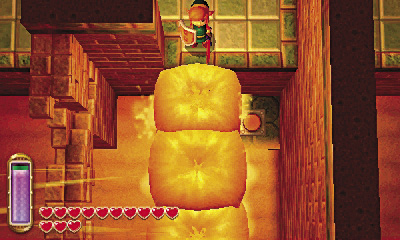
Good work! Now it gets tricky. Merge and return to the previous ledge. Leave the east fan alone for the moment and backtrack north and then west along the ledge. When you reach the ledge’s far end, face south and use the Sand Rod to raise another wall of sand.
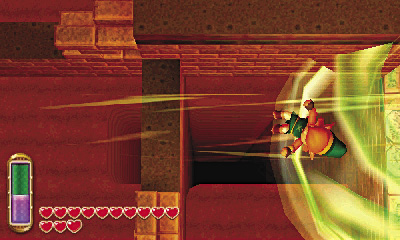
Quickly run back to the east fan and use the Tornado Rod to boost up into its draft. The fan blows you westward, over a wall, and onto the sand wall you’ve just formed.
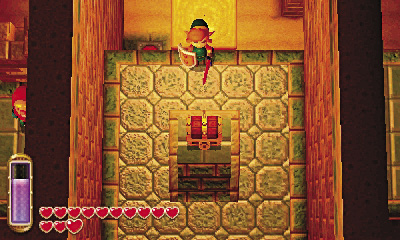
Way to go! Now simply run south along your sand wall to reach the cave’s treasure chest. Flip its lid to score a glimmering Gold Rupee.
 Lorule Chest #16: Gold Rupee
Into the Mire
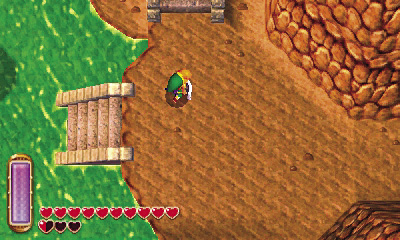
Exit the Treasure Hunter Cave with your Gold Rupee and go southwest, following the murky water into Misery Mire.
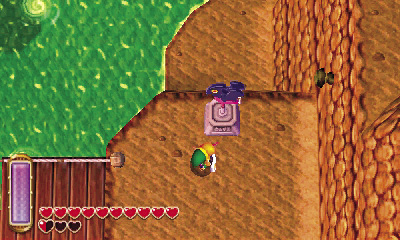
Go up the north stairs when you reach the mire, and save at the nearby weather vane. This adds the Misery Mire weather vane to your map.
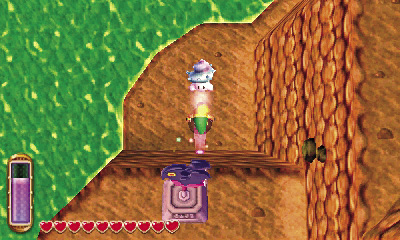
Drop from the ledge after saving your game, and spy a little Maiamai that’s stuck to the nearby wall. Merge and free the lost tyke.
Lost Maiamai #84
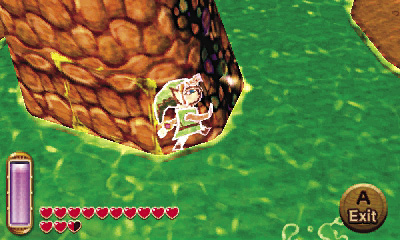
Beware the Swamolas that emerge from the mire as you head north. Nearby, two tall rocks each feature a fissure. Merge into the east rock and enter its fissure to return to Hyrule.
Swamola
Damage:1 Heart
These large worms leap up from Misery Mire, hoping to snatch a tasty snack with their massive mandibles. Swamolas are best avoided, but Link can defeat them if he’s quick to strike after they’ve emerged. Try using the Ice Rod to stun and defeat Swamolas.
Desert Explorations
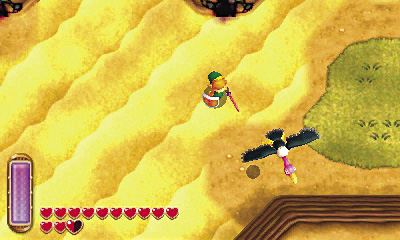
When you emerge from the tall rock’s fissure, you find yourself smack in the middle of Hyrule’s southwest desert. Watch out for Vultures and Geldmen as you explore this searing area.
Vulture
Damage:1/2 Heart
These dirty birds are perched all around Hyrule’s desert, just waiting to swoop down and strike when Link passes by. Vultures are similar to Crows and Dactos, except that you must avoid their dive attack and then counter after they’ve missed. Listen for the Vulture’s telltale scream as it circles, then dodge its imminent dive and counter. Or simply knock these pests from the sky with the Ice, Fire, or Tornado Rods!
Geldman
Damage:2 Hearts
The desert’s shifting sands are home to frightening enemies known as Geldmen. With little warning, these sand monsters emerge from the dunes and attack. It’s best to keep away from Geldmen, but they’re vulnerable to any of Link’s weapons. If you must battle a Geldman, try stunning it first to make it easier prey.
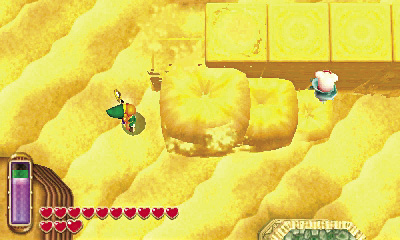
First things first: A Maiamai is crying out from the nearby dunes. Use the Sand Rod to find the little fellow, who’s hiding right between the two tall fissure rocks (a little to the south of them).
Lost Maiamai #85
Have a Heart
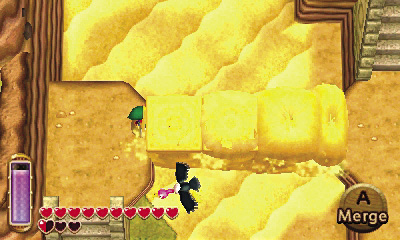
Go north from the fissure rocks and scale some nearby stairs. Face east when you reach the top and wave the Sand Rod to create a wall of sand to the neighboring ledge.
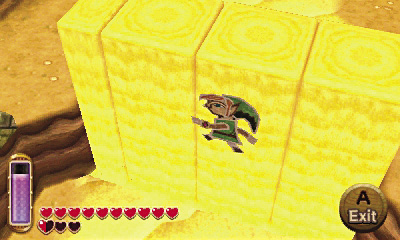
The sand wall is too tall to walk across, but that’s no problem for Link. Merge into the sand wall and slide over to the east ledge.
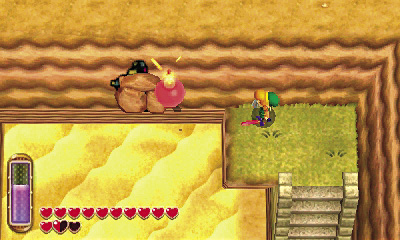
Go up the east ledge’s stairs to reach a higher vantage. There’s a fissure in the north wall, but it’s covered by loose rocks. To expose the fissure, throw bombs at it to blast away the rocks. (Set down a bomb, then press  to pick it up and
  again to throw it.) Kerblam!
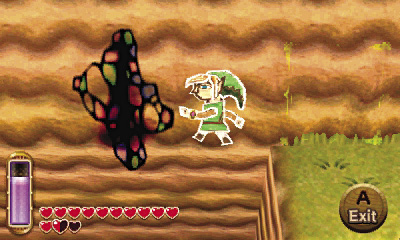
After blasting away the loose rocks, merge into the north wall and slide into the fissure.
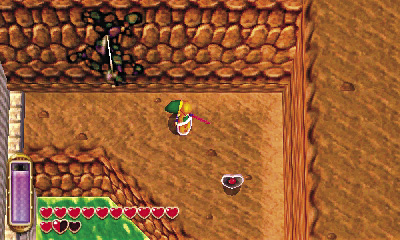
You’re now back in Lorule’s Misery Mire, standing on a high ledge near a piece of heart. What a pleasant surprise!
 Piece of Heart #26
Two More Maiamais
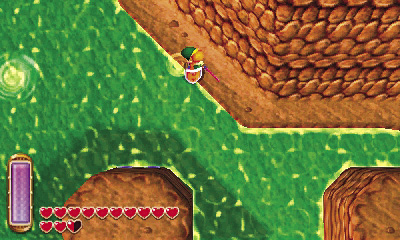
Drop from the ledge after collecting the piece of heart and begin swimming through the mire. Go south and then west to locate an underwater Maiamai near the mire’s west end. Dive and rescue the little guy—mire’s bottom is filthy!
Lost Maiamai #86
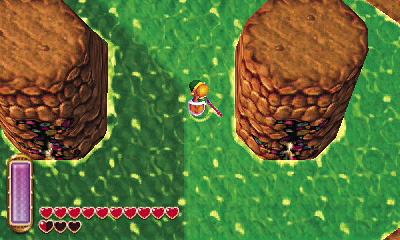
Swim back through the mire, returning to the twin fissure rocks. Go through either fissure to return to Hyrule.
Back in the desert, sprint to the top of the cliff with the Desert Palace Weather Vane. Another Maiamai is hiding under the sand around here—listen for its cries and use the Sand Rod to rescue it.
Find a Fountain
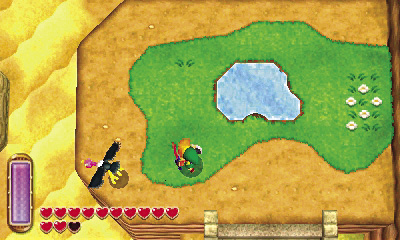
Backtrack through the desert after rescuing the final Maiamai. Scale the steps in the desert’s southeast corner to reach a ledge with a small puddle.
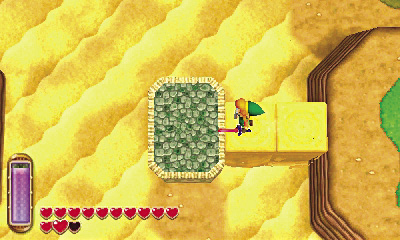
Face west from the puddle and wave the Sand Rod to extend a short wall of sand to the nearby pillar. Cross the sand wall to reach the top of the pillar.
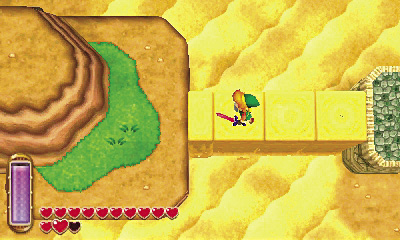
From the top of the pillar, face west and use the Sand Rod again to build another wall of sand leading westward. Cross over to reach a small ledge.
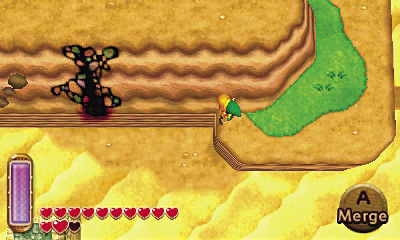
Slay the Vulture that’s perched on the ledge, and notice a high fissure on the wall to the west. Ignore this fissure for now and equip the Hookshot, then face north and use the Sand Rod again to raise a wall of sand northward.
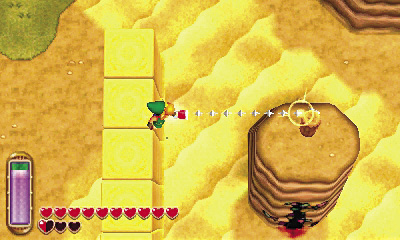
Sprint across the sand wall and spy a peg atop the nearby fissure rock. Latch onto the peg with the Hookshot to zip over and reach the top of the rock.
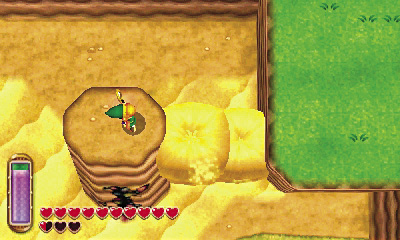
Nice work! Now face east and build a sand wall to reach the next fissure rock. From there, raise another sand wall to reach an eastern ledge.
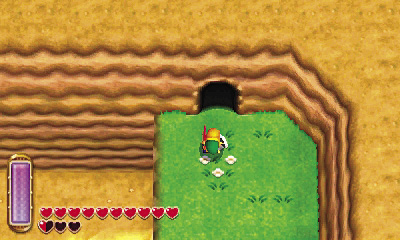
Hey, there’s a cave up here! Head inside and see what you find.
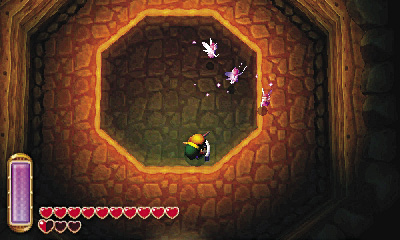
It’s a Fairy Fountain! This one’s not easy to reach, but take the opportunity to rest up and bottle some fairies now that you’re here.
Reaching the Desert Palace
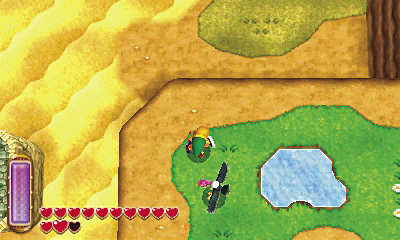
You’ve given Hyrule’s desert and Lorule’s Misery Mire a thorough search now, and it’s time to be moving on. Return to the desert’s southeast ledge, which features a small puddle, and use the Sand Rod again to reach the pillar and ledge to the west.
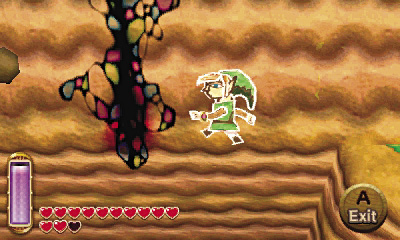
This time, merge into the wall and slide into the high fissure that’s west of the ledge. You’ll emerge on a high ledge that overlooks the Misery Mire.
Moblin Walkways
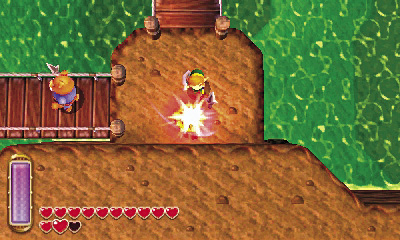
Back in Lorule, cross a few footbridges, moving clockwise around the mire’s high ledges. Be careful not to fall as you battle several Moblins along the way. For safety, use the Hookshot to stun the Moblins and rip away their shields.
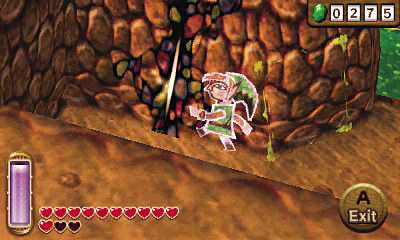
You soon come to another fissure in the mire’s southwest corner. Slip inside to return to Hyrule.
Desert Palace Approach
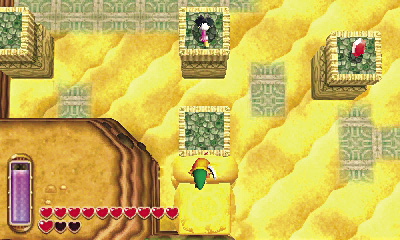
You’re now back in the desert, standing on a high ledge. To advance, use the Sand Rod to build walls of sand that let you travel between the desert’s stone pillars. Begin by facing east and raising a sand wall to the nearby pillar.
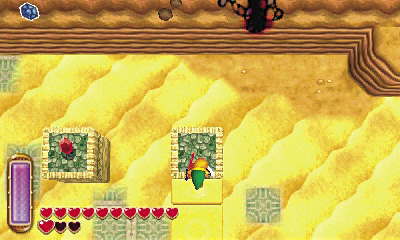
Cross over to the next pillar to the east, then face north and stretch a sand wall toward the northern pillar.
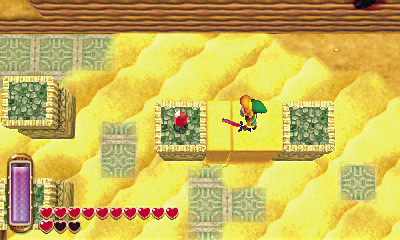
When you reach the northern pillar, face west and raise a sand wall so that you may reach the neighboring pillar with the Red Rupee on top.
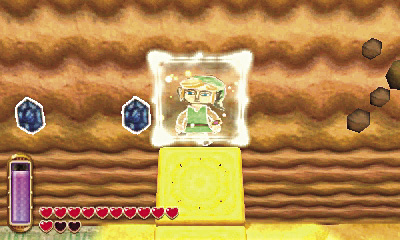
Collect the Red Rupee, then face north and create one final sand wall. Cross the sand wall and merge into the north cliff, then slide westward to collect a few painted Rupees on your way to the Desert Palace.
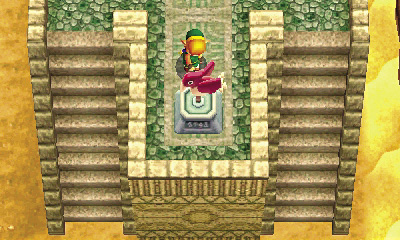
The Desert Palace isn’t much to look at, for this once-great oasis has fallen to ruin. Looks aren’t really important, of course, because the Desert Palace is actually a dungeon! Save at the weather vane to add it to your map. Use the Sand Rod to discover a hidden Maiamai just south of the weather vane, then extend a sand wall northward and enter the Desert Palace.
Lost Maiamai #87
