
The Legend of Zelda: A Link Between Worlds Guide Walkthrough The Thieves' Hideout
The Thieves' Hideout
Entering the Dungeon
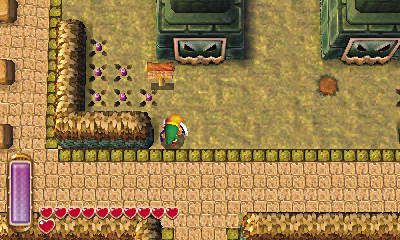
The entrance to the Thieves’ Hideout lies at the north end of Thieves’ Town. But to enter the dungeon, you must learn to sing the proper lyrics to the ultra-secret-thief-password song! How hard could it be?
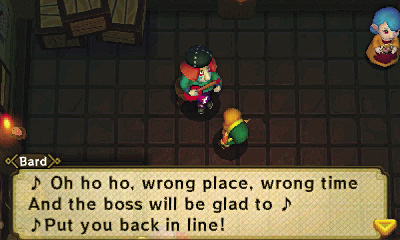
Speak to everyone you meet in Thieves’ Town, and notice that some of the townsfolk will sing you a tune. Pay heed to the lyrics sung by the Bard in the Milk Bar, the Bag Guy in the Item Shop, and the Veteran Thief who lives in the house west of the Fortune’s Choice game.
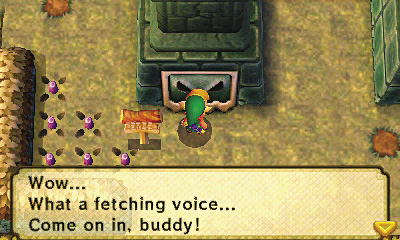
After listening to each villager’s song, return to the Thieves’ Hideout’s entrance and knock on the door. Sing each verse as follows to complete the ultra-secret-thief-password song and gain entry to the dungeon:
- “I’d rather be on a cliff, walkin’ a narrow path.”
- “Y’think knowledge is power, but it’s really despair.”
- “This accursed life sets me right back to thievin’!”
Room 1: Entry Hall
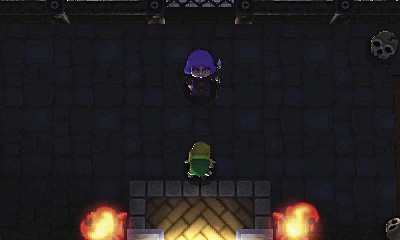
Inside the Thieves’ Hideout, a Spear Boy stands watch over the wide entry hall. Mistaking Link for a new recruit, the Spear Boy promptly leaves his post. Later, kid!
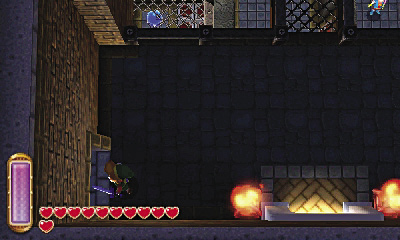
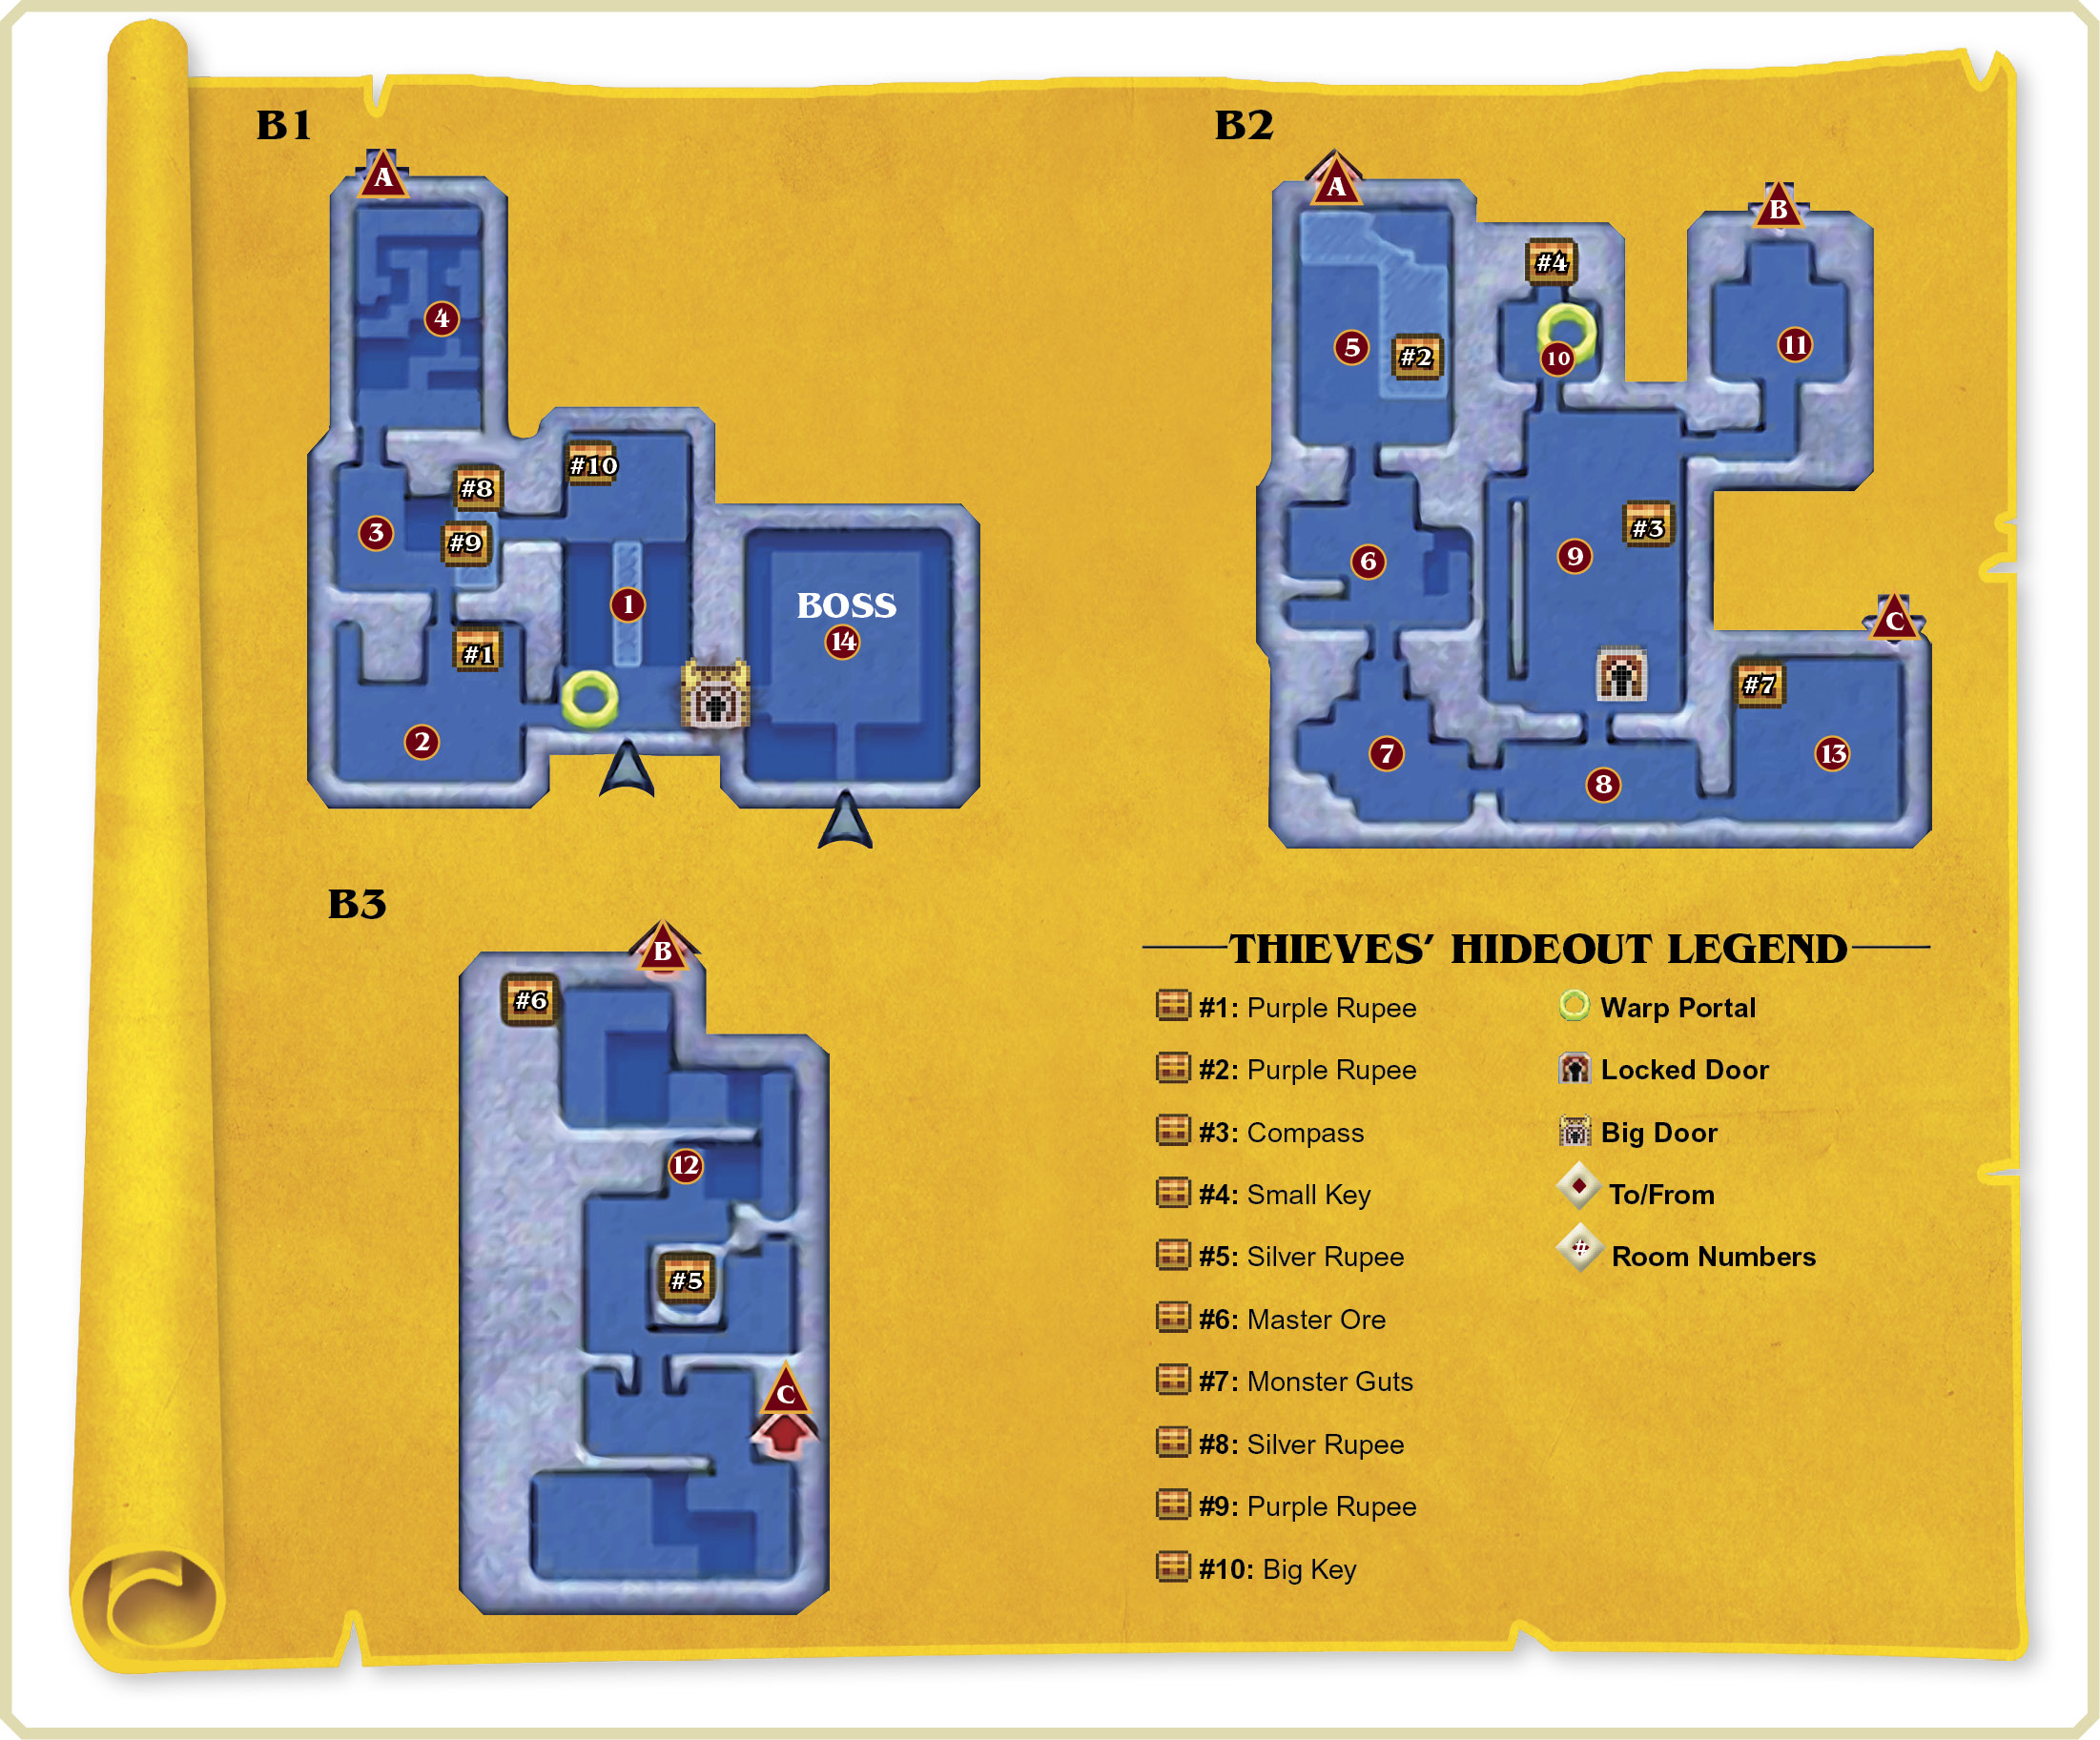
The dungeon’s big door stands to the east, and there’s a big chest up north, but you can’t reach the chest at present. You could drop from the central walkway to reach Room 9 on floor B2, but let’s first explore this floor. Go through the southwest door to reach Room 2.
Room 2: Gimos Gates
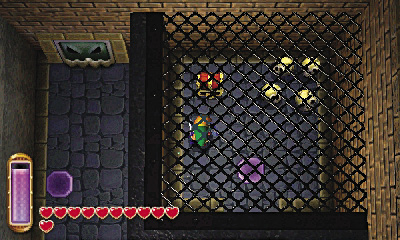
This room features a number of Gimos statues, but don’t worry—none of them will spring to life! Merge and slip into the northeast holding cell to reach a chest.
 Thieves’ Hideout Chest #1: Purple Rupee
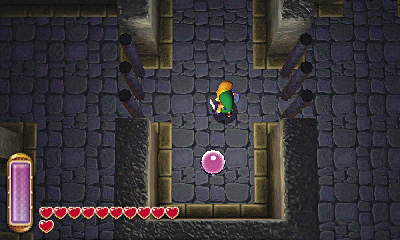
Leave the cell and then strike the room’s central crystal to raise the nearby bars. Interesting! Merge past the bars afterward and head for the room’s southwest corner.
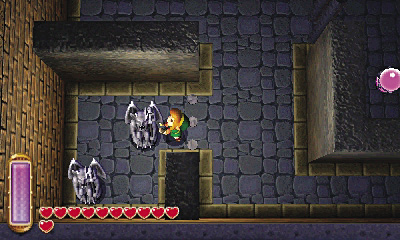
Two lifeless Gimos statues stand in the room’s southwest corner. With the aforementioned crystal switch activated, the bars that block these statues remain lowered. Grab and pull one of the Gimos out of the corner.
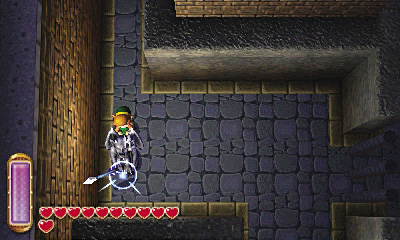
Pull the Gimos statue northward, heading into the narrow northwest passage. A trap fires arrows into this passage, so pull the Gimos up the passage, using it to block the arrows. Keep going until you position the Gimos atop a pressure plate at the passage’s north end.
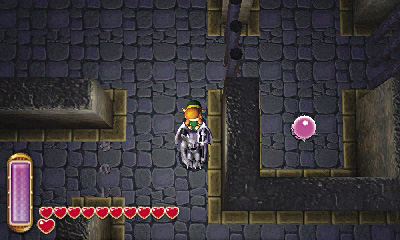
Merge into the wall and slide out of the passage to avoid being hit by arrows. Return for the other Gimos statue and pull it toward the crystal you activated before.
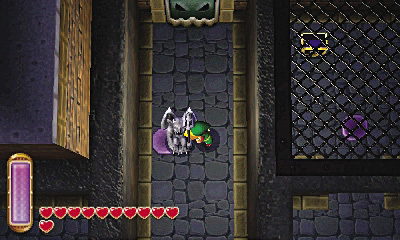
Merge past the bars near the crystal and strike the crystal again to lower them. Grab and move the Gimos onto the central passage’s pressure plate, north of the crystal.
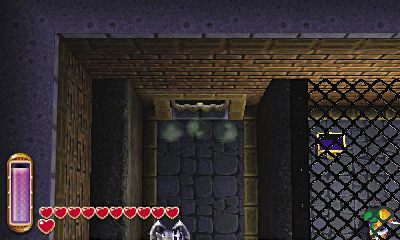
With the two Gimos statues in place, return to the cage with the treasure chest and stand on the third pressure plate. When all three pressure plates are depressed, the north door opens. Head north into Room 3.
Room 3: Conveyor Belts A
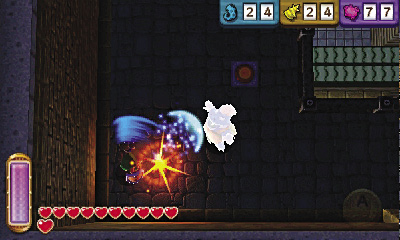
Slay the lone Zazak that guards this room. Take note of a chest above you and two switches on the floor. You can’t do much here at present, so continue north into Room 4.
Zazak
Damage:2 Hearts
Zazaks are large, blue-skinned lizard-monsters that challenge Link at several points within the Thieves’ Hideout. They stalk Link relentlessly, aiming to grab him. Zazaks are tough, but easy to handle in small numbers due to their slow, predictable movements. When you encounter larger groups of Zazaks, use the Tornado Rod or Ice Rod to stun them.
Room 4: High Walkways
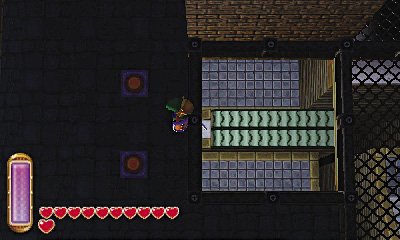
Merge along the walls to reach this room’s northern stairs, which lead down into Room 5 on the second basement floor. Or simply fall from Room 4’s walkways to land in Room 5 without taking the stairs. It’s up to you!
Room 5: Conveyor Belts B
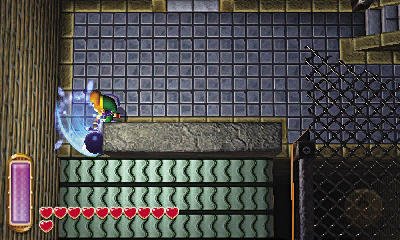
This room lies directly below Room 4, and it features a number of wide conveyor belts. The northern crystal controls the belts’ direction—whack this switch to change the direction the belts are moving. (You can also hit this switch from Room 4 upstairs by using the Ice Rod.)
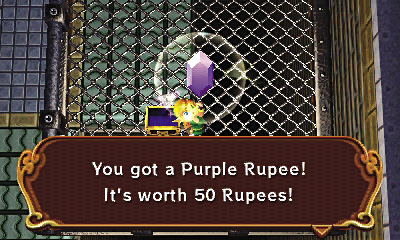
Before heading south across the conveyor belts, take the northeast stairs to reach a chest on a high balcony. Open the chest to collect another purple prize.
Thieves’ Hideout Chest #2: Purple Rupee
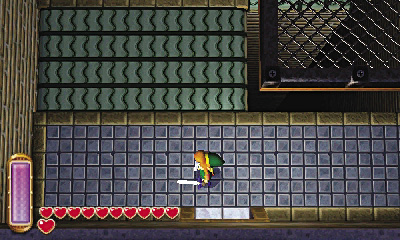
After pocketing your Purple Rupee, head back downstairs and cross the conveyor belts. Pass through the southern door to reach Room 6.
Room 6: Belts and Bawbs
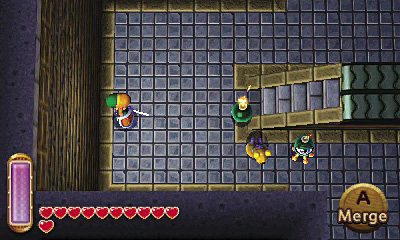
Beware: Volatile Bawbs continually spawn in this small chamber. A few Sluggulas are also encountered here. Slay the Sluggulas, but beware the Bawbs—they explode a few moments after they’re hit!
Bawb
Damage:1/2 Heart
These explosive foes follow Link around a room, and the slightest touch sets them off. Bawbs behave like bombs once they’re struck, flashing red for a few moments before they explode. Like bombs, Bawbs can be picked up and thrown just before they explode. Bawbs will continue to respawn in any room in which they’re found, so you can never truly defeat these dangerous but useful foes.
Sluggula
Damage:1 Heart
These giant slugs move slowly, leaving a trail of slime—and bombs—behind them. Beware of Sluggula’s bombs, and be quick to cut down these easy targets before they can cause too much mayhem!
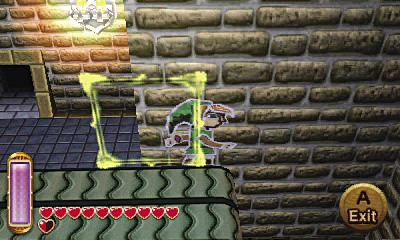
To solve this room, climb onto the northern conveyor belt. Ride the belt and merge into the north wall just before you fall into the east pit.
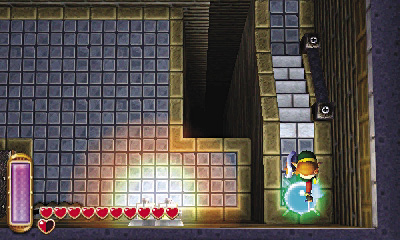
Slide around the corner and go south to reach a ledge. Pop out of the wall and strike the ledge’s crystal to change the direction of the southern conveyor belt.
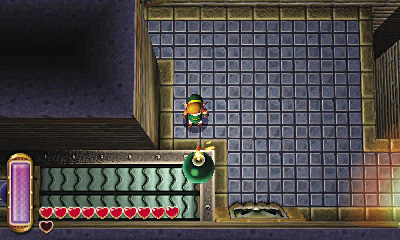
Drop from the ledge after activating the crystal and strike the roaming Bawb. Quickly press  to pick up the Bawb, then press
  again to toss it onto the southern conveyor belt. Don’t worry if you miss; more Bawbs will appear. You can also use your own bombs if the Bawbs are giving you a hard time.
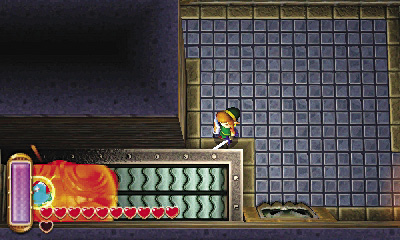
The conveyor belt delivers the Bawb (or bomb) to another crystal. When the Bawb (or bomb) goes boom, it triggers the switch, opening the southern door. Nice! Go through to visit Room 7.
Room 7: Trap Floor
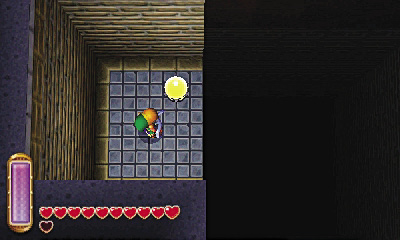
This room is totally empty except for the crystal near the west wall. Stand near the crystal and strike it, then watch as the whole center of the room falls out. Whoa! Hit the crystal again to restore the floor, then proceed through the east door to Room 8. You’ll use Room 7’s trap floor later!
Room 8: Prize Plaques
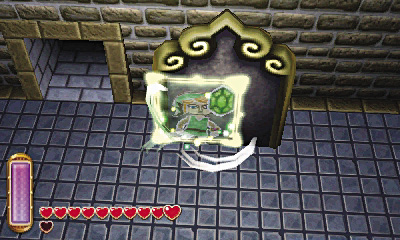
Some large, stone plaques stand a silent vigil in this small hall. Merge into the plaques to collect the hearts and Rupees that are painted on them. Go through the north door to visit Room 9.
Room 9: Prison
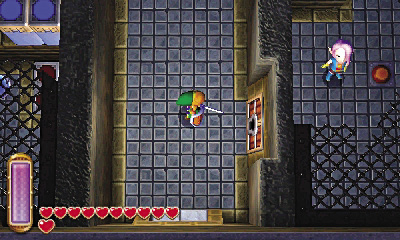
This large room features several holding cells. Hey, one cell has a prisoner inside! Merge and enter the prisoner’s cell by slipping through its north bars.
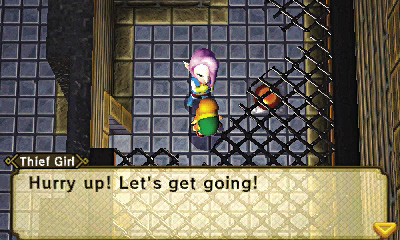
The prisoner is called Thief Girl, and she knows where the Sage is being held. She agrees to tell you where to find the Sage if you help her escape. Sounds like a deal!
Claiming the Compass
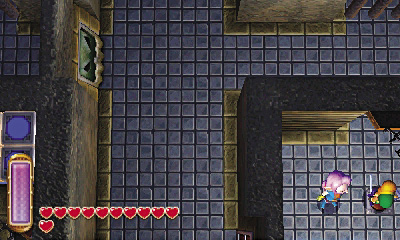
To free the Thief Girl, you need to find a key. A compass sure would be nice right about now, wouldn’t it? Step on the floor switch inside the Thief Girl’s cell to open a door to the west.
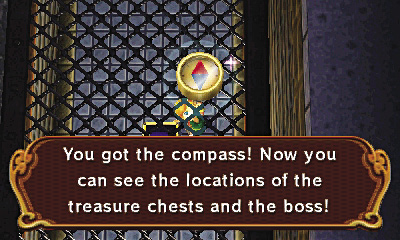
Merge and exit the Thief Girl’s cell, then slip into the neighboring cell to the north. Slay a Stalfos inside the north cell and then loot the chest here to find the dungeon’s compass. Score!
Thieves’ Hideout Chest #3: Compass
Bawb’s Cell
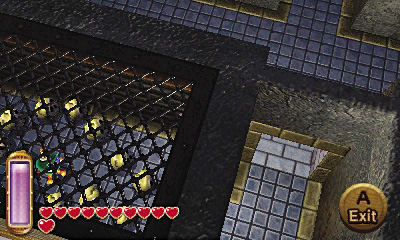
Exit the cell after claiming the compass and then pass through the west door, which you recently opened via the floor switch. Merge and enter the west cell by slipping past the bars.
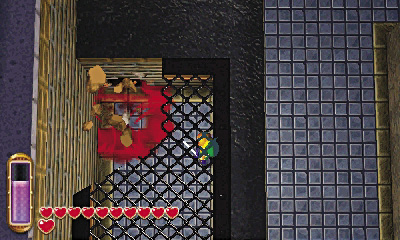
Beware: The west cell is home to dangerous Bawbs! Use one of these explosive foes to blast open the cracked north wall, or simply use a bomb of your own. Either way, blast that cell’s north wall to bits!
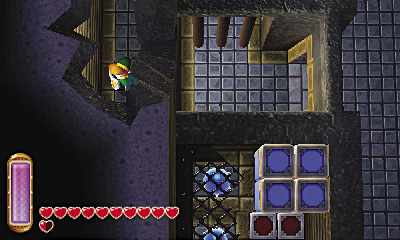
With the north wall bombed, pass through the opening and then enter a narrow secret passage in the west wall. Go south along the passage, heading for the room’s southwest cell.
Elevator Blocks
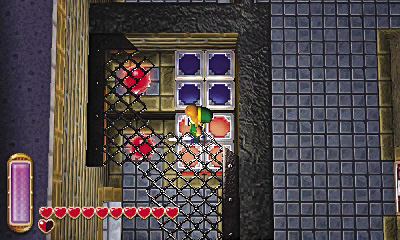
The southwest cell features some lowered red blocks and a blue crystal. Stand on the lowered red blocks and strike the blue crystal to change its color to red. The red blocks then rise, lifting you up to a higher ledge.
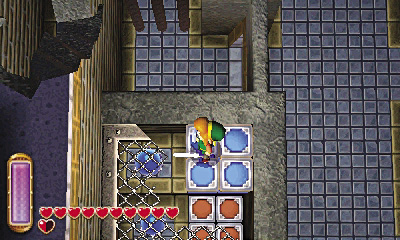
Stand on the ledge’s lowered blue blocks and strike the nearby red crystal. The crystal turns blue, and the blue blocks rise, elevating you to the top of the cells.
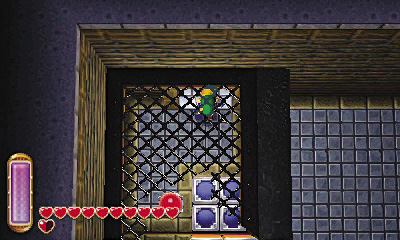
Carefully go north along the tops of the cells, heading for the northwest cell. There are more colored blocks in this cell, but there’s no need to adjust them. Simply drop into the northwest cell, equip the lamp, and then head through the nearby door to visit Room 10.
Room 10: Small Key Storage
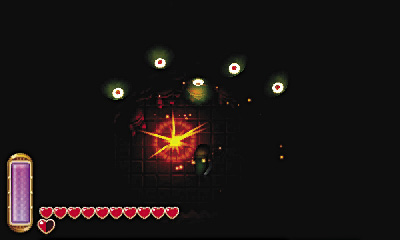
This room is pitch black. Worse, it’s filled with a host of sinister Eyegores! Stand your ground and slash madly with Link’s sword, keeping the monsters at bay. Unleash the Tornado Rod or Ice Rod to stun several Eyegores at once.
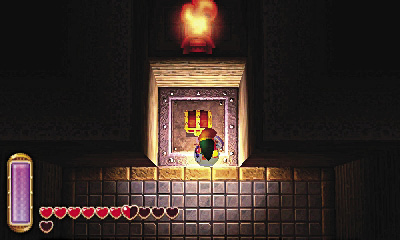
When the Eyegores are no more, a portal appears, and the northern chest lowers within your reach. Open the chest to collect a small key, then use the portal to warp back to the dungeon’s entrance and save your game back in Thieves’ Town.
Thieves’ Hideout Chest #4: Small Key
Room 9 (Revisited)
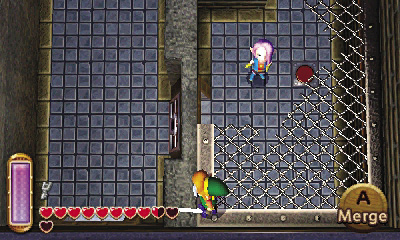
Travel back through the portal to return to Room 10, then go south, returning to Room 9. Use the crystals and colored blocks to rise out of the northwest cell, then return to the Thief Girl.
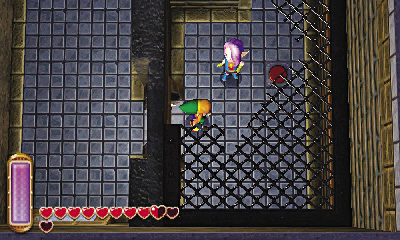
Use the small key you found in Room 10 to free the Thief Girl. Nice work! Now you’ve just got to get her out of here!
Great Escape
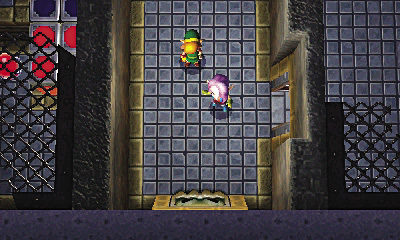
Press  while standing near the Thief Girl to invite her to follow you. She won’t make a move otherwise! (If there’s trouble about, you can also press
  again to tell the Thief Girl to wait someplace safe.)
The south door slams shut as you exit the Thief Girl’s cell. You’re sealed in! Perhaps there’s another way out...
Go north to find a pair of floor switches near the room’s sealed northeast door. Lead the Thief Girl onto one switch, then press  to have her wait there. Move Link onto the other floor switch, and the northeast door opens. Invite the Thief Girl to follow you again, then hurry through!
Room 11: Zazak Trap
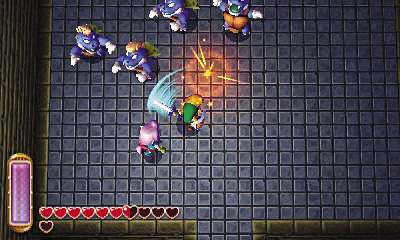
Link and the Thief Girl become trapped as they enter this room, falling ambush to a mob of Zazaks. Beware: These evil creatures will carry the Thief Girl back to her holding cell if they manage to catch her! Keep Link between the Thief Girl and the Zazaks, and beat back the Zazaks with swift swipes of his blade. The Tornado and Ice Rods are also quite useful in this fight. Descend the north stairs after the battle to reach the third basement floor.
Room 12: Precarious Paths
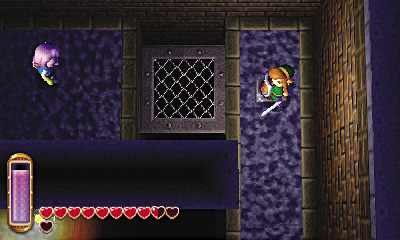
This long room features multiple pathways. Merge past the first gap and step on a floor switch to extend a platform for the Thief Girl.
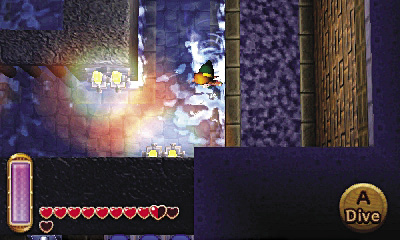
Merge past the bars that block your path, leaving the Thief Girl behind. Slay the enemies beyond the bars, then swim over to the room’s west side.
Building Bridges
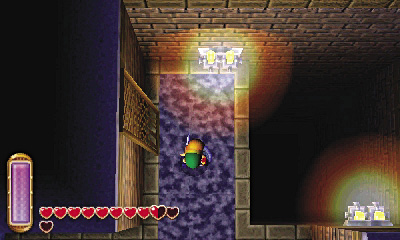
Climb some steps to return to dry land, then go north to locate a bridge that’s leaning against the wall.
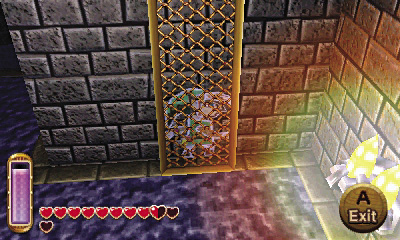
Merge into the wall and slip behind the bridge, then pop out to knock the bridge over. The bridge falls over the nearby gap, creating a means for the Thief Girl to join you.
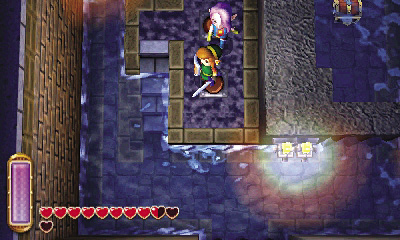
Cross the bridge and grab the Thief Girl, then lead her back across the bridge. Go south to locate a pair of floor switches near the water. Position Link on one switch and the Thief Girl on the other.
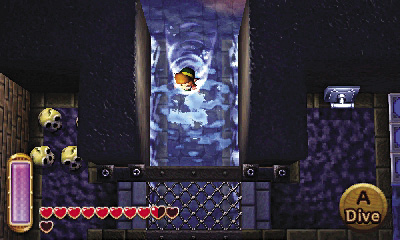
With both floor switches triggered, some bars lower to the south. Leave the Thief Girl behind again and swim south, past the lowered bars.
Levers and Switches
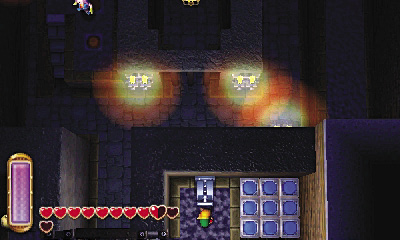
Swim over to a lever and climb out of the water. Grab and pull the lever out from the wall to drain the water from the room. Now the Thief Girl can join you!
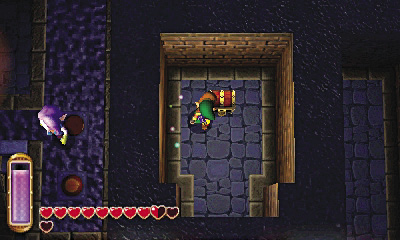
Backtrack to the north, but don’t regroup with the Thief Girl just yet. Instead, merge and slip into the central cell to reach a treasure chest that was previously underwater.
Thieves’ Hideout Chest #5: Silver Rupee
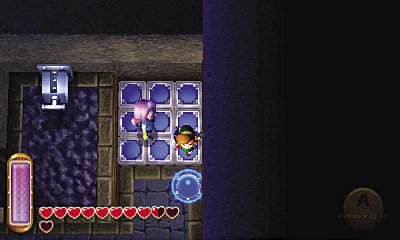
Now lead the Thief Girl back to the south. Use the blue blocks and crystal near the lever to lift Link and the Thief Girl up to the lever’s ledge.
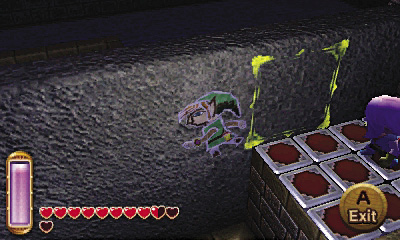
Move the Thief Girl onto the lowered red blocks to the south. Leave her here and merge into the south wall, then slide around the wall to reach the south end of the room.
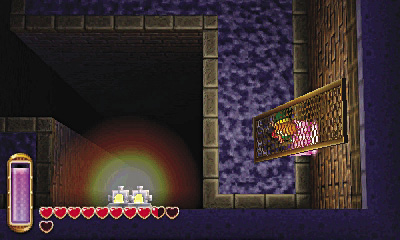
Merge into the east wall and knock down another leaning bridge in the southeast corner. Cross the bridge to reach more lowered red blocks and a switch.
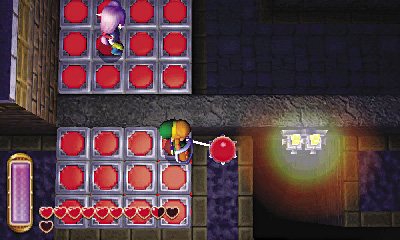
Stand on the red blocks and strike the switch. Both you and the Thief Girl are lifted up by the red blocks. Now you can lead her out of here!
Zazak Ambush
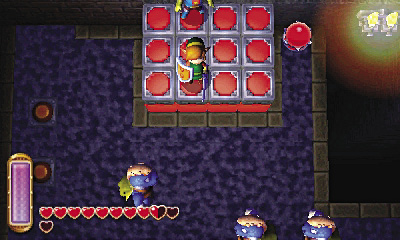
Beware: As you lead the Thief Girl onto the south red blocks, more evil Zazaks appear! Leave the Thief Girl on the raised red blocks for safety as you drop down to battle the blue-skinned brutes. Or, if you prefer, simply toss bombs down at them from the safety of the raised blocks!
Secret Treasure
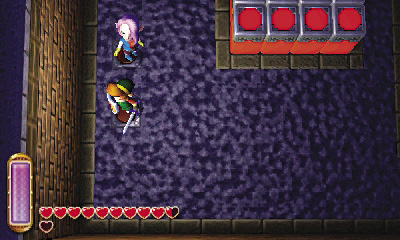
After slaying the Zazaks, hit the crystal to lower the red blocks and bring the Thief Girl down to your level. Before springing up the eastern stairs, position Link and the Thief Girl on the two nearby floor switches.
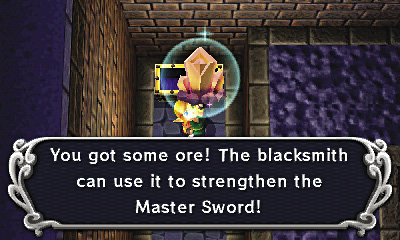
With both floor switches activated, the room’s west wall slides away, revealing a secret passage. Incredible! Run down the passage, collecting a number of Rupees on your way to a giant chest. Open the chest to claim the Thieves’ Hideout’s most precious treasure: Master Ore!
Thieves’ Hideout Chest #6: Master Ore
Master Ore #1
Collect these and give them to the Blacksmith, and he’ll strengthen your sword.
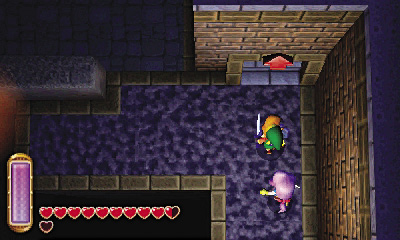
With the Master Ore in your possession, backtrack to the south and lead the Thief Girl up the southeast stairs to return to the second basement floor.
Room 13: Divided Room
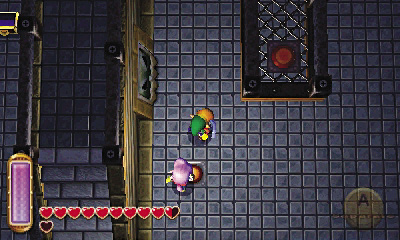
A tall wall splits this room into two halves. Move the Thief Girl onto the floor switch, then leave her there and climb the southeast stairs to reach a walkway.
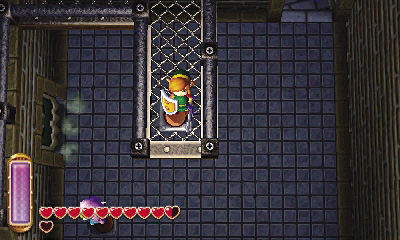
Merge along the wall to slip past the gap in the walkway, then keep going until you reach a high floor switch. Step on this switch to open the door in the room’s central wall.
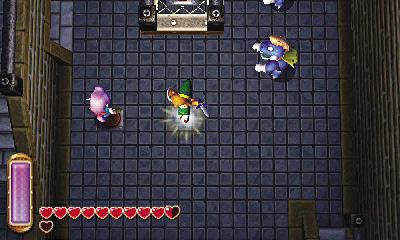
Look out! After you open the room’s central door, a pair of Zazaks appear. Quickly drop from the walkway and protect the Thief Girl. Keep one of the Zazaks stunned while you slay the other.
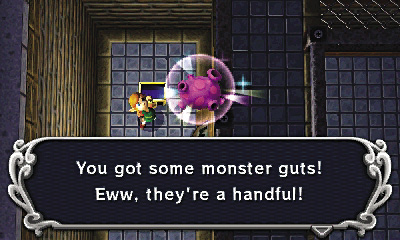
After cutting down the Zazaks, proceed through the door to visit the room’s west side. Hey, there’s a chest over here! Open the chest to score some monster guts.
Thieves’ Hideout Chest #7: Monster Guts
Room 7 (Revisited)
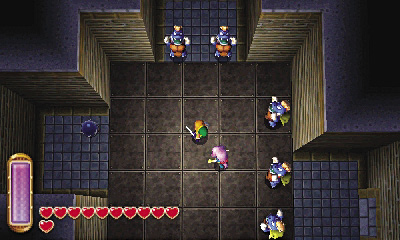
Go through Room 13’s southwest door after looting the chest, returning to Room 8. Cut straight through to return to Room 7, and immediately go north through the door. If you linger in Room 7, many more Zazaks ambush you.
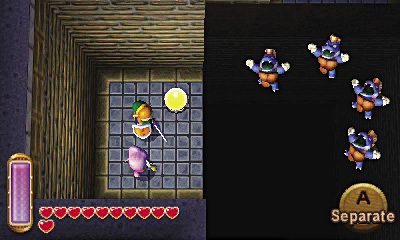
Wow, that’s a whole lot of Zazaks! But you can defeat them all in a blink if you’re quick. Hurry and lead the Thief Girl over to the west alcove, then strike the crystal to make the center of the room’s floor drop out as you did before. If you time it right, all of the Zazaks will fall into the pit!
Room 6 (Revisited)
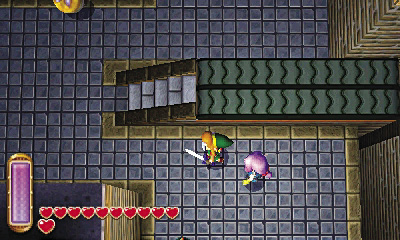
Restore Room 7’s floor after dumping the Zazaks, then head north to revisit Room 6. Carefully defeat each Bawb and Sluggula you encounter as you lead the Thief Girl through this dangerous chamber, heading for the north door to Room 5.
Room 5 (Revisited)
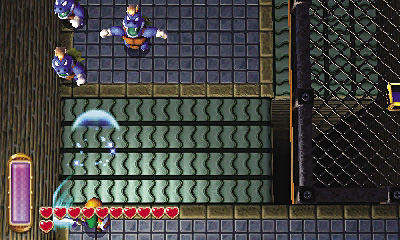
More Zazaks try to take you by surprise in Room 5. Depending on the direction of the conveyor belts, you may have an easy time knocking them into the east pit. Defeat all of the Zazaks so you may safely lead the Thief Girl up the northern stairs, returning to the first basement floor.
Room 4 (Revisited)
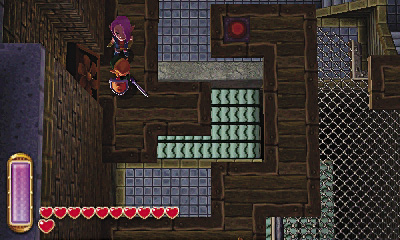
Carefully guide the Thief Girl across this room’s narrow walkways, using the fans’ gales to blow her across the gaps. (You may need to merge around and step on the floor switches to activate the fans.) Keep going until you reach the south door to Room 3.
Room 3 (Revisited)
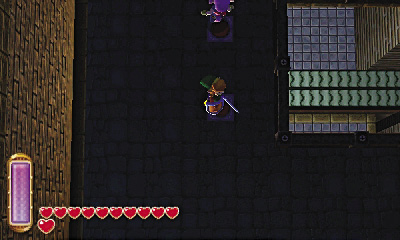
This room’s lone Zazak is back. Show it no mercy, then trigger both of the room’s floor switches with the help of the Thief Girl.
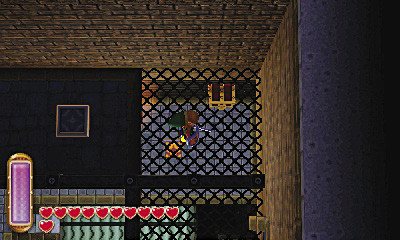
With both floor switches activated, the northeast wall slides away, exposing a chest. Stroll over and claim your Silver Rupee reward!
Thieves’ Hideout Chest #8: Silver Rupee
Room 2 (Revisited)
You can’t reach Room 3’s remaining chest, so head south into Room 2. Surprise! More Zazaks leap out in ambush here. Have the Thief Girl wait in the north passage while you make a stand against the Zazaks, then lead her east into Room 1 when it’s safe to do so.
Room 1 (Revisited)
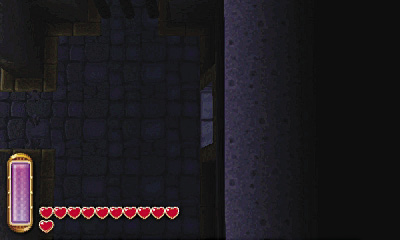
Just when you think you’re out of danger, the entry door to the Thieves’ Hideout slams shut. You’re sealed in! Looks like you’ll have to open that big door after all.
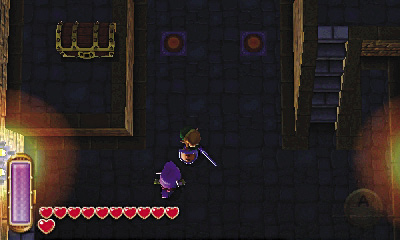
Cross the north walkway to reach the big chest you noticed when you first entered the dungeon. Leave the chest be for the moment and go through the nearby northwest door to return to Room 3.
Room 3 (Third Visit)
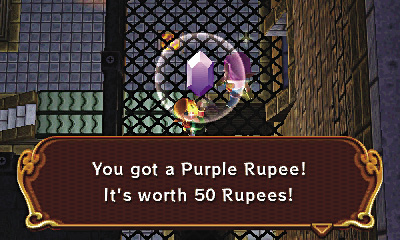
Room 1’s northwest door leads you to a high ledge in Room 3, right near the room’s remaining chest. Open it to plunder a Purple Rupee.
Thieves’ Hideout Chest #9: Purple Rupee
Room 1 (Third Visit)
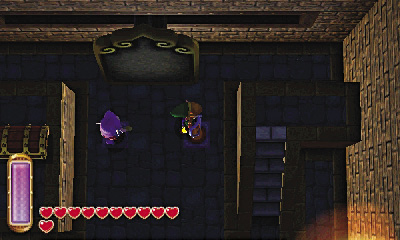
Return to Room 1 with your Purple Rupee tucked away, and work with the Thief Girl to trigger the two floor switches at the room’s north end. Once both switches have been activated, the nearby plaque slides back and forth between the big chest and the nearby ledge.
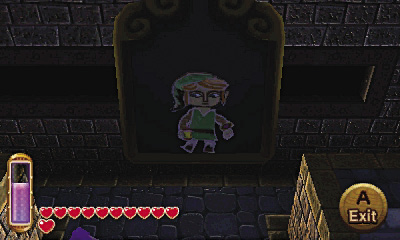
You know what to do! Scale the east steps to reach the ledge and then merge into the plaque when it slides near. Ride the plaque over to the big chest, then pop out.
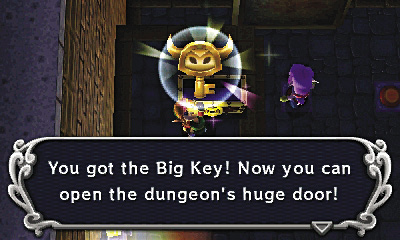
The big chest contains the Big Key. That’s your ticket out of here!
Thieves’ Hideout Chest #10: Big Key
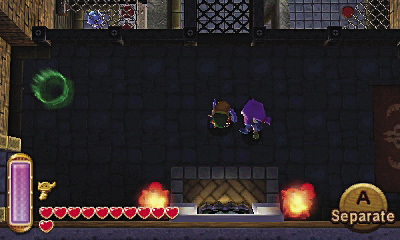
With the Big Key in your possession, lead the Thief Girl back to the big door. Steel yourself for whatever may lie on the other side before going through.
Boss Battle: Stalblind
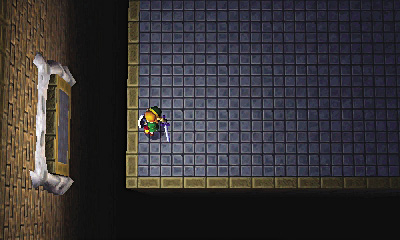
The big door slams shut as Link enters the final chamber, cutting him off from the Thief Girl. Not good! Worse, the chief thief soon makes its dramatic appearance: it’s a monstrous skeleton named Stalblind!
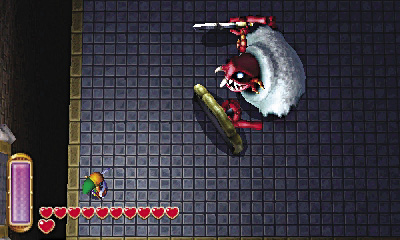
At first, Stalblind favors a defensive approach. The monster keeps its massive shield held high, blocking all of Link’s attacks.
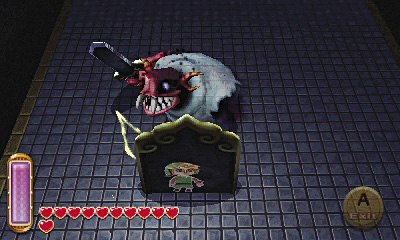
Stalblind’s shield sure looks a lot like those plaques you’ve been seeing around the dungeon, doesn’t it? Merge into the shield, and Stalblind will lose track of you. The monster then spreads its arms wide in search of Link, unwittingly moving you into attack position!
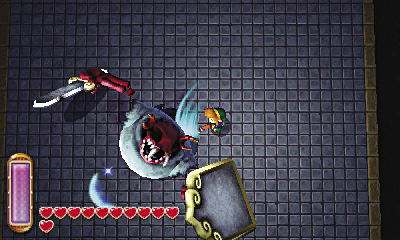
Pop out of the shield after Stalblind spreads its arms, and you’ll be right behind the boss. Unleash the full fury of Link’s blade against Stalblind’s vulnerable backside!
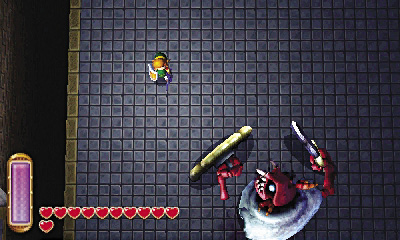
Stalblind soon recovers, and begins to spew out a hazardous black substance. Keep away from the monster while you wait for this attack to cease, then attack Stalblind to make it raise its shield once more.
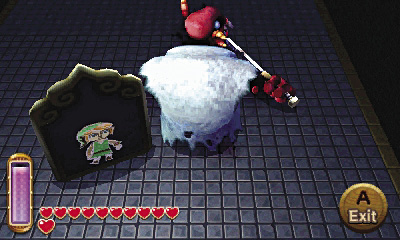
Again, merge into Stalblind’s shield so you may slip behind the boss and inflict more damage. After suffering enough of this, Stalblind smartens up and throws away his shield.
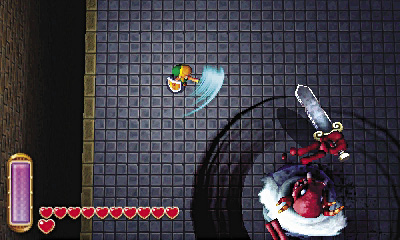
After losing its shield, Stalblind attacks with greater ferocity. Dodge all of its mighty sword strikes and look for opportunities to slip in and counter with your own blade. Ranged weapons such as the bow are also effective now that Stalblind has no shield.
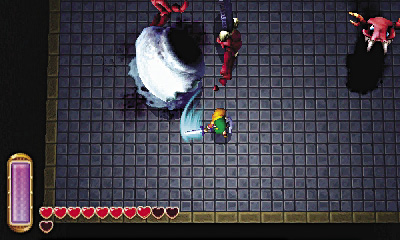
When Stalblind nears defeat, the boss’s head separates and begins chasing after Link, spewing out more icky black stuff. You now have two things to worry about: Stalblind’s body and its head. The head can’t be stunned or harmed, so focus on attacking Stalblind’s body while you avoid its wild sword strikes.
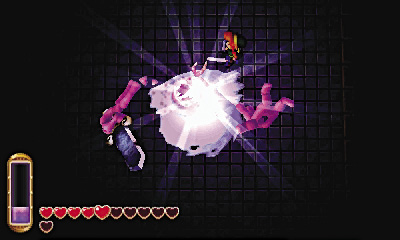
Keep punishing Stalblind’s body until the boss finally falls. You’ve done it! The Thief Girl soon arrives to congratulate you, then leads you outside.