
The Legend of Zelda: A Link Between Worlds Guide Walkthrough Great Explorations, Part II (in progress)
Death Mountain (Lorule)
Cold Embrace
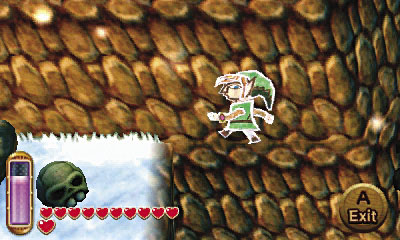
Unlike the fiery inferno you faced on Death Mountain in Hyrule, Lorule’s version of this unforgiving summit is completely frozen. Go west after you emerge from the fissure, heading toward a tiny ledge.
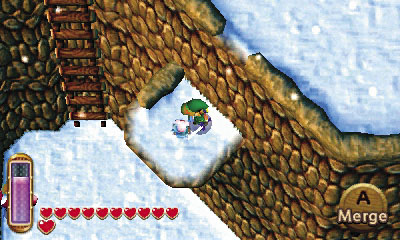
Pop out from the wall and smash the ledge’s lone skull to discover a hidden Maiamai. You’re off to a great start!
 Lost Maiamai #79
Death Mountain Fairy Fountain
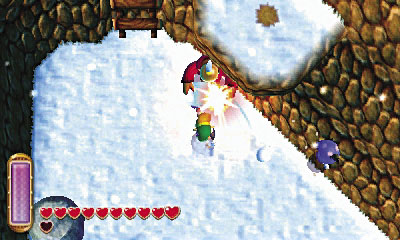
Drop from the ledge after rescuing the Maiamai. Beware: Powerful Hinoxes and Zirros lurk all around Death Mountain! These enemies are similar to the ones you’ve faced in Lorule before, except they throw ice balls instead of bombs. Ice balls have the same impact as bombs, but also freeze Link for a few moments. Not cool! Try to keep the Hinoxes stunned, and use the Fire Rod to quickly wipe out the high-flying Zirros.
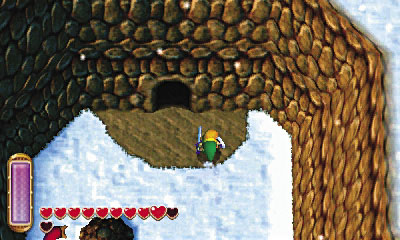
Red Tektites also hop around Death Mountain, and they’re just like blue Tektites, only a bit stronger. Fight your way down the mountain trail (or simply drop from the higher ledges) to reach a cave at the bottom. Wonder what could be inside?
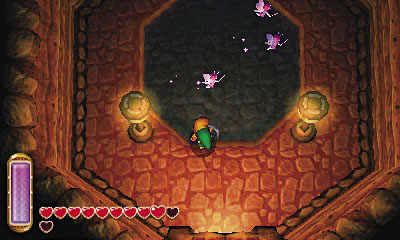
Hey, it’s a Fairy Fountain! What a perfect place for this little oasis. Rest up and bottle some fairies before returning outside to Death Mountain’s frosty air.
Let’s Climb
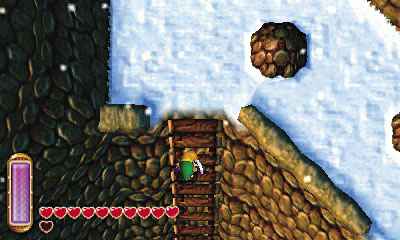
Now that you know where to go when you need some healing, let’s begin our treacherous ascent of Death Mountain. Head back up the trail and climb a long ladder to reach a higher area.
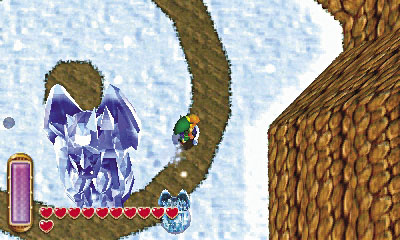
Slay more Hinoxes, Tektites, and Zirros as you explore the higher area. A Big Ice Gimos stands to the east, flanked by four smaller, regular Ice Gimos. Equip your Fire Rod and approach the Big Ice Gimos until it springs to life and attacks!
Gimos
Damage: 1 Heart (Gimos)/2 Hearts (Big Gimos)
Gimos are imposing statues of stone, ice, or fire. They are similar to Armos, animating and attacking only when Link draws near. Though tough, Gimos can be slain by any weapon, but they cannot be struck by most weapons while they’re jumping. Use the Ice Rod to freeze Fire Gimos, and the Fire Rod to quickly melt down Ice Gimos. The Tornado Rod is also good for stunning any type of Gimos, because it will hit them while they’re in midair.
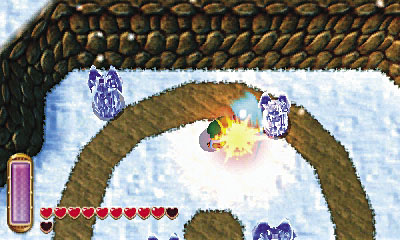
The Big Ice Gimos can be tough to handle, but one well-timed wave of the Fire Rod melts it down to size. The surrounding Ice Gimos then jump to life as well—just keep flicking the Fire Rod to reduce them all to puddles.
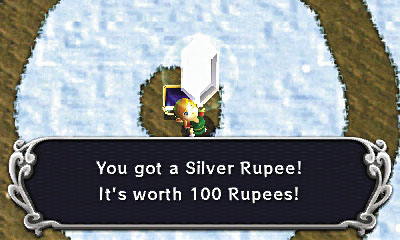
After all of the Ice Gimos have been defeated, a chest appears. How nice! Flip its lid to score a Silver Rupee.
 Lorule Chest #11: Silver Rupee
The Treacherous Tower
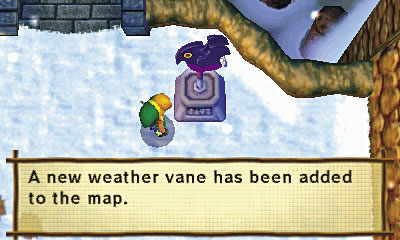
Go north from the Ice Gimos ambush site, heading toward a mysterious tower. Save your progress at the nearby weather vane, thereby adding the Treacherous Tower weather vane to your map.
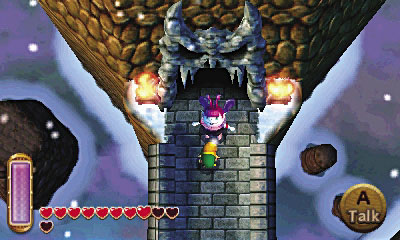
Well, since you’re here, you might as well check out the tower. Speak to the Devilish Girl who stands just outside the tower, and pay her 100 Rupees to learn the rules and head inside.
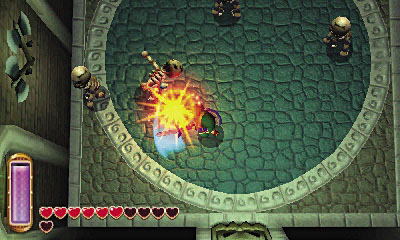
The Treacherous Tower is an action-packed combat arena. Each game challenges you to survive the tower, slaying large groups of monsters on each floor. You can’t leave once you start, and there’s no guarantee of safety—so be well prepared before you enter!
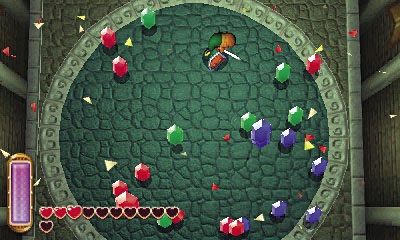
On certain floors, and you’ll be pitted against a powerful boss enemy. Slay this great fiend, and the crowd will shower you with glorious Rupees. Glorious!
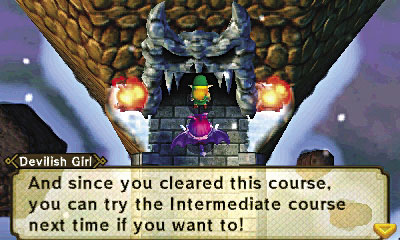
The Treacherous Tower has three difficulty levels, and you must play through the final level (Advanced) twice to win all of the tower’s potential prizes. Right now, it’s certainly worth playing through the Beginner and Intermediate levels, because you’ll win a piece of heart if you can manage to clear the Intermediate challenge!
The following table details all of the Treacherous Tower’s prizes, and the following list details the enemies you’ll encounter on each floor. Best of luck to you!
Treacherous Tower Prizes
| Difficulty | # of Floors | Prize |
|---|---|---|
| Beginner | 5 | Rupees |
| Intermediate | 15 | Rupees, piece of heart |
| Advanced | 50 | Rupees, super lamp |
| Advanced (2nd time) | 50 | Rupees, super net |
 Piece of Heart #24
 Super Lamp
Eight times the attack power of your old lamp! Wait, is this a weapon?
 Super Net
Eight times the attack power of your old net! Whatever that means!
Treacherous Tower Denizens
- Floor 1: Blob
- Floor 2: Dark Rat
- Floor 3: Rope
- Floor 4: Chasupa
- Floor 5: Green Soldier
- Floor 6: Armos
- Floor 7: Poe, Hyu
- Floor 8: Red Spear Soldier, Lorule Soldier
- Floor 9: Recovery (5 Hearts)
- Floor 10: Kodongo
- Floor 11: Slarok
- Floor 12: Karat Crab, Ku
- Floor 13: Pengator
- Floor 14: Bari, Biri
- Floor 15: Goriya
- Floor 16: Taros
- Floor 17: Giant Pengator
- Floor 18: Gigabari
- Floor 19: Recovery (3 Hearts)
- Floor 20: Dacto
- Floor 21: Rat, Skull Rope
- Floor 22: Vulture
- Floor 23: Popo
- Floor 24: Wizzrobe
- Floor 25: Mini-Moldorm
- Floor 26: Eyegore
- Floor 27: Blue Bow Soldier, Lorule Soldier
- Floor 28: Red Spear Soldier, Gold Ball and Chain Soldier
- Floor 29: Lynel
- Floor 30: Recovery (1 Heart)
- Floor 31: Hardhat Beetle, Buzz Blob
- Floor 32: Light Ghini, Dark Ghini
- Floor 33: Freezor
- Floor 34: Chasupa, Sluggula
- Floor 35: Recovery (1 Heart), Zazak
- Floor 36: Ropa, Zirro
- Floor 37: Eyegore
- Floor 38: Ice Gimos, Wizzrobe
- Floor 39: Ball and Chain Soldier
- Floor 40: Recovery (1 Fairy)
- Floor 41: Zirro, Red Taro
- Floor 42: Stalfos
- Floor 43: Bari, Biri
- Floor 44: Ice Gimos
- Floor 45: Moblin, Lorule Soldier
- Floor 46: Zazak
- Floor 47: Gimos( Fire, Ice, regular)
- Floor 48: Lorule Soldier
- Floor 49: Lynel
- Floor 50: Moldorm
One Last Chest
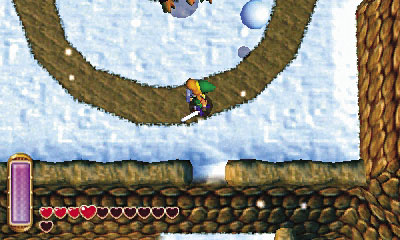
After you’ve finished thrilling the crowd at the Treacherous Tower, save your game and then go south, returning to the area where you fought the Ice Gimos. Look for a small gap in the low south wall here, and drop through to land on a little ledge below.
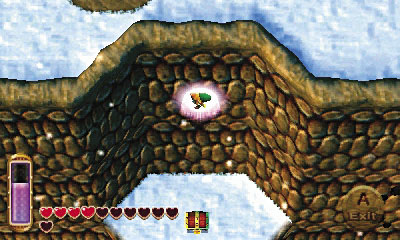
Merge into the cliff after you land on the ledge, and slide west along the wall. When you reach an indentation in the wall, pop out and drop to the ledge below you. Open the chest you land near to claim a monster tail.
 Lorule Chest #12: Monster Tail
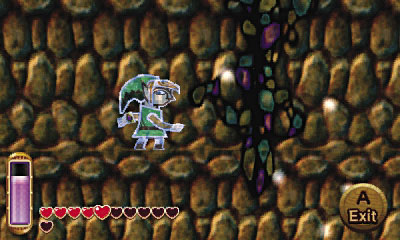
You’ve fully explored this side of Lorule’s Death Mountain, but there’s still more of the mountain to explore. To do so, however, you first need to return to Hyrule. Climb the long ladder to reach the higher area again, and then drop to the small ledge with the skull, where you discovered your first Lorule Death Mountain Maiamai. Merge into the wall after you land on this ledge and slide east, back into the fissure you used to get here.
Reaching the Ice Ruins
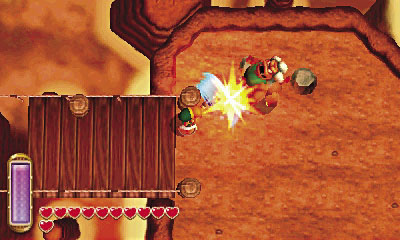
Once you’re back in Hyrule, ring for Irene’s broomstick and fly to the Tower of Hera. Go east from there, using the Hookshot to zip across the broken bridge. Beware the fire-breathing Lynels that prowl the other side!
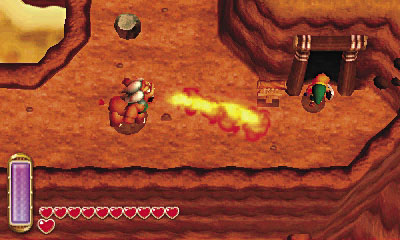
Enter the cave near the Lynels, revisiting the giant volcano you navigated on your way to Rosso’s ore mine earlier in the adventure. Don’t worry, it’s a much simpler trip this time!
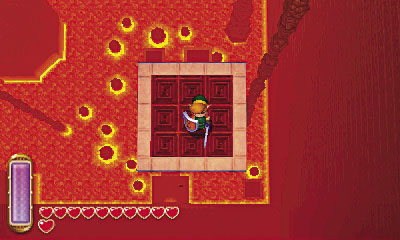
Simply stand at the south end of the volcano’s entry ledge and wait for a platform to arrive from the south. This is the same platform that you used to exit the volcano before, and it quickly carries you all the way down to the volcano’s lowest exit, which is right where you need to go.
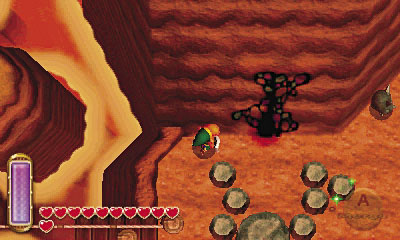
Step outside when you reach the bottom of the volcano. That was easy! You’re back at Rosso’s ore mine now, and there’s a Great Fairy Fountain to the south if you need respite. Otherwise, head west, past another Lynel, to discover a fissure near a broken bridge.
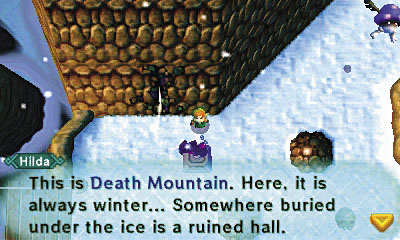
Enter the fissure to return to Lorule. You emerge near a weather vane, and Princess Hilda calls out to you, welcoming you to Death Mountain. The dark princess reveals that a Sage is hidden nearby, trapped in the cold embrace of some long forgotten ruins.
Maiamai On High
Save at the weather vane, adding the Death Mountain weather vane to your Lorule map. Now you can get here more easily in the future!
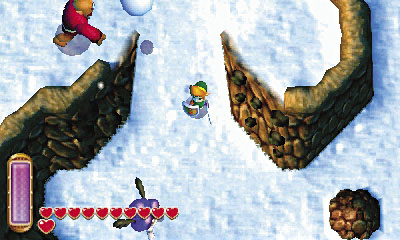
Don’t use the Hookshot to cross the broken bridge to the west—it’s a one-way trip, and you’ll only wind up on the other side of the mountain, back near the Treacherous Tower. Go east instead, slaying more Hinoxes, Zirros, and Tektites as you explore this side of the mountain.
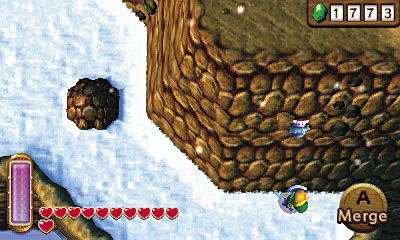
Go to the area’s southeast corner and notice a little Maiamai that’s stuck on the cliff high above. It’s too cold to be alone out here—you’ve got to save it!
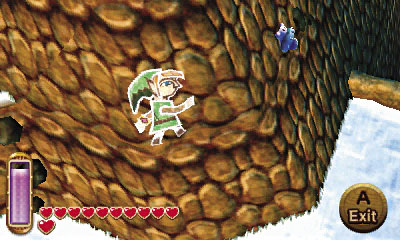
Go north a bit to reach higher ground, then merge into the cliff. Loop around to the south to reach the high Maiamai, and pop out of the wall to knock it down to safety.
 Lost Maiamai #80
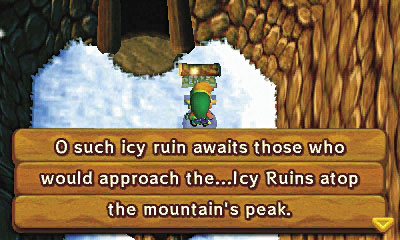
Collect the little Maiamai, then return to the weather vane and save. When you’re ready to begin your next ascent of Death Mountain, go north and enter the nearby cave.
Ice Climber
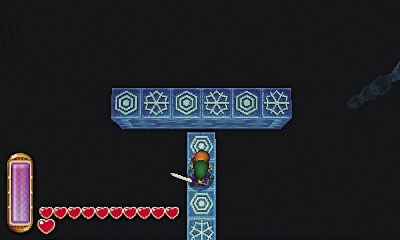
Inside the cave, step onto the narrow block with the snowflake carvings. The block rises when you step aboard, lifting you up to another snowflake block.
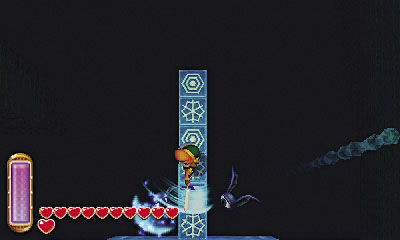
Move from one snowflake block to the next as you ascend the cavern, being careful not to fall. Be quick to cut down the one-eyed Chasupas that come flapping around as you ride the third block.
Chasupa
Damage:1 Heart
These one-eyed bats flap madly in Lorule’s more treacherous caves, flocking to attack Link much like Hyrule’s Keese. They’re easily slain but commonly appear in places where battling them is risky due to Link’s precarious surroundings.
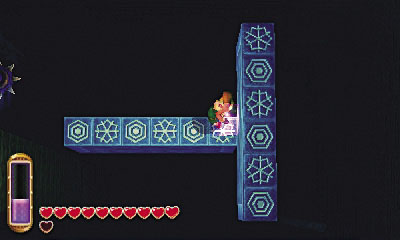
When you arrive at the fourth snowflake block, merge into it, but do not move. Simply allow the block to lift you up to a fifth block, then pop out to land safely on the narrow fifth block.
Dodge a spiked trap as the fifth block shifts you westward. Merge into the west wall when you reach it, then loop around the wall to reach a ledge with a sign.
Ice Cavern Crossroads
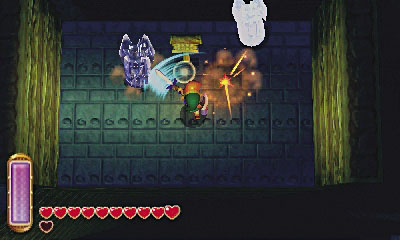
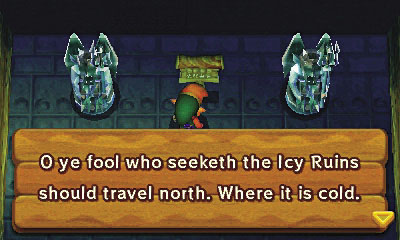
Read the sign to learn that the Ice Ruins lie to the north. Beware: After you read the sign, the nearby Ice Gimos awaken and attack! Knock them off the ledge with some swift swordplay, or simply melt the Ice Gimos with a wave of your Fire Rod.
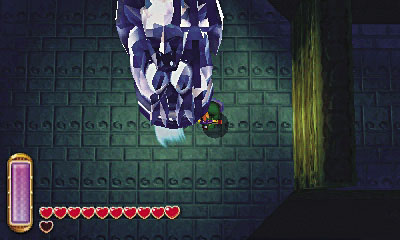
Merge into the west wall after defeating the Ice Gimos, then loop around the wall and pop out to battle a Big Ice Gimos on the neighboring ledge. Again, use the Fire Rod to dispatch this overgrown foe with ease.
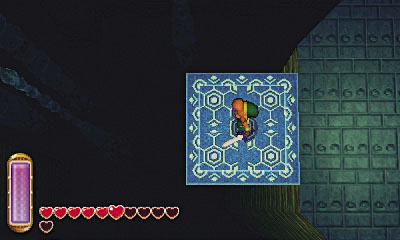
The Ice Ruins lie to the north of the Big Ice Gimos ledge, but let’s not head there just yet. Instead, wait for a platform to arrive to the west, then step aboard.
Heading for the Heart
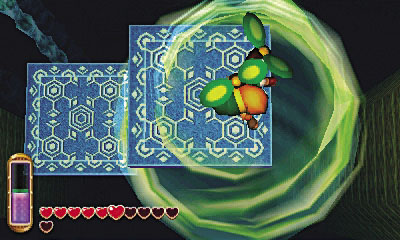
Ride the platform westward, and notice another platform above you. Use the Tornado Rod to boost up onto the higher platform as it passes by overhead.
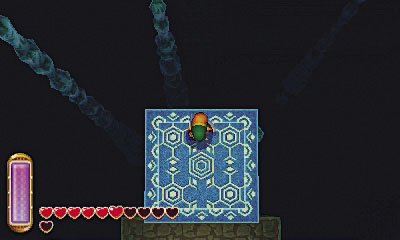
The second platform brings you to a small ledge. Step off and wait for another platform to arrive from the north. (Ignore the southern platform.) Board the northern platform and ride it northward.
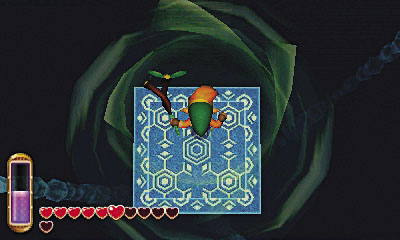
Cross onto another platform when it moves close, then use the Tornado Rod again to boost onto the higher platform ahead while it moves southward. Repeat this to land atop the next platform ahead, and be ready to slay more Chasupas when you land.
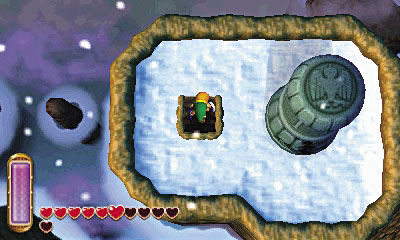
The final platform brings you to a ledge. Head through north door to step out into the cold Death Mountain air.
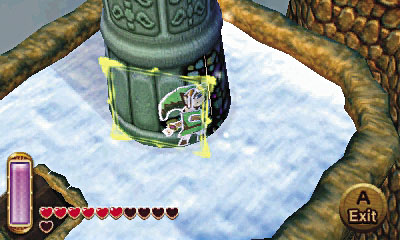
You emerge on a small, snow covered ledge, right near a fissure pillar. Merge into the pillar and slip through the fissure to return to Hyrule.
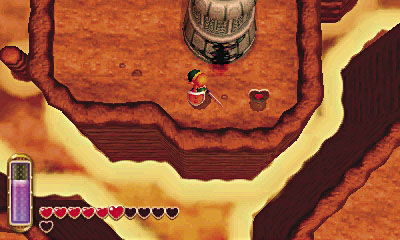
When you arrive back in Hyrule, you find yourself high atop Death Mountain, near a piece of heart you couldn’t have reached before. Collect this precious prize and then travel back through the pillar’s fissure, returning to Lorule.
 Piece of Heart #25
Going for the Gold
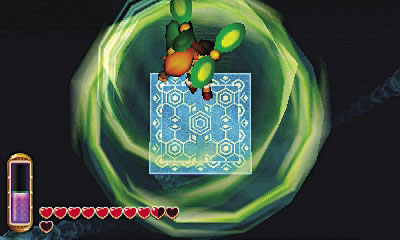
Back in Lorule, reenter the ice cavern and backtrack southward along the moving platforms, heading for the previous ledge. Even though you’re descending the platforms, you must still use the Tornado Rod to move between them (use it while they’re moving northward).
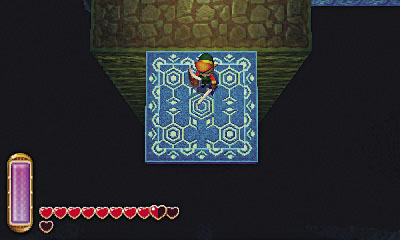
Keep going until you reach the previous ledge. (Not the ledge with the Big Ice Gimos—the ledge to the west of that one.) This time, wait for a platform to slide in from the south, and step aboard.
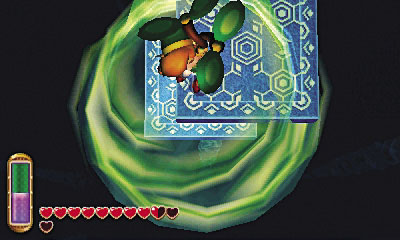
Cross onto another platform when it draws near, then use the Tornado Rod to boost up to a third platform while it passes by overhead.
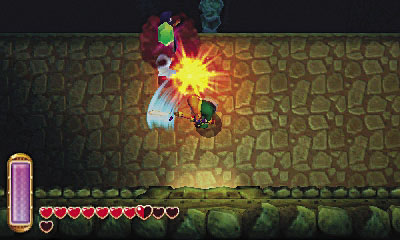
The high third platform brings you to a ledge. Step onto the ledge and slay the swarming Chasupas before heading through the southern door.
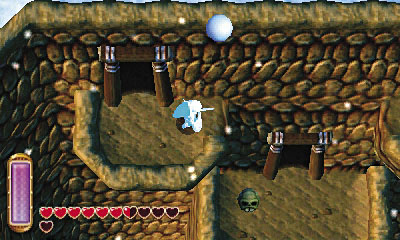
The door leads back outside, to a small outdoor ledge. Quickly merge into the north wall—it’s not long before the raging Hinoxes on the hill above you begin hurling down snowballs!
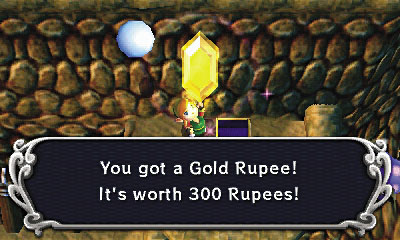
Slide eastward along the wall, heading for a nearby ledge with a chest. Pop out and plunder the chest to score a valuable Gold Rupee.
 Lorule Chest #13: Gold Rupee
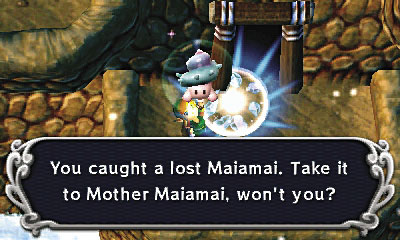
Quickly merge back into the wall after pocketing the Gold Rupee—those overhead Hinoxes are really letting loose! Slide back to the west a bit and then exit from the wall so that you drop and land on a ledge below you. Hurry and smash the skull here to discover a hiding Maiamai.
 Lost Maiamai #81
To the Ice Ruins
Lorule’s Death Mountain has been a real blast, but it’s time to complete this epic world tour. After rescuing the aforementioned Maiamai, take shelter from the overhead Hinoxes’ snowball barrage by ducking into the nearby cave.
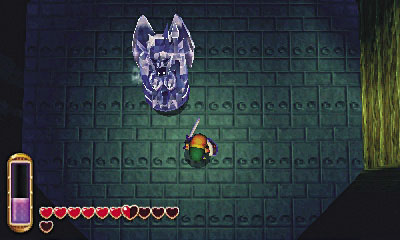
You’re back inside the ice cavern. How about that! Ride a series of narrow snowflake blocks on your way back to the ledge with the Big Ice Gimos. Merge into the final snowflake block, then slip around to its north side and exit onto the ledge. Burn down that Big Ice Gimos with a quick flick of your Fire Rod!
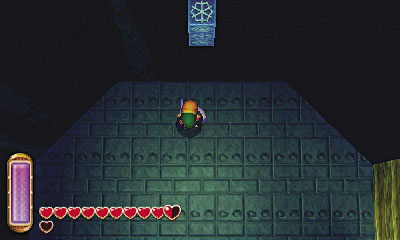
With the Big Ice Gimos gone, wait for a narrow snowflake block to arrive to the north, then step aboard.
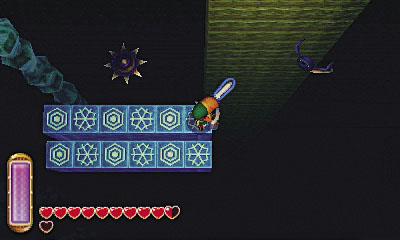
Now simply move from one snowflake block to the next as you’re lifted up to a high ledge. Beware of spike traps and Chasupas along the way—they can be tough to avoid!
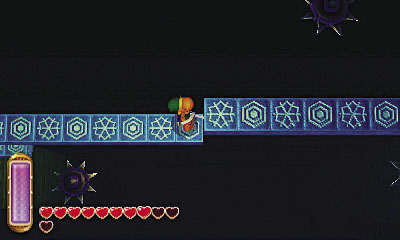
Catch your breath on the ledge before stepping onto the next narrow block to the east. Ride across several more narrow blocks that follow, being careful to stand where the spike traps can’t hit you.
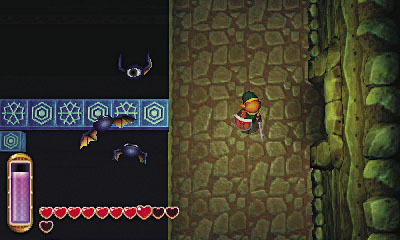
Chasupas add to the chaos as you near an eastern ledge. Try to avoid them until you can move onto the ledge, then punish them for their meddling before heading outside.
Last of the Loot
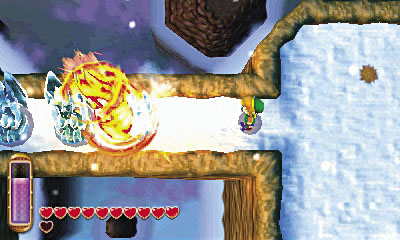
You’ve made it! You’ve survived the ice cavern and have emerged just west of the Ice Ruins. Before heading east to check out the ruins, go west and melt a trio of Big Ice Gimos with a flick of your Fire Rod.
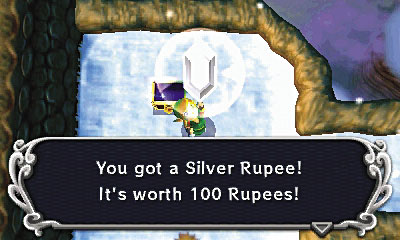
With the Ice Gimos gone, head west to find a few skulls (one of which is actually a Stahl) and a chest. Crack open the chest to claim some cold, hard cash.
 Lorule Chest #14: Silver Rupee
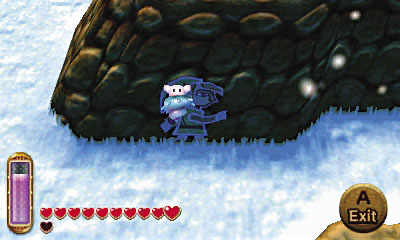
All right, you’re almost done here. Backtrack to the east and go past the ice cavern’s entrance to at last discover the fabled Ice Ruins. Cut down the surrounding monsters, then merge into the Ice Ruins’ outer wall and knock down a poor stuck Maiamai.
 Lost Maiamai #82
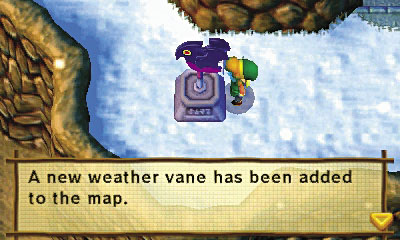
Activate the weather vane in front of the Ice Ruins and save your game. That’s a wrap! Nice climbing.
Choose Your Path
You’ve given Lorule a thorough once-over—now it’s time to solve its dungeons and rescue the Seven Sages that Yuga has captured. First, make sure you’re fully prepared for the trials ahead. Upgrade as many items as possible, and fill your bottles with helpful potions and fairies. Give yourself every advantage going forward!
Once you’re ready, save your game and then decide your next course of action. You can tackle Lorule’s seven dungeons in any order, but each dungeon holds a special item, and some of these items are worth finding sooner rather than later. We therefore recommend that you continue to follow along with this walkthrough and complete the dungeons in the order they’re presented from this point forward.
Spoiler alert! The following table reveals the order in which we’ll be tackling Lorule’s dungeons, along with the Sage and special item that are found in each dungeon. If you’d rather not know what awaits you in each dungeon, don’t look at this table! Just keep following the walkthrough, and you’ll discover each dungeon’s secrets as you go.
Lorule Dungeon Breakdown (Beware of Spoilers!)
| Dungeon Name | Dungeon Location | Sage | Special Item | Special Notes |
|---|---|---|---|---|
| Thieves’ Hideout | Thieves’ Town | Osfala | Master Ore #1 | Saving Osfala first allows Link to obtain the Sand Rod from Ravio, helping him explore more of Hyrule and Lorule and obtain lost Maiamais that are hidden under sand. |
| Desert Palace | Misery Mire | Irene | Titan’s Mitt | The Titan’s Mitt allows Link to complete his exploration of Hyrule and Lorule. He’ll discover another Master Ore (#2) and the remaining Lost Maiamais in the process. This lets him upgrade the Master Sword, along with all of his other weapons. |
| Skull Woods | Skull Woods | Seres | Master Ore #3 | Obtaining the Master Ore from this dungeon moves Link one step closer to fully upgrading the Master Sword. |
| Dark Palace | Dark Ruins | Gulley | Master Ore #4 | Obtaining this final Master Ore lets Link fully upgrade the Master Sword. |
| Swamp Palace | Southern Ruins (Lorule) | Oren | Blue Mail | The blue mail halves the damage that Link suffers, making him twice as tough to defeat. |
| Turtle Rock | Lorule Lake | Impa | Hylian Shield | The Hylian Shield allows Link to block magical attacks, and it cannot be devoured by Like Likes. |
| Ice Ruins | Death Mountain | Rosso | Stamina Scroll | The Stamina Scroll lengthens Link’s energy gauge, helping him perform more actions in a row before he becomes exhausted. |