
The Legend of Zelda: A Link Between Worlds Guide Walkthrough The Swamp Palace
Swamp Palace
Entering the Dungeon
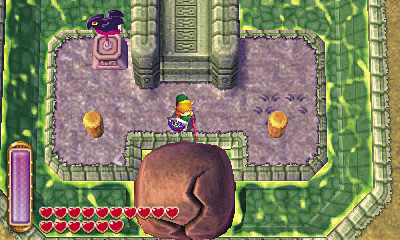
Go south from the Vacant House in Lorule to reach Lorule’s Southern Ruins. Explore to the southwest to locate the Swamp Palace within these ruins.
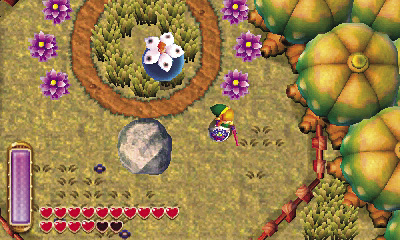
Unfortunately, the Swamp Palace is completely flooded. To enter the dungeon, you must first find a way to drain out the water. Do so by blasting the large cracked rock that stands right outside the Swamp Palace. Only a Big Bomb Flower can destroy this large cracked rock—go west to find the Bomb Shop and lead a Big Bomb Flower here.
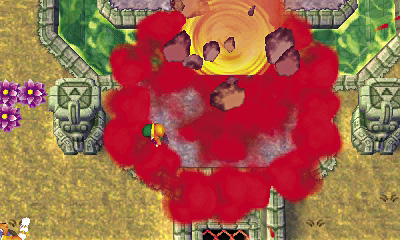
Blast the large cracked rock to bits, and the Swamp Palace’s excess water quickly drains away. Use the Hookshot to latch onto one of the wooden pegs near the dungeon and zip over the moat. Save before heading inside.
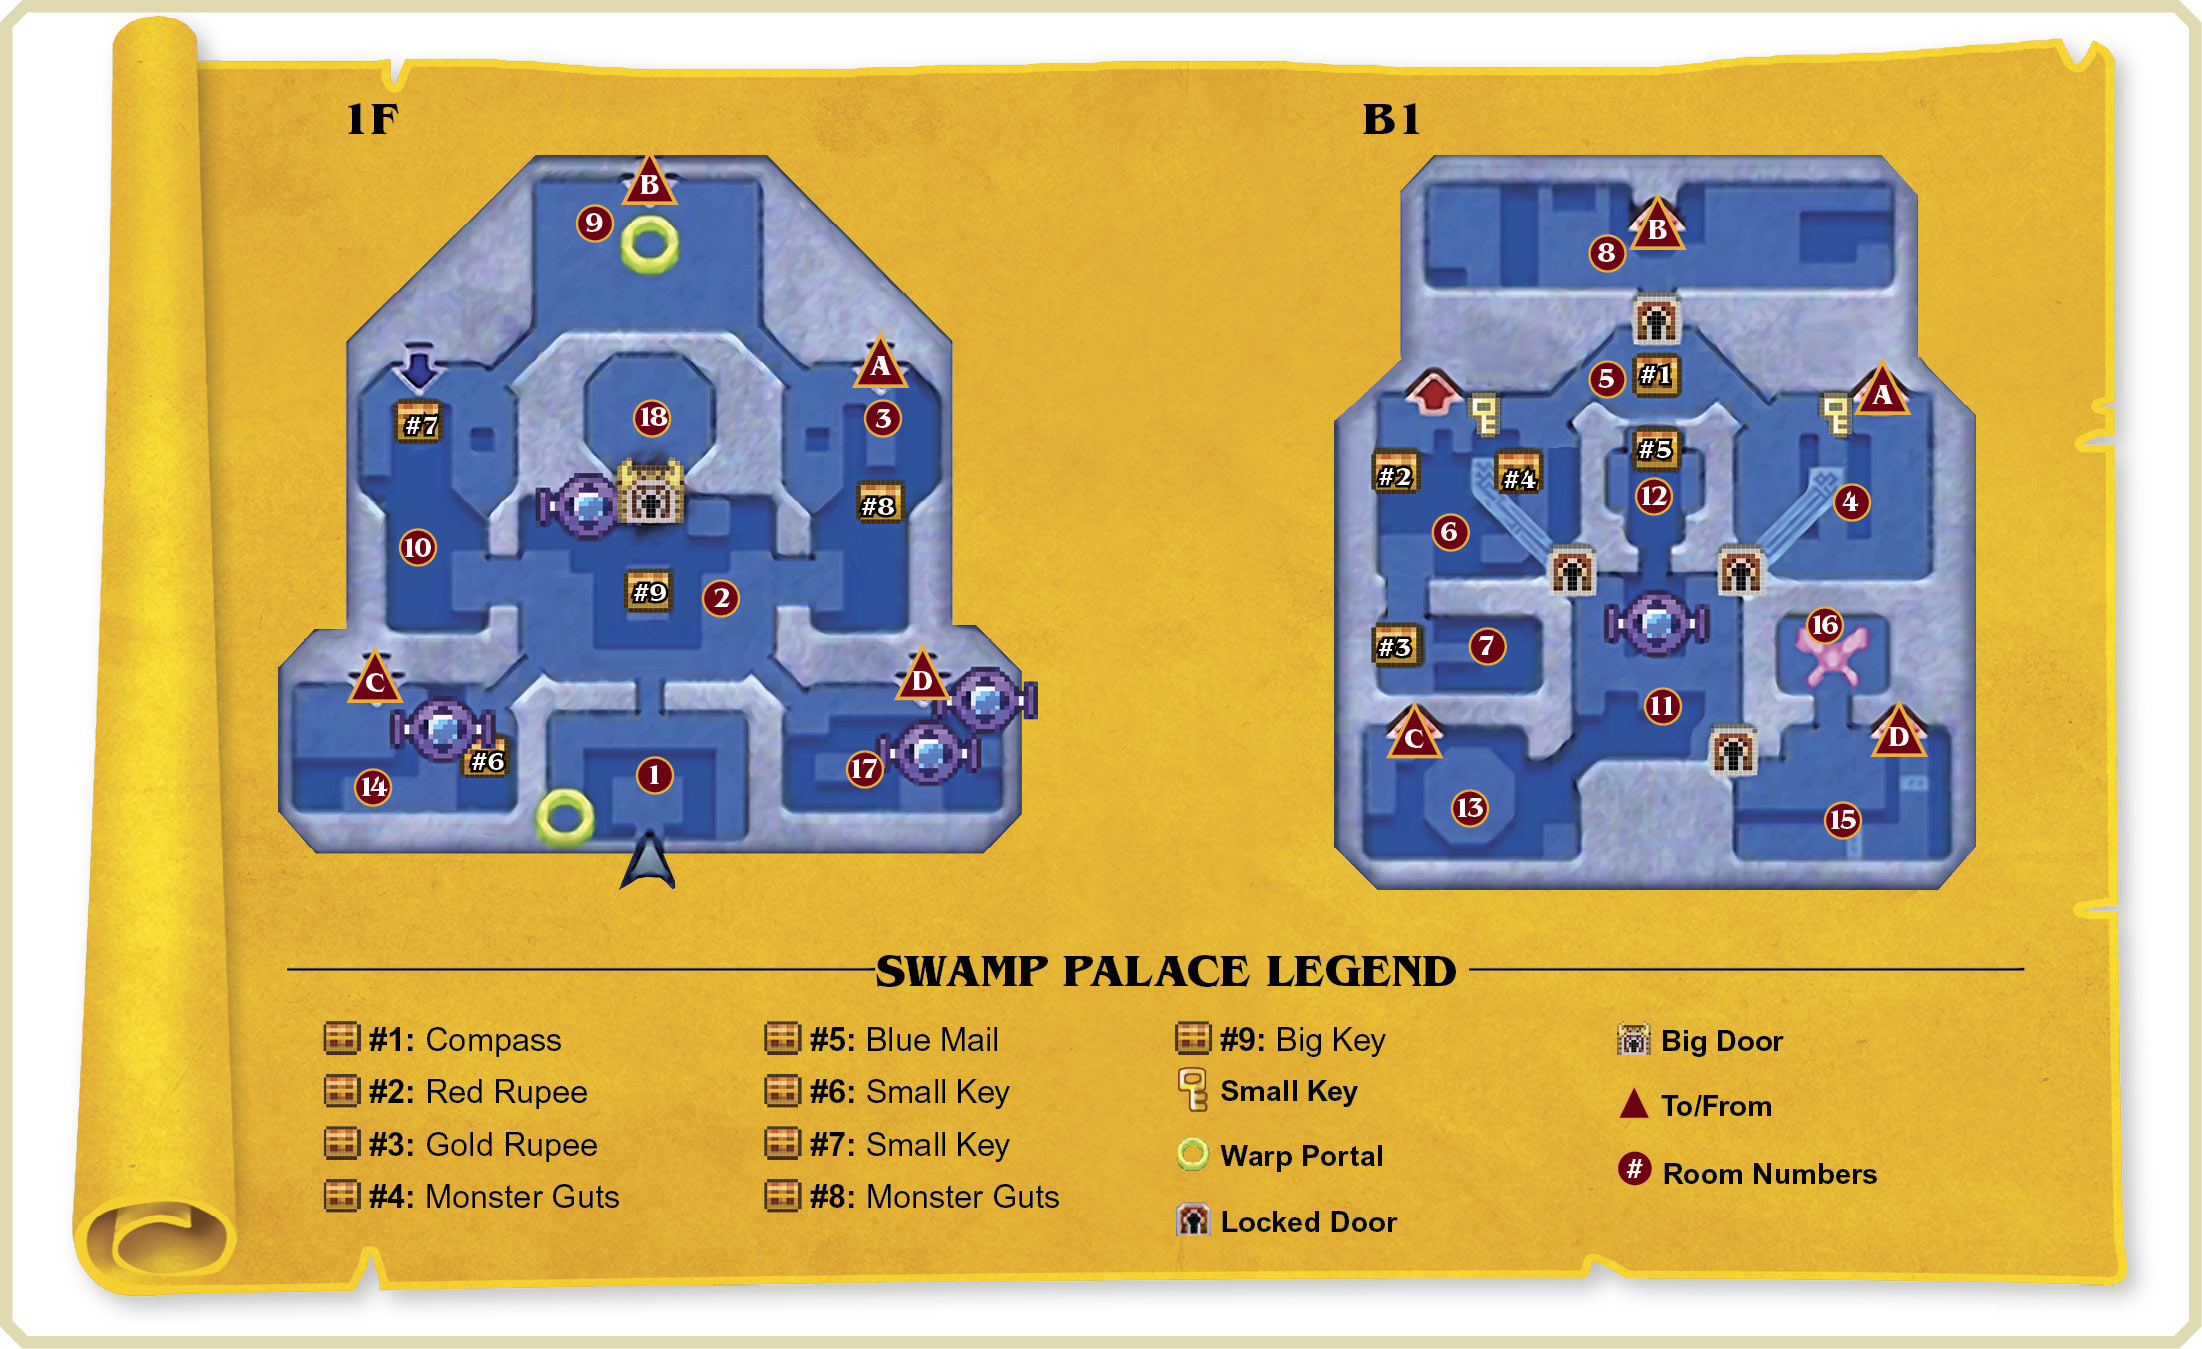
Room 1: Entry
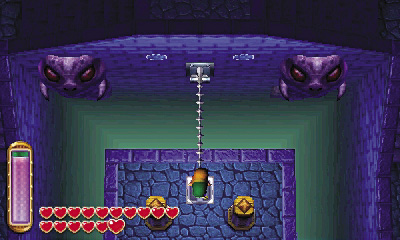
All’s quiet in the Swamp Palace’s first chamber. Use the Hookshot to latch onto the north lever, then pull the lever out from the north wall.
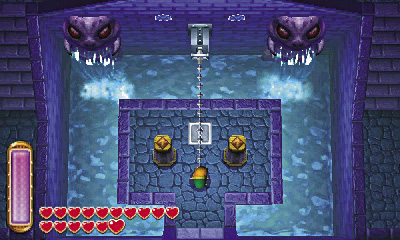
The room fills with water once the lever is fully extended. Swim to the room’s outer walkway and go up through the north door to reach Room 2.
Room 2: Big Door Chamber
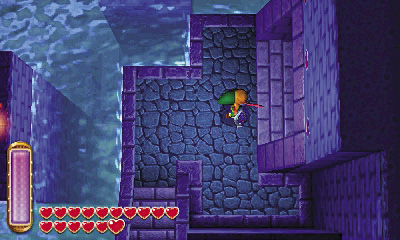
Beware: This wide, watery room is filled with enemies, including swift Water Tektites and hard-shelled Gyorms. The big door stands up north, and there’s a big chest in the room’s center, but the chest is surrounded by flames and can’t be reached. A strange control valve also stands up north, but it can’t be used at present. For now, simply go east into Room 3.
Gyorm

Damage:1 Heart
These soft-bodied baddies ride around in thick, spike-covered shells, making them dangerous to deal with when first encountered. However, by simply using the Hookshot, Link can rip a Gyorm out of its shell, at which point the monster becomes highly vulnerable to Link’s blade!
Water Tektite
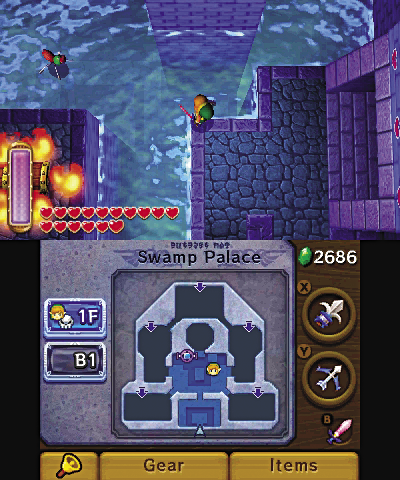
Damage:1 Heart
Unlike other types of Tektite, Water Tektites do not jump, but instead skate along the surface of water. Try dispatching Water Tektites with ranged weaponry from the safety of dry land before swimming into their territory. Dive while swimming to avoid contact with these agile enemies.
Room 3: East Stairwell 1F
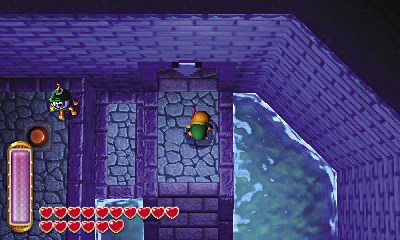
This room is filled with more foes and more water. You can’t reach the high central chest or northwest floor switch, so simply proceed north and go downstairs to visit Room 4.
Room 4: East Stairwell B1
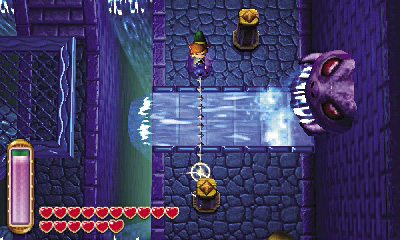
Beware this room’s rushing rapids—they’ll sweep Link into the central pit if he steps into the torrent! Use the Hookshot to zip past the first rapid, then quickly dispatch the yellow Bari beyond. Remember that yellow Baris split apart into two smaller Biris when slain!
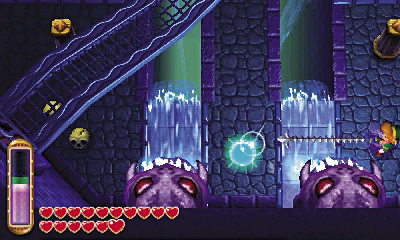
After cutting down the Bari (and Biris), activate the room’s southern switch with a ranged weapon, such as the Hookshot or bow. Once activated, all of the room’s rapids cease to flow, allowing for easier exploration.
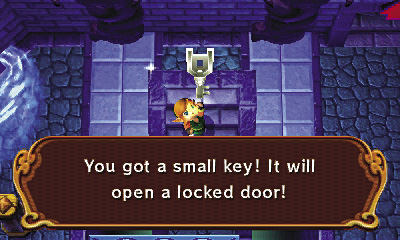
Run north from the crystal to reach a small key atop some stairs. These are always good to have on hand! Pocket the key and then proceed through the room’s northwest door to visit Room 5.
Room 5: Compass Chamber
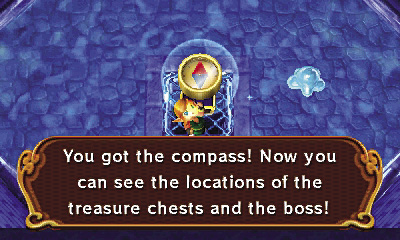
A chest rests on the middle of this room’s watery floor. Slay the swift Water Gibos here as you move to loot the chest. Inside, you discover the dungeon’s compass—another good find!
 Swamp Palace Chest #1: Compass
Water Gibo
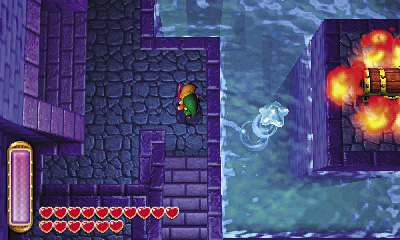
Damage:1/2 Heart
These blob-like baddies swiftly slip around on the water’s surface, much like Water Tektites. They’re weaker than Water Tektites however, and therefore less of a threat. The Tornado Rod is useful for stunning Water Gibos when they come too close for comfort.
Room 6: West Stairwell B1
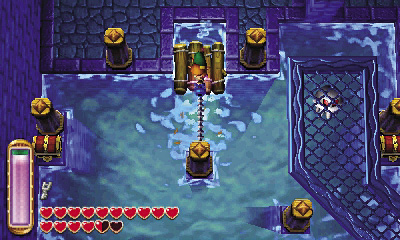
Ignore Room 5’s locked north door for the moment and take the west door instead to reach Room 6. Stand on the north raft here and use the Hookshot to latch onto the post to the south.
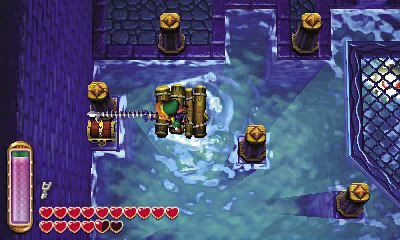
Whoa! Using the Hookshot pulls the raft you’re standing on toward the post. Hookshot the next post to the west and sail over to a chest, which contains a Red Rupee.
Swamp Palace Chest #2: Red Rupee
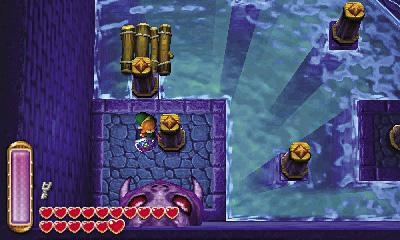
Hookshot the post to the south after looting the Red Rupee chest, and you’ll sail down to a door. Go through to visit Room 7.
Room 7: Gyorm Shell Toss
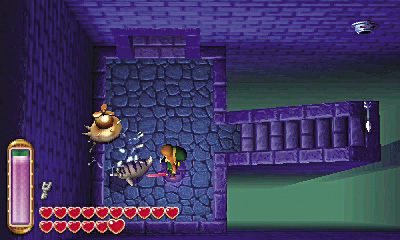
The moment you enter this room, Hookshot the Gyorm to rip it out from its shell. Slay the Gyorm, then pick up its shell afterward.
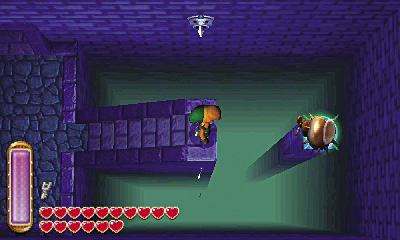
Quickly toss the Gyorm shell at the east crystal, making sure that Link isn’t hit by the northern arrow trap. You can also trigger this switch with ranged weapons like the bow and Hookshot of course, but using the Gyorm’s shell earns you style points! (Not really.)
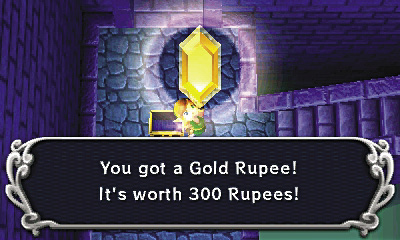
Hitting the crystal makes a chest appear nearby. Pop open its lid and pluck out a precious Gold Rupee!
Swamp Palace Chest #3: Gold Rupee
Room 6 (Revisited)
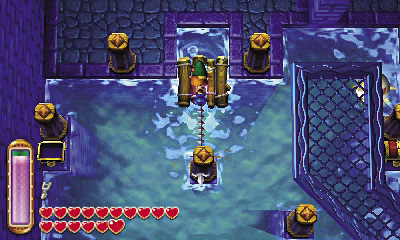
Go back into Room 6 to find that its raft has returned to its original position up north. Go north and board the raft once more. Again, while standing on the raft, Hookshot the southern peg to slide southward, just as you did before.
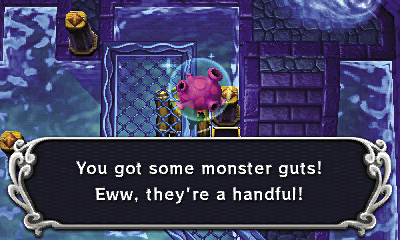
This time, after sailing south to the first peg, face east and Hookshot over to another peg that’s near the room’s eastern chest. Sail over and open this chest to claim some icky monster guts.
Swamp Palace Chest #4: Monster Guts
Room 5 (Revisited)
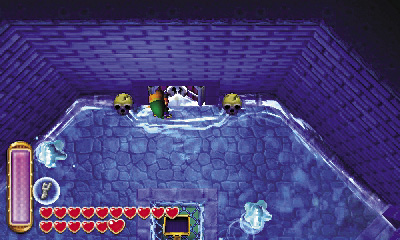
That’s it for Room 6—backtrack through the northeast door to return to Room 5, then use the small key you found back in Room 4 to open the north door and visit Room 8.
Room 8: Waterworks
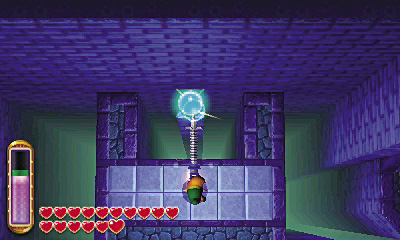
Use the Hookshot to safely dispatch the silver Baris in this long chamber. Use the Hookshot again to trigger the room’s northwest switch.
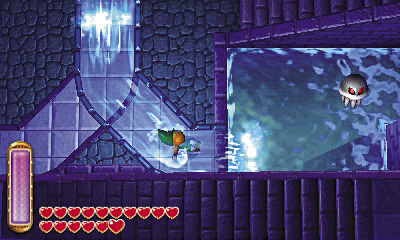
Activating the northwest switch causes water to start flowing eastward, filling the eastern pool. Go east and cross the rapids, swimming past the rapids after they send you sliding into the pool.
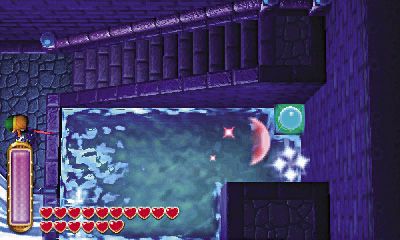
Stand near the foot of the east stairs and fire a ranged weapon at the far east crystal across the water. Activate this switch to make more water flow westward, filling the room’s western pool.
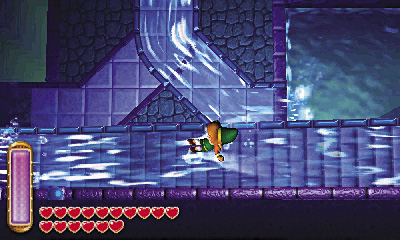
With water now flowing westward, climb the east stairs and merge into the wall. Loop around to a ledge, then pop out and ride the southern rapid back over to the room’s west side. Whee!
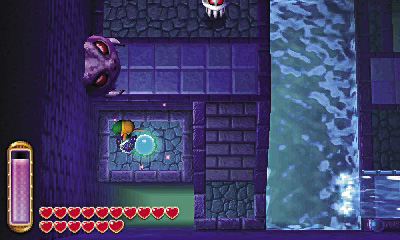
When you reach the room’s west end, merge over to another crystal. Activate this switch as well to send even more water pouring into the room from the west wall.
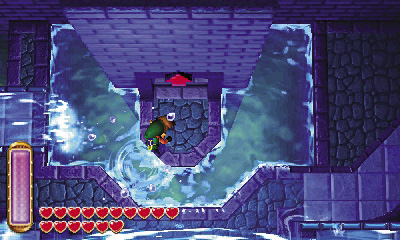
Go north and ride the new water rapid over to the center of the room, which is now filled with water. Cross over to the north stairs and take them up to Room 9.
Room 9: Gigabari’s Lair
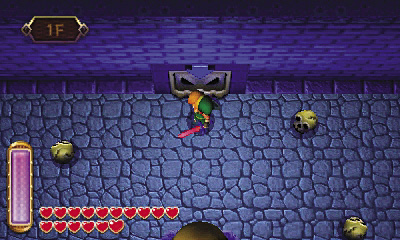
Beware: A monstrous gold Gigabari lurks up here! Link becomes trapped in this room when he enters, and only by slaying the big Gigabari will he be allowed to proceed.
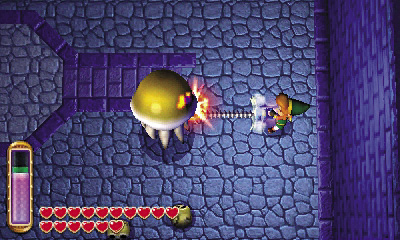
Though big and bad, Gigabari acts just like any other Bari. It slowly floats about, becoming electrically charged every now and then. Keep your distance and assail the slow monster with ranged attacks—the Hookshot and bow work quite nicely.
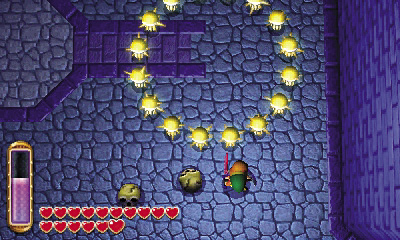
Look out: After suffering plenty of damage, the giant Gigabari bursts into a teeming horde of tiny gold Biris! Keep back and use the Hookshot or bow to slay these little beasts without giving them the chance to shock you.
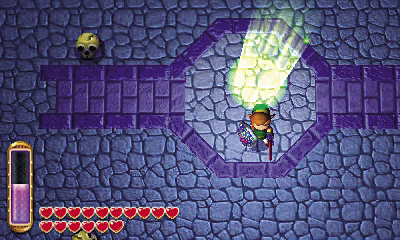
Cut down every last Biri to at last unseal the room. A portal also appears. Warp back to the dungeon’s entrance and save if you like, then travel back through the portal and go through Room 9’s southwest door to visit Room 10.
Room 10: West Stairwell 1F
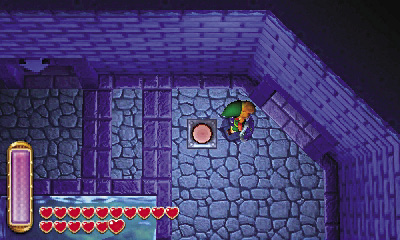
This room is similar to Room 3, featuring a high chest and floor switch. The chest is out of your reach, but step on the floor switch to extend a wall that bridges the nearby gap on the ledge. Now you’ll have an easier time moving through here!
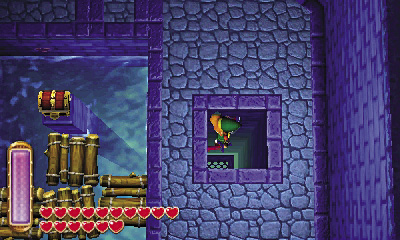
Ignore the northwest stairs and notice the cracked floor tiles to the south of the floor switch. Use a bomb to blast through these tiles, then drop through the hole to return to Room 6.
Room 6 (Third Visit)
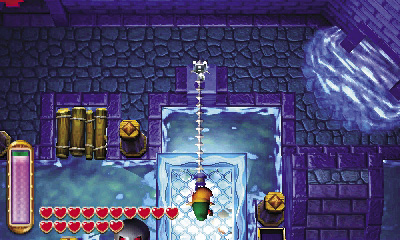
Bombing through the cracked floor in Room 10 lands you on a high walkway downstairs in Room 6. Use the Hookshot to snatch a small key from the tall north pedestal—it’s there for the taking!
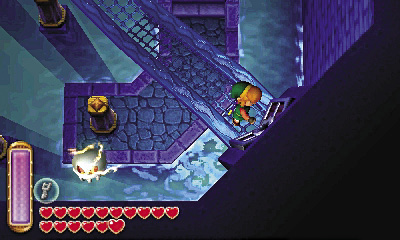
After collecting the small key with the Hookshot, go south and use the key to open the locked southeast door, which leads into Room 11.
Room 11: Water Control A
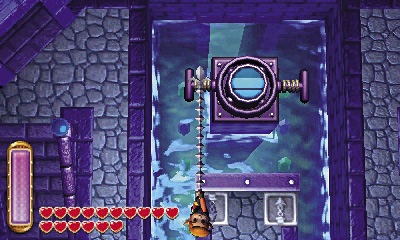
Use the Hookshot to help you slay the Gyorms in this watery room, then approach the nearby mechanism. It’s some sort of control valve! While standing south of the device, use the Hookshot to latch onto its left handle. Pull on the Hookshot’s chain to turn the valve.
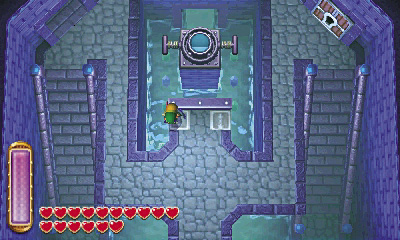
Pulling the valve’s left handle with the Hookshot lowers the room’s water level. Now you can go through the north door! Drop to the low ground and go north into Room 12.
Room 12: Special Treasury
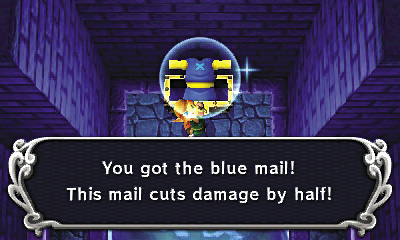
Press  to dive under the large spiked pin that rolls back and forth in this small room. Swim north, heading for a big chest. Open the chest to claim this dungeon’s special treasure: the awesome blue mail!

Swamp Palace Chest #5: Blue Mail
Blue Mail
Sturdy mail that provides great defense.
Room 13: Beamos Chamber
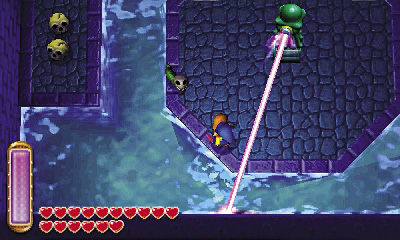
Return to Room 11 after claiming the blue mail and take the southwest door to reach Room 13. Beware: Link becomes sealed in this room, in which two northern levers are guarded by a central Beamos. Move onto the central platform, then quickly run around the Beamos as it fires its rotating laser, keeping out of harm’s way.
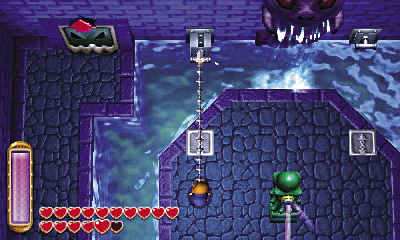
When the Beamos stops firing, quickly latch onto the northwest lever and pull it out of the wall. The opens the room’s north door, allowing you to escape upstairs to Room 14. There’s no need to pull the northeast lever—doing so merely causes a nest of Skullropes to drop from the ceiling!
Room 14: Water Control B
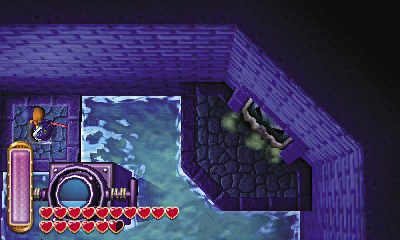
Beware the Gyorms that roam this small room. Drop from the entry ledge and step on the low floor switch to open the northeast door.
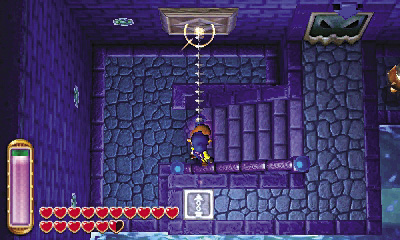
Swim to the room’s northwest corner and go upstairs to reach a higher walkway. Stand on the Hookshot tile up here and face north, then fire the Hookshot at the wooden target on the north wall.
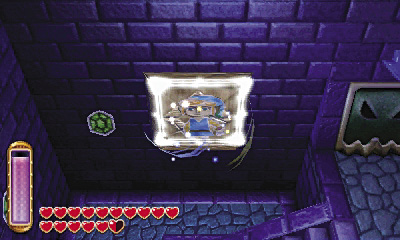
Whoa! Link zips over to the wall’s wooden target. Quickly press  to merge into the wall when he makes contact.
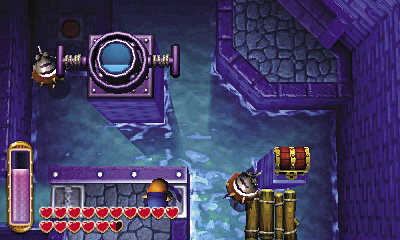
Slide counterclockwise around the wall, heading for the room’s south ledge. Exit and scale the southern stairs to reach the central water valve.
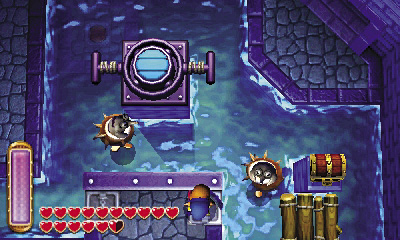
First, Hookshot the valve’s right handle. Pull this handle twice, spinning the valve two times to raise the water as high as it will go.
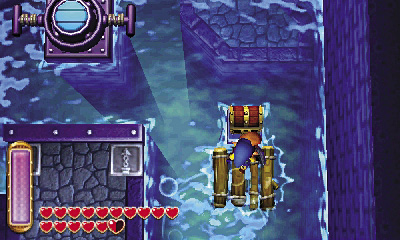
After raising the water level all the way up, swim over and loot the nearby chest.
Swamp Palace Chest #6: Small Key
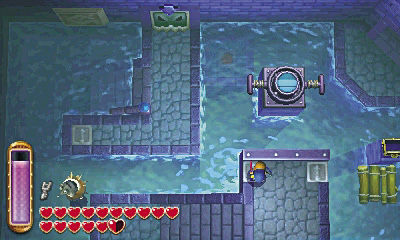
Swim back over to the control valve. This time, spin the valve’s left handle once to lower the water level by one increment. Now swim over and go through the northeast door to revisit Room 2.
Room 2 (Revisited)

Back in Room 2, the water level is now a bit higher—but you still can’t reach that big chest. For now, simply swim through the west door to return to Room 10.
Room 10 (Revisited)
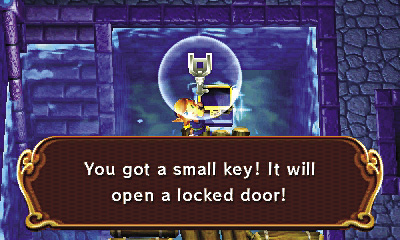
Now that the water level has been raised on this floor, you can reach this room’s high treasure chest. Swim over and lift its lid to score a small key.
Swamp Palace Chest #7: Small Key
Room 3 (Revisited)
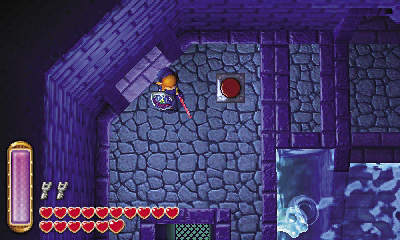
Pocket your small key, then go north into Room 5. Continue east through Room 5 to reach Room 3. Step on a floor switch when you enter to extend a wall and bridge a gap on the ledge, just as you did back in Room 10 not long ago.
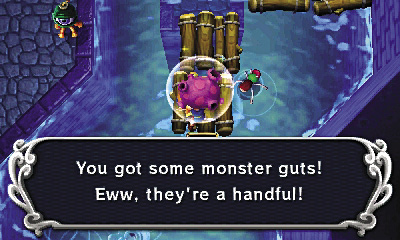
Again, you can reach a high chest in this chamber thanks to the higher water level. Swim over and raid the chest to claim some gooey monster guts.
Swamp Palace Chest #8: Monster Guts
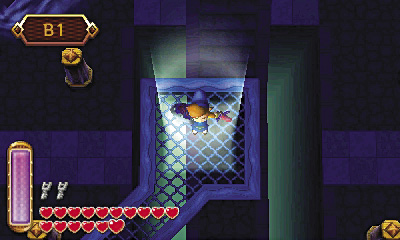
After looting Room 3’s high chest, use a bomb to blast through the cracked floor tiles on the room’s north ledge. Drop through the hole afterward to land back downstairs in Room 4.
Room 4 (Revisited)
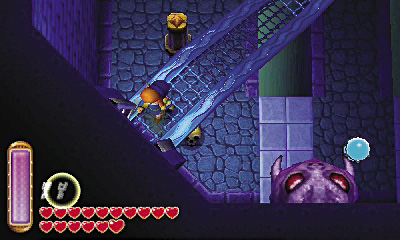
Bombing through the floor in Room 3 lands you on a high walkway down in Room 4. Unlock the southwest door with one of the two keys you’re carrying and go through to revisit Room 11.
Room 11 (Revisited)

You’re back in Room 11, near the first water control valve you discovered. This time, use the Hookshot to grab and pull the valve’s right handle twice in a row, raising the room’s water level to its maximum height.
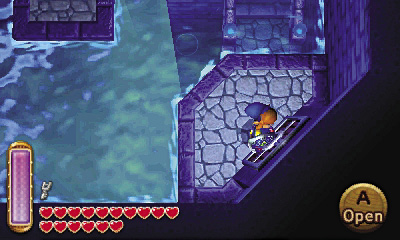
After raising the room’s water level all the way up, swim over to the locked southeast door, and use your remaining key to go through into Room 15.
Room 15: Gyorm Gang
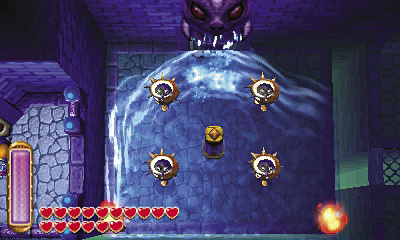
Careful: This room’s central pit is filled with dangerous Gyorms! Drop down and use the Hookshot to help you slay each and every one of these prickly pests.
Room 16: Fairy Fountain
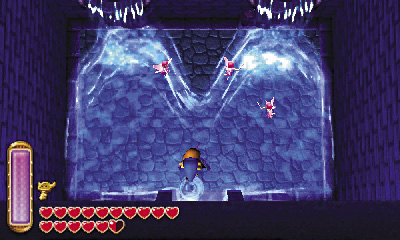
After clearing out the Gyorms, go north, entering a small room that’s filled with fairies. It’s a Fairy Fountain! Take a moment to fill your bottles here before moving on.
Room 15 (Revisited)
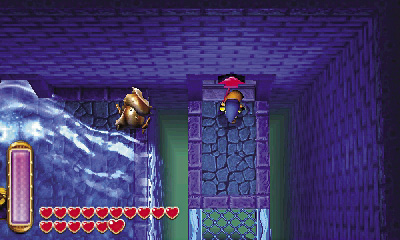
Back in Room 15, use the Hookshot to latch onto the south peg and zip over to the southern ledge. Loop around to the north and go upstairs to visit Room 17.
Room 17: Water Control C
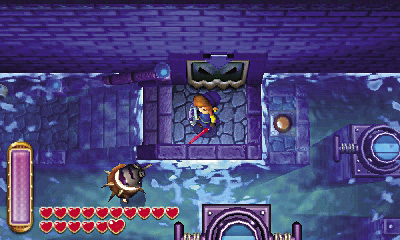
Link is sealed in this watery room when he enters. Slay any Gyorms that get in your way as you head up the west stairs.
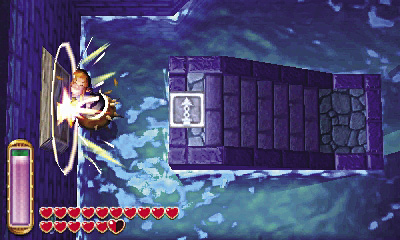
The stairs lead up to a Hookshot tile. Stand there and use the Hookshot to latch onto the west wall’s wooden target. Link zips over to the wall.
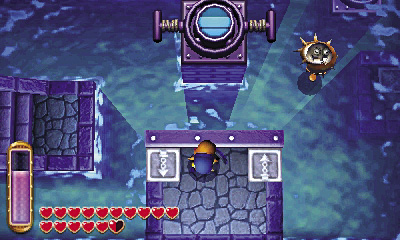
Press  to merge into the wall the moment Link makes contact. Slide south and then east, collecting a few painted Rupees on your way to the room’s southern ledge.

Exit onto the southern ledge. You’re now within range of a water valve. Use the Hookshot to latch the valve’s left handle, and spin the valve to lower the room’s water level.
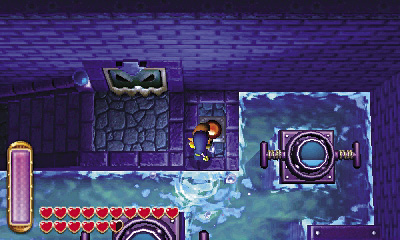
After drainig the room's water, drop and move over to the northern floor switch. Step onto the switch to open the high northwest door.
One Room, Two Valves
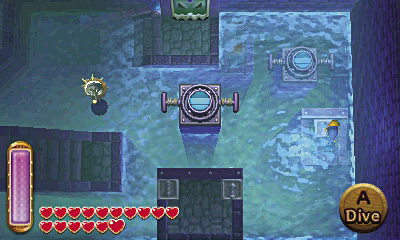
Now move onto the room’s east ledge. There’s another water valve to the north, in the room’s northeast corner. Use the Hookshot to pull the valve’s right handle, raising the room’s water level by one degree.
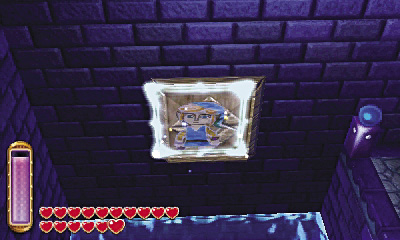
With the water level back up, swim back over to the west stairs. Latch onto the west wall’s target again with the Hookshot and then merge back around to the southern ledge.
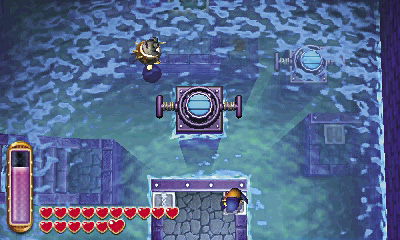
Back on the southern ledge, latch onto the central water valve’s right handle. Pull this one to raise the water level again, filling the room to its maximum height.
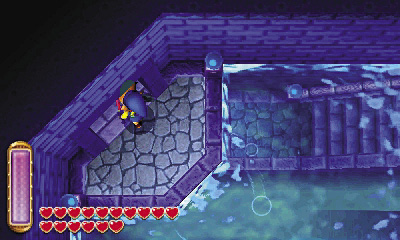
With the room full of water, you now can swim over to the northwest door. This is the same door that you opened by stepping on the room’s floor switch before. Go through to return to Room 2.
Room 2 (Third Visit)
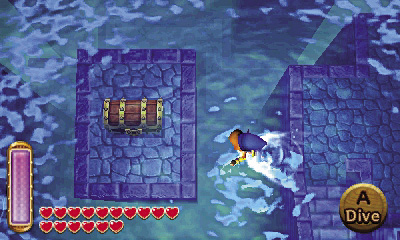
Back in Room 2, you’ll be happy to see that the flames around the big chest have at last been extinguished. Unfortunately, the water level is now so high that the whole chest is submerged!
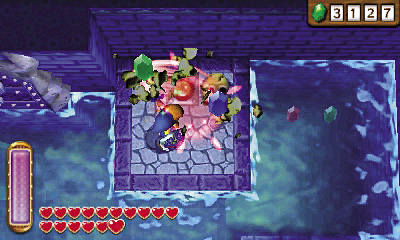
Swim to the room’s northwest ledge, which is covered in skulls. Smash the skulls to discover a hidden floor switch. Aha! Step on the switch to lower the room’s water level by one degree.
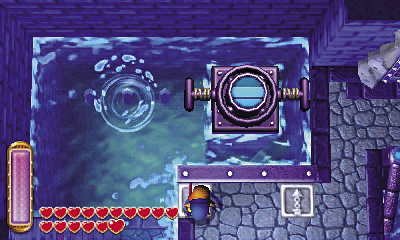
With the water level lowered, you can now reach the room’s northwest valve. Latch onto the valve’s left handle and spin it to lower the water level once more.
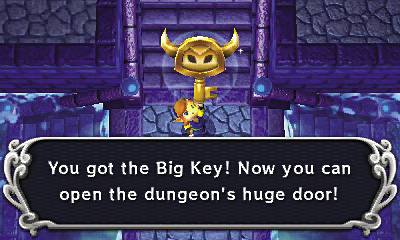
After lowering the water level, you can finally reach that big chest. Go down there and lift the chest’s lid to discover the Big Key.
Swamp Palace Chest #9: Big Key
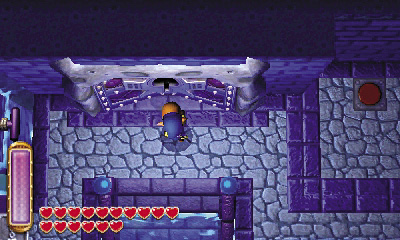
With the Big Key in your possession, there’s nothing left to do here at the Swamp Palace. Go north and use the Big Key to open the big door, beyond which lies the Swamp Palace’s evil boss.
Boss Battle: Argghus
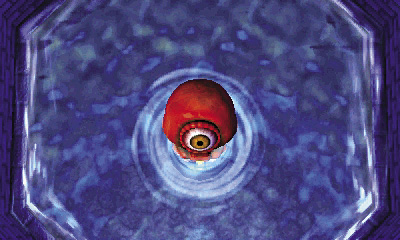
The Swamp Palace’s awful boss, Argghus, is a monstrous red eyeball that’s surrounded by several smaller, blue eyeballs. Talk about an eyesore!
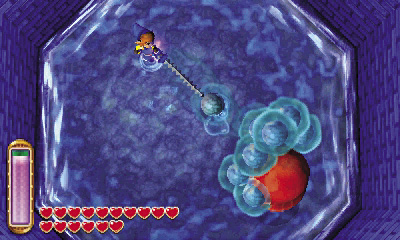
As Argghus slowly pursues Link around its chamber, it occasionally launches one of its smaller eyeballs toward Link. These eyeballs catch fire and will burn Link if he’s struck. Stay mobile and merge into walls if necessary to avoid these early attacks.
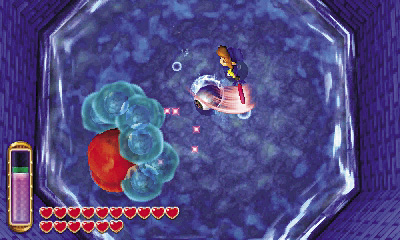
To damage Argghus, first you must expose the monster. Use the Hookshot to snatch away each of Argghus’s smaller blue eyeballs, then quickly attack the eyeballs before they return to Argghus.
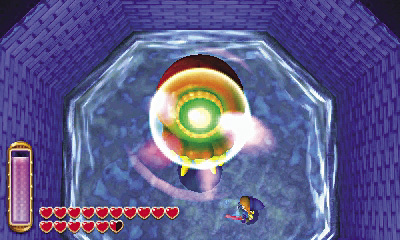
Keep grabbing and stabbing Argghus’s eyeballs until you’ve destroyed every last one of them. At this point, Argghus becomes enraged and jumps all around, trying to slam down and flatten poor Link. Stay mobile and merge into the surrounding walls to escape Argghus’s ire.
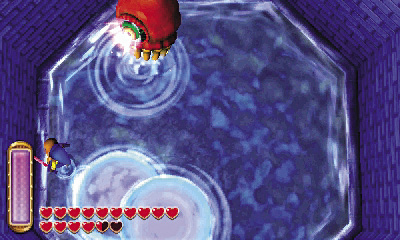
After Argghus jumps three times, it begins to summon energy. Immediately stun the monster with the Ice Rod to interrupt its forthcoming eye beam barrage!
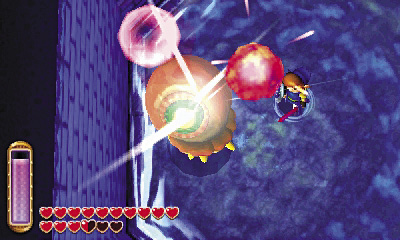
Continue to avoid Argghus’s jump attacks, landing your own strikes each time the boss hits the ground. Use the Ice Rod to stun Argghus, or strike with the Master Sword, and it’ll never have the chance to unleash its powerful eye beam attack. Don’t stop hacking and slashing away until victory is finally yours!
The Royal Zora

After suffering enough of Link’s wrath, Argghus is at last defeated. Collect the heart container that the great monster leaves behind and then proceed through the north door.
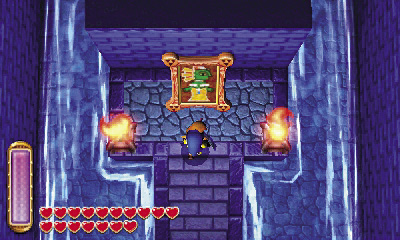
Link arrives in a small, water-filled chamber. A Sage’s picture is quietly displayed on the room’s central platform. Approach the picture and touch it to rescue another trapped Sage!
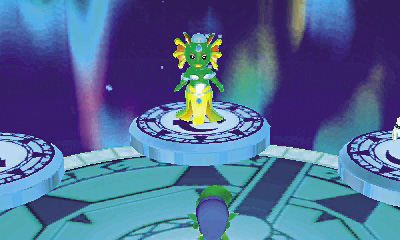
Well done, hero—you’ve just saved Oren, the Zora Queen! This is the second time Link has saved this accident-prone queen, but hey, those Zora’s Flippers were totally worth it. Warp back through the portal after speaking with Oren—the remaining Sages await!
