
The Legend of Zelda: A Link Between Worlds Guide Walkthrough The Desert Palace
Desert Palace
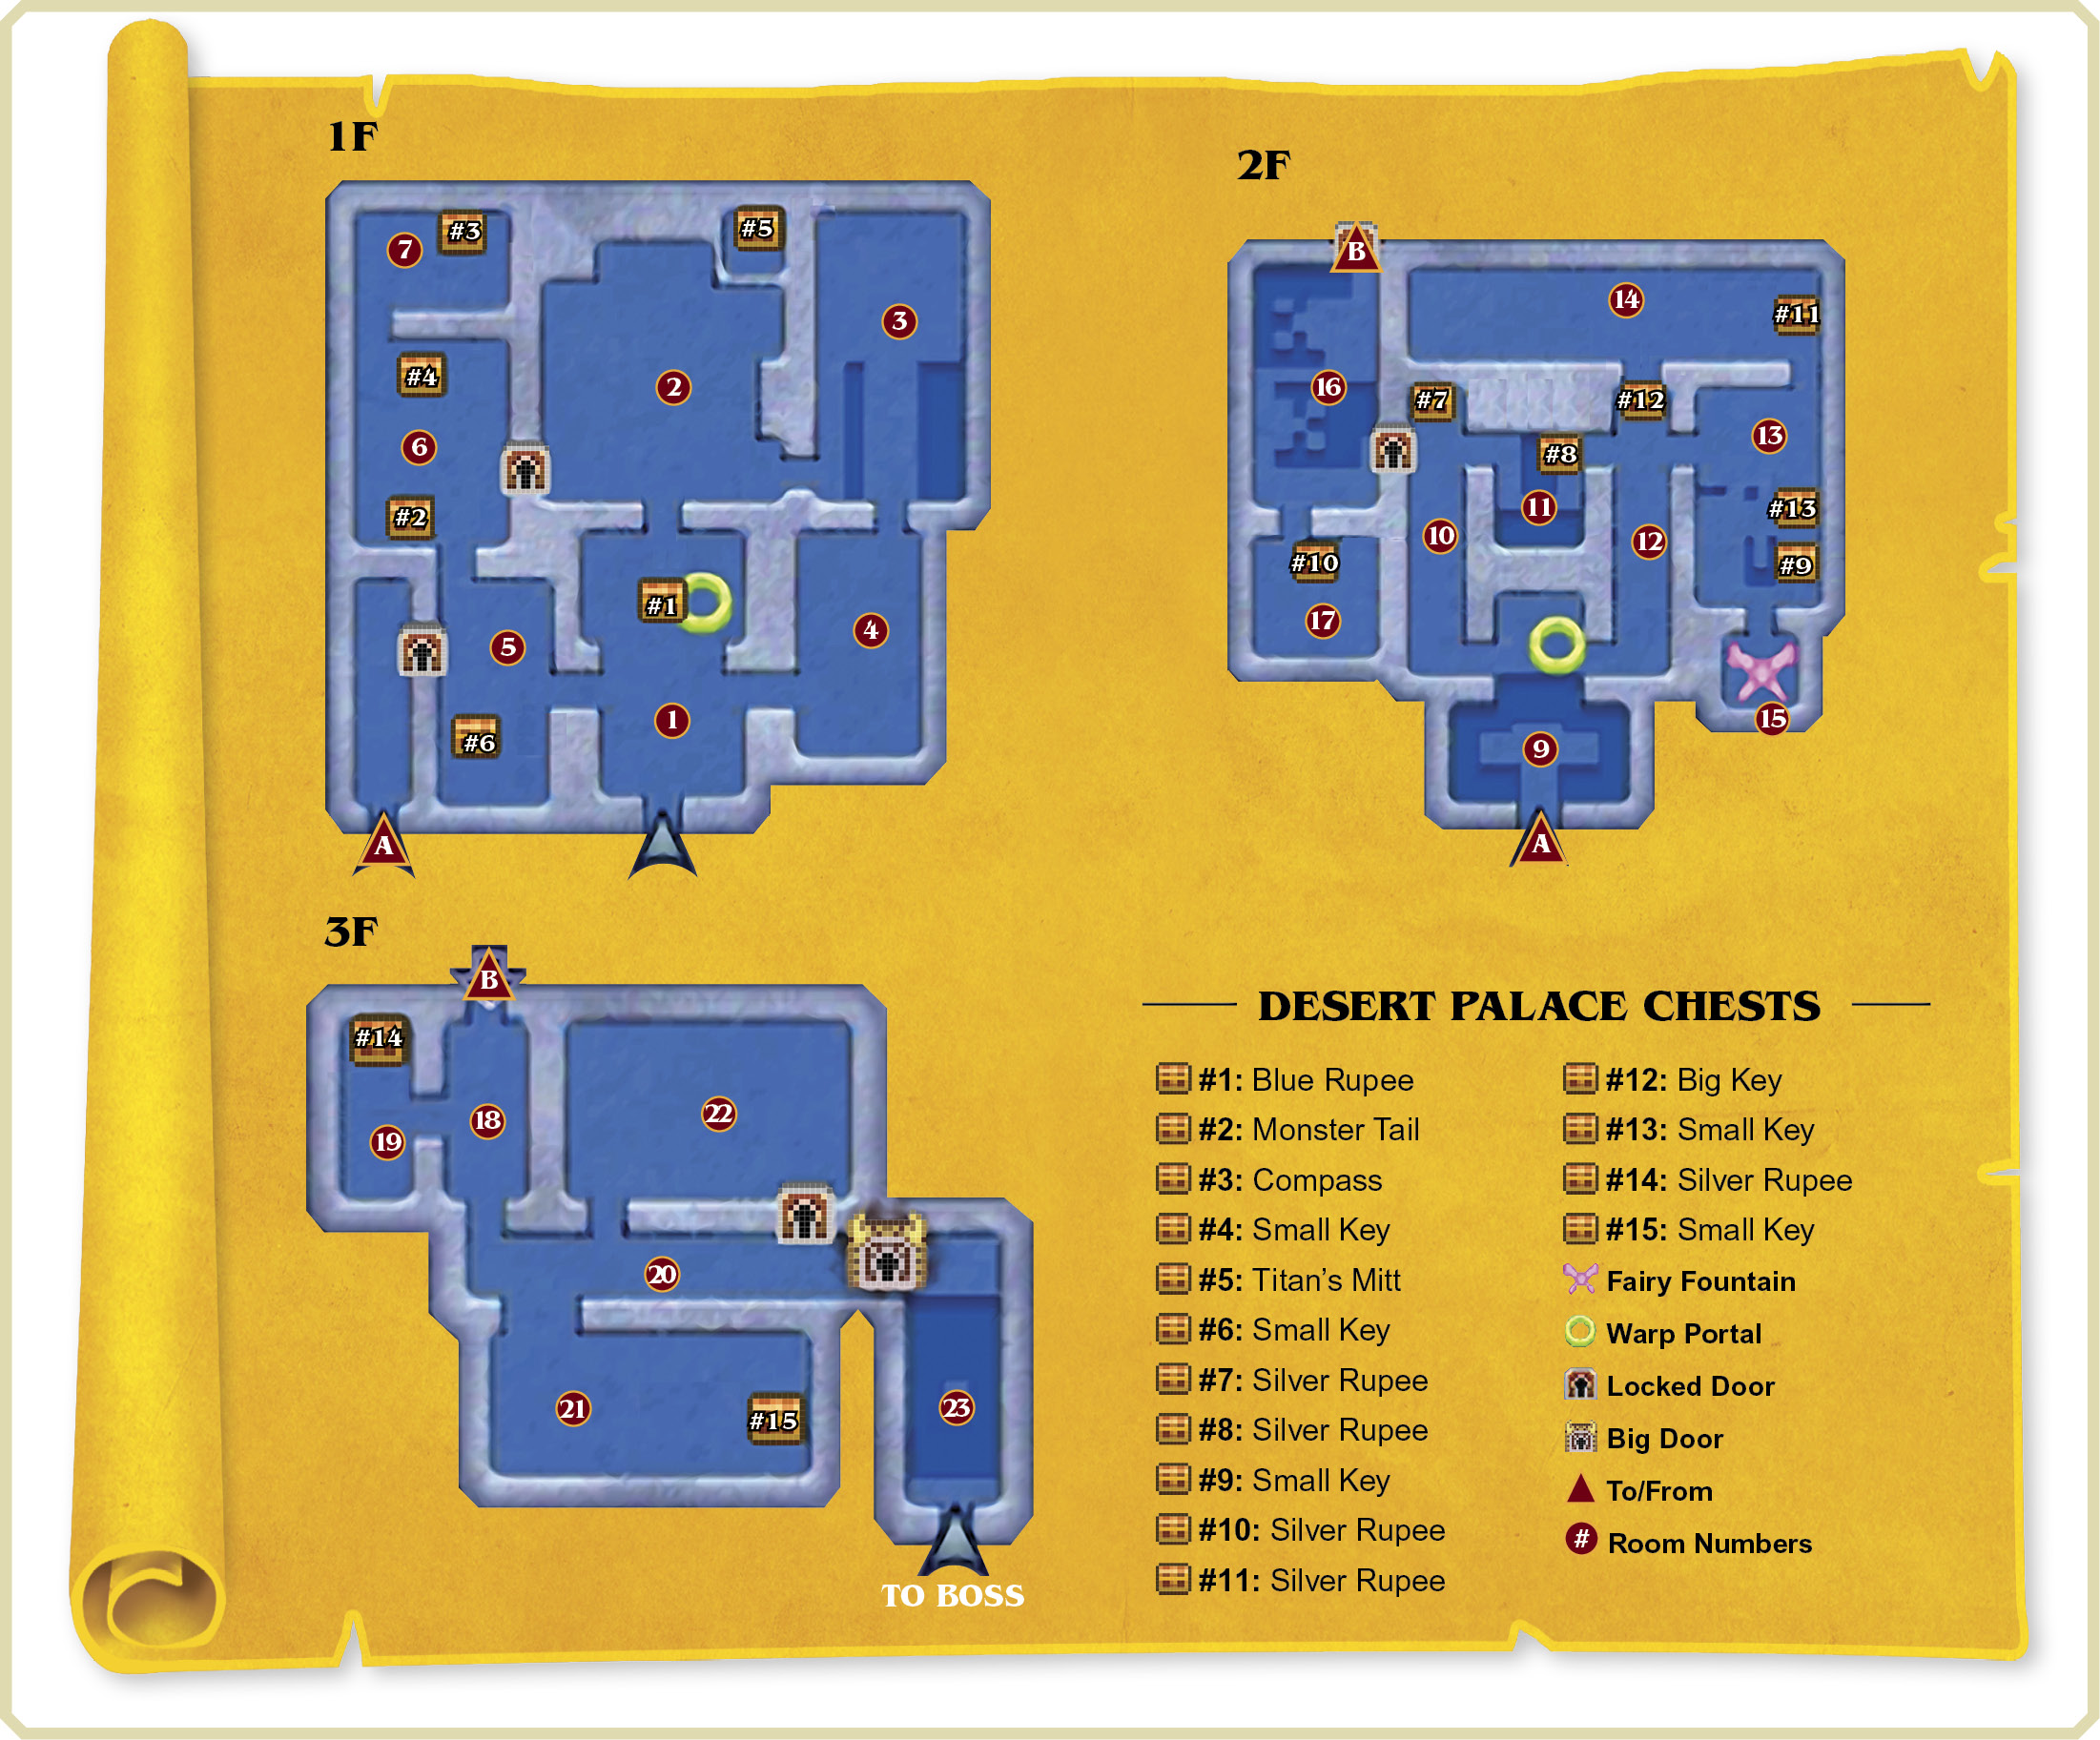

You cannot reach the Desert Palace without the Sand Rod. Clear the Thieves’ Hideout dungeon first, and you can rent (or buy) the Sand Rod from Ravio afterward. We strongly recommend that you buy the Sand Rod and upgrade it with Mother Maiamai’s nice magic before attempting this dungeon!
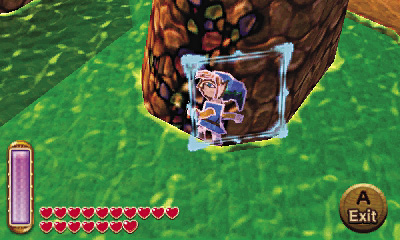
Once you’ve obtained the Sand Rod, head for Hyrule’s southwest desert. Slip into the fissure in the desert’s entry area to visit Lorule’s southwest swampland, known as Misery Mire.
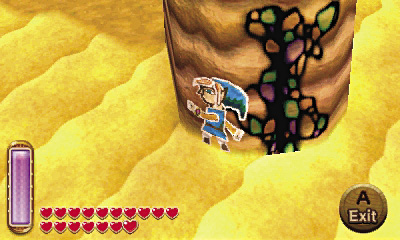
Go west into Misery Mire, then pass through another fissure in a tall rock to return to Hyrule’s sweltering desert.
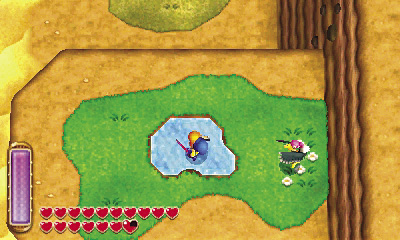
Back in the desert, go southeast and climb some stairs to reach a ledge with a small puddle. Face west and use the Sand Rod to raise a sand wall that leads over to the nearby pillar.
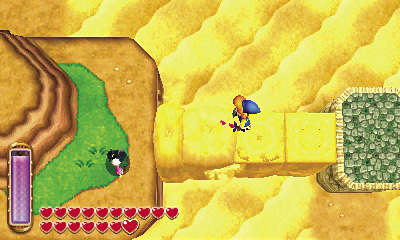
Run across the top of the sand wall to reach the pillar, then raise another sand wall to the west. Cross this wall as well to reach a small ledge.
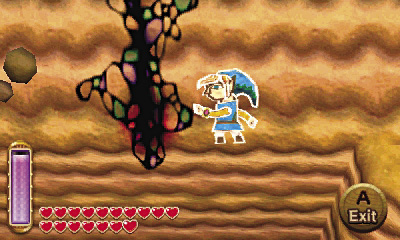
Merge into the ledge’s wall and go west to reach a high fissure. Travel through this fissure to return to Lorule.
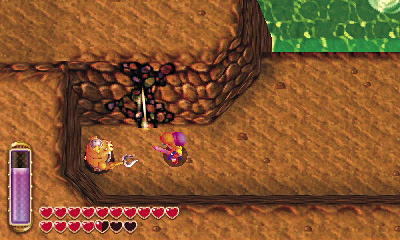
Back in the Misery Mire, slay Moblins as you navigate a series of wooden footbridges. Enter the fissure that you discover on the southwest ledge to return to Hyrule.
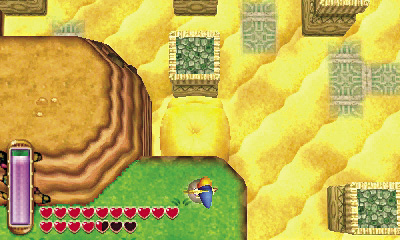
Back in the desert, use the Sand Rod to reach the top of the east pillar, then use the rod again to reach the pillars to the north.
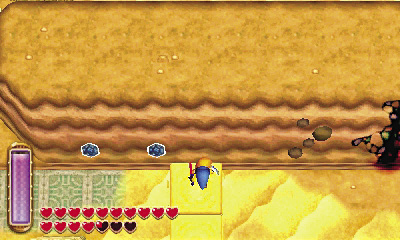
Use the Sand Rod to reach the pillar with the Red Rupee on top. From there, face north and raise another wall of sand, then cross over and merge into the north cliff.
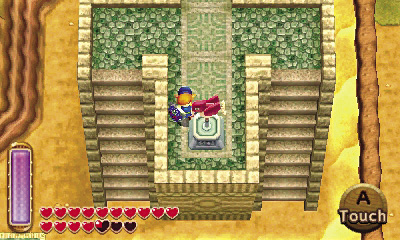
Slide to the west and wrap around the cliff’s corner to at last reach the Desert Palace. Exit from the wall and save your game at the weather vane.
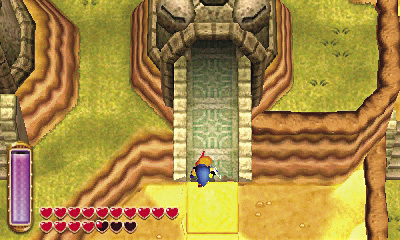
Go north from the weather vane and summon a final wall of sand. Cross the sand wall to reach the Desert Palace’s front entrance, and head inside.
Room 1: Entry A
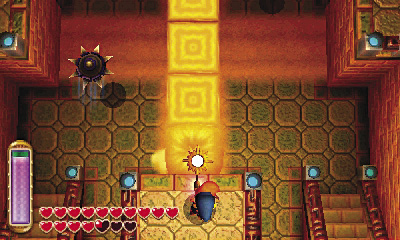
Spiked traps swing back and forth in the Desert Palace’s first chamber—be careful not to touch them! Face north while standing on the entry ledge, and wave the Sand Rod to raise a wall of sand.
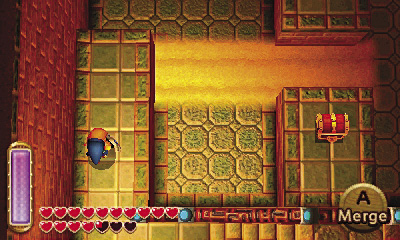
Run across your sand wall to reach the center of the room. Go down the west stairs and run to the end of the ledge.
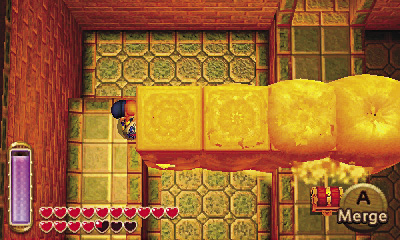
Notice the sand on the ground when you reach the west ledge’s end. Use the Sand Rod again to summon a sand wall here.
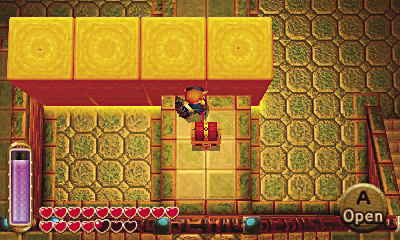
This sand wall is too high to run across. Merge into it instead and slide east, heading for a chest. Pop out and open the chest to claim a Blue Rupee.
 Desert Palace Chest #1: Blue Rupee
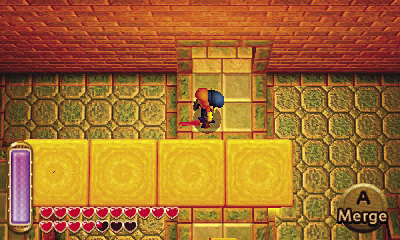
Merge back into the sand wall after looting the chest, and quickly slip around to the wall’s north side. Exit onto the north ledge, and go through the north door to visit Room 2.
Room 2: Spacious Chamber
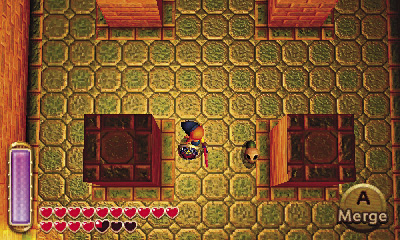
Beware the Skullropes and Gibdos that roam this wide room! The Skullropes are just like the slithering Ropes you’ve seen around Hyrule (only tougher), but the Gibdos are new to you.
Gibdo
Damage:1 Heart
No ancient tomb would be complete without a few lumbering Gibdos stalking its halls. These tough, mummy-like foes are wrapped in heavy bandages, and they can withstand several hits before being defeated. To quickly dispatch a Gibdo, set it ablaze with the lamp or Fire Rod. When the bandages burn away, the Gibdo is reduced to a skeletal Stalfos!
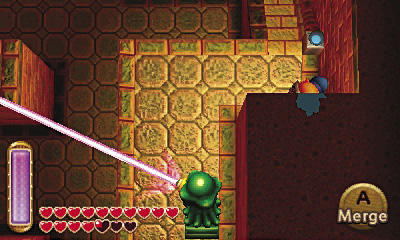
Head to Room 2’s northeast stairs, and climb up to reach the eastern ledge. Beware: Two powerful Beamos statues watch over the ledge! Beamoses are inanimate statues that activate when an intruder draws near, firing a lethal laser out of their single, rotating eye. You can’t destroy a Beamos, so merge and slide along the east wall to slip past these stationary sentries. Enter the southeast door to reach Room 3.
Room 3: Sand Pit
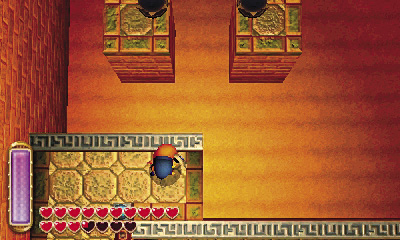
The north half of this chamber is filled with sand, making it a playground for your Sand Rod. Stand at the north end of the entry ledge, face east, and raise a wall of sand toward the eastern ledge.
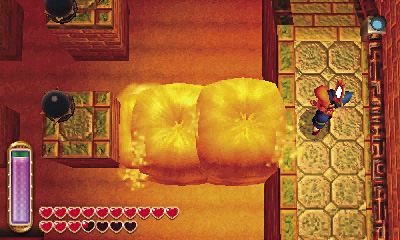
Cross your sand wall to reach the east ledge, then go north toward some stairs. Stand near the stairs and face west, then summon another sand wall.
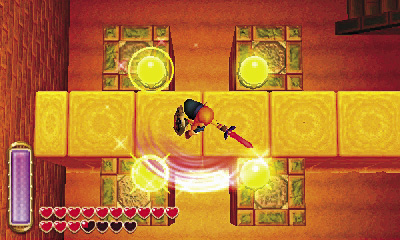
Cross your sand wall again, moving close to four crystals. Stand in the midst of the crystals and hold  to charge up a spin attack. Release
  to spin and quickly strike all four crystals with Link’s sword. These crystals will deactivate if you don’t trigger them all quickly, so the spin attack helps.
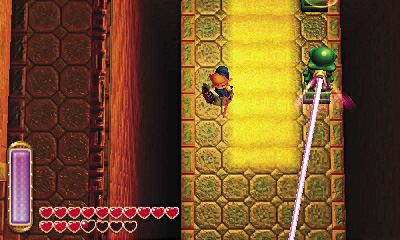
With all four crystals activated, a wall slides away to the south. Nice work! Drop from your sand wall and go south, but beware of another pair of Beamos statues. Running past these two is risky, but you can summon up a sand wall and slip past them if you’re fast with your Sand Rod. Go through the southern door to reach Room 4.
Room 4: Leever Lair
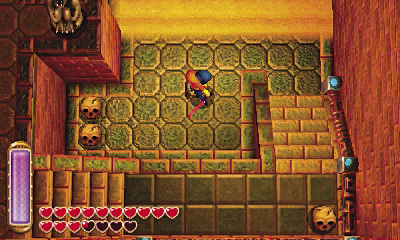
More sand fills this room, but beware: This place is home to evil Leevers! Chop through these pesky enemies as you make for the southern stairs. Climb up to reach the room’s west ledge.
Leever
Damage:1/2 Heart
These classic Legend of Zelda baddies live in soft sand, springing up from the dunes to ambush Link. Stay mobile whenever Leevers are about, watching the floor carefully to spot them as they begin to emerge. Be quick to cut down any Leevers you see, or else they’ll flee into the floor again, emerging to attack you someplace else.
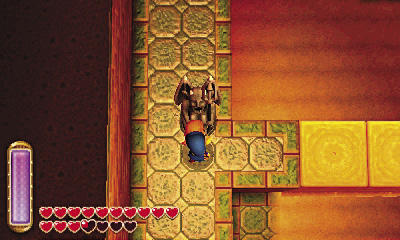
Look closely and spot three pressure plates on the west ledge. Grab and move the nearby lifeless Gimos statue onto one of these plates.
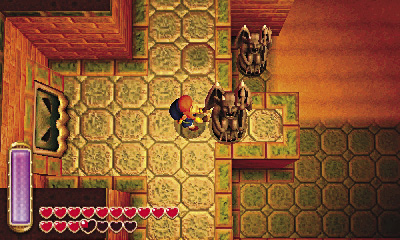
Go north along the ledge and notice another Gimos on a high ledge to the east. Face east and wave the Sand Rod to create a sand wall that leads to the east Gimos.
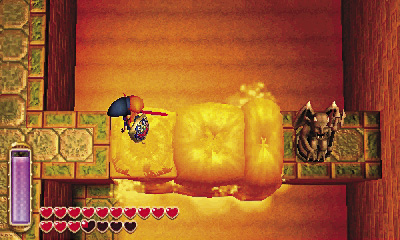
Grab the east Gimos and pull it back across your sand wall. Move the Gimos onto another pressure plate. One more to go!
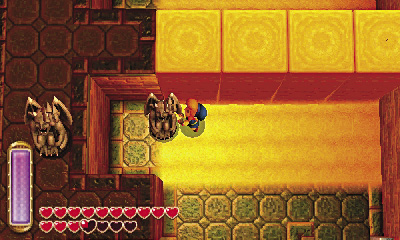
The final Gimos statue that you need is downstairs. Drop from the ledge and ensure that no Leevers are about, then pull the Gimos out of its alcove and onto the sandy floor.
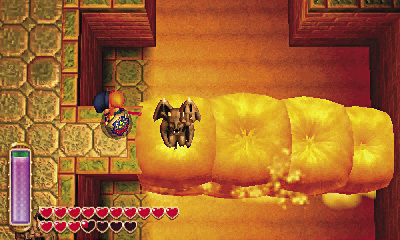
After moving the Gimos onto the sand, return to the west ledge. Use the Sand Rod to raise the sand beneath the Gimos, elevating it to within your reach. That’s more like it!
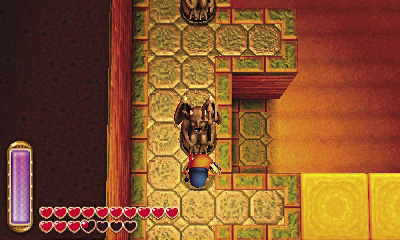
Grab and pull the Gimos off the sand wall and onto the final pressure plate. With all three Gimos poised on the ledge’s three pressure plates, the west door opens. Go through to return to Room 1.
Room 1 (Revisited)
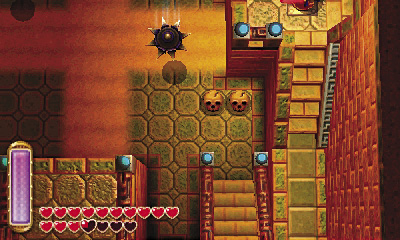
As you enter Room 1 from Room 4, you emerge on a high east ledge. Link steps right onto a floor switch as he enters, causing the nearby wall to retract and reveal a staircase. Now you can easily return to this ledge if you fall!
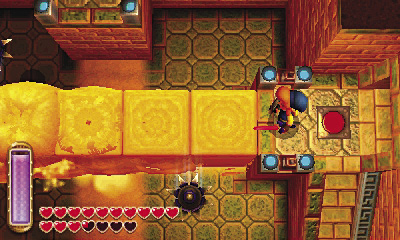
Remain on the ledge, face west, and wave the Sand Rod. A wall of sand rises up; cross it to reach the west ledge, being careful to avoid the spike traps. Go through the west door to reach Room 5.
Room 5: Hokkubokku Battle
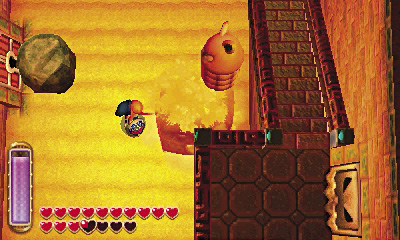
Link is sealed in this room as he enters, and a formidable Hokkubokku lurks beneath the room’s sandy floor! Use the Sand Rod to expose this towering foe, then hack it apart. The room unseals when the Hokkubokku falls, and a chest appears on the south ledge. You can’t reach the chest yet, so go north into Room 6.
Hokkubokku
Damage:2 Hearts
This tall monster hides beneath sand, springing up to attack unwary travelers. Link can’t do much against a Hokkubokku until he uses the Sand Rod to hoist it up from the floor. Wait until you see the Hokkubokku poke its head out, then wave the Sand Rod to expose the creature. Attack it relentlessly to cut off each of its segments until the towering Hokkubokku is finally toppled.
Room 6: Hazardous Sands
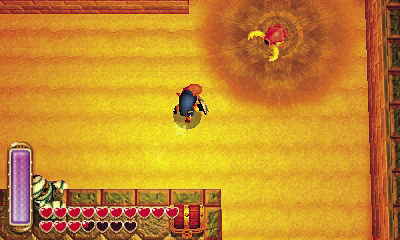
This room is filled with all manner of monsters, including Baris, Gibdos, and a fearsome Devalant that lurks in the central sand. Slay these enemies as you proceed to the northeast stairs, then climb up to reach the east ledge.
Devalant
Damage:1/2 Heart
Devalants are vicious sand worms that burrow up from the floor, creating a quicksand pit that draws nearby prey toward their razor-sharp mandibles. Don’t approach a Devalant—wave the Sand Rod from range to rip them up from their burrows instead! But be careful, for Devalants can also spit fireballs at you from afar. Once you’ve ousted a Devalant with the Sand Rod, it becomes easy prey for Link’s blade.
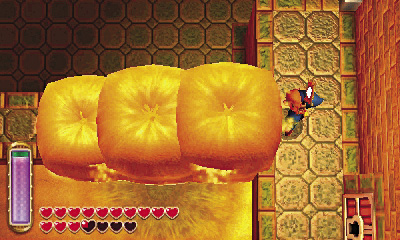
The room’s east door is locked, so face west and raise a sand wall over to the west ledge. Merge into the sand wall and slide across.
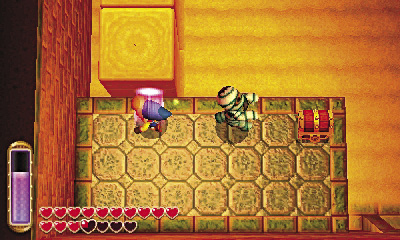
When you reach the west ledge, merge into the west wall and travel south to reach a ledge with a chest. Slay the guardian Gibdo and then raid the chest to claim a monster tail. Go through the north door afterward to reach Room 7.
Desert Palace Chest #2: Monster Tail
Room 7: Sand Release A
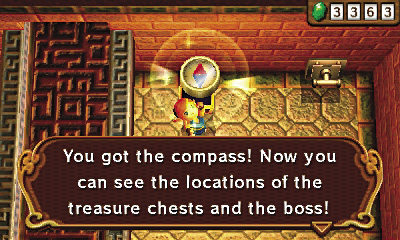
This room features an overhead channel. Maybe water used to flow from this room at one time? No matter, there’s something far more important here—a treasure chest that contains this dungeon’s compass!
Desert Palace Chest #3: Compass
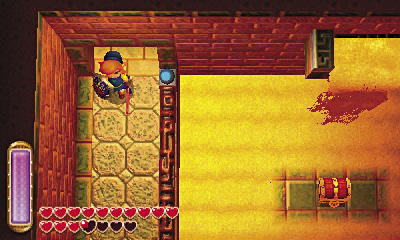
After collecting the compass, grab and pull the nearby lever out from the wall. After you do, sand begins to flow down the overhead channel, pouring back into the previous room. Intriguing! Return to Room 6 and see what has changed.
Room 6 (Revisited)
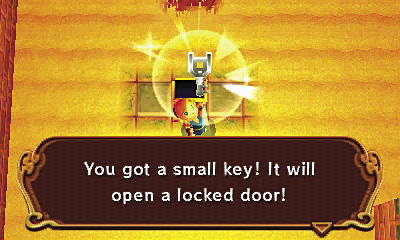
What’s this? With the sand flowing in from Room 7, Room 6’s floor is now covered in sand! This means you can accomplish more here than you could before. Begin by dropping from the ledge and opening the nearby chest, which is now within your reach, to claim a small key.
Desert Palace Chest #4: Small Key
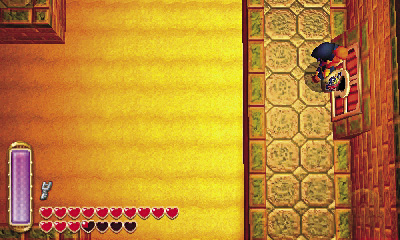
Now that you’ve found a small key, use it to open the room’s east door. Go through to explore new areas of Room 2.
Room 2 (Revisited)
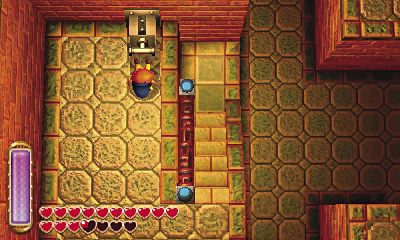
Room 6’s east door leads to Room 2’s high west ledge. Go north and pull a lever out from the wall.
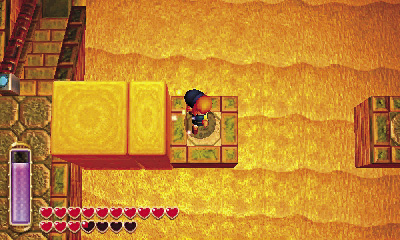
Whoa! Pulling the lever causes a waterfall of sand to fill Room 2. Face east and use your Sand Rod to create a wall of sand toward the room’s central pillars. Merge into your sand walls and slide over to the pillars.
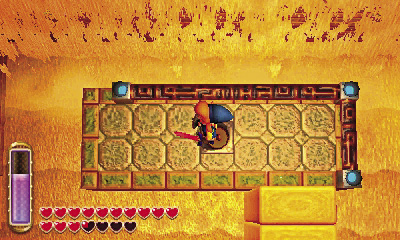
Send a wall of sand northward from one of the northern pillars, then merge and slide over to the north ledge. Step on the floor switch here to make a wall slide away, exposing a big chest in the room’s northeast corner.
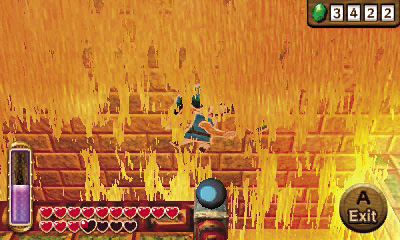
After stepping on the floor switch, raise a wall of sand to the west. Merge across the sand wall and slide onto the west wall.
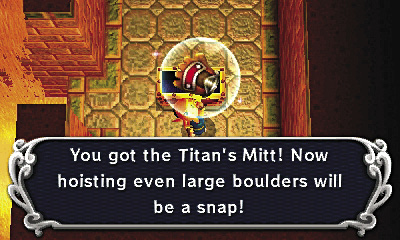
Slide north and then east around the room, moving behind the northern cascade of sand (sandfall?). Keep going until you arrive at the big chest, then open it to claim this dungeon’s special treasure: the Titan’s Mitt!
Desert Palace Chest #5: Titan's Mitt

Titan’s Mitt
A powered-up version of the Power Glove. Pick up large rocks by pressing  !
!
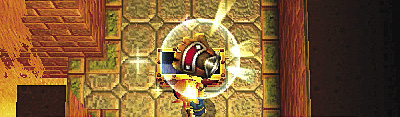
You’re all done with Room 2 now. Go west into Room 6 and then south into Room 5, where you’ can accomplish new feats thanks to your newfound Titan’s Mitt.
Room 5 (Revisited)
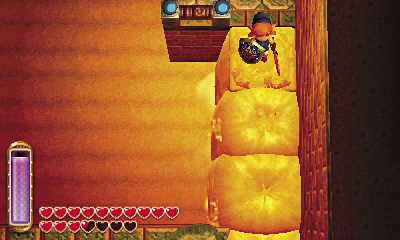
Back in Room 5, scale the east stairs to reach the east ledge. Face south and summon a long sand wall.
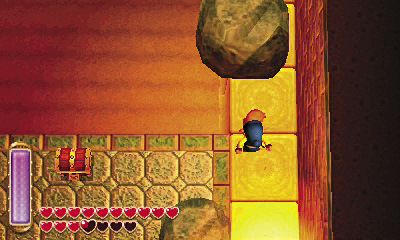
Run across the sand wall to reach the room’s southern ledge. Two large rocks block the ledge, but these are no longer obstacles for Link. Press  to lift each rock with the might of the Titan’s Mitt!
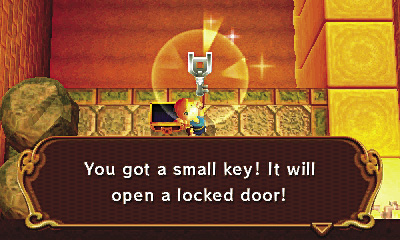
After tossing the large rocks aside, step onto the ledge and loot its chest. Inside, you discover a small key.
Desert Palace Chest #6: Small Key
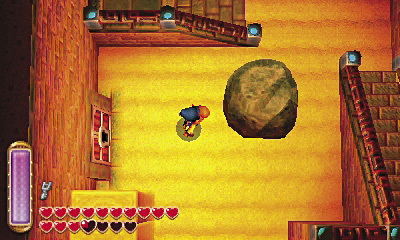
Drop from the ledge and then hoist the large rock that blocks the room’s west door. After tossing the rock aside, use the key that you’ve just discovered to unlock the door, and go through to visit Room 8.
Room 8: West Exit
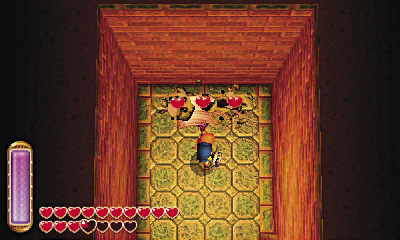
This narrow passage is empty except for the few skulls that lie up north. Smash the skulls in search of items, then exit through the south door.
Outdoor Excursion
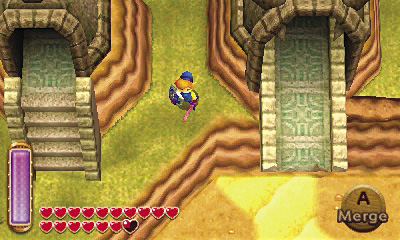
You’re back in the desert, but you can’t roam very far. Head north and enter the nearby cave to visit the Desert Palace’s second floor.
Room 9: Entry B
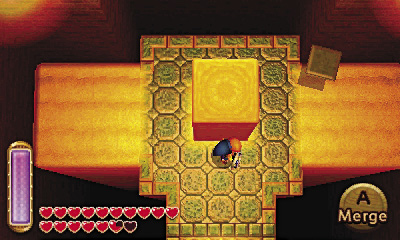
Beware as you reenter the Desert Palace: The floor tiles near the entry rise up and fly toward you! Quickly raise a column of sand up from the central sand pit, then press Link’s back to it and raise his shield. The sand wall will block the flying tiles behind you, while Link’s shield deflects the ones in front!
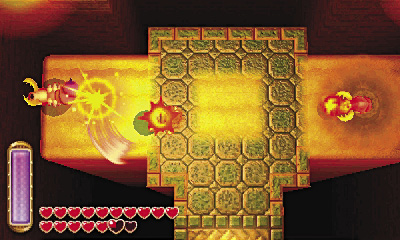
After all of the tiles have gone, two Devalants rise up from the sand and begin spitting fireballs. Quickly use the Sand Rod to flip both Devalants out of the sand, then slay each one with Link’s faithful blade.
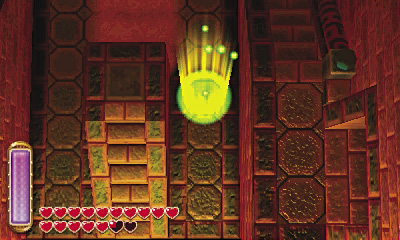
After both Devalants have been dispatched, a bridge extends to the north, and a portal appears. Use the portal to return to Room 1, then go outside and save.
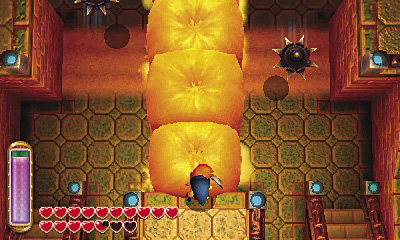
Warp back to Room 9 after saving your game. Stand on the north ledge and raise a short sand wall toward the north wall.
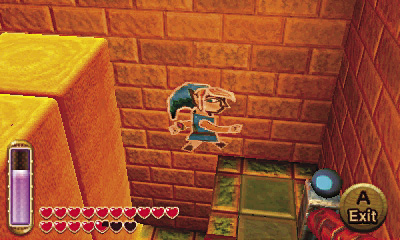
Merge into your sand wall and slide around its west (left) side. Slide onto the north wall and then pop out to land on the narrow west ledge. Scale the stairs and go through the west door to visit Room 10.
Room 10: West Passage
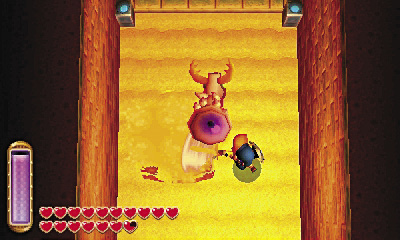
This narrow passage is filled with dangerous spike traps, Baris, Leevers, and a few Gimos that spring to life at the north end. Slip past these threats by merging into the east wall and sliding northward. Keep going until you reach the room’s north end.
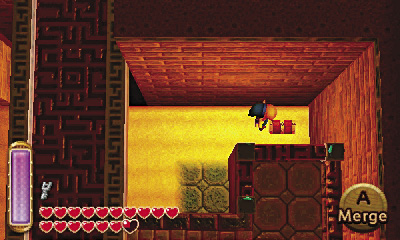
Lift the large rock you find up north to discover a buried treasure chest. Pay dirt! Use the Sand Rod to excavate the chest and collect your reward.
Desert Palace Chest #7: Silver Rupee
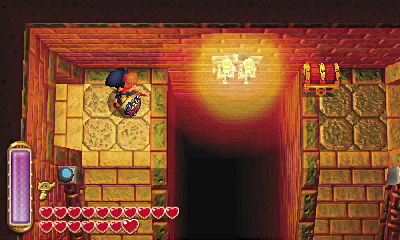
Slide back along the east wall after looting the north chest. Return to the south entry ledge, and this time, use the Sand Rod to form a long wall of sand down the center of the hall.
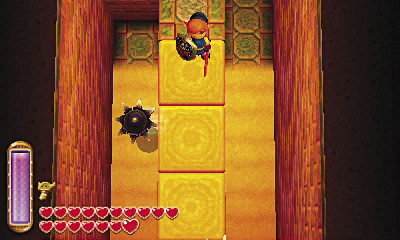
Carefully avoid the spike traps and Baris as you move northward along the sand wall. When you reach the north ledge, note a locked door to the west before proceeding through the open door to the east.
Room 11: Beamos Chamber
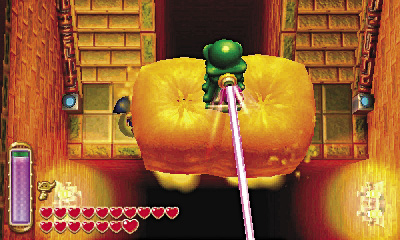
This small room features a chest and a Beamos. To safely reach the chest, use the Sand Rod to elevate the Beamos, then merge around the sand wall to reach the room’s east side. Or, you can simply run across the Beamos.
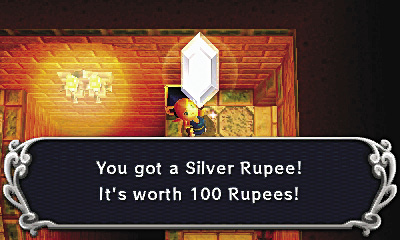
Go upstairs to reach the chest and claim another Silver Rupee. Not a bad haul! Proceed through the east door to reach Room 12.
Desert Palace Chest #8: Silver Rupee
Room 12: East Passage
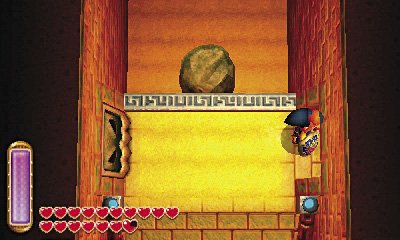
This narrow passage is similar to the one you explored in Room 10, but you’ve already arrived at its north end. There’s no need to battle this room’s Devalant and Leevers; simply head through the next door ahead to visit Room 13. (You can’t reach Room 12’s north chest at present.)
Room 13: Colored Block Crossroads
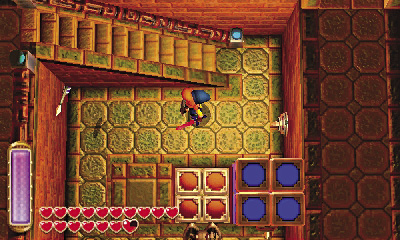
Beware the arrow traps and Gimos in this puzzling chamber. Slay each Gimos that springs to life, and use Link’s shield and merge ability to block and dodge the arrows. Head south to discover a blue crystal.
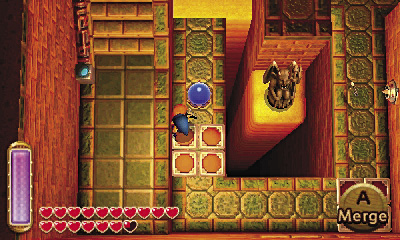
Stand on the lowered red blocks near the blue crystal, then strike the crystal to turn it red. The red blocks rise, lifting you up to the west ledge.
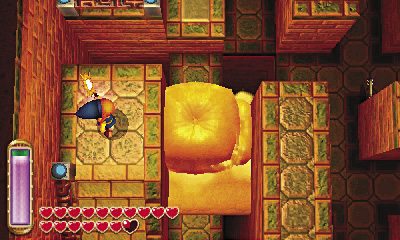
Go up the west ledge’s stairs to reach a higher vantage. Face east and use the Sand Rod to bridge the gap to the central ledge. Cross your sand wall to reach the central ledge.
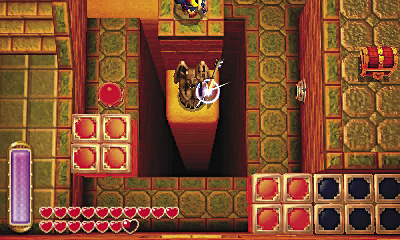
Move to the central ledge’s south end, and notice the Gimos on the sand below. Wave the Sand Rod to elevate the Gimos up to your level without fear, for this Gimos remains lifeless!
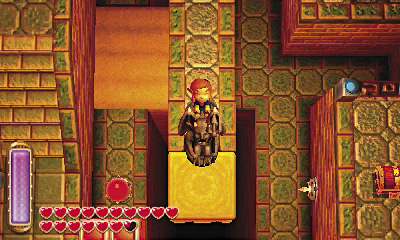
Grab and pull the Gimos off of your sand wall and onto the central ledge. That’s all you need to do with the Gimos; leave it on the ledge and return to the crystal.
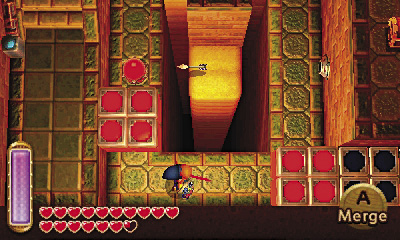
Wave the Sand Rod again to banish your last sand wall (if it hasn’t collapsed on its own). With the sand wall and the Gimos gone, there’s nothing left to block the east arrow trap from repeatedly striking the colored crystal with its arrows. This causes the room’s colored blocks to rise and lower in a steady pattern. Clever!
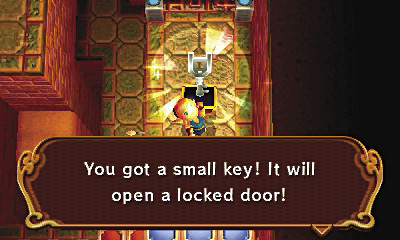
Use the southwest colored blocks to reach a chest on a high ledge. Simply move from one set of blocks to the next as the arrow trap repeatedly triggers the crystal. Open the chest to claim a small key.
Desert Palace Chest #9: Small Key
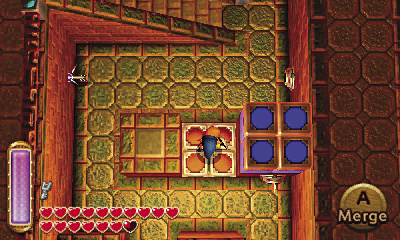
Pocket the small key, then travel back to the room’s north end. Use more colored blocks to reach the northeast ledge, and proceed through the north door to Room 14.
Room 14: Sand Release B
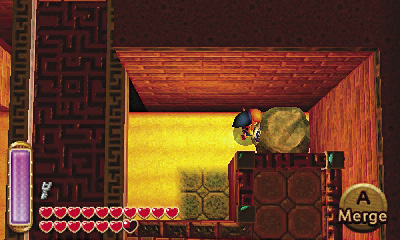
This room features another overhead channel, but it’s plugged by a large cracked block. We’ll get to that in a moment; for now, drop from the entry ledge and lift the nearby large rock to discover a buried chest. Unearth the chest with the Sand Rod so you may collect its valuable contents.
Desert Palace Chest #10: Silver Rupee
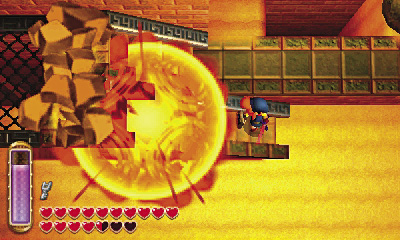
Clear the room of its Devalants and Leevers, then use a bomb to blast apart the pair of large cracked blocks that cover the central stairs. If you don’t have bombs, use the Sand Rod to bridge the gaps in the track that the west iron balls come rolling along—the balls will shatter the blocks when they make contact.
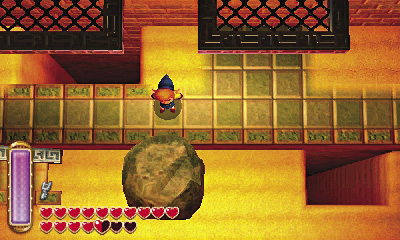
After banishing the cracked blocks, go up the stairs and find a large rock. Lift and toss this out of your way to uncover an important patch of sand.
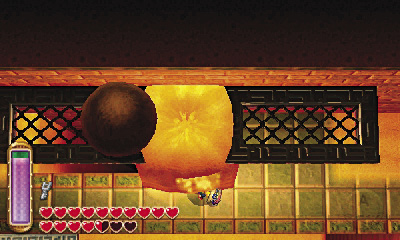
Now for the fun part! Using your Sand Rod, you must quickly raise sand walls to help the northernmost iron ball roll all the way eastward. Keep ahead of the rolling ball as you raise three separate sand walls in time to fill in the gaps in the ball’s track.
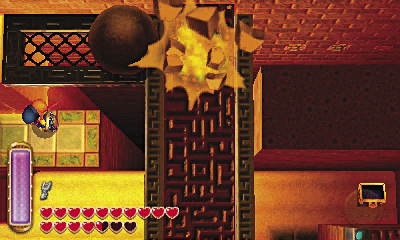
If you do it right, the iron ball rolls all the way over and smashes another cracked block. With this obstacle out of the way, sand begins to flow down the overhead channel, dumping into Room 13!
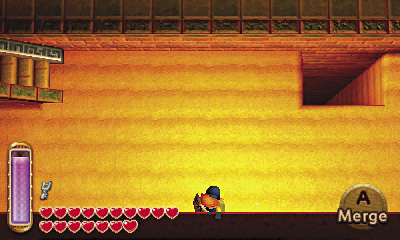
Before rushing back into Room 13, merge into Room 14’s south wall to collect some painted hearts and Rupees. You’ll also notice a door that leads south into Room 12. Go through this door first.
Room 12 (Revisited)
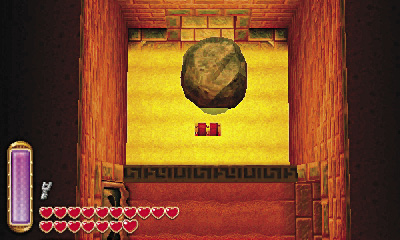
Room 14’s south door leads to Room 12’s tiny northern area. Toss another large rock here to discover another buried chest. Loot the chest and then loop back through Room 14, returning to Room 13.
Desert Palace Chest #11: Silver Rupee
Room 13 (Revisited)
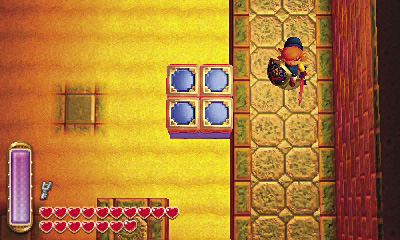
Now that sand is flowing into this room from Room 14, you can finish exploring it. Keep to the high ground and use the Sand Rod to move from one ledge to the next. Head to the big chest on the eastern ledge, and crack it open to collect the dungeon’s Big Key.
Desert Palace Chest #12: Big Key
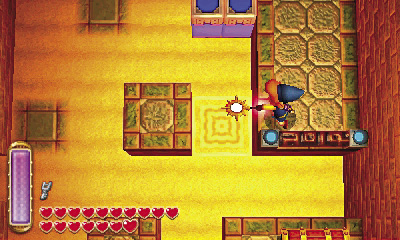
Drop to the sandy floor and run south. Now that the room is filled with sand, you can stroll through the south door to visit Room 15. Just look out for Leevers along the way!
Room 15: Fairy Fountain
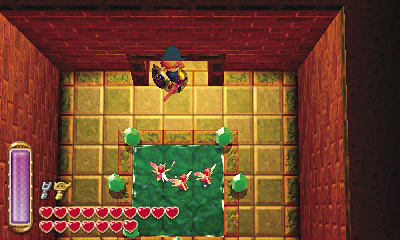
What’s this? A Fairy Fountain! Rest and recover your strength here before moving on.
Room 12 (Third Visit)
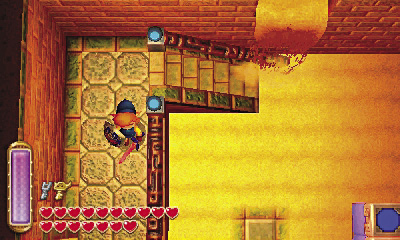
Now that you’re feeling refreshed, it’s time to move on. Return to Room 13 and backtrack through the west door to revisit Room 12. This time, you need to fight through Leevers and Devalants as you move south, heading back to Room 9.
Room 9 (Third Visit)
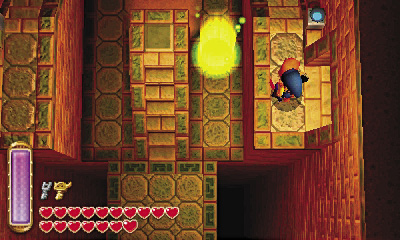
Room 10 is your next destination, but you must travel through Room 9 to get there. Feel free to use the portal in Room 9 to warp back outside and save. Otherwise, simply merge along Room 9’s north wall and take the west door back to Room 10.
Room 10 (Revisited)
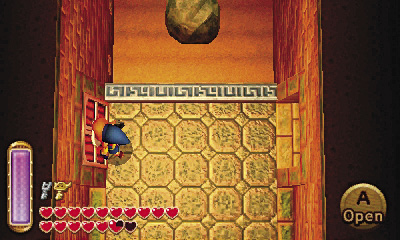
Back in Room 10, create another long sand wall leading northward. Dodge the spike traps as you sprint across, then use the small key you found back in Room 13 to open the locked west door.
Room 16: Beamos Buddies
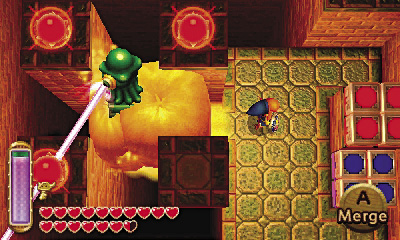
This room’s south door is sealed, and its north door is locked. To open the south door, use the Sand Rod to elevate the southern Beamos just as it begins to fire.
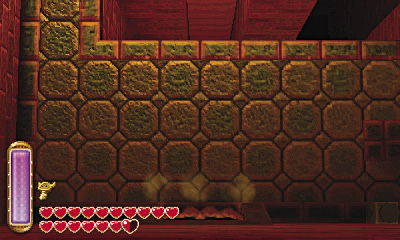
Once elevated, the Beamos’s spinning laser activates the three crystal switches around it. With all three switches activated, the south door opens. Thanks, Beamos!
Room 17: Sand Trap
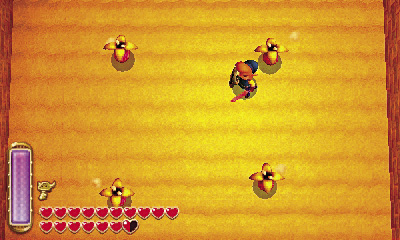
Link is sealed in this small room, forced to battle some Leevers, followed by a pair of Devalants. Use the Sand Rod to make short work of these sneaky creeps.
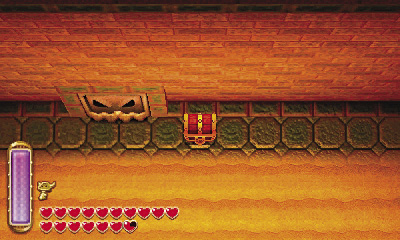
After all foes have fallen, the room unseals, and a chest appears. Open the chest to obtain the small key you seek.
Desert Palace Chest #13: Small Key
Room 16 (Revisited)
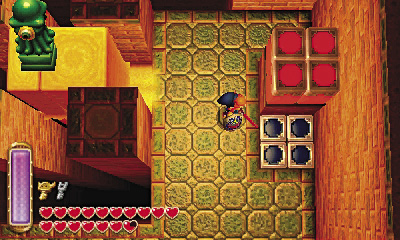
With the small key in hand, return to Room 16 and sprint north, past the first Beamos, to reach a second Beamos up north. Again, use the Sand Rod to elevate the northern Beamos just as it begins to fire, then quickly move onto the nearby lowered blue blocks.
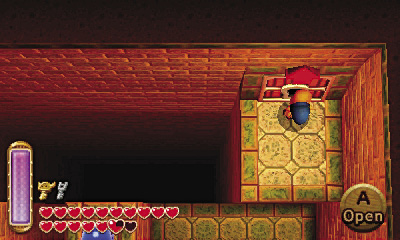
As the elevated northern Beamos spins and fires, its laser steadily activates the colored crystals around it. If you time it right, you’ll be lifted up when the first crystal activates. Move onto the red blocks and wait for them to rise as well. Quickly merge into the east wall after the red blocks rise, then slide over to the locked north door. Open it with your small key and go through to visit the Desert Palace’s final floor.
Room 18: Secret Sands
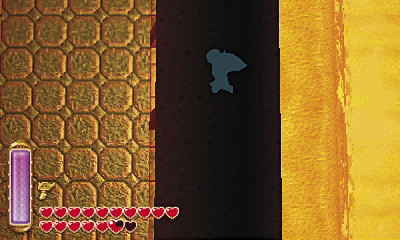
A massive cascade of sand flows down this room’s western wall. Slay the Skullropes here, then merge into the west wall to slip through a secret opening that leads to Room 19.
Room 19: Treasure!
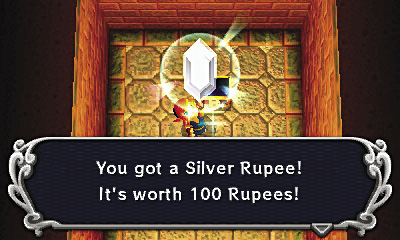
This small room features a single chest. Lift its lid to claim a Silver Rupee before returning to Room 18 and going south into Room 20.
Desert Palace Chest #14: Silver Rupee
Room 20: Connecting Corridor
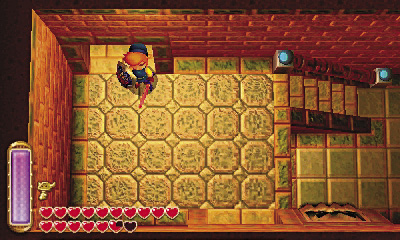
Your first visit to this long hall is a quick one. Cut straight across the hall and enter the south door leading into Room 21.
Room 21: Gimos Guardians

Slay the Gibdo that guards this room’s entry ledge, then use the Sand Rod to extend a long wall eastward. Three Gimos are lifted along with the wall, and each one springs to life as you cross. Dispatch the Gimos on your way to the east ledge.
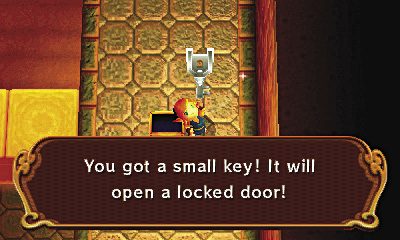
The east ledge features a chest—the last one you’ll find in this dungeon. Open it to collect a small key, then return to Room 20.
Desert Palace Chest #15: Small Key
Room 20 (Revisited)
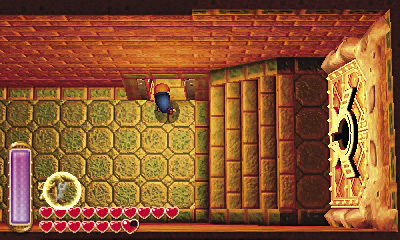
Back in Room 20, dispatch more enemies as you travel eastward down the hall. Use your small key to open the locked north door, and head through to visit Room 22.
Room 22: Blocks and Bawbs
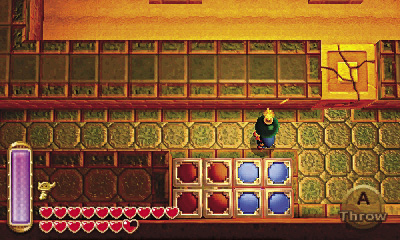
Beware this room’s many Bawbs—these volatile foes just keep appearing. Make use of the Bawbs, setting them off to destroy the cracked blocks that get in your way as you explore. (You can also use your own bombs to clear away the blocks if you like.)
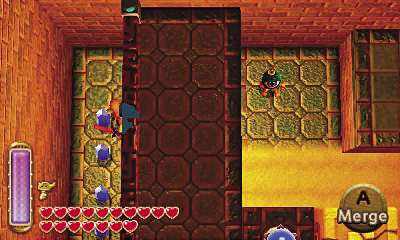
Blast the block in the room’s northwest corner to expose an opening in the west wall. Go through to reach a side passage that’s lined with precious Rupees. Destroy the room’s north block as well to reach another line of Rupees to the north.
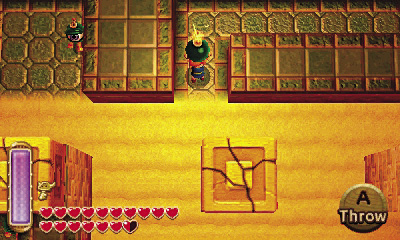
When you’ve finished padding your pockets with Rupees, use the Sand Rod to elevate Bawbs (or bombs) up to the high cracked blocks in the middle of the room. It’s tricky, but if you time it right, you can lift the Bawbs (or bombs) with the Sand Rod so that they blast the high cracked blocks to bits.
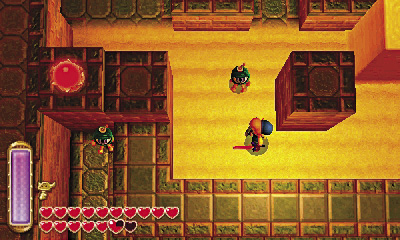
With the cracked blocks obliterated, there’s nothing stopping the east arrow trap from repeatedly triggering the colored switch on the west ledge. Now you can use the south colored blocks to reach the southern ledge! Cross the southern ledge and take the high south door back to Room 20.
Room 20 (Third Visit)
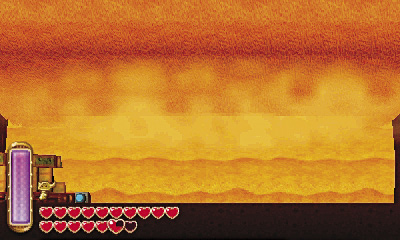
All right, hero, you’re almost out of here! Pull the lever as you reenter this room from Room 22, and a massive cascade of sand pours down the north wall. Cross the now-sandy floor to reach the east big door, and open it to advance toward the final battle.
Room 23: Quicksand Passage
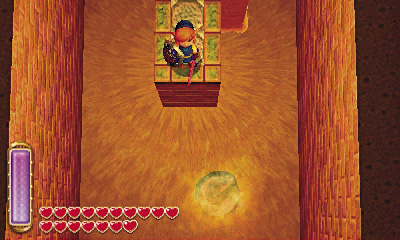
No boss awaits you in this final chamber. Instead, this room simply features a massive pit of quicksand. Use the Sand Rod to raise a wall leading southward, then cross it to reach a small ledge with a large rock. Lift and toss the rock aside, then create another sand wall and continue your southward journey to the far door.
Where’s the Boss?
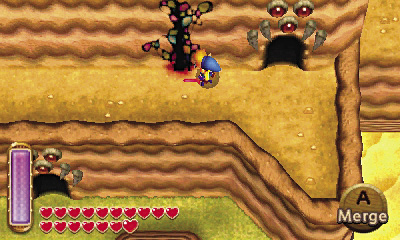
Room 23’s southern door takes you back outside to Hyrule’s desert. Hang on, there must be a boss to battle around here somewhere! Of course there is, just not in this world. Merge into the wall and slip through the nearby fissure to travel to Lorule, where the Desert Palace’s terrible boss awaits.
Boss Battle: Zaganaga
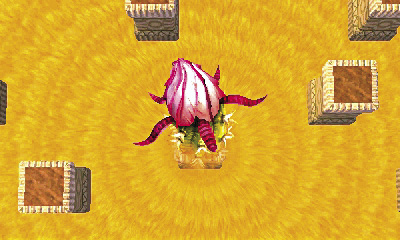
The Desert Palace may have existed in Hyrule, but its boss resides in the depths of Lorule. Zaganaga is a towering plant-monster that Link must battle in a large, treacherous quicksand pit. Falling into the quicksand during the battle knocks a full heart off Link’s life gauge, so strive to keep your feet on solid ground!
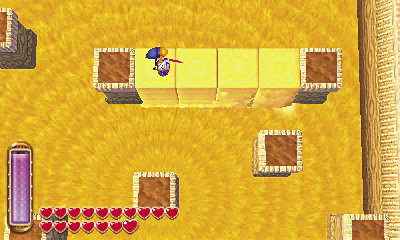
Begin by using the Sand Rod to create a wall of sand toward Zaganaga. Though the monster can only emerge from the sand pit’s many pillars, it can travel between any two pillars by burrowing underground. Whenever Zaganaga burrows, track its movements by watching the dust cloud it kicks up, and move to meet the monster the moment it emerges.
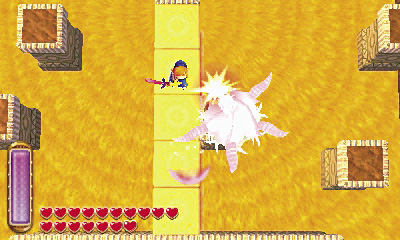
Pursue Zaganaga until you at last move within striking distance, then unload on the boss with Link’s blade. Ranged weapons such as the bow and Fire/Ice Rods are also effective against Zaganaga if you’re having trouble closing in—just keep an eye on Link’s energy gauge, and make sure he can build escape routes with his Sand Rod if need be!
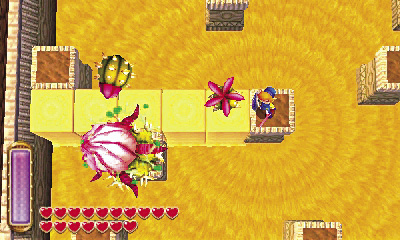
It’s not long before Zaganaga starts spawning Peahats to harass you. These flying foes can really cause problems, so stay mobile and cut them down at every opportunity. Use the Tornado Rod if the Peahats really start to swarm, and try to defeat these little minions to find valuable hearts during the fight.
Peahat
Damage:1 Heart
Peahats are classic Legend of Zelda enemies that fly around with natural propellers, pursuing Link wherever he goes. They’re easily slain but become quite dangerous when encountered in groups. Peahats are vulnerable to all of Link’s weaponry, so stun or dispatch them as you see fit.
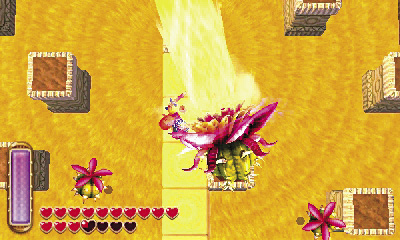
After suffering significant damage, Zaganaga adds a new attack: the boss now begins to blast Link with mighty torrents of sand! Though impressive to watch, this attack only does 1/2 heart of damage, and its linear nature makes it easy to avoid. The swarming Peahats remain your biggest concern.
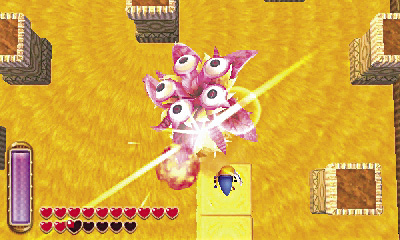
Continue pursuing Zaganaga around the quicksand pit, punishing the boss at every chance. When you need a break, move to the northern or southern ledges and catch your breath. Zaganaga can withstand tremendous damage, so steel yourself for a trying battle. Outmaneuver this overgrown plant as you seek to cut it down to size!
Another Sage Is Saved
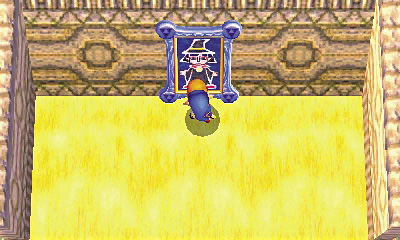
After Zaganaga falls, the quicksand pit is conveniently filled in. Go north to collect your heart container, then touch the portrait of the Sage that hangs on the nearby wall.

Great work, you’ve rescued Irene! The grateful Sage thanks you for your help, but urges you to continue your quest. Use the nearby portal to leave the Sages’ realm and warp back to the Misery Mire weather vane.