
The Legend of Zelda: A Link Between Worlds Guide Walkthrough Seeking Sahasrahla
Hyrule Field Explorations
The Eastern Palace is your next stop, but now that you’ve got a shield, along with other useful items like the lamp and net, it’s a good time to explore Hyrule and see what’s out there. If you’d rather just get a move on and proceed to the Eastern Palace, skip ahead to the “To the Eastern Palace!” section.
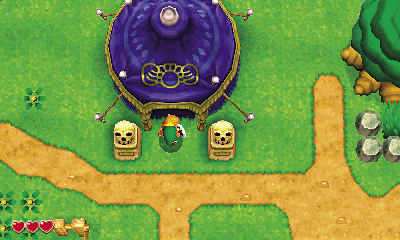
The Fortune-Teller’s Specs
Exploring Kakariko Village sure has been fun, but you have an important quest to fulfill. Osfala may be in grave danger! Take the north trail out of the village to discover a blue tent. Head inside to speak with Hyrule’s Fortune-Teller, who can tell Link where he must go to advance the adventure.
There’s no need to have your fortune told at the moment, because you know exactly where you need to go: the Eastern Palace, which is currently marked by a red X on your map. However, the Fortune-Teller will give you a handy item called the Hint Glasses. When worn, these special spectacles reveal Hint Ghosts that appear near puzzling obstacles in the land.
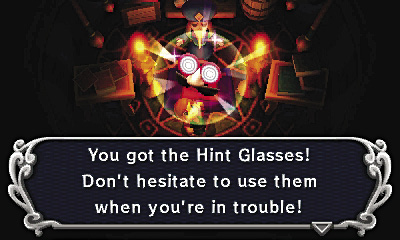
Hint Glasses
Mysterious spectacles that let you see the unseen.
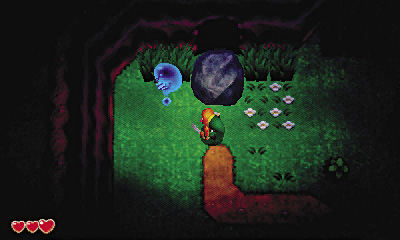
Leave the Fortune-Teller’s tent and put on the Hint Glasses. Approach the large rock near the cave, and the power of the Hint Glasses will reveal a Hint Ghost floating nearby. Pay the Hint Ghost a Play Coin to have it give you a clue about how to move the large rock from your path. It will be quite some time before Link can lift this large rock.
Crazy for Cuccos
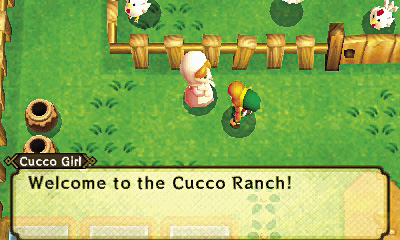
Return to Kakariko Village, and this time, take the southern path out of town to reach the Cucco Ranch. Speak to the Cucco Girl here, and she’ll offer to let you play a fun minigame in which Link must dodge flying cuccos for a certain time. Beat every stage of this minigame to earn fabulous prizes, including your very first piece of heart!
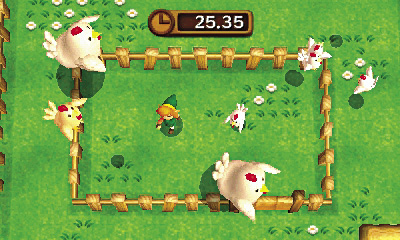
Avoiding the cuccos is equal parts luck and skill. Keep on the move, but avoid the top and bottom areas of the pen, because you don’t have much warning when cuccos fly in from the north or south. You only need to avoid the cuccos that are low to the ground; high-flying cuccos will sail harmlessly overhead. Beware of big cuccos—they’re the toughest ones to dodge.
Cucco Ranch Minigame
| Level | Cost | Rules | Prize |
|---|---|---|---|
| Egg | 20 Rupees | Dodge a flock of cuccos for 100 seconds. | 40 Rupees |
| Chick | 30 Rupees | Dodge even more cuccos for 30 seconds. | 60 Rupees |
| Rooster | 50 Rupees | Dodge lots of cuccos for 30 seconds. | 150 Rupees and a piece of heart |
| Endless | 10 Rupees | Dodge an endless flock of cuccos. | 100 Rupees (100 seconds), 300 Rupees (300 seconds), 500 Rupees (500 seconds), 800 Rupees (800 seconds), and 3,000 Rupees + Large Cucco* (999 seconds) |
 Piece of Heart #1
*The Large Cucco appears next to Cucco Girl and heals Link one heart each time he talks to it.
Gulley’s Woods
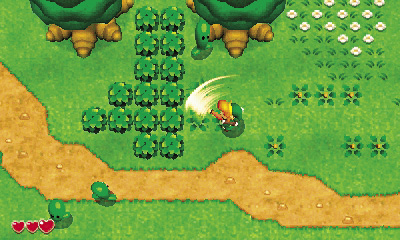
Go east from the Cucco Ranch to find a small, circular forest that features only one entrance, at its southern end. Hack through the bushes to enter this secluded wood.
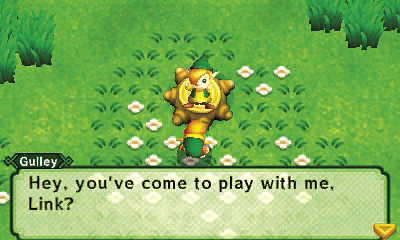
Inside the woods, you discover your pal Gulley. He’s not concerned that monsters are everywhere—he believes that he can make friends with them just as easily as he does with forest animals. Well, at least you tried to deliver his parents’ message!
The Southern Ruins
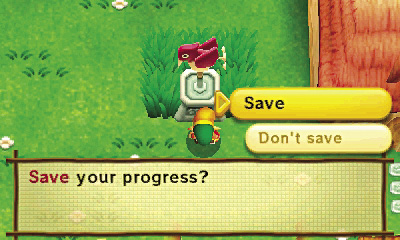
A large rock blocks a narrow passage to the south of the woods, so you can’t go any farther in that direction. Head north instead and then go east, returning to Link’s House. Save at the weather vane here before heading east and south, entering the region referred to in this guide as the Southern Ruins.
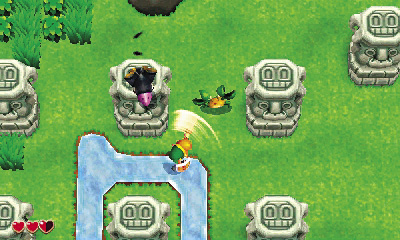
The Southern Ruins is a dangerous place filled with Blobs, Crows, and Sand Crabs. You can earn a lot of Rupees by slaying these foul creatures as you explore. Remember to cut down tall grass and bushes to find more Rupees and valuable hearts.
Sand Crab
Damage:1/2 Heart
These dangerous green-shelled crabs shuffle slowly when moving north or south, but sprint with surprising speed when traveling east or west. Attack them from the north or south to exploit their slow movements, or simply let them rush you while swinging away with your sword.
Great Fairy Cave
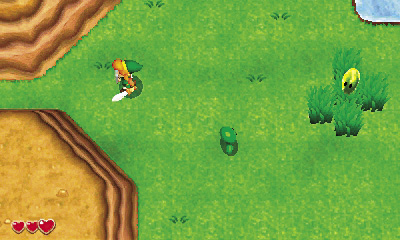
Go southwest to find a narrow passage that leads west into Hyrule’s arid southwest mountains. Beware the electrified Buzz Blobs here—these are among Hyrule’s most dangerous monsters.
Buzz Blob
Damage:1 Heart
Buzz Blobs emit powerful electricity that shocks Link if he strikes the Buzz Blob with his sword. Avoid them, or use the lamp or the net to briefly deactivate the electricity, then quickly strike with the sword. It takes four hits to defeat a Buzz Blob with only the lamp or the net.
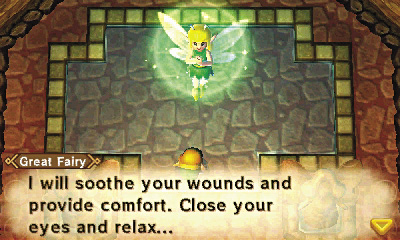
Enter the desert entry’s far cave to discover a Great Fairy Fountain. The benevolent Great Fairy who lives here will restore Link’s hearts anytime he visits her fountain. This can be a real lifesaver, so keep this Great Fairy Fountain in mind!
Light Up a Prize
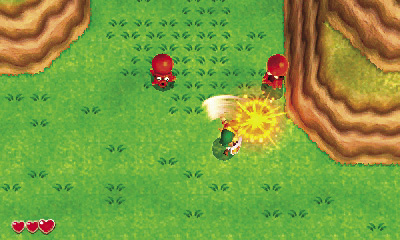
Return to the Southern Ruins, and this time, travel southeast toward Lake Hylia. You’ll encounter some Octoroks along the way, so be on your guard.
Octorok
Damage:1/2 Heart
These classic Legend of Zelda enemies move in unpredictable patterns and shoot rocks out of their snouts. Block their rocks with Link’s shield and defeat them with a few swipes of his sword.
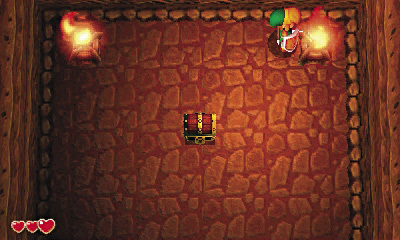
Once you reach the edge of Lake Hylia, look for a cave to the north. Enter it and use the lamp to light the small cave’s two braziers. Once both are lit, a chest containing a Purple Rupee appears—along with several slithering Ropes!
 Hyrule Chest #7: Purple Rupee
Monsters Like Rupees, Too
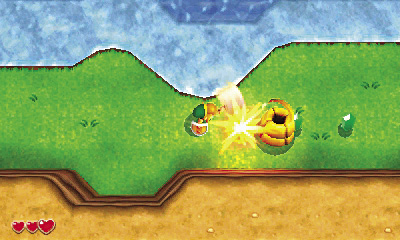
Continue moving south along the edge of Lake Hylia. When you reach a long line of Green Rupees, beware: One of these is actually a Rupee Like in disguise! (Hint: It’s the one with the bigger shadow.)
Rupee Like
Damage: Special
These sneaky creatures disguise themselves as tempting Rupees, then pop out and grab Link when he draws near to collect them. Instead of harming Link, Rupee Likes quickly devour his Rupees while he is being held. Mash buttons to break free of a Rupee Like’s grasp, then carefully dispatch it. You can identify Rupee Likes by the larger shadows cast by their Rupees while they’re in disguise.
Lost Bottle
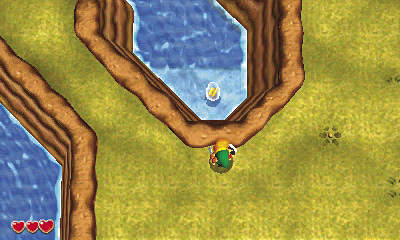
Loop around Lake Hylia’s south end, heading north along its east bank. Notice a letter in a bottle at the end of a low river as you go. You can’t reach it, but remember where you saw it!
Strange Cave
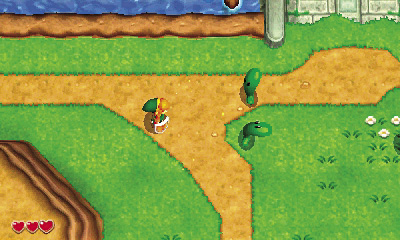
You’ve come to a dead-end, so make your way back to Link’s House, looping back around Lake Hylia and heading north through the Southern Ruins. When you arrive at Link’s House, save your game and then go east, heading toward a large stone bridge that leads north into some rocky ruins.
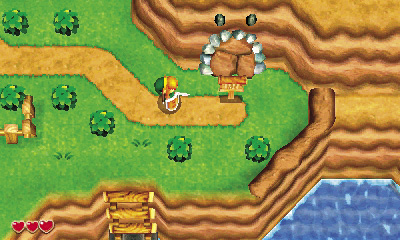
Don’t cross the stone bridge, but go south instead to locate an unusual cave. The sign out front indicates that some sort of creature has been sealed away within. Perhaps you’ll have the means of opening this cave one day—for now, head north, crossing the stone bridge you noticed before.
Strange Brew
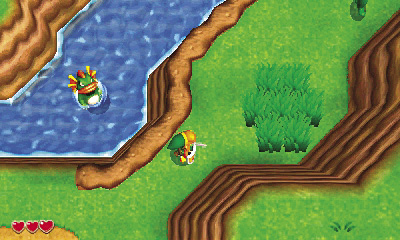
Travel north from the strange, sealed cave, crossing the stone bridge you noticed earlier. Continue moving north, following the river and ignoring the wooden bridge leading west that you soon encounter. Beware of Octoroks, Blobs, and the Zoras that pop up from the river and spit fireballs at you along the way.
Zora
Damage:1/2 Heart
Zoras emerge suddenly from deep water and spit fireballs at Link from afar. It’s tough battling Zoras without the aid of special items you don’t have yet, so simply dodge their fireballs as you explore Hyrule.
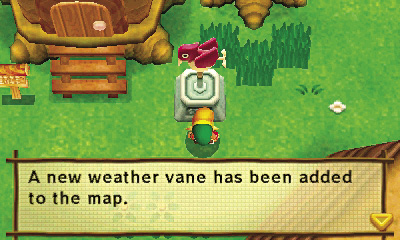
When you can travel north no farther, go east to locate a small hut surrounded by Buzz Blobs. Carefully avoid these dangerous enemies and use the nearby weather vane to save your progress before entering the house to visit Hyrule’s resident Witch.

Don’t worry, the Witch isn’t evil. Instead, she has a talent for brewing potions, and offers to sell Link a red potion for 50 Rupees, provided he has an empty bottle. Red potions are more expensive than milk, but they restore more hearts. You don’t really need one right now, but you know where to find them when you do.
Red Potion
Restores eight hearts! This will definitely come in handy.

You can also talk to the Witch to learn about the other potions she can brew once you’ve gathered some ingredients, such as monster guts, tails, and horns. You don’t have any of these ingredients yet, but the Witch will be here when you do. Even if you don’t want to make potions out of your ingredients, the Witch will buy them for top Rupee.
No Access
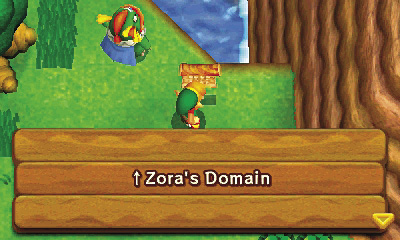
The sign to the east of the Witch’s House reads “Zora’s Domain,” but the bridge seems to be out. Perhaps you’ll discover a means of crossing the river and exploring Zora’s Domain later.
To the Eastern Palace!
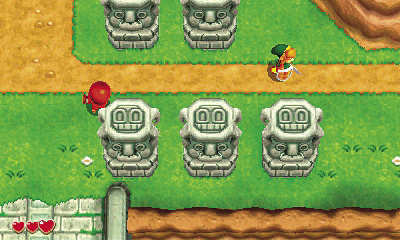
You’ve made a thorough search of Hyrule now, and it’s time to be moving on. Backtrack south along the river, again ignoring the west wooden bridge, which merely leads back toward the Graveyard and Sanctuary. (You can visit these areas to speak with Dampé and the Priest if you like, but there’s nothing to be gained from it.) Continue moving south, heading east when you reach the stone bridge and moving eastward into the heart of the Eastern Ruins.
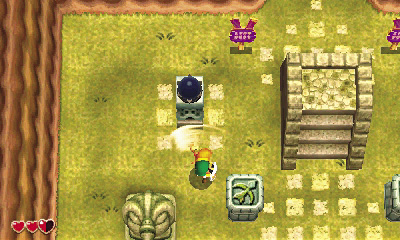
Large, ornate columns signal that you’re getting close to the Eastern Palace. Unfortunately, your progress is soon blocked by a massive gate. There are two crystal switches near the gate, and the nearby pedestals feature etchings of a bow, hinting at the item you need to activate the switches.
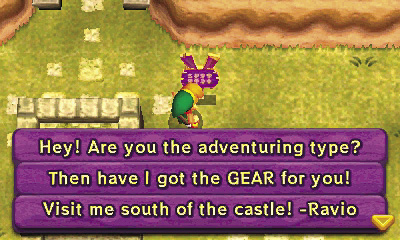
Inspect the colorful signs near the gate, left there by your old pal, Ravio. All the messages are the same, and they indicate that Ravio might have some helpful gear for “adventuring types.” Better hightail it back to Link’s House!
Ravio’s Bow
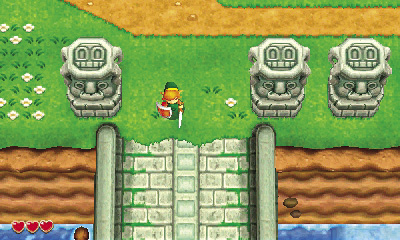
As luck would have it, Link’s House isn’t far. Simply backtrack to the stone bridge, cross it, and then run west to find Link’s House. Save at the weather vane and then head inside.
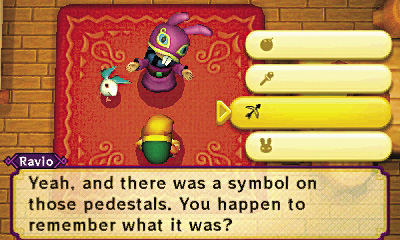
Ravio greets you inside, and after a bit of chit-chat, he asks you which symbol you noticed atop the pedestals near the Eastern Ruins’ gate. Select the bow icon from the list to impress Ravio with your keen powers of observation.
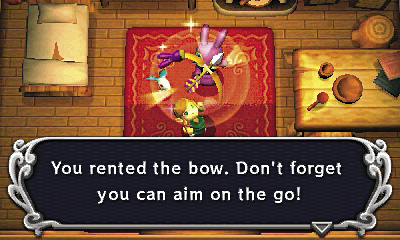
For answering his question correctly, Ravio hands you a bow. Nice! He usually charges a rental fee, but this one’s on the house. Now you can get past that gate!
Rented Bow
Flies straight and takes down enemies! You can also move while aiming!
To the Eastern Palace—This Time, For Real!
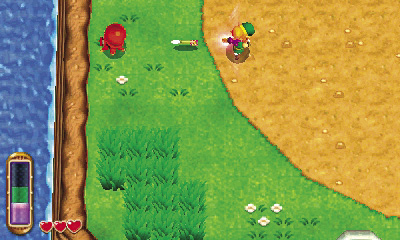
Save your game at the weather vane, then return to the Eastern Ruins, heading east, then north across the stone bridge, then east again. Test out your newfound bow against enemies to see its power. The bow deals twice as much damage as the forgotten sword, making it an excellent ranged weapon. Those electrified Buzz Blobs are no threat to you now!
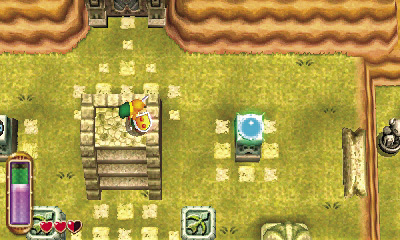
When you reach the gate, scale the steps that lie between the two dark crystals. Fire the bow at each crystal to activate them, turning them bright blue. After both crystals have been activated, the gate opens, allowing you to proceed north.
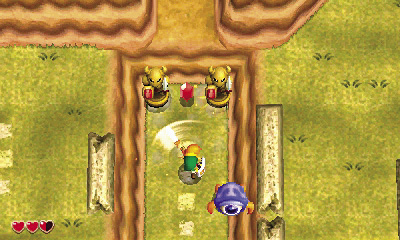
The Eastern Ruins contain several treasures, but only a few are reachable at present. The first is a Red Rupee that’s guarded by two Armos statues on the low ground.
Armos
Damage:1/2 Heart
Armos are unassuming statues that spring to life as Link approaches. They jump toward Link, and they can’t be struck by the sword or bow while they’re at the height of their jumps. Attack them relentlessly with the sword to keep them from jumping, or stand back and fire the bow to wipe them out from a safe range.
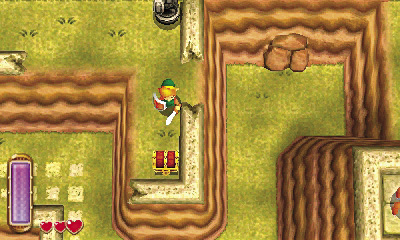
Find another Red Rupee in a chest up north, at the end of a trail that’s guarded by more Armos statues. Beware of more Armos as well as leaping blue Tektites as you explore the ruins.
Hyrule Chest #8: Red Rupee
Tektite
Damage:1/2 Heart
Tektites hop around on four powerful legs, covering lots of ground through the air. They can’t be hit by the sword or bow while airborne, so punish them whenever they’re on solid ground.
Osfala, At Last
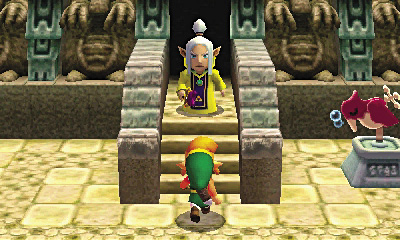
Navigate the Eastern Ruin’s steps and ledges, heading for the Eastern Palace, which is marked with an X on your map. When you arrive, you find Osfala standing just outside. The proud Sage laughs off Link’s words of warning, insisting that the Sand Rod he wields will protect him. Before our hero can convince the Sage otherwise, Osfala enters the Eastern Palace in search of Yuga.
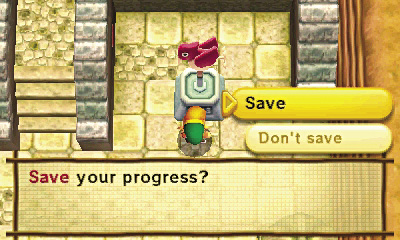
Could Osfala really be a match for Yuga’s power? That remains to be seen. Give the nearby weather vane a spin to save your progress before pursuing Osfala into the Eastern Palace. It’s time to explore your first dungeon!