
The Legend of Zelda: A Link Between Worlds Guide Walkthrough The Ice Ruins
Ice Ruins
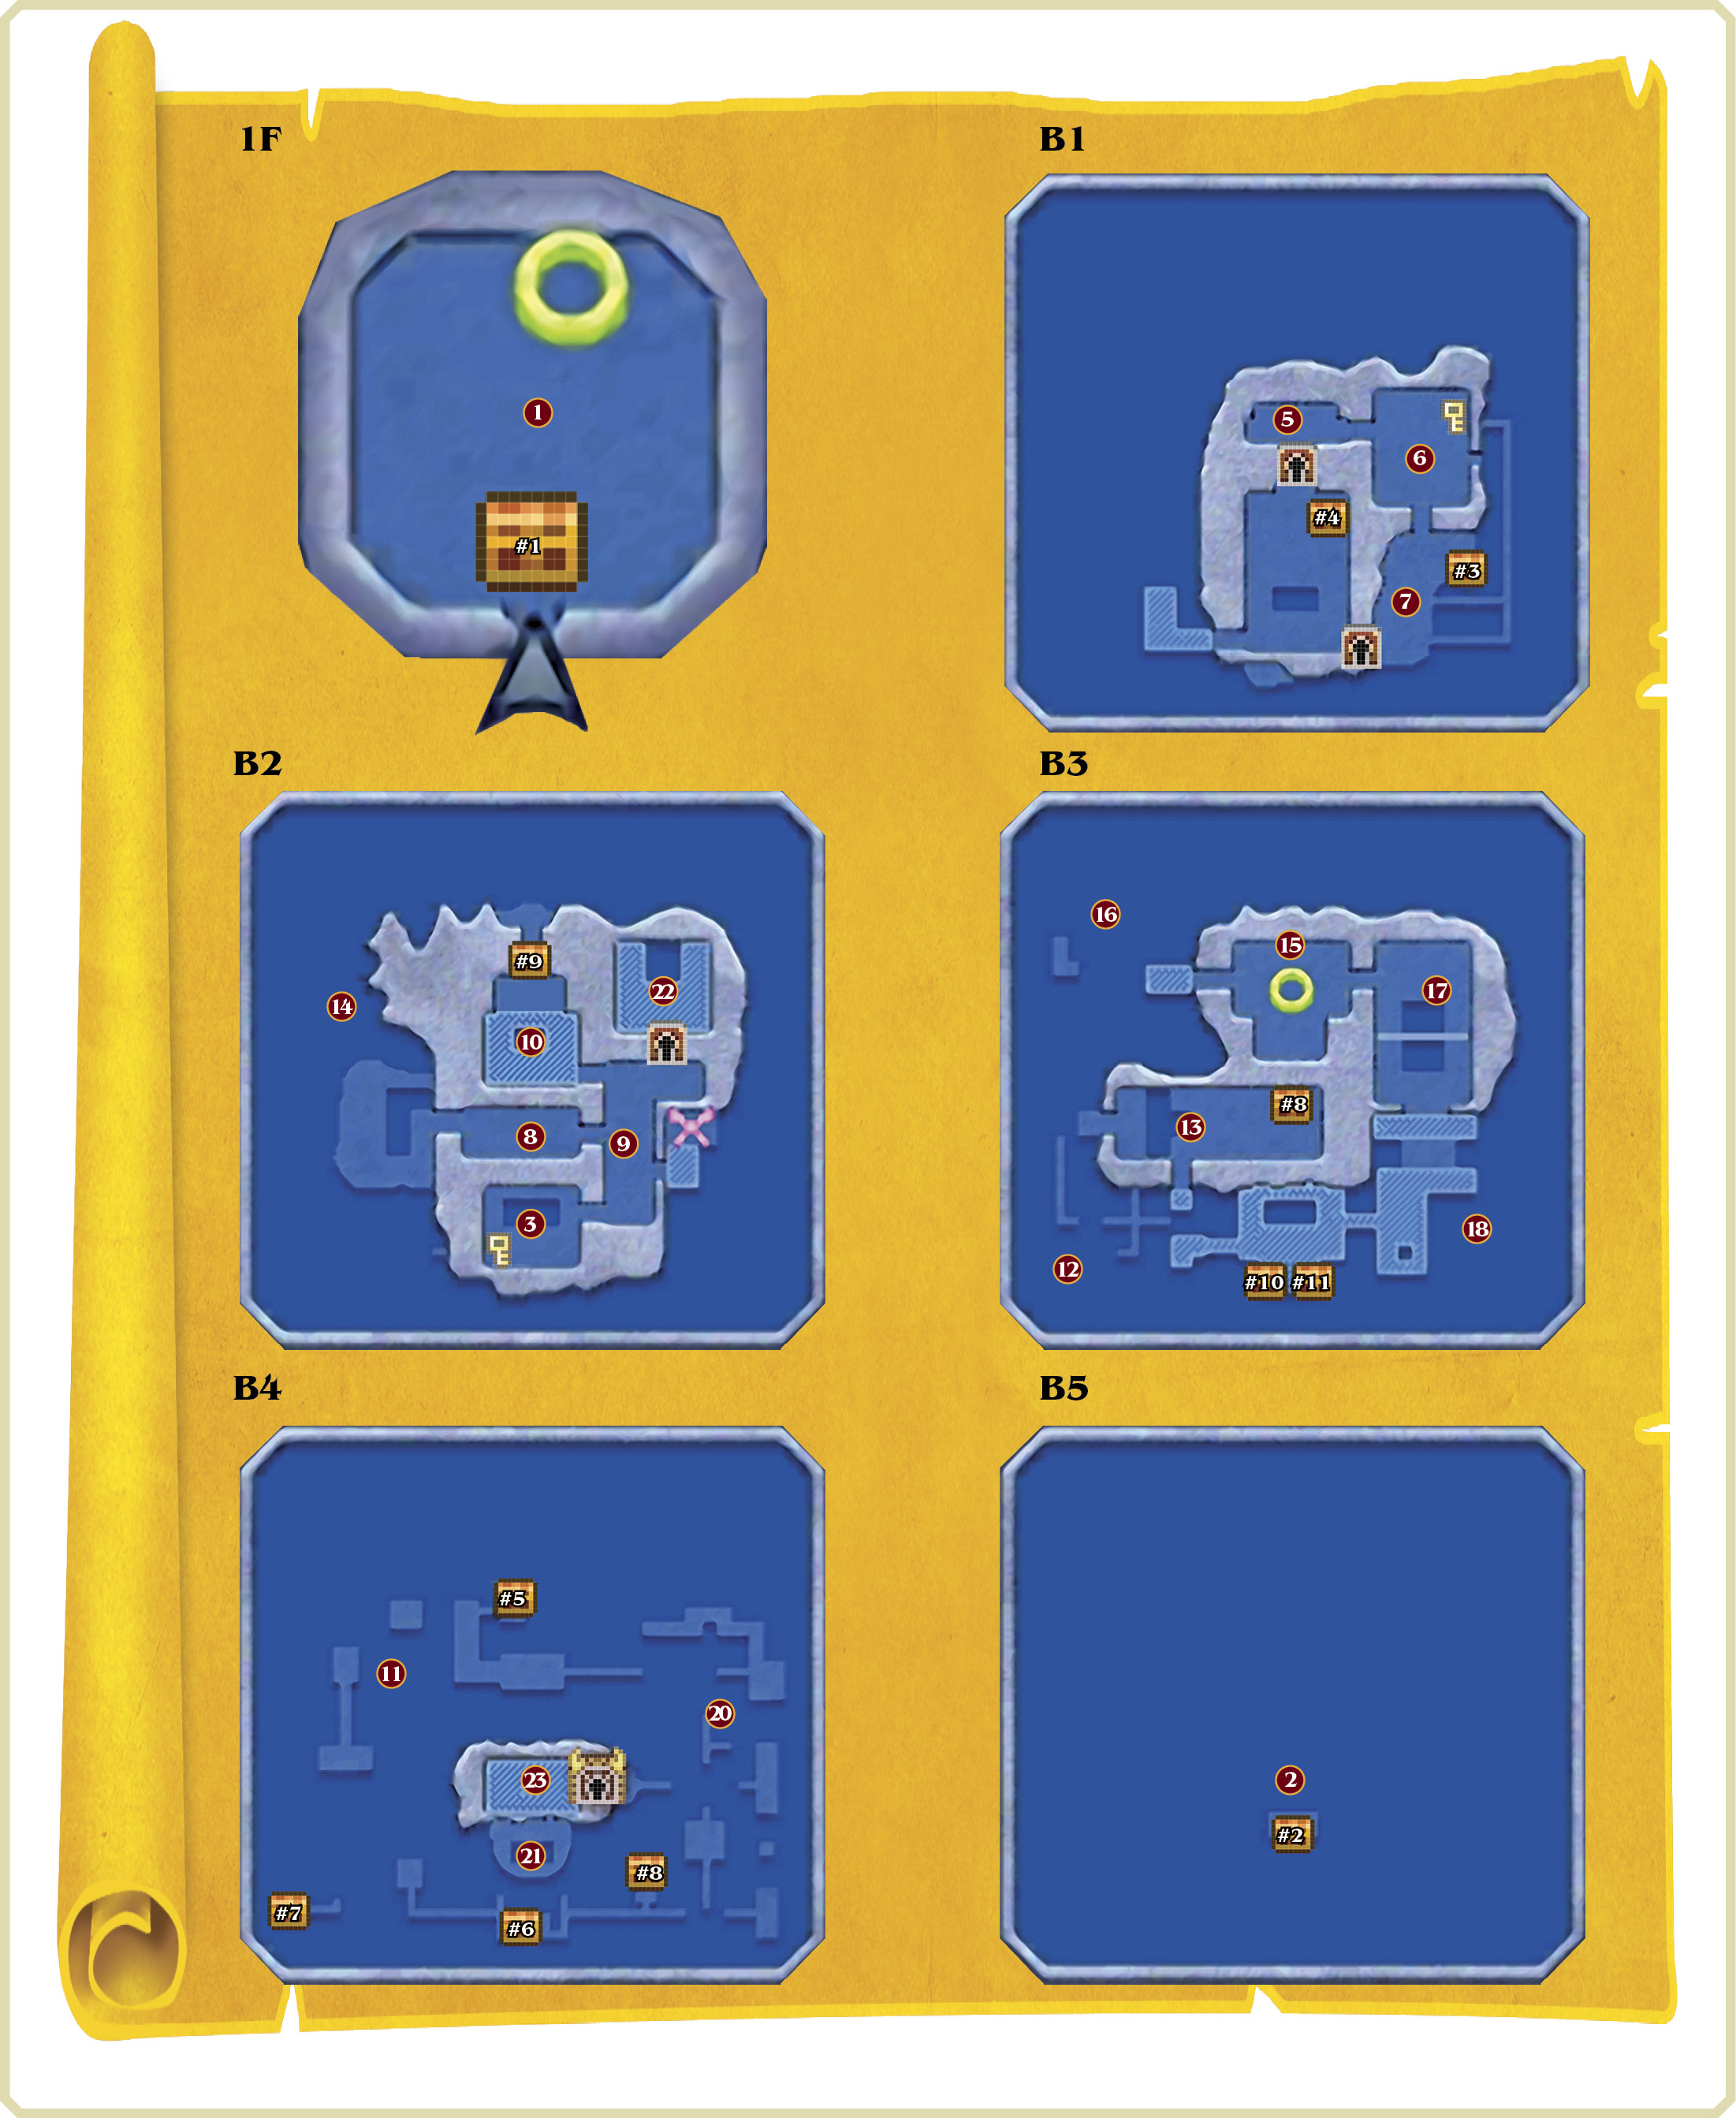
Entering the Dungeon
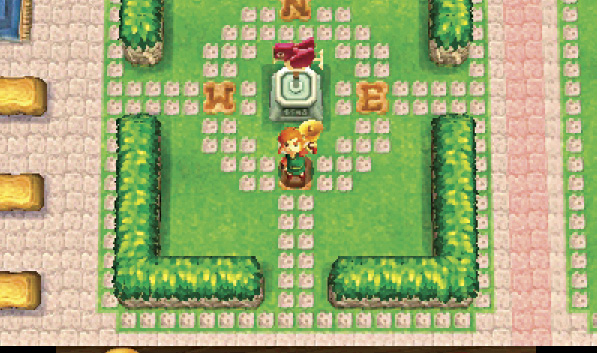
Reaching the Ice Ruins takes effort. Begin by flying to the Tower of Hera in Hyrule, then go east, using the Hookshot to cross a broken bridge.
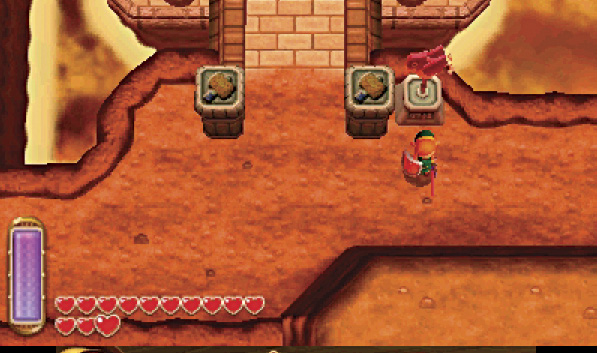
Beware the Lynels that roam beyond the broken bridge. Hurry into the nearby cave to begin exploring a cavernous volcano that leads to Rosso’s ore mine.
Reaching the Ore Mine
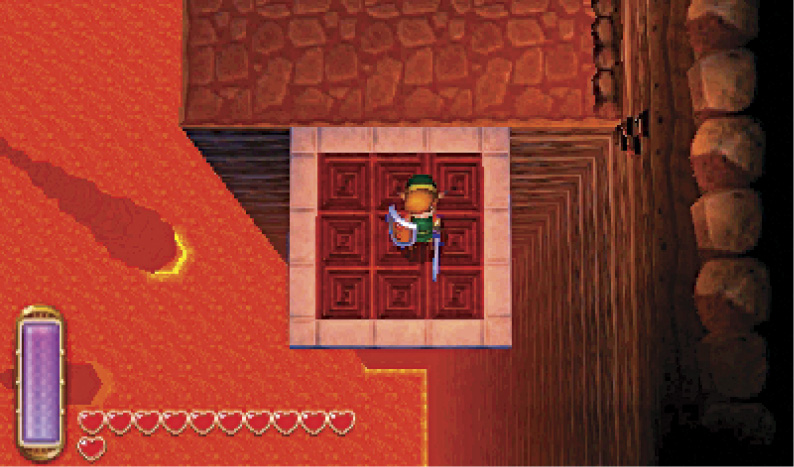
If you’ve been to Rosso’s ore mine before, then simply stand on the volcano’s entry ledge and wait for a platform to arrive from the south. Ride this platform all the way down to the bottom of the volcano, then exit through the bottom door to reach Rosso’s ore mine.
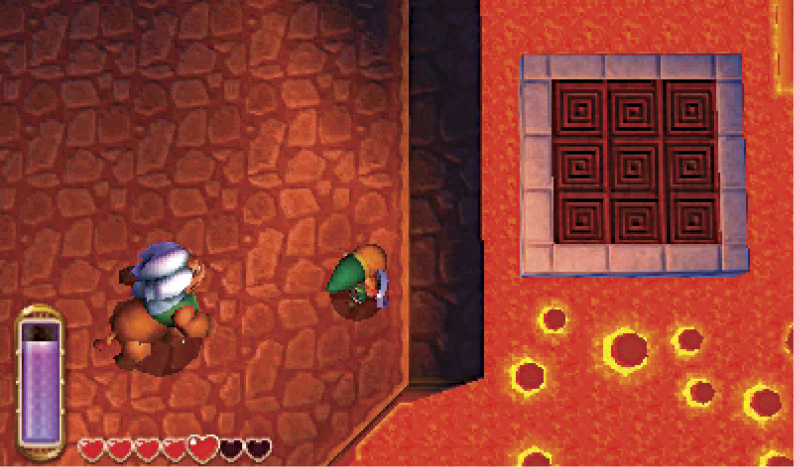
If you haven’t explored the volcano before, then you’ll need to take the long way down to the bottom. From the volcano’s entry ledge, go west across the moving platforms to reach an octagonal ledge that’s guarded by two more frightening Lynels. Quickly merge into this ledge’s east wall and slide around to the wall’s back (east) side, then exit onto a moving platform when it slides in from the east.
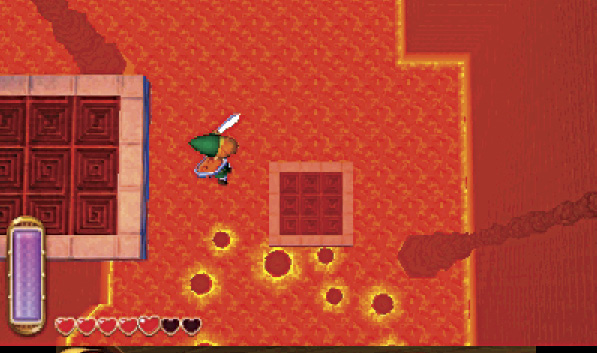
Ride the moving platform to the east, then carefully drop to the next platform below. Keep dropping from platform to platform until you at last reach the bottom exit door, which leads outside to Rosso’s ore mine.
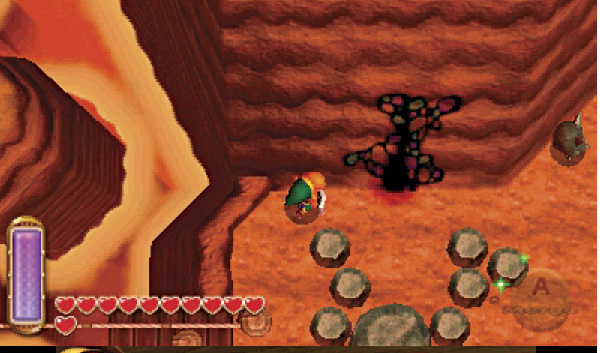
Once you’ve reached Rosso’s ore mine, go west and look for a fissure in the cliff. Go through this fissure to reach the east side of Death Mountain in Lorule.
Ice Climber
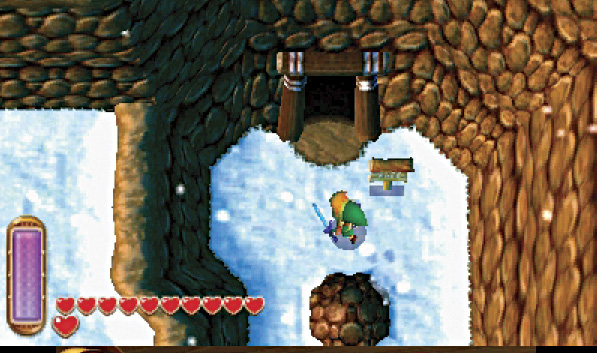
You’ve made it to Lorule—now you just need to find the Ice Ruins! Save at the Death Mountain weather vane that’s right nearby, then enter the north cave to begin your ascent to the Ice Ruins.
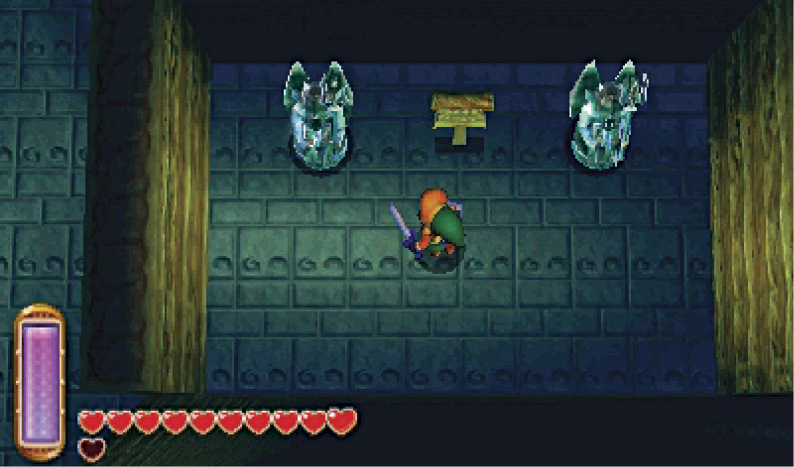
To reach the Ice Ruins, you must navigate a giant ice cavern—Lorule’s version of the fiery volcano in Hyrule. Ride the first set of snowflake blocks up to a high ledge, then slay a pair of Ice Gimos. Merge around the west wall and defeat a Big Ice Gimos on the neighboring ledge afterward. The Fire Rod quickly defeats these frozen foes.
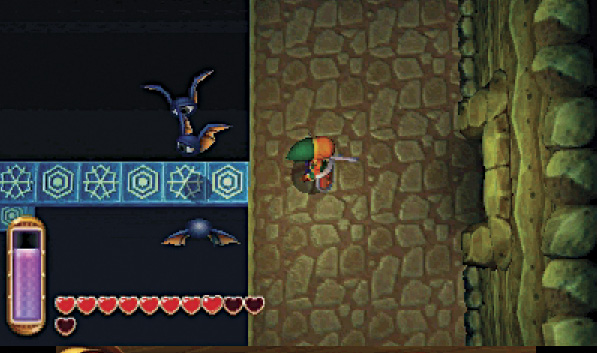
After melting the Big Ice Gimos down to size, carefully ride more snowflake blocks northward and then east, heading for a high exit from the ice cavern.
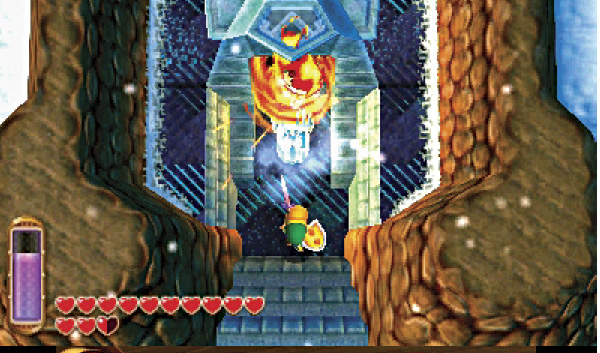
When you finally reach fresh air, you find yourself high atop Death Mountain’s eastern half. Go east to at last locate the Ice Ruins. Save at the weather vane outside the dungeon before using the Fire Rod to melt the nearby Ice Gimos, then head inside.
Room 1: Elevator (1F)
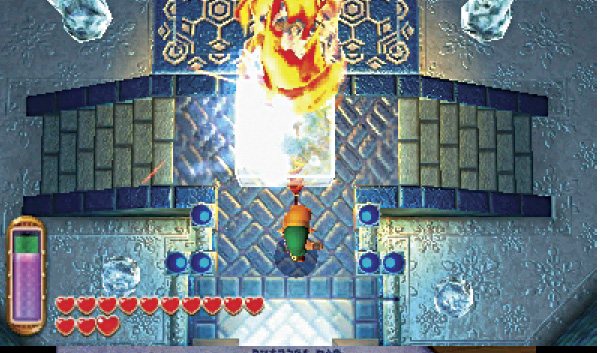
Like most dungeons you’ve explored, the Ice Ruins’ first room is eerily silent. Use the Fire Rod to melt the large ice block on the entry ledge so you may fully explore the room.
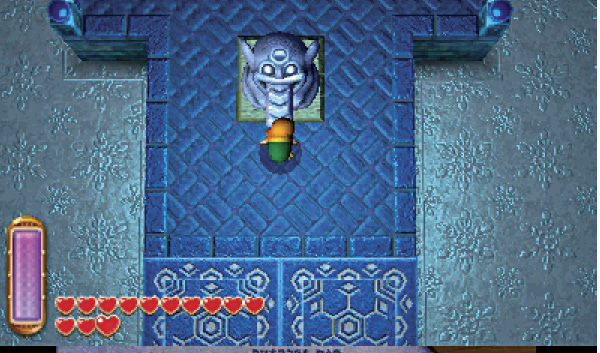
Approach the strange statue to the north. Press and hold  to grab the statue’s stone tongue, then move backward to pull the tongue out from the statue’s mouth.
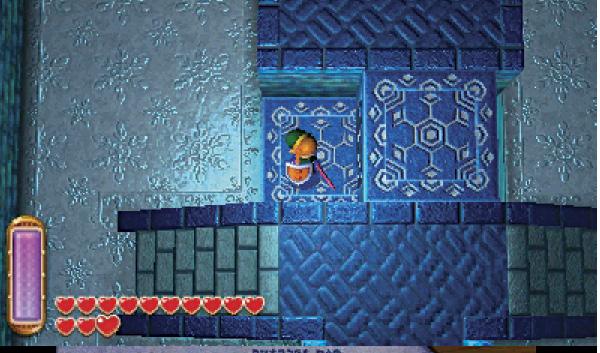
Once the statue’s tongue has been fully extended, the nearby platforms begin to move. Looks like you’ve started an elevator! Hop aboard and begin riding downward.
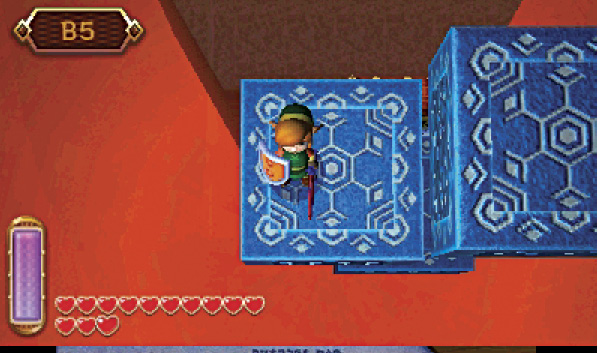
As you ride down the elevator, run directly into the south wall. Before you leave Room 1, you’ll slip beneath the entry ledge on your way down! Press  to open a hidden chest under here and discover a glorious Gold Rupee. Return to the elevator afterward and ride all the way down to the bottom.
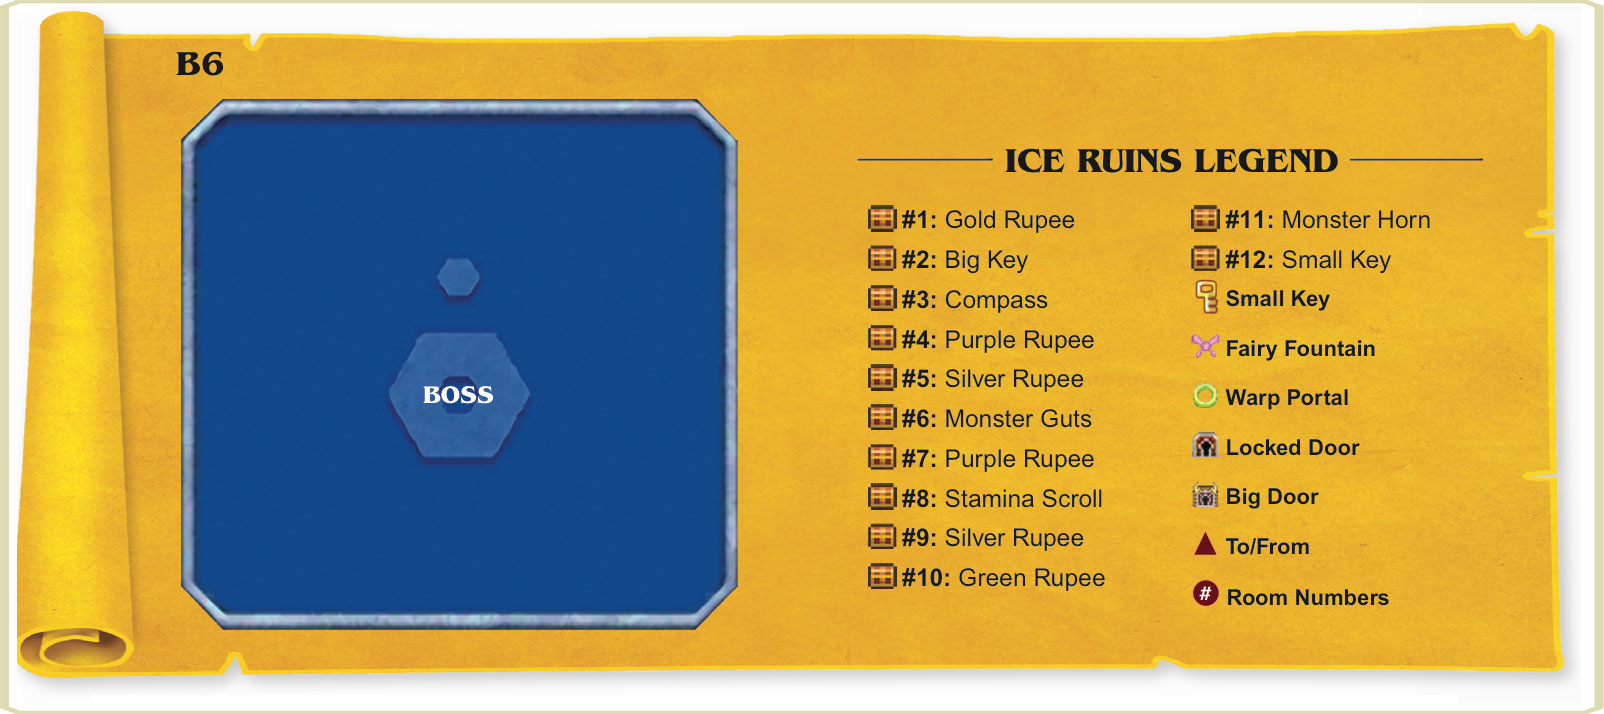
 Ice Ruins Chest #1: Gold Rupee
Room 2: Elevator (B5)
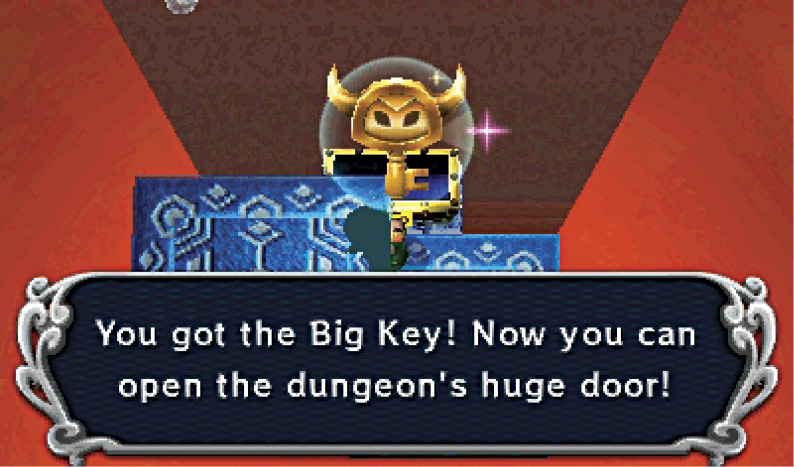
Ride the elevator all the way down to the bottom, passing through several floors on your way to the lowest level. When you reach the dungeon’s fifth basement floor (B5), take a moment to plunder the Big Key from the large chest.
 Ice Ruins Chest #2: Big Key
Room 3: Elevator (B2)
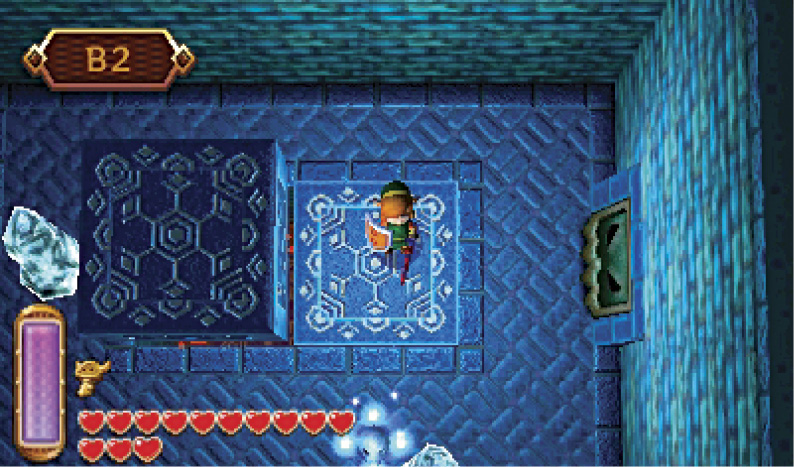
Ride the elevator back up to the second basement floor (B2). Step off the elevator there and use the Fire Rod to dispatch the roaming Ice Bubbles. These enemies are similar to Fire Bubbles, but beware: They’ll freeze Link and knock three whole hearts off his life gauge if they touch him! Fortunately, Ice Bubbles can be instantly slain with a quick wave of the Fire Rod.
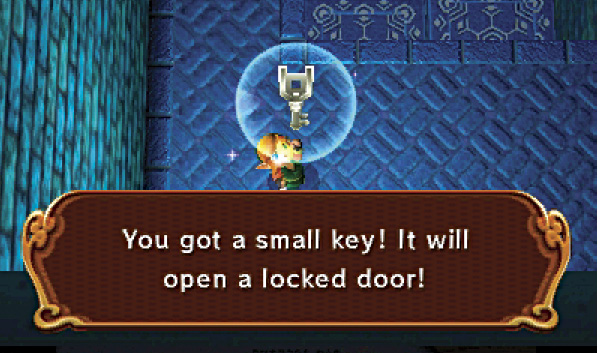
After burning away the Ice Bubbles, take note of a frozen key that’s lodged in a high icicle. Use the Fire Rod to melt the icicle and knock down the key, then collect it. The east door is sealed tight, so return to the elevator and ride back up one floor to explore Room 4.
Room 4: Elevator (B1)
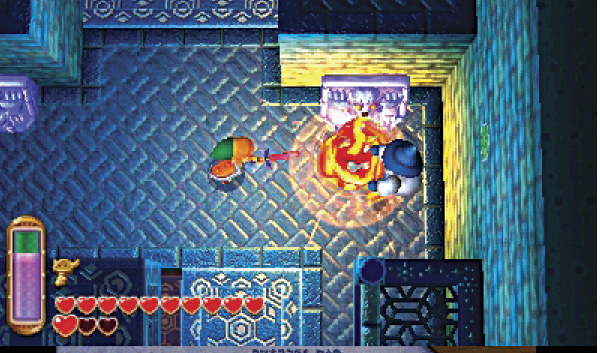
Step off the elevator when you reach the first basement floor, then quickly flick the Fire Rod to torch the two dangerous Ice Wizzrobes that guard this room.
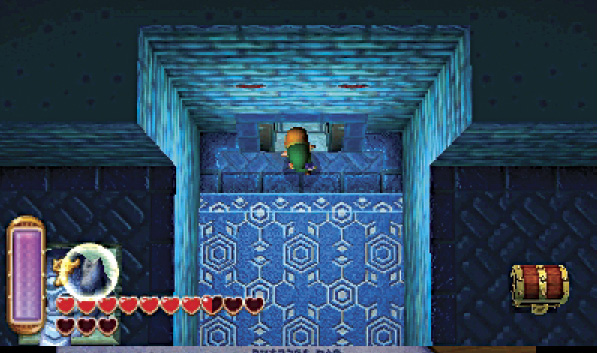
You can’t reach this room’s high chest yet, so simply unlock the north door after slaying the Wizzrobes and go through to visit Room 5.
Room 5: Freezor Checkpoint
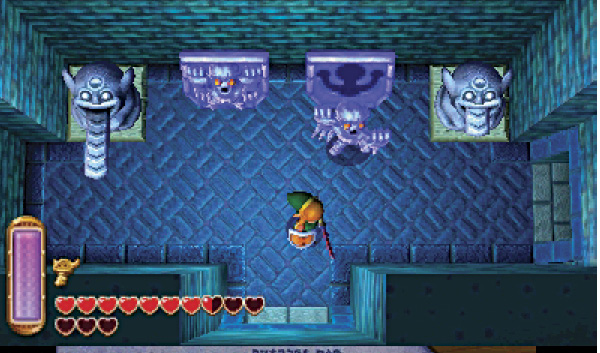
This small hall features two tongue statues, as well as a pair of blue Freezor statues. Pull the west statue’s tongue to open the east door, but look out: The east Freezor soon springs to life! Slay the Freezor and then proceed into Room 6. (Pulling the other statue’s tongue merely causes a few lowly Popos to appear.)
 Freezor
Damage: 3 Hearts
Freezors are frightful frozen statues that spring to life when Link draws near or triggers something in the environment. However, like Gimos, some Freezors never emerge from their frozen state. Though these mighty sentries are immune to Link’s blade, they’re easily defeated with a quick flick of the Fire Rod!
Room 6: Pengator Playground
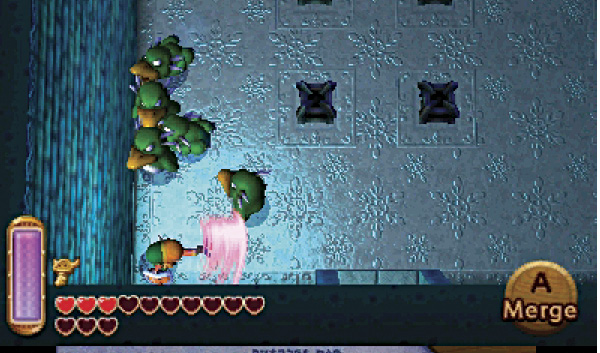
This frozen room’s floor is covered in slippery ice—the perfect playground for a pack of Pengators! Use the Tornado Rod to blast away these aggressive enemies as you hack them up with Link’s sword. Try moving Link to a corner, where he won’t have to worry about being flanked.
 Pengator
Damage:2 Hearts
These green-skinned minions just love the cold climate of the Ice Ruins’ icy rooms. They pursue Link relentlessly, and as they gain momentum, drop and slide after Link on their bellies. Pengators gain speed but lose control while sliding—avoid them and then counter while they’re off balance!
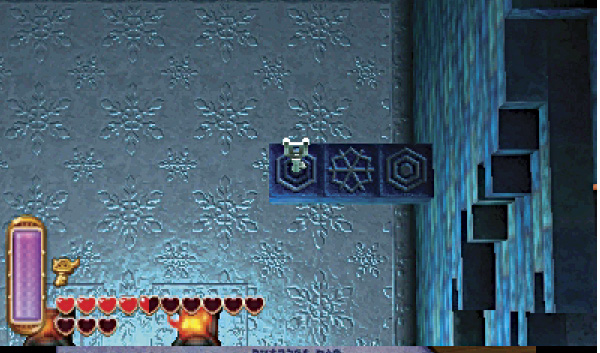
After pulverizing the Pengators, use the Fire Rod or lamp to light the room’s four central braziers. Once all four braziers have been lit, a small key drops from the ceiling, landing on a high beam. The key is out of your reach, so simply travel south into Room 7 for now.
Room 7: Snowy Ledge
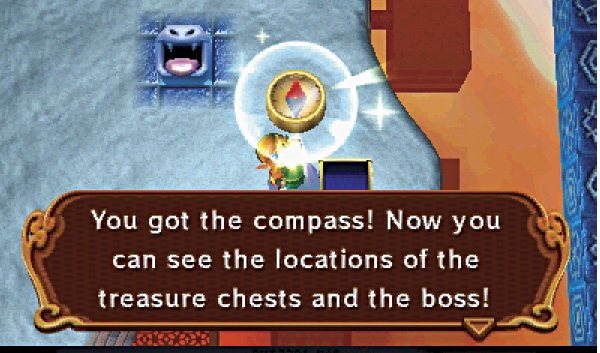
Beware of Hardhat Beetles and ice statues as you explore this snow-covered ledge! Stay mobile to avoid being frozen by the ice statues’ blasts as you move to loot the ledge’s chest.
 Ice Ruins Chest #3: Compass
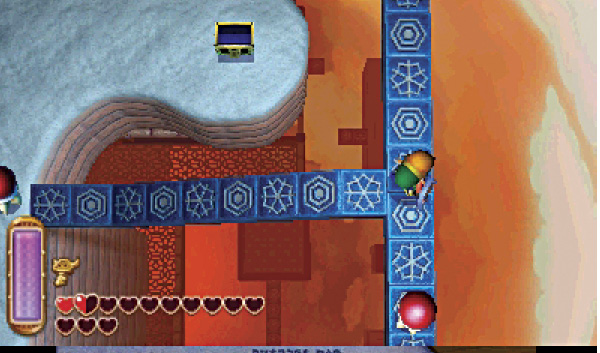
After claiming the compass, carefully move onto the narrow snowflake beam to the east. Use the Fire Rod or Ice Rod to defeat the Hardhat Beetles on the beam as you head north, back to the previous room.
Room 6 (Revisited)
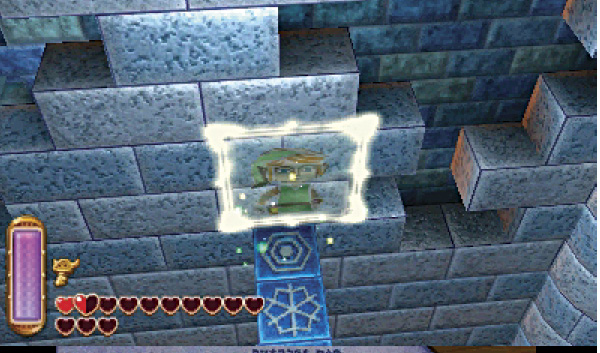
Back in Room 6, follow the narrow beam to its end, then merge into the wall.
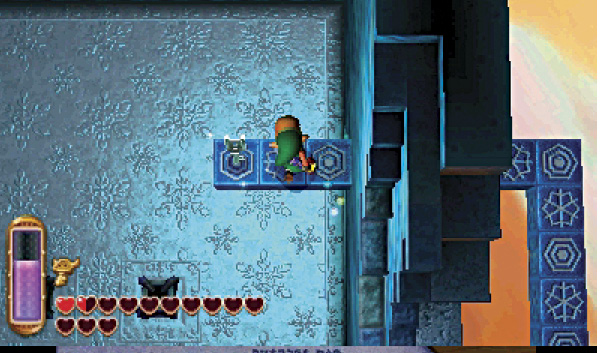
Wrap around the wall to reach the narrow beam with the small key you discovered by lighting the braziers. Pop out and collect the key, then merge back around the wall and backtrack along the narrow snowflake beam.
Room 7 (Revisited)
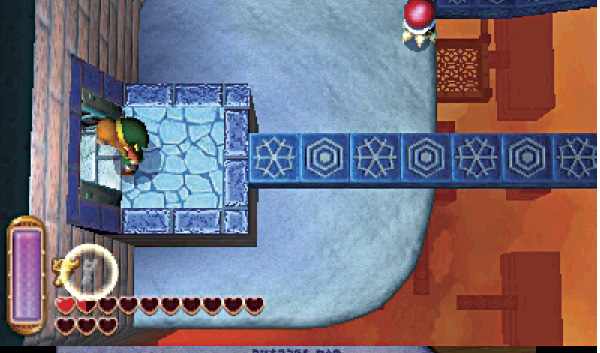
Follow the narrow beam back to Room 7, and keep going to reach a locked door. Now that you’ve found a small key, use it to open this locked door, and go through to revisit Room 4.
Room 4 (Revisited)
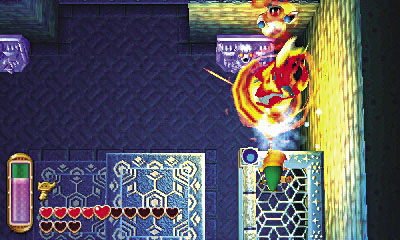
Room 7’s locked door leads to Room 4’s high southern ledge. Dispatch the Wizzrobes if they’ve returned here, then merge into the east wall.
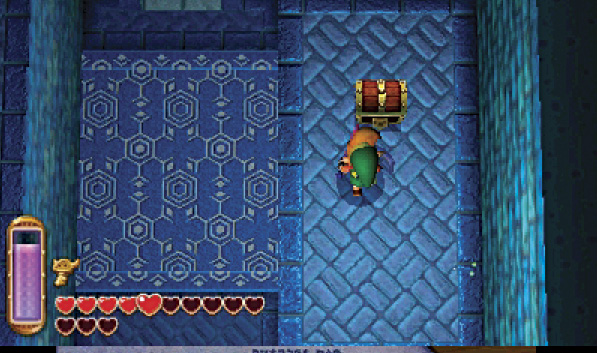
Slide north along the east wall, heading for the room’s northeast ledge. You can now plunder the chest you saw up here before.
 Ice Ruins Chest #4: Purple Rupee
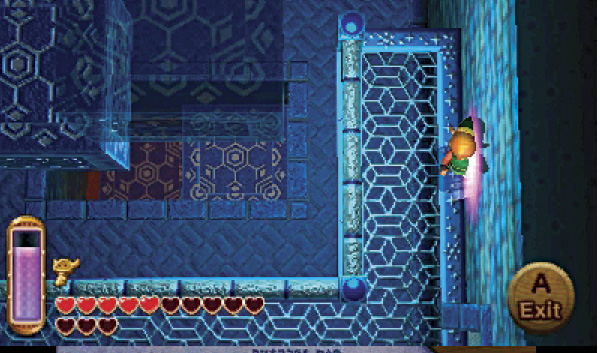
After looting the chest, merge back into the east wall and slide back down to the southern ledge. Head through the west door to reach a small outdoor ledge that overlooks the ruins below. Smash a few skulls out here in search of items before heading back inside.
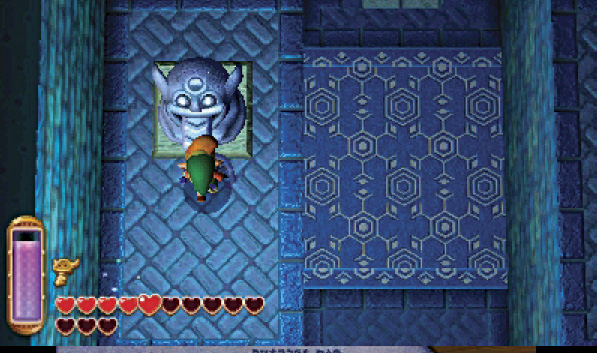
Now merge into the west wall and slide northward. Keep going until you reach the room’s northwest ledge, which features a tongue statue. These things are everywhere!
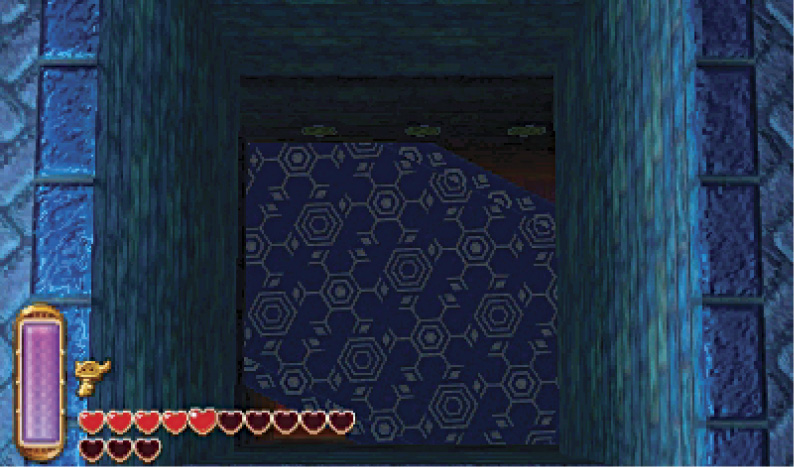
Exit from the wall and pull the tongue of the statue you discover on Room 4’s northwest ledge. This causes a large section of the floor to drop out and move to a new position in the second basement floor below you. Wild stuff!
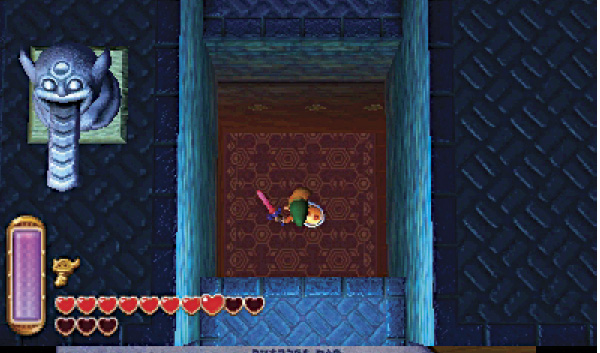
You’ve fully explored this floor now, so it’s time to move on. When you’re ready, drop through the large hole in Room 4’s floor that you’ve just created to visit Room 8 down on the second basement floor.
Room 8: Connecting Corridor
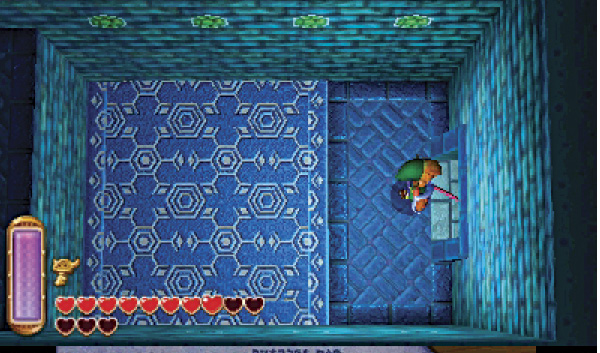
Link makes a landing down on the second basement floor, none the worse for wear. There’s little to do in this room at present, so proceed east through the nearby door to visit Room 9.
Room 9: Frozen Stairwell
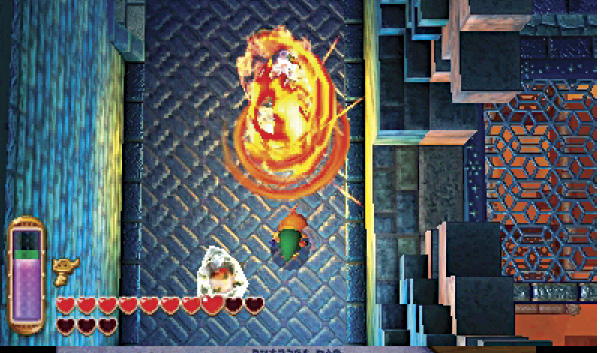
Use the Ice Rod to burn up Ice Bubbles as you explore in this narrow area. Melt the surrounding icicles as well to discover a floor switch down south.
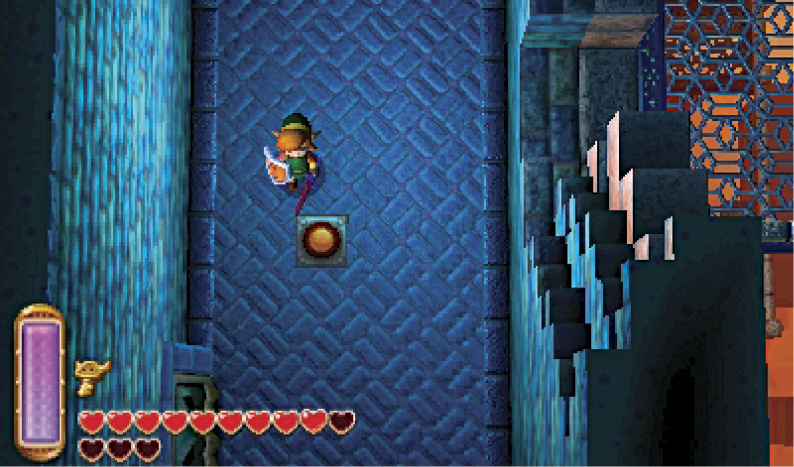
Step on the floor switch to open the room’s southwest and northwest doors. Go north afterward, but don’t leave the room just yet. Instead, go directly south from the locked north door and merge into the nearby wall.
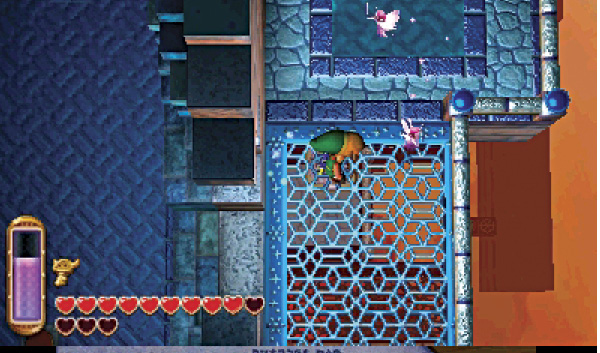
Wrap around the wall and pop out to reach a small Fairy Fountain. How nice! Fill your bottles and then drop from the Fairy Fountain ledge. Now proceed through the northwest door to visit Room 10.
Room 10: Great Treasury
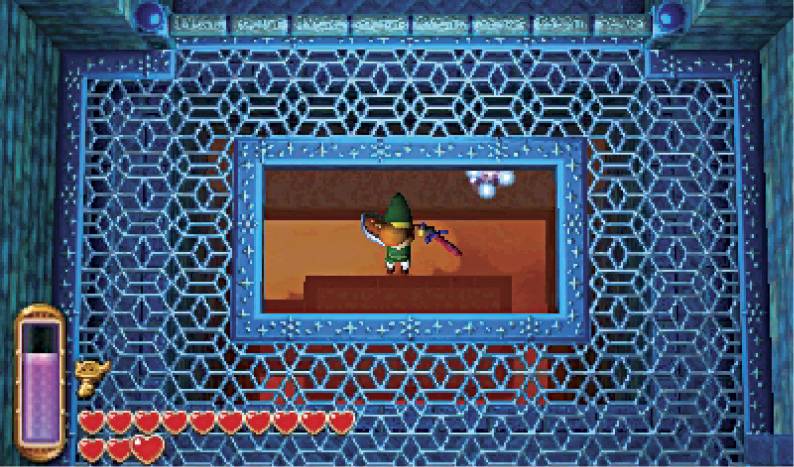
There’s a chest at the north end of this large room, but it’s out of your reach. You can’t reach the tongue statue below, either. Instead, simply drop through the hole in the floor to plummet to Room 11, down on the dungeon’s fourth basement floor.
Room 11: Northwest Exterior Walkways (B4)
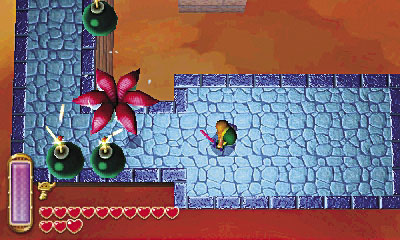
Link lands on an outdoor walkway, right near a dangerous Keeleon. Use the Fire Rod to quickly dispatch this floating foe before stepping onto the nearby moving platform.
Keeleon
Damage:1 Heart
These airborne adversaries regularly spit bombs up from plant-like spouts, raining dangerous explosives down around Link. Not good! Defeat Keeleons quickly with the Fire Rod, and if you like, try tossing their bombs at other foes or surrounding objects. Just don’t get yourself blown up in the process!
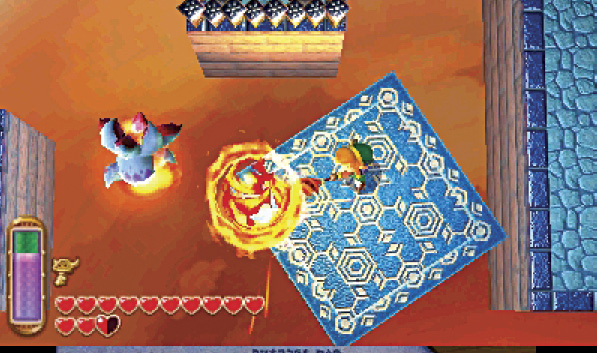
Slay another Keeleon while riding the moving platform. As you go, try tossing bombs over at the northern switches. Trigger all four of these distant switches with bombs, and a chest will appear back over to the east!
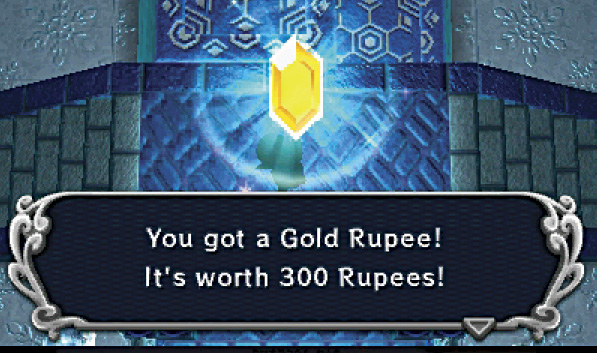
Ride over and raid the chest to claim a shiny Gold Rupee. Sweet!
Ice Ruins Chest #5: Silver Rupee

Sliding Icebergs
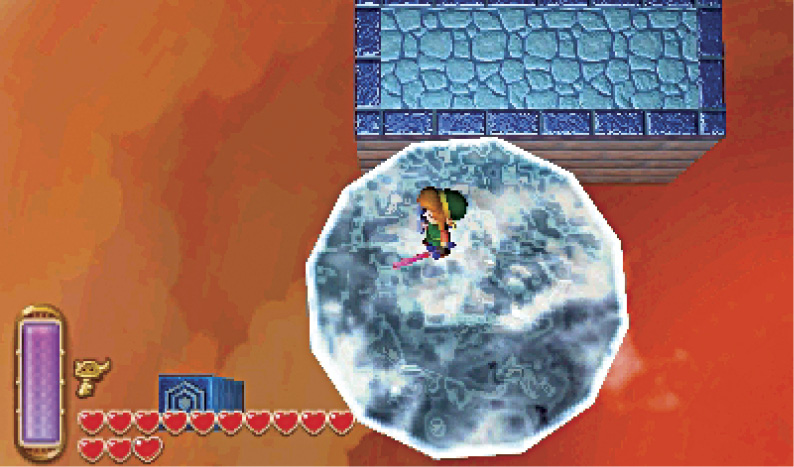
Ride back along the moving platform, heading for the west walkway. Go south to reach some large, circular ice platforms that are slowly drifting around the area. Hop aboard one of these ice platforms and be ready to battle a few Chasupas as you ride around.
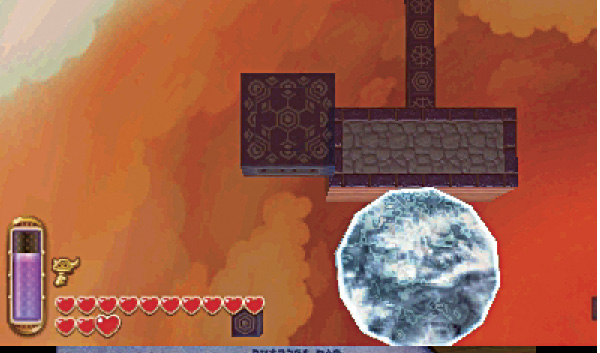
While riding the ice platforms, use the Fire Rod to light the central brazier. Once it’s lit, an elevator appears back up north. Nice!
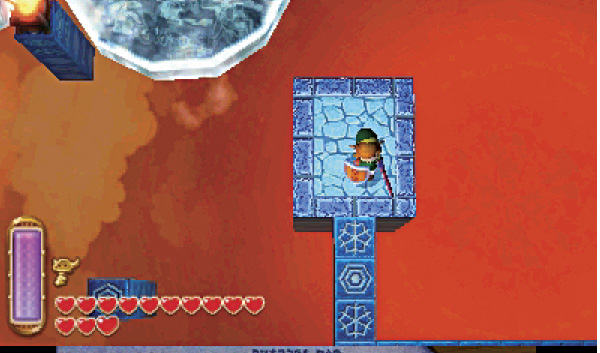
Before heading up to the elevator, ride the ice platforms to the southeast walkway. Step off and follow the walkway to the east.
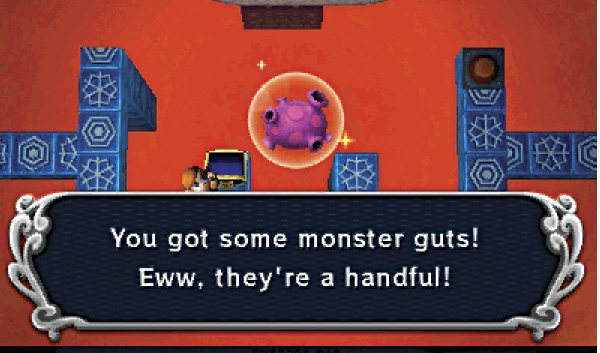
Loot the chest at the walkway’s east end to claim some gooey monster guts. They’re quite a handful!
 Ice Ruins Chest #6: Monster Guts
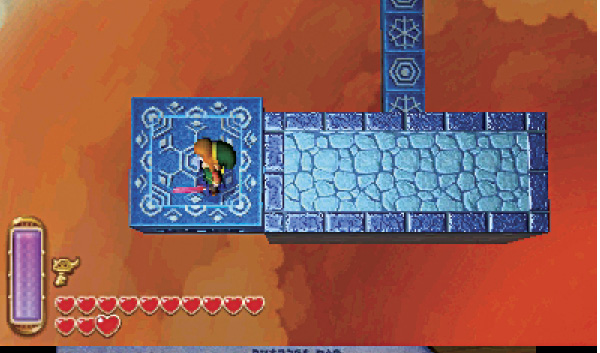
Now ride an ice platform back up to the north walkway. Step onto the west elevator when it lowers and ride up to the floor above you.
Room 12: Southwest Exterior Walkways (B3)
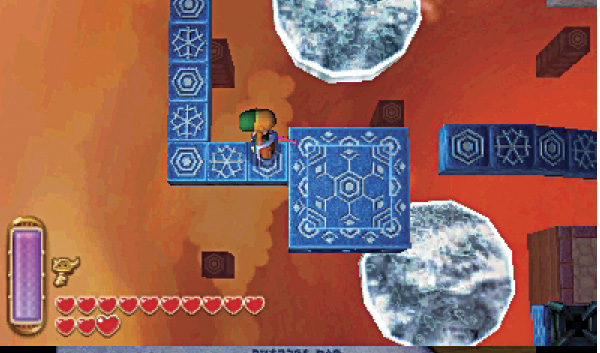
The elevator takes you up to the third basement floor’s outer walkways. Ignore the door to the east and go south to reach a moving platform.
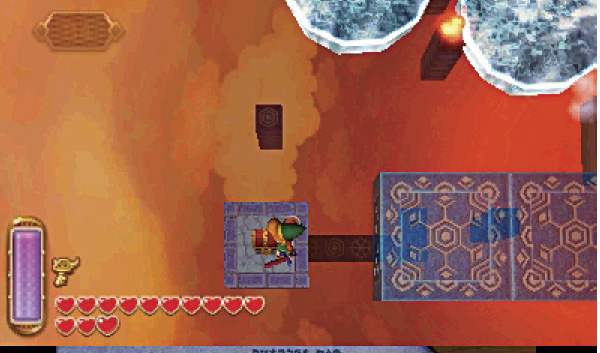
Ride the moving platform to its end to reach a second moving platform. Rather than boarding the second platform, drop from the west side of the first platform, aiming to drop near a chest you can see on the floor below.
Room 11 (Revisited)
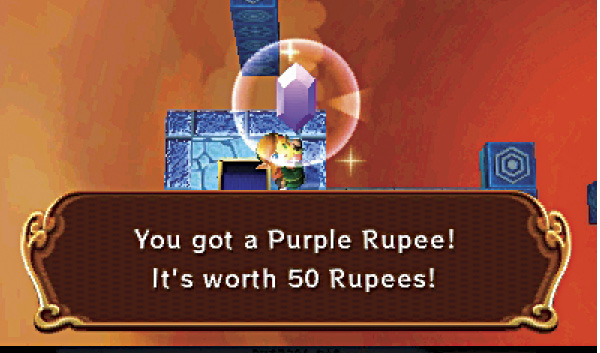
Dropping from the moving platform lands you right near a high chest. Flip its lid to score your loot, then drop and ride the ice platforms back up to the elevator.
 Ice Ruins Chest #7: Purple Rupee
Room 12 (Revisited)
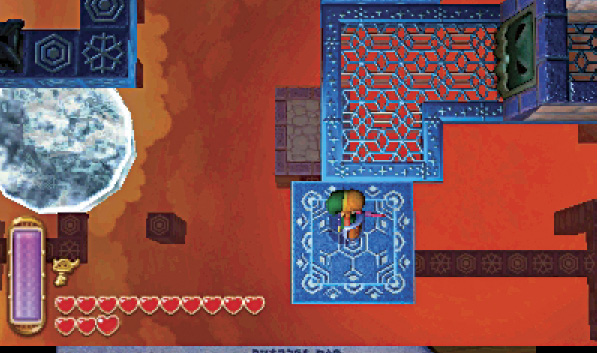
Ride the elevator back up to the third basement floor’s outer walkways. This time, step onto the second moving platform and ride it eastward to reach a wire ledge.
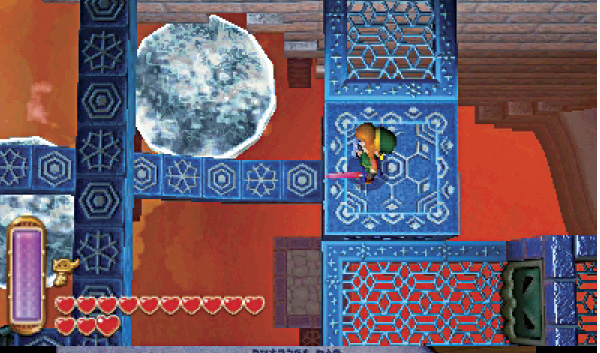
You can’t open the wire ledge’s sealed door, so step onto the north elevator block while it’s low and ride up to the higher north door that leads to Room 13.
Room 13: Frozen Crystal Switch
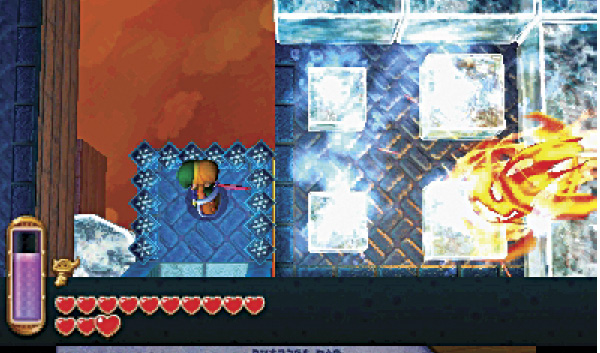
You emerge on a high southern balcony that overlooks this sizeable chamber. Use the Fire Rod to melt the collection of large ice blocks to the east, exposing a switch that you can’t quite reach from here.
Room 12 (Third Visit)
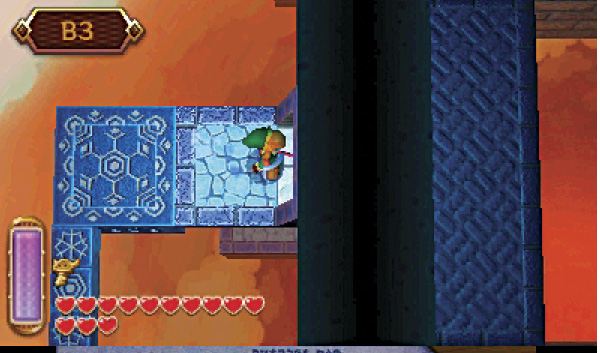
After melting Room 13’s ice blocks, go back outside to the exterior walkways and ride the moving platforms back to the elevator. Don’t ride the elevator, but go through the nearby east door instead to return to Room 13.
Room 13 (Revisited)
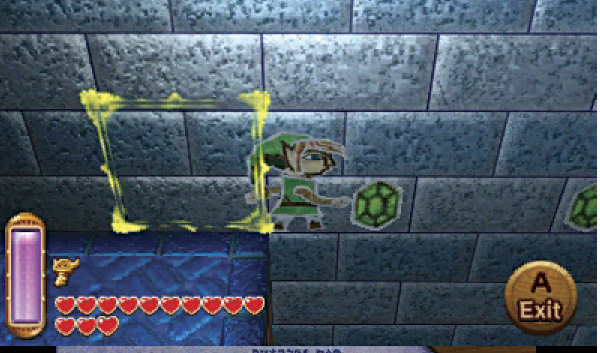
You’re now back in Room 13, having entered the room from the west. Merge into the north wall and travel westward to reach the crystal that you’ve just exposed by melting the ice blocks.
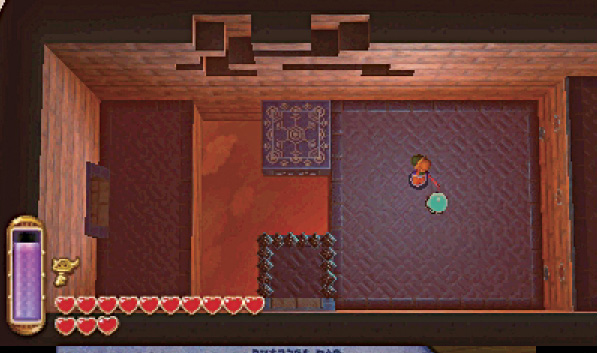
Exit from the wall and strike the crystal to make an elevator appear nearby. This room’s big chest is out of your reach at present, so simply board the elevator and ride up to the second basement floor.
Room 14: Exterior Walkways (B2)
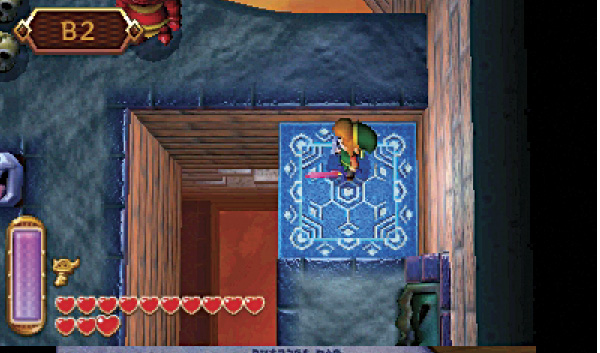
The elevator hoists you up to a snowy outdoor ledge. Cut down a few Eyegores and avoid the ice statues’ blasts up here.
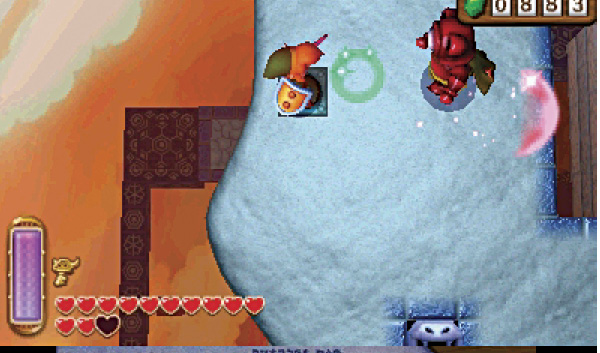
Smash the ledge’s west skulls to discover a hidden floor switch. Step on the switch to open the east door. Loop around and go through the door to revisit Room 8.
Room 8 (Revisited)
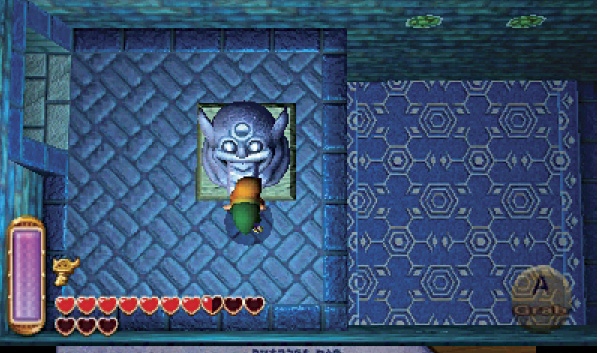
You emerge on Room 8’s high west ledge, right next to a tongue statue. Pull out the tongue to make Room 8’s floor slide away, exposing a large hole. Whoa!
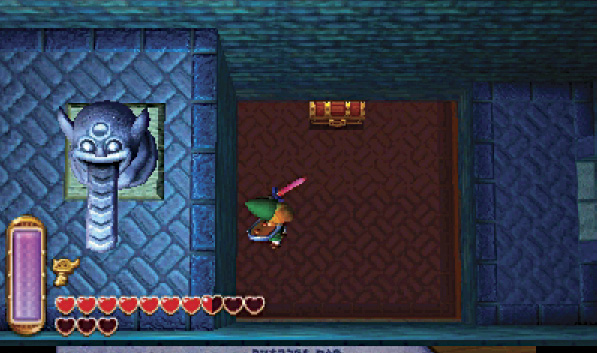
A big chest can be seen through the hole in Room 8’s floor. You can’t resist it! Drop through the hole to land back downstairs in Room 13.
Room 13 (Third Visit)
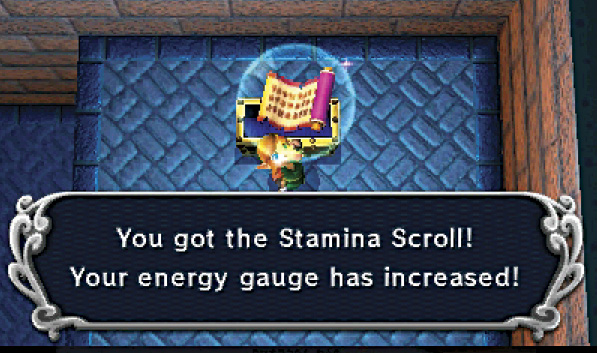
Dropping through the hole in Room 8’s floor lands you on Room 13’s high east ledge, right near the big chest. Crack it open to claim the Ice Ruins’ special treasure: the Stamina Scroll!
 Ice Ruins Chest #8: Stamina Scroll
 Stamina Scroll
Contains the secrets of great stamina and expands your energy gauge.
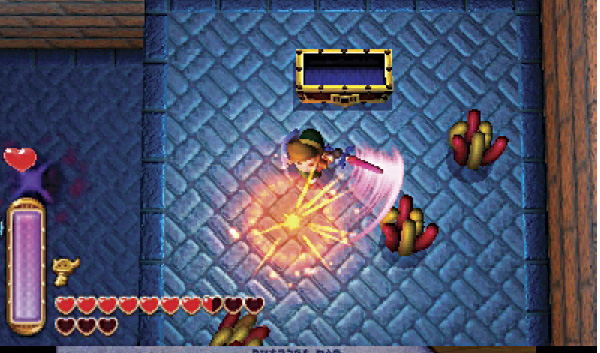
Slay the Popos that spring up around you after obtaining the Stamina Scroll. Drop from the chest ledge afterward and ride the elevator back up to the second basement floor’s outer walkways.
Room 14 (Revisited)
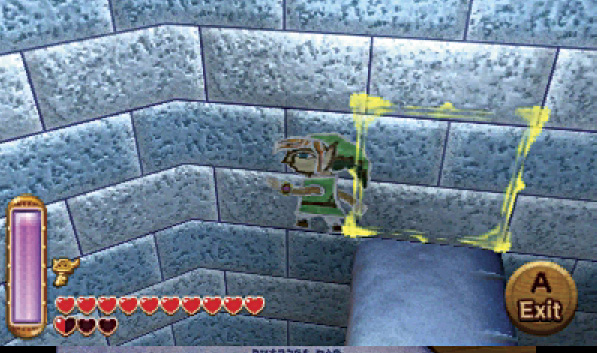
Back on the second basement floor’s snowy exterior, merge into the east wall and make a long journey northward, looping around the temple’s outer wall. This journey is much easier to complete if you have the Stamina Scroll.
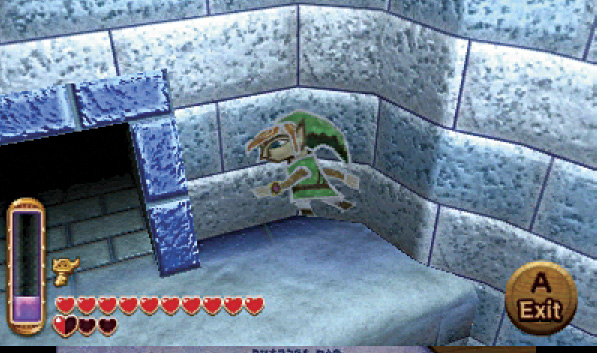
Just keep sliding around the temple, eventually going eastward along the north wall. You finally reach a small ledge just before Link runs out of gas. Pop out and catch your breath for a moment before entering the nearby door.
Room 10 (Revisited)
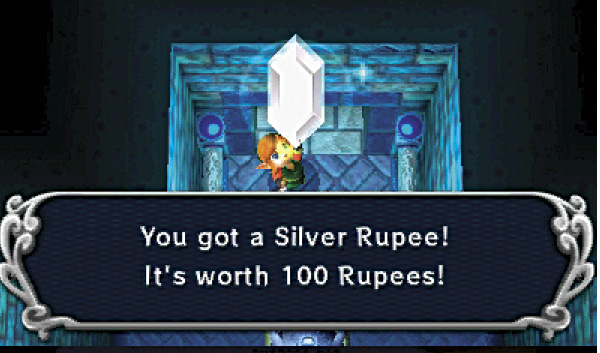
The door leads into Room 10, to a small north balcony with a chest. Open the chest and pluck out a Silver Rupee.
 Ice Ruins Chest #9: Silver Rupee
Room 8 (Third Visit)
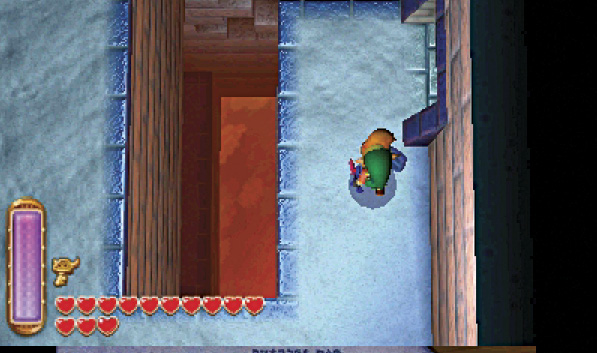
Return to the exterior walkways after looting the chest and merge back along the wall, making the long journey back to the elevator near Room 8. Enter Room 8 and merge into the wall, then slide over to the low east ledge. Drop and go through the east door to return to Room 9.
Room 9 (Revisited)
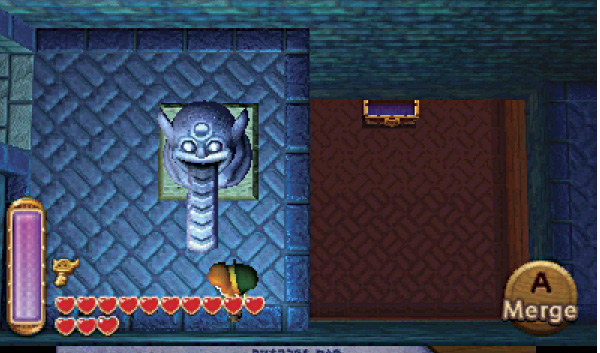
You’re back in Room 9, but you still don’t have a means of opening the locked north door. No matter; head through the northwest door to return to Room 10.
Room 10 (Third Visit)
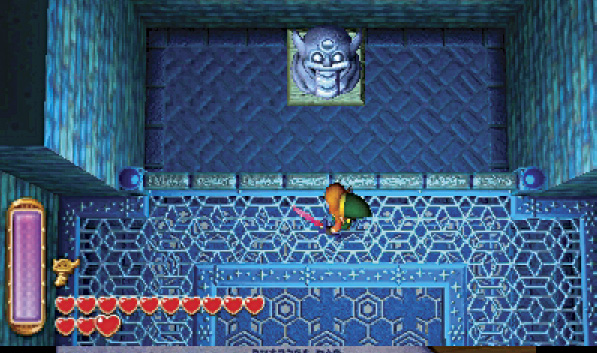
Now that you’ve shifted the floor by pulling the statue’s tongue in Room 8, you can reach another tongue statue here in Room 10. Drop through the central hole to land on the low ground below, then pull the statue’s tongue.
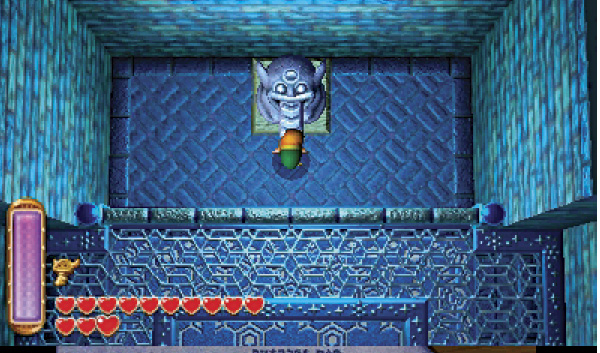
Pulling the statue’s tongue in Room 10 causes the floor to shift once again. What an unusual place this dungeon is! Drop through the new hole in the floor to reach Room 15 on the floor below you.
Room 15: Pengator Ambush
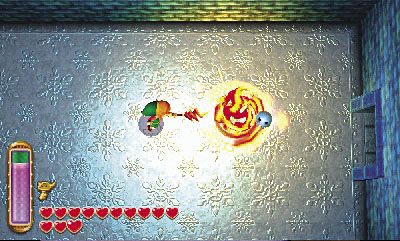
This time, falling through Room 10’s floor lands you in Room 15, down on the third basement floor. Slay the Ice Bubbles down here, but beware: Doing so triggers a nasty ambush!
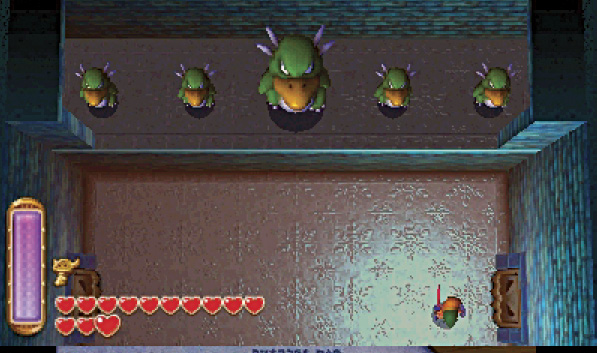
Once all of the Ice Bubbles have been defeated, the room’s doors shut tight, and the north wall slides away, releasing a pack of wild Pengators! In fact, one of these monsters happens to be a Big Pengator—an even larger and more powerful variety!
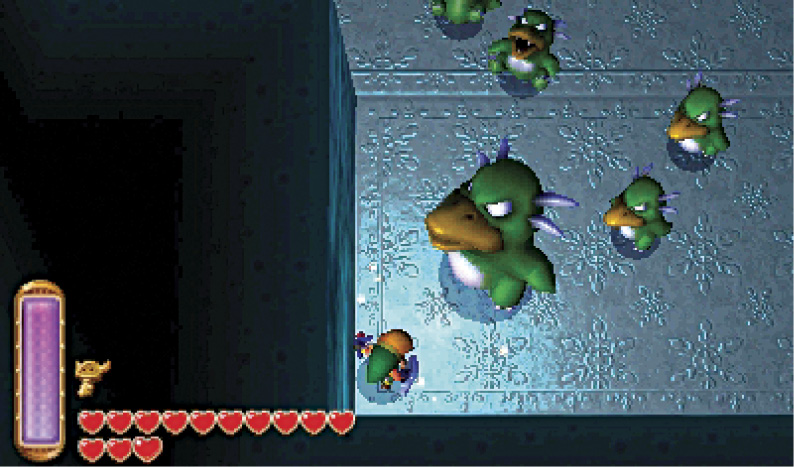
Move close to a wall for safety as you slash madly at the pursuing Pengators. Strike the villains every time they slide within reach, and unleash the Tornado Rod to stun and knock away the Pengators whenever they begin to swarm.
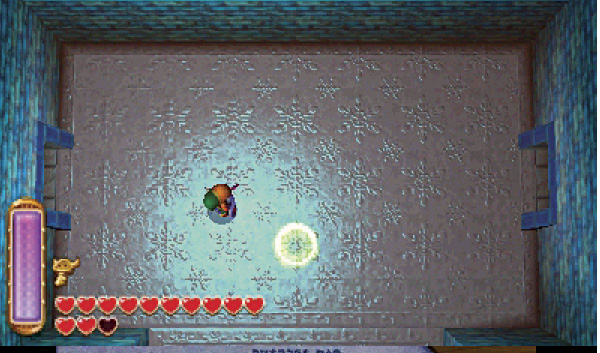
The room unseals after all of the Pengators have perished. A portal also appears. Warp back to the dungeon’s entrance and save your game, then travel back through the portal and go through Room 15’s west door to head back outside.
Room 16: Northwest Exterior Walkways (B3)
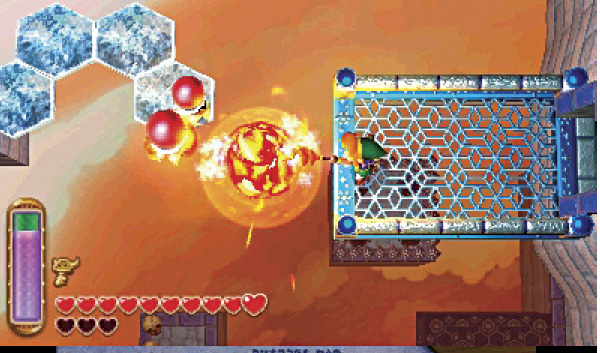
Travel the narrow, icy path, but beware of the dangerous Hardhat Beetles that guard this slippery trail! Remain on the entry ledge and use the Fire Rod to dispatch the Hardhat Beetles from afar. Don’t worry if you melt away some of the icy path—it returns after a short time.
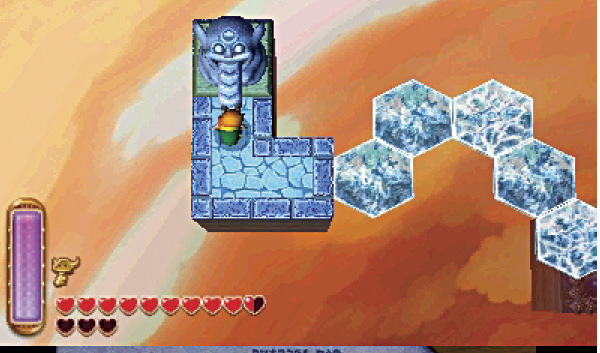
After all of the Hardhat Beetles have been dealt with, carefully navigate the icy path, heading for the far statue. Pull the statue’s tongue to shift the dungeon’s moving floor once more. Trust us, it’s important!
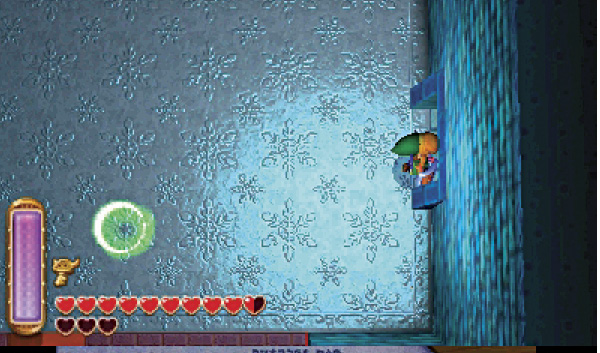
Backtrack across the icy path and return to Room 15. This time, go through the east door to visit Room 17.
Room 17: Freezor Lair
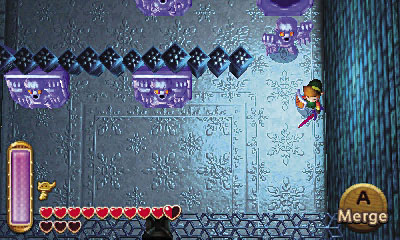
With the statue’s tongue pulled back in Room 15, this room now features a smooth, icy floor. Slide through the room, ready to flick your Fire Rod at any Freezor that springs to life while you pass.
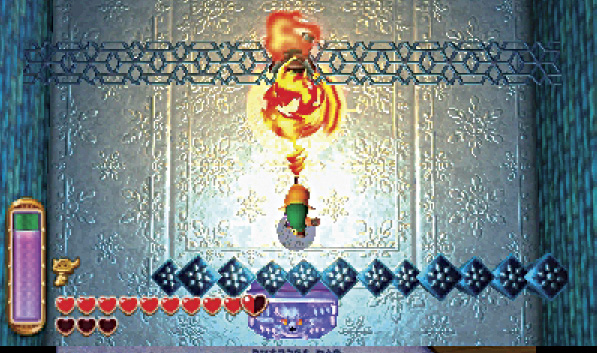
Approach the middle of the room, then use the Fire Rod to light the high overhead brazier. This opens the south door—go through to visit Room 18.
Room 18: Southeast Exterior Walkways (B3)
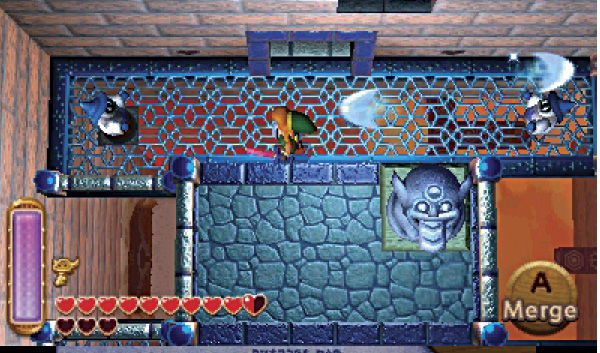
Quickly cut down a pair of Ice Wizzrobes as you enter this exterior network of walkways. Step on the nearby floor switch afterward to open a door to the south.
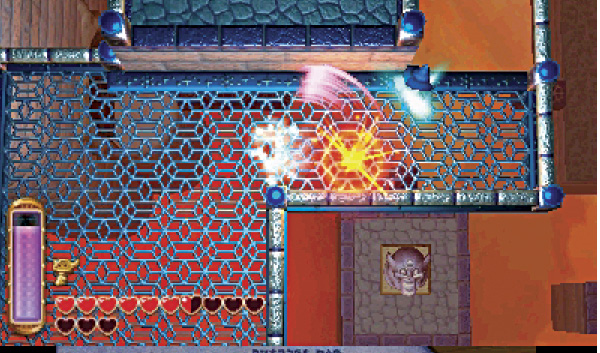
Merge into the central wall after opening the south door and slide around to the wall’s south side. Pop out and cut down more Wizzrobes on your way to the door you’ve just opened.
Room 19: Elevator (B3)
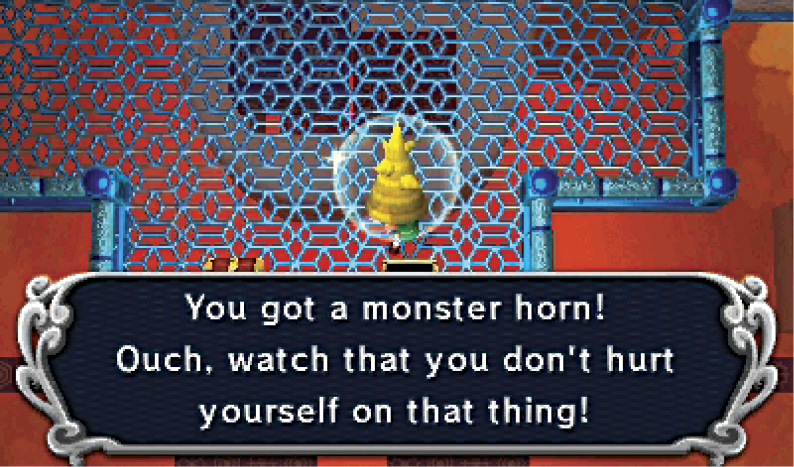
You’ve fully explored this floor now and have reached the dungeon’s main elevator. Open two chests here to claim a Green Rupee and a monster horn, but beware: Three Ice Wizzrobes appear after you plunder the chests!
 Ice Ruins Chest #10: Green Rupee
 Ice Ruins Chest #11: Monster Horn
Room 18 (Revisited)
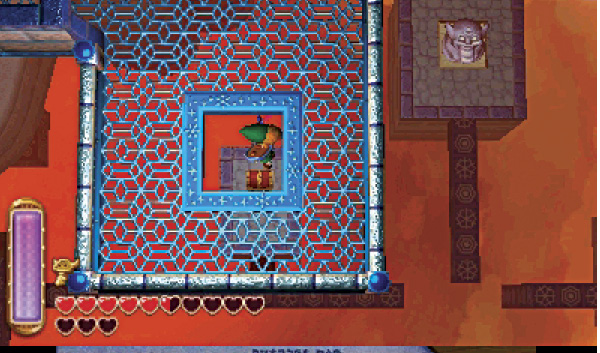
Slay the three Ice Wizzrobes that appear after you open the chests, then backtrack through the east door to return to the southeast walkways. Drop through a hole in the floor here to land near a chest down on the fourth basement floor.
Room 20: Southeast Exterior Walkways (B4)
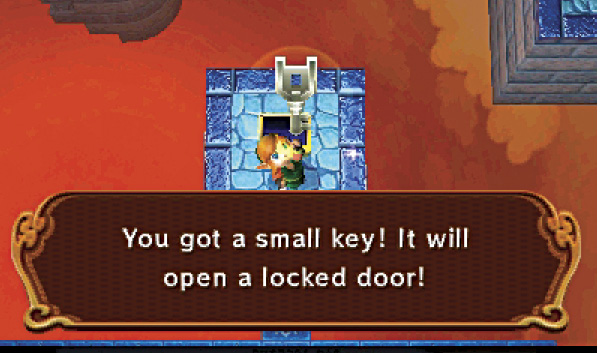
Dropping through the hole in the floor in Room 18 lands you near a high chest down on the fourth basement floor. Raid the chest to claim a small key.
 Ice Ruins Chest #12: Small Key
Room 21: Elevator (B4)
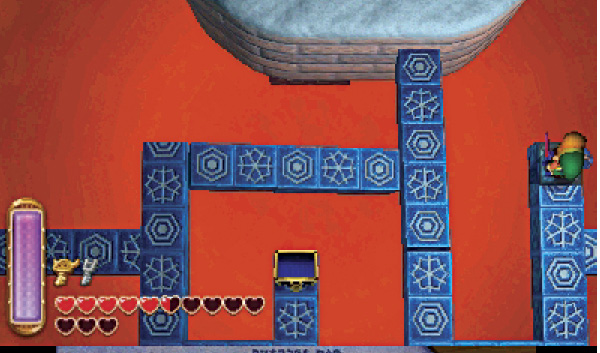
After pocketing the key, drop from the chest ledge and go west. You soon come to the elevator down here on the fourth basement floor. Step on the nearby switch to connect the walkways so you may reach the elevator, then ride up two floors, heading to the second basement floor.
Room 9 (Third Visit)
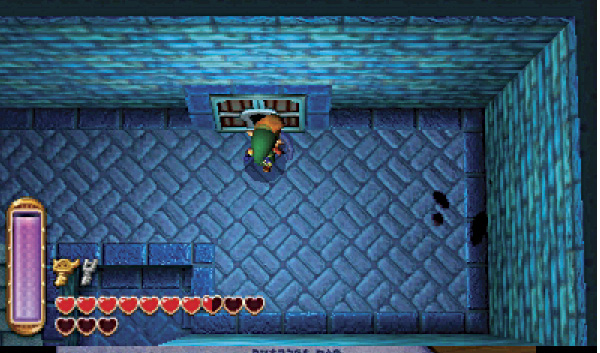
Step off the elevator when you reach the second basement floor, then go through the east door to return to Room 9. This time, you’ve finally got a small key. Open the locked north door and go through to visit Room 22.
Room 22: Grand Balcony
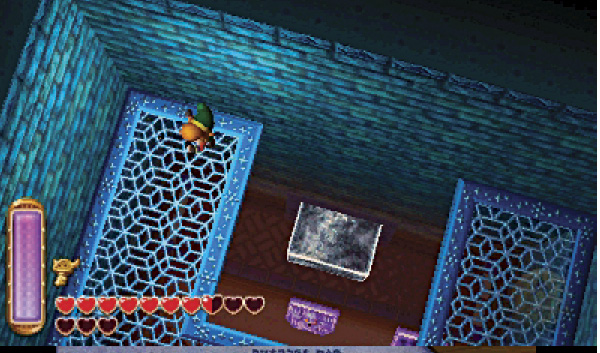
This room has no floor—only a balcony that overlooks the room below. Notice the large ice block that’s partially sticking out from the north wall. Merge into the north wall and pop out so that you drop onto this ice block.
Room 17 (Revisited)
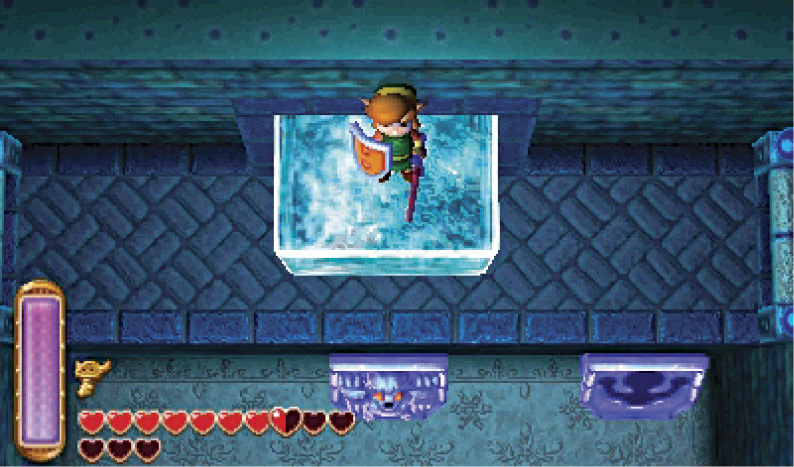
You’re back in Room 17, having landed on the large ice block that sits on the high north ledge. Carefully slide off one side of the block and land on the ledge, then use the Fire Rod to melt the block away.
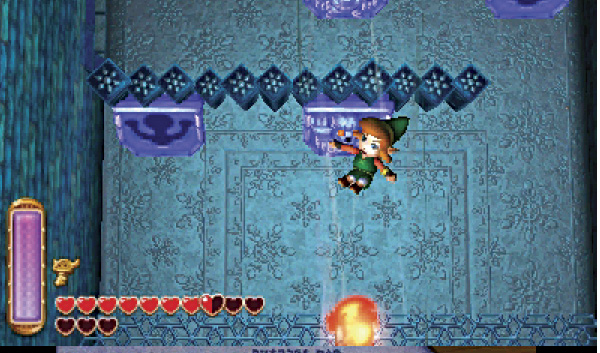
Melting the ice block uncorks a powerful gust of wind. Step into the draft, and you’ll be blown southward into Room 18.
Room 18 (Third Visit)
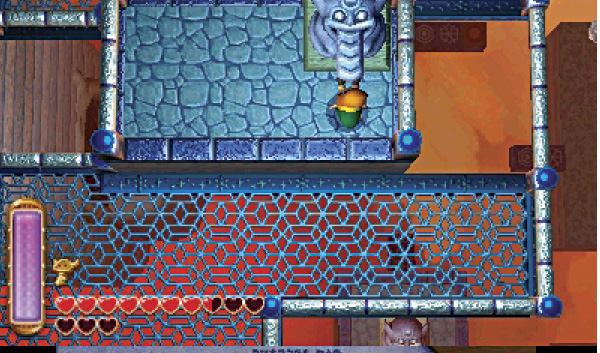
Room 17’s powerful gale lands Link on a small ledge down south, right near a tongue statue. Pull the tongue to move the dungeon’s roaming floor yet again. Drop from the ledge afterward and go north, returning to Room 17 one last time.
Room 17 (Third Visit)
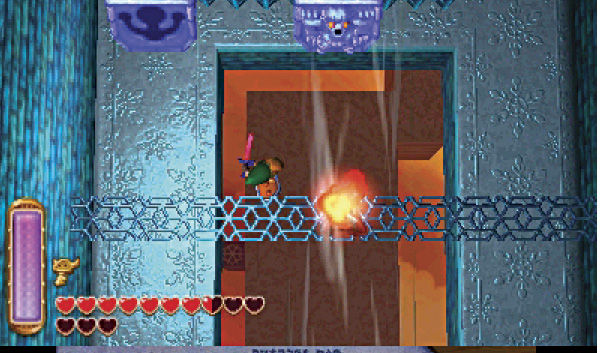
Pulling the tongue statue in Room 18 has lowered the floor here, creating a new opening. Drop through the floor and land down on the fourth basement floor.
Room 20 (Revisited)
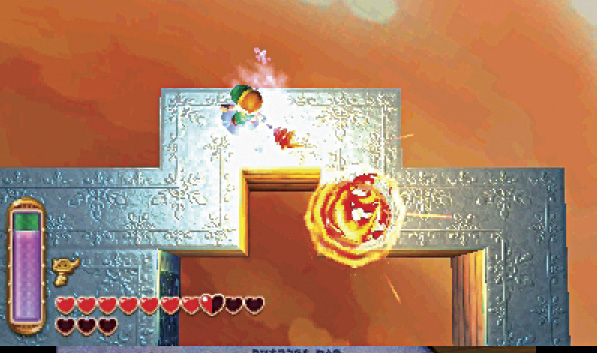
Now that the dungeon’s traveling floor has been shifted down to this area, you can explore more of the fourth basement floor. Use the Fire Rod to melt the small icicles up north so you may explore eastward.
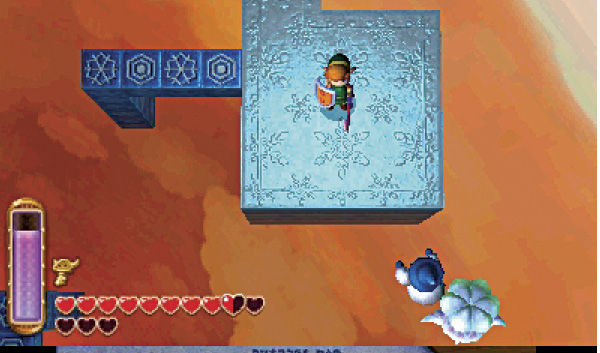
Loop around to the south to reach an icy pathway. Flick the Fire Rod to toast the nearby Keeleon and Ice Wizzrobe before proceeding south across the icy path.
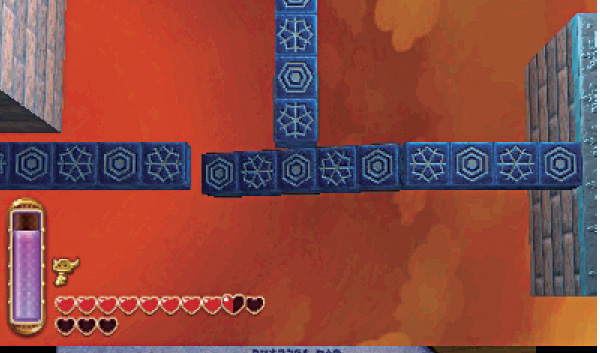
While navigating the icy path that follows, use the Fire Rod to light the nearby brazier. This extends a walkway to the south. Continue crossing the path until you reach the far side.
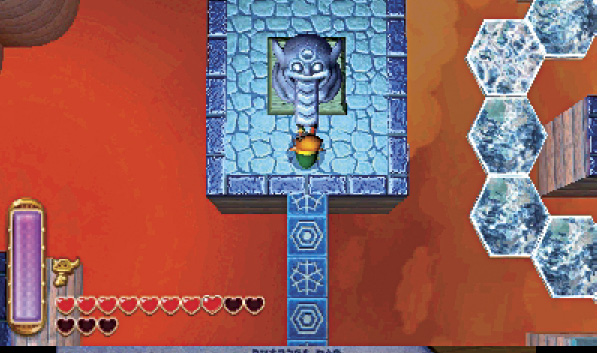
Cross the walkway, going north to reach a tongue statue. Gee, these things really are everywhere! Pull this one’s tongue to move the dungeon’s roaming floor yet again, sliding it close by.
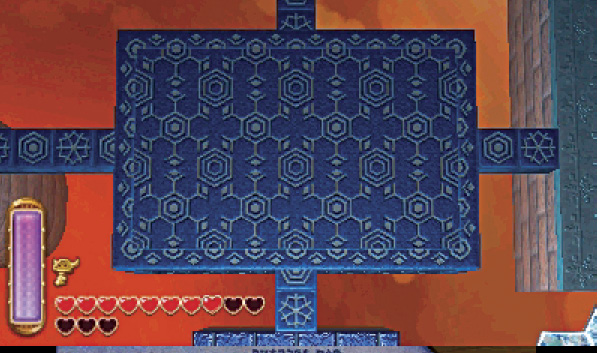
Go north, heading across the floor that you’ve just moved close by pulling the statue’s tongue. Step on a floor switch up north to extend more walkways ahead.
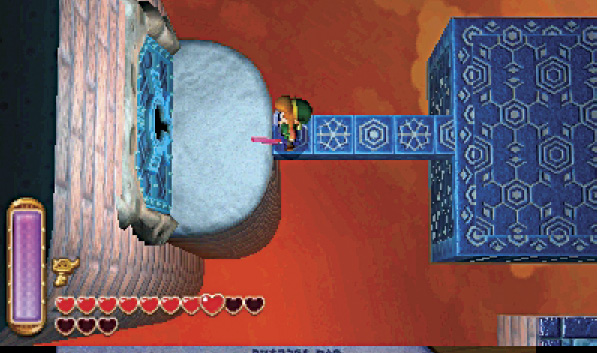
There’s no need to cross the north walkways—they merely lead back to areas you’ve already explored. In fact, you’ve explored the entire dungeon by this point! Brace for the final battle before heading through the big door to the west to visit Room 23.
Room 23: Boss Chamber Access
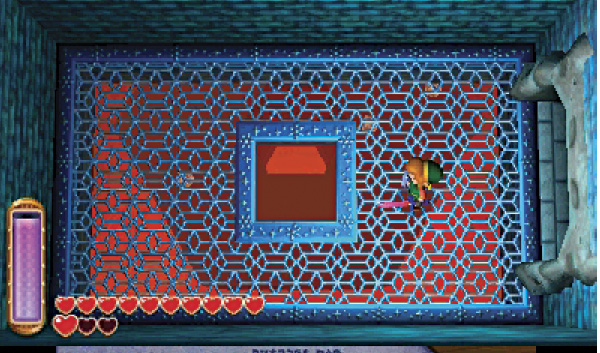
This small room features a single hole in the middle of its wiry floor. When you’re ready, drop through the hole to reach the final battle against the Ice Ruins’ formidable master.
Boss Battle: Dharkstare
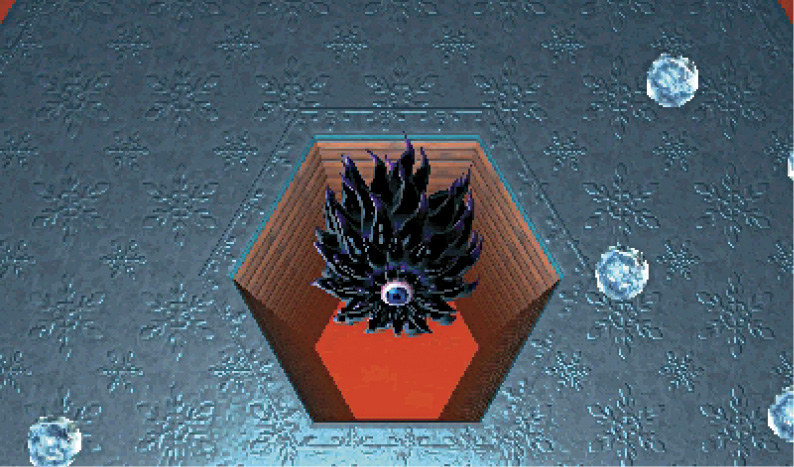
This mighty flying eyeball won’t let Link escape its chilling gaze! The moment our hero arrives in its lair, Dharkstare shields itself in thick layers of ice for defense. The battle is on!
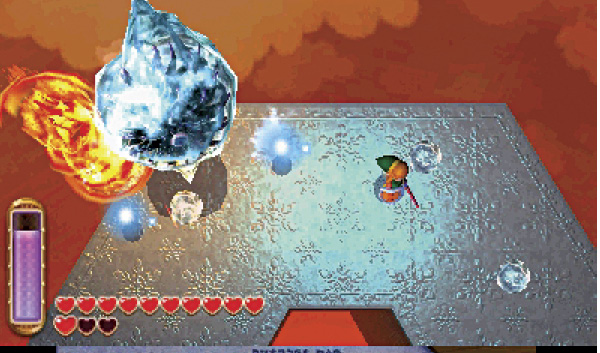
In order to harm Dharkstare, you must first burn away its icy armor. Strike the boss three times with the Fire Rod to melt away its protective shielding.
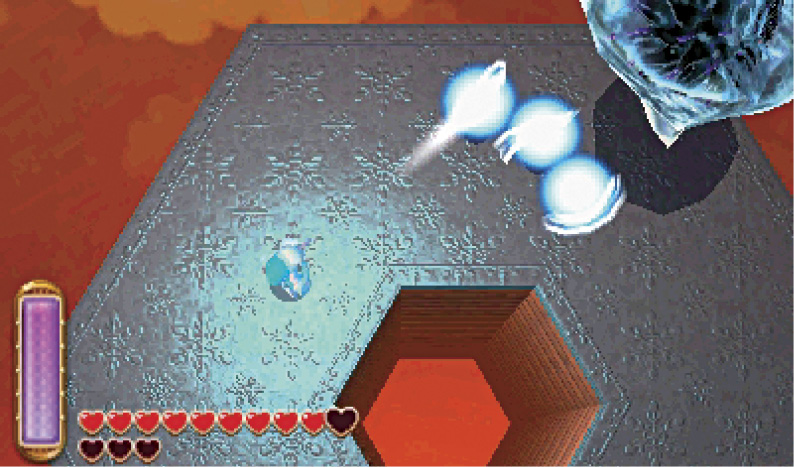
Beware: As you battle Dharkstare, the monster periodically casts out three glowing projectiles. These projectiles triangulate Link before emitting a powerful, triangular jolt that zaps Link if he’s caught in the triangle, freezing him for damage. Yikes! Stay mobile as you pursue the boss, and strive to avoid this powerful jolt.
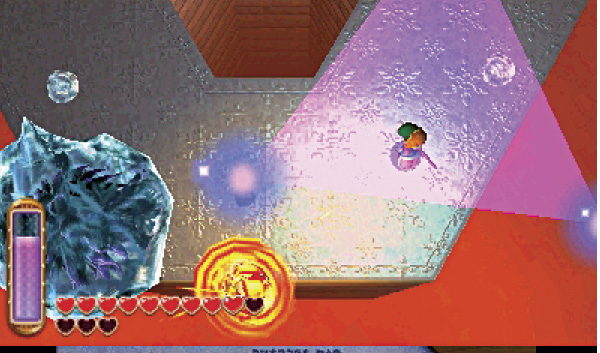
Dharkstare can also freeze Link by simply casting out its three projectiles, sending them into direct contact with Link. This attack has quite a long range, so keep well away from those big, frosty balls!
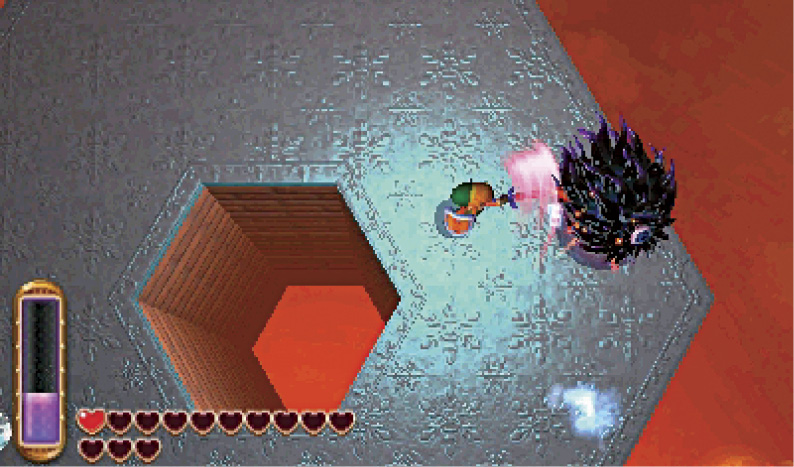
After you’ve melted away all of Dharkstare’s protective icing, the boss starts hopping around the arena, briefly becoming totally helpless. Now’s your chance! Rush Dharkstare and strike the demon as many times as you can with Link’s mighty blade.
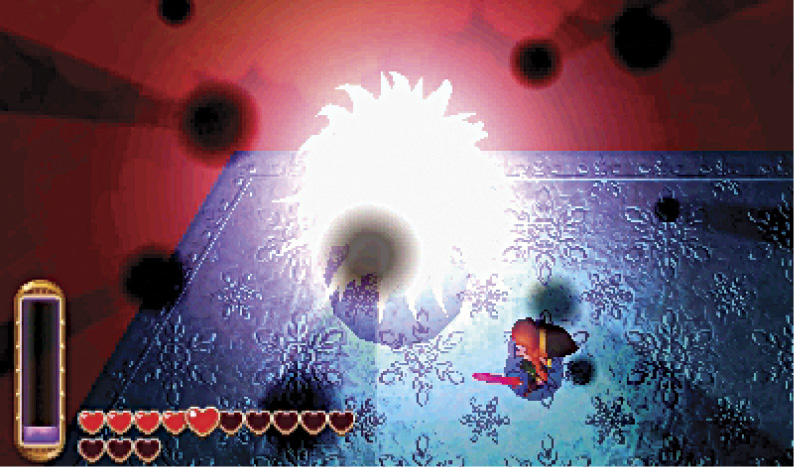
It’s not long before Dharkstare restores its icy armor, reverting to its original state. Take up the Fire Rod to make Dharkstare vulnerable once more. Expect the monster to become more and more aggressive as the fight wages on, attacking with greater and greater ferocity. Turn up the heat with the Fire Rod and don’t relent until this devious boss has been grilled to perfection!
Rescuing Rosso
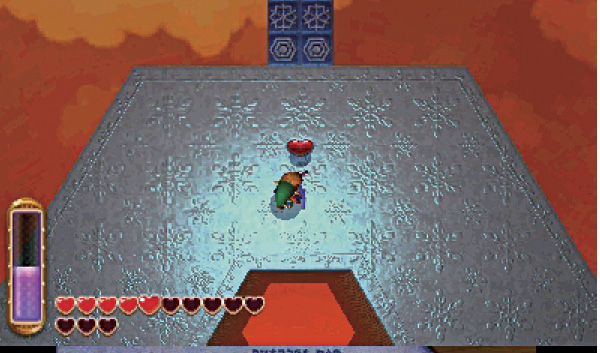
When Dharkstare is at last defeated, it leaves behind a heart container. Collect this wondrous gift to add the final heart to Link’s life gauge. Great work!
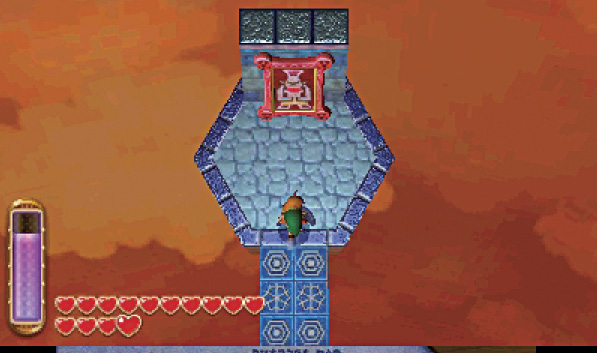
Dharkstare’s defeat also causes a bridge to appear up north. Cross it to reach a Sage’s painting—the last Sage in need of rescue!
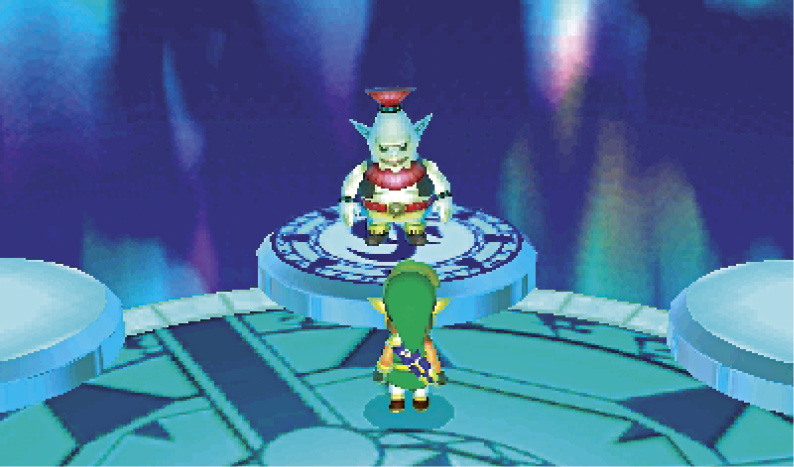
Touch the painting to free the Sage, who turns out to be Rosso, the burly ore miner. The big fellow apologizes for putting Link through so much trouble, but he’s certainly pleased to be free of his plight. Congratulations, hero—you’ve now rescued all Seven Sages!
The Triforce of Courage
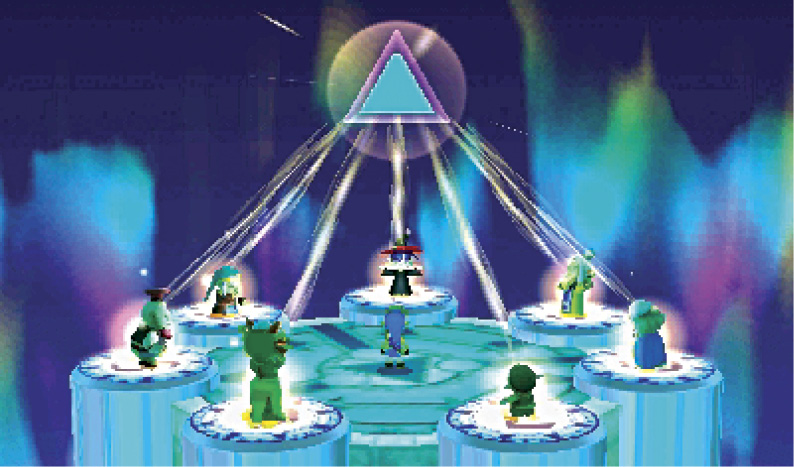
With all Seven Sages rescued from Lorule’s seven dungeons, the final battle is at hand. Using their divine power, the Seven Sages summon tremendous energy and call forth the legendary Triforce of Courage!
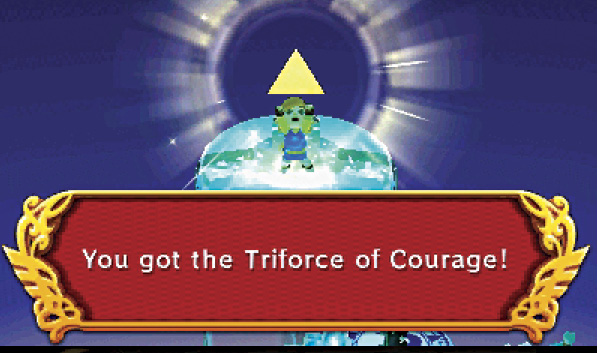
Climb the staircase that soon appears, speaking to every Sage on your way up to the top. When at last you arrive, collect the Triforce of Courage from its lofty perch. Excellent work, hero! You now have the power needed to storm Lorule Castle!