
The Legend of Zelda: A Link Between Worlds Guide Walkthrough The Skull Woods
Skull Woods
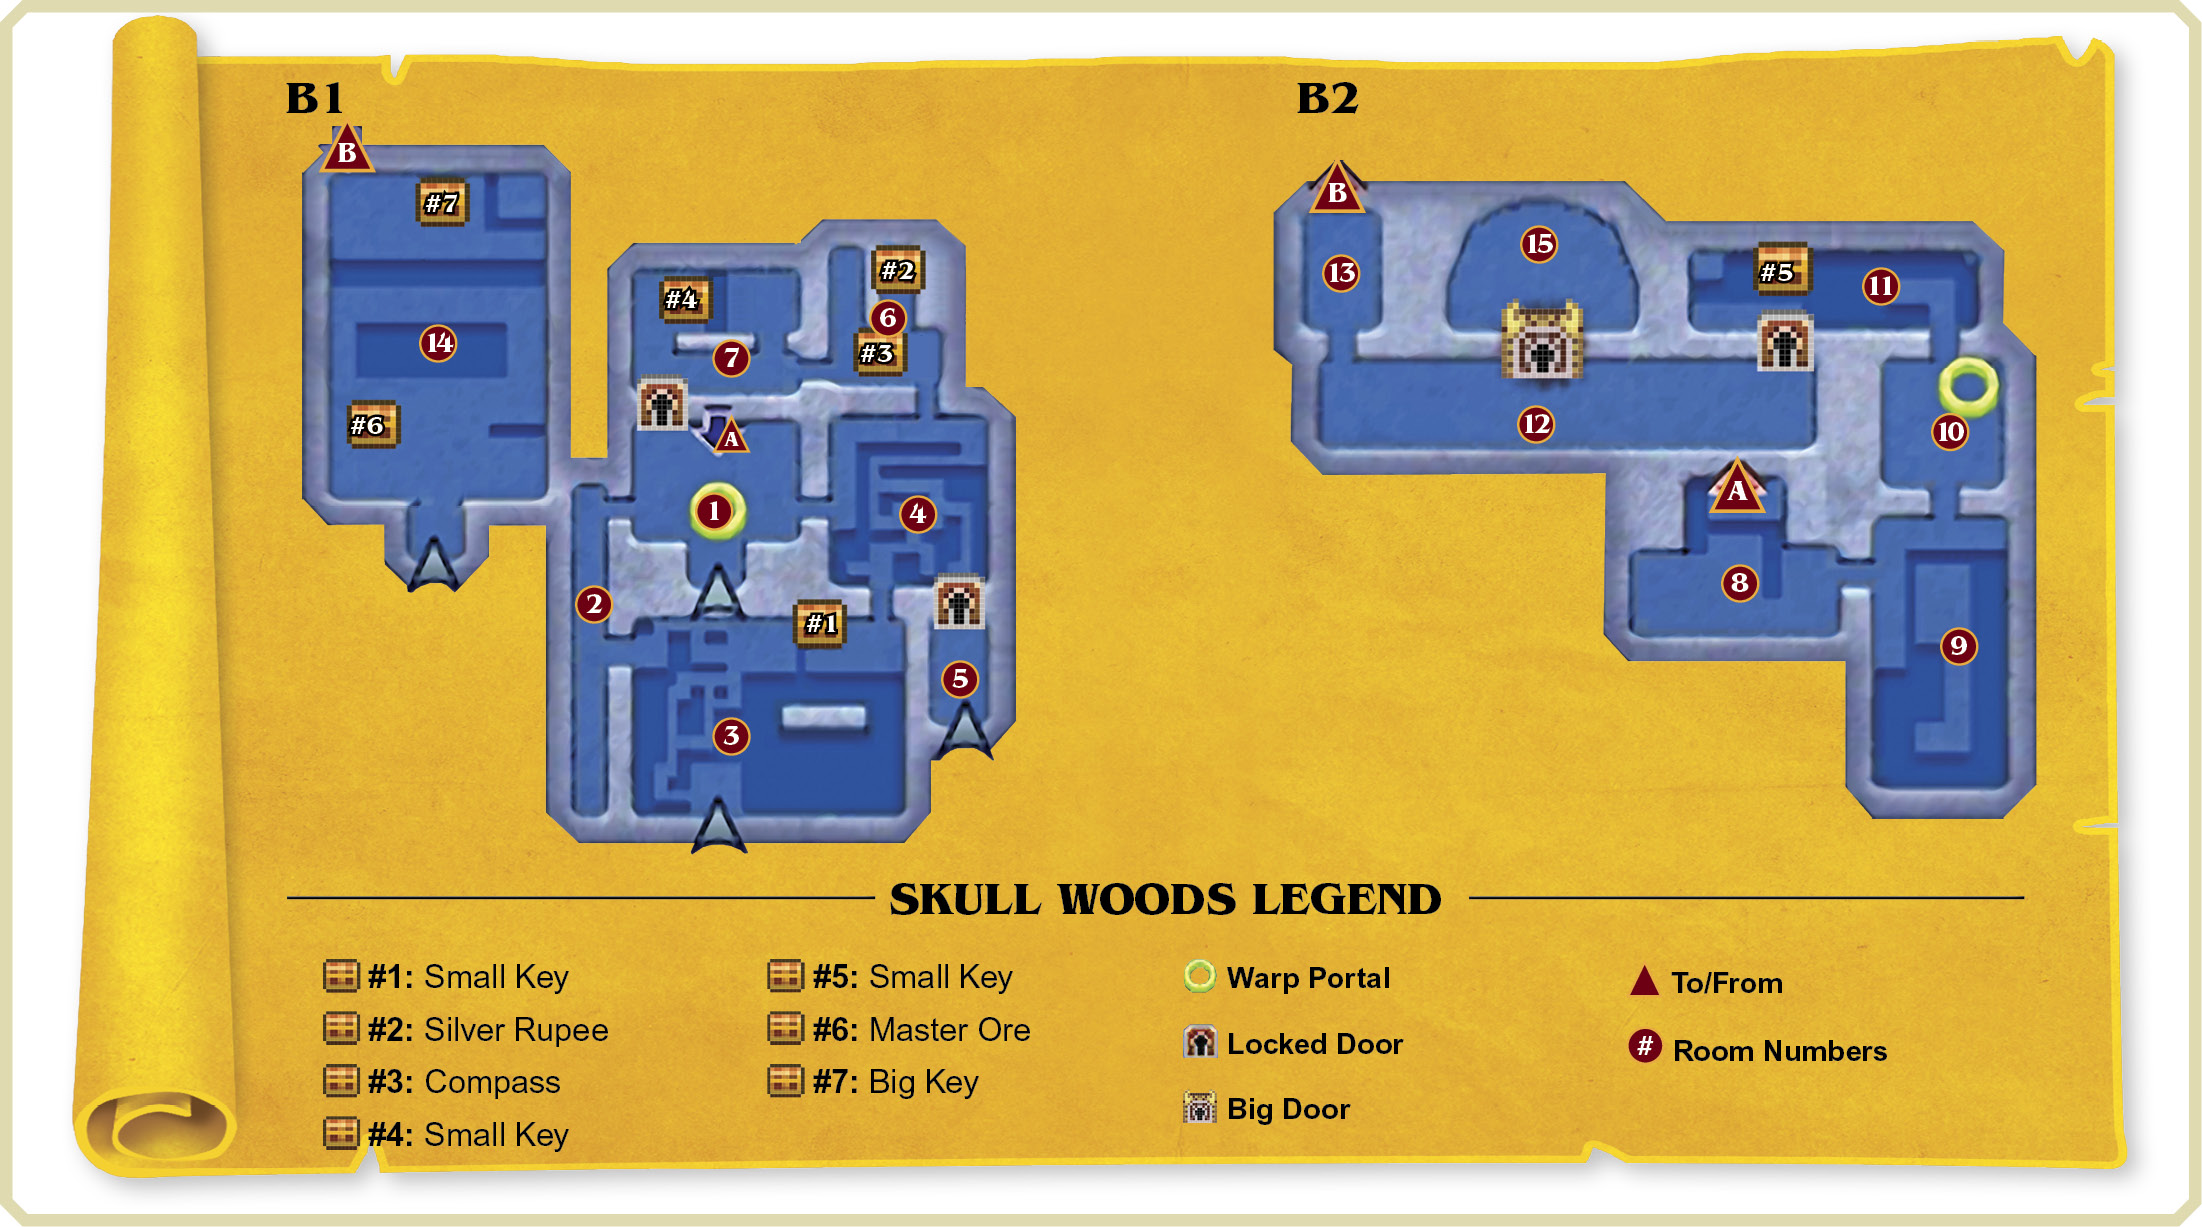
Entering the Dungeon
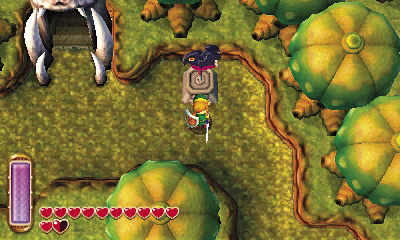
The Skull Woods dungeon lies within—wait for it—the Skull Woods. To get there, use the fissure behind Sahasrahla’s house in Kakariko Village, or the fissure inside of Rosso’s house in Hyrule, to reach the Skull Woods region of Lorule.
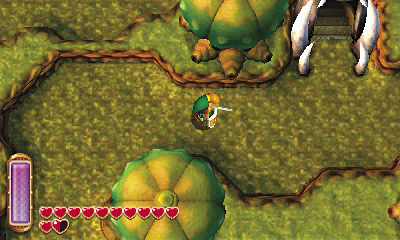
Four separate paths lead into the Skull Woods, but only one of them will bring you to the dungeon. Once you’ve arrived in Lorule, locate the proper trail: the southeast trail that leads northward into the woods.
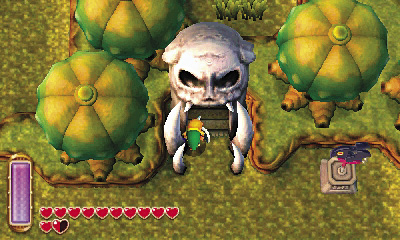
Follow the southeast trail northward into the Skull Woods, and you’ll soon arrive at the dungeon. Save at the weather vane and then head inside.
Room 1: Chamber of Skulls
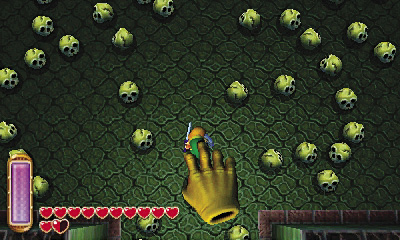
The Skull Woods dungeon’s first room is anything but inviting. Countless skulls are scattered across the floor, and a devious Wallmaster repeatedly drops from the ceiling, hoping to snatch you. Practice battling the Wallmaster here and now, because you’ll have to contend with this villain in many other rooms! Equip your lamp afterward and go through the west door to visit Room 2.
Wallmaster
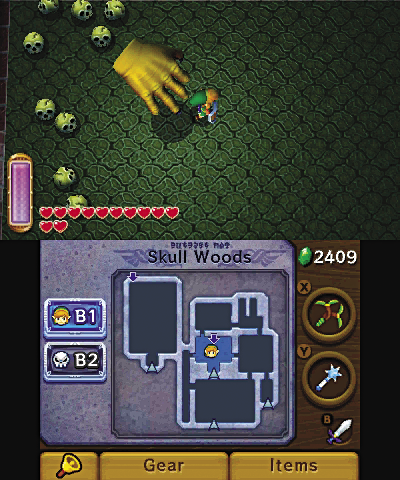
Damage: Special
These massive hands plummet from dungeon ceilings, hoping to snatch Link up. If a Wallmaster grabs Link, it brings him back to the start of the dungeon (or the most recently used entrance)—not good! Be quick to dodge or merge into a wall when you see a Wallmaster’s fingers begin to twitch—it’s about to come crashing down! After avoiding a Wallmaster’s attack, try stunning and slaying the monster before it rises back up to the ceiling. It will return after several seconds, but at least you’ll have a few moments of safety!
Room 2: Pitch-Black Passage
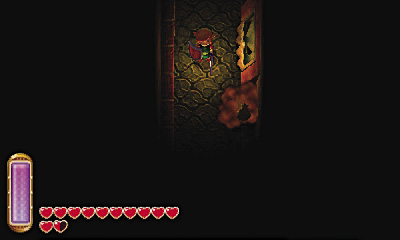
Use the lamp to illuminate this dark passage, and beware of Skullropes as you travel southward. You pass a sealed door as you go.
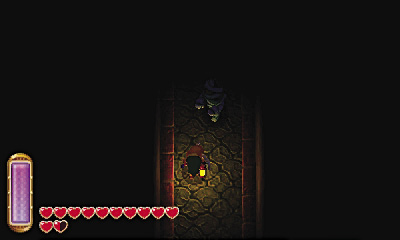
Step on the floor switch at the end of the passage to open the sealed door, but beware—a Gibdo appears in the passage behind you afterward! Dispatch the mummy-like monster on your way back to the previously sealed door, and go through to visit Room 3.
Room 3: Fire Walkways
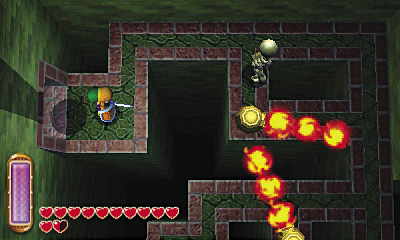
This challenging room features a network of narrow walkways that are heavily guarded by enemies, including several Gibdos and Baris. You must also contend with spinning fire traps up north and a Wallmaster that pursues you throughout the room. Whenever possible, merge into walls to avoid the Wallmaster. Fight your way southward and go through the south door to exit the dungeon.
A Walk Through the Woods
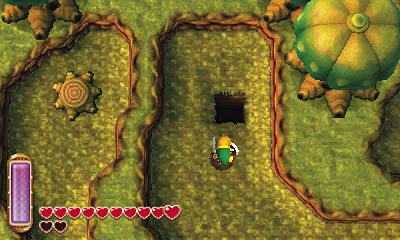
You emerge outside the dungeon, on a new trail in the Skull Woods. Travel north to locate a small hole in the ground. There’s nothing else for it—drop into that hole!
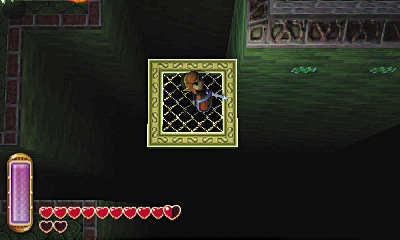
You land back in Room 3, on a high ledge. Cross the nearby moving platforms, making a counterclockwise journey to the east ledge. Merge into the central wall whenever the Wallmaster appears, and be careful to land back on a moving platform when you pop back out!
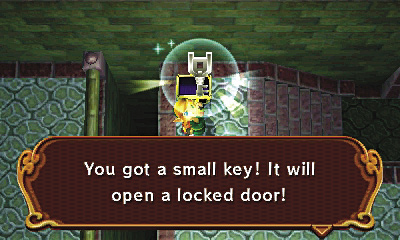
Open the east ledge’s chest to collect a small key. This will come in handy! Ensure that your lamp is equipped, then go through the north door to visit Room 4.
 Skull Woods Chest #1: Small Key
Room 4: Dark Maze
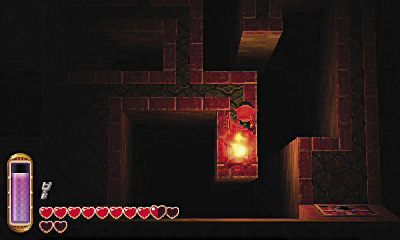
This pitch-black chamber is similar to Room 3: it features narrow walkways that are filled with foes, and a Wallmaster that chases you throughout. Go east and use your lamp to light the room’s southeast brazier, gaining some much needed visibility.
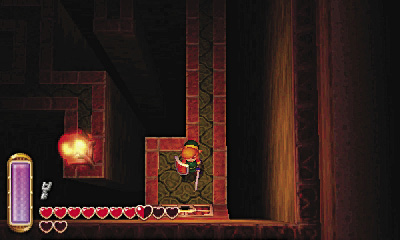
Fight your way northward and take the first eastern passage, looping back around to the south and reaching a locked southeast door. Open the door with the key you found in Room 3 and head through to visit Room 5.
Room 5: Southeast Exit
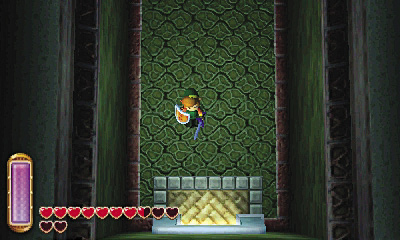
Smash a few skulls in this small room, then head through the south door to exit the dungeon once more.
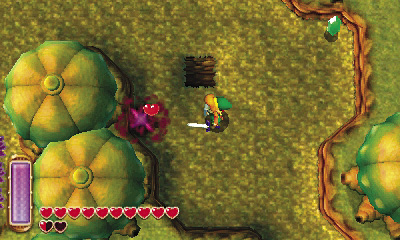
Once again, you’re exploring a new area in the Skull Woods. Go north and drop through the small hole in the ground to return to the dungeon, landing on a north ledge in Room 6.
Room 6: Treasury
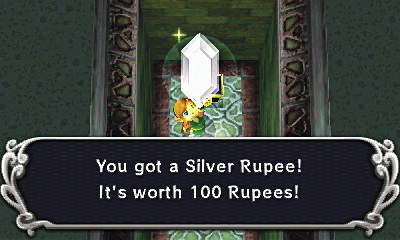
Dropping through the hole lands you right next to a chest. Crack it open to claim a sparkly Silver Rupee!
Skull Woods Chest #2: Silver Rupee
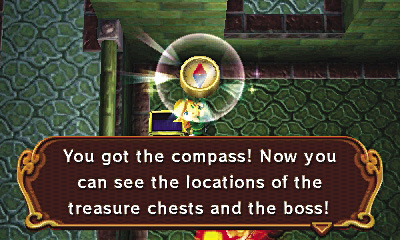
Drop from the ledge to land near another chest. Bonus! Lift its lid to discover the dungeon’s compass.
Skull Woods Chest #3: Compass
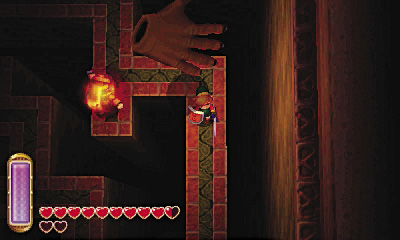
After collecting the compass, go south to return to Room 4. Light the braziers again on your way south, returning to Room 5. Go through the south door to exit the dungeon once more.
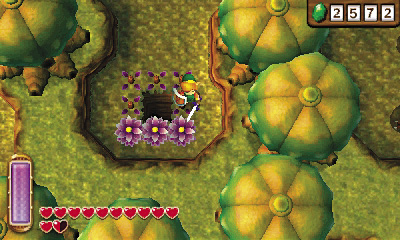
Back outside, go north, past the hole you fell through before, and cut down the woods’ colorful bushes to discover another small hole. Aha! Drop through this hole to return to Room 6.
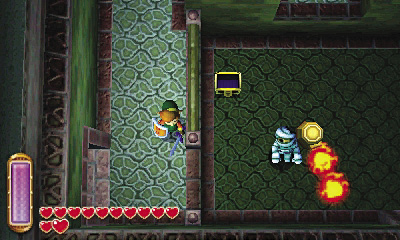
You land on another high ledge back in Room 6. Smash the nearby skulls before going west into Room 7.
Room 7: Wire Walkways
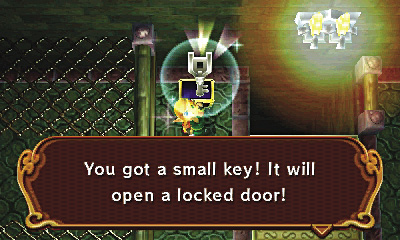
Keep beneath this room’s wiry walkways, and that wicked Wallmaster won’t be able to grab you. Carefully proceed to the northwest chest and collect a small key from inside.
Skull Woods Chest #4: Small Key
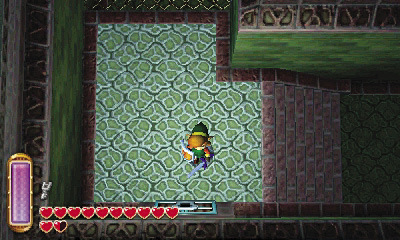
Use the small key to open the locked south door, then go through to return to Room 1.
Room 1 (Revisited)
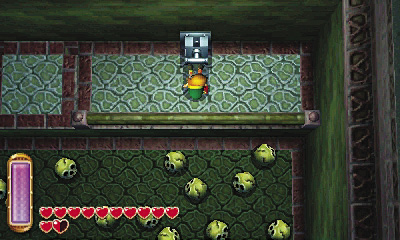
Room 7’s south door brings you to a high ledge back in Room 1. Pull the nearby lever to lower a portion of the ledge, revealing stairs in the north wall that lead down to the dungeon’s second basement floor.
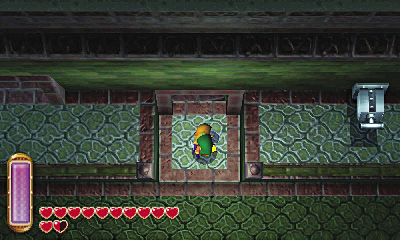
Drop from the ledge and take the north stairs down to Room 8.
Room 8: Sliding Wall Puzzle
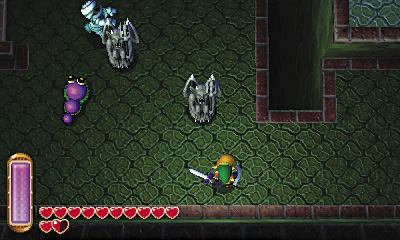
You enter Room 8 on a small ledge. Merge into the east wall and slide south to reach the main area. Beware the Gibdo and Mini-Moldorm that roam the room, along with that ever-present Wallmaster!
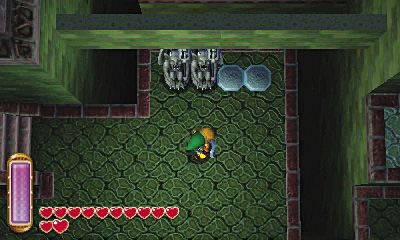
To progress, you must move two Gimos statutes onto two of the room’s four pressure plates. Each pressure plate controls a section of wall, causing that section to slide out from the east or west walls. The idea is to make a solid wall “horizontally” across the room, from east to west. Place the Gimos on the two west plates to form the solid wall.
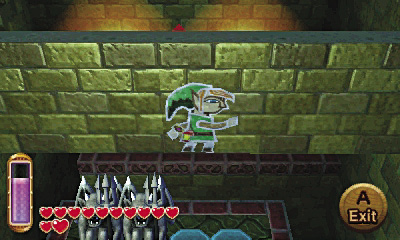
After forming the wall, go up the west stairs and then merge into the north wall. Slide around the wall that you’ve built with the Gimos’s help to reach a high ledge with a lever.
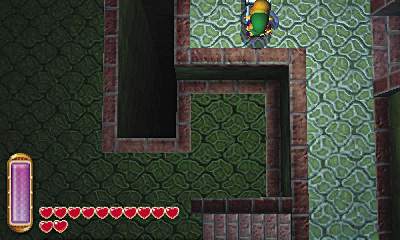
Pull the lever to extend some stairs from the south wall. Now you can easily return to this ledge from the main floor! Go through the east door to visit Room 9.
Room 9: High Switch, Low Switch
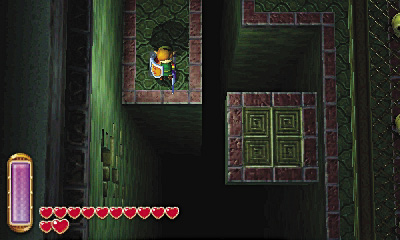
Step on the floor switch at the end of this room’s entry ledge, and a nearby block starts moving. Beware the Wallmaster as you merge into the block and travel eastward.
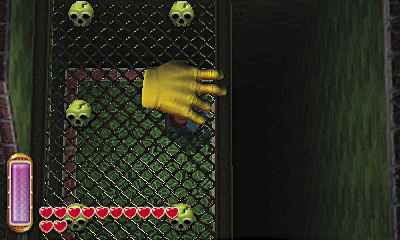
Pop out of the block when you reach the room’s central pathway. Go north and position Link directly beneath the overhead floor switch. This lures the Wallmaster into dropping down on the floor switch, triggering it for you. Ha! Silly Wallmaster.
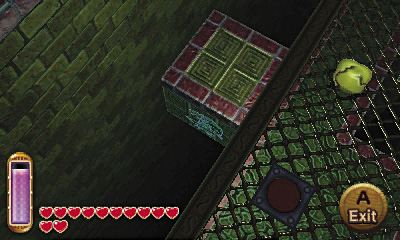
Once triggered by the Wallmaster, the overhead floor switch starts another nearby block moving. Merge into the block and ride northward. Pop out onto the north ledge.
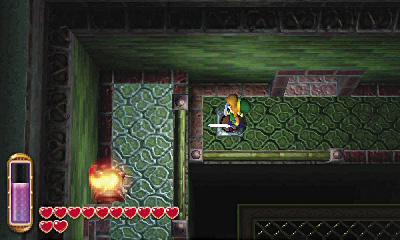
Step on the north ledge’s floor switch to shift the nearby wall. This allows for easier navigation of the room if you have to travel back here (say, if a Wallmaster grabs you). Go through the north door after triggering the switch to visit Room 10.
Room 10: Ledge Enemies
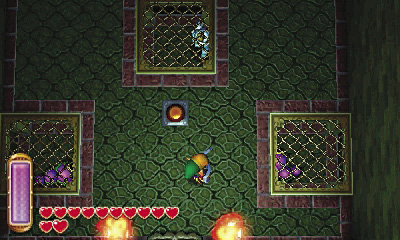
Link becomes sealed in this room when he enters. Beware: Stepping on the central floor switch frees the surrounding caged foes! You must free these enemies and defeat them, however, because the room must be cleared of monsters before the north door will open.
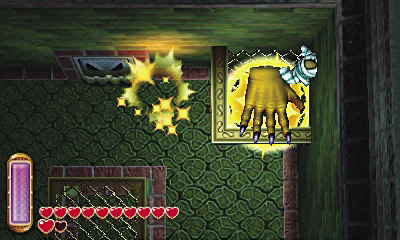
But how can you reach those monsters on the high ledges? Easy: Just stand beneath these ledges, and let the Wallmaster wipe them out for you!
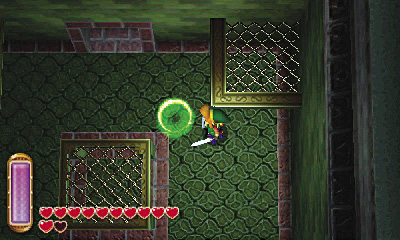
The room unseals after all the enemies have been slain (except for the Wallmaster—he doesn’t count). If you like, use the portal that also appears to warp back to the dungeon’s entrance and save your game outside. When you’re ready, go through the north door to advance to Room 11.
Room 11: Moving Platform Dash
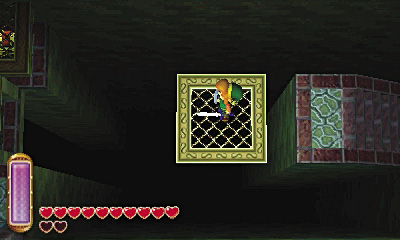
Ride this room’s moving platform over to the south ledge, but beware: A Wallmaster will arrive before long! As soon as you can, sprint onto the south ledge and merge into the south wall to avoid the Wallmaster’s grasp.
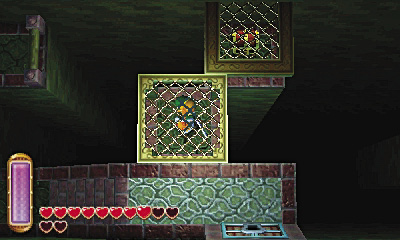
Slide west and then north along the wall, heading for a tiny northwest ledge. Exit onto the ledge when it’s safe to do so, then step back onto the moving platform again.
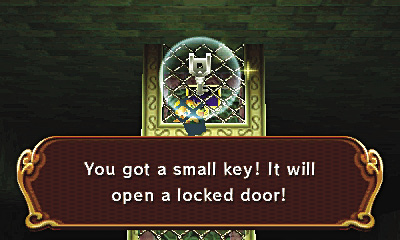
You’ve boarded the platform from a lower vantage this time, and are now standing under its “roof.” You no longer need to fear the Wallmaster, so just enjoy the ride over to the nearby chest containing a small key.
Skull Woods Chest #5: Small Key
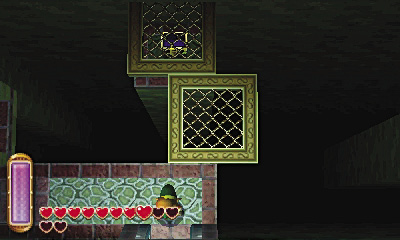
Ride back along the platform after collecting the small key. Merge back around the wall to return to the south ledge, then use your newfound key to open the southern door.
Room 12: Dark Hall
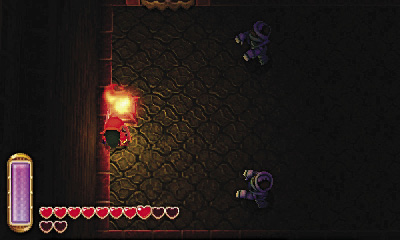
Use the lamp to light your way in this pitch-black hall. Don’t worry, there’s nothing to fear in here—at first! For now, simply go west and light the brazier at the hall’s far end to illuminate your surroundings.
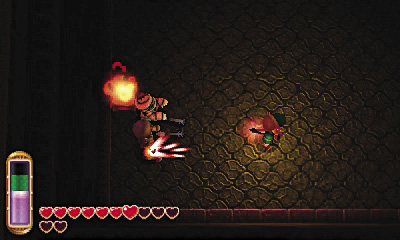
Yikes! A Gibdos gang appears after you light the brazier. Wipe out these mummified monsters, remembering that you can reduce them to lowly Stalfos by setting them ablaze! Slay all of the Gibdos to unseal the northwest door, then head through to visit Room 13.
Room 13: Northwest Stairwell
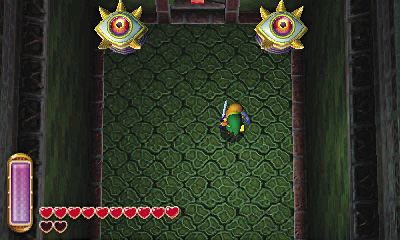
This small room features a few skulls and a couple of odd eyeball statues. Smash the skulls in search of items before heading up the north stairs to return to the upper floor.
Room 14: Eyeball Hall
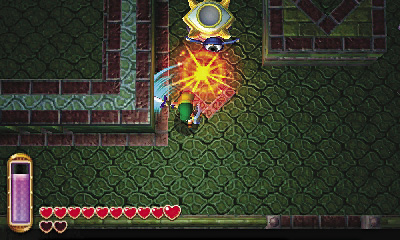
This room features two more eyeball statues, but their eyeballs seem to be missing. Merge and slip through the bars in the south wall to escape confinement when you enter, and always beware the room’s Wallmaster.
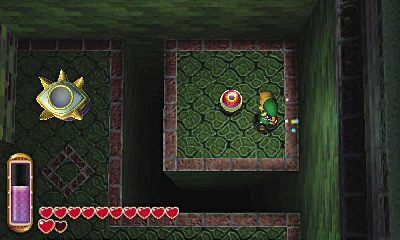
Slay a Chasupa on your way eastward. Hey, you’ve found the first eyeball! The eyeball sits on the room’s northeast ledge. Merge into the east wall and slide north to reach it.
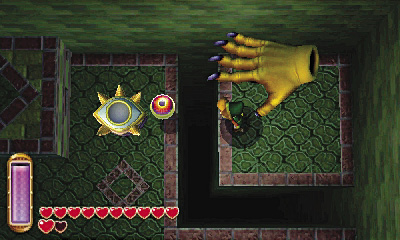
Exit from the wall when the Wallmaster isn’t around and press  to pick up the eyeball. Press
  again to toss the eyeball over to the eyeball statues, then merge and slide back across the wall.
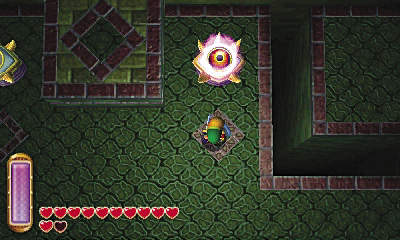
Pick up the eyeball and stand on the small diamond pattern on the floor in front of either eyeball statue. Face north and press  to toss the eyeball onto the statue. One more to go!
The Other Eyeball
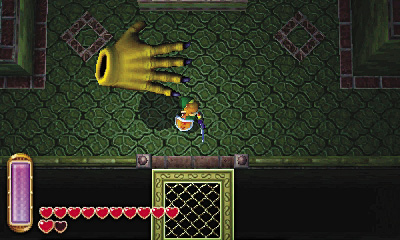
Returning the first eyeball causes a wall to slide away, revealing a big chest that you can’t quite reach yet. A platform also appears to the south. Cross the platform and slay a Skullrope on your way to some moving platforms.
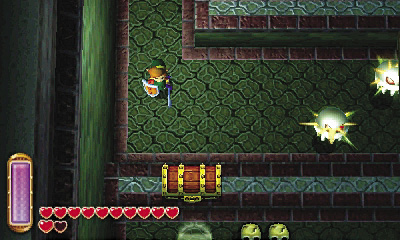
Traverse the moving platforms, merging into walls to escape that awful Wallmaster as needed. Slay the Baris that guard the next ledge, taking note of another big chest that sits atop the nearby wall. You’ve got to get up there somehow!
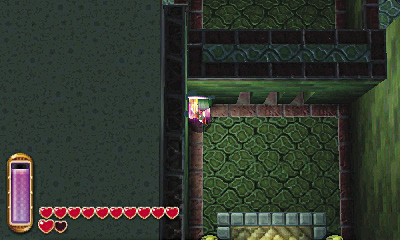
Merge around the walls to continue exploring southward past the platforms. The eyeball you seek rests atop a high wall at the room’s south end. Merge past the southern bars to reach a door that leads outside.
Whole Lotta Holes
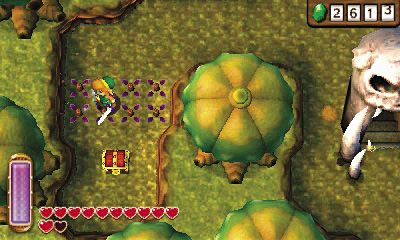
You’re back outside again. This dungeon sure is wild! Cut through the west bushes to reach a treasure chest. This chest technically lies outside of the dungeon.
Lorule Chest #21: Purple Rupee
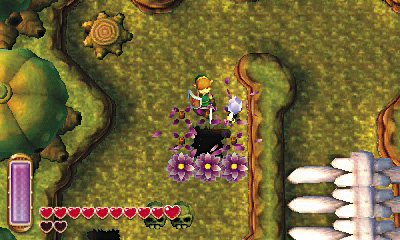
Now go north to locate a hole in the ground. There’s another hole to the west, and you can find two more holes by cutting the surrounding bushes. Holy moly!
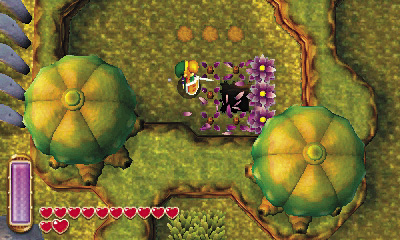
The only hole you need to drop through is the one that’s hidden in the eastern bushes. Fall through this hole to land on Room 14’s high southeast ledge.
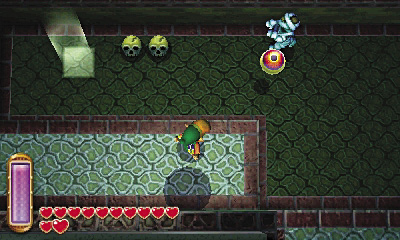
Merge into Room 14’s south wall and slide westward to reach another ledge, where the eyeball you seek sits. Pick up and toss the eyeball down to the main floor below—but don’t drop from the ledge just yet!
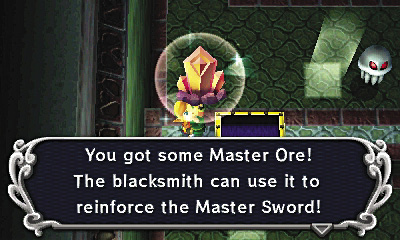
Instead, merge back into the wall. Slide north along the west wall, heading for the big chest you noticed before. Pop out and plunder the chest to pocket some more precious Master Ore!
Skull Woods Chest #6: Master Ore
Master Ore #3

Collect these and give them to the Blacksmith, and he’ll strengthen your sword.
Eying the Big Key
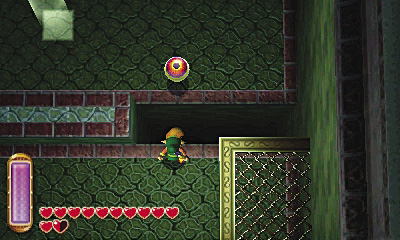
Drop from the wall after collecting the Master Ore, and pick up the eyeball. Throw the eyeball over the north gap, then merge across the wall to follow it.
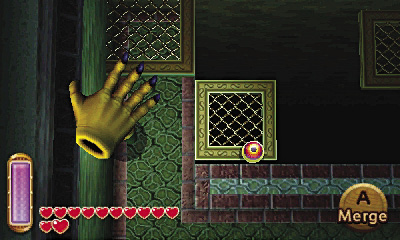
If the Baris have reappeared, toss the eyeball at them to quickly defeat them. You may also want to try and defeat the Wallmaster before attempting to cross the moving platforms ahead. When you’re ready, throw the eyeball onto one of the moving platforms as it slides by.
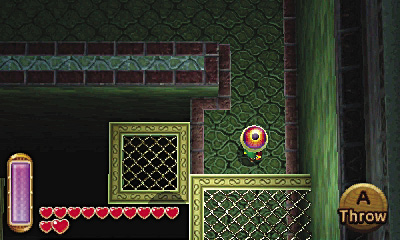
Merge into the wall and follow the eyeball’s platform. Pop out onto the platform and pick up the eyeball, then carry it onto the east ledge.
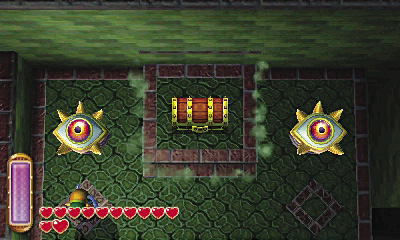
You’re home free! Carry the eyeball to the remaining statue and toss it up there just like you did before. With both eyeballs returned to their statues, the big chest lowers. It’s now within your reach! Lift the chest’s lid to claim the dungeon’s Big Key.
Skull Woods Chest #7: Big Key
Room 12 (Revisited)
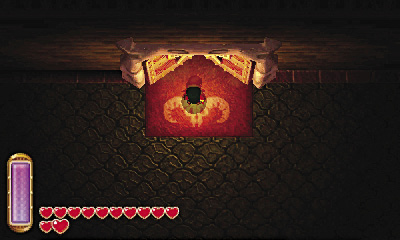
With the Big Key in hand, merge and slide through the nearby wall to reach the northwest stairs, which lead back down to the second basement floor. Return to Room 12 and use the Big Key to open the big door. Brace yourself for the final battle before passing through.
Boss Battle: Knucklemaster
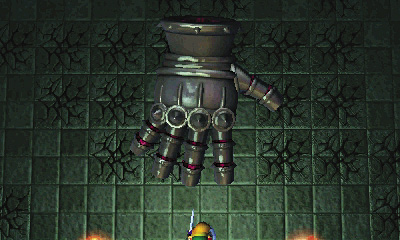
This massive metal hand is king of all Wallmasters. This is Knucklemaster, ruler of the Skull Woods!
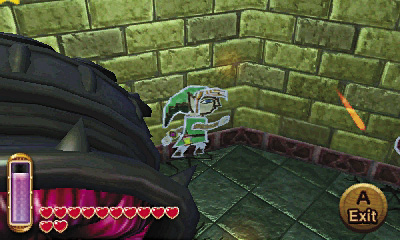
Knucklemaster wastes little time before balling up into a fist and summoning yellow energy. After a few seconds, the fist flies rapidly toward you. Merge into a wall to avoid Knucklemaster’s rush—Link loses a full heart if it lands.
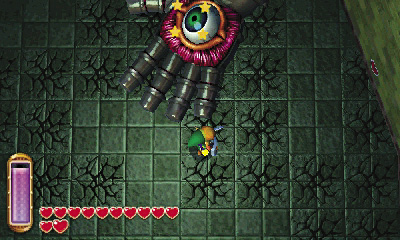
Trick Knucklemaster into punching the wall instead of Link, and it will knock itself out. Now’s your chance! Knucklemaster falls flat on its back, exposing the vulnerable eyeball on its palm. Move in close and strike that big, ugly eyeball as many times as you can! You’ll get around three strikes if you attack from the sides, and a few more if you attack from the top.
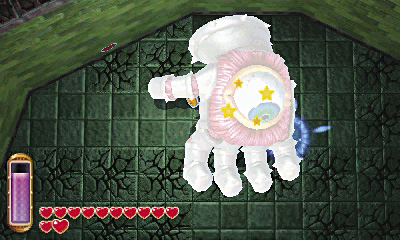
After suffering significant damage, Knucklemaster changes tactics and begins to slam down at Link from above, yearning to flatten him. Again, run away and merge into walls to avoid this crushing attack!
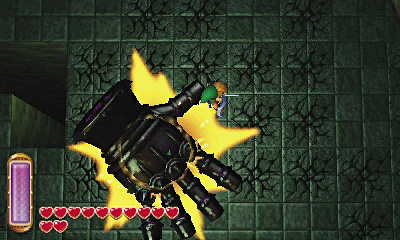
When Knucklemaster slams the ground, it often smashes away portions of the floor. This creates hazardous pits that must be avoided. At this point, forgo the use of Link’s energy-based items and conserve his energy for wall merging. Collect the hearts painted on the walls when needed as well.
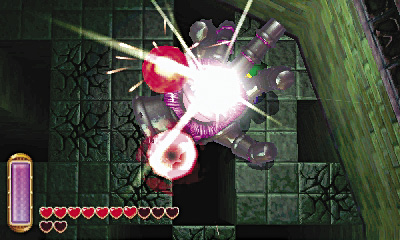
Eventually, Knucklemaster returns to its flying fist attack. Continue to trick the boss into missing and KO’ing itself by ramming the wall. Be quick to land as many sword strikes as possible each time Knucklemaster flops down, and don’t relent until this big bad hand has been handily defeated!
The Saintly Sage
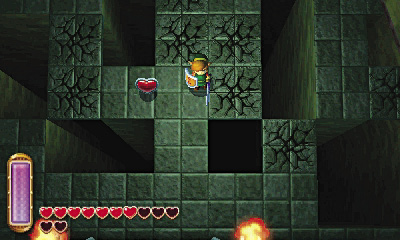
A heart container appears after Knucklemaster has been crushed. Collect this precious gift and then proceed through the north door, which leads back outside.
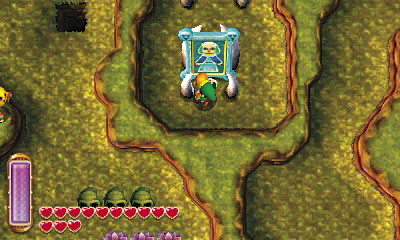
Link emerges from the dungeon once more, standing right near the painting of Seres. Press  to touch the painting and free the saintly Sage. At last, the Priest’s daughter has been saved!
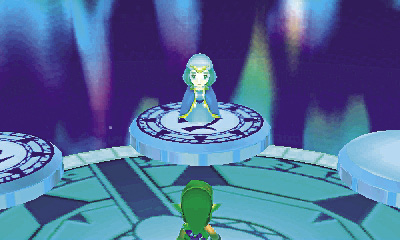
Back in the Sage’s realm, Seres is surprised to find that Link is the one responsible for saving her. Her gratitude overwhelms Link, but our hero has little time to chat—there are more Sages to save! Step into the portal after speaking with Seres to return to Lorule, then fly to the Dark Palace—it’s time to find some more Master Ore!