
The Legend of Zelda: A Link Between Worlds Guide Walkthrough Great Explorations, Part II (in progress)
Lorule Field
Welcome to Lorule
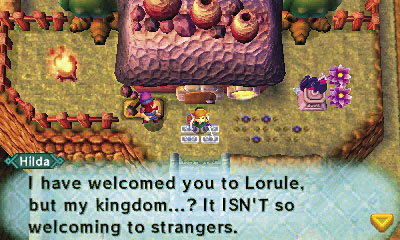
As Link exits the Blacksmith’s, he finds that the world around him has changed dramatically. Gone are the vibrant colors of Hyrule, replaced with dark, shadowy tones. A solemn voice suddenly calls out to Link: it’s Princess Hilda! She welcomes Link to her fallen kingdom of Lorule, and informs our hero that the Seven Sages have been locked away in seven dungeons across her land. She goes on to say that Link will need to find his way back to Hyrule in order to fully explore her kingdom, and warns him to beware of Lorule’s unfriendly denizens.
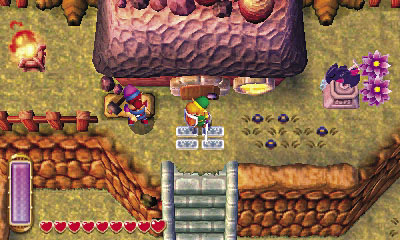
The Blacksmith is sitting right outside his home, but he’s a shadow of the pleasant man you remember. (OK, so maybe he never really was that pleasant.) He complains that no one seems to appreciate his skill and talent, but otherwise takes little notice of Link. What a strange character!
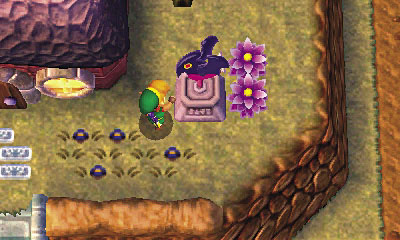
Lorule certainly is an unusual land, but it does share at least one thing in common with Hyrule: weather vanes! In fact, there’s one right nearby, here at the Blacksmith. Go ahead and save your game—powerful enemies lurk nearby!
Meet the Monsters
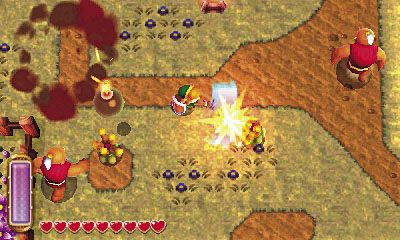
After saving at the Blacksmith’s weather vane, go south to encounter some of Lorule’s more common foes: Ropas and Hinoxes. The Ropas are fairly easy prey, but the Hinoxes are far more dangerous. You could just avoid these dangerous creatures, but it helps to practice battling them here and now.
Ropa
Damage:1 Heart
Ropas are ugly monsters that hop around and pursue Link in many areas around Lorule. They are slow, but also quite tough, able to withstand multiple strikes from the Master Sword. Still, their lack of mobility ranks them among the easiest of Lorule’s field fiends.
Hinox
Damage: 1 Heart (bombs)/2 Hearts (contact)
These monstrous cyclopses move with surprising speed and hurl volleys of bombs at Link from afar. The bombs explode when they strike Link or the ground, knocking a full heart off Link’s life gauge. Hinoxes inflict even more damage if they manage to ram Link. Unless you need to explore an area thoroughly, it’s best to avoid Hinoxes, because it takes 15 hits with the Master Sword to slay these burly brutes!
Maiamai Surprise
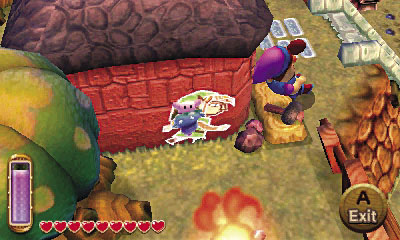
Have you heard the familiar coo of a Maiamai nearby? That’s right, the little tykes are scattered across Lorule, too! Merge into the east side of the Blacksmith’s Forge, then circle around the building to discover the Maiamai on its west side. Pop out to knock down the little fellow.
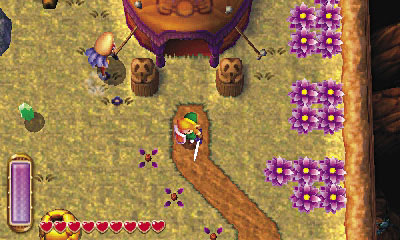
Save and then go north from the Blacksmith’s to discover the tent of Lorule’s Fortune-Teller. Beware the ravenous Like Likes and Snap Dragons that roam around here!
Like Like
Damage:Special
Though weak and easily slain, Like Likes are incredibly dangerous—for these insatiable foes enjoy nothing more than gobbling up Link’s shield! Use ranged attacks to battle Like Likes from a safe distance, and whatever you do, don’t allow them to grab you, or your shield may be lost as you struggle to break free. (You’ll have to return to an item shop to buy another.)
Snap Dragon
Damage:2 Hearts
The giant mouths of these common Lorule foes are lined with razor-sharp teeth. It stands to reason that you shouldn’t let a Snap Dragon get close enough to take a bite out of Link—each hit chews two hearts off his life gauge!
More Monster Parts
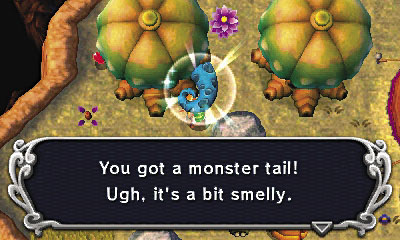
By now, you’ve likely noticed that Lorule’s monsters drop new types of monster parts, including monster tails and monster horns. Like monster guts, these are both vital ingredients that the Witch of Hyrule can use to create powerful potions. Collect these ingredients whenever monsters leave them behind. (Hyrule enemies will begin to drop these now, too.)
Monster Tail
The Witch will make you some blue potion if you bring her 10 of these.
Monster Horn
The Witch will make you some yellow potion if you bring her 10 of these.
Find Your Fortune
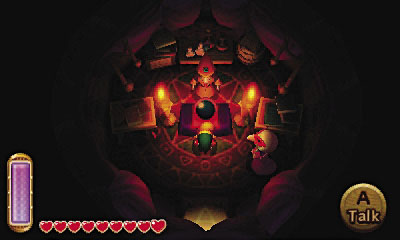
Lorule’s Fortune-Teller is similar to the one you’ve met in Hyrule. For just 20 Rupees, the Fortune-Teller will advise you on how to advance. Because you have Seven Sages to rescue in Lorule, and therefore seven dungeons to explore, you can spend quite a lot of time (and Rupees) having your fortune told—but there’s really no need to do so, because you’re following this awesome walkthrough!
Let’s Head to Town
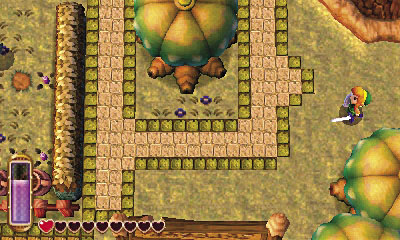
Massive chasms prevent you from exploring any farther beyond the Fortune-Teller, so backtrack south to the Blacksmith and save at the weather vane. Kakariko Village should be to the west, right? Let’s head there and see.