
The Legend of Zelda: A Link Between Worlds Guide Walkthrough The Dark Palace
Dark Palace
Entering the Dungeon
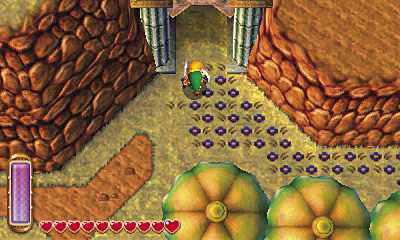
The Dark Palace is located on the east side of Lorule, sheltered deep in a shadowy area known as the Dark Ruins. To get there, Link must travel through one of two specific fissures in Hyrule.
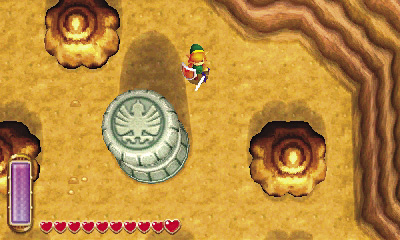
One such fissure lies in the stone pillar in Hyrule’s rocky eastern region, where the Octoroks roam. Another useful fissure is found in a cliff in the Tektite-filled basin south of the Eastern Palace. Both fissures bring you close to the Dark Ruins.
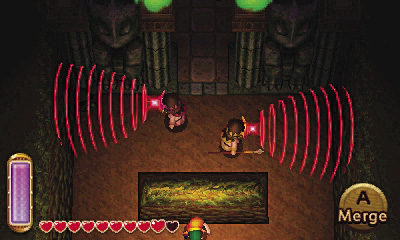
Light is minimal inside the Dark Ruins, and frightening Lorule Soldiers guard the halls. Link must slip past these silent sentries as he heads for the palace, because being caught will land him in prison. Merging is the secret to sneaking past the Dark Ruins’ soldiers—and also to escaping captivity if Link’s ever spotted and locked away in a cell!
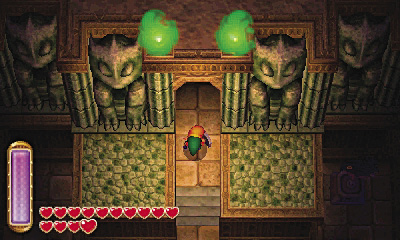
Slip past all of those Lorule Soldiers, and you’ll finally arrive at the Dark Palace. Save at the weather vane, whip out your lamp (it’s dark in there!), and then head inside.
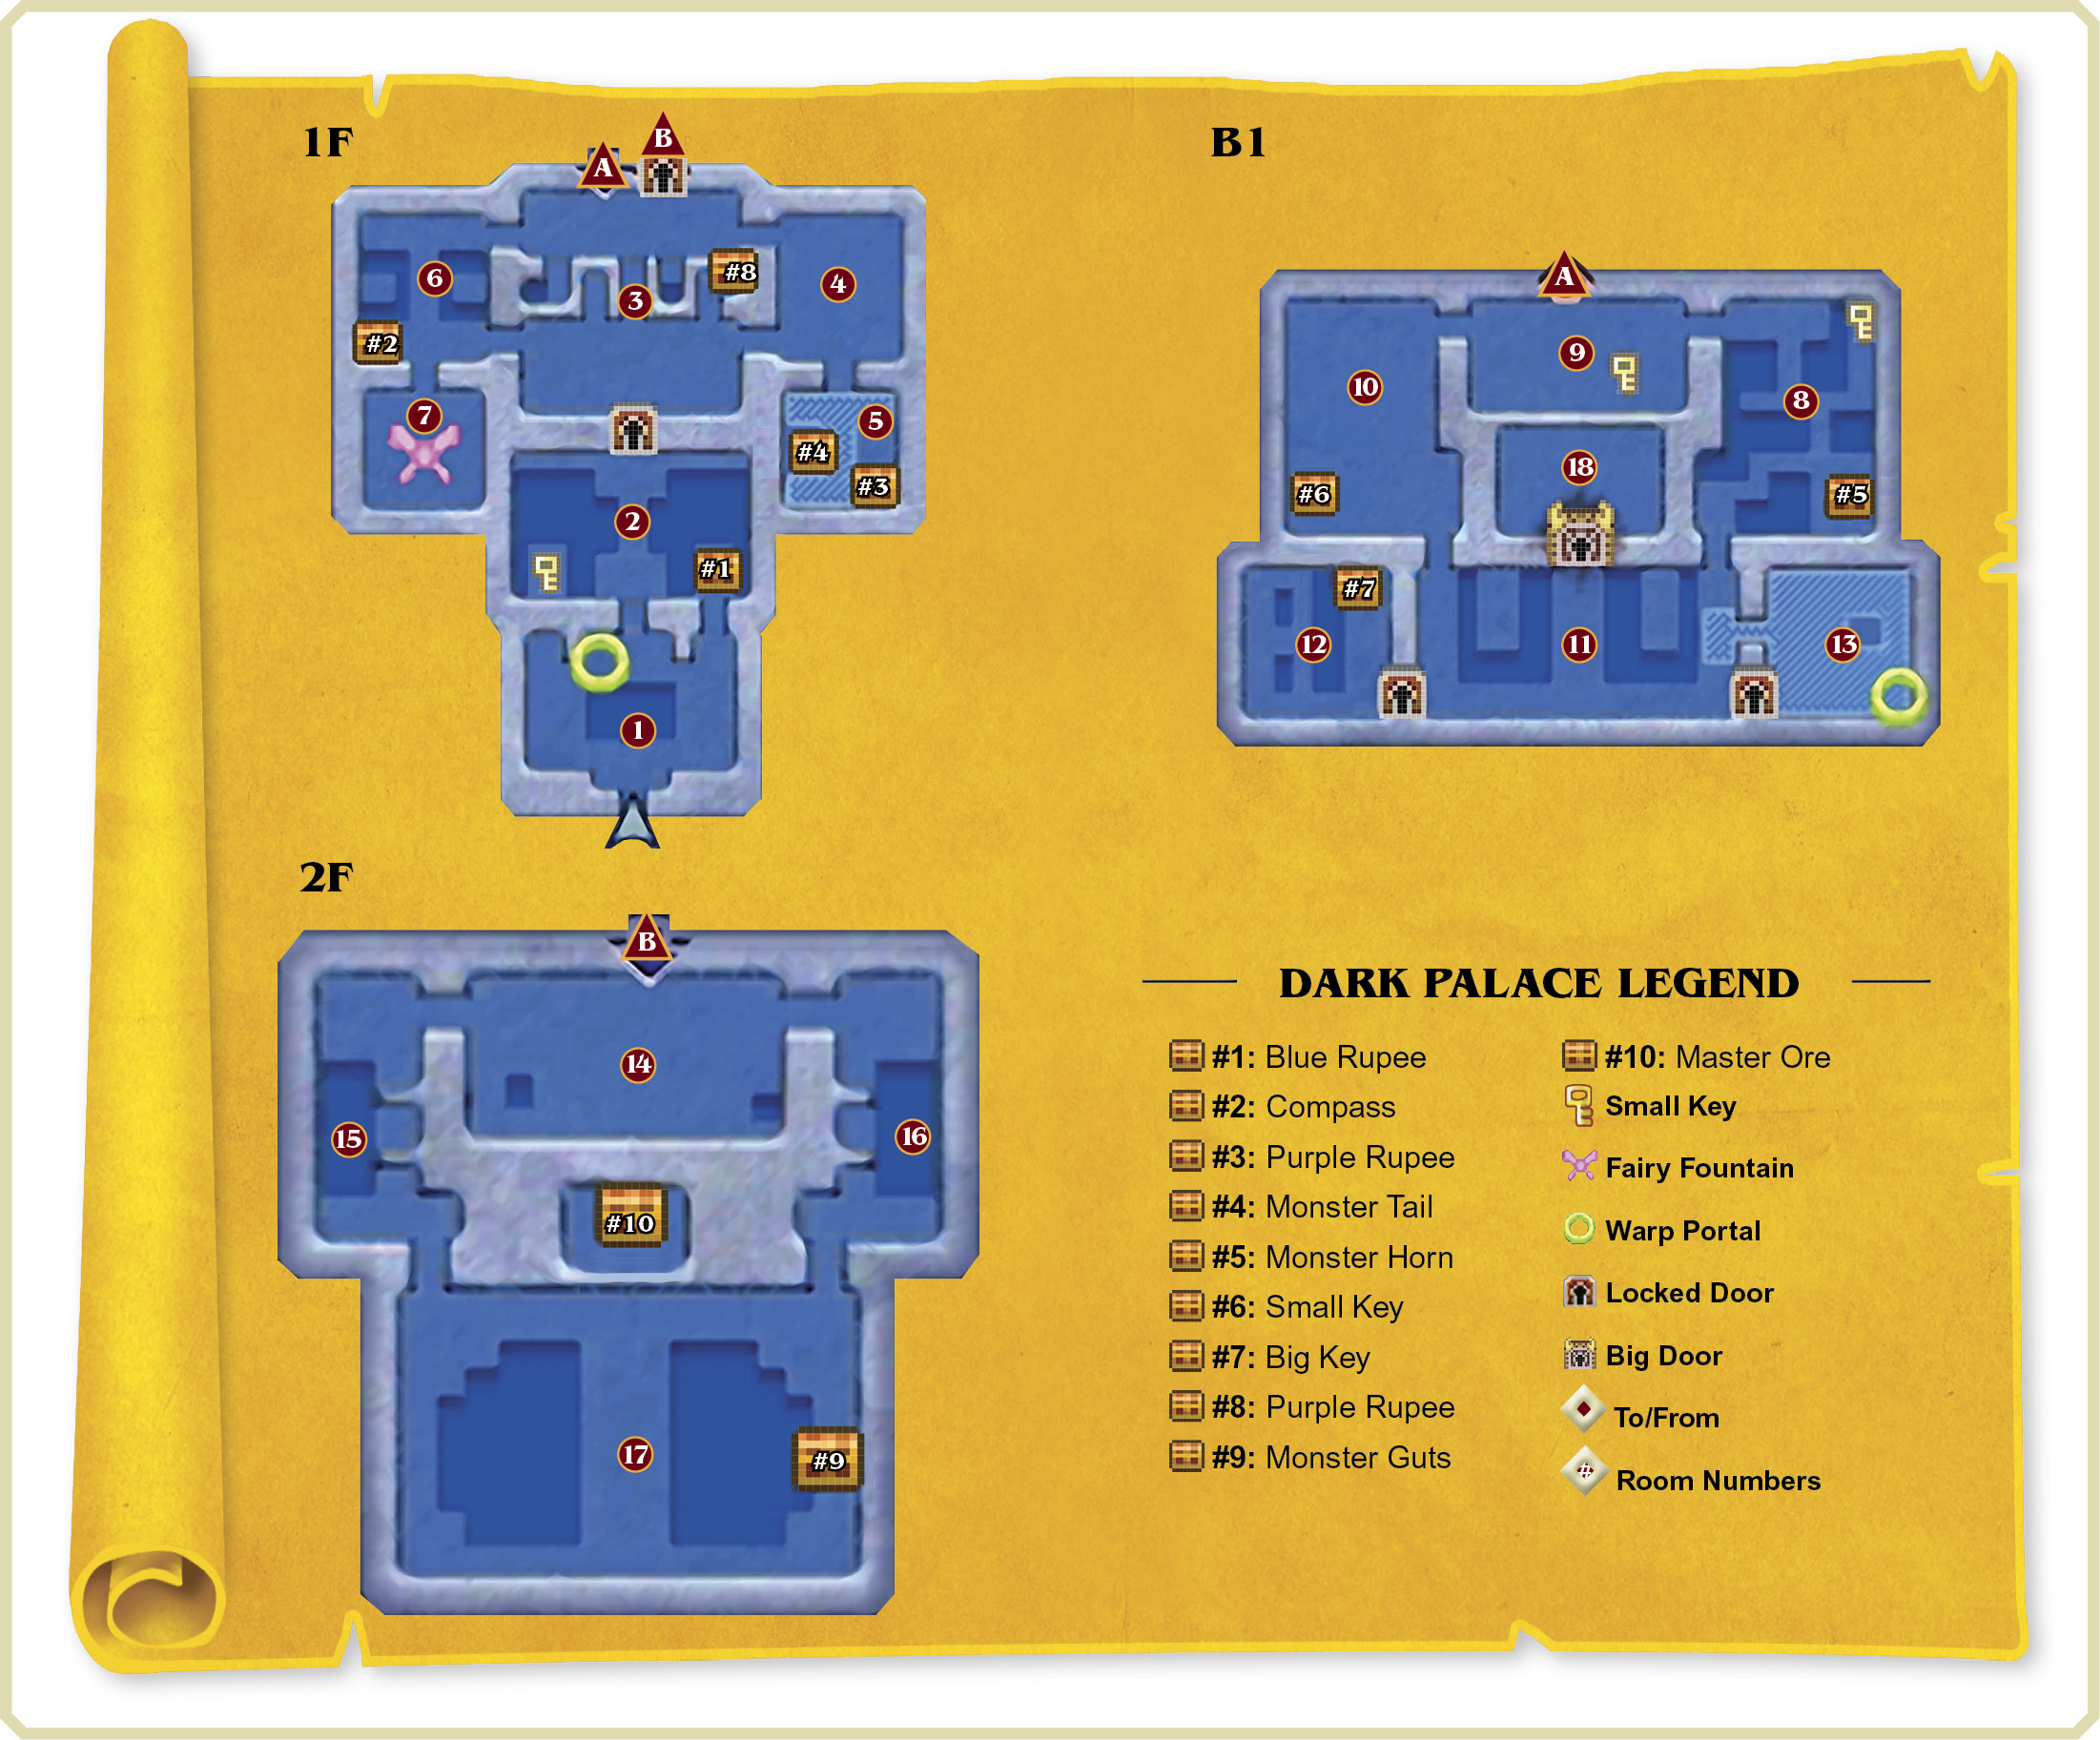
Room 1: Three Paths
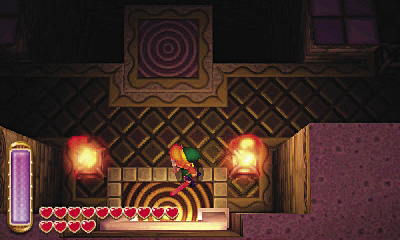
Like many of the Dark Palace’s confusing rooms, this first one is quite dark. Use the lamp or Fire Rod to light the braziers and gain some welcomed visibility. The braziers will remain lit unless extinguished by a sword strike (or some other form of attack).
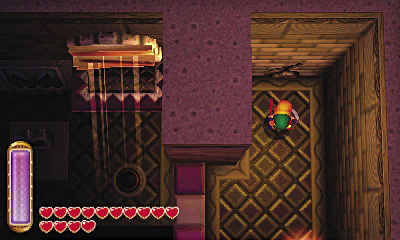
There’s a switch to the west, but ignore it for now and look for a long crack running up the northeast wall. Use a bomb to blast through this cracked wall, and you’ll create an opening into Room 2.
Room 2: Entry Hall
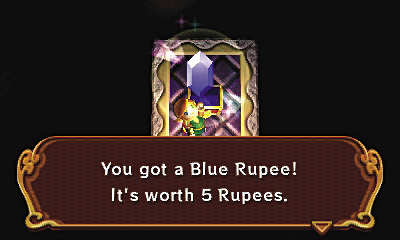
Bombing through Room 1’s northeast wall lets you visit a small ledge in Room 2. Open the nearby chest to collect a Blue Rupee. That’s all you can do here from this vantage, so head back into the previous room.
 Dark Palace Chest #1: Blue Rupee
Room 1 (Revisited)
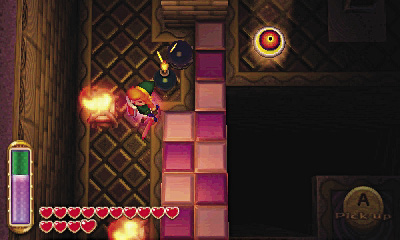
Back in Room 1, go west and notice a crystal switch. Hit the switch to activate it, and watch as the room’s central platform quickly moves back and forth over the central pit. To cross the pit, you must be standing on that platform when the crystal activates!
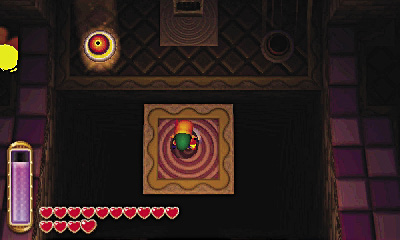
Place a bomb near the crystal, then hurry onto the central platform. When the bomb explodes, Link is shifted across the pit. Quickly step off the platform and onto the north ledge when you arrive.
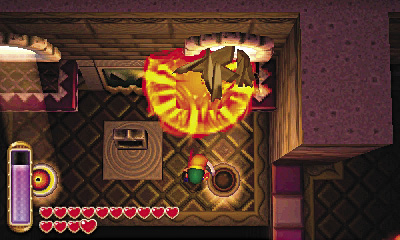
Across the pit, a stone tablet hints at how to proceed. Pull out another bomb, and this time, press  to pick it up and then
  again to throw it. Toss the bomb up to the nearby window that’s covered with wooden boards.
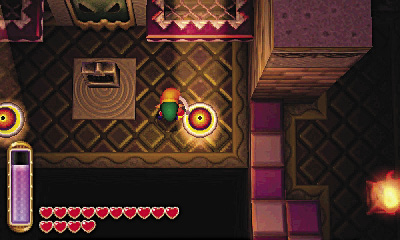
When the bomb goes boom, the boards are blasted away, and light shines down on the floor’s eye switch. The north door then opens; head through to return to Room 2.
Room 2 (Revisited)
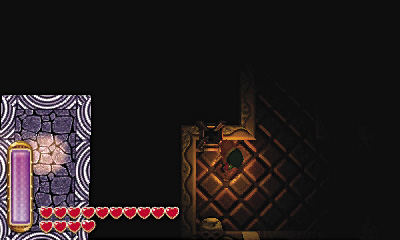
The door leads to Room 2’s central walkway. The mysterious, shadowy ledge to the west vanishes if you light a nearby brazier, yet a ray of light continues to shine there, as if the ledge were still present. How strange!
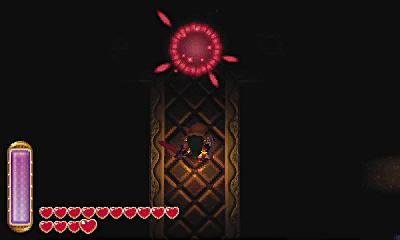
Go north, battling a dangerous Helmasaur on your way to a locked door. Be careful not to fall off the walkway as you confront this rugged creature!
Helmasaur
Damage:1 Heart
These masked monsters calmly stalk the Dark Palace, searching for intruders. When they catch wind of Link, they waste little time rushing forward. A Helmasaur’s thick mask blocks Link’s frontal sword strikes—try tossing bombs at its mask instead! Raise Link’s shield to block the charge, then quickly counter by throwing a bomb at the Helmasaur. The Ice Rod is also effective at stunning these enemies, letting Link slip around and strike their vulnerable flanks.
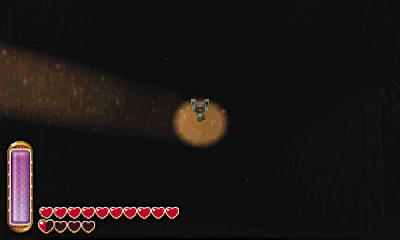
Go west after besting the Helmasaur, heading for a floor switch in the room’s northwest corner. Step on this switch to make a small key drop from the ceiling. It lands back on the shadow ledge, right in the midst of the sunlight’s beam.
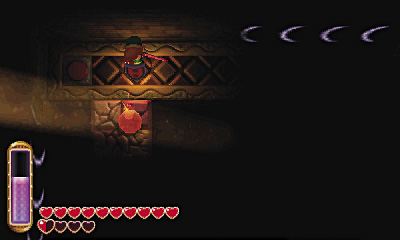
Notice the cracked floor tiles near the floor switch. After stepping on the switch, use bombs to blast these floor tiles to bits! This allows a ray of light to shine down to the floor below—something that becomes important later!
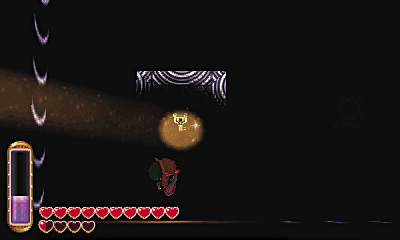
Now, for the key. Unequip the lamp, and you’ll see some arrows scrolling along the wall. Merge into the wall and follow these arrows southward, heading for the shadow ledge where the key has landed.
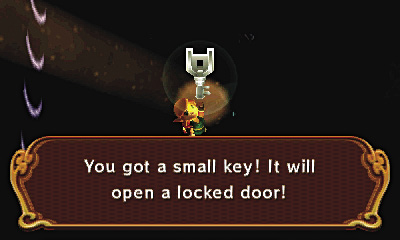
Pop out when you reach the ledge and collect the key. Nice work! Now merge back around and unlock the north door to visit Room 3.
Room 3: Iron Ball Alley
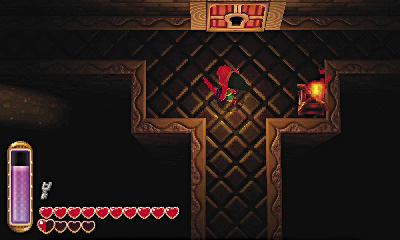
Better pull out the lantern again—this room is pitch-black! Light the nearby brazier to illuminate the place, but beware: This room’s braziers go out after a few seconds!
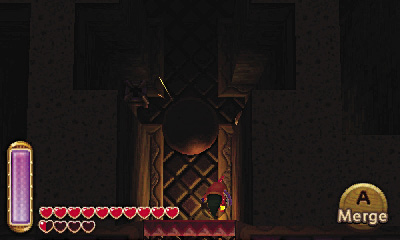
Huge iron balls come rolling down the central passage. Wait for a break between the balls before running north, or simply merge and slide along the wall if you prefer.
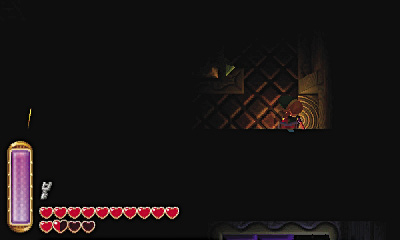
Move into the west nook and light another brazier. Dart out of the passage when no iron ball is inbound, then go through the northeast door to visit Room 4.
Room 4: Compass Chamber
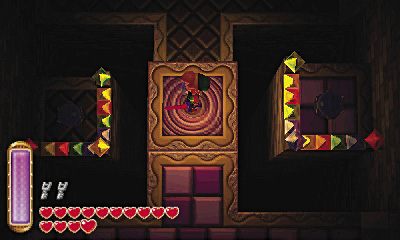
This room features a central elevator flanked by two switches. The idea is to ride up the elevator and toss bombs over to each switch until you manage to activate them both. The switches deactivate after a few seconds, so you’ve got to be quick!
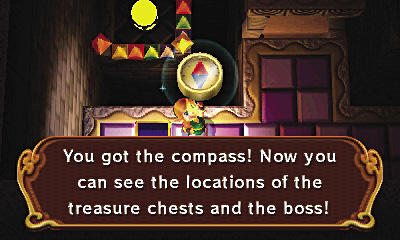
After activating both crystals, a chest appears on the south ledge. Ride up and open the chest to score the dungeon’s compass. This will certainly be of value in this devious place!
Dark Palace Chest #2: Compass
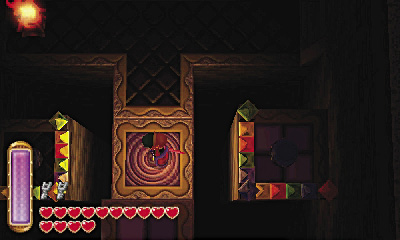
Return to the elevator with your compass safely tucked away. Ride up to its highest point, then place a bomb on the elevator platform and step off. Time it so that the bomb explodes when the elevator is at its lowest point, and you’ll blast a hole through the low southern wall! Go through while the elevator is low to visit Room 5.
Room 5: Fairy Fountain
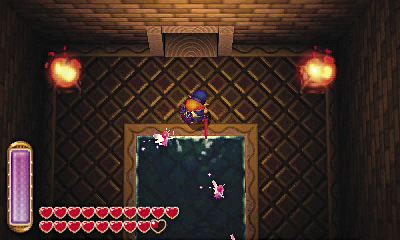
Hey, it’s a Fairy Fountain! Good, now you have a convenient source of fairies. Bottle a few and then backtrack to Room 3, taking its northeast door to visit Room 6.
Room 6: Goriya Gang A
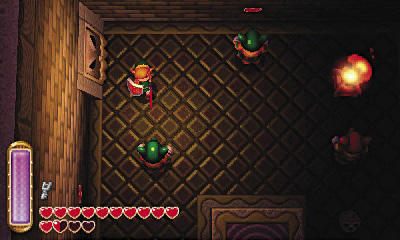
Link becomes trapped in this room, which is guarded by three creepy Goriyas. Outmaneuver these unusual foes as you seek to slay them with Link’s blade or other weapons. It helps to stun these foes first with weapons such as the hammer and Ice Rod.
Goriya
Damage:1/2 Heart
These devious devils mirror Link’s movements, copying him as he moves around a room. Green Goriyas are easily bested with a swipe of Link’s blade, but the red ones are a bit more challenging, for they block Link’s frontal attacks! Try stunning red Goriyas with the Ice Rod, or simply heave bombs at them from afar. Red Goriyas will launch a fireball at Link each time they look directly at him—quickly raise his shield to block these fiery blasts!
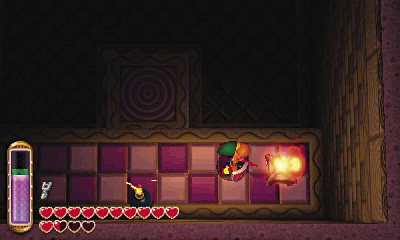
An elevator activates in the room once the Goriyas are no more. Ride up to the southern ledge, then place a bomb near the cracked south wall. Go through the opening after the blast to visit Room 7.
Room 7: Wire Walkway
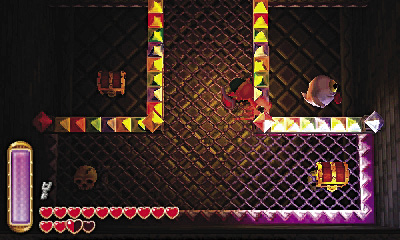
You enter Room 7 on a high wire walkway. Beware the roaming Light Ghinis here as you head for the southern chest.
Light Ghini
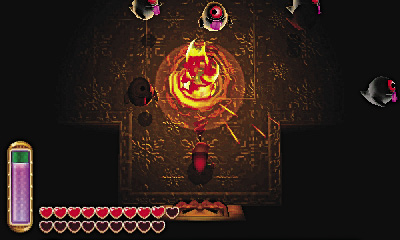
Damage:1 Heart
These spooky ghosts float about the Dark Palace, looking to give Link a fright. Light Ghinis vanish while moving in darkness but can be made visible by lighting Link’s surroundings with the lamp. Light Ghinis can also pass through walls and other solid objects, just like Poes and Hyus. Tread lightly whenever Light Ghinis are about, and be ready for battle at a moment’s notice!
Room 6 (Revisited)
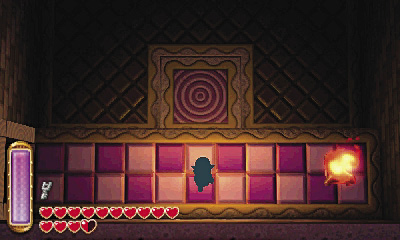
There’s another chest in Room 7, but it’s too low to reach. Return to Room 6 and stand on the elevator platform. This time, wait for the platform to lower before moving southward. Link slips beneath the southern ledge and enters a secret door, returning to Room 7.
Room 7 (Revisited)
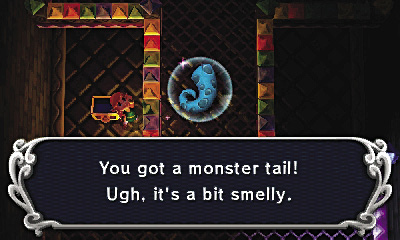
You’re now exploring the low ground in Room 7. Head straight for that chest you noticed before and open it to score a monster tail.
Dark Palace Chest #4: Monster Tail
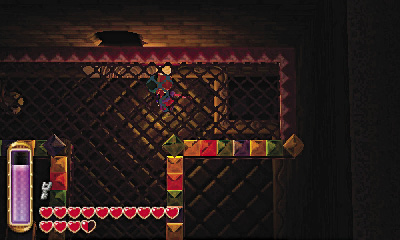
After plundering the chest, search for some cracked floor tiles in Room 7’s northeast corner. Use a bomb to blast through these tiles, then drop through the hole to reach the dungeon’s basement floor.
Room 8: Shadow Pathways
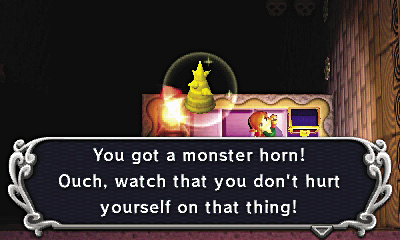
Bombing through the floor in Room 7 lands you on a high ledge downstairs in Room 8. Crack open the nearby chest to claim another monster part for the Witch’s potions.
Dark Palace Chest #5: Monster Horn
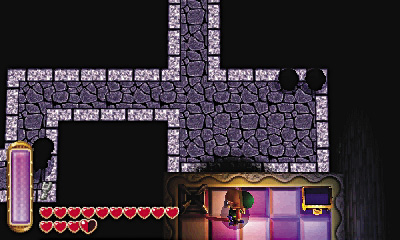
After looting the chest, strike the nearby brazier to quell its flame. The room goes dark, but by some mysterious trick of the senses, a network of shadowy pathways becomes visible!
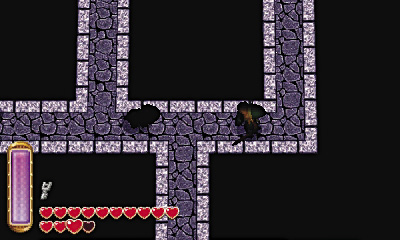
Unequip the lamp and drop from the ledge, landing on the shadow paths below. Beware of Helmasaurs as you navigate the shadow paths, heading for a northeast key.
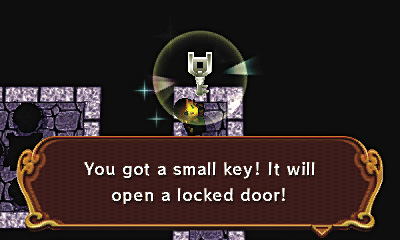
Collect the small key from the end of the northeast path, then head to the northwest door, which leads to Room 9.
Room 9: Basement Entry
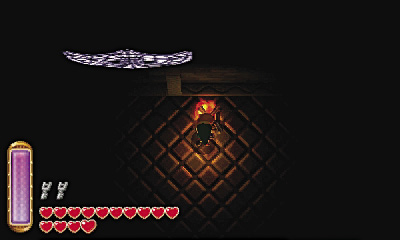
This room features the stairwell that leads back up to the dungeon’s first floor. Ignore these stairs for now and go west into Room 10.
Room 10: Walls of Shadow
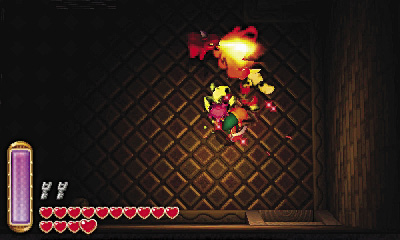
Unequip the lamp when you enter this dangerous chamber. You must navigate a maze of shadowy walls here, and they can only be seen when it’s dark. Attack any lit braziers to extinguish them and discover the shadow walls.
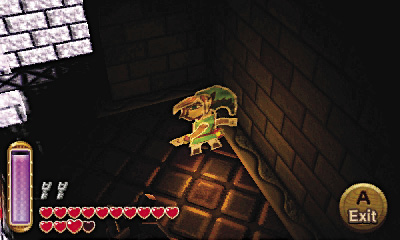
The trick to getting through this room lies in merging. Merge and slide along the shadow walls, and you’ll slip through their thin slits, moving through the room. Merging can also save you from the roaming fireballs as you navigate this unusual room, as well as the indigenous Kodongos’ fiery breath!
Kodongo
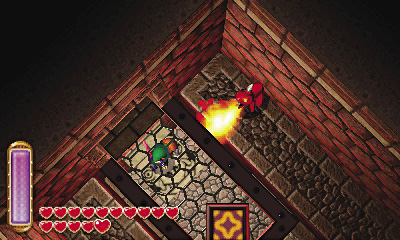
Damage:1 Heart
Kodongos are fire-breathing foes that can burn Link to a crisp with their far-reaching flames. Unlike Lynels, Kodongos remain stationary while spouting flames from their mouths—this lets Link flank them and counter with some heat of his own.
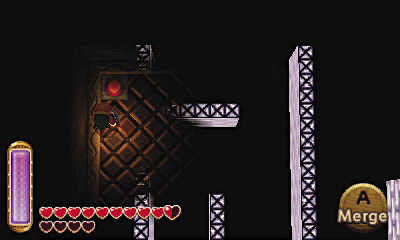
Work your way through the maze of shadow walls, heading for the northwest floor switch. Step on this switch to make a chest appear down south.
Open the chest to collect a small key. Great, now you’ve got two of them!
Dark Palace Chest #6: Small Key
Room 11: Sunlight Gate
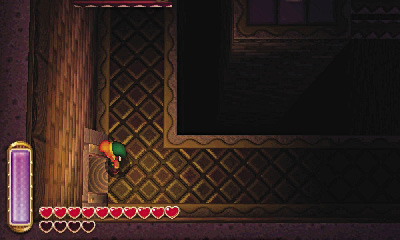
Go south from Room 10 (or Room 8) to reach this wide room, where the big door is found. You have two small keys right now, but no Big Key—and even if you did, a massive gate seems to be blocking the big door, anyway! For now, simply use one of the two small keys to unlock the southeast door, and go through to visit Room 12.
Room 12: Big Key Bowling
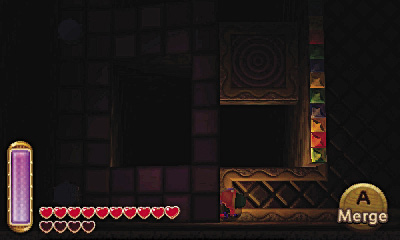
This room features a single moving platform, and three lines of glowing arrows point westward in the dark. Light the nearby brazier to see that three switches stand near the west wall.
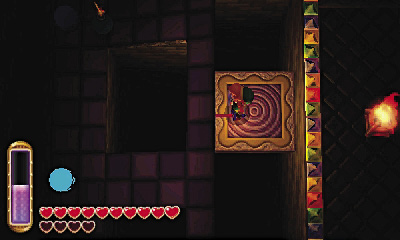
With or without the brazier lit, step onto the moving platform and throw bombs westward, aiming for the switches. (You don’t need to use the moving platform to bomb the southern switch.) You must blast every switch, but don’t worry, there’s no time limit!

Once all three switches have been triggered with bombs, a big chest appears near the brazier. Lift the chest’s lid to claim the Big Key.
Dark Palace Chest #7: Big Key
Room 11 (Revisited)
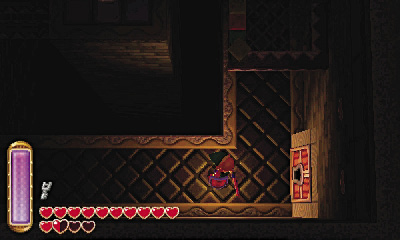
OK, you’ve got the Big Key—now you just need to get past that big gate. Return to Room 11 and use your remaining small key to open the southeast door. Go through to visit Room 13.
Room 13: Goriya Gang B
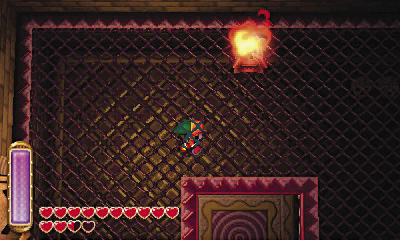
More Goriyas guard this room, but they’re stuck on the top level. Move around so that the Goriyas are made to fall through the overhead opening while they mimic your movements. Then defeat the Goriyas just as you did before, either by using ranged weapons or by maneuvering Link close enough for swordplay.
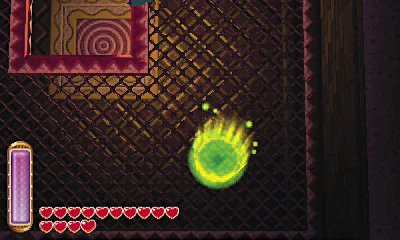
After all of the Goriyas have fallen, a central elevator activates, and a portal appears. Warp back to the dungeon’s entrance and save, then warp back through the portal and ride the elevator up to Room 13’s higher level. Proceed through the high west door to return to Room 11.
Room 11 (Third Visit)
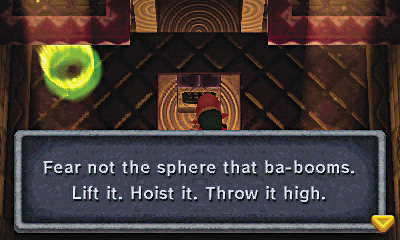
Back in Room 11, merge and slide westward along the south wall, heading for the high west platform. (Not the first platform that you come to, but the second one, near the west wall.)
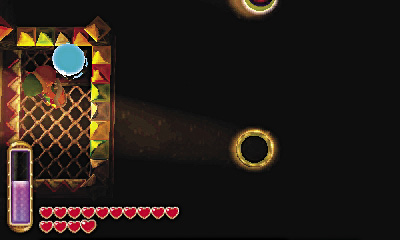
Pop out onto the high west platform and strike a crystal. A ray of sunlight then shines down on the floor, activating an eye switch. Aha! To reach that big door, it seems clear that you must shine more light down on this room’s remaining eye switches!
Room 3 (Revisited)
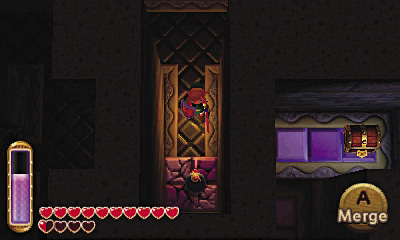
Take your leave of this floor for now, backtracking to Room 9 and taking the north stairs to return to Room 3. This time, find a patch of cracked floor tiles near the northeast door. Use a bomb to blast through these tiles, then drop through the floor.
Room 9 (Revisited)
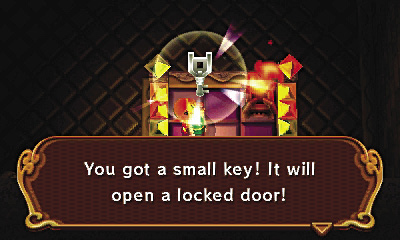
You land back in Room 9, right next to a small key. Excellent! Collect the key, then head back upstairs to return to Room 3.
Room 3 (Third Visit)
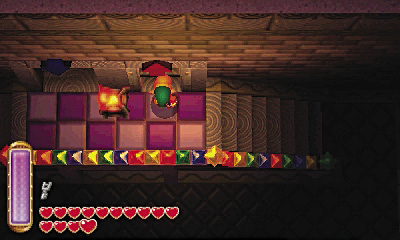
Now that you’ve found another key, you can unlock this room’s north door. Do so and then head upstairs to begin exploring the dungeon’s second floor.
Room 14: Spinning Walls
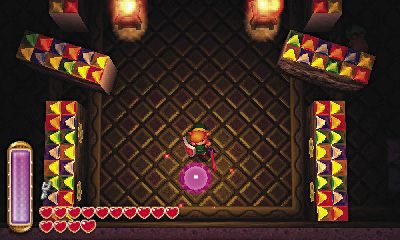
Strike the crystal at the south end of this room, and watch as the nearby walls spin around. Whoa!
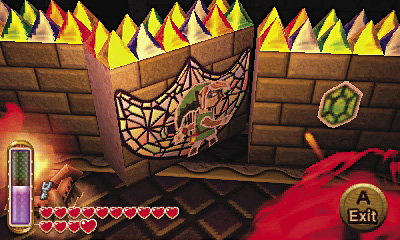
Have you figured it out? Place a bomb near the switch, then merge into one of the spinning walls. For the purposes of this walkthrough, merge into the east wall first.
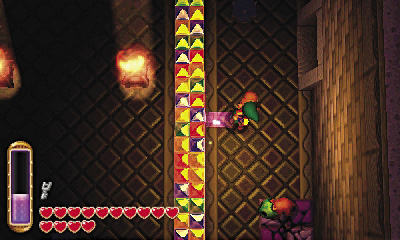
Blammo! When the bomb goes boom, it triggers the switch. The east wall that you’re merged into then spins around, delivering you to the room’s east side. Sweet!
Floor Fallin’
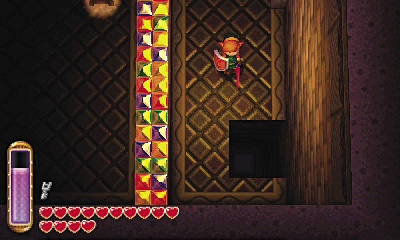
Exit from the wall and take out the Helmasaur that guards the east side of the room. Use another bomb to blast away the cracked floor tiles that you find over here afterward, then drop through the hole to return to Room 3.
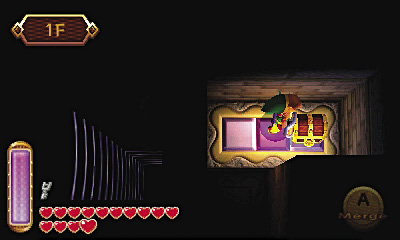
Bombing through Room 14’s east floor lands you right next to a chest down in Room 3. Open it to pluck out a Purple Rupee.
Dark Palace Chest #8: Purple Rupee
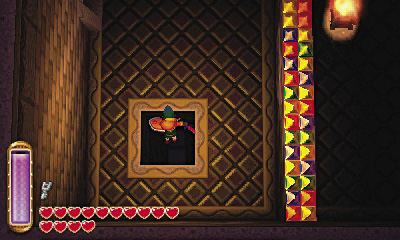
Return to Room 14, and this time, merge into the west wall after placing a bomb near the switch. When the west wall spins you around, exit and then bomb through more cracked floor tiles over on the room’s west side.
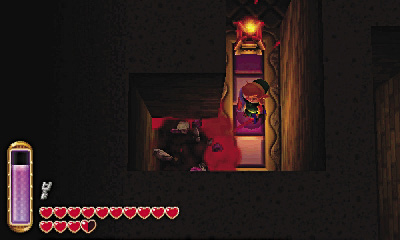
Bombing through Room 14’s west floor tiles lands you on a high passage down in Room 3. Bomb through yet more cracked tiles up here and drop through the hole you expose to reach Room 9.
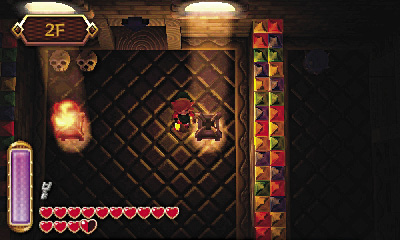
Down in Room 9, you land on a high ledge that’s covered with Rupees. Glorious Rupees! Fill your pockets before dropping from the ledge and taking the north stairs back up to Room 3. Go upstairs again to return to Room 14, then take either the west door to reach Room 15, or the east door to reach Room 16. Both rooms lead to Room 17—your ultimate destination.
Room 15: Vanishing Floor Passage A
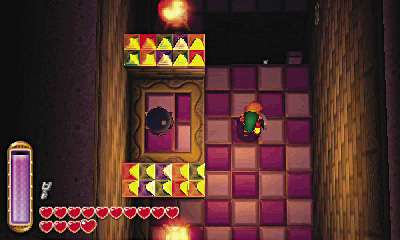
Beware: The floor vanishes before you in this tricky passage! Merge into the wall if you’re in danger of falling, and exit and reenter the room to restore the floor and try again.
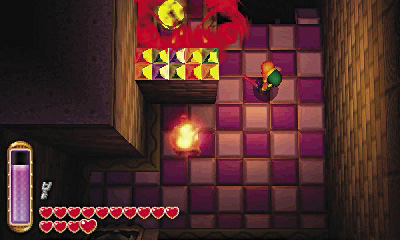
To get through the room, toss or place a bomb over by the central switch. Merge into the west wall afterward and slide southward, past the vanishing floor.
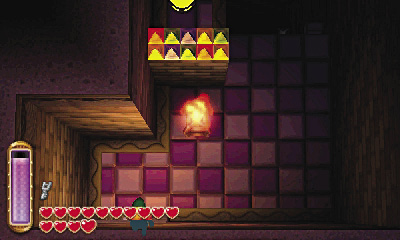
The south door is sealed, but open for a few moments after the room’s switch has been triggered. Hurry to the south door and go through when your bomb goes off, triggering the switch. The door leads to Room 17.
Room 16: Vanishing Floor Passage B
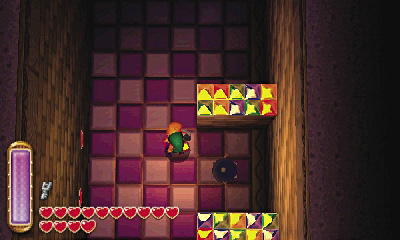
Heads up! The floor also vanishes as you explore this passage, but it disappears beneath Link’s feet, forcing you to hurry through. Run over and toss a bomb up to the high central crystal. The bomb triggers the switch when it explodes, opening the south door for a brief moment. Hurry through to reach Room 17!
Room 17: Chamber of Light
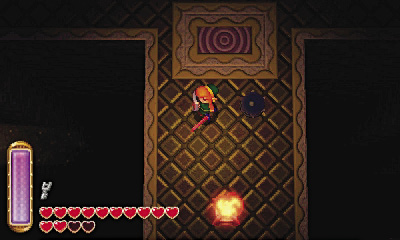
This wide chamber features several boarded windows, all of which must be blasted open to let in glorious rays of sunlight. Light the room’s braziers so that you can see more easily, and beware of those pesky roaming Light Ghinis as you explore.
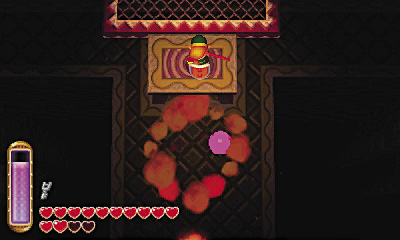
Crystal switches control elevators at the room’s north and south ends. Move onto the north elevator and strike the crystal to ride up to the north ledge.
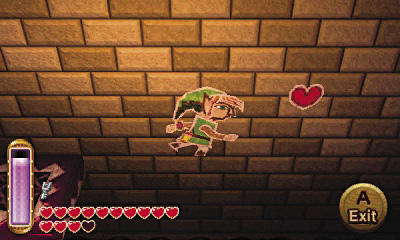
From the height of the ledge, merge into the north wall and travel eastward. Fold around the corner and exit onto a high northeast ledge.
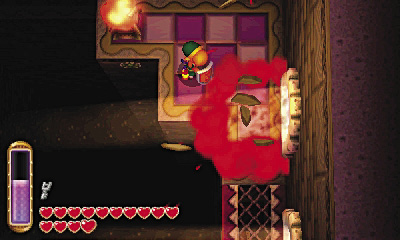
Hey, you’re right near a boarded window! Place a bomb on the ledge and then stand back or merge to avoid the blast.
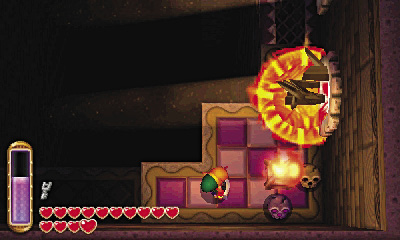
Nice work! Now walk a short distance southward and use another bomb to open another nearby window. Note a chest below you as you go.
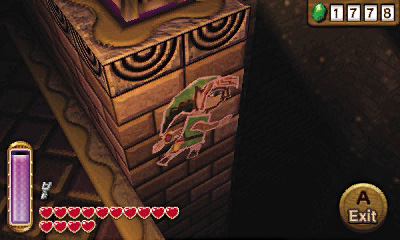
After bombing open the second window, drop from the ledge. Merge into the east wall and travel over to the chest you’ve just spotted, collecting a line of painted Rupees as you go.
Dark Palace Chest #9: Monster Guts
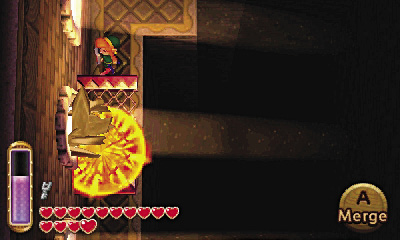
Go to the room’s west side to find another window that’s been covered with boards. To open this one, you’ll need to throw bombs up onto the high ledge near the window. Get a bomb up onto that ledge with a good toss, and watch as it blasts open that window!
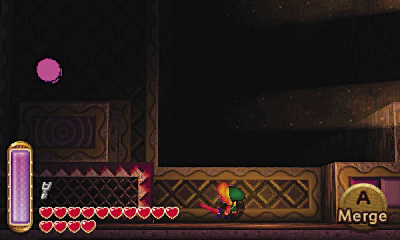
With light pouring in from each of this room’s windows, your job here is done—almost! If you’d like to claim this dungeon’s special treasure (and of course, you would), follow these next steps precisely to reach the big chest in the middle of the dungeon’s second floor.
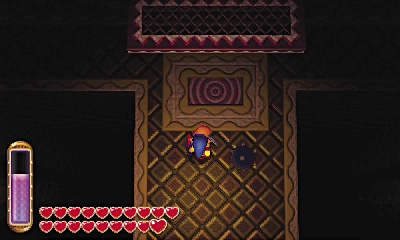
1. Make sure both of the Room 17's crystals are dark (deactivated), so that the north and south elevators are lowered.
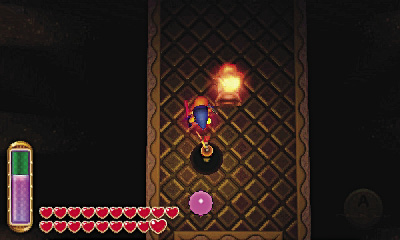
2. Strike the south crystal to activate it, then quickly place a bomb near the crystal.
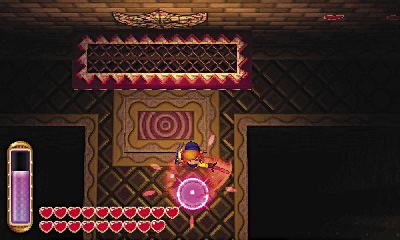
3. Quickly run onto the north elevator, then strike the north crystal to ride up.
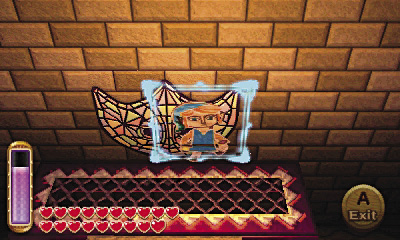
4. Quickly merge into the north wall.
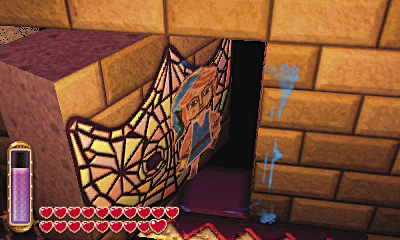
5. Remain stationary while merged. The north wall soon spins around, delivering you to a secret chest!
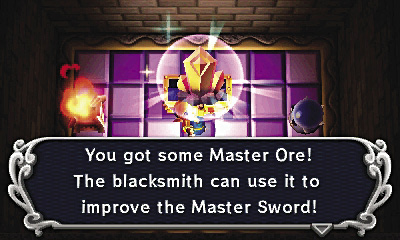
The secret big chest contains Master Ore. If you’ve been following along with this walkthrough, then you’ve just found the fourth and final piece of this precious material. You can now upgrade the Master Sword to its fullest potential!
Dark Palace Chest #10: Master Ore
Master Ore #4
Collect these and give them to the Blacksmith, and he’ll strengthen your sword.
Sharpen Your Sword

Now that you’ve located the last two pieces of Master Ore, you can fully upgrade the Master Sword. Visit the Lorule Blacksmith and sharpen your blade once more!
Level 3 Master Sword
The Master Sword Lv3 is four times as sharp as the original!
Room 11 (Final Visit)
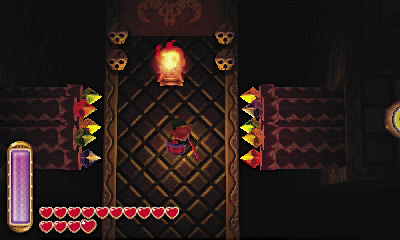
With all of Room 17’s windows shining their light down on rooms below, return to Room 14 and go back downstairs. Keep going downstairs to reach Room 9, then pass through either Room 8 or Room 10 to return to Room 11. With sunlight beaming down onto all four of its eye switches, Room 11’s massive gate finally opens. Proceed through the big door to face the final battle.
Room 18: Gemasaur King’s Lair
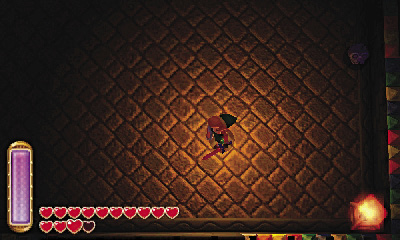
This room is pitch-black, and there’s a foul odor in here. Equip the lamp and use it to light the two corner braziers. Once both braziers are lit, the dungeons’ boss makes its grand appearance!
Boss Battle: Gemasaur King
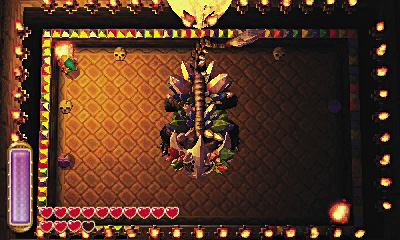
This monstrous, gem-covered giant is one tough nut to crack. Gemasaur King stalks Link slowly at first, perhaps sizing up its prey. Occasionally, Gemasaur King fires sharp shards of stone; avoid these by merging into the surrounding walls.
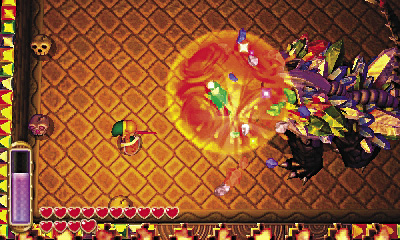
Gemasaur King’s thick hide and massive stone mask protect it from most frontal attacks. To wound the great monster, you must throw bombs at its face!
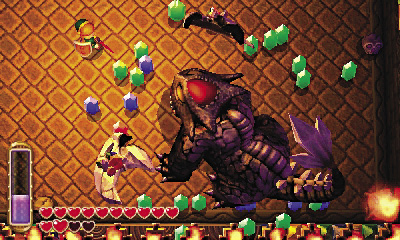
Hurl bombs at Gemasaur King to blast away at its mask. Precious Rupees rain down from the beast’s encrusted hide each time it suffers a good bombing. Just keep blasting the boss with bombs until you at last shatter its mask! If you have the Nice Bomb upgrade, this will happen faster.
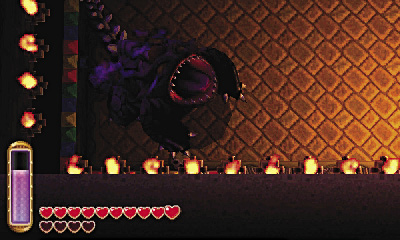
When Gemasaur King’s mask shatters, the boss loses its protective shell. However, Gemasaur King is even more dangerous now, for it races around the room in a rage, ramming Link for damage! Merge into walls to escape the great beast’s rampage.
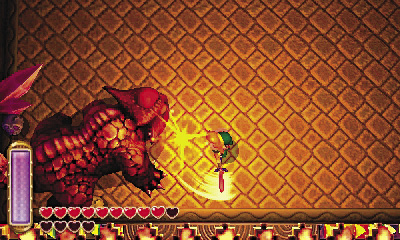
Gemasaur King might be faster now, but without its mask for protection, it’s also more vulnerable. Assail the tyrant as many times as possible each time it slows down.
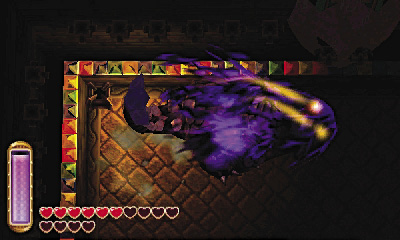
Eventually, Gemasaur King will let out a terrible roar that casts you into total darkness. The monster then storms around the room in a fury for as long as the lights are out, becoming extremely dangerous. Not good!
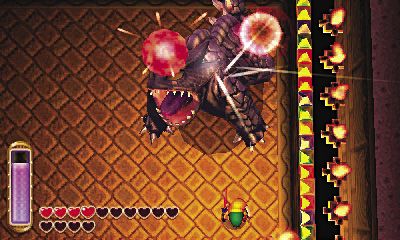
When the lights go out, immediately merge into a wall for safety and then slide over to the nearest brazier—there’s one in the room’s northwest corner and another in the southeast corner. Light both braziers again to expose the boss, then punish Gemasaur King while you have the chance! Keep it up until the big beast is finally bested.
A Friend Is Saved
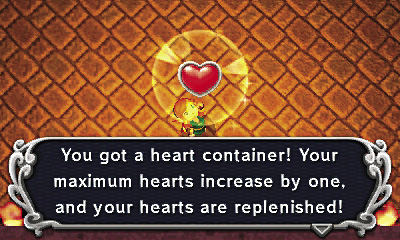
A heart container appears after you dethrone the Gemasaur King, and the painting of a Sage falls down from the wall. Collect the heart container first to increase Link’s health.
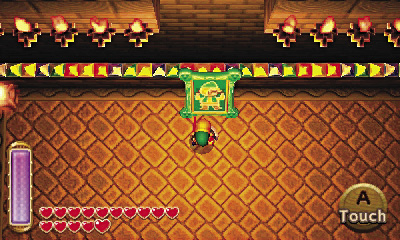
Now, to the Sage! Touch the poor soul’s painting to free the Sage, who turns out to be Link’s old pal, Gulley!
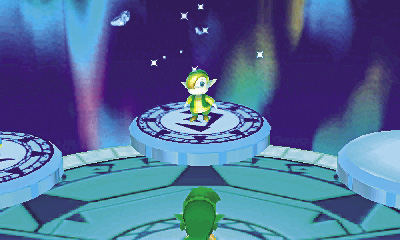
Back in the Sage’s realm, Gulley’s spirits are not broken. In fact, now that he knows he’s a Sage, he tells Link that he won’t be afraid of anything anymore. Way to go, hero! Hyrule’s Blacksmith and his wife will certainly be pleased to hear that their little boy is safe.