
The Legend of Zelda: A Link Between Worlds Guide Walkthrough House of Gales
House of Gales
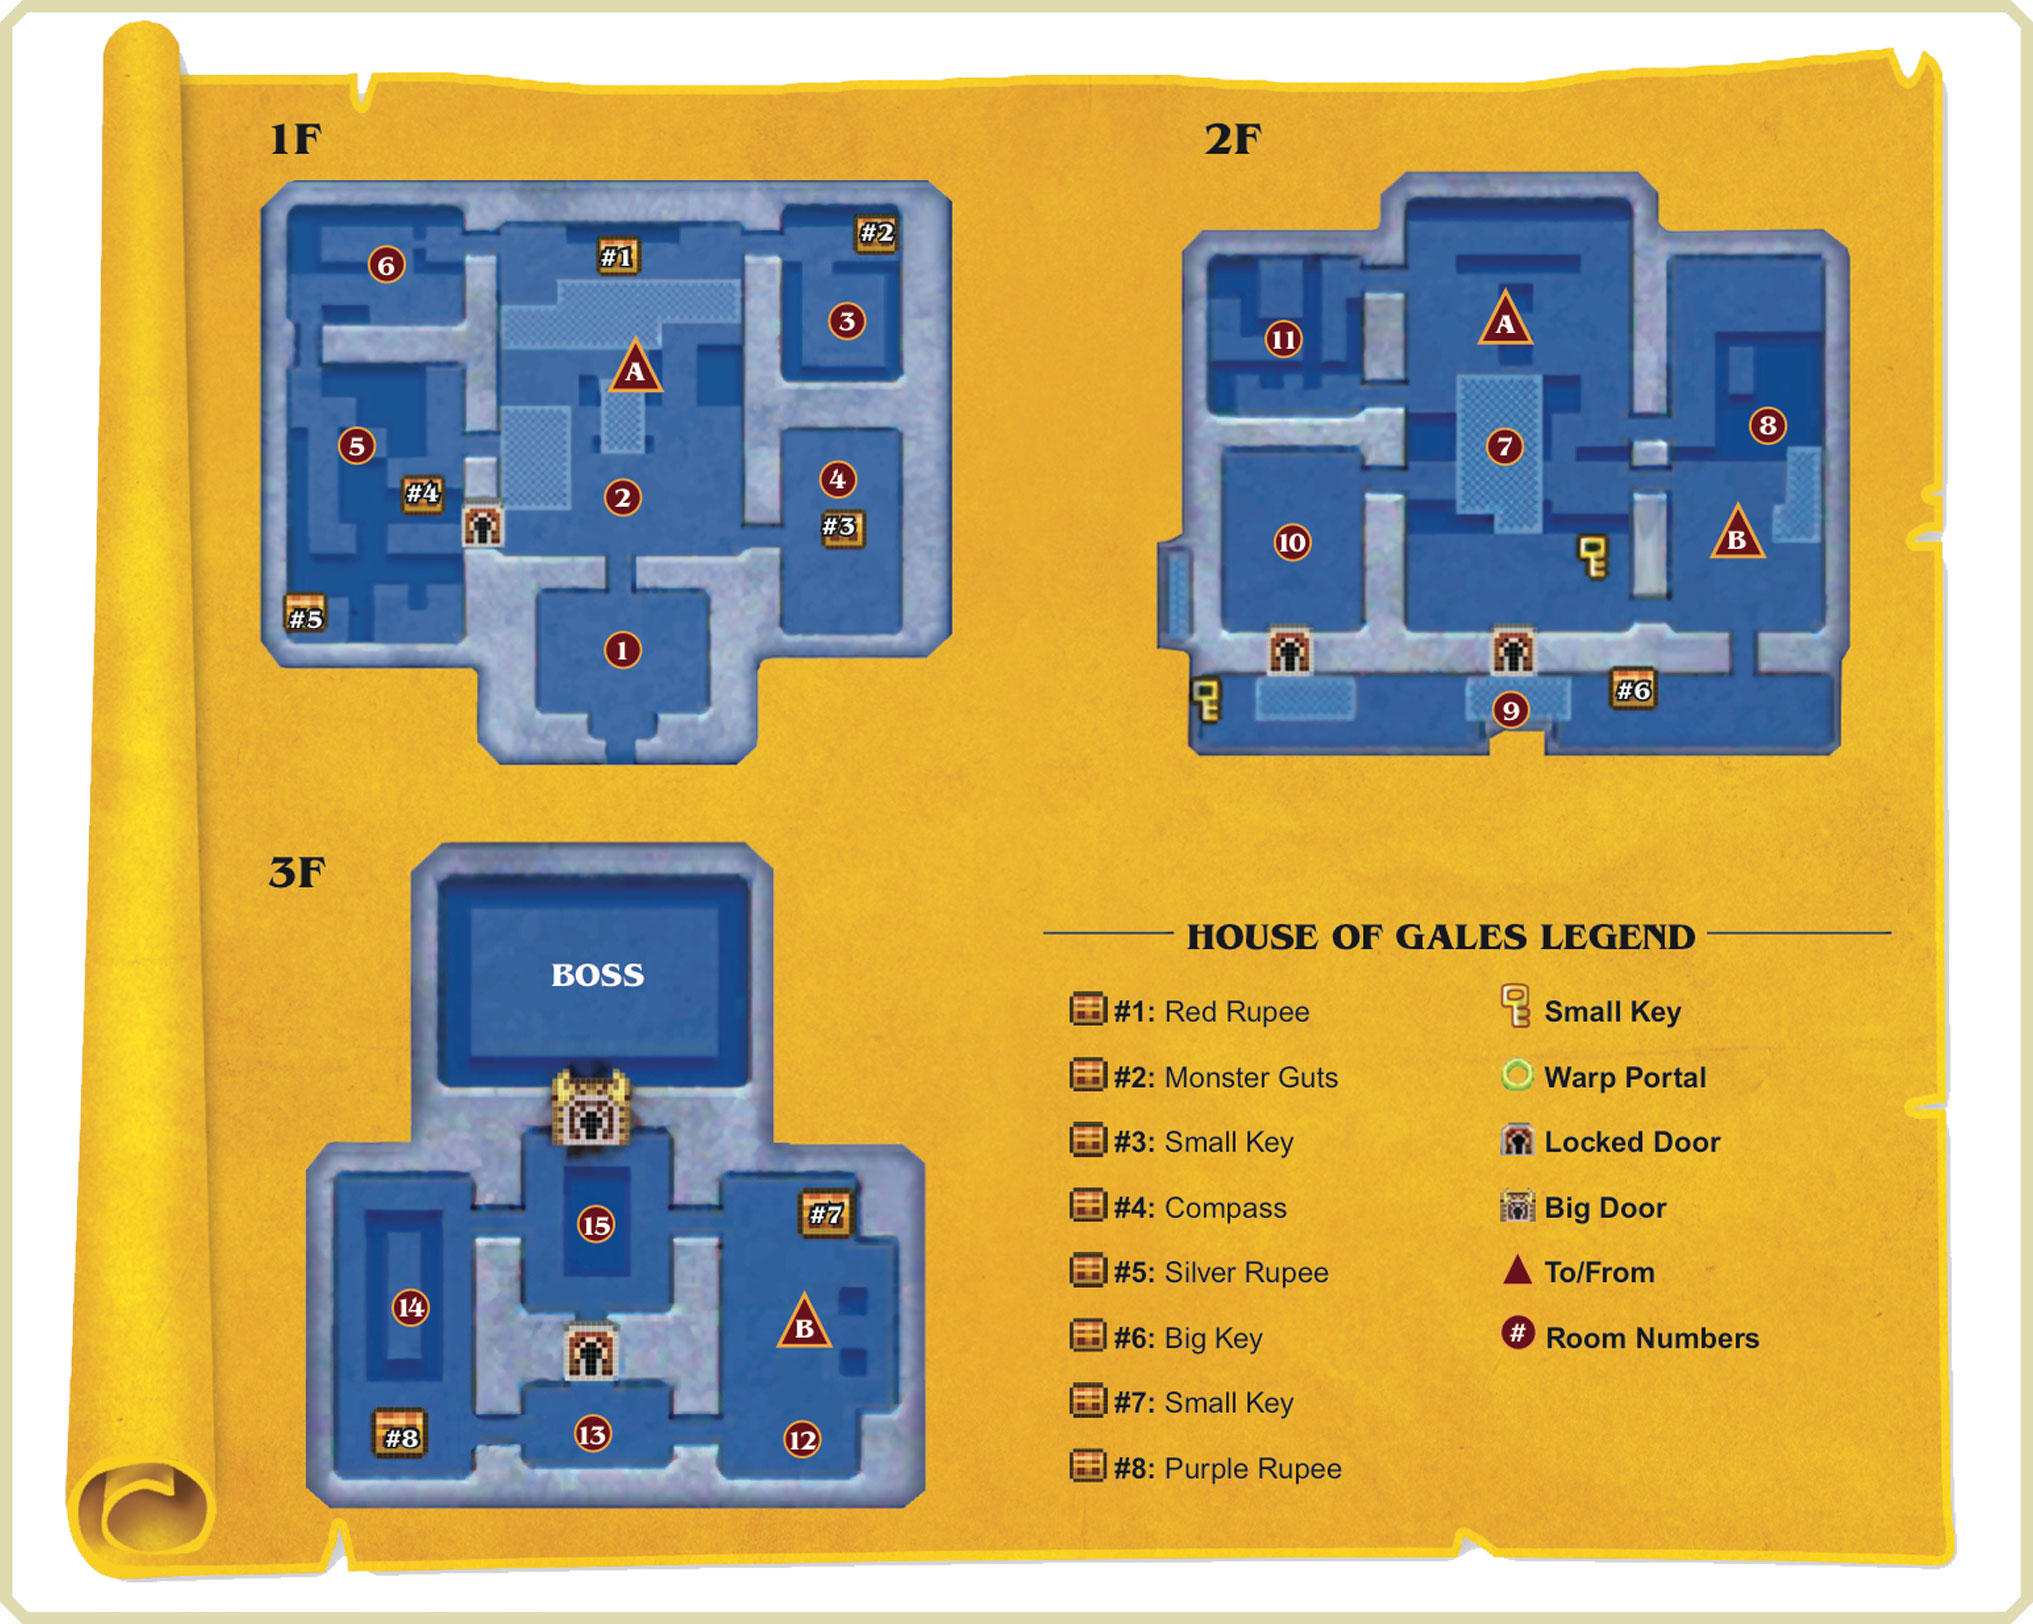
Entering the Dungeon

The House of Gales lies in the middle of Lake Hylia. You must obtain Zora’s Flippers so you may swim to it. Once you’ve reached the House of Gales, use the Tornado Rod to blow away the Tornado Tiles out front and expose a floor switch. Step on the floor switch to open the dungeon’s entry door.
Room 1: Entry Chamber
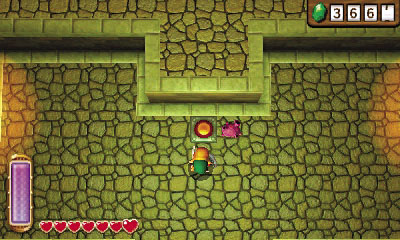
All’s quiet inside the House of Gales. Smash the pots in the very first room to reveal a floor switch. Step on this to start the two southern fans blowing.
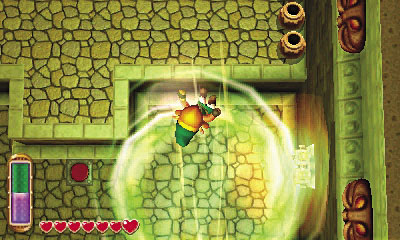
Stand beneath either fan’s northerly gust and use the Tornado Rod to boost Link upward, into the draft. Link is then blown northward, onto the high north ledge—proceed to the next room.
Room 2: Fan Chamber A
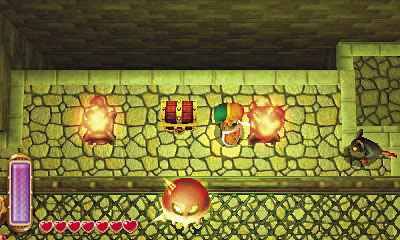
This large room features ledges and walkways of varying heights. Run north and light two braziers with the lamp or Fire Rod to make a chest appear.
 House of Gales Chest #1: Red Rupee
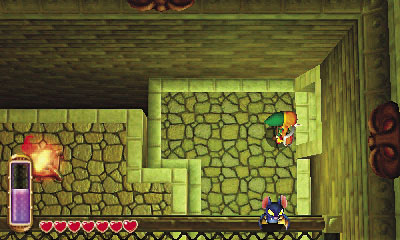
After looting the chest, drop off the east ledge and pass through the nearby door to reach Room 3.
Room 3: Popos’ Plunder
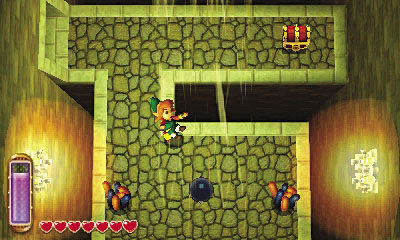
This small room features a treasure chest that’s guarded by several Popos. Slay them all and raid the chest to claim some monster guts. Striking the southern crystal switch activates the northern fans, but there’s no need to do so. Just don’t use the Tornado Rod while the fans are blowing, or you’ll be sent flying into the southern pit!
House of Gales Chest #2: Monster Guts
Room 2 (Revisited)
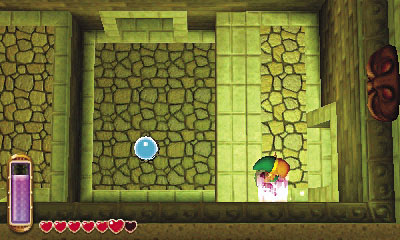
Return to Room 2 and merge into the east wall. Travel south toward a landing, then pass through the southern wall (there’s a doorway) to reach a switch. Strike this switch to lower the nearby wall.
Backtrack north, through the wall’s doorway, then go up the nearby stairs. Loop around to the south and then merge into the wall above the doorway you just went through. Move east across the wall, passing over the doorway, to reach the room’s high southeast door. Head through to visit Room 4.
Room 4: Fire Bubble Ambush

Link becomes sealed in this small chamber, forced to battle a trio of Fire Bubbles. Use the Tornado Rod to quickly blow out their flames, then attack their vulnerable skulls. Slay all three Fire Bubbles to unseal the room and discover a chest containing a small key. Merge into the walls to collect painted hearts if need be.
Fire Bubble
Damage:1/2 Heart
These flaming skulls speed around a room, bouncing off of objects in a hazardous fashion. Fire Bubbles are immune to attacks while their flames are lit, so put them out with the Tornado Rod or Ice Rod. The Fire Bubble’s skull then hops around, vulnerable to Link’s weaponry for a few moments.
House of Gales Chest #3: Small Key
Room 2 (Third Visit)
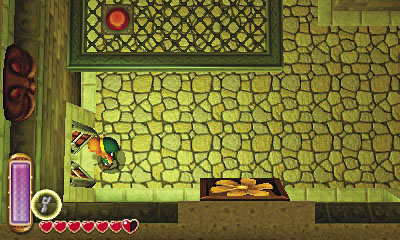
Return to Room 2 and merge back across the wall. Use the small key you found in Room 4 to open Room 2’s southwest door, and head through to enter Room 5.
Room 5: Bothersome Baris
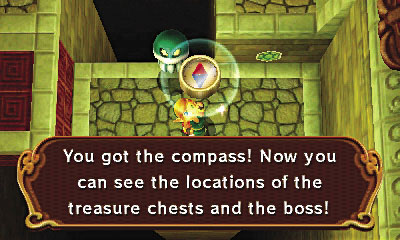
Beware the Baris that roam this room—they’ll give you a nasty shock if you touch them. Merge into the moving block and ride it north to reach a small ledge with a chest. This one contains the House of Gales’ compass.
House of Gales Chest #4: Compass
Bari
Damage:1/2 Heart
These floating foes regularly become electrically charged, and Link gets zapped if he attacks them with his sword while they’re sparking. Use ranged weapons like the bow to wipe out Baris from afar, or stun them with other ranged weapons before moving in for some swordplay. Red and gold Baris split into two smaller Biris when defeated; blue and silver Baris do not separate into Biris when slain.
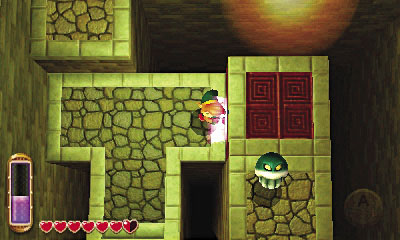
Merge back onto the moving block when it draws near, then quickly move north, onto another moving block. Slip around to the second block’s west side, then pop out of the block after it ferries you to the room’s northwest ledge.
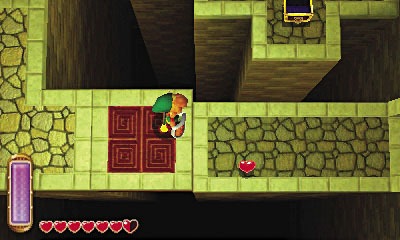
Go upstairs and stand atop the first moving block. Beware of Baris as you ride the block northward.
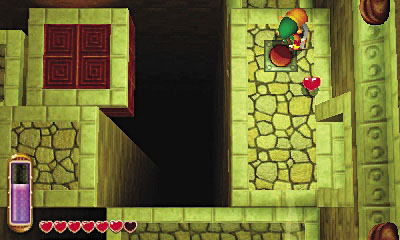
Step onto the second moving block and ride it over to a high east ledge with a floor switch. Step on the floor switch to start up a fan down south. This fan will become useful later; for now, simply head through the nearby door to return to Room 2.
Room 2 (Fourth Visit)
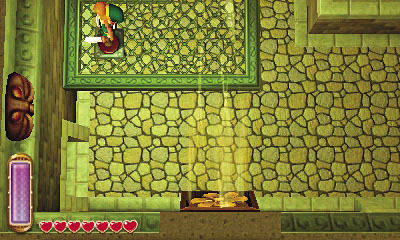
Back in Room 2, cross the metal platform and activate another floor switch to start a southern fan blowing.

Slay the red Bari to the north, making sure to dispatch its two smaller offspring as well. Then use the Tornado Rod to boost Link up into the overhead draft produced by the fan you just activated. This sends Link flying over to another metal platform to the north.
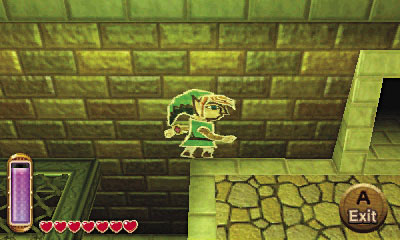
Merge into the west wall after you land on the northern metal platform. Move north to reach a high ledge, and pass through the northwest door to visit Room 6.
Room 6: Rat’s Nest
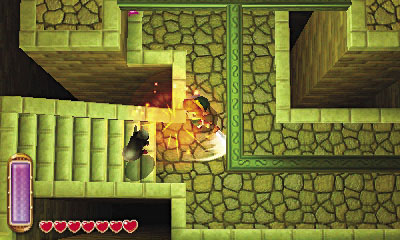
Rats run wild in this small room. Carefully tiptoe across the narrow beams to reach a few pots, and try dropping bombs to wipe out the teeming Rats below. Drop when it’s safe and then proceed south to explore new places back in Room 5.
Room 5 (Revisited)

Back in Room 5, merge into the west wall and slide all the way down to the room’s southwest ledge, where a chest awaits. Pop out of the wall and lift the chest’s lid to claim a sparkly Silver Rupee.
House of Gales Chest #4: Silver Rupee
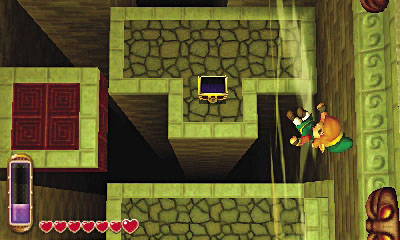
Merge into the south wall after cleaning out the chest, and move east to reach the room’s southeast ledge. Use the Tornado Rod to boost up into the overhead gust produced by the southern fan, and you’ll be blown up to a north ledge. Go through the nearby door to return to Room 2.
Room 2 (Fifth Visit)
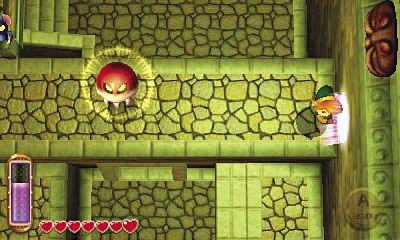
You’re all done exploring this floor of the dungeon. Use the Tornado Rod to ride a northerly draft up to the north metal platform again. Go east and merge into the east wall, then travel south to reach a high stone walkway.
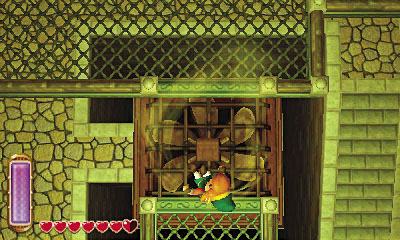
Whack the crystal at the end of the walkway to activate a giant floor fan. This is your ticket to the next floor! Go north and walk into the floor fan’s updraft to be boosted up to the dungeon’s second floor.
Room 7: Rolling Pin Chamber
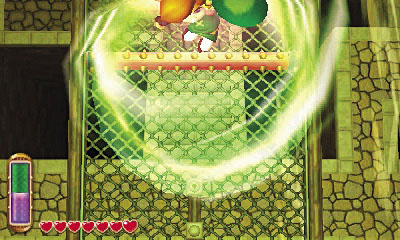
Link lands in another large room, none the worse for wear. What a way to travel! Head south to reach a metal walkway with a large spiked rolling pin. Use the Tornado Rod to boost Link upward as the pin rolls toward him, timing it so that the pin passes by while Link is in the air. Sprint south after you land to escape the rolling pin as it returns.

Descend a small flight of stairs and smash the pots in the room’s southwest corner to discover a floor switch. Step on the switch to make a small key fall onto a narrow beam that sticks out from the east wall. You can reach the key from the top of the steps if you use the Rented Boomerang or the Rented Hookshot. If you have neither, take the southeast door to visit Room 8.
Room 8: Fan Chamber B
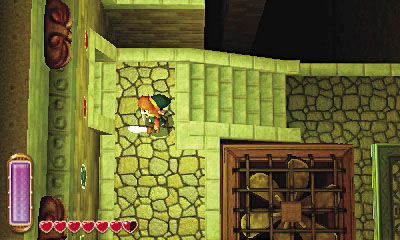
Make a quick trip through this room, slaying a number of Popos and Keese as you circle around the large, inactive floor fan. Go up the steps and through the west door to return to Room 7.
Room 7 (Revisited)
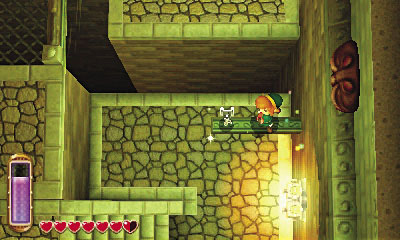
You emerge on a high eastern ledge, right near the beam with the small key. Merge into the east wall and move to the beam, then carefully collect the key.
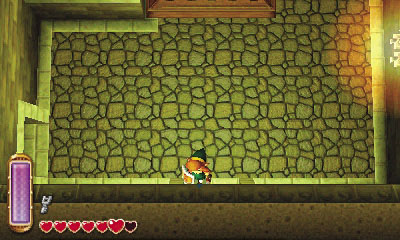
A strong gust produced by a north fan prevents you from exploring any more of Room 7, so backtrack into Room 8 and take the southern door to reach Room 9.
Room 9: Outdoor Balcony
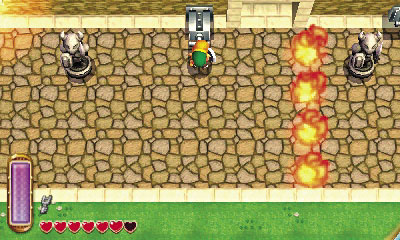
Link emerges on a high outdoor balcony. Take in the fresh air, then grab and pull the nearby lever out from the wall to make some flames flare up from the nearby floor. Well, that’s odd! Use your Tornado Rod to put out the flames so you may reach the other lever.
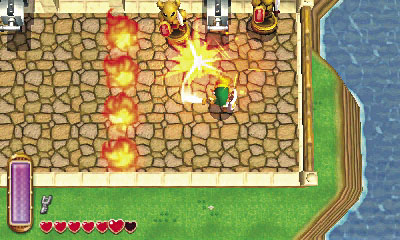
Pull the other lever out from the wall, but beware: The flames return to your left once you do so, and the nearby Armos spring to life!

Pulling the lever also causes a big chest to appear nearby. Slay the Armos, then use the Tornado Rod to put out the flames again so you may reach the chest.
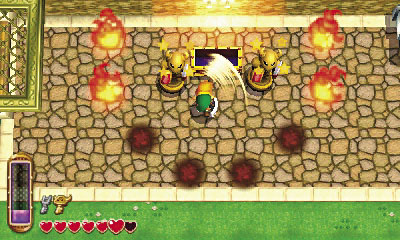
Open the chest to discover the Big Key, but watch out! More flames surround you when you lift the chest’s lid, trapping you near the chest as the nearby Armos awaken. Defeat these sturdy statues as well, using the Tornado Rod to stun them and blow out the flames so you may escape captivity.
House of Gales Chest #6: Big Key
Room 7 (Third Visit)

Pocket the Big Key, then backtrack through Room 8 to return to Room 7. Use the small key you collected from the narrow beam here to open Room 7’s south door, and head through to return to Room 9.
Room 9 (Revisited)
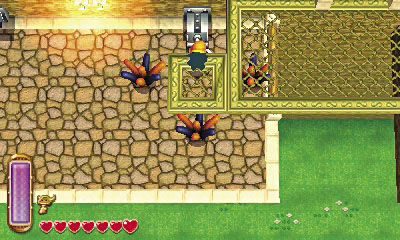
Room 7’s south door takes you to Room 9’s high central platform. There’s nothing of interest up here, so drop off its west side and pull the lever below the platform—but look out! A trio of Popos pops up from the ground near Link—blow them all away with the Tornado Rod, then slice up any stragglers.
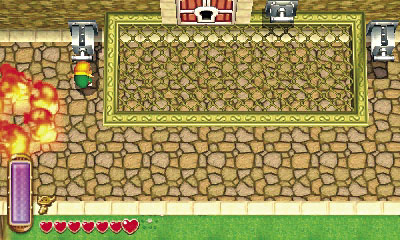
Pull two more levers on this ledge, again dispatching the Popos that pop up from the floor. After all three levers have been pulled, a small overhead platform starts moving back and fourth. (Ignore the ring of fire to the west for now.)
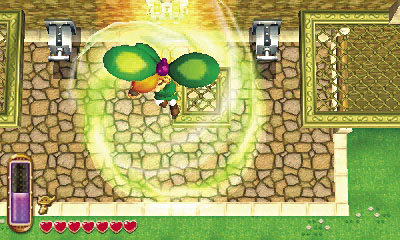
Stand beneath the moving platform, then use the Tornado Rod to fly up as it approaches. Time it right and you’ll land on the moving platform. Allow it to shuttle you to the west platform, within reach of another lever and a locked door.
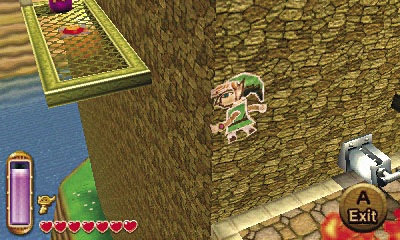
Pull the lever near the locked door and then slay the Popos that pop up in ambush. Merge into the north wall afterward and go west, around the corner, to discover a hidden balcony with a floor switch. Step on this switch to make a small key appear in the midst of the ring of fire back on the west ledge.
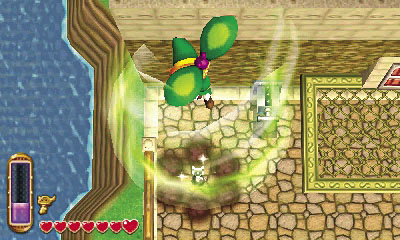
Merge and backtrack around the wall. Drop to the west ledge and use the Tornado Rod to put out the flames near the small key you’ve just revealed.
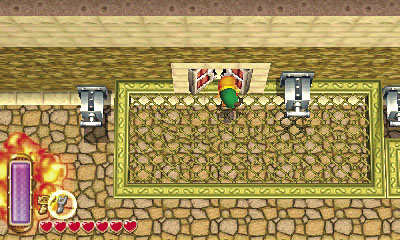
Collect the key, then use the Tornado Rod to boost Link onto the moving platform again. Now use your small key to open the northwest door and enter Room 10.
Room 10: Heedle Den
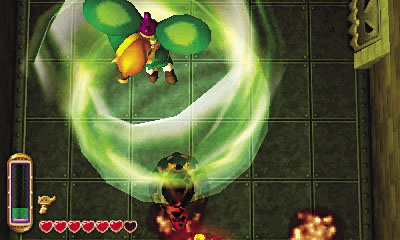
Beware: Link becomes sealed in this small chamber, forced to battle a pair of red-hot Heedles. Use the Tornado Rod to cool these fiery beasts, then attack them with the sword or other weaponry. Merge into the walls to escape the Heedles as needed.
Heedle
Damage:1/2 Heart
Heedles are large monsters whose tough hides burn with red-hot magma. Heedles also leave a trail of flame behind them wherever they go, making them dangerous enemies to pursue. Use the Tornado Rod to cool off Heedles, then strike quickly before they reignite. It takes plenty of hits to bring down these fiery foes.
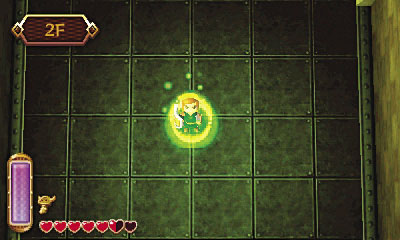
The room unseals after the Heedles have been handled, and a portal appears. Step into the portal to warp back to the dungeon’s entrance, then step outside and save your game at the weather vane. Head back into the dungeon and use the portal to warp back to Room 10, then proceed east into Room 7.
Room 7 (Fourth Visit)
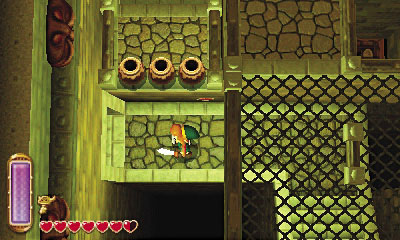
Make a quick trip through this room, looping around, heading downstairs, and taking the northwest door to reach Room 11.
Room 11: Floor Switches Galore
Navigating this puzzling room requires stepping on the floor switches in the proper sequence. If you make any mistakes, exit the room and reenter to reset everything.
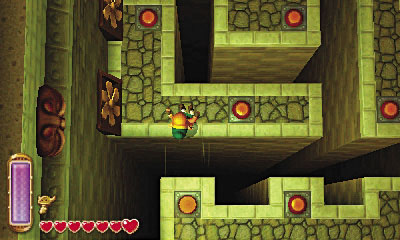
The first ledge (south) features two floor switches. Ignore the first one and step on the floor switch farther to the west. This activates a fan that blows you northward, onto the central ledge.
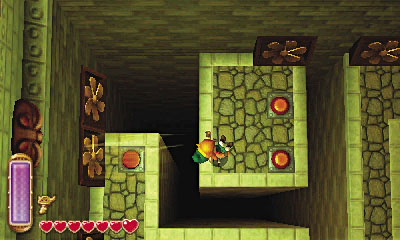
The central ledge also sports two floor switches. Step on the north switch to be blown over to the north ledge.
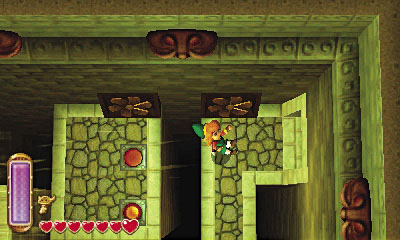
Now step on the north ledge’s north switch to reach the northeast ledge. Ignore the lone floor switch here (it blows you back to the starting ledge) and pass through the northeast door to return to Room 7 once more.
Room 7 (Fifth Visit)
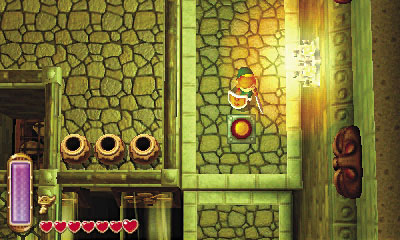
At last, you can explore Room 7’s northern end. Loop around the walkway to reach a floor switch on the room’s east side. Step on this switch to shut off the fans below. Now you can freely explore Room 7 without having to loop through the adjoining rooms anymore.
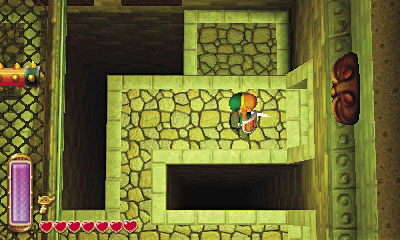
Drop to the small ledge that’s just south of the floor switch, then merge into the north wall. Move west, passing by the fans you’ve just deactivated, and pop out near the central steps. Go up the steps, turn east, and take the northeast door to reach Room 8’s northern end.
Room 8 (Revisited)
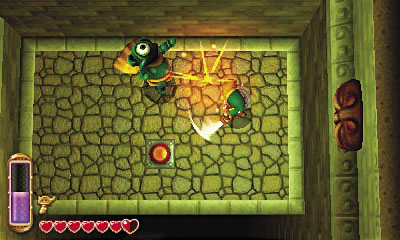
You’re almost done here! Go north and drop to the lower ledge, where a floor switch is being guarded by a formidable Eyegore. Slay the Eyegore and then step on the floor switch to start an overhead platform moving.
Eyegore
Damage:1/2 Heart
These big, ugly, armored enemies remain in a restful state until a threat draws near. Then an Eyegore opens its single, freaky eye and begins to pursue the invader. Eyegores are immune to damage while resting but become vulnerable when their eye opens. Punish these silent sentries while you have the chance!
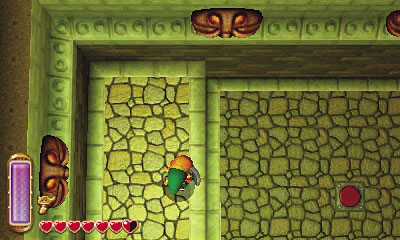
After activating the moving platform, merge into the east wall and go south. Exit when you reach solid ground, then go up the west stairs and return to Room 7. Loop around to the north to return to Room 8, back where you started before you battled the Eyegore.
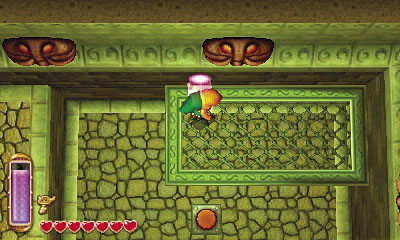
This time, merge into the north wall and move east to reach the moving platform you’ve just activated. Pop out when the platform is beneath you, then ride over to the central switch.
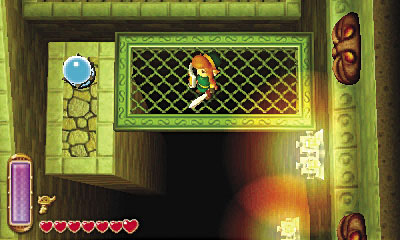
Activate the switch to fire up Room 8’s giant floor fan. It’s time to be moving on!
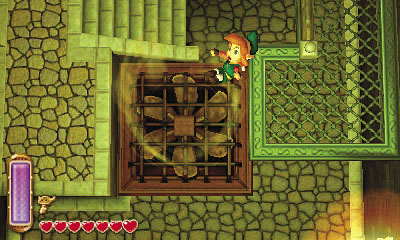
Return to the moving platform and ride south. Step off the platform and leap into the giant floor fan’s updraft to soar up to the dungeon’s third and final floor.
Room 12: Fans and Popos
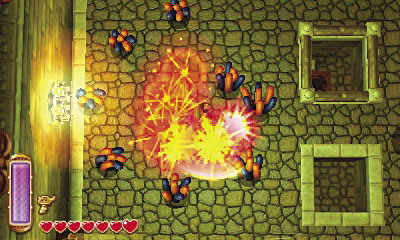
Two powerful fans have you trapped in the center of this room. When you smash the nearby pots, a large ring of Popos pops up from the ground around you! Whip out Link’s sword and slay them all without mercy.

To advance, merge into the east wall and then travel south, slipping past the southern draft. Head through the southwest door to reach Room 13.
Room 13: Eyegore Alley
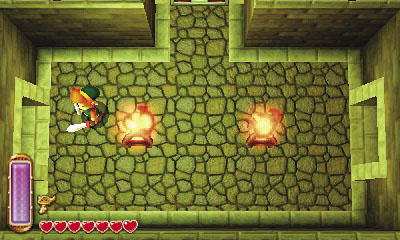
Link becomes trapped in this room, forced to battle another mighty Eyegore. Slay this fearsome foe, then light the room’s two braziers to unseal the east and west doors. The north door is locked, so proceed west into Room 14.
Room 14: Fire Bubble Frenzy
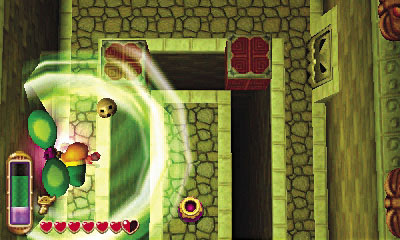
Again, Link is trapped inside this long room, the center of which is filled with Fire Bubbles. Drop from the south ledge and use the Tornado Rod to blow out the Fire Bubbles’ flames, possibly knocking some of them into the central pit. If you take damage during the fight, find some painted hearts by merging into the walls.
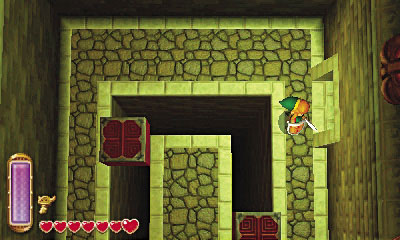
Wipe out all of the Fire Bubbles to unseal the room and reveal a chest back on the south ledge. You can’t reach the chest, so take the northeast door to reach Room 15.
Room 15: Big Door Chamber
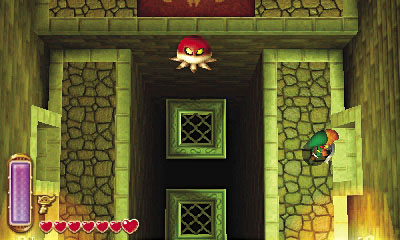
The big door stands at the north end of this room, but it’s too high to reach. Merge around the south wall instead to reach the room’s east side, then go through the east door to reach the north end of Room 12.
Room 12 (Revisited)
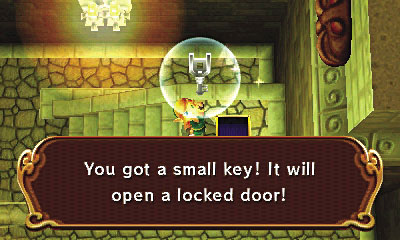
Dispatch the Rats on this side of Room 12, then crack open the chest you noticed on when you first flew up to this floor. The chest contains a small key.
House of Gales Chest #7: Small Key
Room 14 (Revisited)
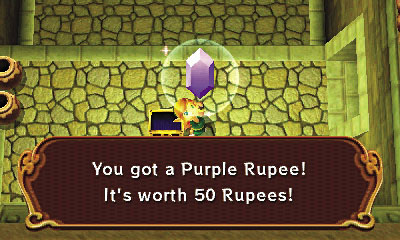
With the small key in hand, go south, again merging around the east wall to slip past the southern fan’s powerful gale. Head through the southwest door to return to Room 13, but don’t unlock the north door just yet. Instead, proceed west into Room 14 again and open the chest you revealed by slaying all of the Fire Bubbles before.
House of Gales Chest #8: Purple Rupee
Room 13 (Revisited)
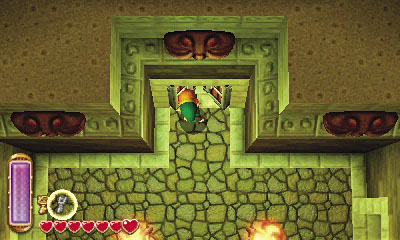
With your Purple Rupee pocketed, return to Room 13 and use the small key you found in Room 12 to open the north door. Head through to revisit Room 15.
Room 15 (Revisited)
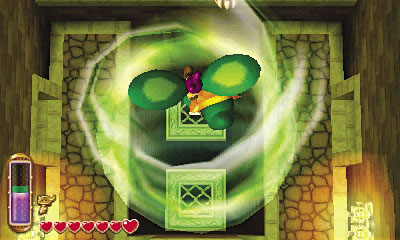
You emerge on a high southern ledge, with two small moving platforms ahead of you. Step onto the southern platform when it moves close, then ride north. When the platforms change direction and begin moving south again, use the Tornado Rod to boost Link up and onto the northern platform.
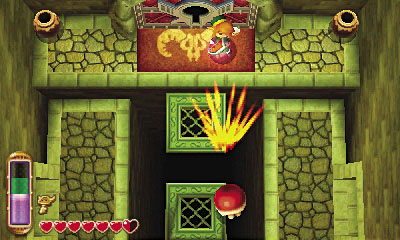
Beware of the red Bari ahead—quickly defeat it with the bow or Fire Rod, or stun it with the boomerang or Ice Rod. Once the Bari is out of your hair, use the Big Key you found back in Room 9 to open the big door, and head through to challenge the House of Gales’ master.
Boss Battle: Margomill
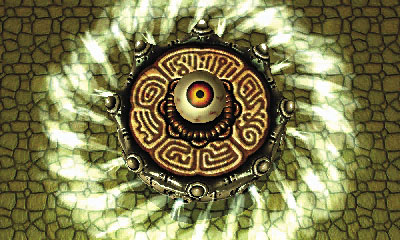
Margomill is a giant eyeball that moves around on a circular, wind-propelled contraption. It pursues Link around the boss chamber, bouncing off the walls in a hazardous fashion. Link loses a heart if Margomill bumps into him, and may be knocked into the narrow pit that surrounds the arena for added damage.
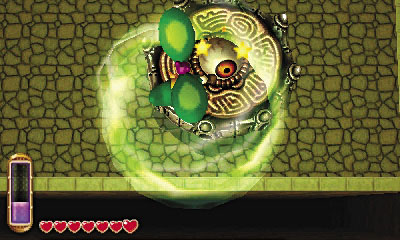
You need to get up close and personal with that big ol’ eyeball. Wave the Tornado Rod as Margomill approaches, and Link will soar up onto the contraption.
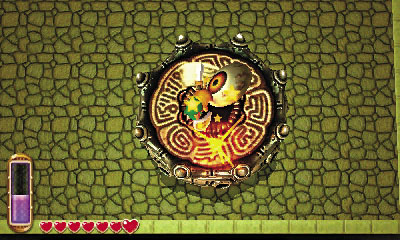
Once you’ve landed near Margomill’s eyeball, start slashing away with Link’s trusty sword. Land as many hits as you can before the eyeball retracts into the contraption.
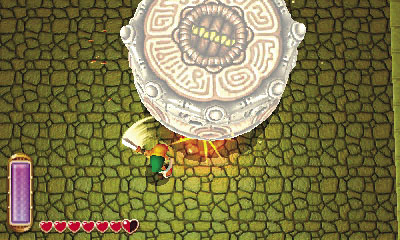
Each time the eyeball retracts, Link is knocked to the floor, and the contraption grows taller. You must now cut Margomill down to size to expose the eyeball again. Fire the bow at the boss from afar.
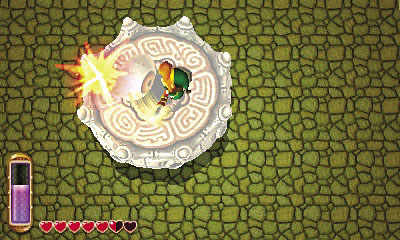
After you’ve knocked Margomill’s contraption down to size, the eyeball pops back out. Again, use the Tornado Rod to land atop Margomill, then start hacking away at its eye.
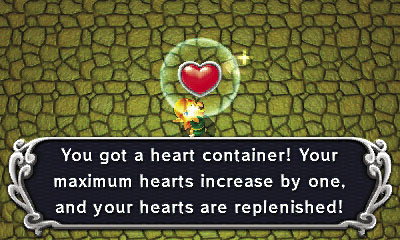
Margomill gains speed each time the eyeball retracts, and the contraption grows taller and taller. Stay the course and continue to chop the contraption down to size with your bow. Don’t relent until you’ve given this boss a serious black eye!
Collect the heart container that Margomill so kindly leaves behind, then claim the Pendant of Wisdom that appears afterward. Well done! Now on to the Tower of Hera!
Pendant of Wisdom
A pendant you found at the House of Gales, needed for claiming the Master Sword.